In this roundup we’re going to be checking out some of the awesome tools Firefox has in its collection of Developer Tools.
Even if Google Chrome is your primary development browser, Firefox has some tools that Chrome doesn’t. In fairness the reverse is also true–Chrome has some tools that Firefox doesn’t, but the tools in Firefox are so helpful you really will benefit from knowing they’re there.
About a year ago Firefox tasked a dedicated team with adding web-development-specific tools to the browser. They’ve been building really cool stuff ever since, and we’re going to check out some of the most noteworthy tools in this roundup.
For Starters
I’ll begin by listing a couple of things the inspector has going for it. Hit F12 to open it up and you’ll see a standard inspector layout, with three panes (browser window, HTML source, and properties editor), and you can change the docking configuration to suit your development environment.
If you’ve ever used an inspector in any browser this will all be familiar so far. So too the Responsive Design Mode settings which allow you to inspect a web page through different simulated viewports.

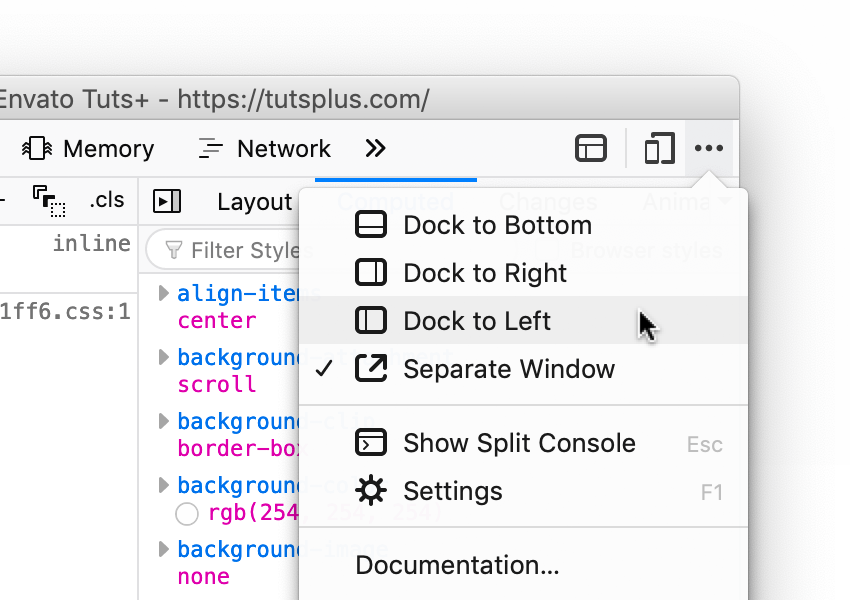
A nice extra in Firefox, however, is the ability to align the viewport to the left or right of your screen. This helps you move it to one side, out of the way whilst your inspector sits somewhere else.
Note: during this roundup you may notice that your Firefox inspector doesn’t feature a tool that we mention. If that’s the case you’ll be able to switch it on by going to settings (F1) and checking the tool in question:

1. Inspectors
All browser tools feature a handful of inspectors, such as an HTML inspector and a CSS inspector, but Firefox has some others too. One such example is fairly new and gives us the ability to inspect variable fonts.
Fonts Inspector
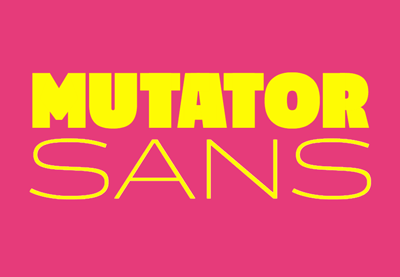
Variable fonts have additional parameters beyond those of normal fonts–open the inspector and look at the Fonts tab (try inspecting a website like axis-praxis.org to play with a range of variable fonts). The parameters available will depend on the font, but just take a look at some of the many editable options from AmstelvarAlpha Default:

This tool will be more useful as we see more and more variable fonts used on the web.
Flexbox Inspector
Firefox also has a Flexbox inspector, whose highlighter can be toggled on and off in a couple of different places:

That purple dot allows us to change the color of the highlighter–and highlighting the container in the example gives us a dotted area like so:

The highlighter alters as we change the flexbox property values in the inspector, helping us visualize what flexbox is actually doing.
CSS Grid Inspector
Firefox also has a brilliant inspector for CSS Grid–something you might have realised if you’ve inspected any layout which used Grid:

You’ll see that the inspector flags any elements which use either flexbox or Grid. Take a look at this pen to see it in action.
Again, in the rules section, you’ll see a grid icon next to elements which use Grid. Click that, and you’ll turn on the highlighter, showing the rows and columns, the grid gap, and the line numbers. Use the rules panel to control all aspects of Grid and see your changes emphasized by the highlighter.

Accessibility Inspector
The next inspector offered by Firefox is the accessibility inspector. Chrome also has accessibility inspection features, though those from Firefox differ slightly. Turn them on by visiting the Accessibility tab in the inspector–Mozilla recommend you turn them off again once you’re done using them as they can affect performance.

Once turned on, this inspector allows you to drill down into the accessibility of your page’s elements, making sure the markup is correct and the appropriate properties have been set.
You’ll also see a little element picker to the left of the tab names–click this and hover over any of the elements on the page to reveal an accessibility tooltip:


2. Developer Tools
Moving on from inspectors, let’s now look at some of the actual tools on offer.
Shape Editing Tool
This tool is awesome. If you have a clip-path mask over an image, for example, you can edit the polygon values directly with your mouse cursor. Drag the nodes to change the shape, double-click a path to add a new point, or double-click on an existing node to remove it.

This tool can also be used with the shape-outside property, allowing you to edit the polygon margin around the original shape.
CSS Filters Editor
Next up, the CSS Filters editor! As with all the tools available, hit the icon next to the property in question to trigger the editor/inspector. In this case, the filter editor allows you to manipulate CSS filters, add more, remove filters you don’t need, and store presets for when you might need them again.

Image Viewer
Another feature which I haven’t seen in other browsers’ developer tools is the image viewer. Hover over any image URL in the CSS inspector and you’ll be shown a handy thumbnail. Click on it and you’ll be taken to a new window with the image in it.

CSS Transform Visualizer
Being able to visualize CSS Transforms makes crafting them so much easier than coding them. By hovering over a rotate() transform, for example, Firefox will show you the original starting position of the element, along with the new position.

Positioning Handles
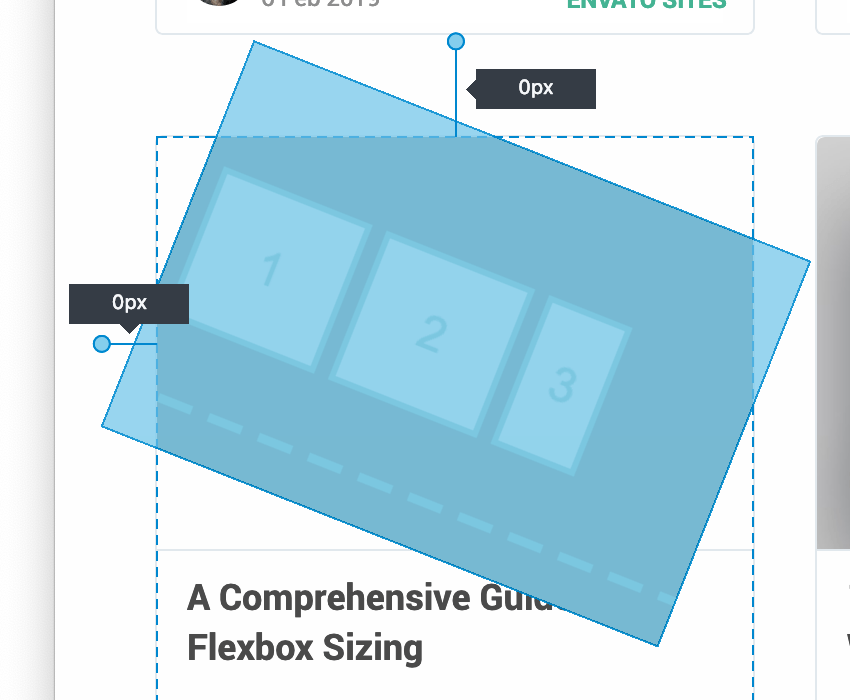
This is a lovely little bonus tool. When an element is absolutely positioned, click the absolute icon in the Box Model panel to reveal handles showing the element’s position. Click and drag those handles to move the element to the exact position you need–brilliant! The same applies to relatively positioned elements.
3. Handy Helpers
To wrap up, I’d like to show you some handy little helpers which the Firefox browser offers.
In-built Eyedropper
Click this icon in the inspection panel to bring up a neat color picker–click anywhere on the screen to add a color to your clipboard.

Screenshot Tool
The screenshot tool is not something you’ll see by default, so you might need to turn it on in the settings (Take a screenshot of the entire page). You can also opt to play the shutter sound effect when used. Once available, you’ll see an icon appear, which will screenshot the whole browser page and download it to your downloads folder, and add it to your clipboard if you’ve checked that box too (super handy!)

More Toolbox Buttons
Two more icons you can add alongside the screenshot button are:
These two handy extras are really useful if you’re a pixel-perfectionist!
Conclusion
That covers some of Firefox’s most useful developer tools for web design, in particular the inspectors for flexbox, grid, and variable fonts. The Firefox dev team is working on new features all the time–if you’d like to keep up with what they’re doing you can follow them on Twitter for regular updates, or join in with the discussion in the Discourse community.
