
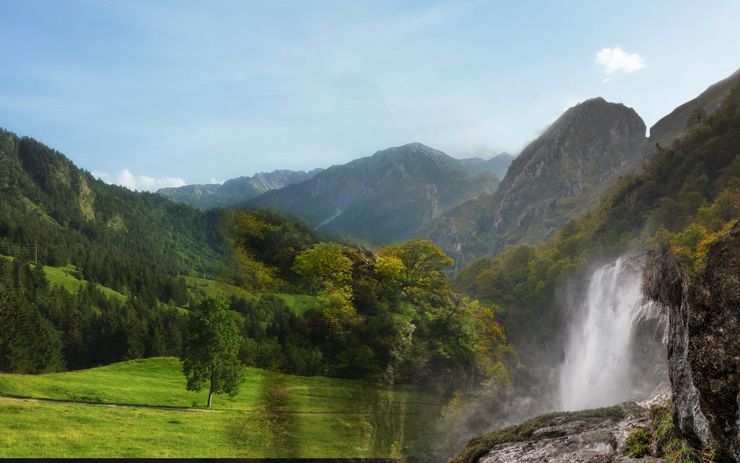
Learn how to create a surreal scene of waterfall mountains in Photoshop. In this tutorial I’ll show how you can merge different stock images to accomplish a surreal and fantastic scene of waterfall mountains. You’ll learn how you can create amazing lights effects, blending mountains stocks into a cohesive scene, enhancing light effects and creating a magnificent natural environment of waterfalls. I’ll also give you some quick tip for blending mountains stocks, so what are you waiting for ? Just click on read more button and then captive yourself into the beauty of waterfall mountains.
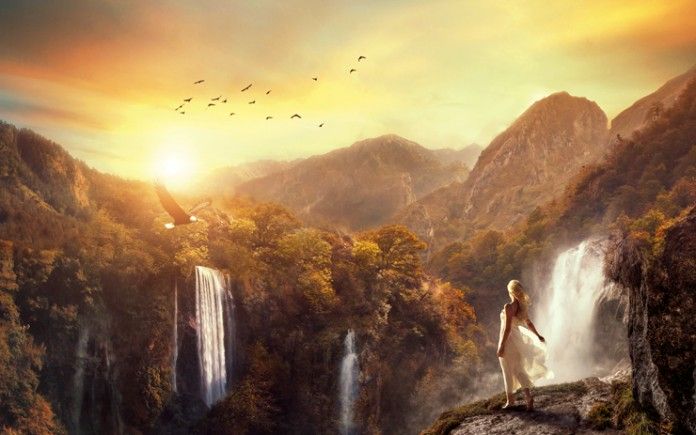
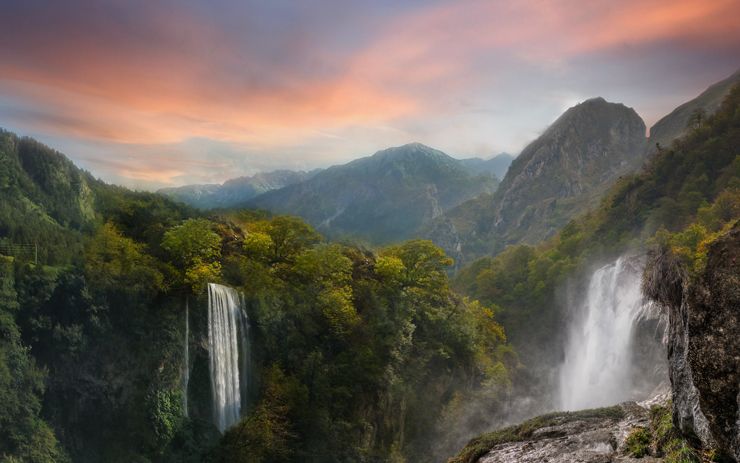
What you’ll be creating
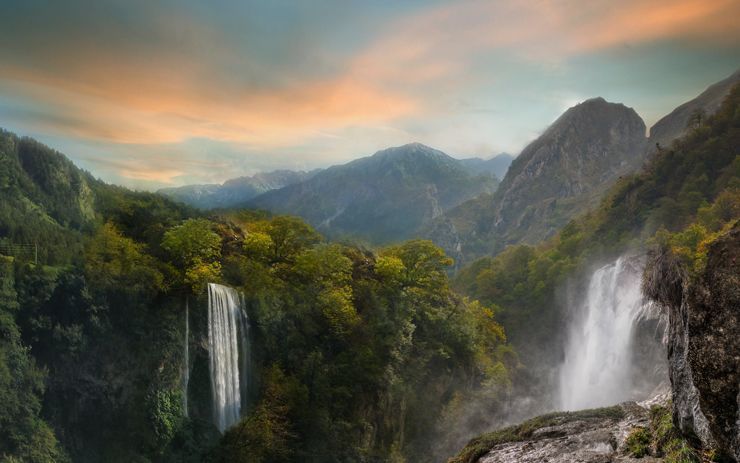
We’ll begin with setting up our basic ambient that includes mountains, waterfalls and sky. Then we’ll select each image to adjust them using adjustment layers. We’ll also add some more stocks such as waterfalls, eagle to the scene using blending techniques. After that we’ll blend model to the scene by creating shadows and using adjustment layers. At the end we’ll create light effects and then finally we’ll finish it up using Final Adjustments layers. Note : that I am using Adobe Photoshop CC 2014 for this tutorial but you can follow it using Photoshop CS3 or newer.
Tutorial Resources
Step 1
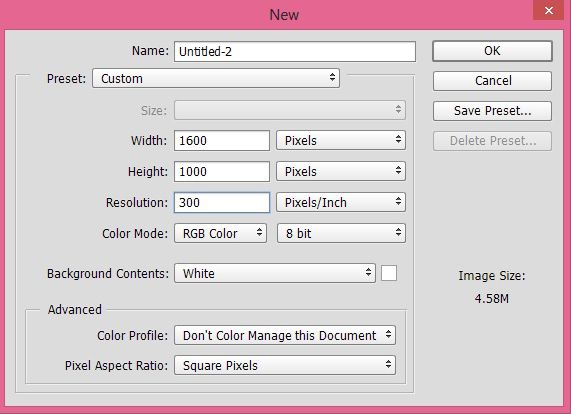
Start by creating a new document by selecting File > New and then set the setting as shown in the image below or feel free to choose your own setting.
Step 2
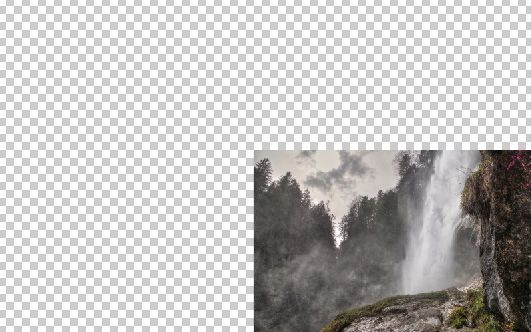
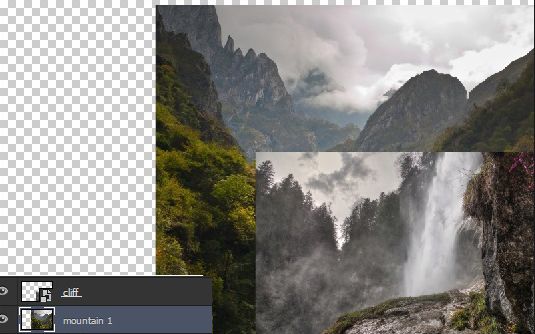
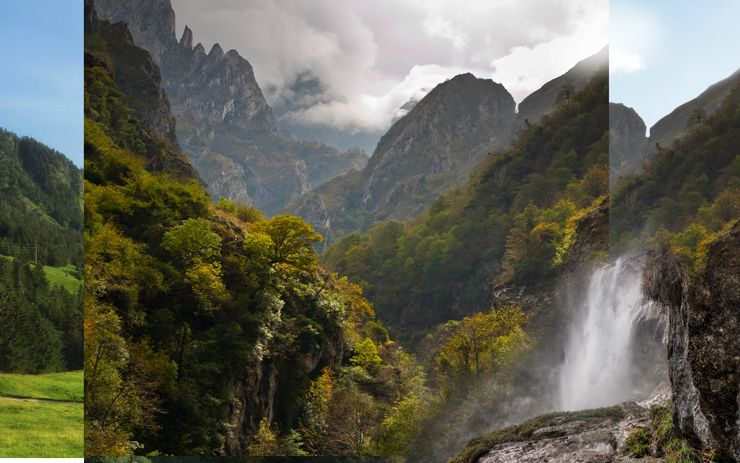
Place the cliff image to the main document by selecting File > Place Embedded or Place. Then place it to the right side of document.
Step 3
Now place the mountain 1 image under the cliff layer.
Step 4
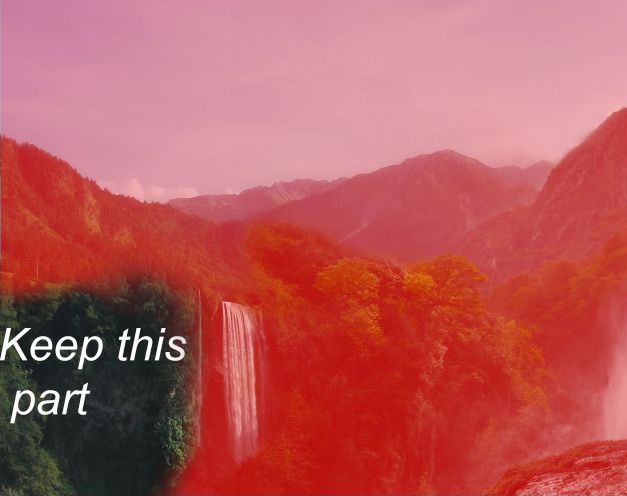
Add a layer mask to cliff layer ( to add layer mask, select Layer > Layer Mask > Reveall All). Activate the Brush tool (B) and set it’s opacity about 30%. Then using a soft round black brush hide the highlighted red parts of cliff image to blend it with mountain 1 layer.
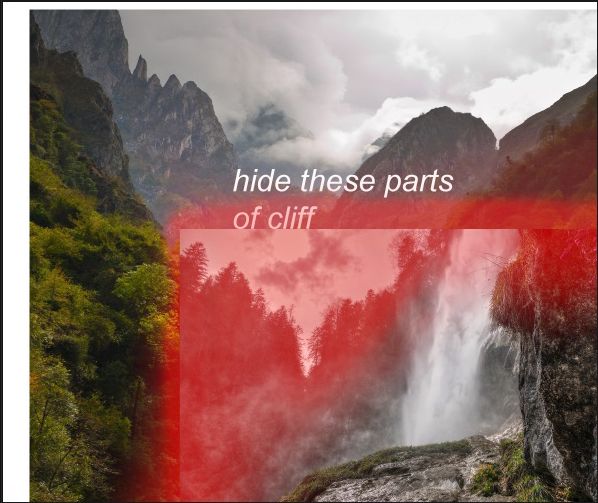
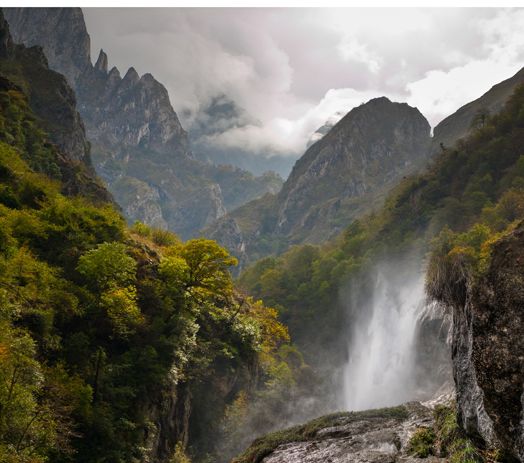
Here are the results.
Step 5
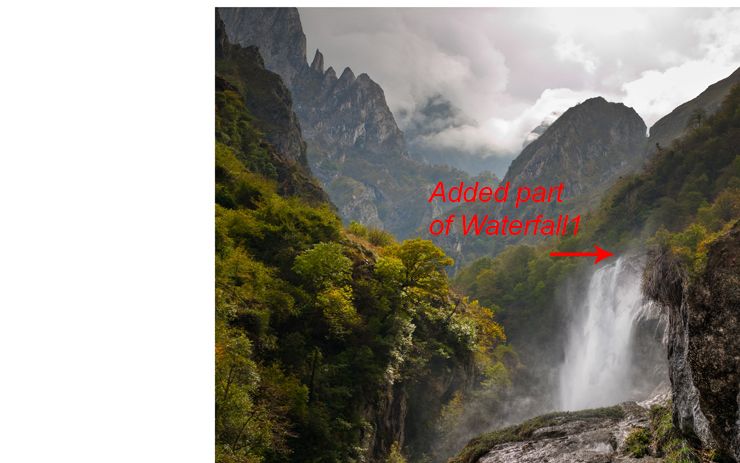
You may notice that the platform for waterfall in cliff layer also hided while masking. So we need new platform for waterfall so it’s look like it is falling from the cliff. To achieve this, place the waterfall 1 image under the cliff layer as shown in the image below. The best part of this image is that it has same falling waterfall as we’ve have in cliff image and you can also use it to blend it with cliff waterfall.
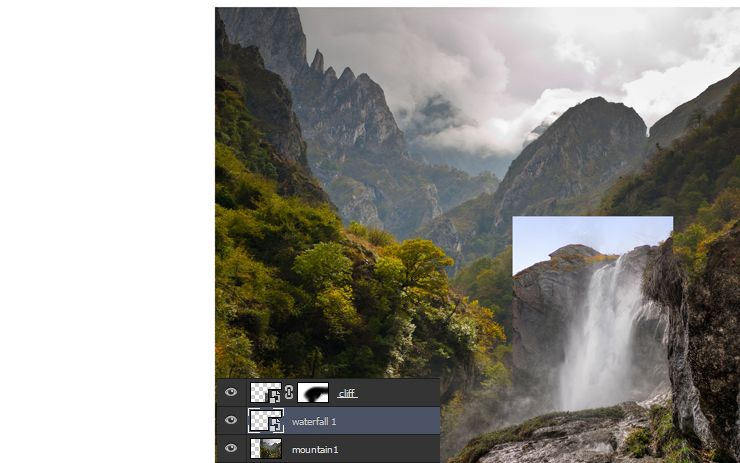
Add layer mask to it and then hide all the parts of waterfall 1 layer except it’s top part (peak) using same brush setting in previous step. Here are the results with added part of waterfall 1 image.
Step 6
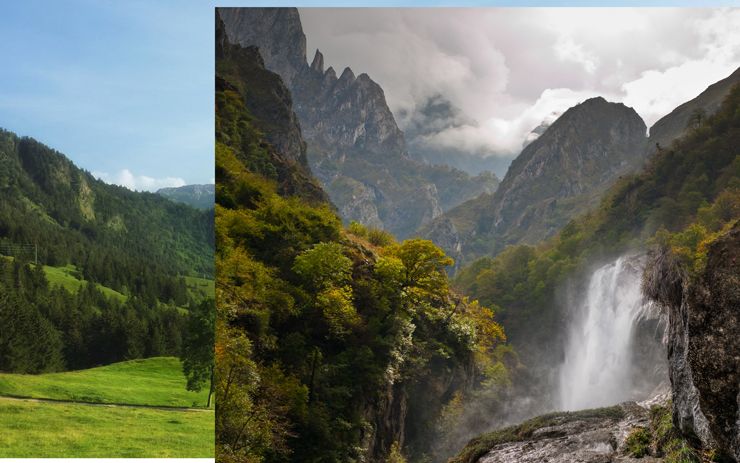
You may also notice that left part of document is still empty. So let’s add some more stock to the document. Add the mountain 2 image below the mountain 1 layer. I am hiding the visibility for the rest of the layers so you can clearly see how I placed the mountain 2 image.
Here are results with all layers.
Step 7
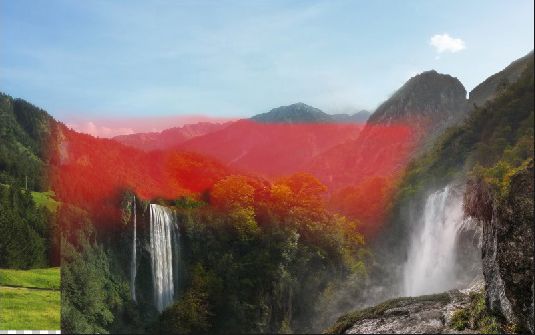
Add a layer mask to mountain 1 layer and using a soft round black brush hide the highlighted red parts of mountain 1.
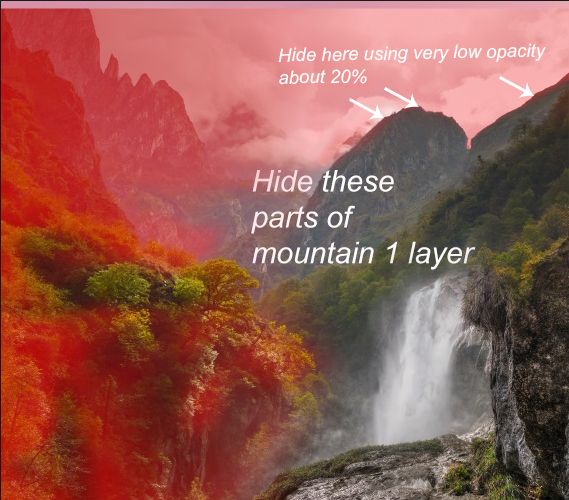
Here are the results. Don’t worry about the rough masking, we’ll blend them in next couples of step. I am leaving some parts because we’ll fill up all the parts using waterfall stocks. If you don’t want to leave them then mask it as well and further you can use the mountain 1 layer below parts when you feel that I need some more parts of mountain 1 layer.
Step 8
Add the waterfall 2 image below the mountain 1 layer but above the mountain 2. Resize it using transform tool (CTRL + T), so we get the waterfall. You may also notice I am placing it below the mountain 1 layer so I can cover rough masking parts of mountain 1 layer. Since the both images parts matches with each other therefore we are free to add any parts either of waterfall or mountain 1 layer. That we’ll make the blending easier.
Add layer mask to the mountain 2 layer. Using a soft round black brush hide the highlighted part of waterfall 2 image to blend it properly.
Here are the results
Step 9
I need some more parts of mountain 1 layer over the waterfall 2 layer to cover it up. To do this, duplicate the mountain 1 layer by pressing (CTRL + J) on keyboard. Move it little bit to left as shown in the image below.
Hide all the parts of mountain 1 layer using layer mask but keep some parts above the waterfall 2. Here you can see that how I covered it over the waterfall 2 layer.
Step 10
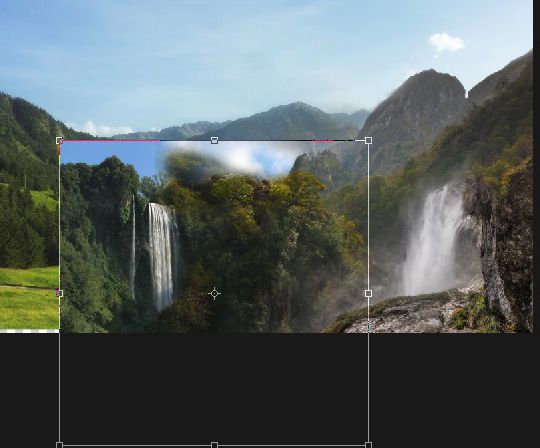
As you can see in the previous step I’ve kept some parts of waterfall 2 (hard edges) and to blend it we’ll use the same waterfall 2 image. So place the waterfall 2 image again (above waterfall 2 layer) and this time transform it shown in the image below as we only want the bush parts of this image. Also name it ‘Waterfall 2 again’
Here you can see how I placed it after transforming it.
Hide all the parts of ‘waterfall 2 again’ layer using layer mask but keep the selected parts (see the image below) of ‘waterfall 2 again’ layer to blend it with waterfall 2 layer.
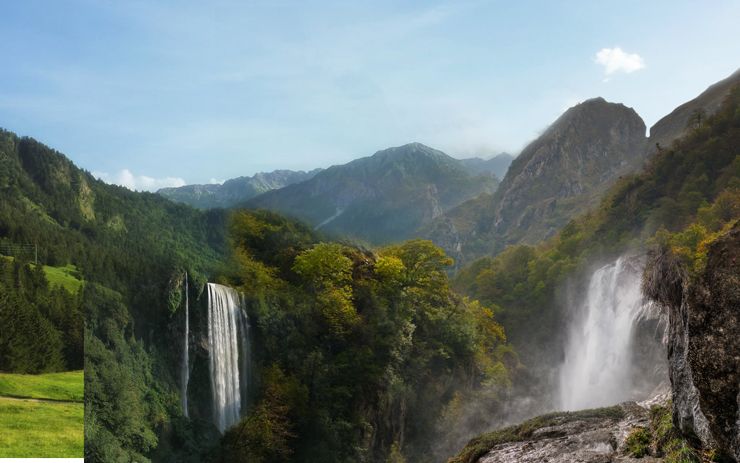
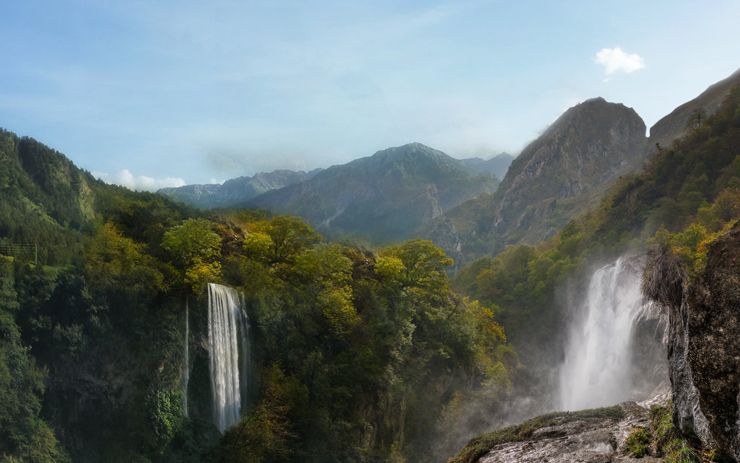
Here are the results after masking. As you can see we’ve very decent blending for all the stock images.
Step 11
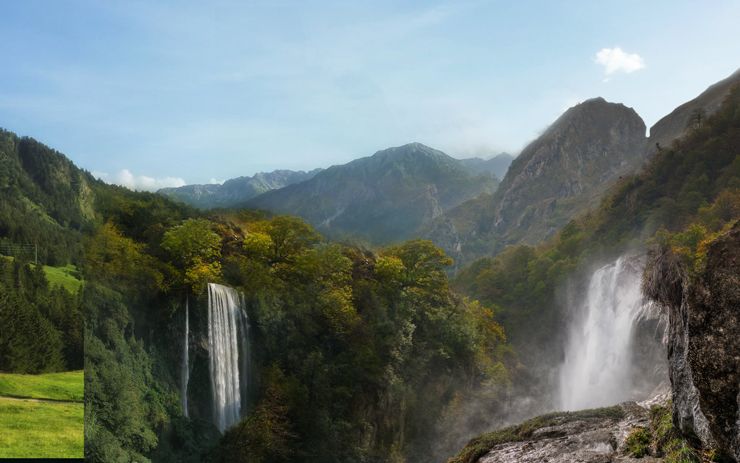
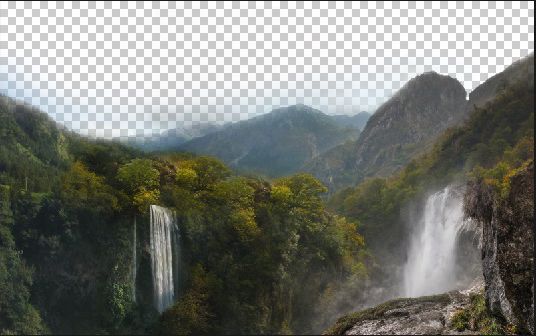
Now let’s add sky to the scene. Select the mountain 2 layer and add a layer mask to it. Hide the selected part of mountain 2 layer using soft round black brush.

As I said earlier in this tutorial that I’ll give you a quick tip to blend mountains image with another image without getting any hard edges. The trick you’ve already learned in this tutorial (when masking mountain 1 layer) but did you notice that I’ve also hided the edges of mountain 2 layer using very low opacity for brush about 10% to 20%. So I can the blend the mountain 2 image with sky without getting any hard edges otherwise edges of mountain will look sharp and everyone don’t want that. Same thing I’ve done with mountain 1 layer. If you are not good in masking then you can also use the Blur tool to soften the edges. With this technique you can blend any mountain image with another image or with sky image like I am doing it.
Step 12
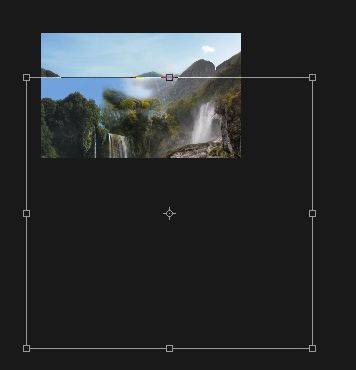
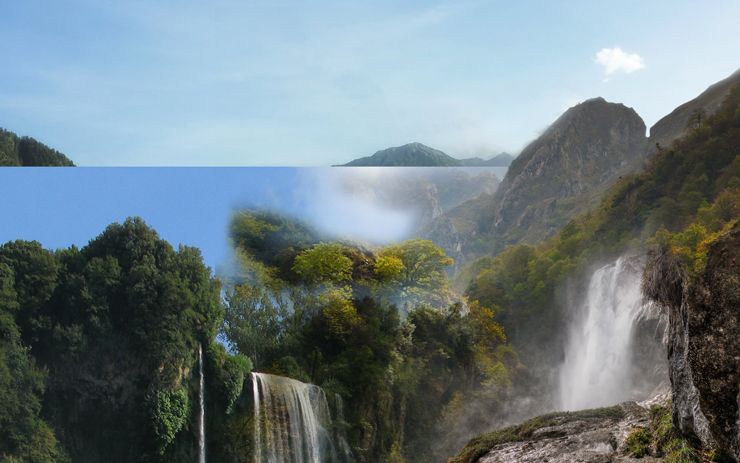
We’ve masked the sky parts of mountain 2 layer and now let’s add the sky image to the main document. Add the sky image under the mountain layer and let’s see we are getting any hard edges of mountains.
As you can see that the edges of both mountains properly blended with sky image using simple quick tip.
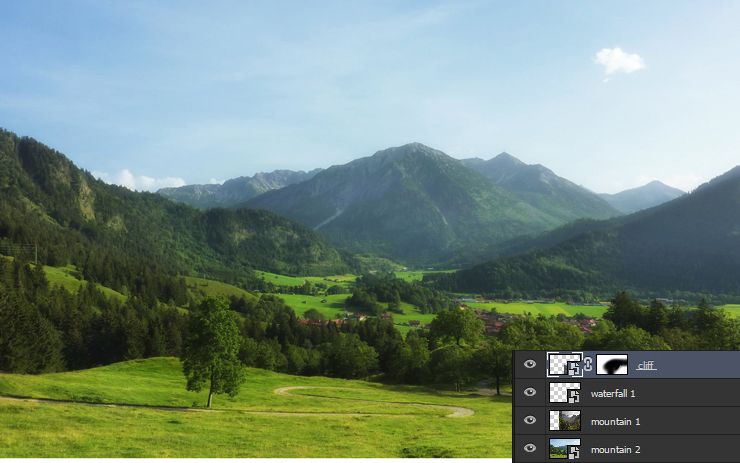
Let’s take a look at my layer panel so you can see how my layer panel is arranged with all the layers.

Step 13
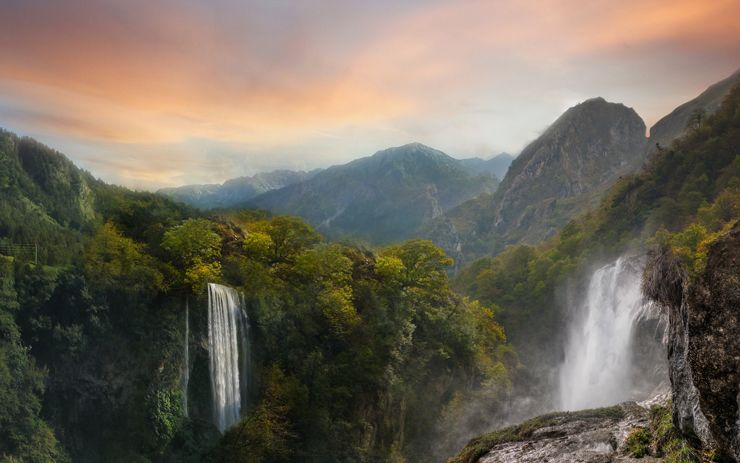
We’ve our basic ambient ready and it’s time for coloring using adjustment layers. Let’s start with the bottom layer sky. Add a Curves adjustment layer (Layer > New Adjustments Layer> Curves) to the sky.
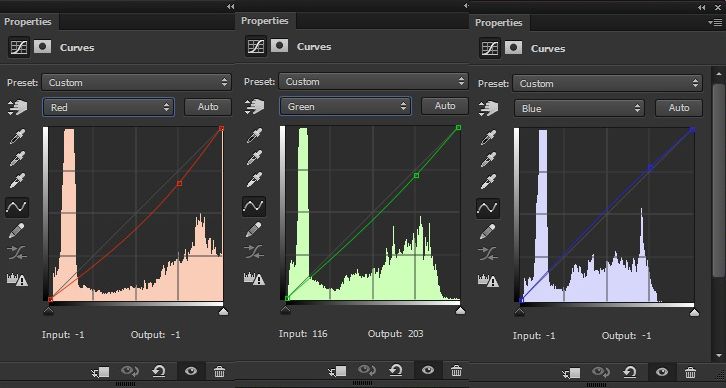
Here are the results with added cyan, green and blue tones.
Step 14
Make a Color Balance adjustment layer to sky and only change the midtones values. Here are the setting.
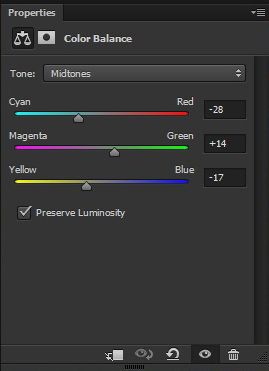
Here are the results.