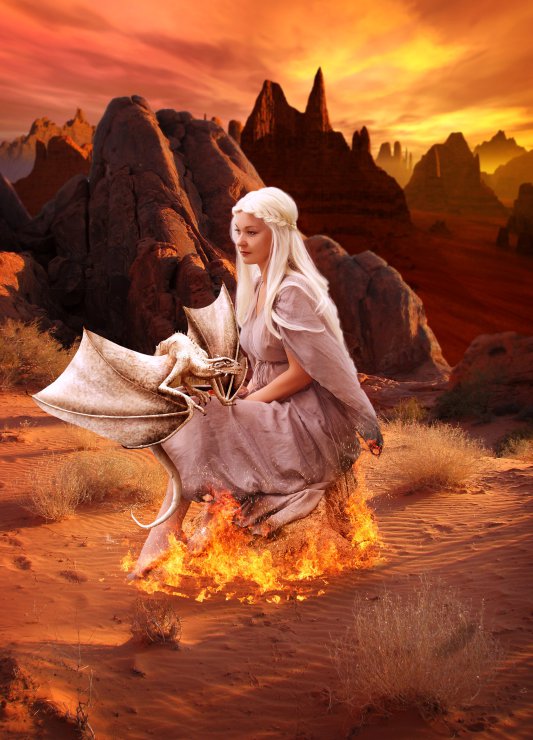
Lately Game of Thrones season 6 has been aired! One of the most famous characters in it is Daenerys Stormborn. So let’s do an fanart for her! I loved her baby dragons. So I dediced to do an artwork of her with one of her baby dragons.
You will learn how to use fire and a lot about blending methods. Also you will train your painting skills by painting burning clothes and hair!
Final Results
Tutorial Resources
Step 1
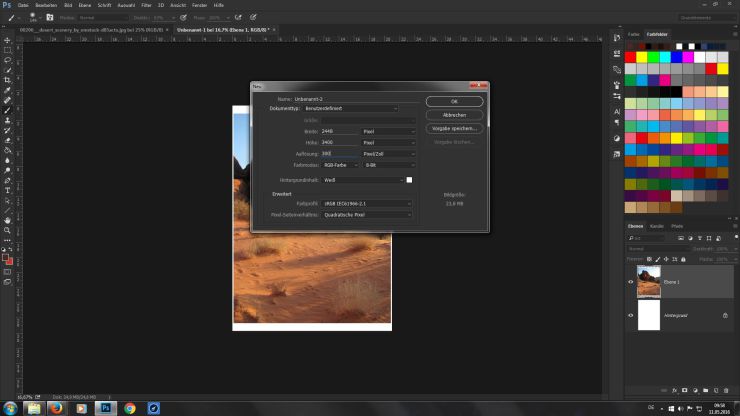
Open up a new file 2248 x 3400 px in 300 dpi.
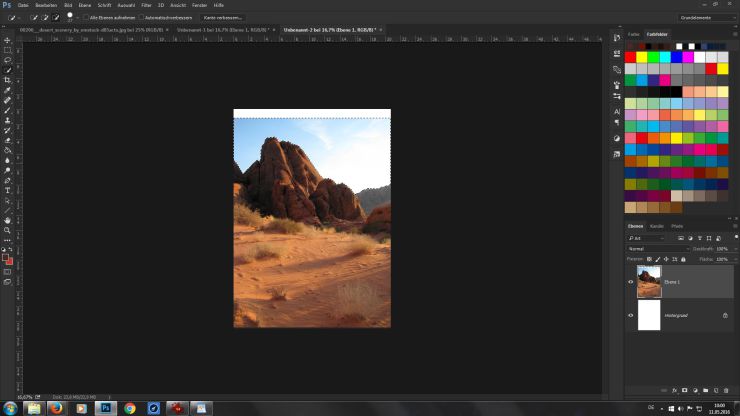
Make a new group called “Background”, give it a color and copy the desert scenery stock inside and put it at the bottom of your workspace on a new layer called “desert”.
Step 2
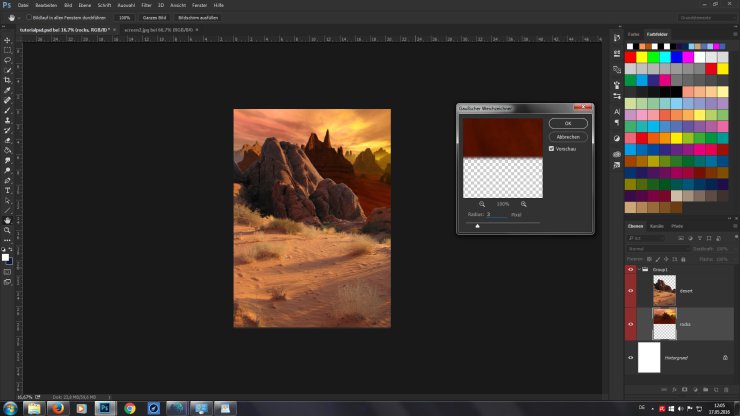
Select the heaven with the quick selection tool and cut it out with ctrl + x. Now open the rocky landscape image and place it on a layer under the “desert” layer. Put it behind the desert rocks and throw it bigger. As we will blur it out in the next steps it’s not necessary that it is very clear. Name it “rocks”.
Now use the Gaussian Blure filter on the “rocks” layer with 3 pixel to generate a depth effect.Turn the “desert” layer into a Smart Object by clicking right on the layer and choose “convert into Smart Object”. Also use the Gaussian Blur filter for our “desert” layer with 4 px. Invert the Smart Object Mask by clicking on the mask and than ctrl + i. Now paint the filter with a big soft white brush (500px, 50 % opacity) at the edges of the desert rocks to get a smooth gradient from background to foreground.
Step 3
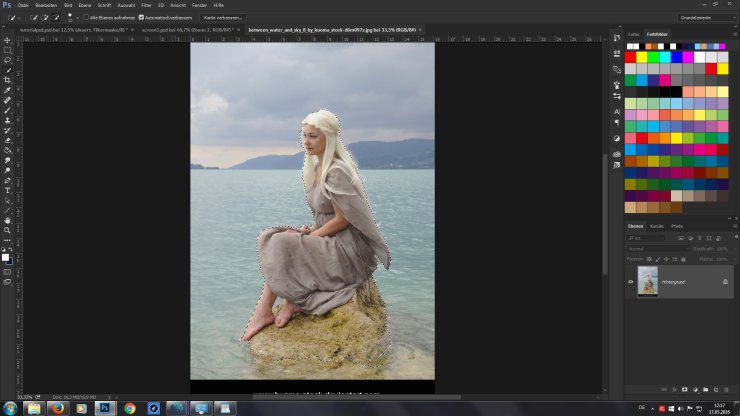
Open the model stock image and select her and parts of the rock with the quick selection tool. You don’t have to be too careful with her hair, because later we will paint some strains in. Cut her out with crtl+x and close the image. Now make a new Group, call it “Model” and give it a color. Now make a new layer (“model”) and put in the cut out model. With crtl + t (free transform) put her right in the center of the image. Now give the layer a Mask. And with a big soft round brush and black color (500 px, 30% opacity) paint over the eges of the stone and let it “sink into the sand”. Than with the pipett tool take a sand color, make a new layer and set it to clipping mask, than overpaint the stone with the sandy color in “color mode”. Dublicate the layer and set the mode to “Soft light” at about 24% to give it more light. Above that layers make a new adjustment layer as clipping mask and choose curves. Throwing the line a little bit down will make the stone darker. On the layer mask remove the curve effect from her by painting with black color above her.
Step 4
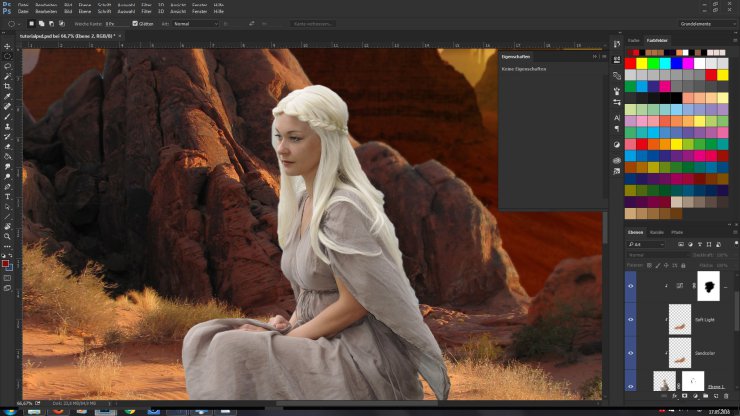
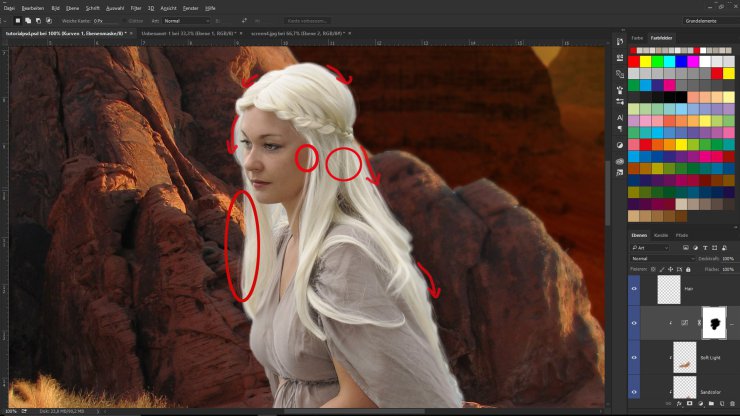
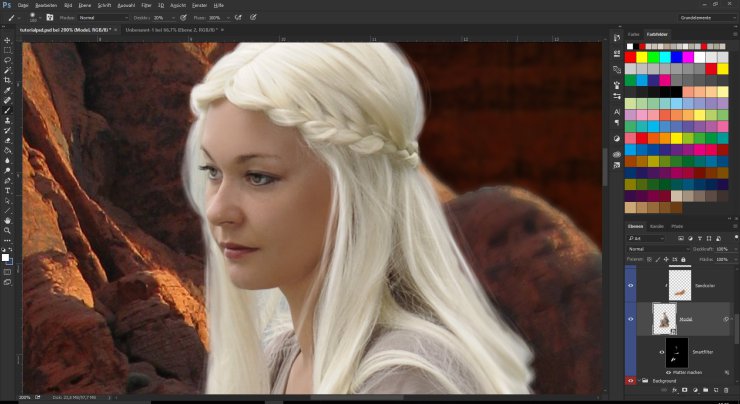
Now we correct little things like giving the hair a smooth shape and bluring the edges to melt the stock with our background by using the blur tool. After that it’s time for painting the hair in. I recommend a graphic tablet for that, but if you are very good with the mouse it should not be a problem. For hair I always use http://www.deviantart.com/art/Hair-brush-set-145384302. Zoom close into the image crtl+ and make a new layer called “hair”. Use the Hair 5 brush with about 20% opacity and a small size of about 15 px. Now hold alt and take a hair color right at the edge. With that paint some strands in following the hair structure. Building your hair you always has to take colors from the hair and switch from darker to lighter. Using pure white you can paint in some highlights. You can paint those highlights also in her hair to give it more complexity. With a small brush and more opacity (4 px, 40%) you can paint some single hairs so it do not look so straight.

Step 5
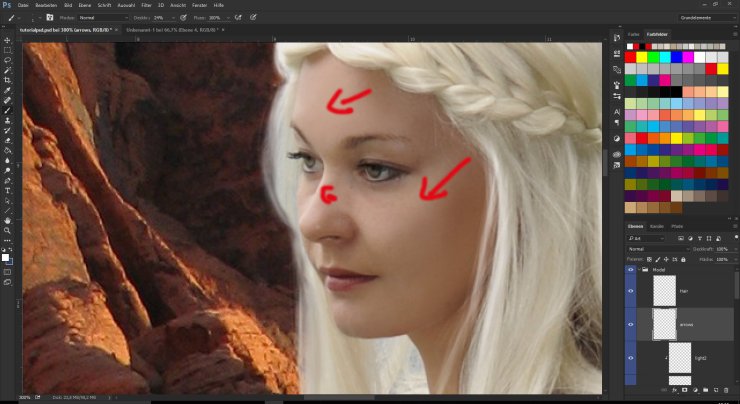
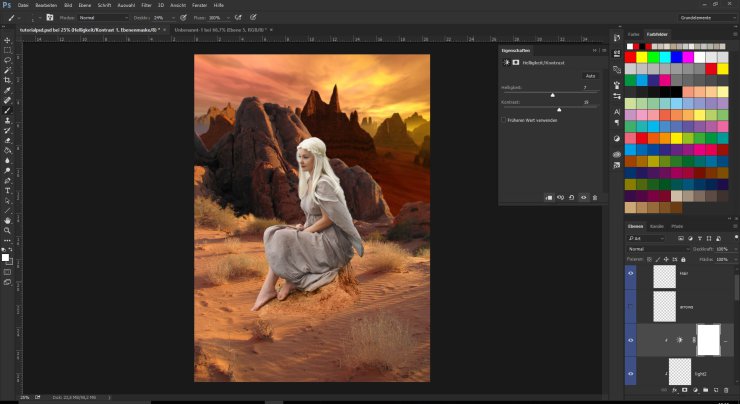
Let’s give her skin a smooth and painted like touch. For that covert the Model layer into a Smart Object (That will apply the mask to the model so you should be happy with the rock). With that use the Surface Blur filter with 15 px and 15 steps. It will look odd, but when we painted it only at the skin it will look good. Invert the Smartfiltermask and with a soft white brush paint in the effect (20 % opacity) only to her skin. On top of the layers (over the curve layer) make a new layer called “light”. Paint with a soft white brush and 20 % opacity some white light on her cheeks, nose and flat. Set it to “soft light” and set the layer opacity to about 65 % depending on how much you want the effect in. On a second light layer empazise the tip of her nose and some light parts with white soft brush in overlay mode and 20 % opacity.
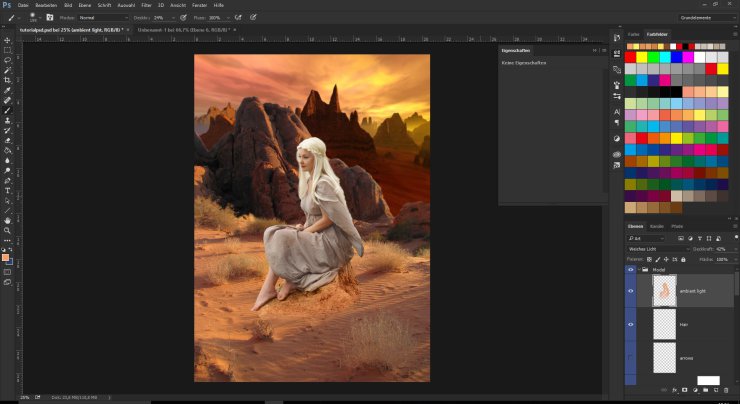
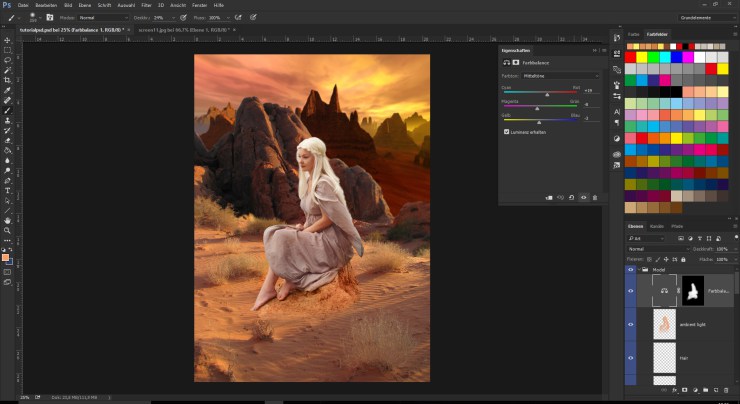
Step 6
10. On top of the cliping mask layers set a adjustment layer with bright/contrast (7/19). Also we need to fit her more to the color tone of the desert. For that we make a new layer over the hair layer and set it to softlight, 42%. Use the pinsel and with alt use some sky colors to paint over hair. Empazise her egdes and see that her back has to be more lightful, because the sun comes from behind. Now make a new ajustment layer, color balance and invert it mask to paint it’s effect on our model with white on the black mask. The last light step is giving her a shadow. As you can see in our desert stock, the shadows fall long over the sand from right to left. So take with pinsel and alt a shadow color from the sand and paint with a middle soft brush from our model on the stone to the left image edge. Experiment with the layer opacity until it looks like the other shadows. Now dublicate the layer set it on soft mode and lower the opacity until you have a good result.
Step 7
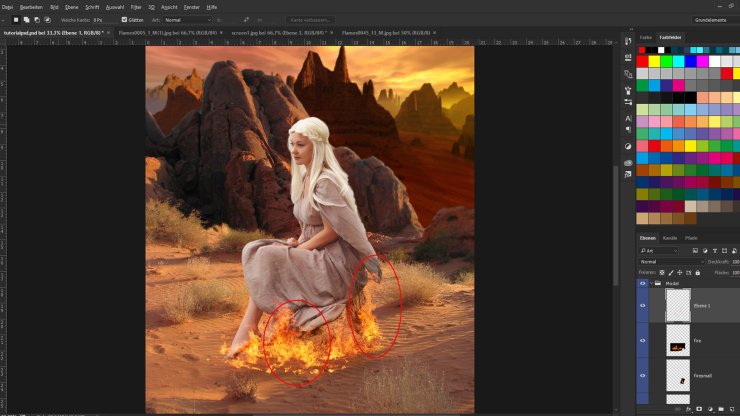
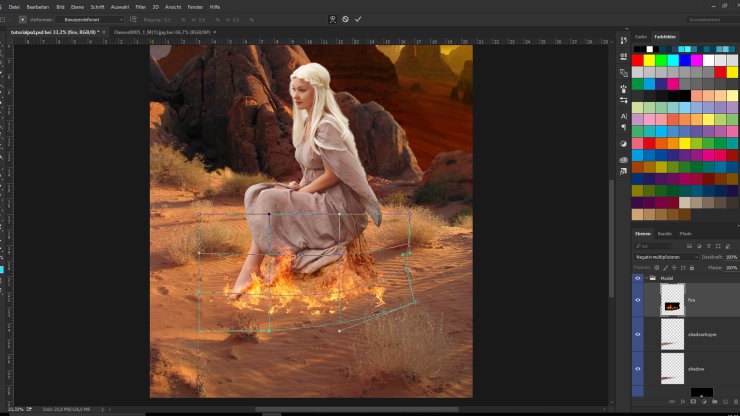
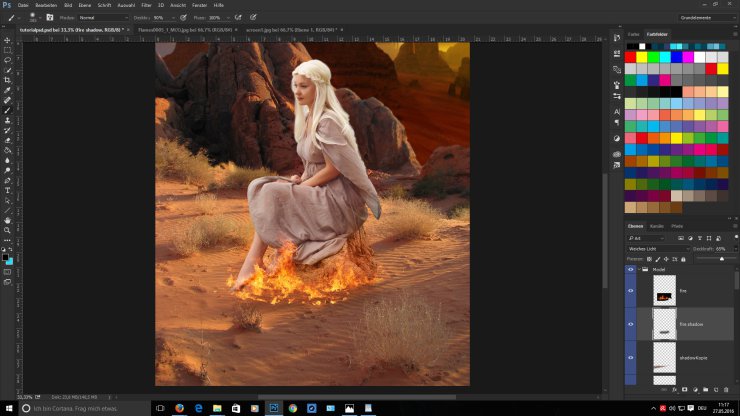
Fire!
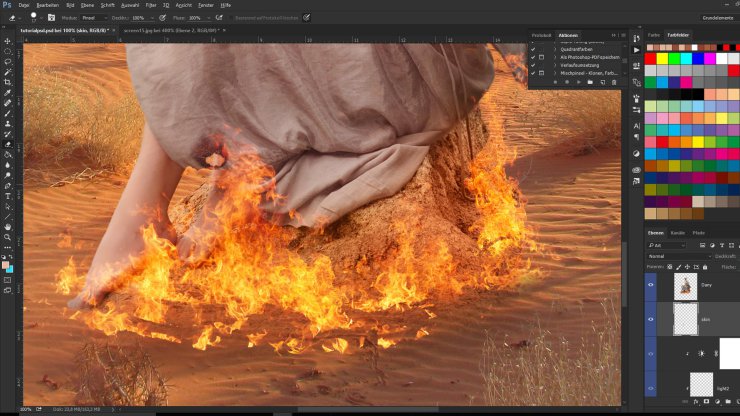
Make a new layer and open Flames0005 from CGtextures. Place the image with Crtl + T around Dany and the rock than set the layer mode to screen. With free transforming and wrap turn the fire around the stone. Delet some of the right fire part, which just looks unreal with a small soft eraser. Now we build up some more fire on two layers under the big fire layer by using Flame0045 and Flame0016.Than make a new layer under the fire layer and with a big soft brush (385 px, 90% opacity) and black paint a “shadow” under the fire and set it to soft light. Play with the layer opacity until the fire really pops out of the image but looks realistic .
Step 8
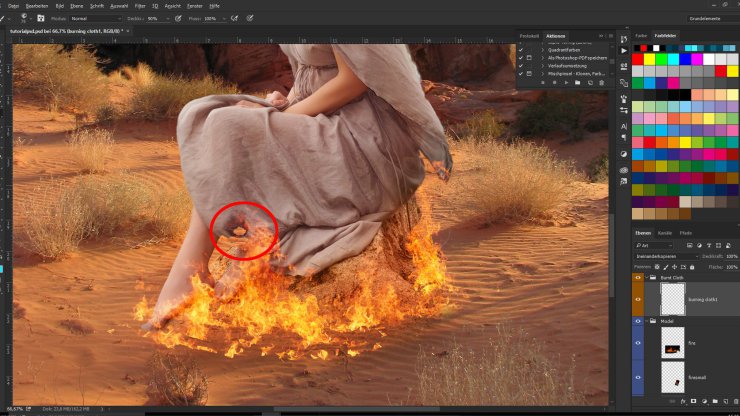
Make a new group called “Burnt Cloth” and make a new layer. Now load the burnt paper brushes. Now go back to our model select all clipmask layers and with holding alt press Crtl + E. That will give us a summarized Dany layer without destroying the others. So you can already working on it, if you need to correct things. But for now make the layers under Dany invisible. Now on the new layer in the “Burnt Cloth” group take brush 78 of the burnt papers and paint it with 100% opacity and black color at the bottom of her skirt. With crtl + T you can set it on the place you want it. Set the layer mode to screen. Now select the ‘hole’ the burnt paper is making and cut it out on Dany’s layer by crtl + X. A little problem is that now you can see her leg behind the holes of the burnt cloth. So take a soft small brush 30 px, 76% hard and 18% obacity and paint some skin by using differnt skin tones of her legs on a layer under the Dany layer. Now go on and paint some more burning cloth around the edges, where the fire touches her dress. When we get on with it and come to the cloth on the stone, we need to do something similar to the step with the skin painting. Painting on the burning effect and erasing the cloth under it we take some of the stone with us.