If you
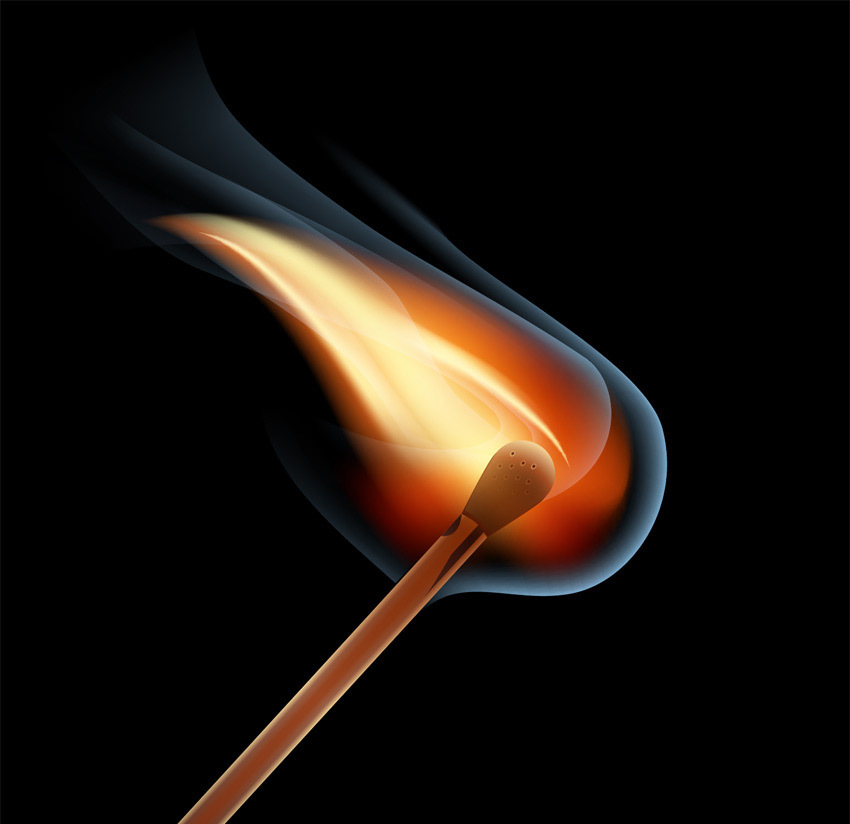
want to create vector flames in Illustrator, in this tutorial I will
show you how to create an illustration of a burning match using a
fire gradient. You’ll learn how to make a realistic match flame
that is also fully scalable.
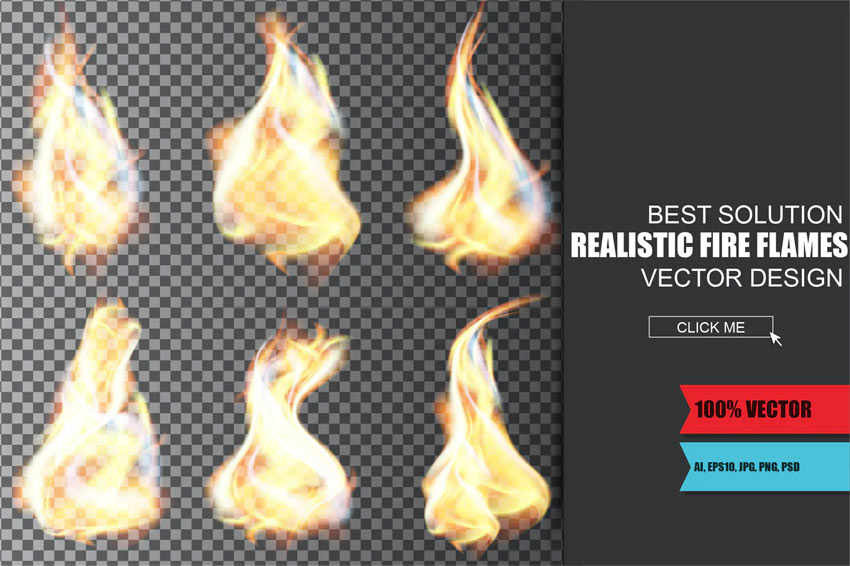
And if you need some vector flames, but you want to save time, you can always download these realistic vector fire graphics from Envato Elements:
What You’ll Learn in This Vector Flames Illustrator Tutorial
- How to create a burning match in Illustrator
- How to create a vector fire graphic
- How to create a fire gradient mesh
- How to create vector flames in Illustrator
Follow along with us over on our Envato Tuts+ YouTube channel:
1. How to Create a Vector Matchstick
Step 1
Create a new document in the RGB color mode. Take the Rectangle Tool (M) and create a black rectangle. This will be our background. Lock this layer.

Step 2
Create a New Layer. Take the Rectangle Tool (M) again and draw a rectangle in the shape of a matchstick. Now fill it with a linear gradient of various shades of brown to convey the light distribution at the edges of the match. Here are the shades I used:
#482217#efd195#994521


Step 3
Copy this rectangle and paste it in front with Control-F. Now slightly reduce the height of the rectangle and fill it with a new linear gradient. The shades of brown on this rectangle should be darker than the ones on the bottom rectangle. Here are the values I used:
#310901#996148#782803


Step 4
Select both rectangles and go to Object > Blend > Make. Then go to Object > Blend > Blend Options and set the Spacing to Specified Steps, 50.


Step 5
Create another rectangle of the same width as the previous one. Add a Gradient Fill as shown here. The values I used are:
#340900#984420#792702


Step 6
Set the Opacity to 0%.

Step 7
Copy the rectangle and paste it in front (Control-F). Then resize it to make it very thin, and set its Opacity back to 100%.

Step 8
Select the last two rectangles and go to Object > Blend > Make.

2. How to Create a Vector Match Head
Step 1
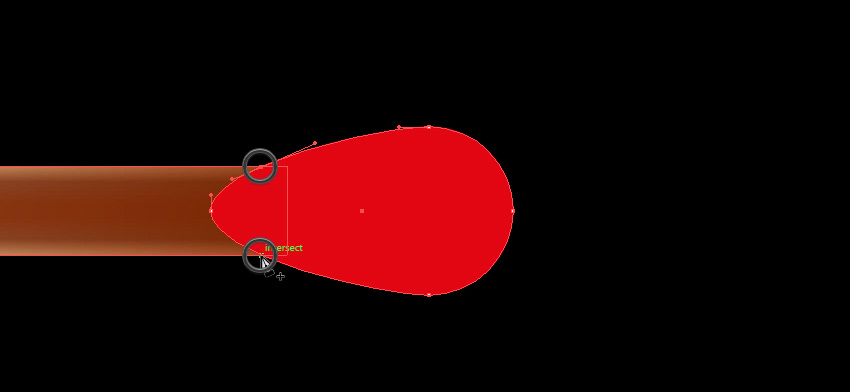
Take the Ellipse Tool (L) and create a red circle (#e20612) aligned to the horizontal axis of the matchstick.

Step 2
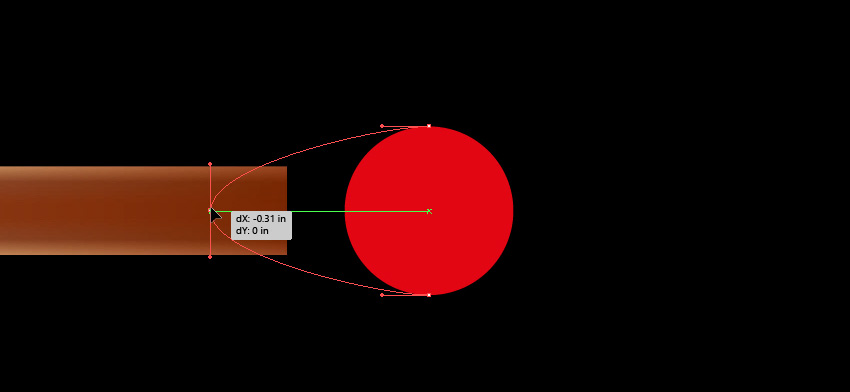
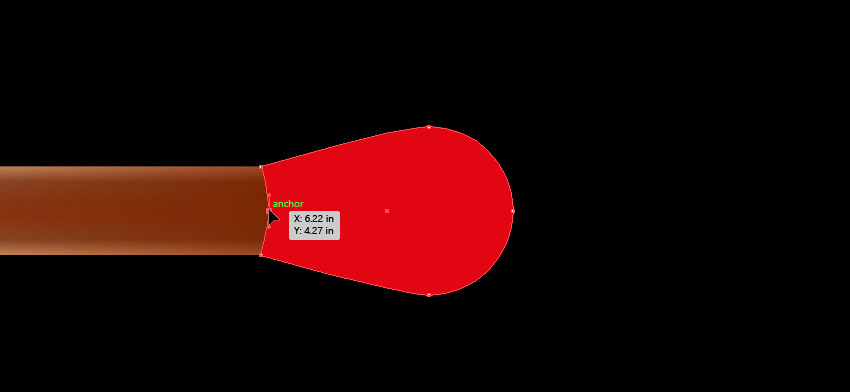
Take the Direct Selection Tool (A) and double-click the point on the left. Hold Shift an drag it to the left. Then take the Pen Tool (P) and add a new anchor point at each intersection of the head and the matchstick.
Step 3
Hold Alt and click both new anchor points to cut their handles. Then take the Direct Selection Tool (A) and drag the point between them towards the head.
Step 4
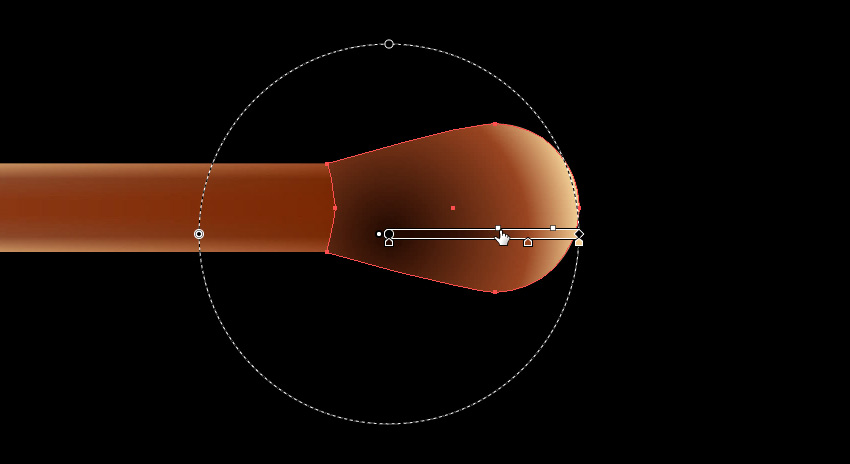
Fill the match head with a radial gradient that goes from dark brown to its light shades. Here are the shades I used:
#210900#994521#f1ce94

Step 5
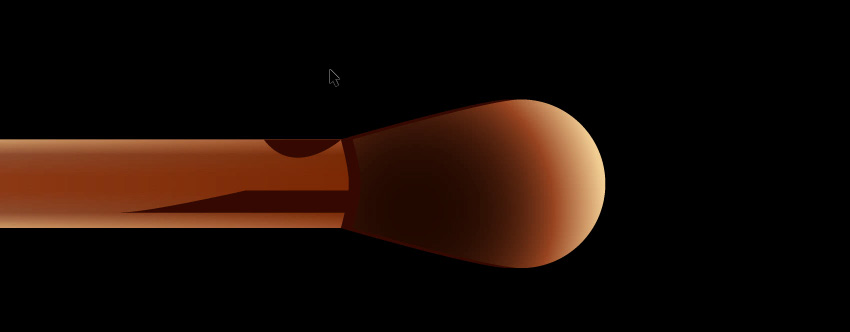
Copy and paste the shape of the head to the back with Control-B. Fill the copy with a solid dark-brown color (#340900) and shift it slightly to the left.

Step 6
Take the Pen Tool (P) and create a place where the wood is burnt. Fill these areas with a linear gradient composed of dark shades of brown color. Here are my shades:
#492117#240700
Move these two objects below the match head layers.
Step 7
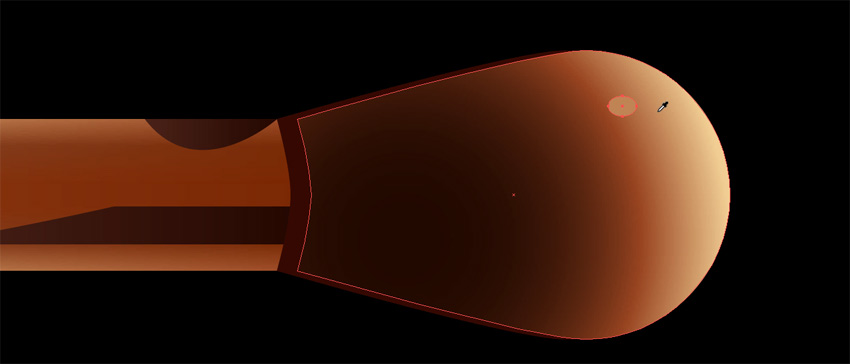
Time to create pores on the match head. Take the Ellipse Tool (L) and draw an ellipse. Take the Eyedropper Tool (I) and hold Shift to pick the color from the area to the right.
Step 8
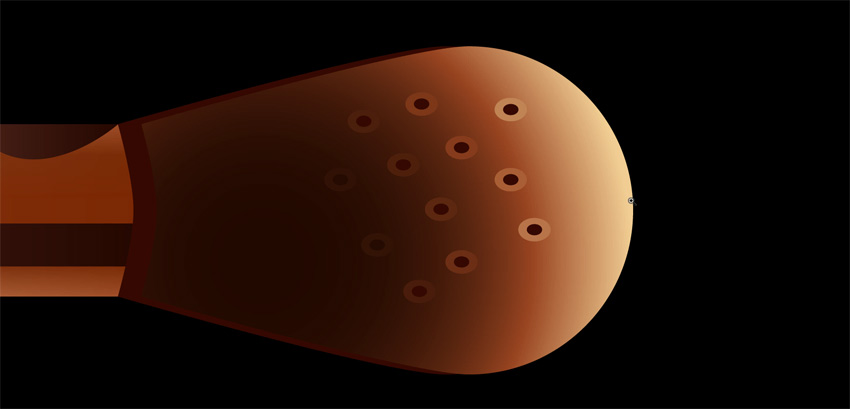
Copy and paste the ellipse in front (Control-F), reduce its size, and fill it with a solid dark brown (the same as the shadow under the match head).

Step 9
Use this technique to create more pores on the match head.
3. How to Create a Vector Match Flame
Step 1
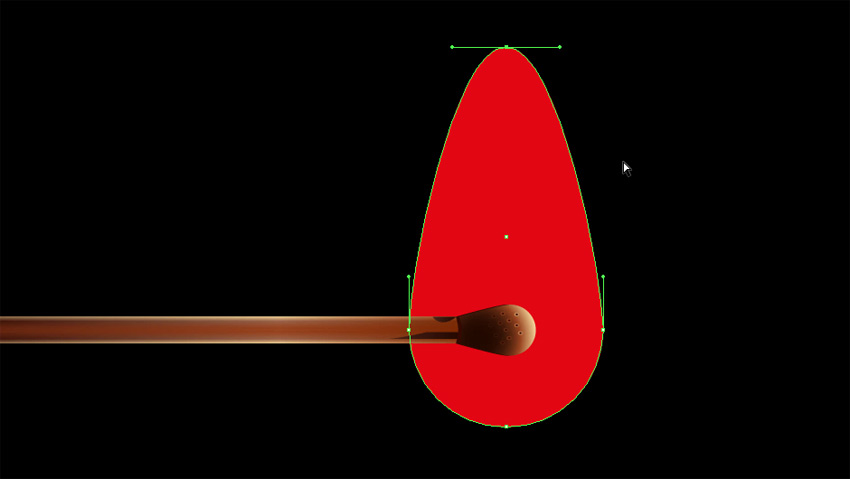
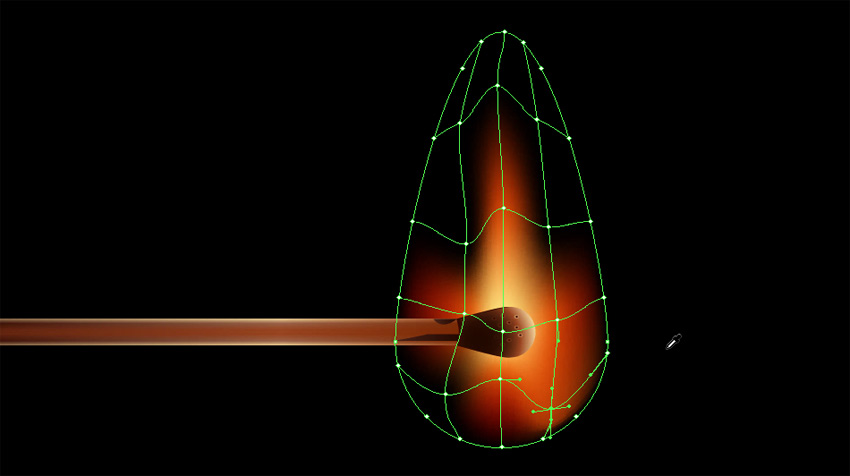
Now I’ll show you how to create the match flame. Lock this layer and create a new one. Drag it under the previous layer. Take the Ellipse Tool (L) and draw a big red circle (#e20612). Using the Direct Selection Tool (A), pull the top anchor point up.
Step 2
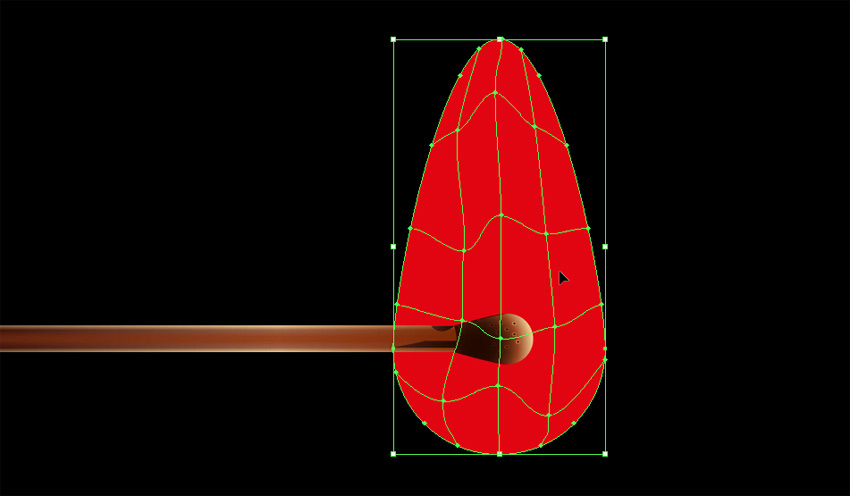
Select the shape of the flame, and go to Object > Create Gradient Mesh. Set the number of rows and columns in the dialog box.

Step 3
Use the Direct Selection Tool (A) to distort the grid a little. Every flame is different, so you don’t have to copy me directly.
Step 4
Select the gradient mesh with the Selection Tool (V) and fill it with black. Set its Blend Mode to Screen.

Step 5
Now you can color the flame. Select the grid nodes and apply yellow and red colors to them. Nodes that lie beyond the borders of the gradient mesh should remain black, otherwise we would get the sharp edges of the flame, which looks wrong.
Here are the colors I used for the flame:
#fff38d#d14507
Step 6
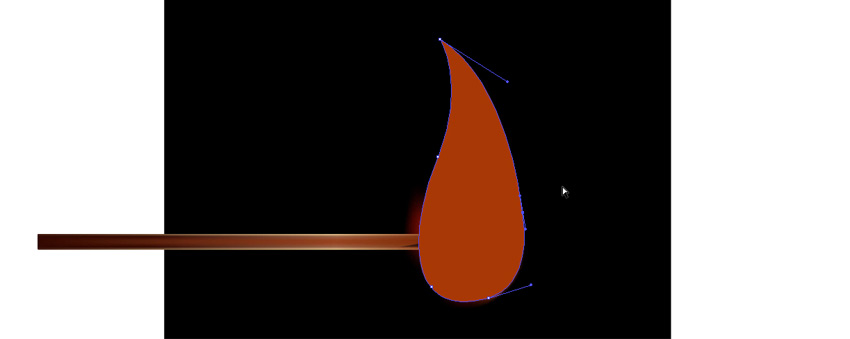
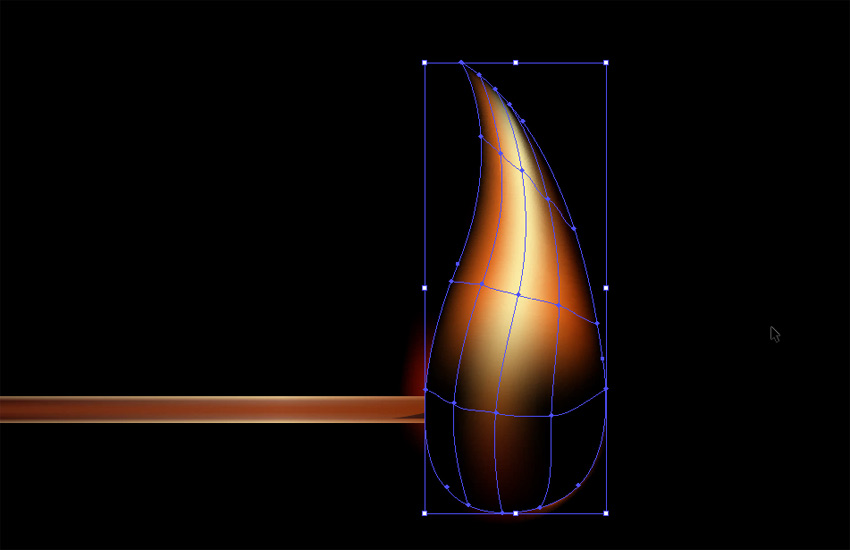
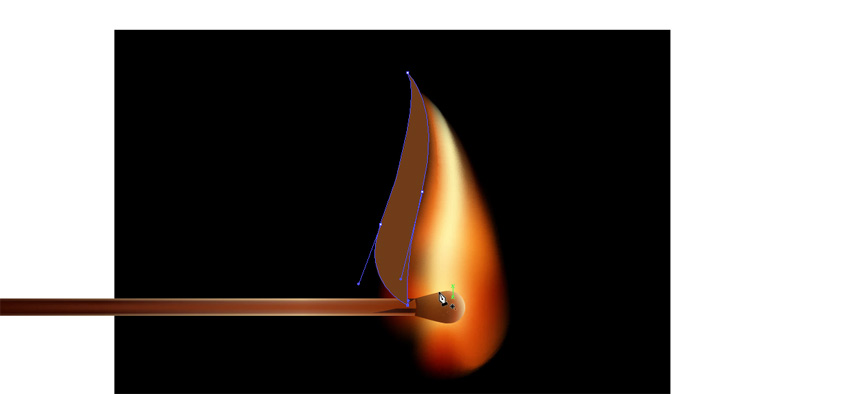
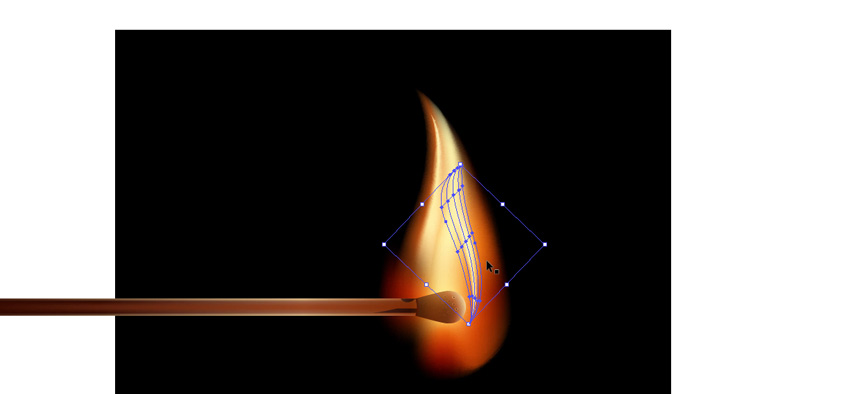
Lock this layer and create a new one on top. Take the Pen Tool (P) and draw a similar shape. Turn it into a Gradient Mesh with 4 Rows and Columns, and add colors to it with the same technique. The colors I used are:
#faeda7#d7651e#e78c43

Step 7
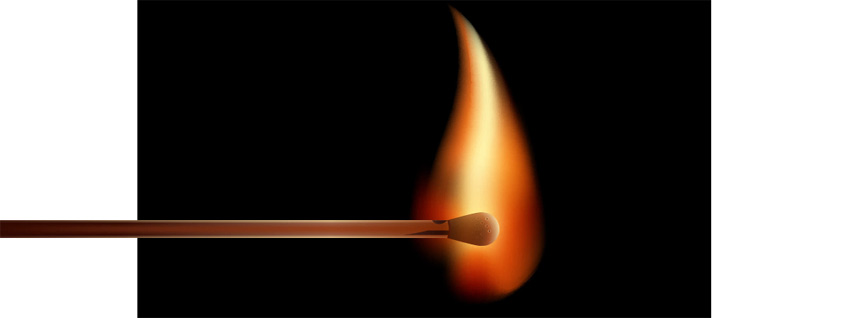
Set its Blend Mode to Screen.
Step 8
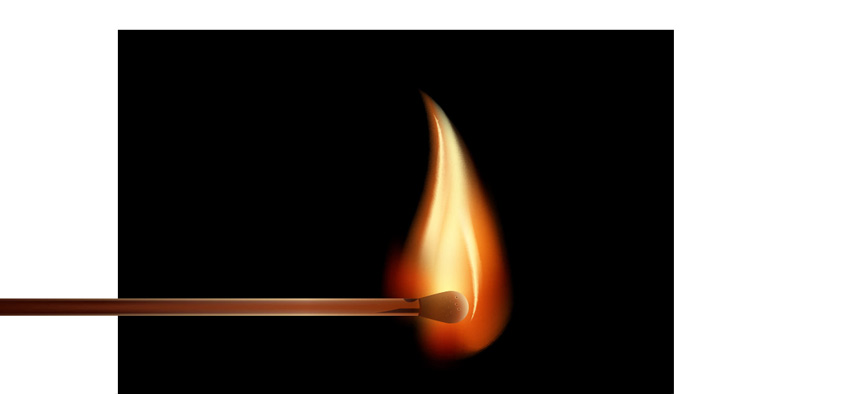
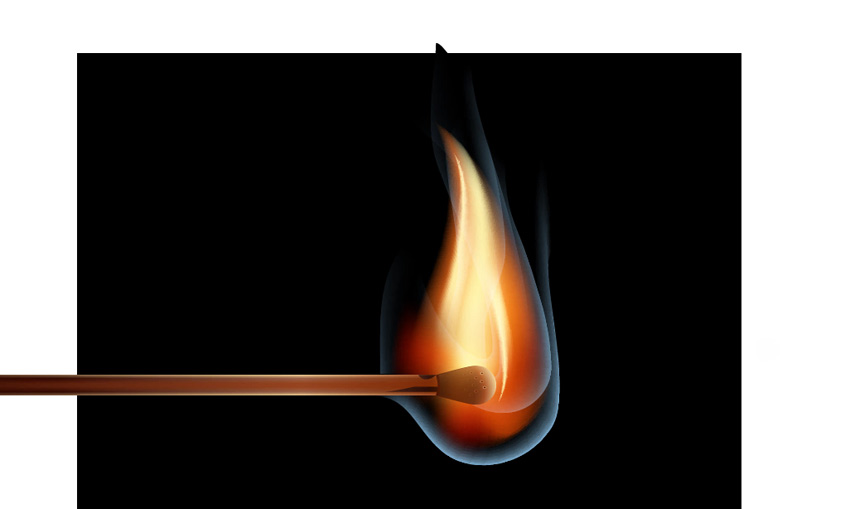
Now create two more feathers of the flame with the same technique of creating a fire gradient.

4. How to Create Vector Smoke
Step 1
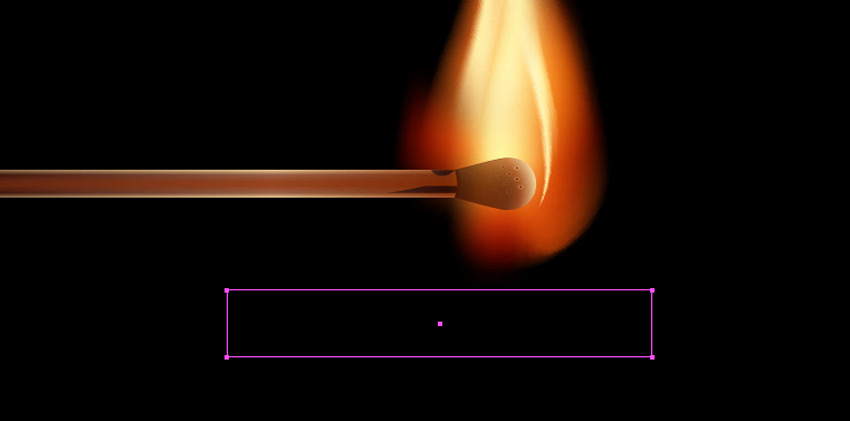
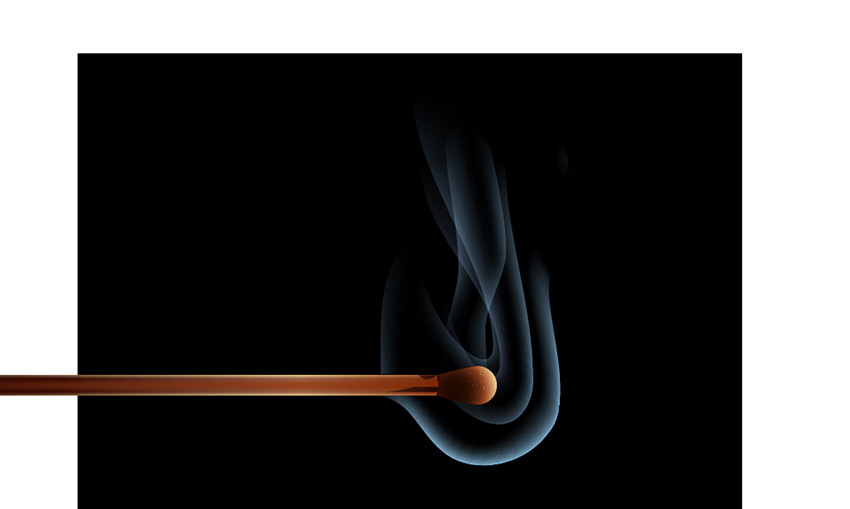
There is no smoke without fire, and vice versa, so let’s add some smoke. Lock the previous layer and create a new one. Take the Rectangle Tool (M) and create a rectangle filled with black. Set its Blend Mode to Screen.
Step 2
Keep the rectangle selected, and create a Gradient Mesh with 2 Rows and 3 Columns.

Step 3
Make the two bottom points blue (#7ba9ca).
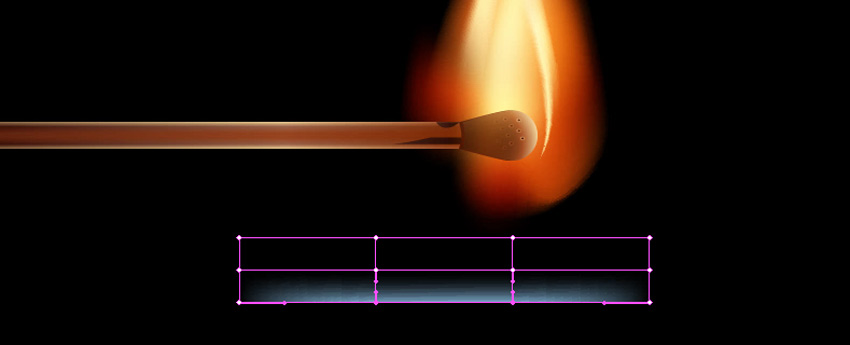
Step 4
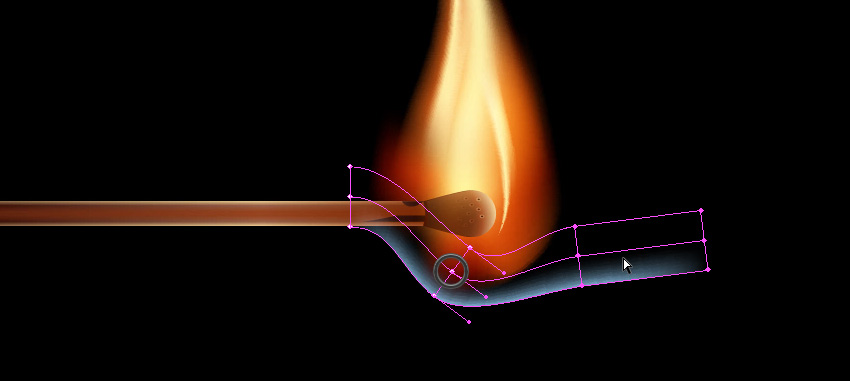
Now we need to bend the rectangle shape into the shape of a smoke stream. Place the rectangle close to the flame, and then take the Lasso Tool (Q) and select all the nodes of the grid on the right.
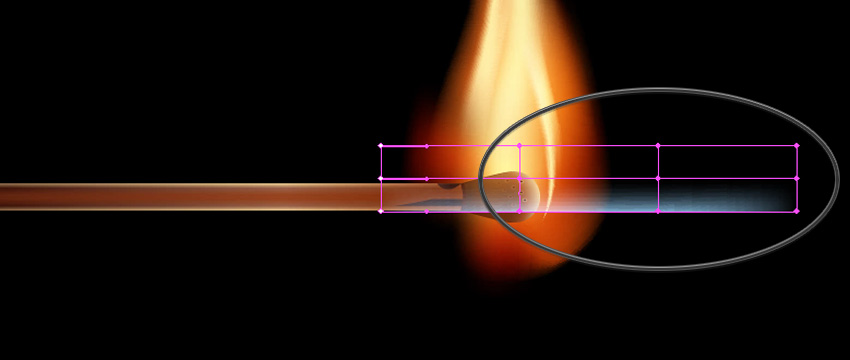
Step 5
Take the Rotate Tool (R) and set the center rotation at the middle point of the left side. Then rotate the selection to bend the rectangle.
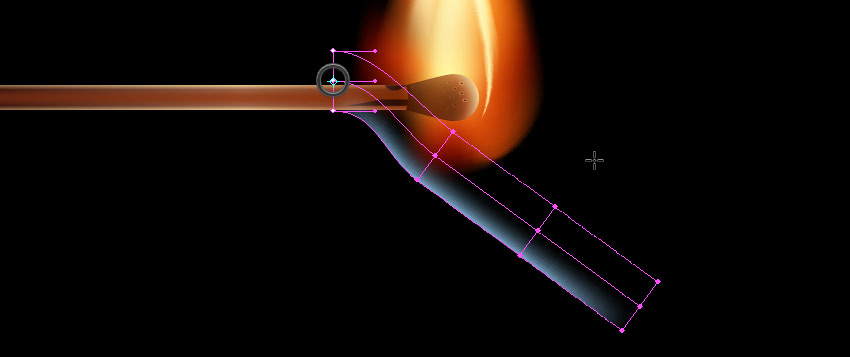
Step 6
Select the right half of the shape now.
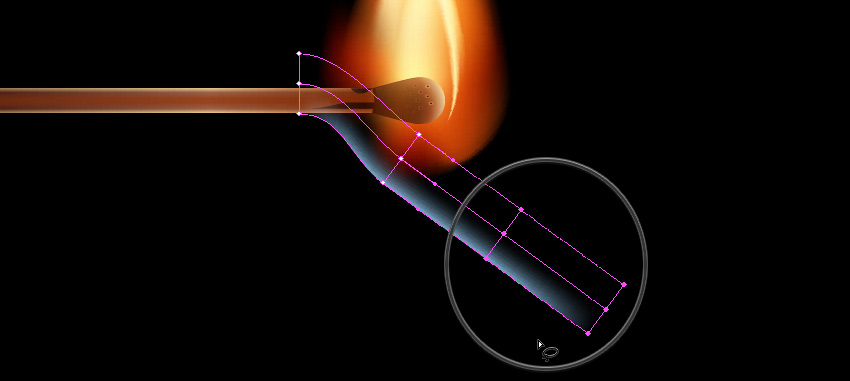
Step 7
Bend this selection by placing the center of the rotation in this spot:
Step 8
Additionally, you can move individual nodes using the Direct Selection Tool (A) to get more control over the final shape.
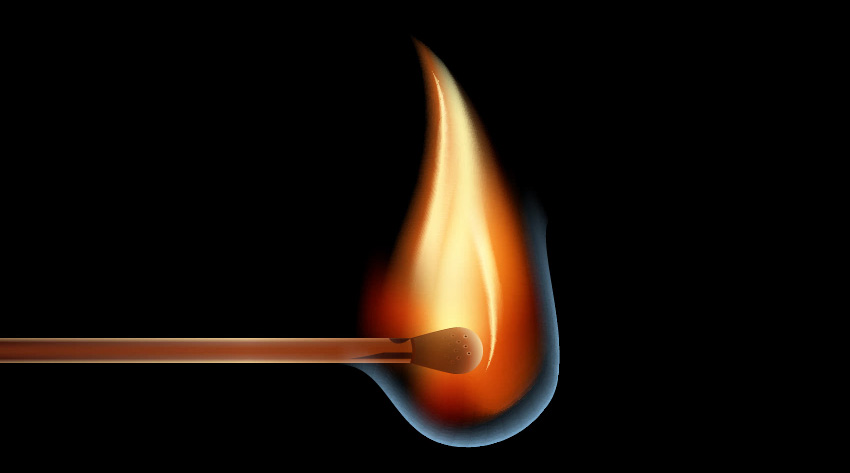
Step 9
Move the smoke layer under all the other layers. Create a few more streams of smoke using the same technique. Feel free to use different shades of blue. You can also hide the flame layers to see the smoke better.

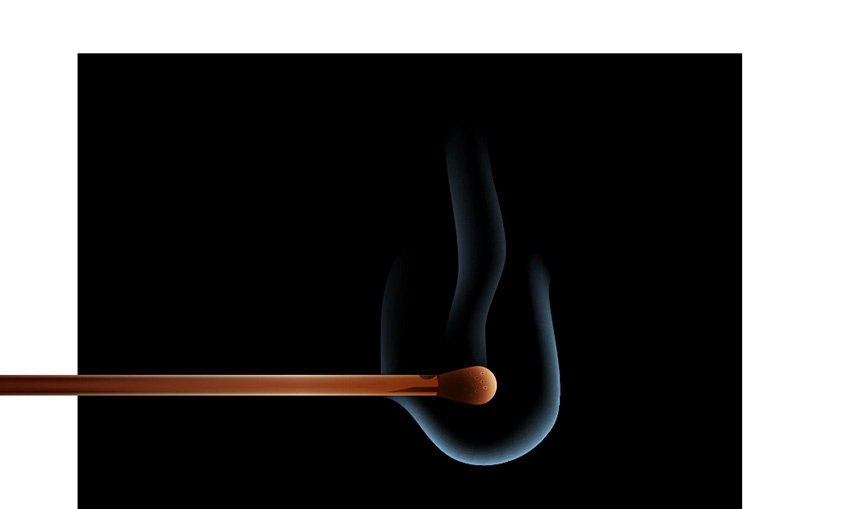
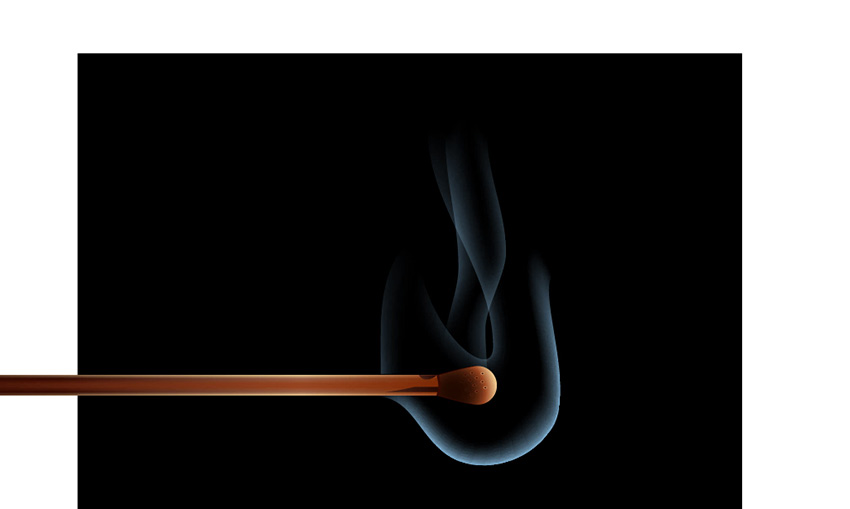
5. How to Create the Final Composition
Step 1
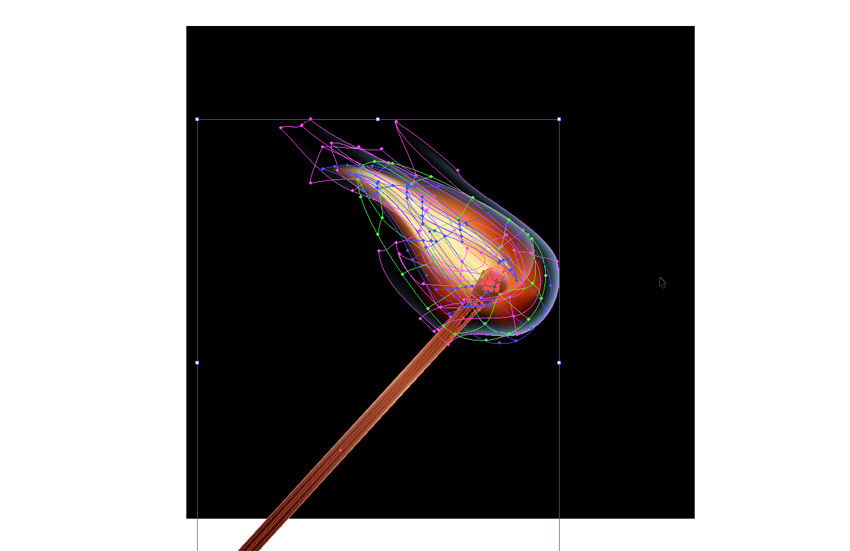
When working with gradients, it’s easier if an object is placed vertically or horizontally. But this composition looks pretty boring. So now unlock all the layers except the background and rotate the whole burning match for a more interesting composition. At this point, you can also resize the background to fit the composition better.
Step 2
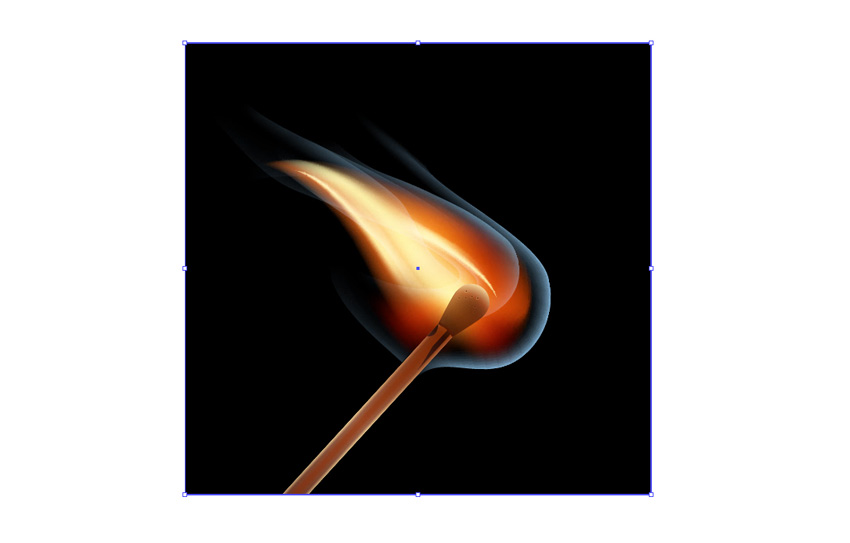
Copy the background rectangle, select the top layer, and paste it in front (Control-F). Select All (Control-A), and then go to Object > Clipping Mask > Make.
Conclusion
Having mastered the techniques described in this tutorial, you can create realistic vector flames, lighters, or torches. Who knows, you might want to make a fire! And give it some heat!

Do you want to try other tutorials about creating vector effects? Check out our recommendations:
 Gradient Mesh ToolHow to Draw Vector Peaches Using Gradient Mesh in Adobe Illustrator
 PatternsHow to Make an Illustrator Chevron Pattern
 Text EffectsCreating an Environmentally Friendly Green Type Treatment
 Gradient Mesh ToolHow to Create a Vector T-Shirt Mockup Template in Adobe Illustrator
 Icon DesignHow to Make Social Media Icons in Vector
