Saul Bass created many famous title sequences for movies in the 50’s and 60’s, all the way up to a few in the 90’s. His style is sometimes referred to as “jazz visualized”, due to the use of unique shapes, bold colors, and punchy-linear animation movements.
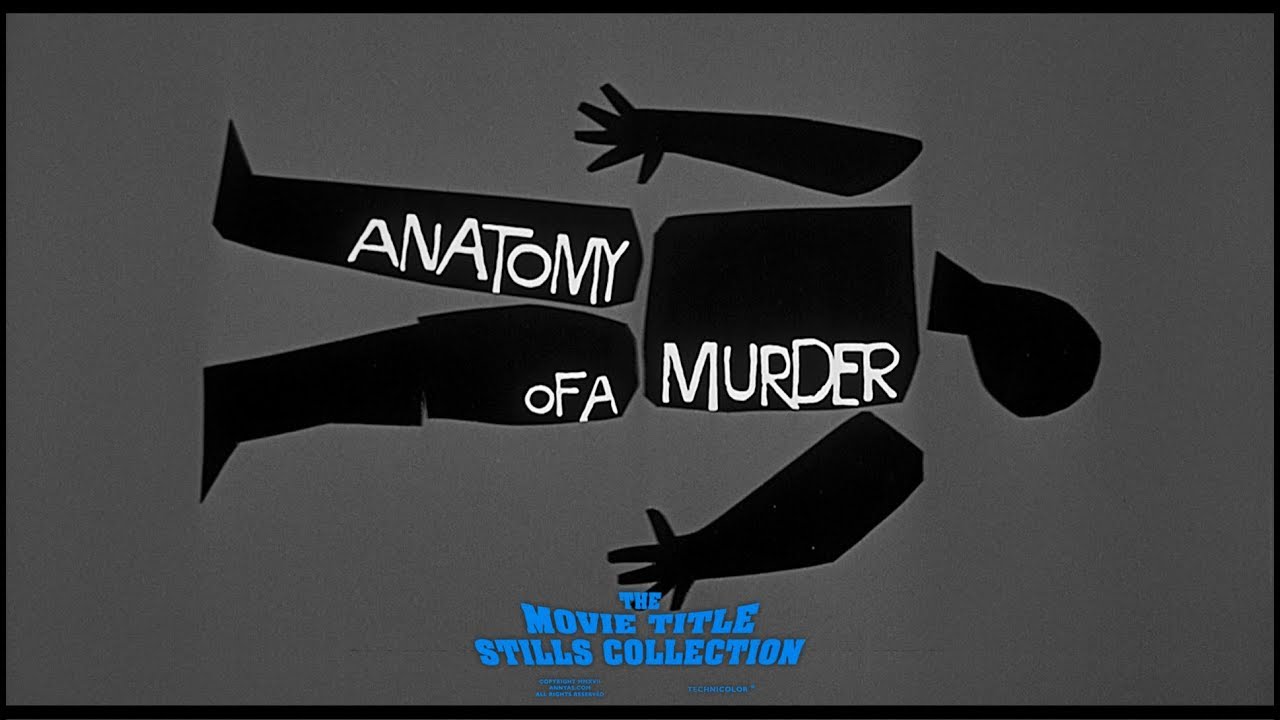
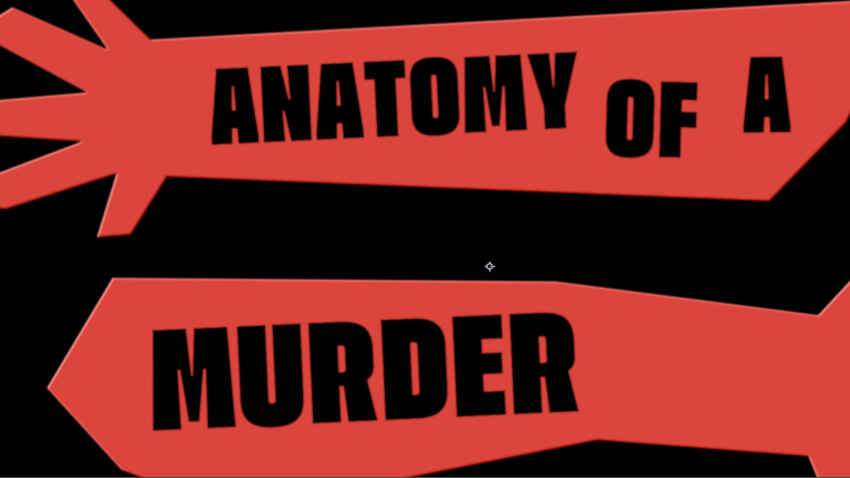
For our title animation, we are going to create a title sequence similar to Anatomy of a Murder. This title sequence was created by Saul Bass in 1959.

Now let’s break down the different parts we will need to recreate in order to make a similar title sequence!
Music
Before we can start creating our titles, we’ll need some music to drive the animation on screen. Saul Bass’ title animations are often “reacting” to the various rhythms and tonal changes in the accompanying music. Keeping with the 50’s and 60’s theme, I would recommend bold and brassy jazz music tracks.
Many of Saul Bass’ titles featured a slightly offbeat or noir-ish vibe, typical of 1950’s crime dramas. Luckily, you can find many jazz music tracks that are perfect for this on Envato Elements. Two music tracks I found that I really like are Sax Jazz Noir and Cool Mystery Jazz. Feel free to select a music track that works best for your own project’s theme.
Creating shapes
Now that our composition is set up and ready, we can start making some Saul Bass inspired shapes for our animation. You can do this by creating a Solid layer or a Shape layer in After Effects. Navigate to Layer>New>Solid (or Shape). For simplicity, I’m going to use Solid layers in this tutorial. Solid layers will be easier for us to “cut out” our shapes using masks and will emulate the paper-style cutouts seen in some of Saul Bass’ title sequences.
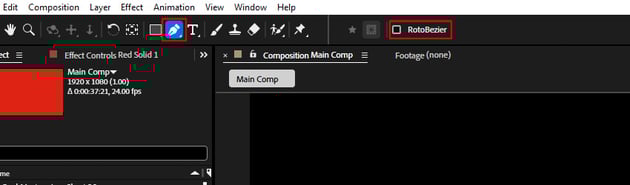
Create a Solid layer of any color you wish. With the solid layer selected, we then need to select the Pen Tool. When you do, make sure that the RotoBezier setting is not enabled. This will round off our shapes’ edges, and we don’t want that for these shapes. We want them to appear similar to the shapes in the Anatomy of a Murder title.

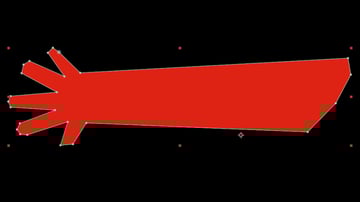
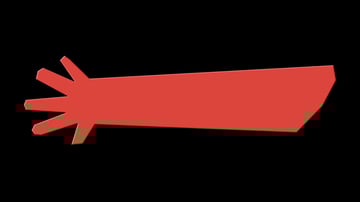
Now just click on the Solid layer and begin masking out your shape. Once you finish, you can manually adjust point positions on the mask if you need to refine it. You can see here that I created a shape similar to one of the arms featured in the Anatomy of a Murder title.


From here you can continue to make as many “cut out” shapes as you would like. Just make sure you create each one on a different Solid layer, if you plan on animating them separately later. (Otherwise, if two masks are on the same shape layer, they will both move together.)
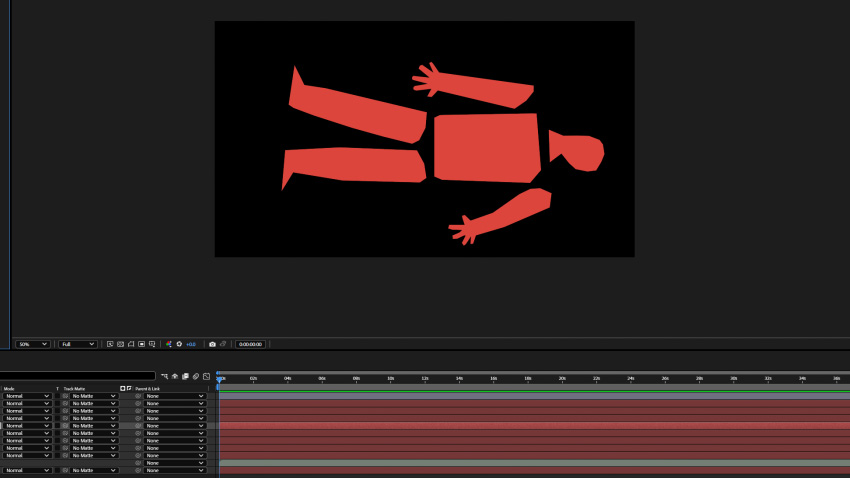
You can even make many different shapes in separate compositions, for different scenes in your titles, if you prefer. This can make it easier to stay organized. Here you can see where I created masks on several shapes to recreate the body shape from the original Saul Bass titles.


Textures and details
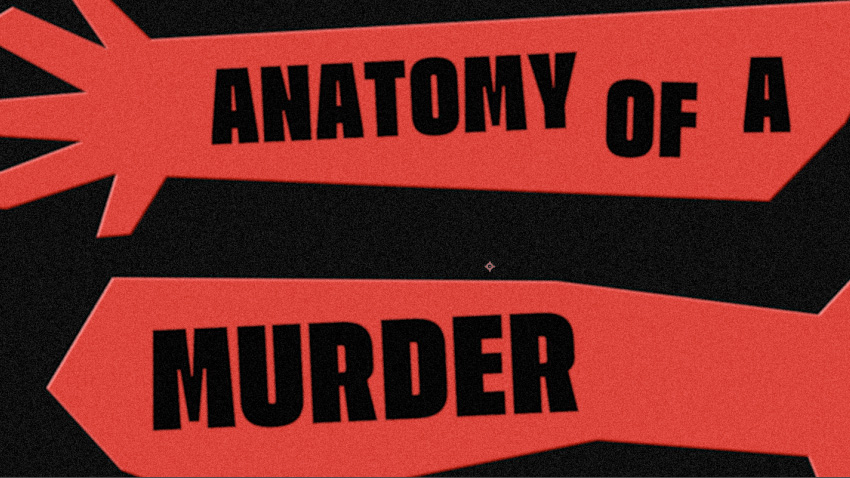
From here we can add some texture and details to our shapes, to better recreate the look of the original titles. First, in order to make our masked shapes look as if they are paper cutouts, we can apply the Bevel Alpha effect. Effect>Perspective>Bevel Alpha. This adds a beveled edge to our solid layer shape, making it appear as if it has a little thickness to it, like a piece of construction paper. Feel free to refine the look of the effect as needed.


Then, if you would like to add some texture to the shape, you have several different options. You could apply an effect like Noise or Fractal Noise, and lower the opacity of the effect. This will make it more subtle and look more as if it is texture on paper. (You may need to set the effect to a different blending mode, such as Multiply.)
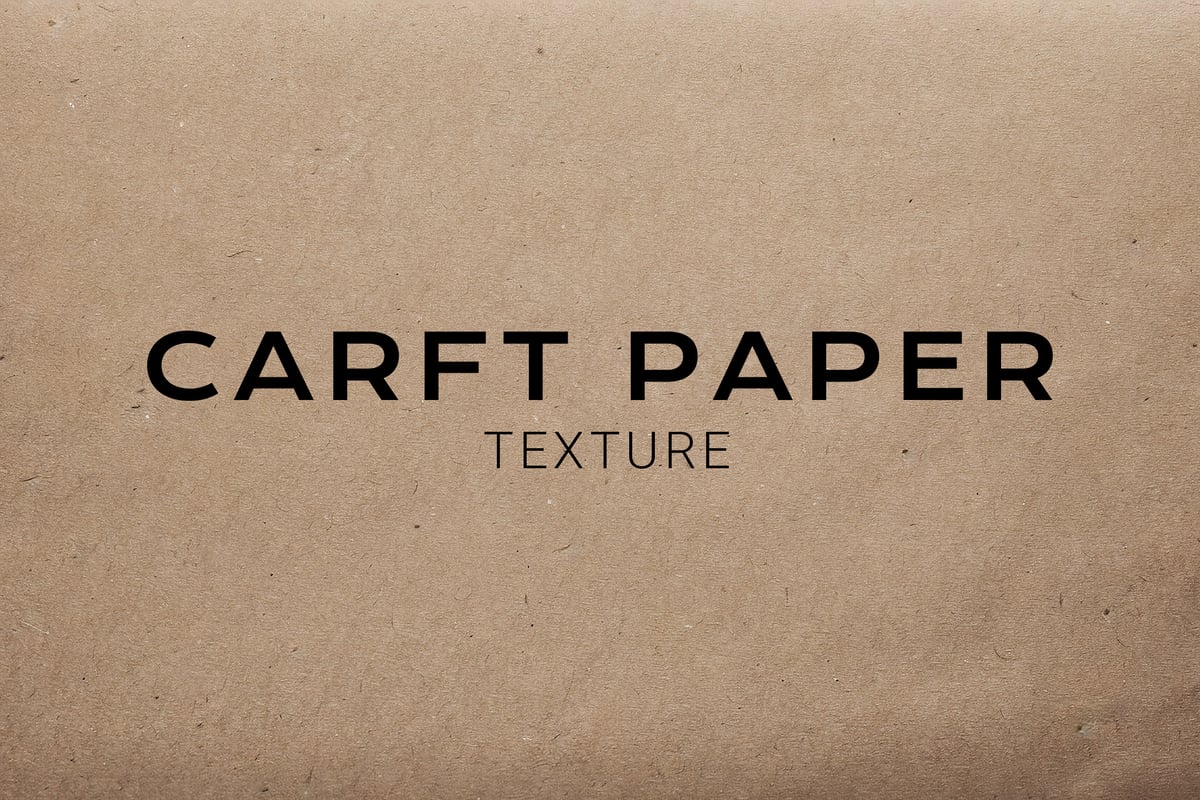
For an even better look, you can import a picture of a real paper texture overlay, such as this Craft Paper Texture or this Handmade Paper Textures from Envato Elements.

Title fonts
Saul Bass had a distinct approach to typography that perfectly matched the expressive energy of his animations. The fonts he chose were part of his storytelling. I recommend using fonts that have a bold and retro feel to them. The typography in his title sequences often looked hand-cut, hand-drawn, or stamped. This created a human touch and tactile quality to their appearance. Some fonts on Envato Elements that I would recommend would be:
You will want to avoid modern and smooth geometric style fonts. Feel free to animate on the letters of your titles at different times, or add jittery shakes, etc.


Retro compositing tips
Now let’s take a look at a few retro-themed compositing tips we can use in After Effects to give our titles more of a vintage feel. First, I would recommend adding a subtle blur effect over everything, to remove any modern edge from the titles. Since our titles are being created on a computer, adding a slight blur imperfection will make them feel a little more “real”.
Create an Adjustment layer above everything in your composition and apply Gaussian Blur. Effect>Blur & Sharpen>Gaussian Blur. Set the Blurriness setting to 4.

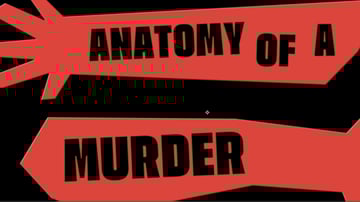
Next, I recommend overlaying some film grain. You can do this with a real film grain overlay, or using the Noise effect. Effect>Noise & Grain> Noise. Set the Amount of Noise to 16% and turn off Use Color Noise.
Alternatively, you can also use the Add Grain effect, which will yield better looking results, but render quite a bit slower. You may also want to add in a Solid layer for a background, which will allow the grain to be more visible.
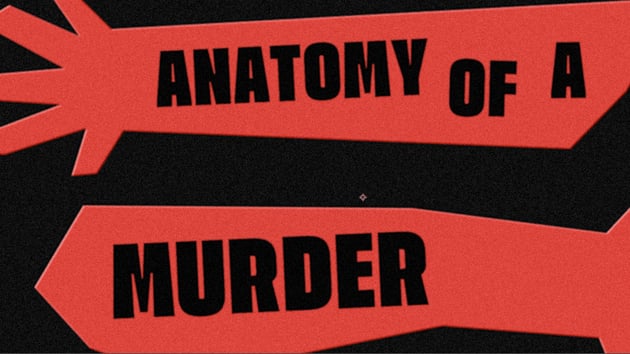

Next, try overlaying some film dust or film damage textures. You can find many of these on Envato. I really like this one called Old Damaged Film Surface. Simply import the overlay footage into your composition, place it above everything and set the Blending Mode to Screen.


Finally, if you would like to experiment with lower framerates on your footage, you can use the Posterize Time effect. Add an Adjustment layer above everything in your composition and apply the Posterize Time effect. Effect>Time>Posterize Time. You can set the Frame Rate setting to values like 12 or 8 for more retro and jittery looking animations. I also recommend leaving Motion Blur off for all of your layers. This gives more of a retro stop-motion look to everything.
Conclusion
Hopefully this tutorial gave you some tips for recreating the iconic Saul Bass style in your own title animations. Lean into those hand-made imperfections, such as: rough edges, bold shapes, jittery timing. Avoid anything that feels too smooth, clean, or modern. Saul Bass’ work was bold, energetic, and full of character. So don’t be afraid to get a little messy!
More Saul Bass-inspired tutorials
We’ve published several other design tutorials focusing on the work of Saul Bass—dig in and enjoy!