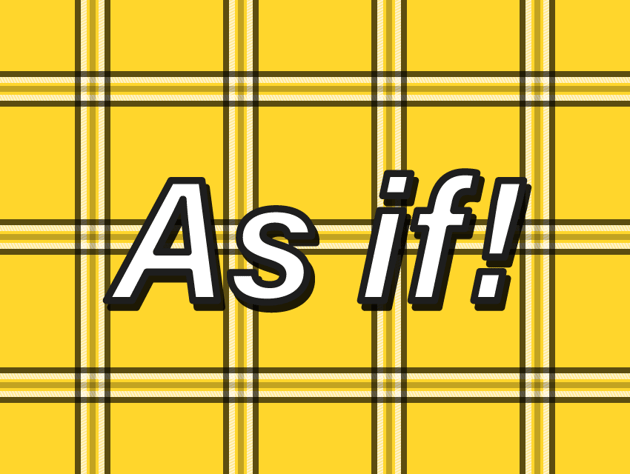
Always wanted to learn how to make a plaid design, but never knew exactly where to start? Here, we’ll walk you through the entire process in Adobe Illustrator. You’ll learn how to make a plaid pattern in Illustrator so that you can master the look that was made popular by the movie Clueless.

How to make a plaid pattern in Illustrator
Assuming you already have the software up and running, let’s jump straight into it! Here’s how to draw a plaid pattern that’s trendy and cool.
Step 1
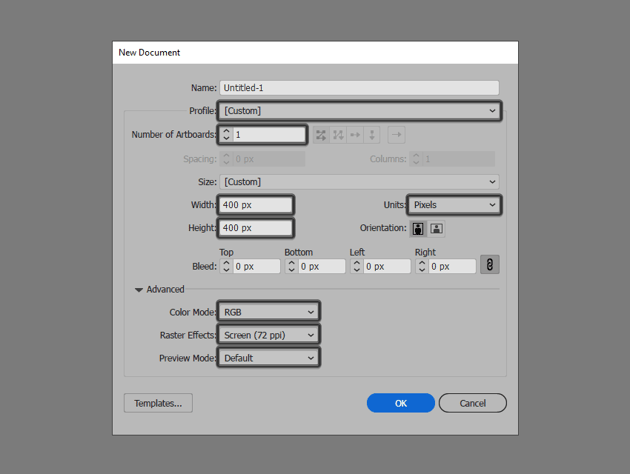
As with every new project, we’re going to start by setting up a new document. Head over to File > New or use the Control-N keyboard shortcut, which will bring up the New Document window prompt.
Here, we’ll want to set our Profile to Web, making sure to define both the Width and Height of our Artboard to 400 px, and then simply hit OK once we’re done.


Step 2
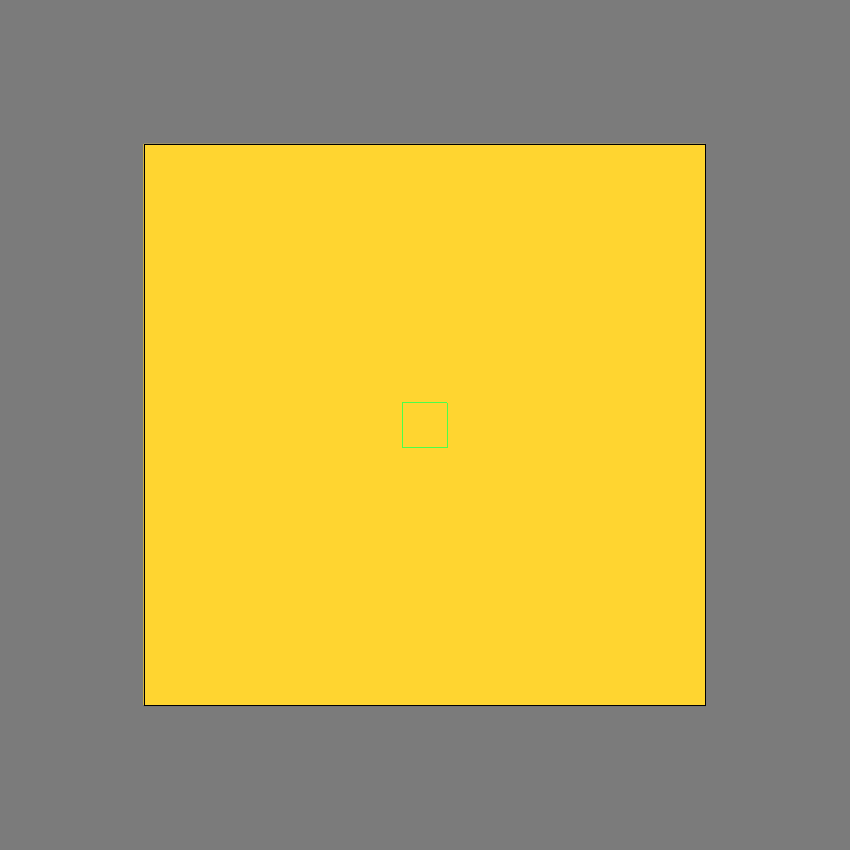
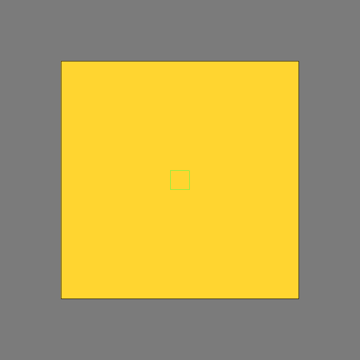
As soon as we’ve finished setting up our project file, we can start working on the actual tile, or in other words the repeating pattern segment, by creating its background using a 400 x 400 px square, which we will color using a light yellow, more exactly #FFD62C, making sure to position it in the center of the Artboard afterwards.


Step 3
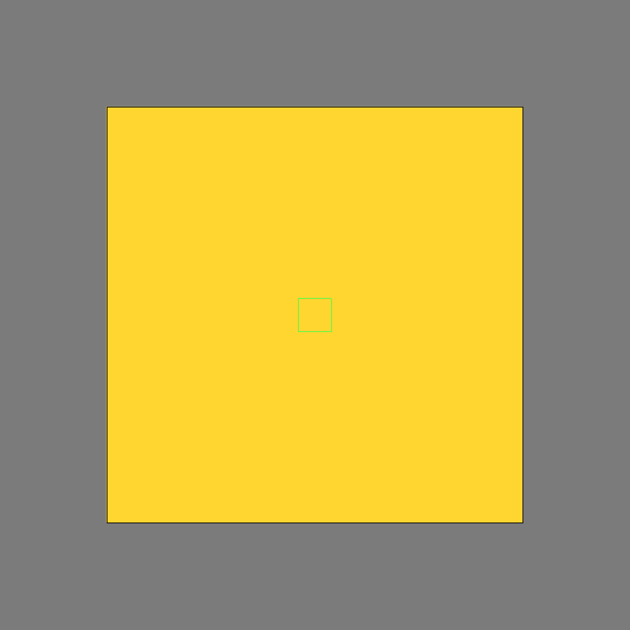
Next, we’re going to create a smaller 32 x 32 px square, which we will center align to the Artboard and then turn into a guide by simply right-clicking and then using the Make Guides option, making sure to lock it afterwards (right-click > Lock Guides).
While basic, this little guide will come in handy when it comes to the process of positioning our composing shapes.
Step 4
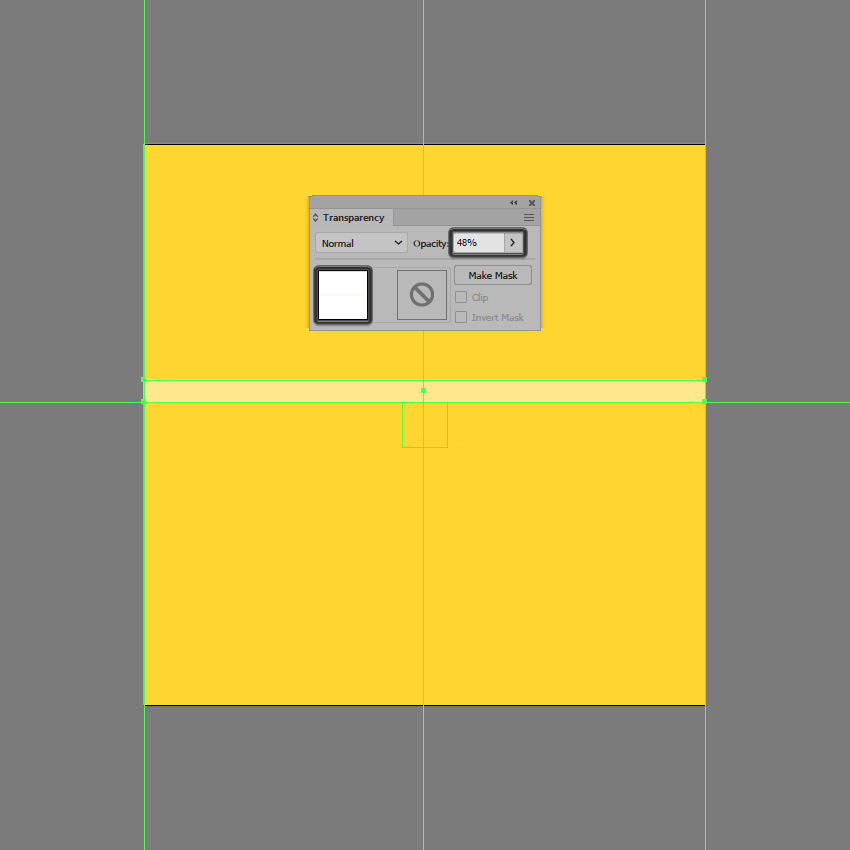
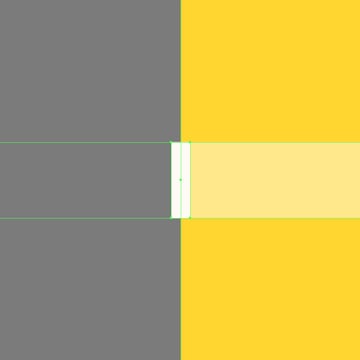
With the guide in place, we can start working on the lighter shapes by creating a 400 x 16 px rectangle, which we will color using white (#FFFFFF) and then position on the guide’s upper edge, making sure to lower its Opacity level afterwards to about 48%.


Step 5
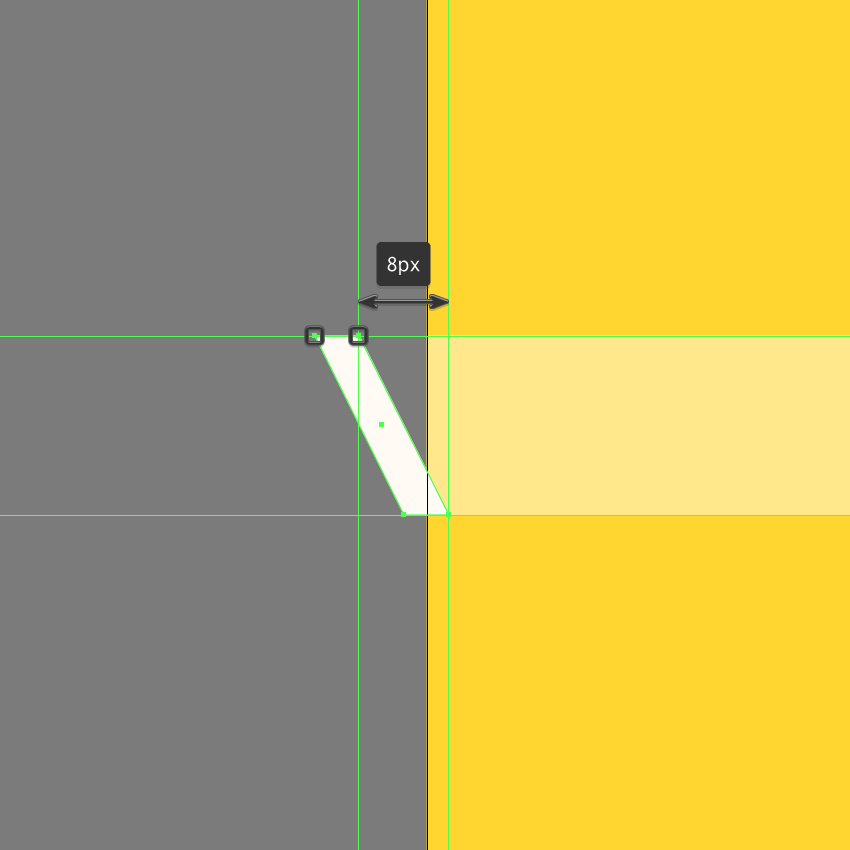
Create the main shape for the smaller diagonal lines using a 4 x 16 px rectangle (#FFFFFF), which we will position in the center of the Artboard’s left edge.
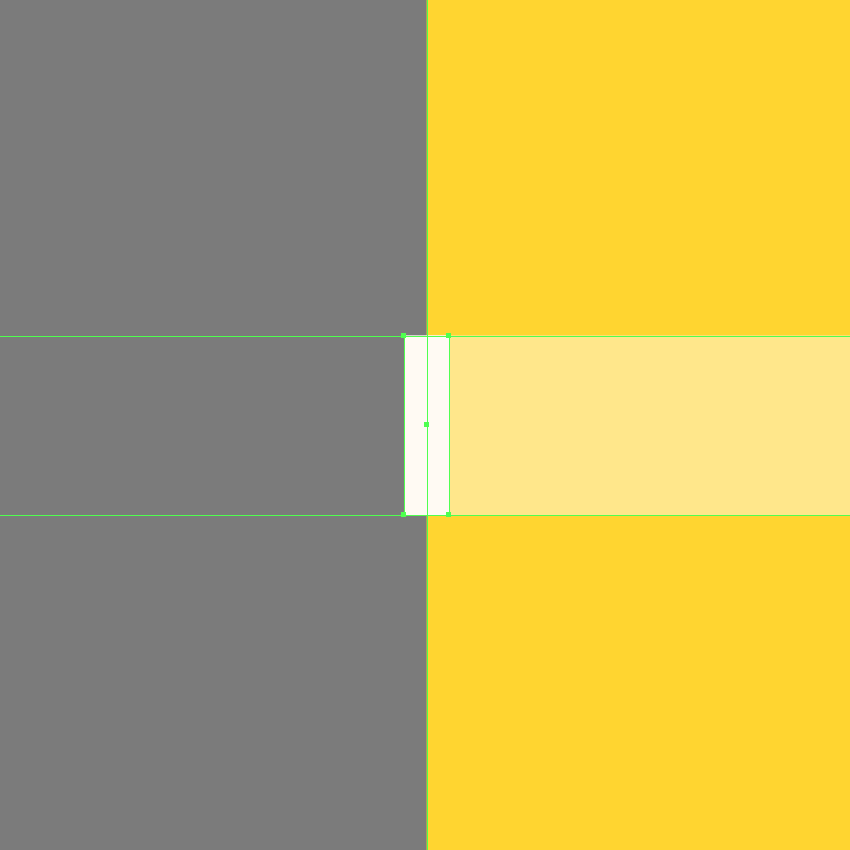
Step 6
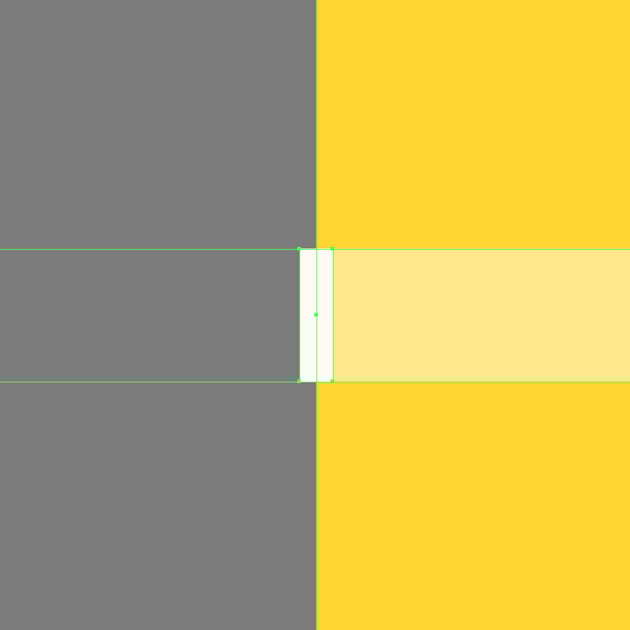
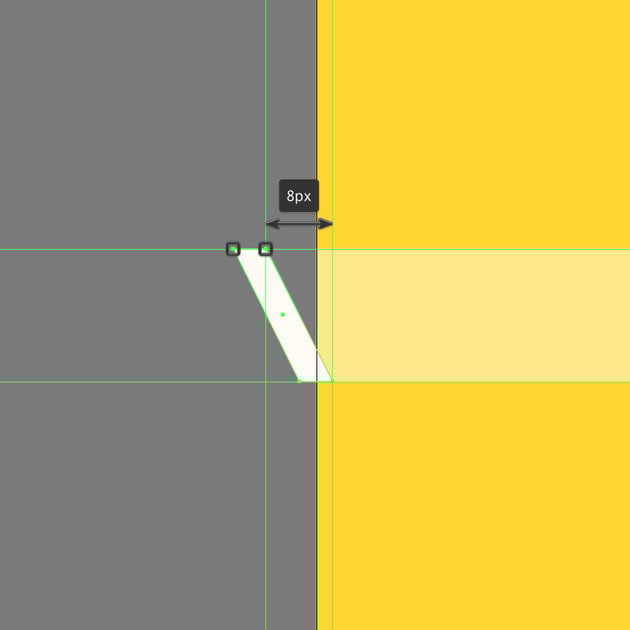
Adjust the shape by selecting its top anchor points using the Direct Selection Tool (A) and then pushing them to the outside by 8 px using the directional arrow keys.
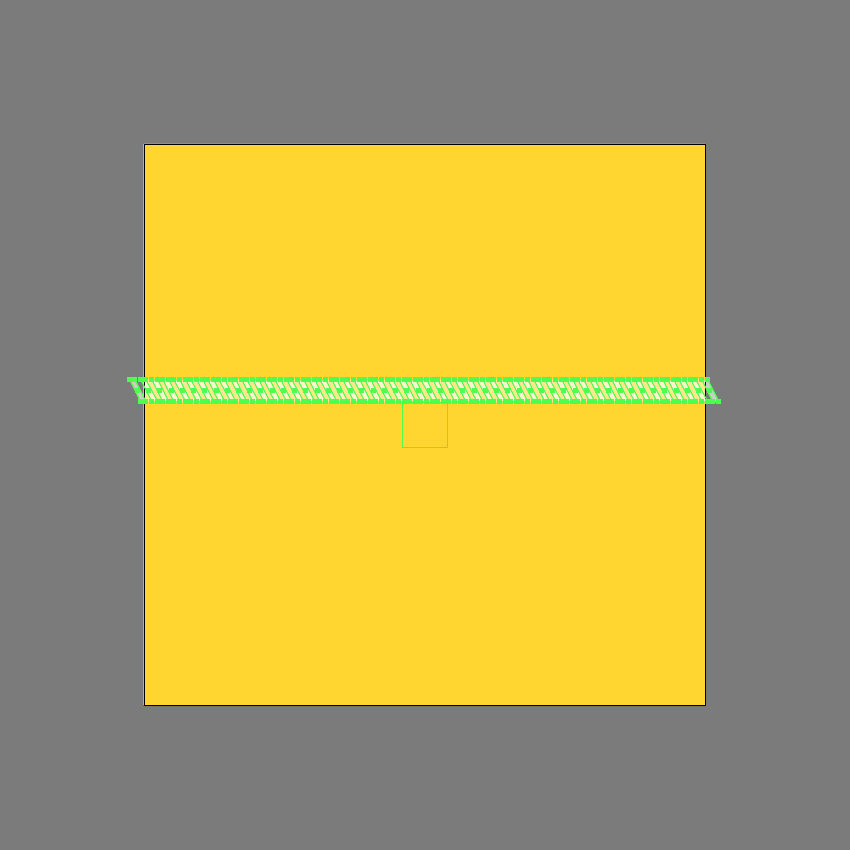
Step 7
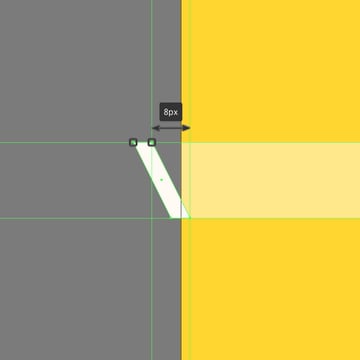
Add the remaining lines by creating an initial copy using the click-and-drag method, positioning it 4 px from the original, and then simply duplicating the action using the Control-D keyboard shortcut, until you reach the other end of the Artboard.
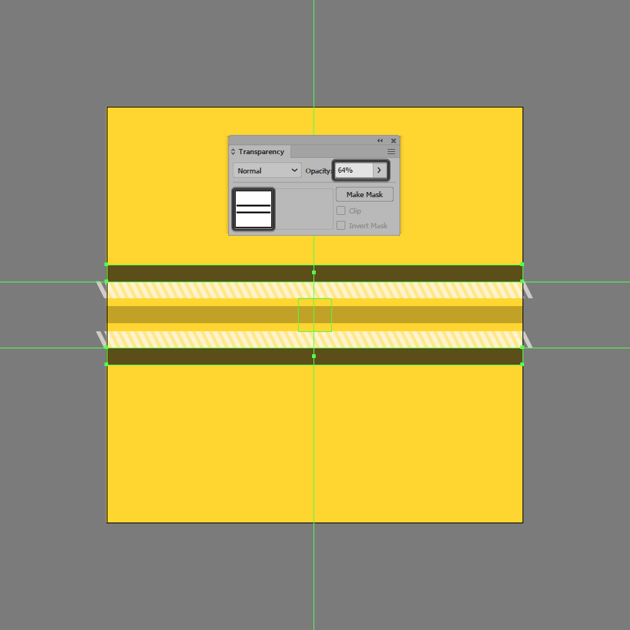
Once you’re done, select and group all the lines together using the Control-G keyboard shortcut, making sure to lower their Opacity level to 64%.

Step 8
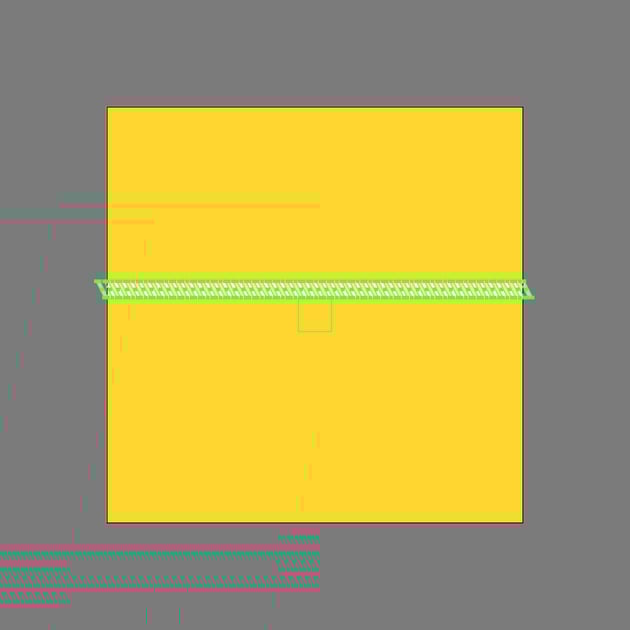
Since we’re pretty much done working on the lighter shapes, we can create a copy using the click-and-drag method, which we will align to the bottom edge of our guide.
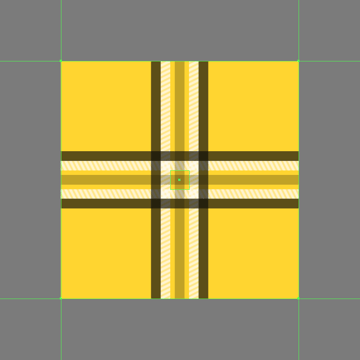
Step 9
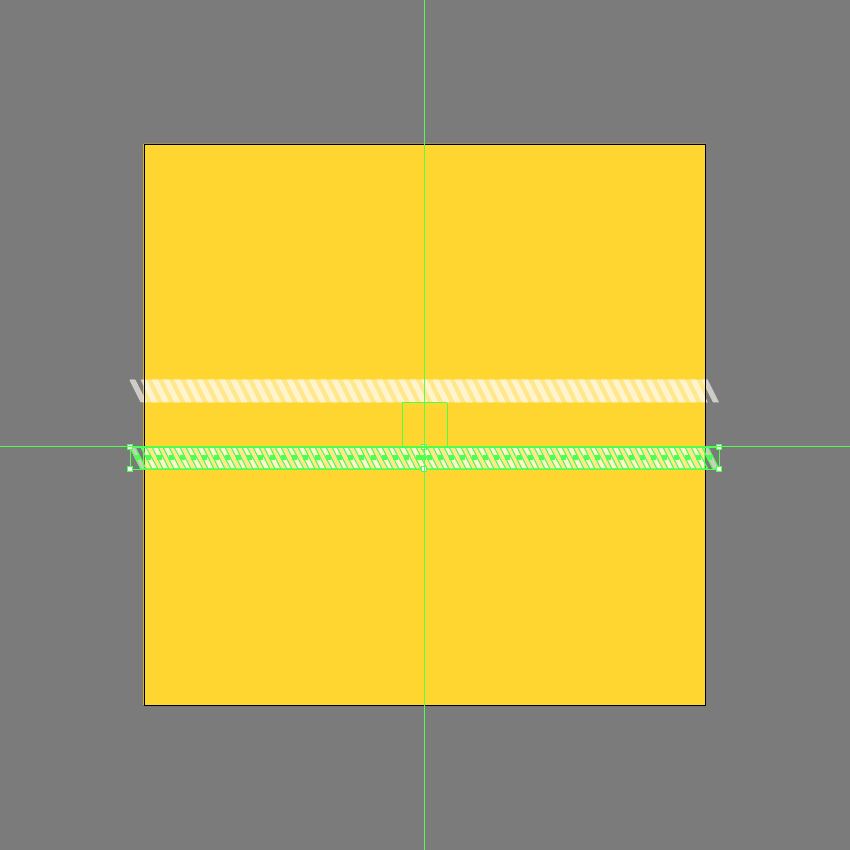
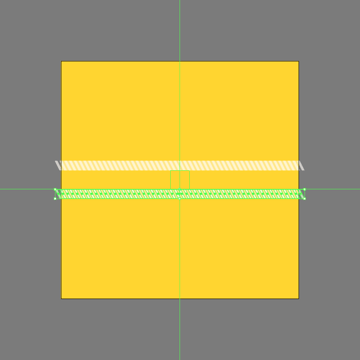
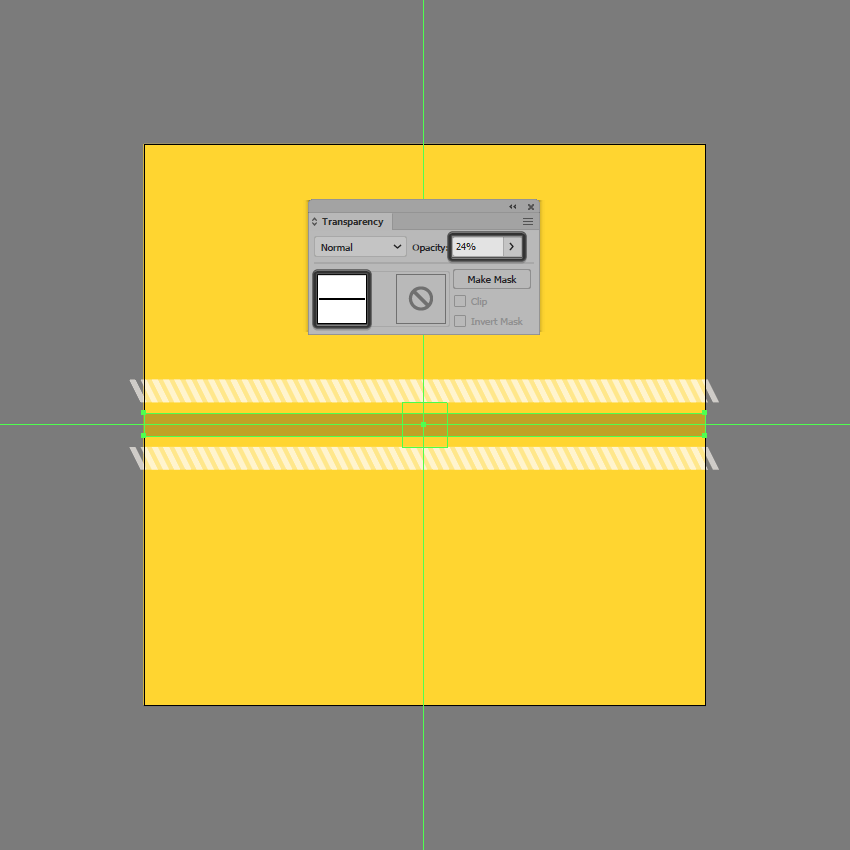
With the copy in place, we can add the inner darker shape using a 400 x 16 px rectangle, which we will color using black (#000000), making sure to lower its Opacity level to 24%.
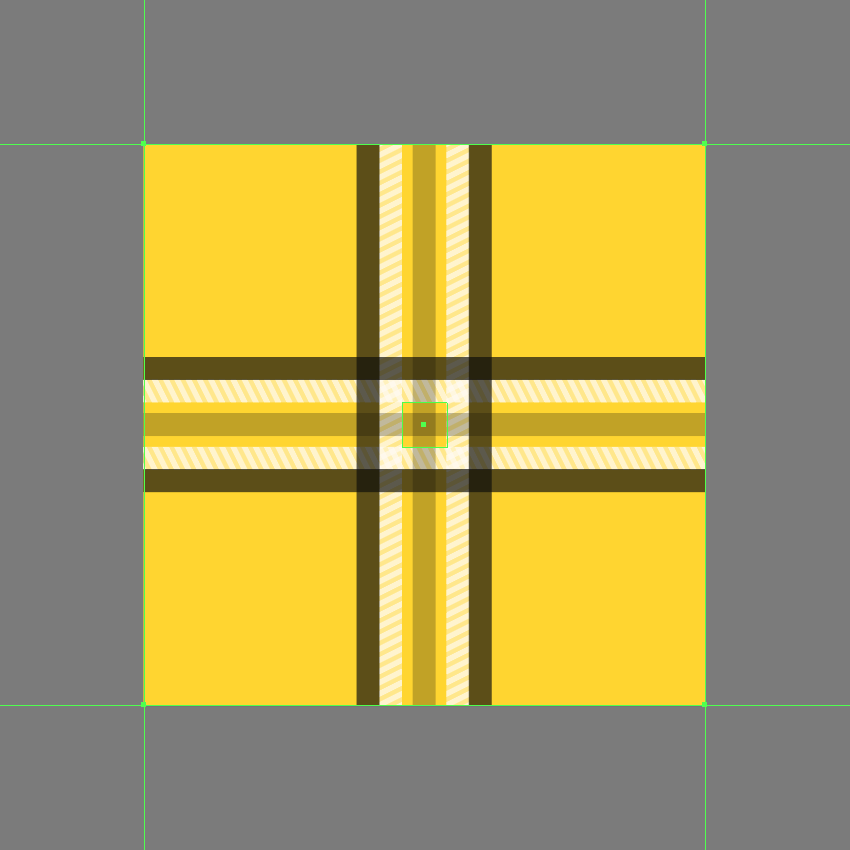
Step 10
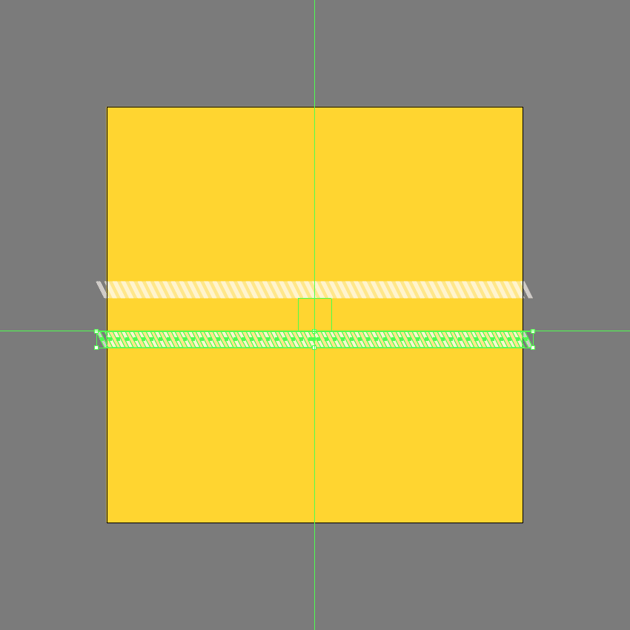
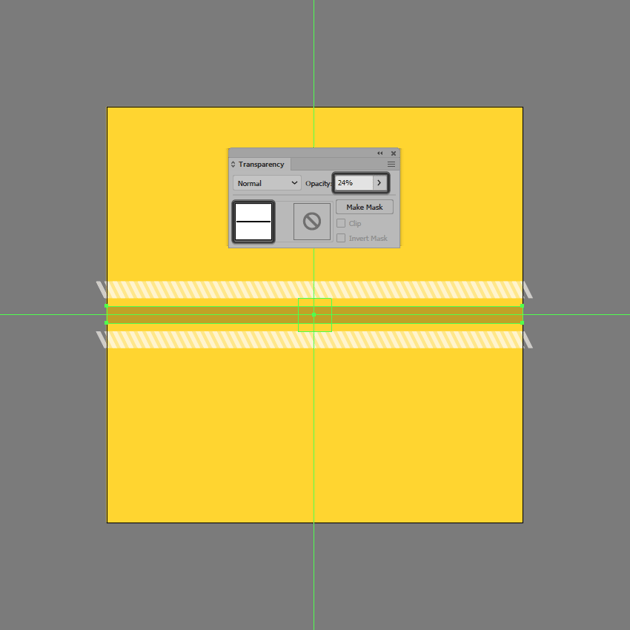
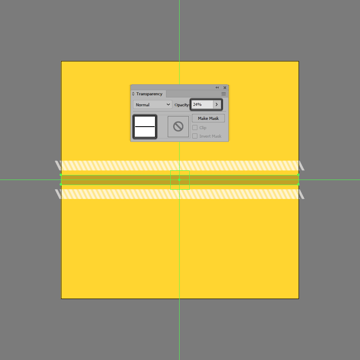
Add the outer darker shapes using two copies of the one that we’ve just created, which we will adjust by increasing their Opacity to 64%.

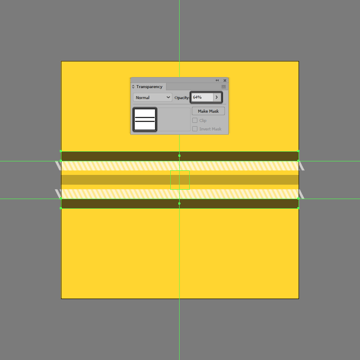
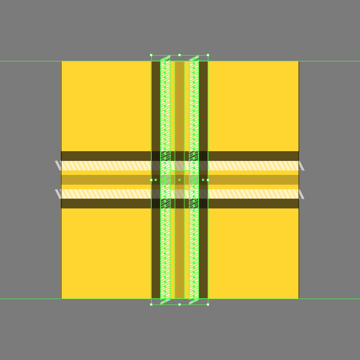
Step 11
As soon as we’ve finished working on the horizontal section of our design, we can quickly add the vertical one by creating a copy of it (Control-C > Control-F), which we will then rotate (R) using a 90° angle, making sure to select and bring all of the darker shapes to the front (right click > Arrange > Bring to Front) so that they will end up overlapping correctly.
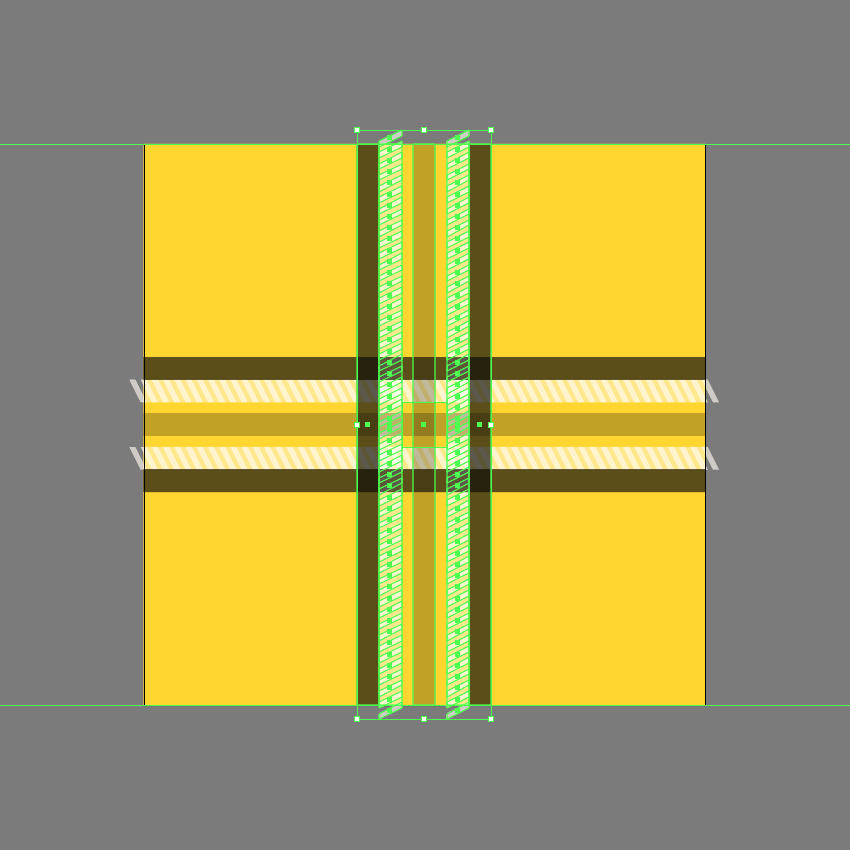
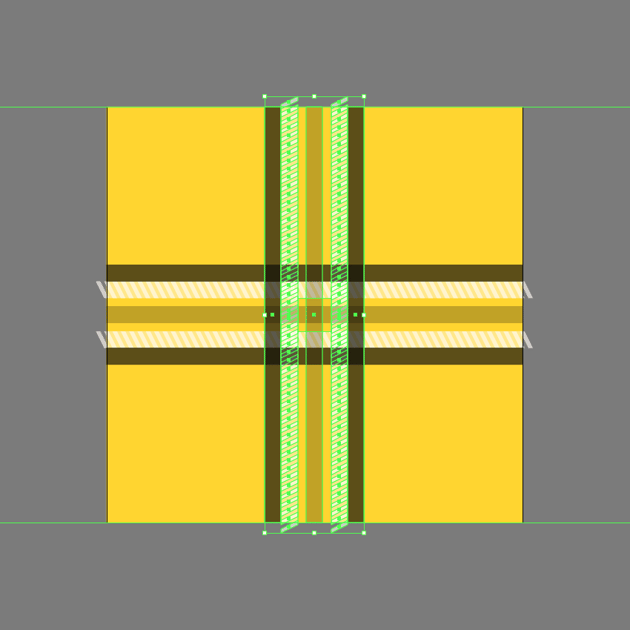
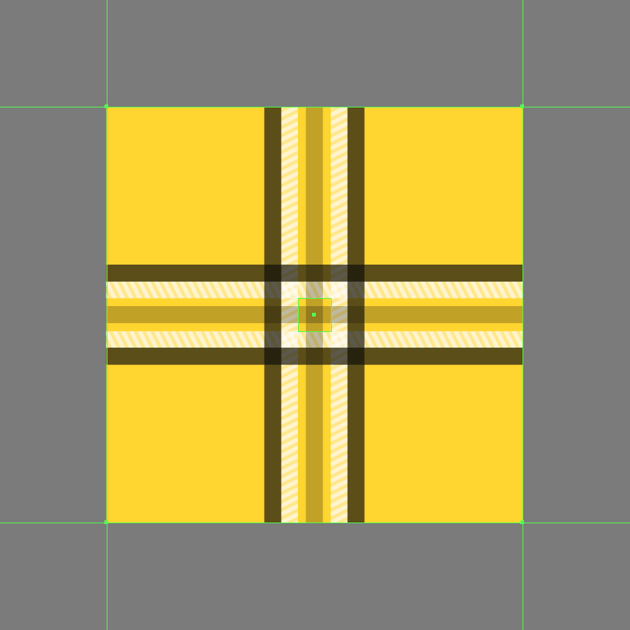
Step 12
Since we’re pretty much done working on the actual tile, we can now select (Control-A) and group (Control-G) all of its composing shapes together, and then mask them using a copy of the background.
To do this, first paste the background copy in front, and after selecting both it and the grouped shapes, simply right-click and then use the Make Clipping Mask option.
Step 13
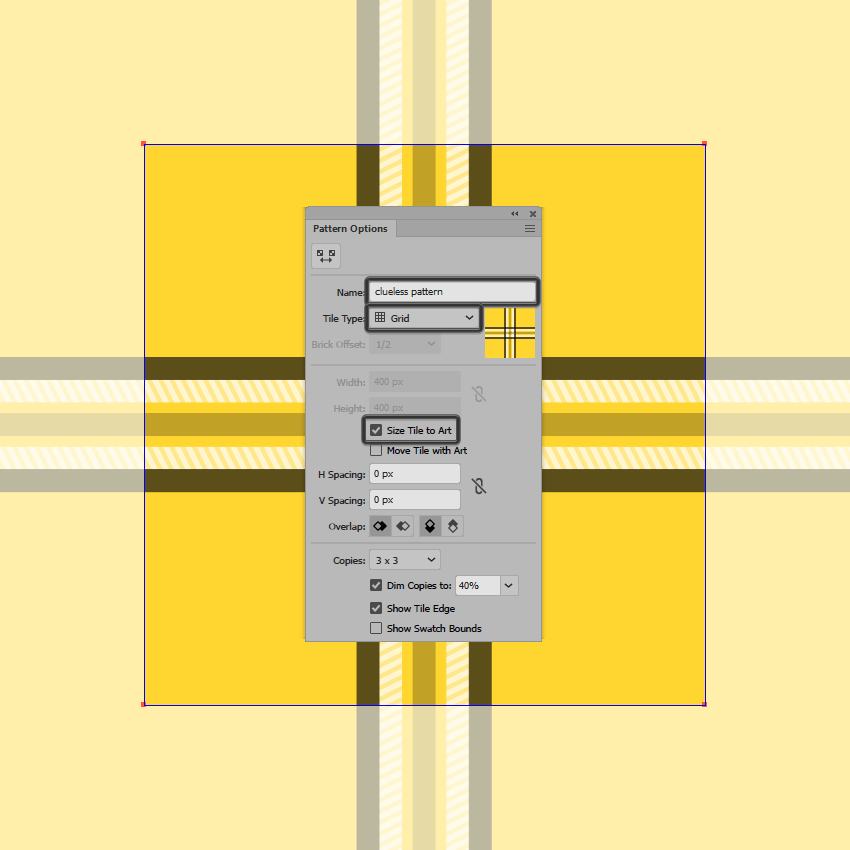
All we have to do now in order to turn our design into a pattern is go to Object > Pattern > Make, which will bring up the Pattern Options window prompt.
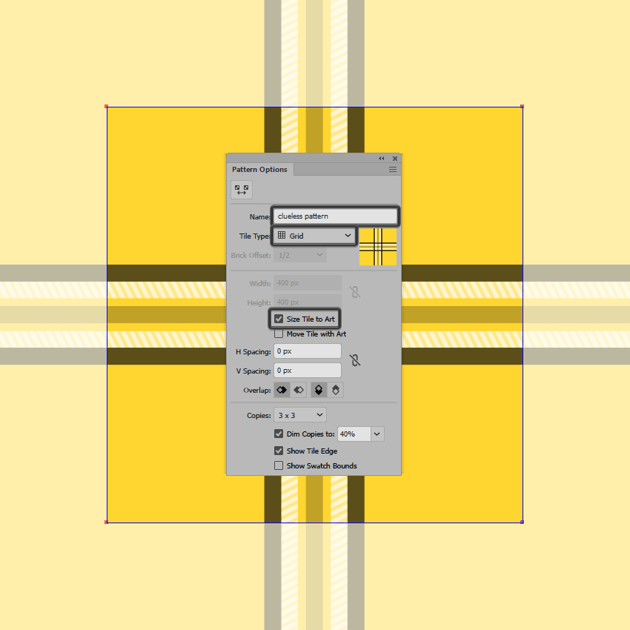
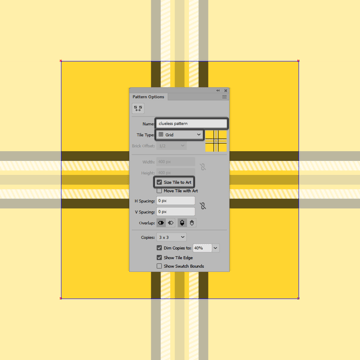
Here, we’ll want to give our new pattern a custom name, and then once we’ve made sure that the Tile Type is set to Grid, we’ll want to enable the Size Tile to Art option, leaving all the other settings as they are.
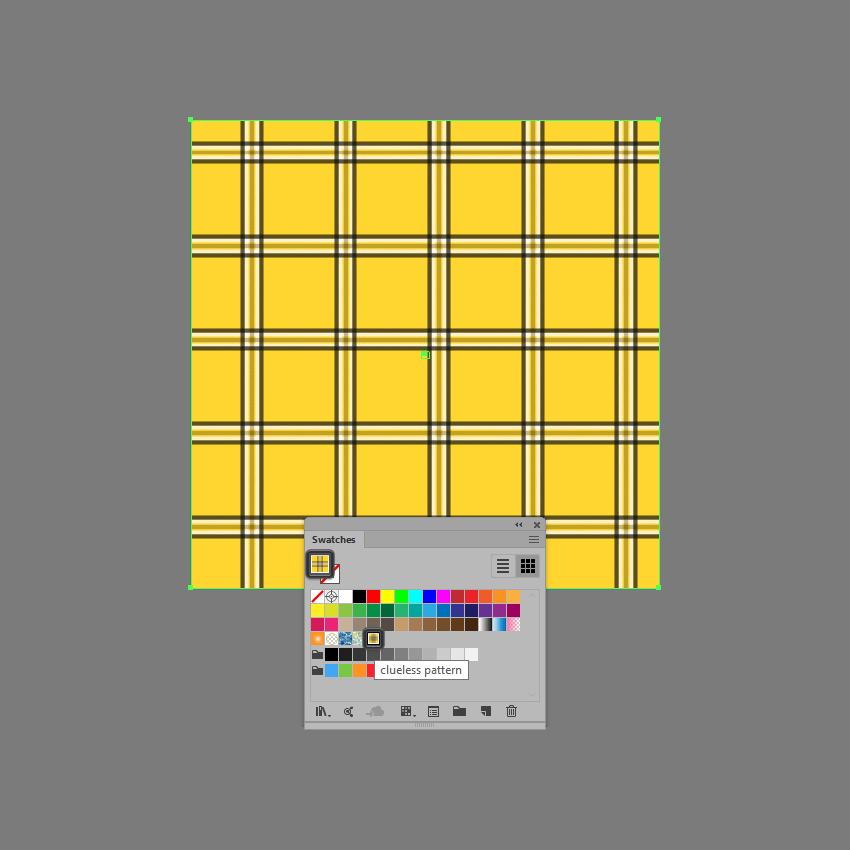
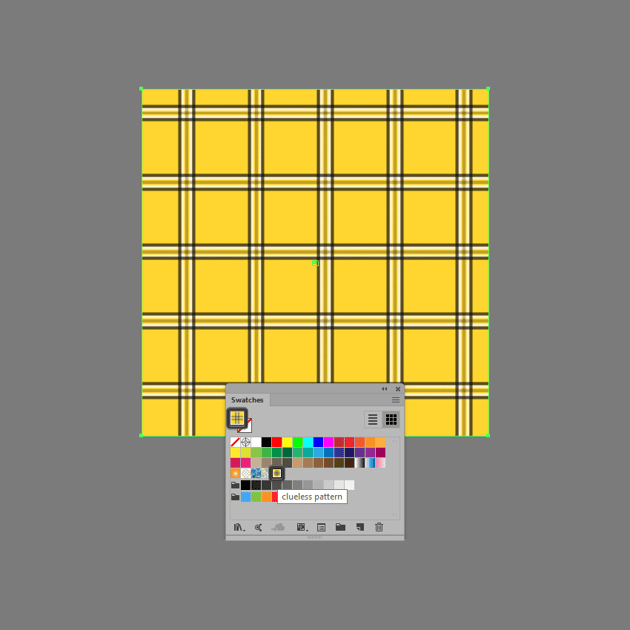
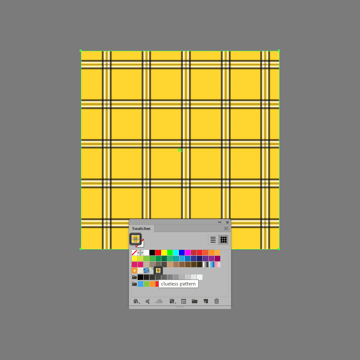
Once we’re ready, we can click on Done, which as you can see will add the pattern with a plaid design to our Swatches panel.
Step 14
To use it, all we have to do is select the Rectangle Tool (M), and then once we’ve assigned the new pattern as our Fill, we can click and drag until we get the desired shape and size.
Good job creating your plaid drawing in Illustrator!
Congrats! Now you know how to make a plaid pattern in less than 15 easy steps. Here’s the final version of our simple pattern with a plaid design:


5 amazing Illustrator patterns from Envato
If you want to create a plaid drawing in no time or try different plaid textures, check out Envato. Here are five great plaid patterns designed by professionals that you’ll find on Envato:
1. Traditional Houndstooth Seamless Patterns (AI, EPS, AFDESIGN)
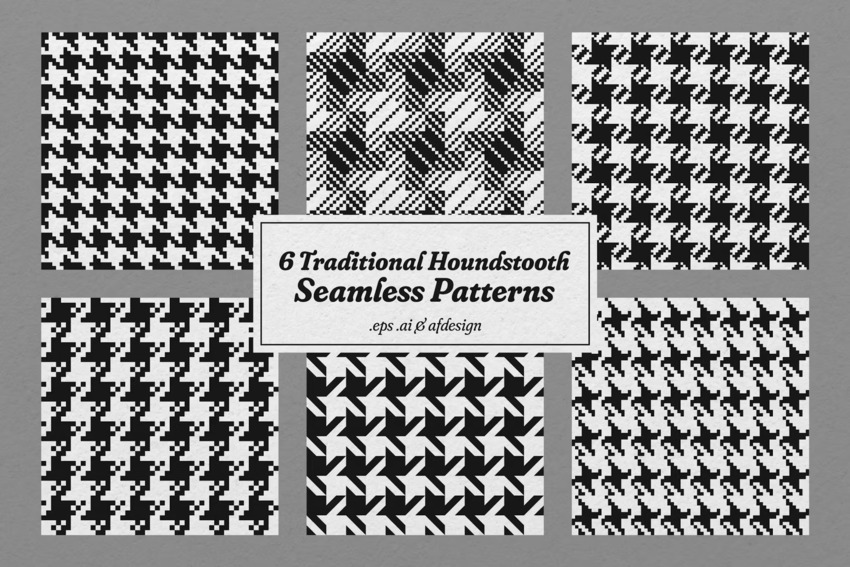


These vector plaid textures are ideal for any fashion project. Make samples for your next design or use them for digital content creation. There are three different plaid drawing files you can work with.
2. Set 5 Seamless Tartan Patterns (AI, EPS, JPG, PNG, PSD, SVG)
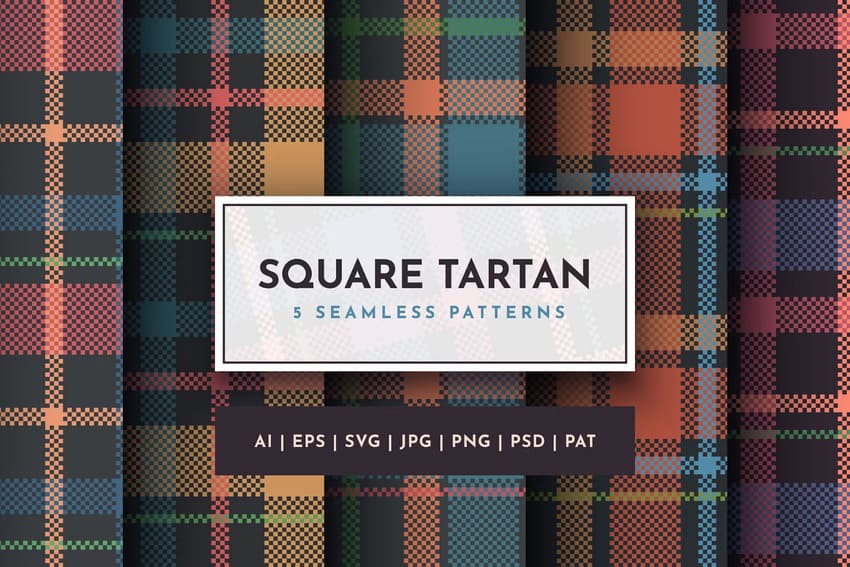
Even if you know how to draw a plaid pattern, you can also expand your options with great bundles like this one. It offers five different seamless patterns with a plaid design. The files are vectorized and conveniently layered.
3. Blue Plaid Seamless Patterns (AI, EPS, JPG, PDF)
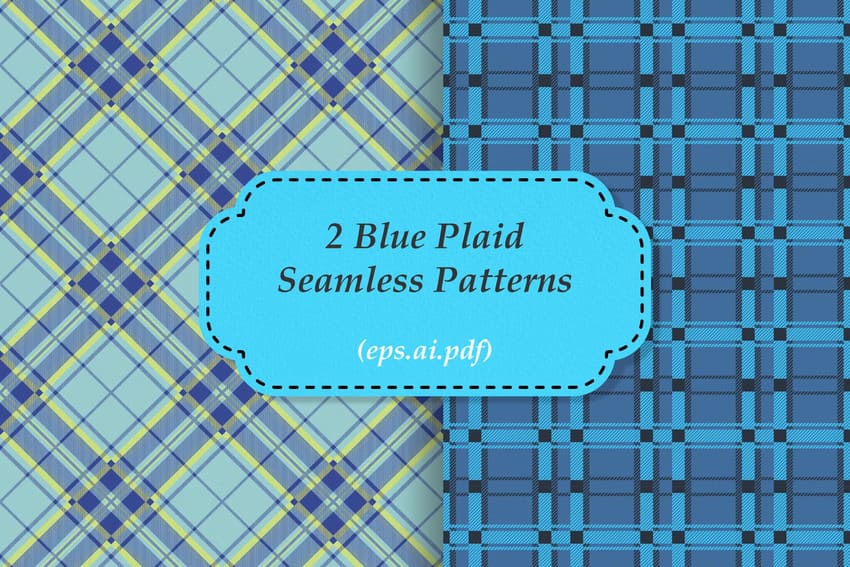
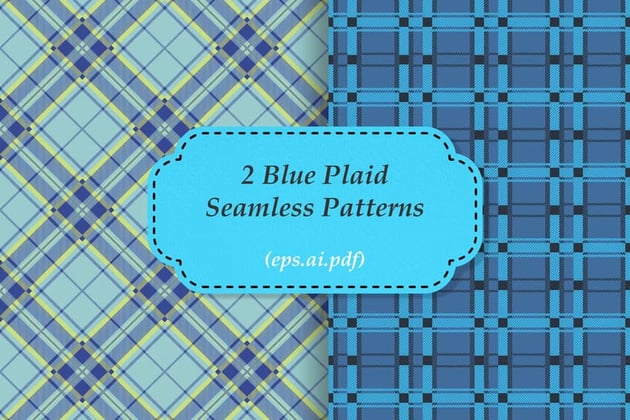
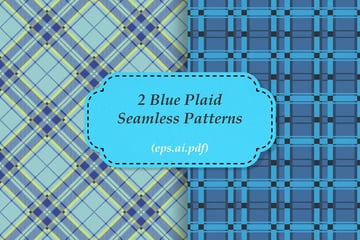
If you’re looking for a classic, simple plaid pattern, you’ll love this duo. Design blue prints with these layered vector files. You can also modify the colors in Illustrator.
4. Seamless Plaid Patterns (AI, EPS, JPG)
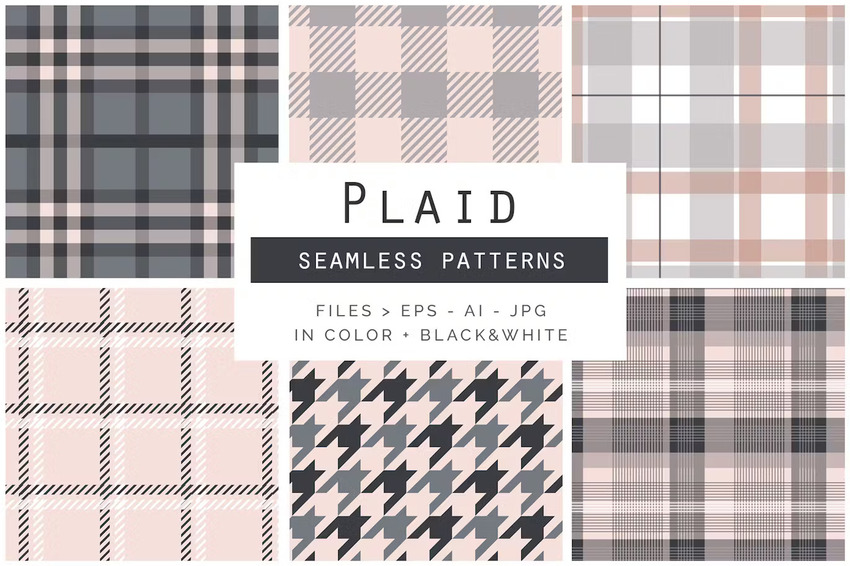
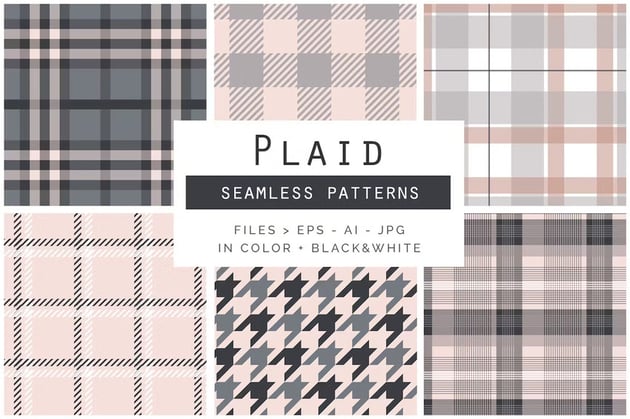
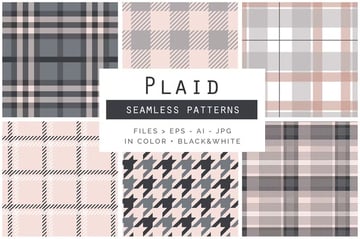
This is a must-have set of patterns with a plaid design. There are six in color and six in black and white. The featured styles include houndstooth, madras, tartan, windowpane, and more plaid drawings.
5. Vector Tartan Seamless Patterns (EPS, JPG)

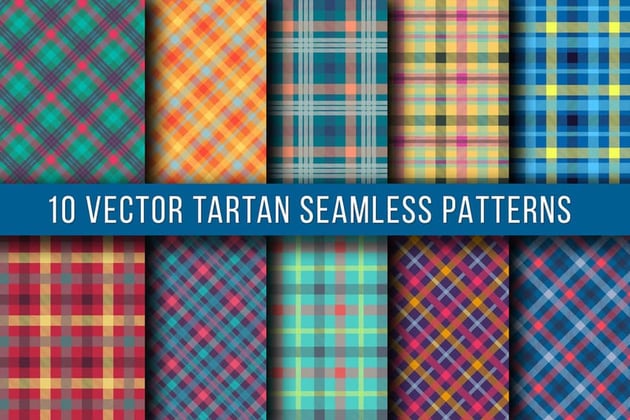

With ten vector patterns to choose from, this set is a great download. You’ll get many colors and plaid pattern drawings, which you can play with using Adobe Illustrator.
Answering all your questions about plaid patterns!
Even now that you know all about how to make a plaid design, you may still wonder about this iconic pattern. To put them to rest, here are a few answers to your most pressing plaid pattern drawing questions.
1. What’s the difference between tartan vs. plaid?
The question about tartan vs. plaid is a common one. But you have to wonder no more! Plaid is a general term for the checkered, crisscrossing pattern of vertical and horizontal stripes. Tartan is the specific woven fabric pattern linked with Scottish culture. Basically, you can say that all tartans are plaid, but not all plaids are tartan.
2. What are some common mistakes when creating a pattern with a plaid design?
Upon creating your pattern with a plaid design, you may notice that it’s not looking quite right. To make sure you get it perfect each time, avoid these common mistakes:
-
Wrong scale: Oversized plaids can overwhelm a design, while tiny ones may not have enough visual impact.
-
Unaligned patterns: Improperly aligned plaid patterns can look messy and unprofessional.
-
Poor color choices: Some plaid combinations can look outdated or unbalanced if the colors don’t complement each other. Use color theory to find a soothing combo.
3. Why is the plaid pattern drawing so popular?
A plaid pattern drawing is classic and versatile. What’s more, it’s culturally rich. Thanks to it being embraced across different groups at different times, it remains relevant and present. Scottish kilts, punks, lumberjacks, and more have worn it. It can be casual, formal, rebellious or elegant depending on the occasion. Moreover, it’s an easy pattern that’s instantly recognizable and adds just a touch of visual interest without being overwhelming.
Watch and learn how to create a plaid pattern!
Want to watch step-by-step video instructions on how to create a plaid pattern? Follow along with us over on our Envato Tuts+ YouTube channel:
Further expand your pattern-building skills!
We went through the steps on how to make a plaid pattern. Feel like learning more? Check out these tutorials to keep you going for the following days.