Old photocopiers might have not produced copies of the highest quality, but the distorted images resulting from such copying can have a retro appeal—especially in the age of high-resolution, full-color, HDR photos.
In this Photoshop tutorial, I’ll show you how to go back in time and turn your photos into low-quality copies—with a nice Xerox texture in three different styles!
What you’ll need for this Photoshop tutorial
I’m going to use three photos in this tutorial. Feel free to use your own, but if you want to achieve the same results as me, you can download the photos below from Envato:
1. How to create a grainy photocopy effect
Step 1
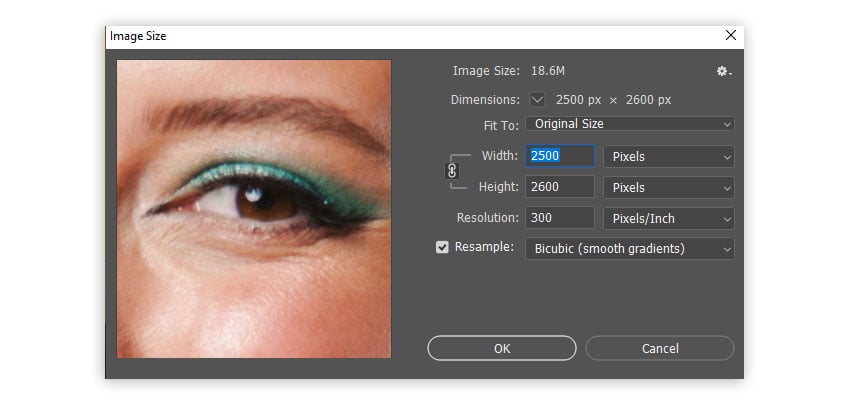
Open your file in Photoshop—use Photo 1 or your own image. To make sure the photo effect turns out exactly as in this tutorial, go to Image > Image Size and set the Width to 2500 px. Press D to reset the swatches to the default black and white.

Step 2
To create a photocopy filter, it’s best to use Photoshop Smart Objects—they allow you to edit the filters after applying them, or even replace the photo altogether, while keeping the effect intact.
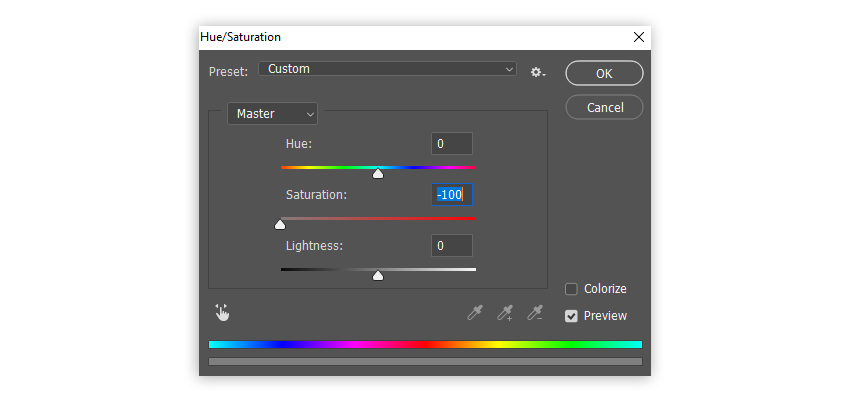
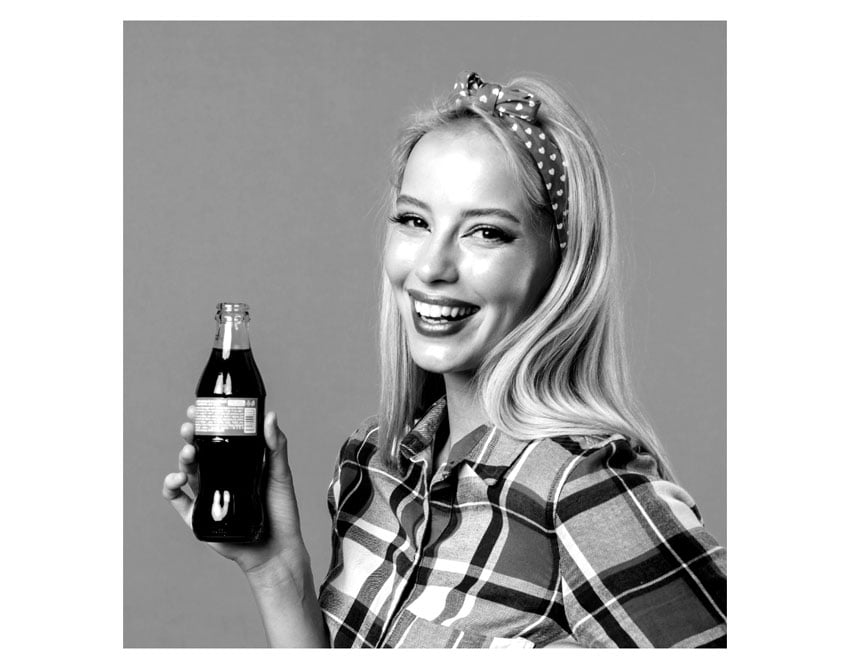
To do this, right-click the photo and select Convert to Smart Object. Then go to Image > Adjustments > Hue/Saturation, and drag the Saturation all the way down to -100—the lack of colors is absolutely fundamental for our photocopy effect!

Step 3
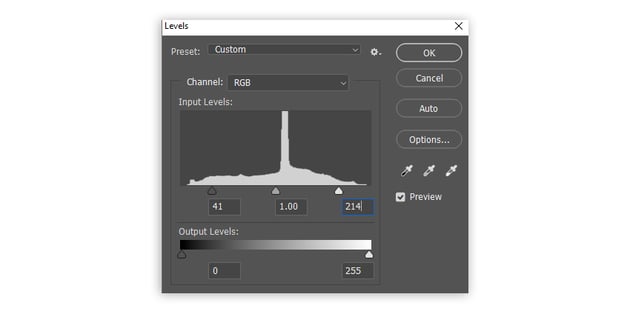
Go to Image > Adjustments > Levels. To increase the contrast, set the black (left) marker to 41, and the white (right) marker to 214. Click OK.




Step 4
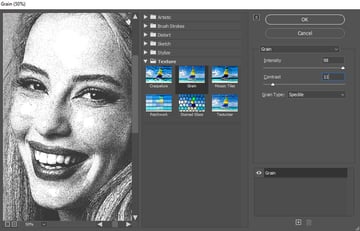
Go to Filter > Filter Gallery. Go to the Texture tab and select Grain. Set Grain Type to Speckle, Intensity to 98, and Contrast to 11. Click OK.


Step 5
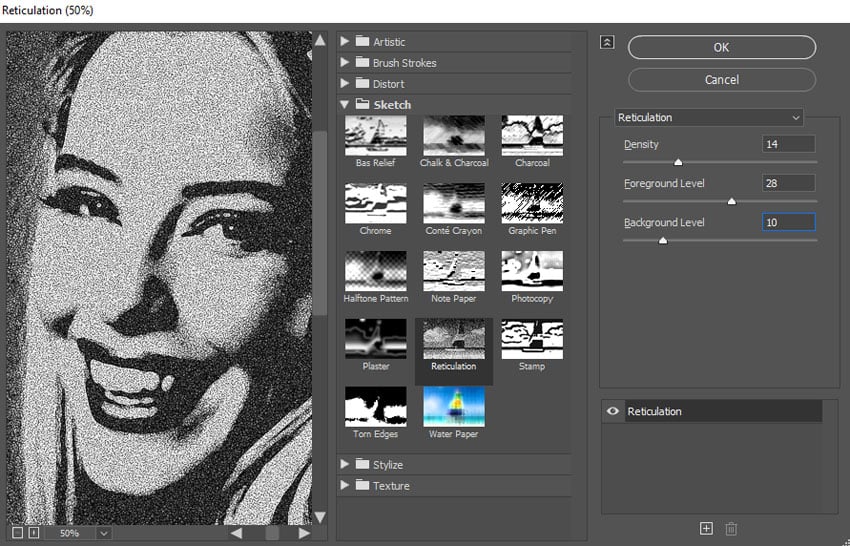
Our photo already has a visible photocopy texture on it, but we can make it even more convincing with a few more adjustments. Duplicate the layer with Control-J. Double-click the Filter Gallery adjustment and go to Sketch > Reticulation. Set Density to 14, Foreground Level to 28, and Background Level to 10. Click OK.

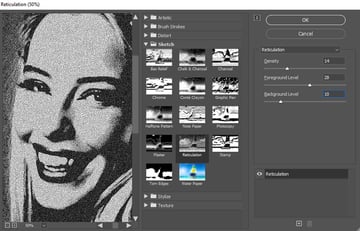
Step 6
Go to Filter > Pixelate > Crystallize. Set Cell Size to 3, and press OK.

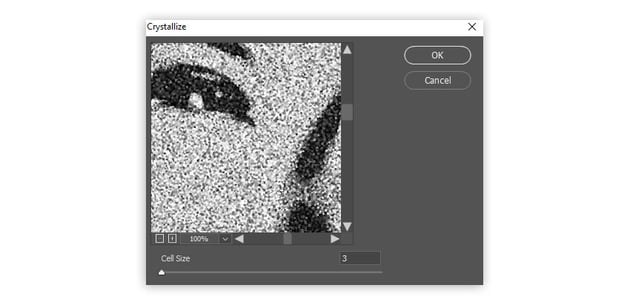

Step 7
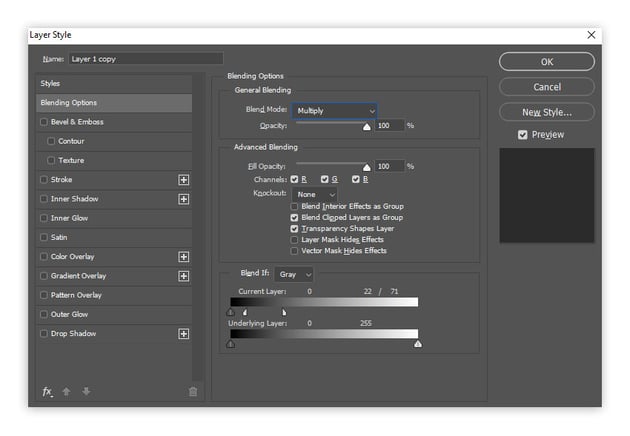
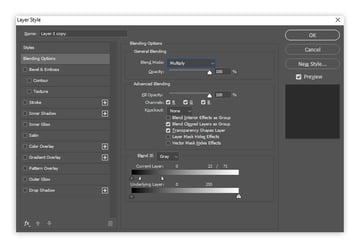
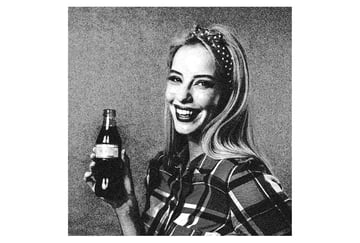
To combine this photocopy filter with the one on the layer below, double-click the current layer. In the Blending Options section, set Blend Mode to Multiply. At the bottom, in the Blend If section, drag the upper white marker to the left, to the level marked as 71. Then hold the Alt key to split the marker, and drag it to 22. Click OK.
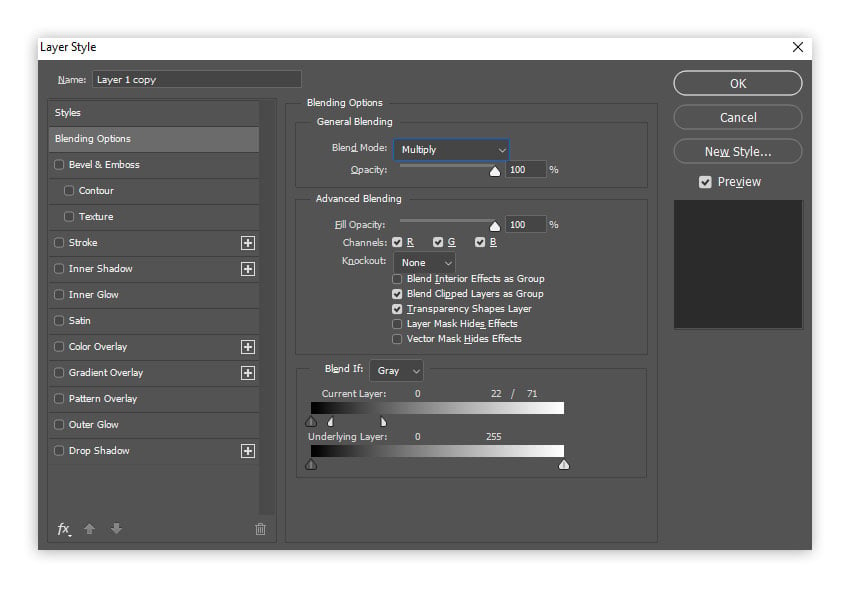


Step 8
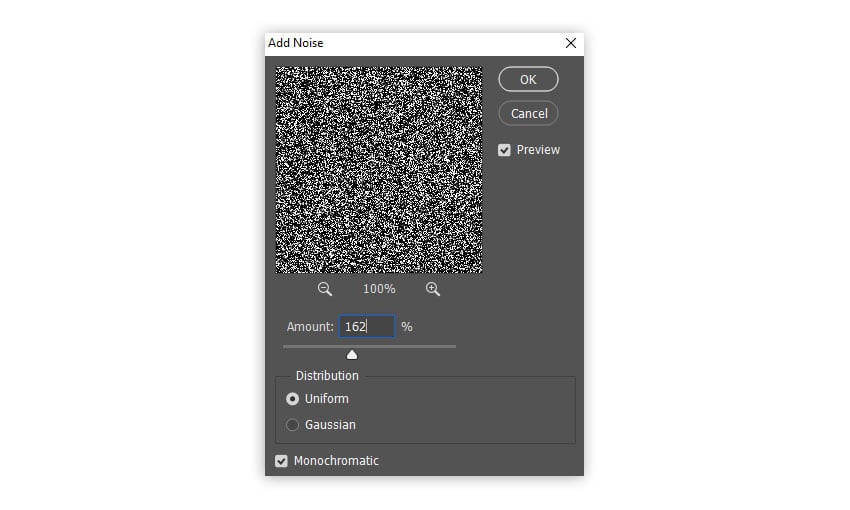
Let’s make this Xerox texture even dirtier! Go to Layer > New Fill Layer > Solid Color and set it to black. Go to Filter > Noise > Add Noise. A warning window will appear—click Convert to Smart Object. Then set the Amount to 162%, Uniform, Monochromatic. Click OK.

Step 9
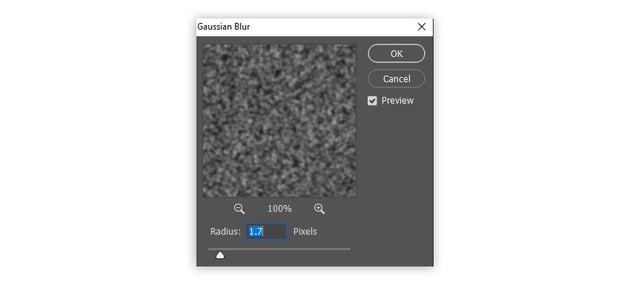
Go to Filter > Blur > Gaussian Blur. Set the Radius to 1.7 px and click OK.


Step 10
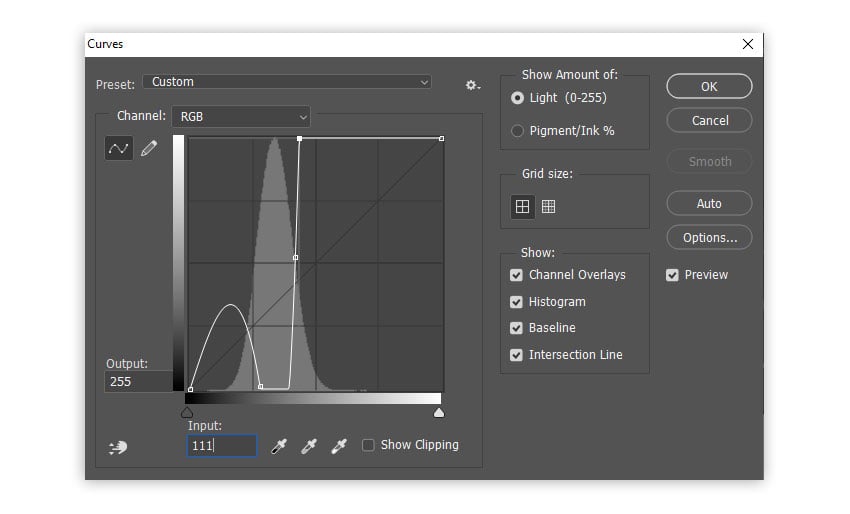
Go to Image > Adjustments > Curves. Add three points to the curve, and type these values into them:
- Output: 3; Input: 71
- Output: 134; Input: 107
- Output: 255; Input: 111
Once you’re done, click OK.


Step 11
Go to Image > Adjustments > Invert. Then double-click the layer and set the Blend Mode to Multiply. In the Blend If section, drag the lower white marker to 164.


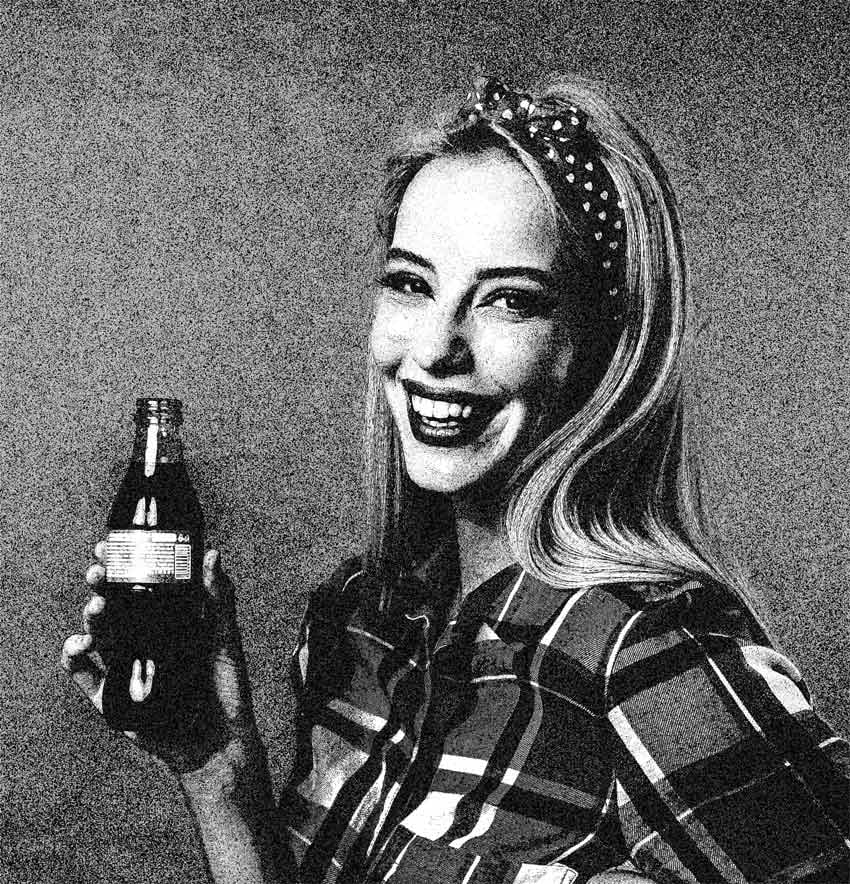
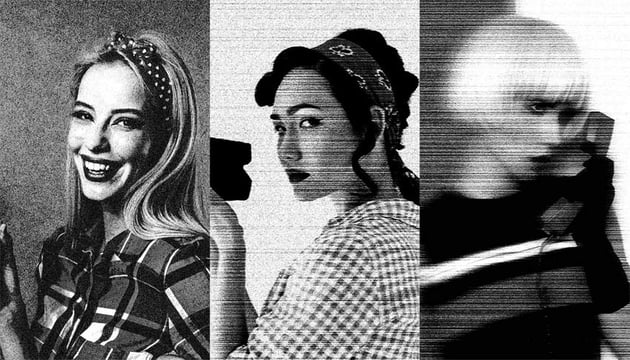
And our grainy photocopy effect is done!


2. How to create a striped photocopy texture
Step 1
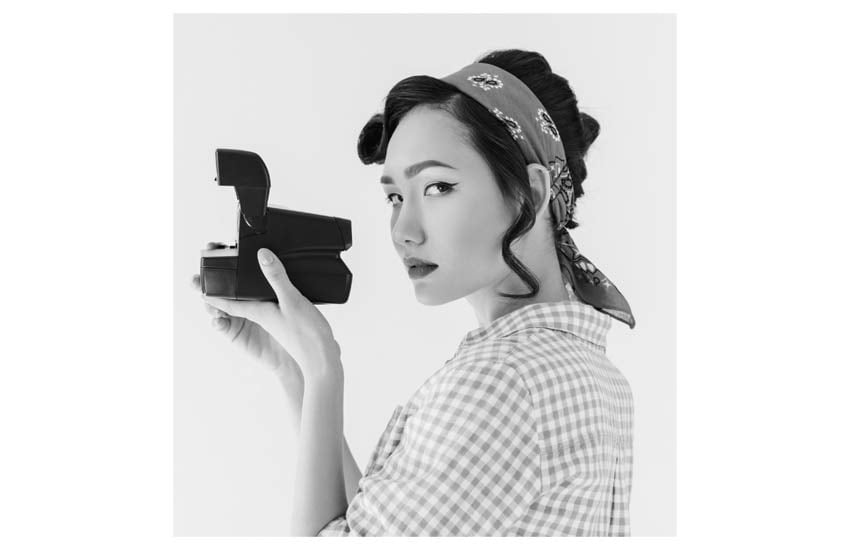
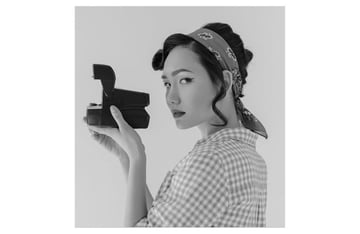
For this striped photocopy texture, I’m going to use Photo 2. Let’s prepare it the same way as the previous one, by repeating the first two steps.


Step 2
Go to Image > Adjustments > Brightness/Contrast. Set Brightness to -35 and Contrast to -27. Click OK.


Step 3
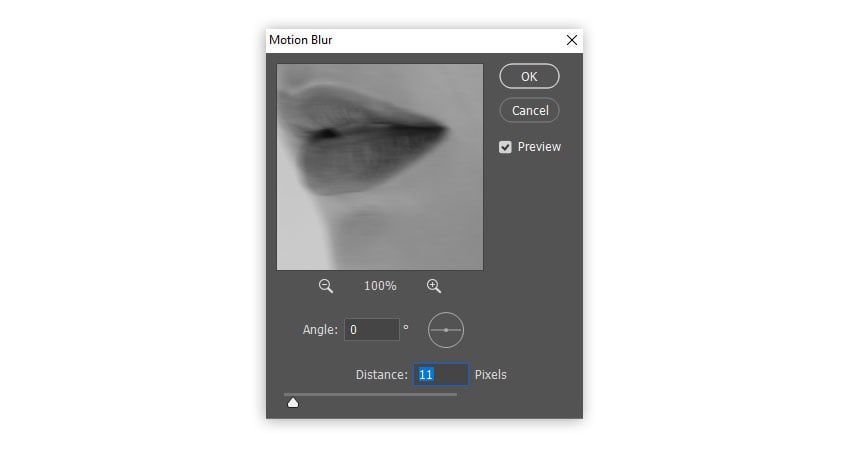
Go to Filter > Blur > Motion Blur. Set the Angle to 0 and Distance to 11. Click OK.

Step 4
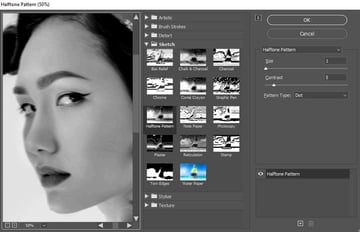
Go to Filter > Filter Gallery. Open the Sketch tab, and select Halftone Pattern. Set Pattern Type to Dot, Size to 1, and Contrast to 5. Click OK.


Step 5
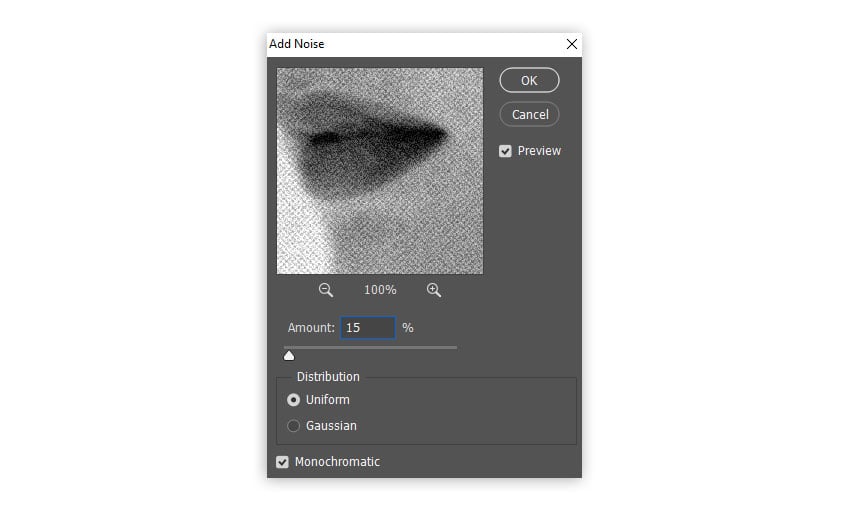
Go to Filter > Noise > Add Noise. Set Amount to 15%, Monochromatic, with Uniform Distribution. Click OK.


Step 6
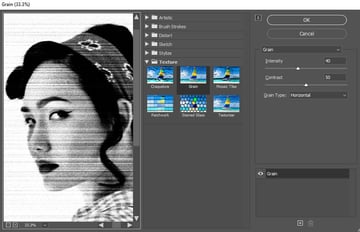
Go to Filter > Filter Gallery. Open the Texture tab and select Grain. Set Grain Type to Horizontal, Intensity to 40, and Contrast to 50. Click OK.


Step 7
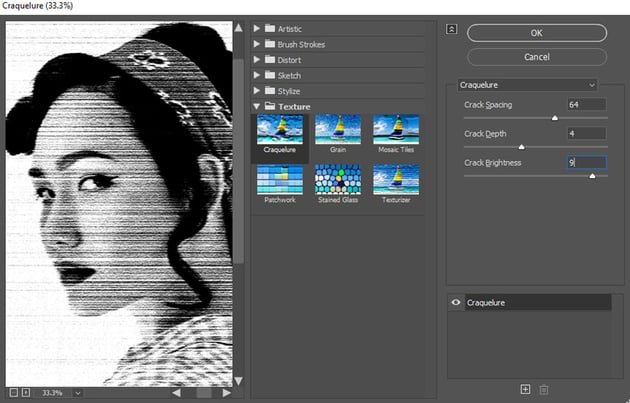
Go to Filter > Filter Gallery again. Open the Texture tab and select Craquelure. Set Spacing to 64, Depth to 4, and Brightness to 9. Click OK.


Step 8
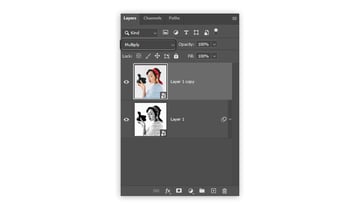
Duplicate the layer with Control-J. Right-click and click Clear Smart Filters. Set the Blend Mode to Multiply.


Step 9
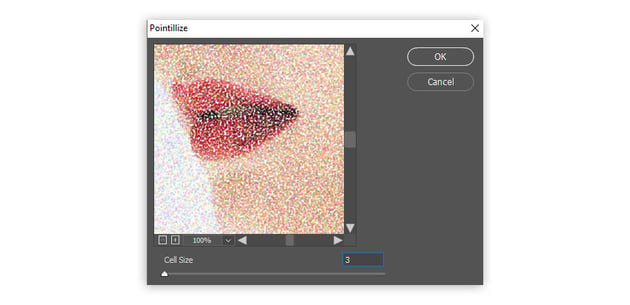
Go to Filter > Pixelate > Pointillize. Set Cell Size to 3, and click OK.

Step 10
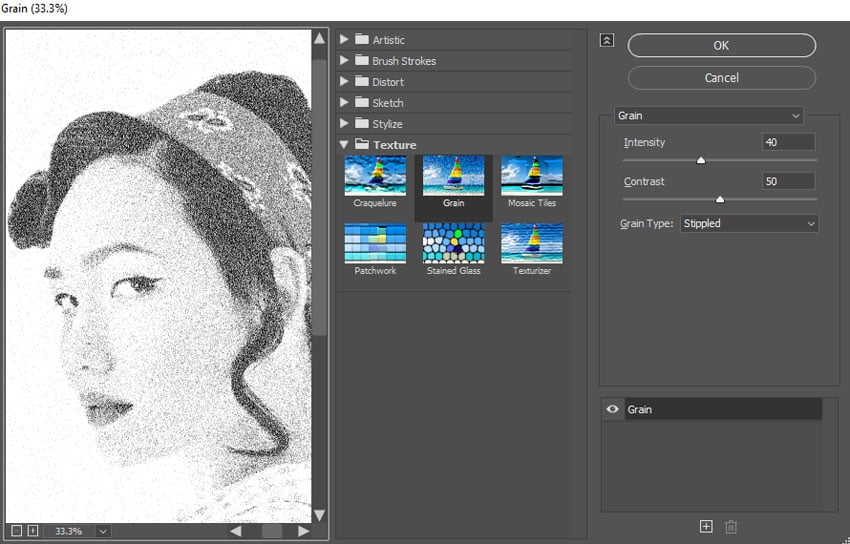
Go to Filter > Filter Gallery. Go to the Texture tab and select Grain. Set Grain Type to Stippled, Intensity to 40, and Contrast to 50. Click OK.

Step 11
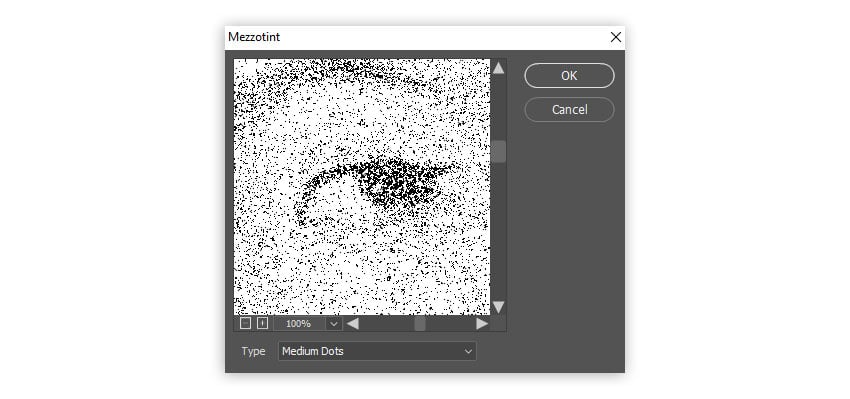
Go to Filter > Pixelate > Mezzotint. Set Type to Medium Dots, and click OK.


Step 12
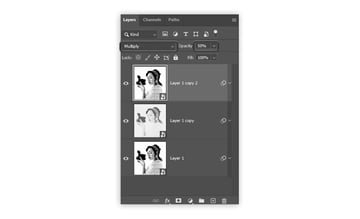
Now Duplicate the first layer with Control-J and drag it to the top. Set the Blend Mode to Multiply and Opacity to 50%. This will increase the contrast of the whole effect.


Step 13
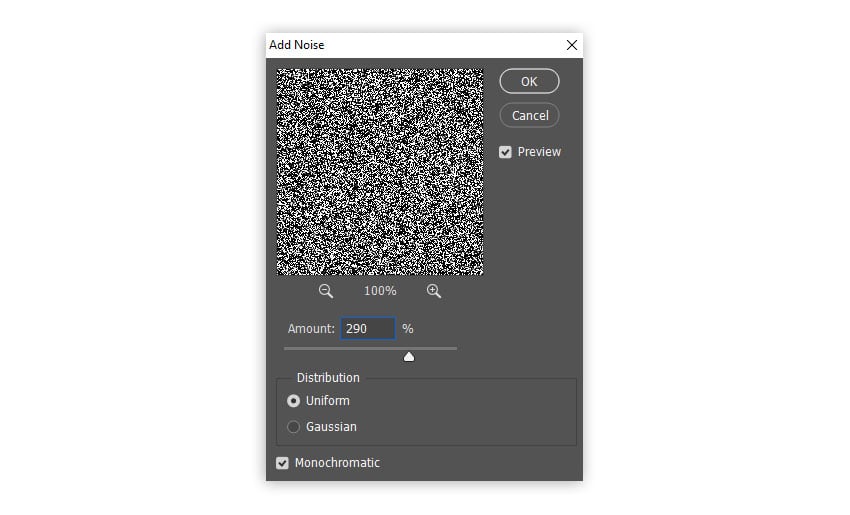
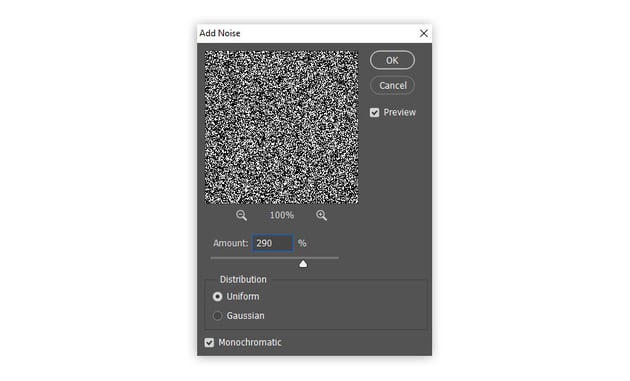
Let’s add some more grain and dirt now! Go to Layer > New Fill Layer > Solid Color and select black. Then go to Filter > Noise > Add Noise, click Convert to Smart Object, and use the Amount of 290 (Monochromatic, Uniform). Click OK.
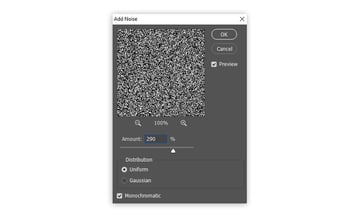
Step 14
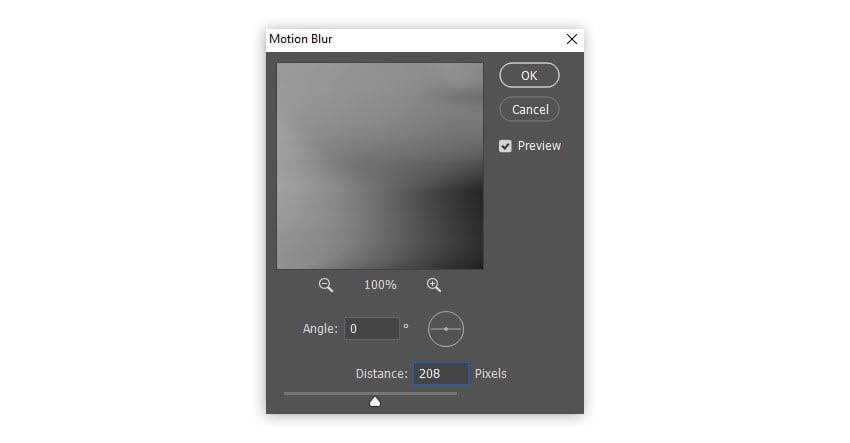
Go to Filter > Blur > Motion Blur. Set Angle to 0 and Distance to 208. Click OK.


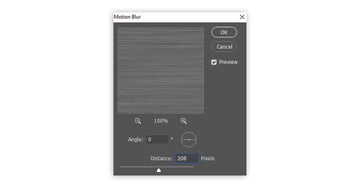
Step 15
Go to Image > Adjustments > Invert. Then go to Filter > Pixelate > Mezzotint. Set Type to Coarse Dots and click OK.


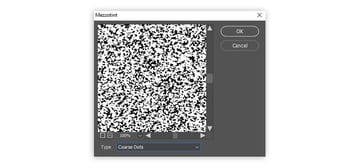
Step 16
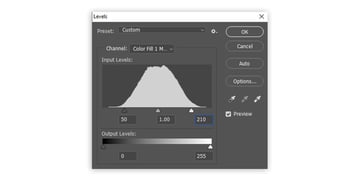
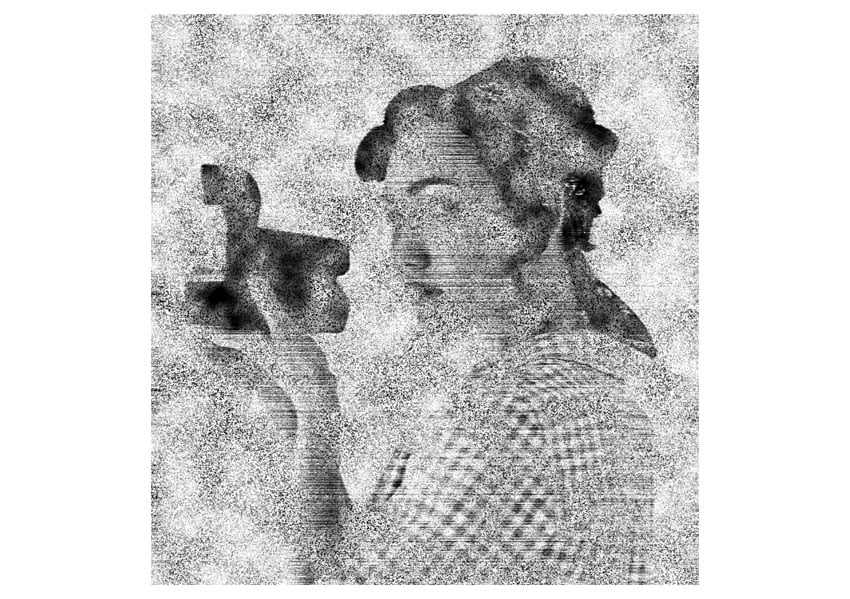
Go to Layer > Layer Mask > Reveal All. Then select the mask, and go to Filter > Render > Clouds. Press Control-L and adjust the Levels a bit to increase the contrast of the clouds—I’ve used 50 for the black mark and 210 for the white one. Click OK once you’re done.

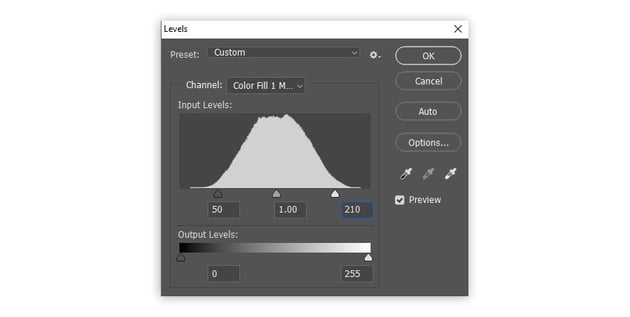


Step 17
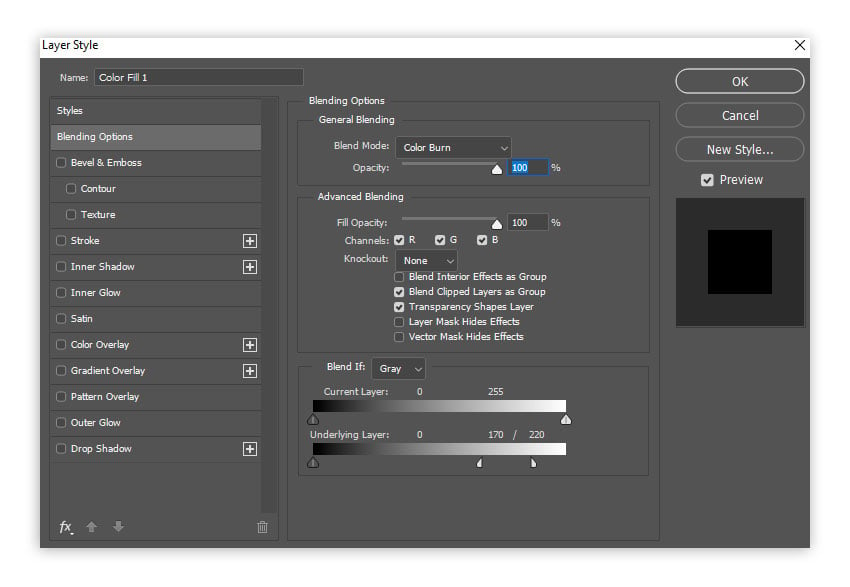
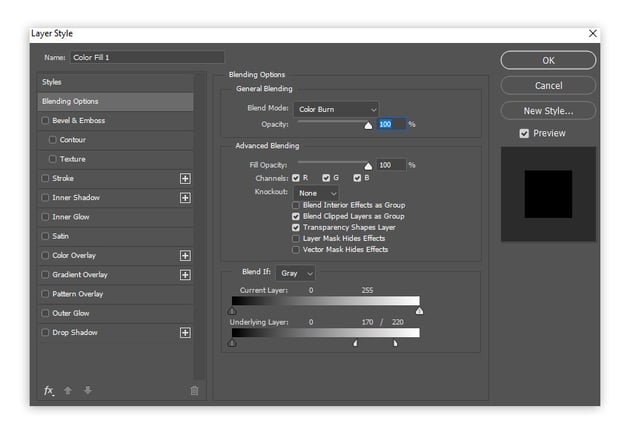
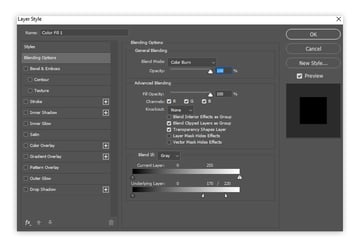
Double-click this layer and set the Blend Mode to Color Burn. In the Blend If section, drag the lower white marker to 220. Then hold the Alt key to split it, and drag it to 170. This will make this additional grain semi-transparent, and thanks to the cloudy layer mask, it will be applied to certain areas only. Click OK to finish.
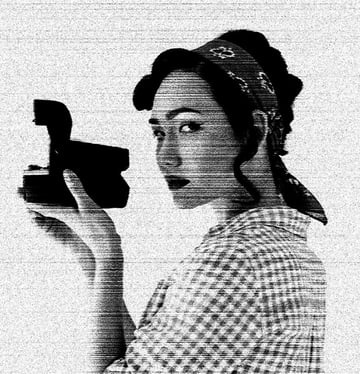
And our striped photocopy effect is done!


3. How to create a smudged photocopy texture
Step 1
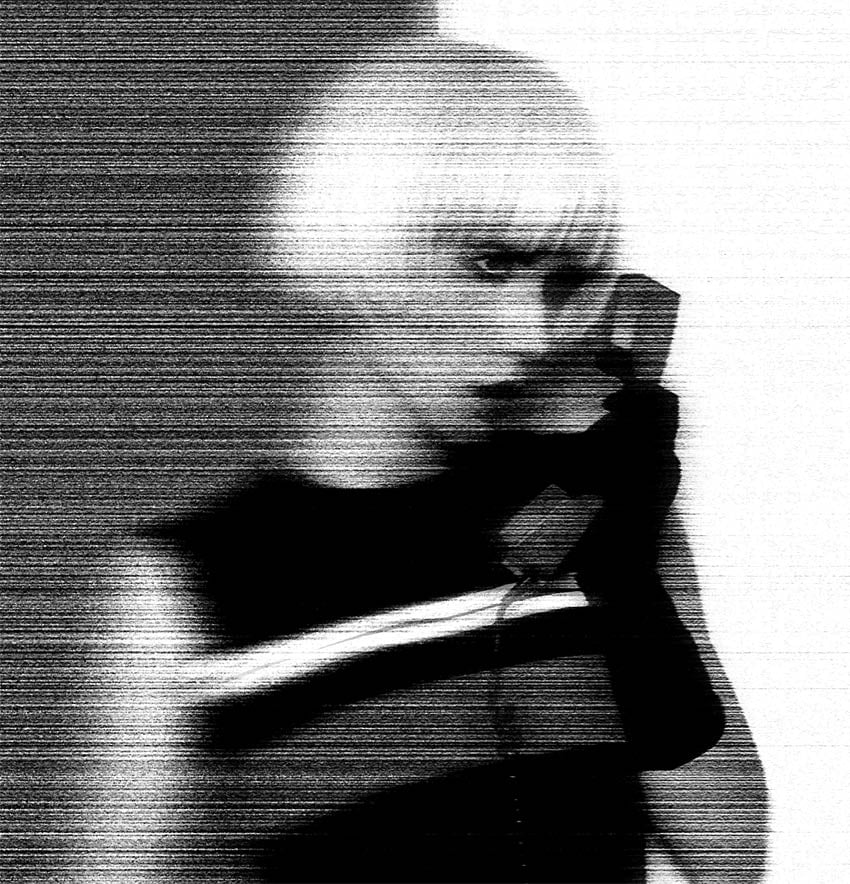
In this effect, I’m going to use Photo 3. Prepare it the same way as in the previous section, repeating steps 1–7, until your photo is black-and-white and striped.


Step 2
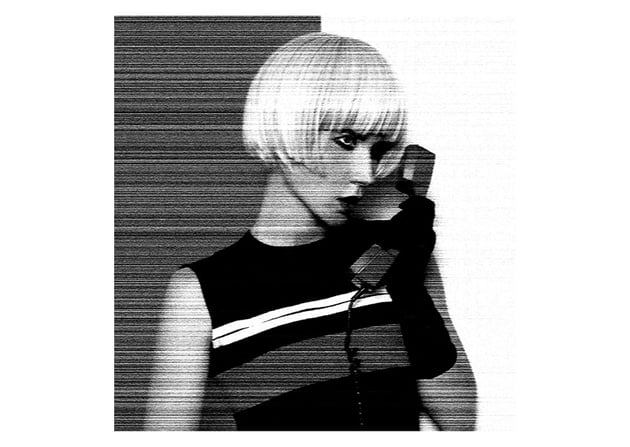
Duplicate the layer with Control-J. Double-click the Motion Blur adjustment in the copy, and increase the Distance to 208. Click OK.


Step 3
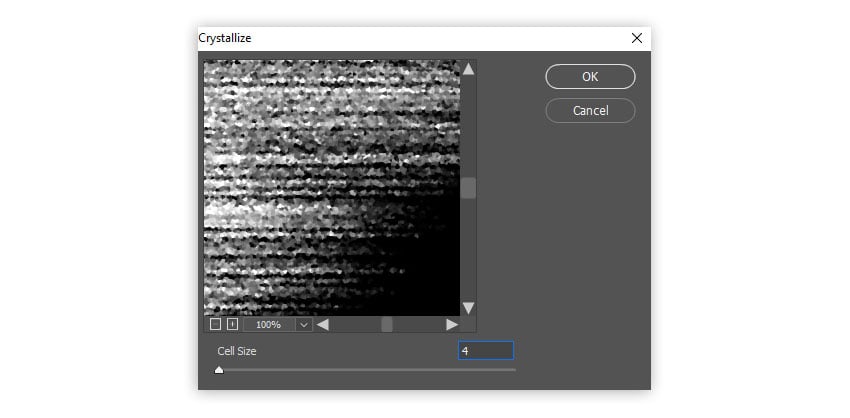
Go to Filter > Pixelate > Crystallize. Set Cell Size to 4, and click OK.
Step 4
Go to Layer > Layer Mask > Reveal All. Select the mask and take the Gradient Tool (G). Select the Foreground to Transparent gradient from the Basic list, and then drag it from the right to the left side while holding Shift.


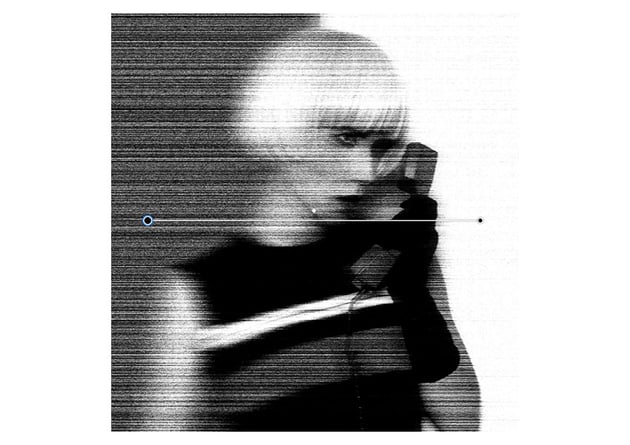

And that’s all—the smudged photocopy effect is done!


Good job!
Now you know how to create three photocopy textures: grainy, striped, and smudged. You’ve also learned how to create Photoshop effects using Smart Objects—and you can use this knowledge to create much more than photocopy filters!


Recommended resources from Envato
If you want to create more Photoshop effects like this, check out Envato—a subscription-based service that gives you access to a huge library of assets for all kinds of creatives.
Here are some examples:
1. Smudged scan line photocopy effect (ATN)
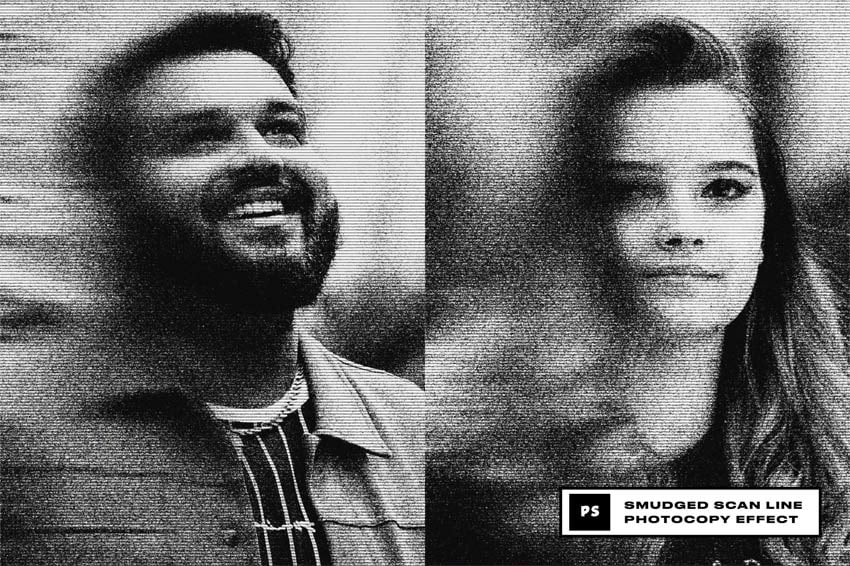


If you want to achieve a trendy, smudged Xerox texture, this add-on will allow you to do it with a single click! Just install the action, open your photo, and apply this effect completely effortlessly by playing the action.
2. Photocopy Photo Effect (PSD)
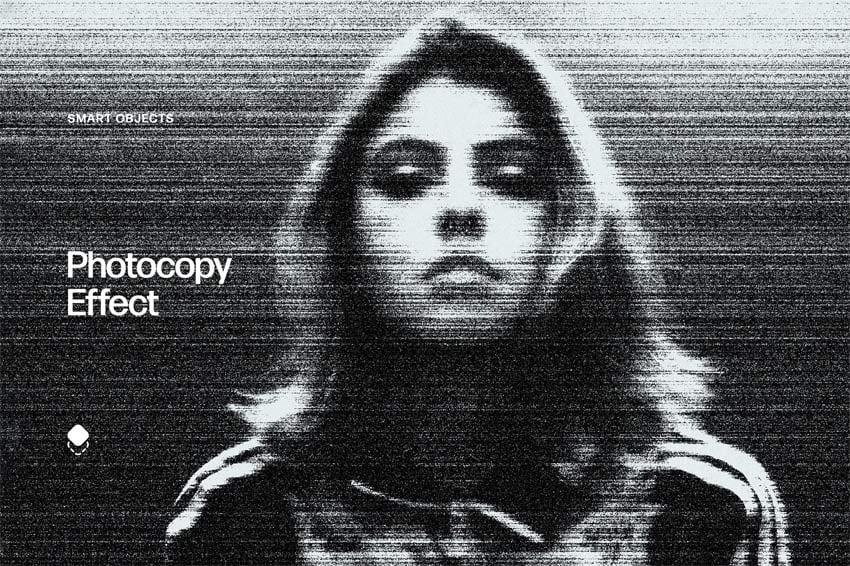
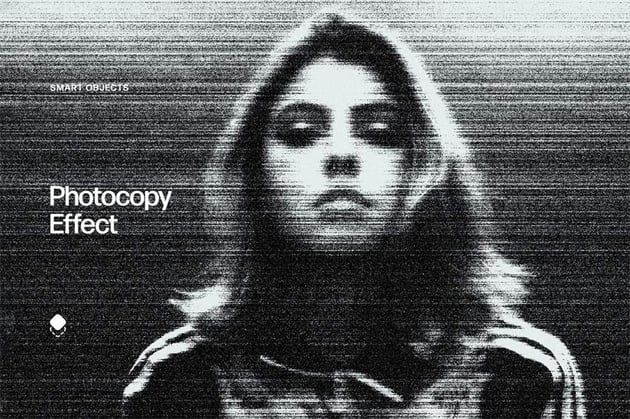
Do you need a striped photocopy texture? Envato’s got you covered! Simply replace the photo inside this Photoshop Smart Object to create a cool distorted image in seconds. You can also adjust the settings afterwards to create a unique result.
3. Grainy photocopy effect (ATN)

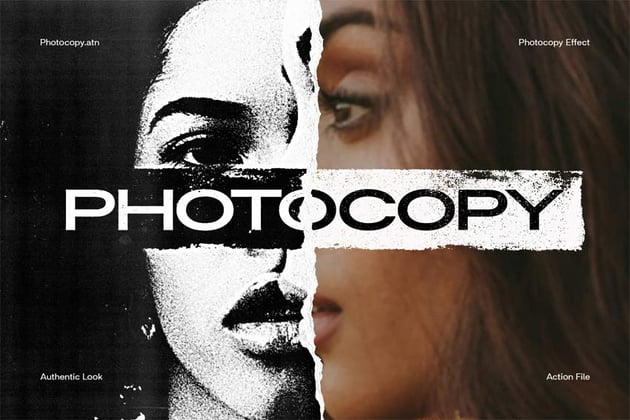

If you want more grain in your photocopy effect, you’ll like this action—it creates a dark, black-and-white effect with very visible grain. And since it’s an action, it’s incredibly easy to apply!
4. Drawing photocopy effect (PSD)
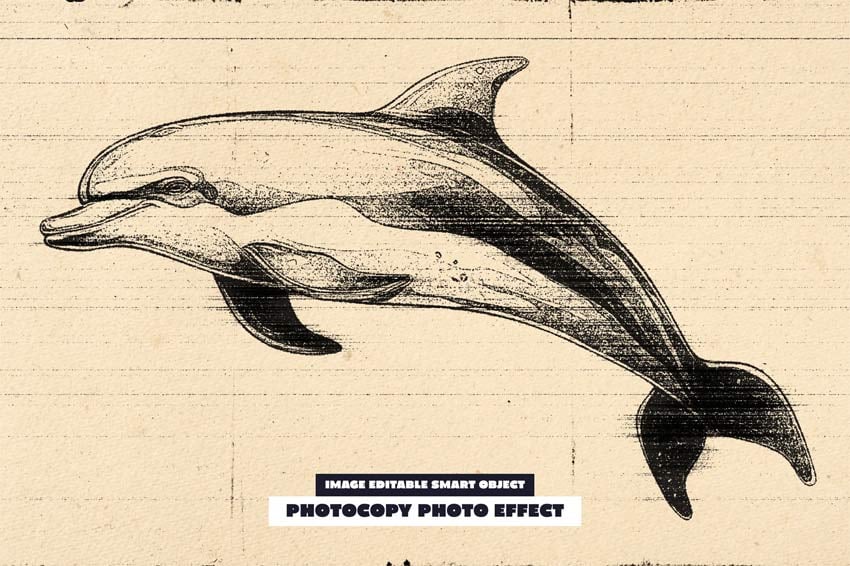

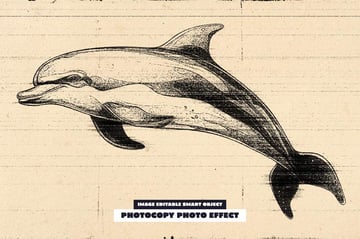
How about turning your photo into something resembling a drawing? With this Smart Object, you can add a cool Photoshop effect to your image just by importing your photo into the file. And because it’s a Smart Object, you can also edit the settings later!
5. Large grain photocopy effect (ATN, PAT)

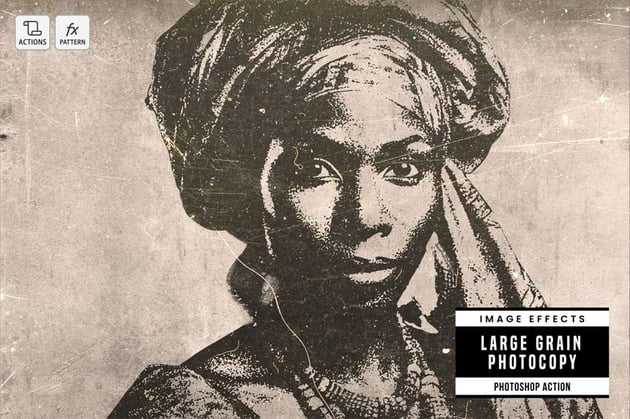
If you want a unique effect, this Photoshop action creates a photocopy effect with a larger grain—but the best thing about it is, it still preserves the details! So give it a try if you want the effect of a low-quality photocopy with a nice disturbed background.
Recommended tutorials
If you want to keep learning about Photoshop effects and creating distorted images in various styles, here are a few recommended tutorials from our site: