Is Squid Game the best Korean show on Netflix? We think so! Find out about the Squid Game logo aesthetic and learn how to create the grunge-style logo which represents perfectly the drama and the brutality of this popular TV series.
If you don’t have the time to learn how to make the Squid Game season 2 logo, you can always try Envato, where you’ll find a large selection of fonts and textures that are ready to be used for logos.
The Squid Game aesthetic


Are you curious to know when season 2 of Squid Game is coming out? It’s coming directly from South Korea to our screens in December 2024, and we couldn’t be more excited about it.
This Netflix hit is a combination of survival drama and game show, which got us all hooked from the very beginning. Beyond the disturbing and deadly storyline, what makes Squid Game more dynamic and visually appealing to the audience is the incredibly fresh and innovative aesthetics represented by the bold pink of the mysterious masked villains and the green color of the player’s uniforms.
On the other hand, the logo has a distressed and brutal appearance, but maybe it’s exactly this contrast between looks, between social classes, between the dark outside world and the colorful inside world, that makes Squid Game an epic TV series. I wonder what other amazing series are on the Netflix 2025 agenda.
What you’ll learn in this tutorial
I’m sure you’re very familiar with this popular Netflix show, so let’s recreate its logo step by step in Adobe Illustrator. Here’s what we’ll cover:
Tutorial assets
You’ll need the following resources to complete this project:
1. How to make a new document in Adobe Illustrator
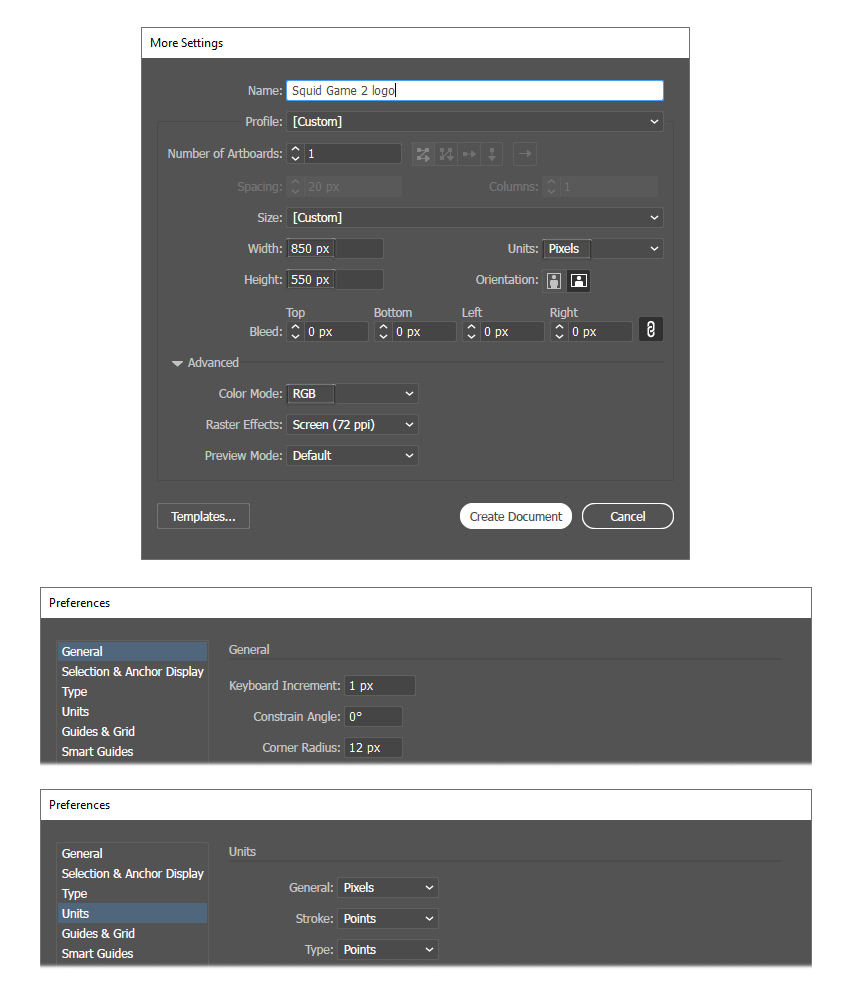
Launch Illustrator and go to File > New to open the New Document window. There, type the name of the document and set the dimensions as shown. Keep the Units set to Pixels and the Color Mode to RGB. Once you’re done, hit Create Document.
In the image below, you can see the other settings that I prefer to use while working in Illustrator. You can access them by going to Edit > Preferences.
2. How to make the Squid Game logo font
Step 1
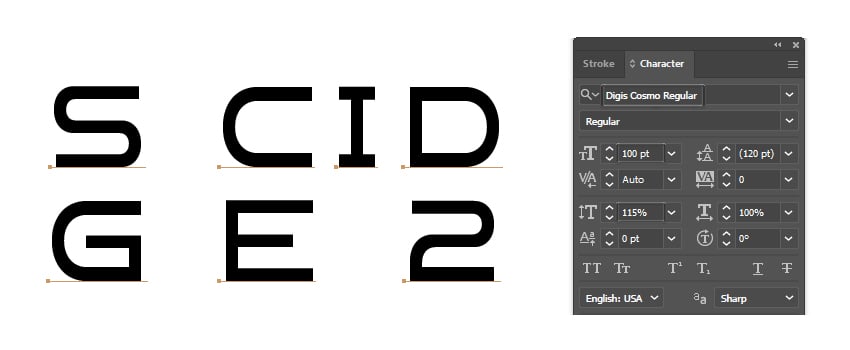
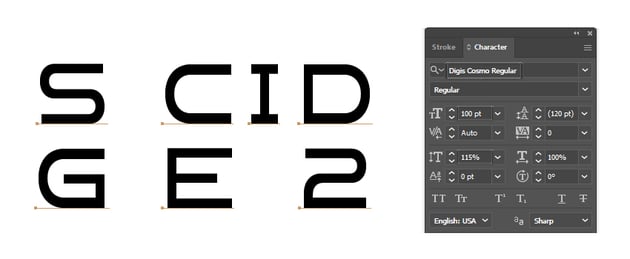
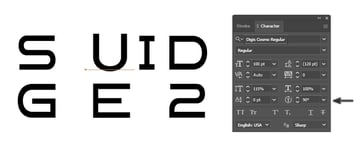
Grab the Type Tool (T) and write the letters S, C, I, D, G, and E along with the number 2 on your artboard separately. Use the Digis Cosmo Font, which is surprisingly similar to the original Squid Game font. The edits to the font will be minimal.
In the Character panel, use these settings:
- Font style: Digis Cosmo Regular
- Font size: 100 pt
- Vertical Scale: 115%
Step 2
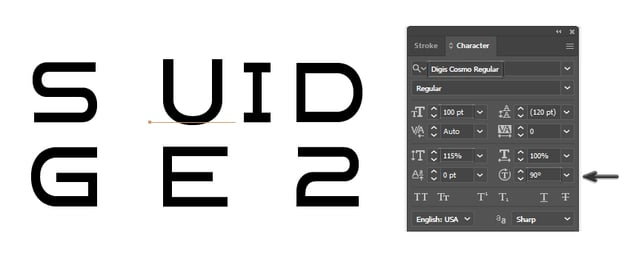
We’re using the letter C instead of the actual letter U because it looks more similar to what we need. With the letter C selected, go to the Character panel and choose 90 degrees in the Character Rotation field. 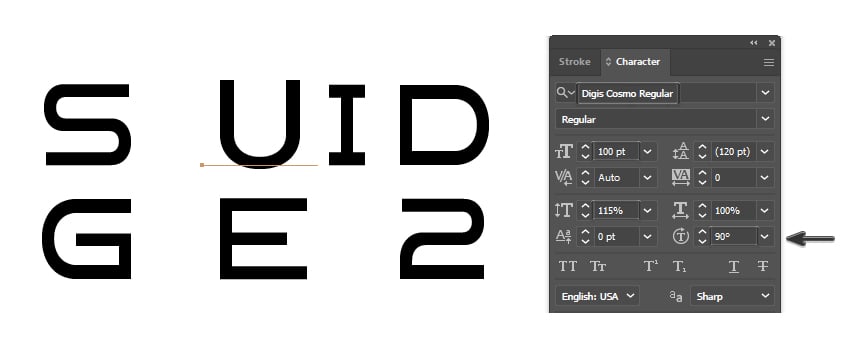
Step 3
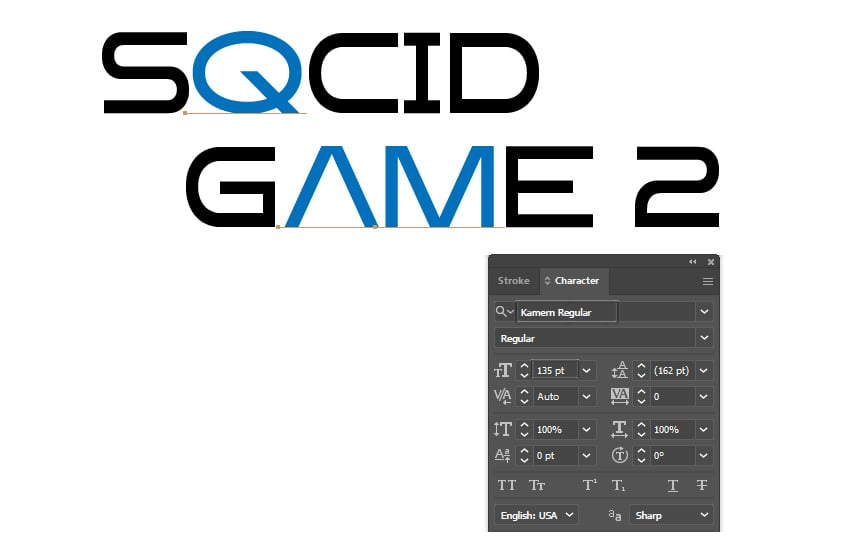
Next, type the letters Q, A, and M using the Kamern Font, with a Size of 135 pt.
Step 4
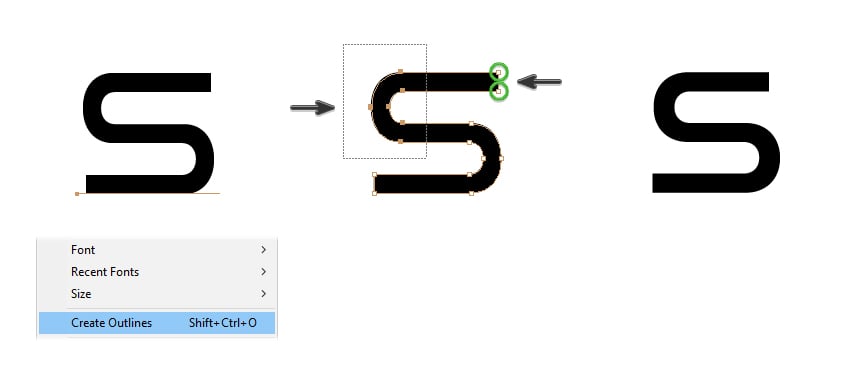
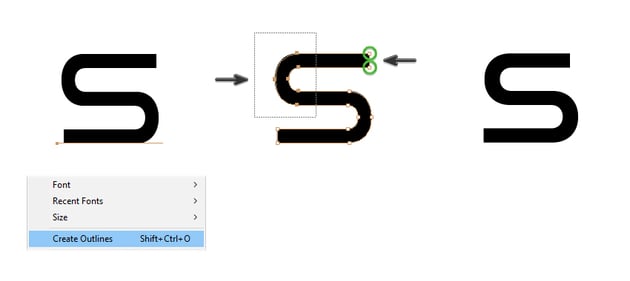
Let’s adjust the letters a bit. Start by selecting the letter S, and go to Type > Create Outlines followed by Object > Ungroup (Shift-Control-G). This will turn the live letter into a shape. Use the Direct Selection Tool (A) to drag a selection over the top-left curved portion of the letter S to select only those points, and move them about 10 px to the right by pressing the Right Arrow key on your keyboard ten times.
Next, select only the points highlighted with green, and move them about 10 px to the left to make that section shorter.
Step 5
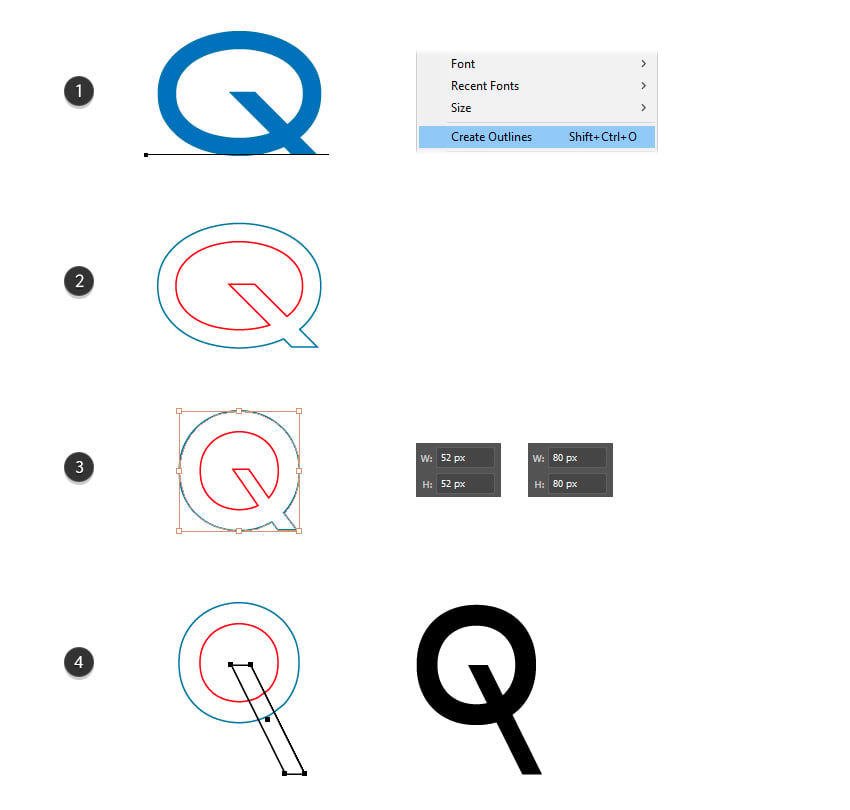
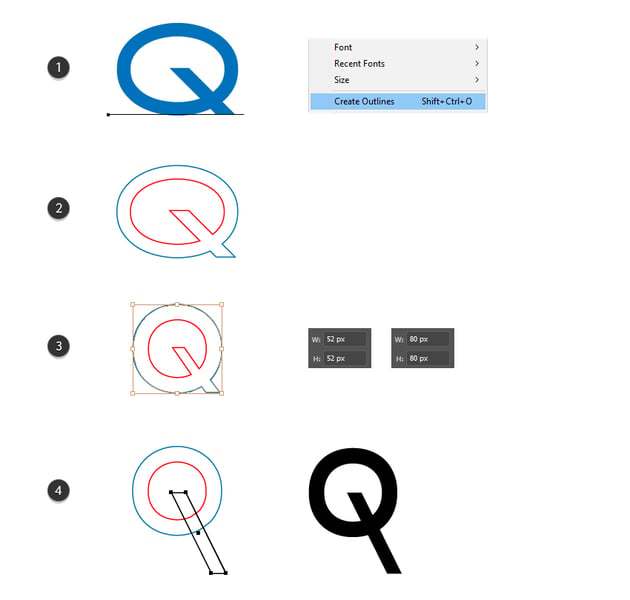
With the letter Q selected, choose Create Outlines from the Type menu followed by Object > Ungroup (Shift-Control-G) (1). Next, go to Object > Compound path > Release to separate it into two shapes (2). Select the smaller Q shape (red) and change its size in the Transform panel to 52 x 52 px. Now, change the size of the bigger Q shape to 80 x 80 px (3).
The tail of the letter Q is not good, so you can use the Delete Anchor Point Tool (-) to remove those points and draw a new tail with the Pen Tool (P) as shown below (4).
To put the letter back together, select the two circles (red and blue) and press Minus Front in the Pathfinder panel; then select the resulting compound path along with the new tail and press Unite in the Pathfinder panel. Now, you can give it a black fill.
Step 6
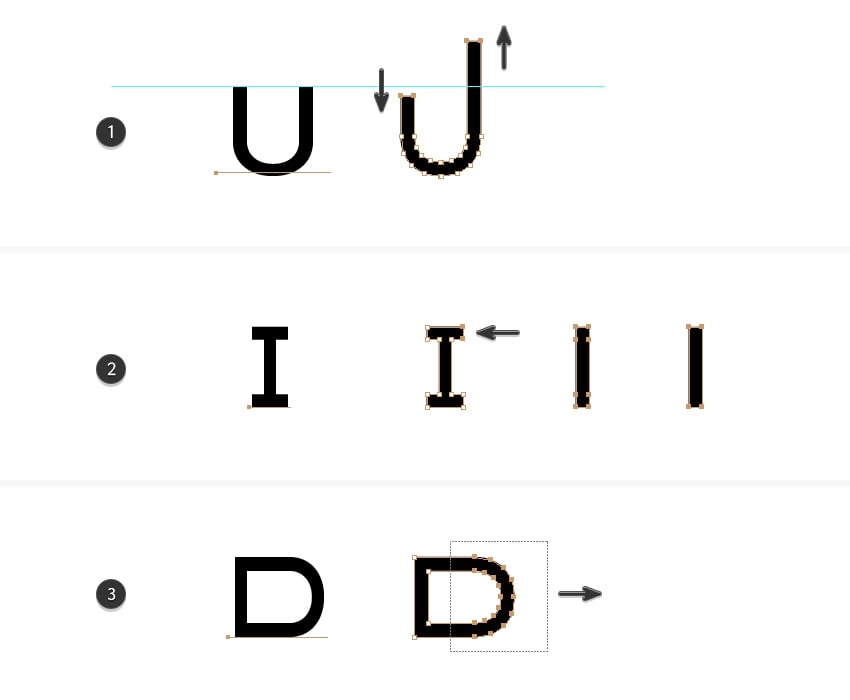
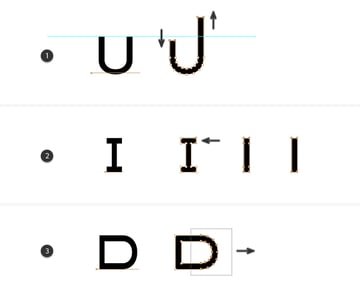
After you Expand and Ungroup (Shift-Control-G) the letter U as you did before, use the Direct Selection Tool (A) to make one of the arms shorter and the other one longer (1).
After you Expand the letter I, use the Direct Selection Tool (A) to select only the two top-right points and move them to the left until the serif is gone. Repeat the same thing for the other three serifs to remove them. Once done, feel free to use the Delete Anchor Point Tool (-) to clean up the extra points along the path of the letter (2).
Next, Expand and Ungroup (Shift-Control-G) the letter D. Drag a selection over the curved portion with the Direct Selection Tool (A) to select all those points, and move them to the right to make the letter wider (3).
Step 7
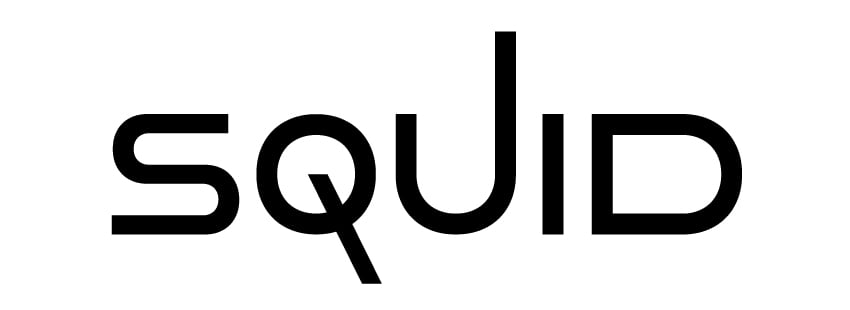
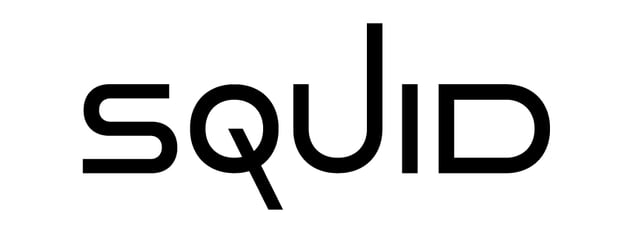
At this point, the SQUID letters are done. Almost identical, right?
Step 8
The next letter is G. Go ahead and Expand it, and then Ungroup (Shift-Control-G) it. Move the point highlighted with green towards the inside and the points highlighted with red towards the outside using the Direct Selection Tool (A). Finally, draw a long tail with the Pen Tool (P) as shown.
Position the letter G under the letter Q and elongate the top end until it overlaps with the tail of the letter Q. 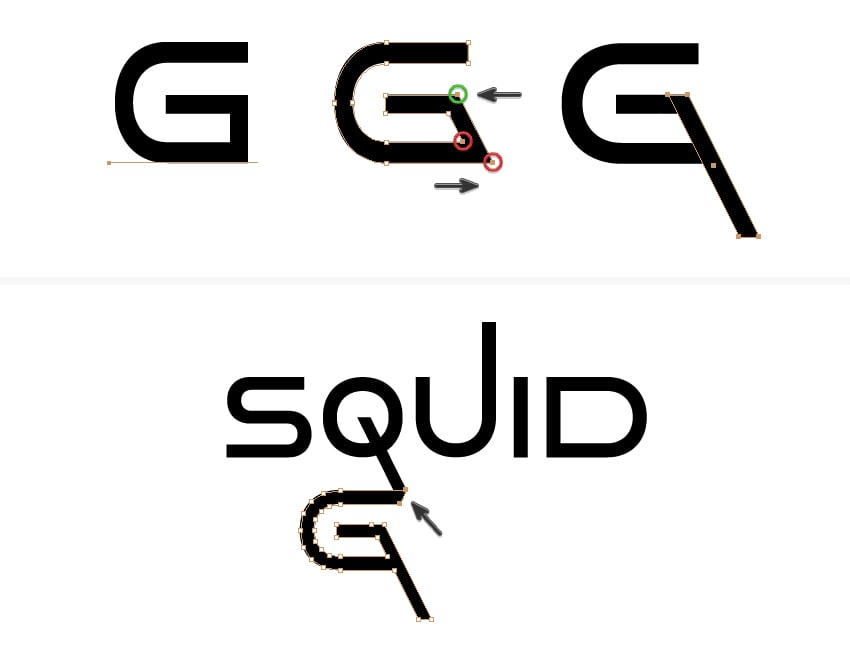

Step 9
Use the Add Anchor Point Tool (+) to add an extra point in the top middle of the letter A; then switch to the Delete Anchor Point Tool (-) and remove the points highlighted with red.
Next, select only the point highlighted with green and move it downwards with the Direct Selection Tool (A). The last thing to do is to select the points at the bottom of each leg and move them a little to the inside.


Step 10
After you Expand and Ungroup the letter M, grab the Knife Tool and make two cuts as shown below to separate the legs. Move the legs closer to each other; then select the entire letter and press Unite in the Pathfinder panel to merge them back together. One last thing to do is to select only the point highlighted with green and move it upwards a little.


Step 11
The last letter is E. Use the Delete Anchor Point Tool (-) to remove the two points highlighted with red and get rid of the middle arm. Draw a new one with the Pen Tool (P) with a size of about 75 x 12.5 px and a slanted end, as shown in the image below. 


Step 12
For the number 2, just move the two starting points 10 px to the right by pressing the Right Arrow key on your keyboard ten times. The number is almost identical to the original.


Step 13
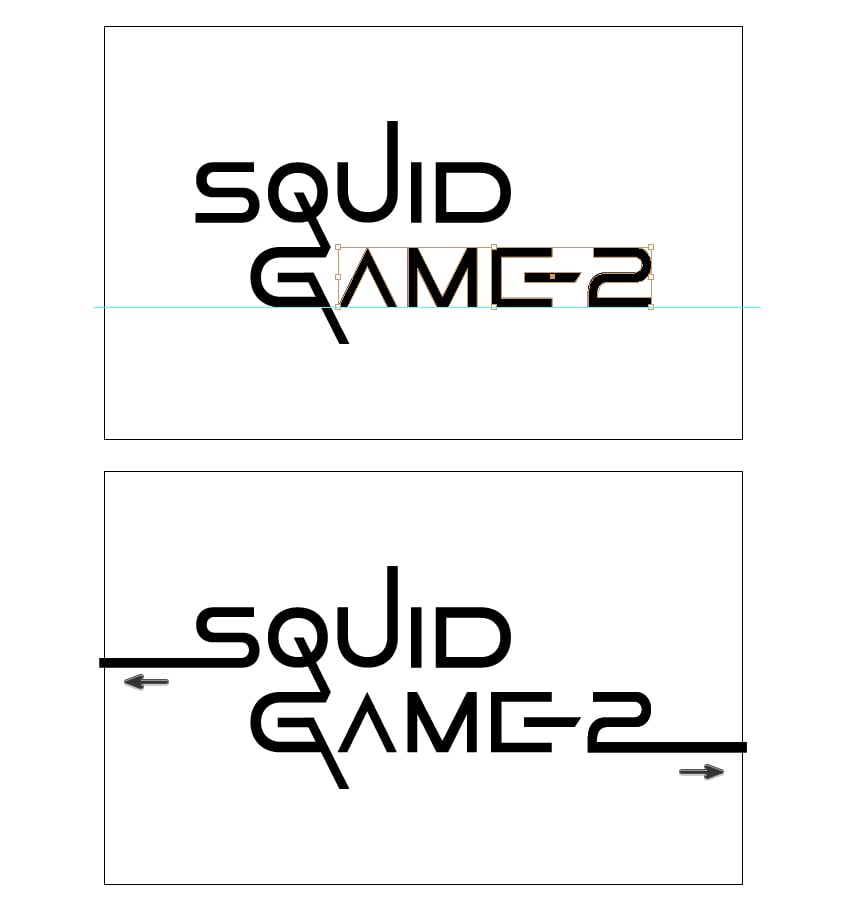
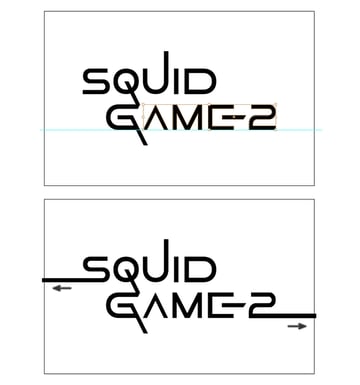
Position and align the letters A, M, and E and the number 2 with the letter G. Elongate the tail of the letter S and the tail of the number 2 by selecting the two end points with the Direct Selection Tool (A) and moving them over the artboard. The Squid Game season 2 logo font is now ready.
3. How to color the Squid Game season 2 logo
Step 1
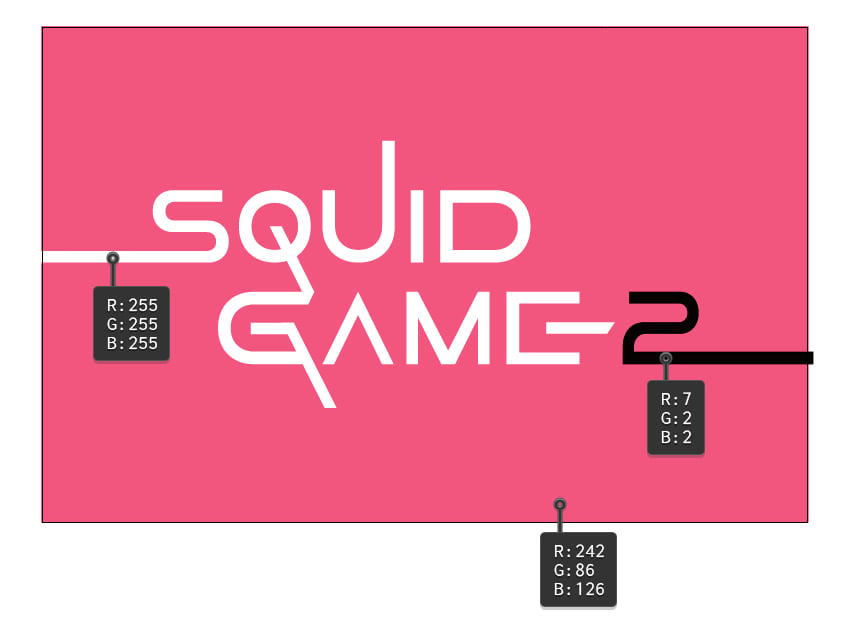
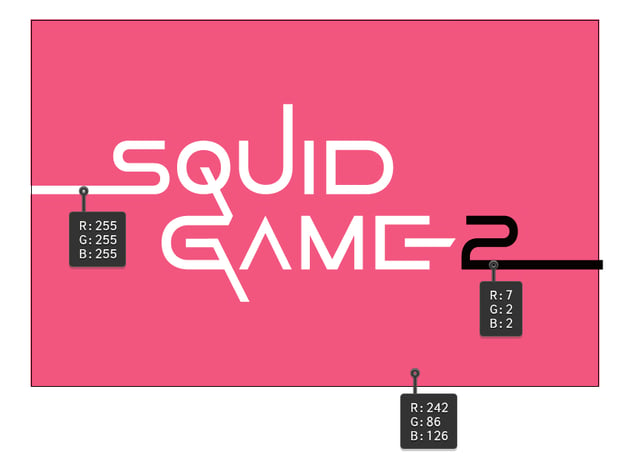
In this tutorial we’re recreating the white and black logo version on a pink background. Color the shapes as shown.
Step 2
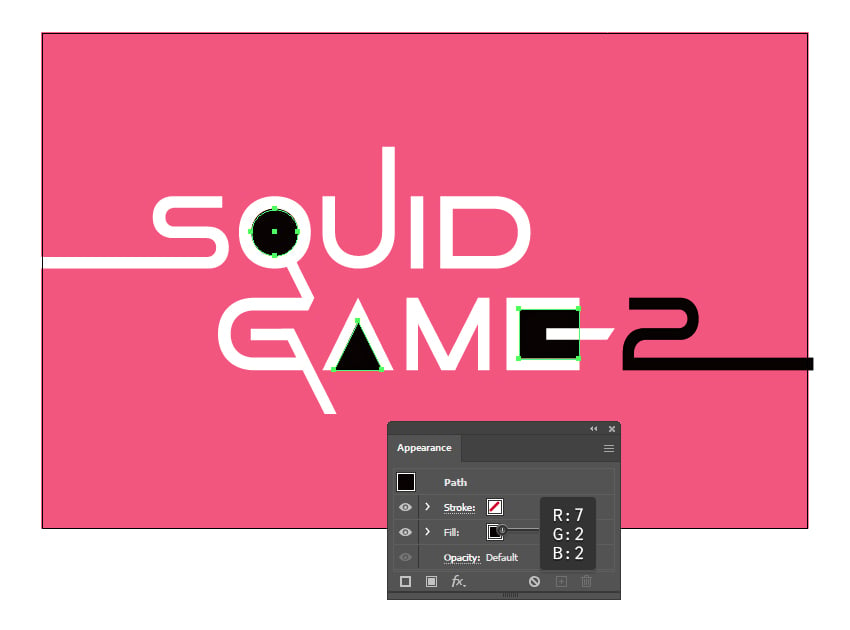
Use the Ellipse Tool (L) to draw a circle of 52 x 52.5 px, which should fit perfectly inside the letter O. Switch to the Pen Tool (P) and draw a triangle and a square inside the letters A and E between their corner points. Color the inside shapes with black.
4. How to apply vector textures in Adobe Illustrator
Step 1
The logo of this popular Netflix show has a grungy, savage look which we will recreate using different textures in the following steps. This look goes perfectly with the drama of the storyline.
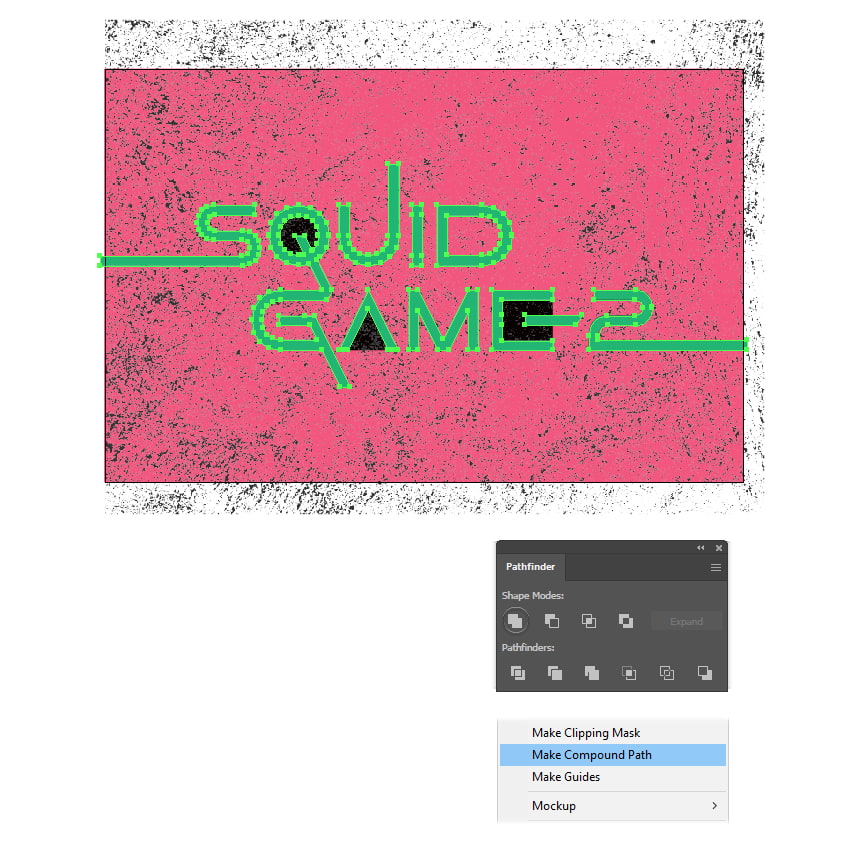
The first texture I used is Light Grunge 01 from the Light Grunge Textures pack. You have the option to use the PNG image or the vector texture, both available in the folder. Place the texture over the artboard and scale it as shown.
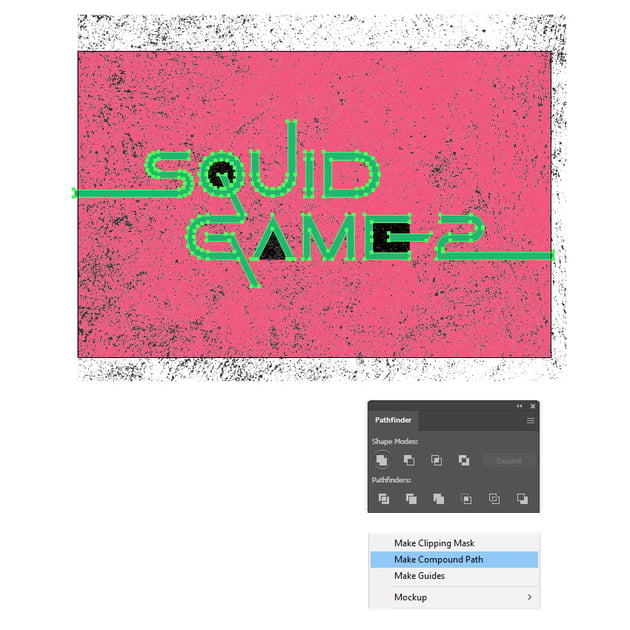
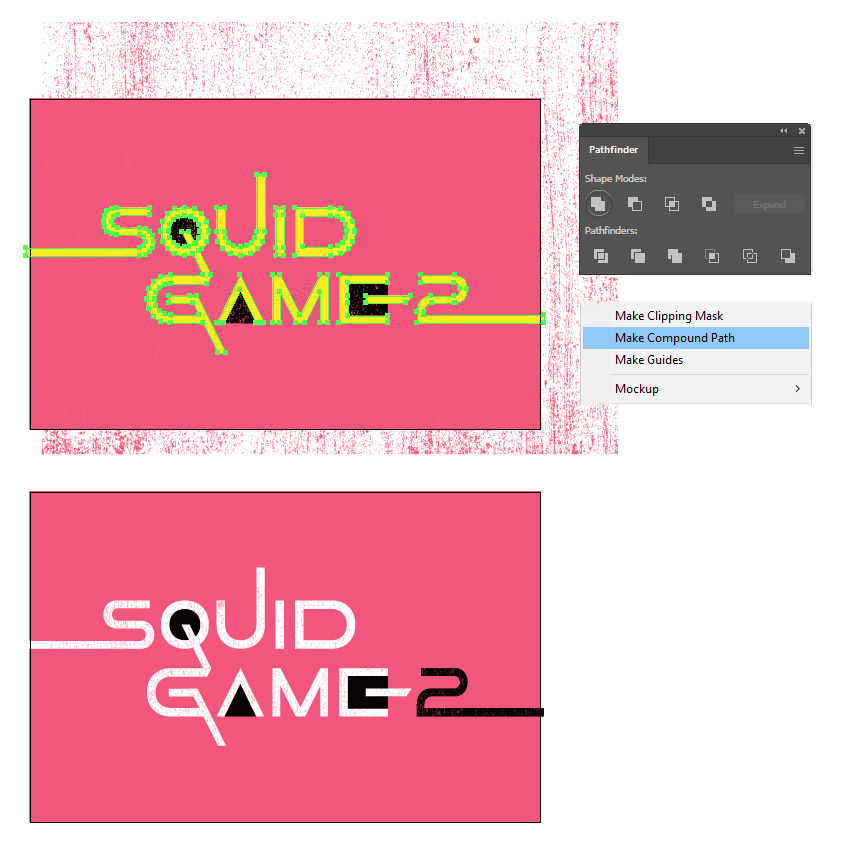
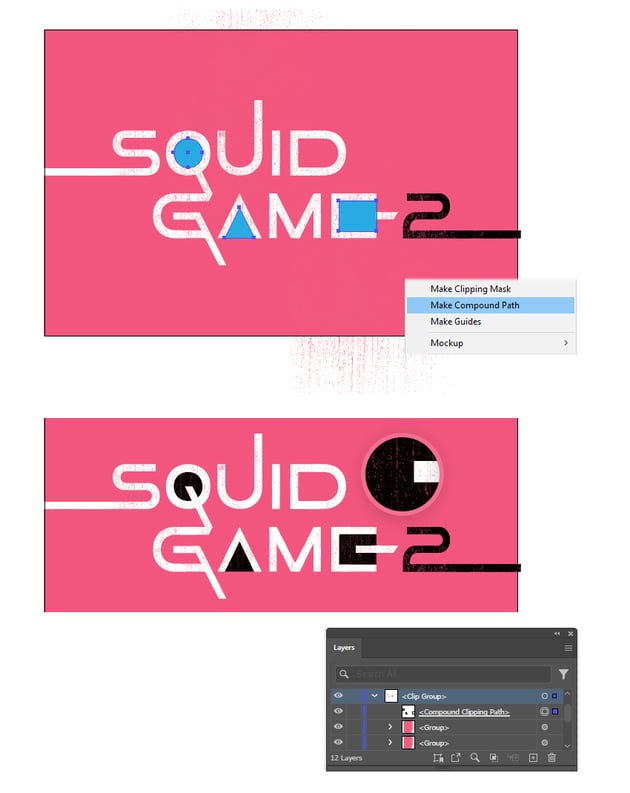
Next, select the white letters along with the number 2 (without the inside shapes) and then Copy and Paste in Place (Shift-Control-V) to make copies of them in front of everything. Press Unite in the Pathfinder panel followed by Object > Compound Path > Make (Control-8). Use the resulting compound path to mask the texture by selecting both and going to Object > Clipping Mask > Make (Control-7).
Step 2
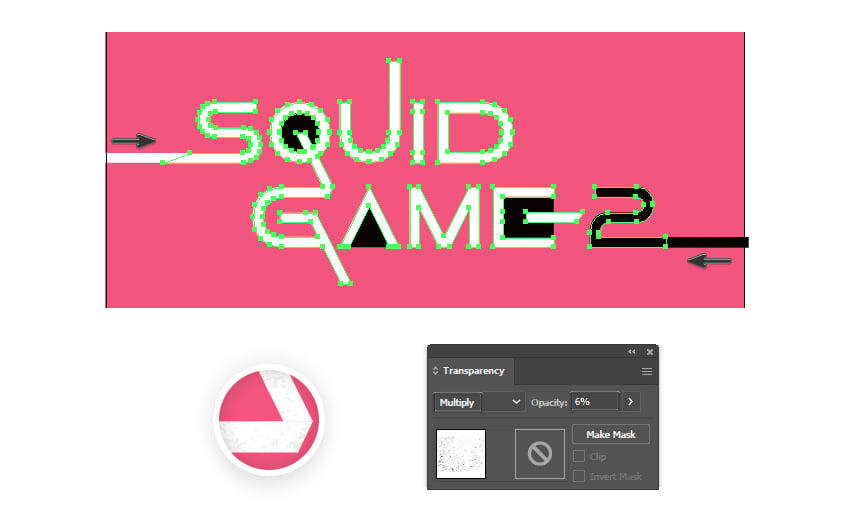
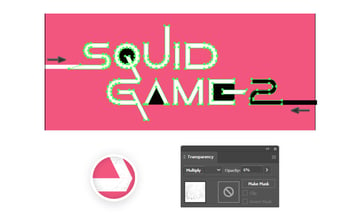
Set the texture to Blending Mode Multiply and reduce the Opacity to about 6%. It should create a soft, dirty look on the logo.
Use the Direct Selection Tool (A) to modify the masking shape and make the tail of the letter S and the tail of the number 2 shorter. The texture should not be visible all the way to the end.
Step 3
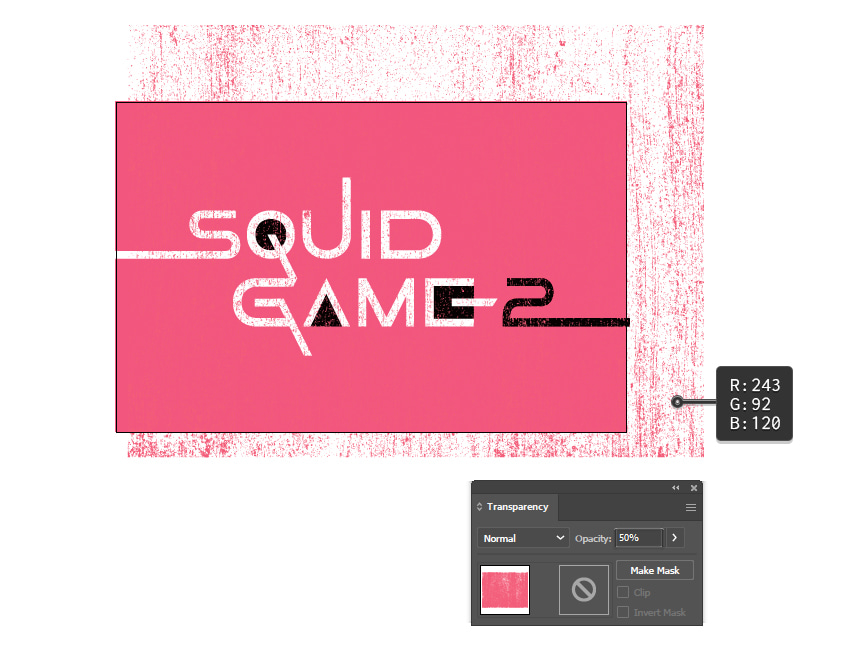
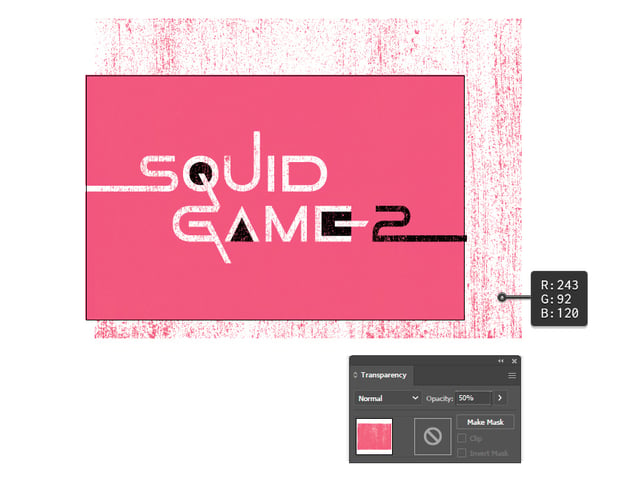
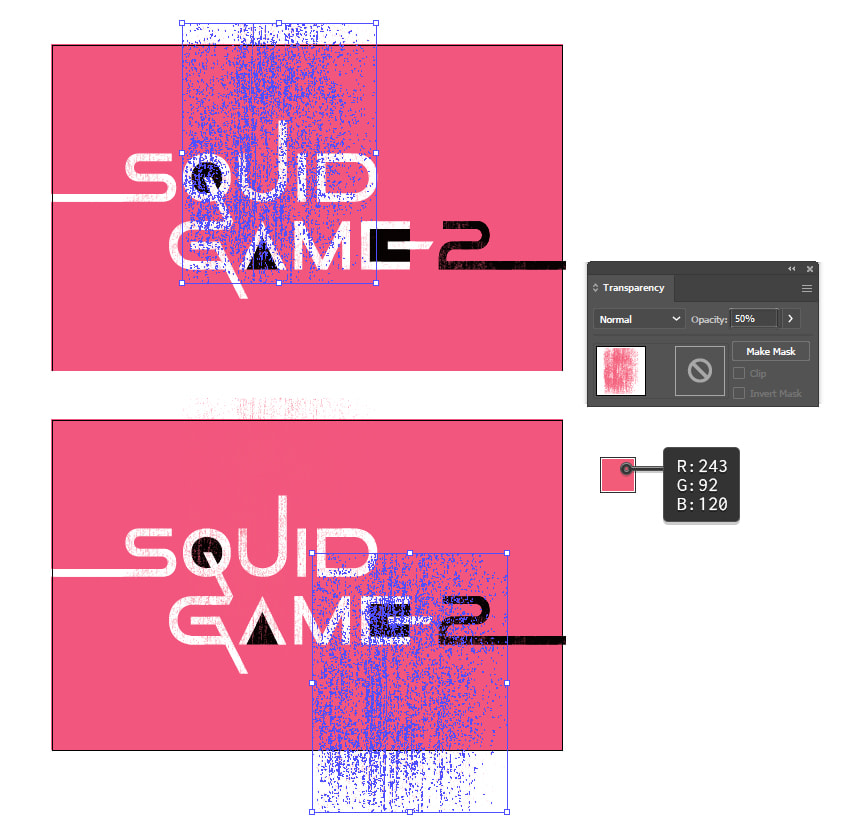
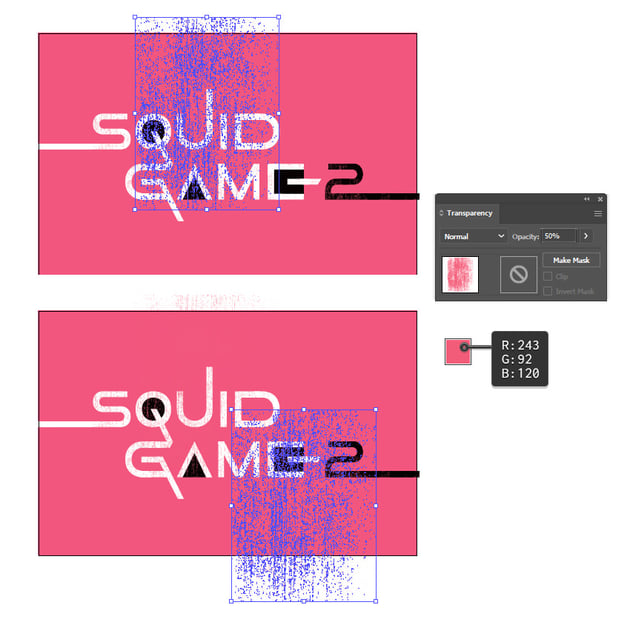
The next texture we’ll use is Light Grunge 03 from the same Light Grunge Textures pack. Open the EPS file and copy the vector texture into your document. Change the fill color to a darker shade of pink and scale it as shown in the image below. Reduce the Opacity to 50%.
Step 4
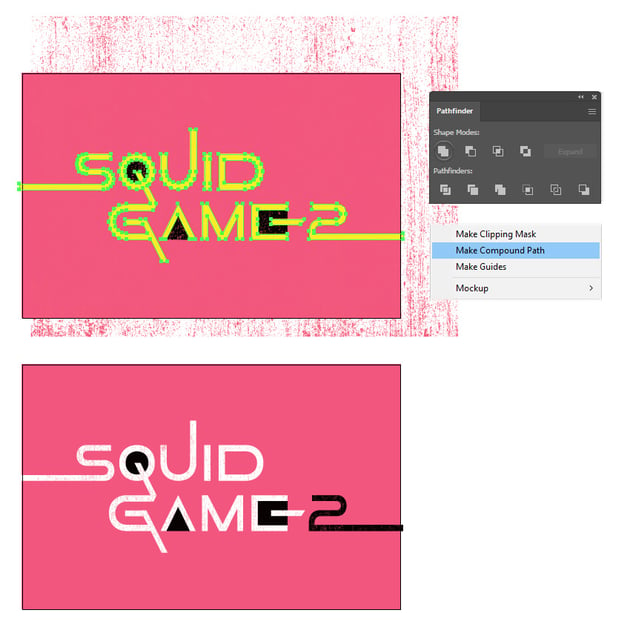
Select all the white letters along with the number 2 (without the inside shapes) and then Copy and Paste in Place (Shift-Control-V) to make copies of them in front of everything again. Press Unite in the Pathfinder panel followed by Object > Compound Path > Make (Control-8). Use the new compound path to mask the texture by selecting both and going to Object > Clipping Mask > Make (Control-7).
Step 5
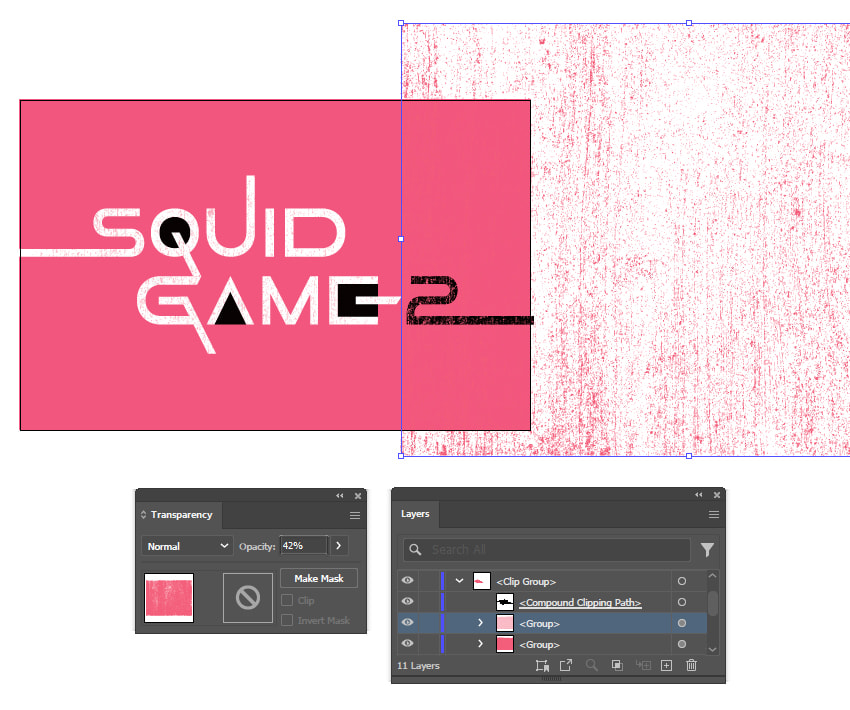
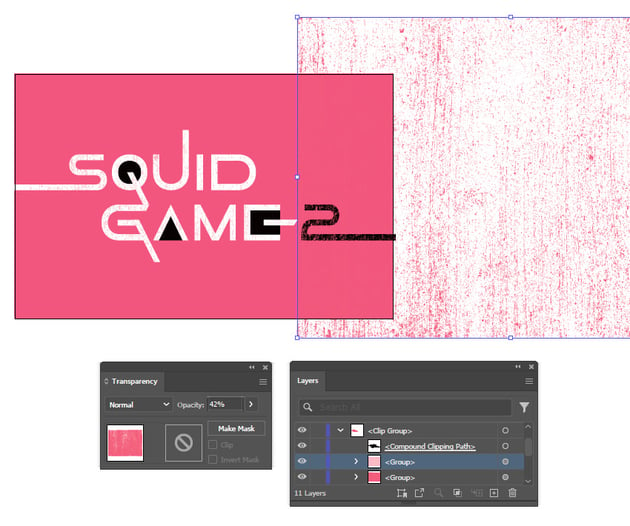
The number 2 has a heavier texture on it, so let’s add more. Select and duplicate the grunge vector texture used in the previous step, go to the Transform panel, and choose Flip Horizontally from the dropdown menu. Move it only over the number 2, and reduce the Opacity to 42%. The texture should be under the same mask.
Step 6
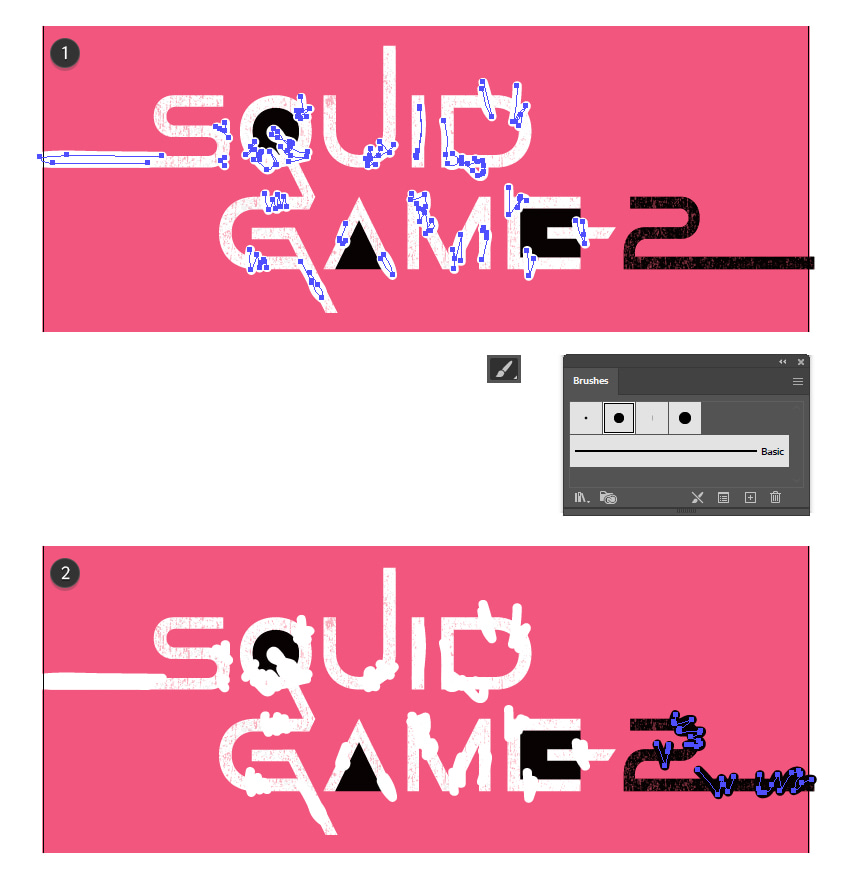
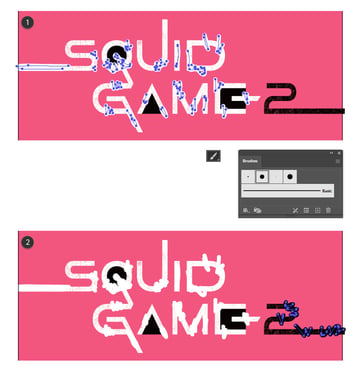
The texture looks great so far, but it shouldn’t cover the logo entirely. So, to clean up some areas, we’ll use the Paintbrush Tool (B) to draw a few white strokes on top (1). The brush used is 10 pt. Round, and you can find it under Brush Libraries Menu > Artistic > Artistic_Calligraphic.
Make the same strokes on the number 2, but set the stroke color to black R=7, G=2, B=2. (2).
Step 7
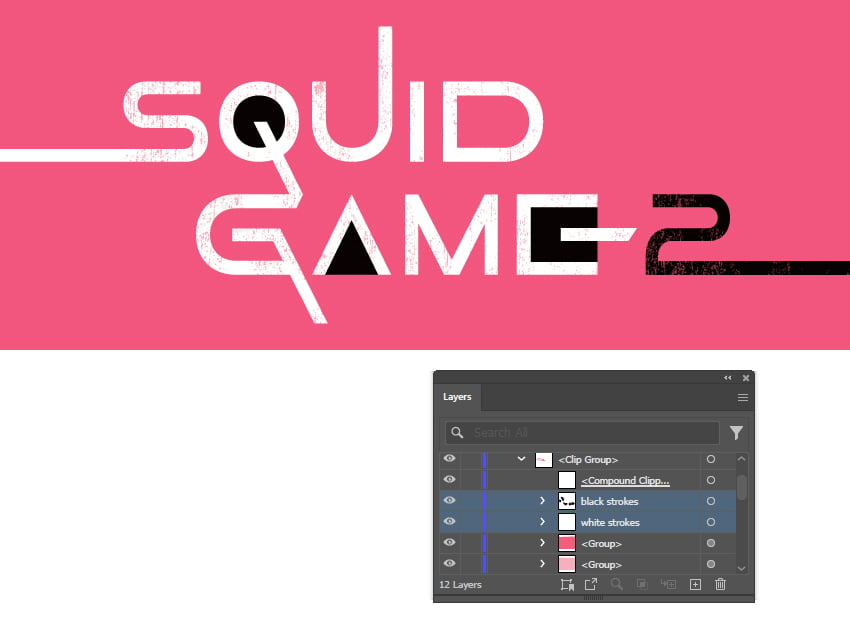
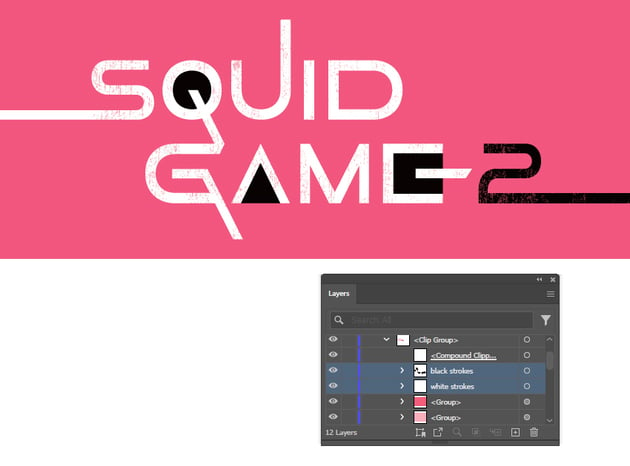
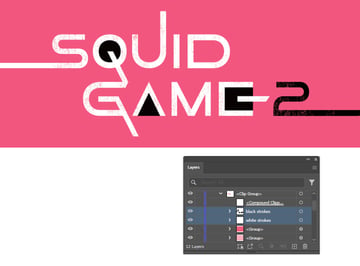
Drag the white and black strokes made in the previous step under the same mask, above the textures. Notice the difference: now the texture is only visible in the areas we want.
Step 8
We’re almost done! The last step is to add more vector textures on the black inside shapes to match the rest of the logo. I’m using Gritty Textures 06 from the Gritty Line Textures pack. Open the EPS file, copy the vector texture into your document, and rotate it 90 degrees in the Transform panel. Scale it and position it over the letters Q and A. Set the fill color to dark pink and reduce the Opacity to 50%.
Make a copy of it and move it over the letter E as well.
You can use PNG textures instead of vector textures for a lower impact on your computer. Both options are available in the folder.
Step 9
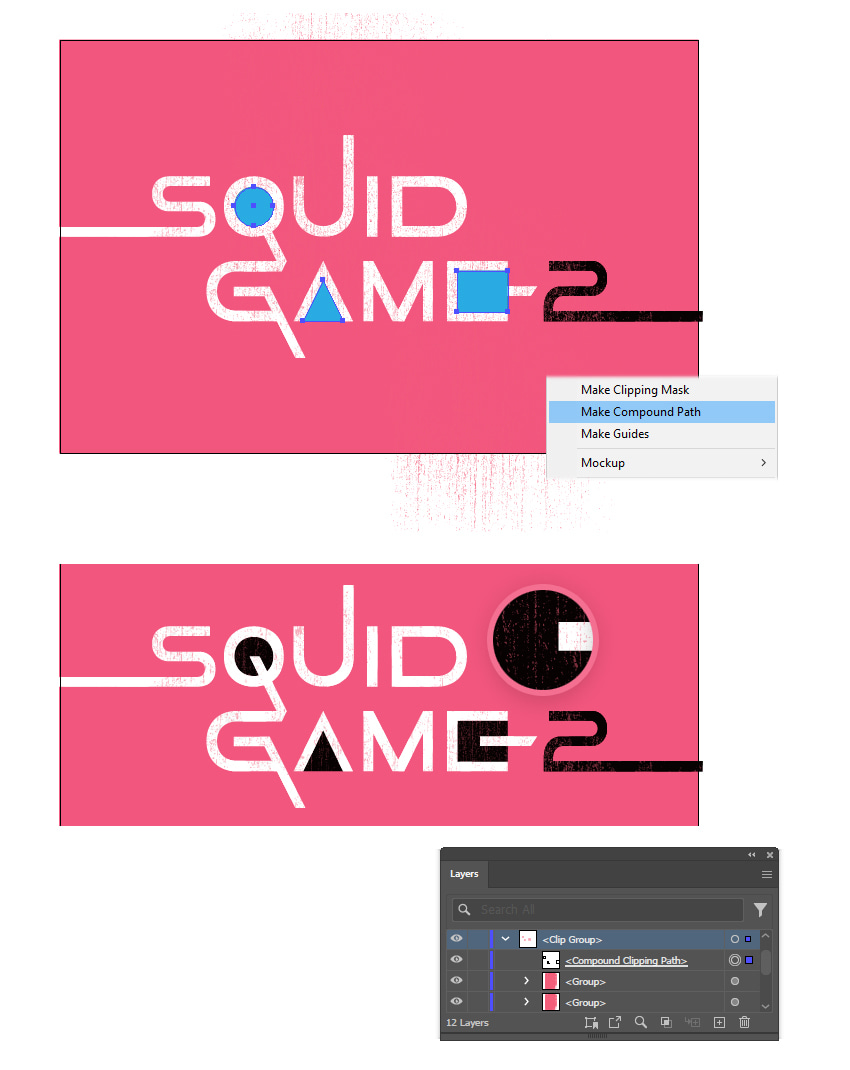
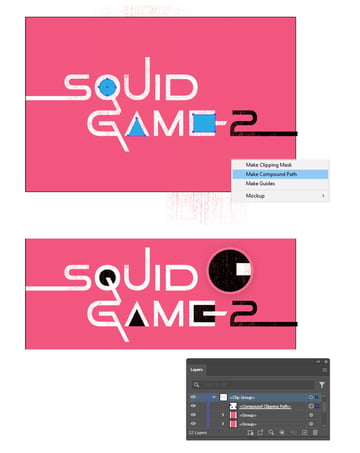
Select the three inside shapes and then Copy and Paste in Place (Shift-Control-V) to make copies of them in front of everything. Go to Object > Compound Path > Make (Control-8) and use the resulting compound path to mask the two gritty textures. That’s it! The Squid Game logo is ready.
5. How to distort the Squid Game logo
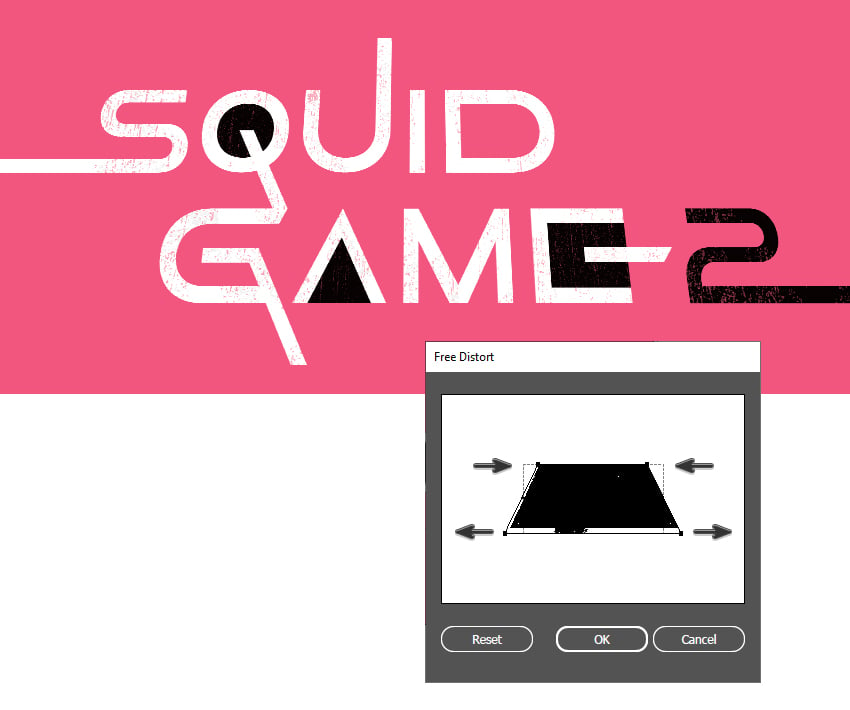
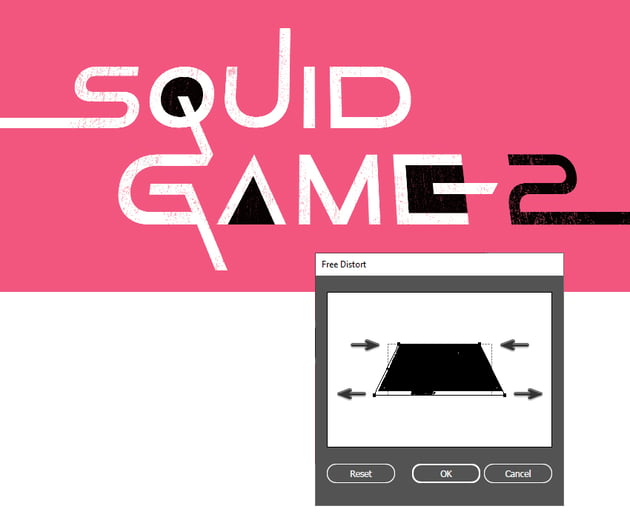
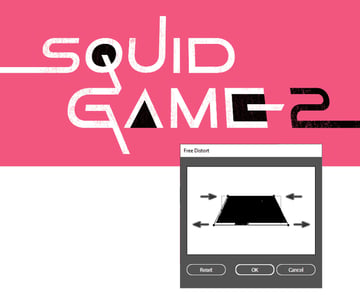
If you want to present your final logo at an angle like in the Squid Game season 2 trailer, make sure to select the entire logo and then Group (Control-G) it. Next, go to Effect > Distort & Transform > Free Distort and start to distort the logo. Drag the top points inwards and the bottom points outwards to generate the desired look. Hit OK once done.
If this is not successful, another way to achieve this is to save a logo JPG image, open it with Photoshop, and distort it there using the Perspective function.
Congratulations! You’re done
You have successfully learned how to make your own Squid Game logo from scratch and how to use textures in vector or PNG format to give it a grunge and distressed look.
Now that you know how to make the Squid Game season 2 logo, feel free to apply the same techniques to create popular movie logos. Make sure to check out Envato, where you’ll find plenty of resources that you can download and use to create cool designs.
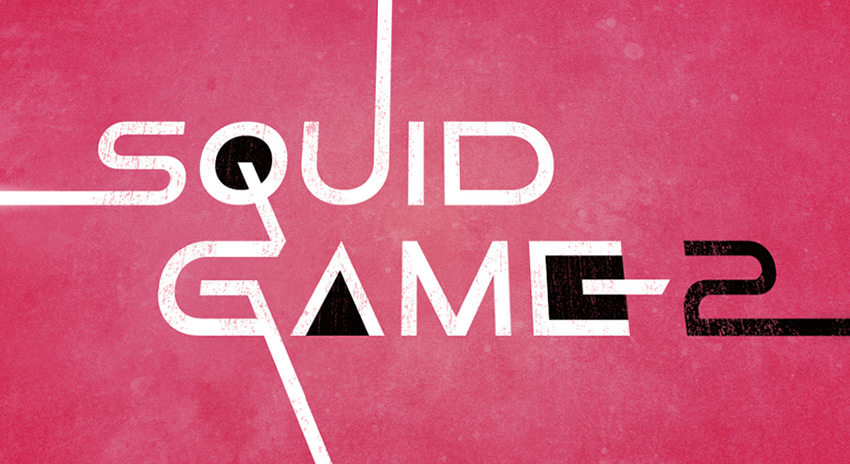
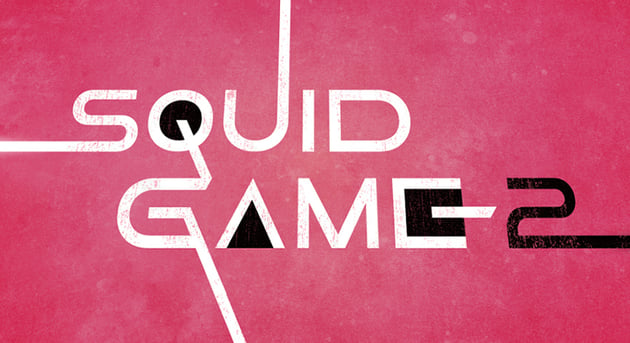
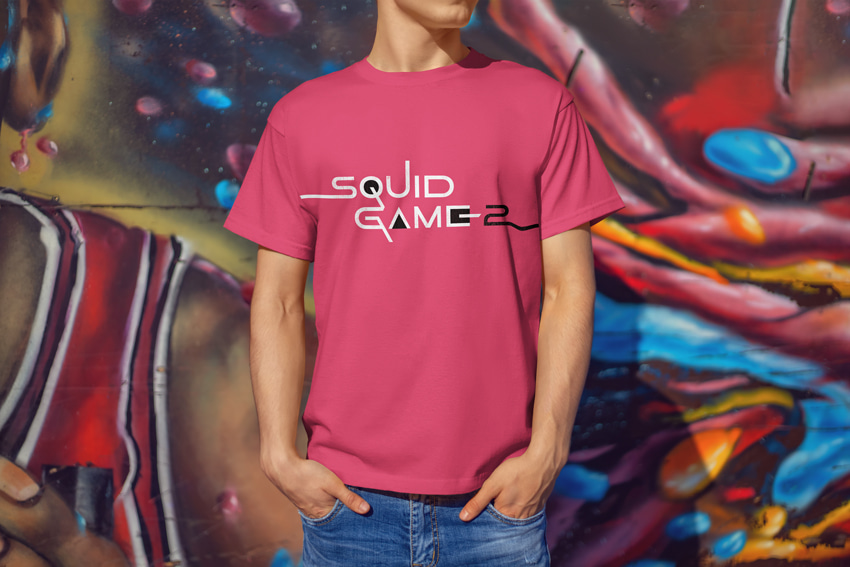
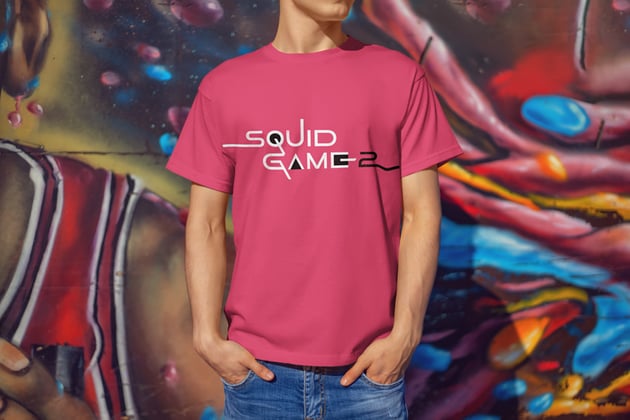
The logo you made is entirely vector and scalable, so feel free to save a Squid Game logo PNG file at any size and include it in your projects. Use a T-shirt mockup to display or test how your logo looks. How cool!
Popular resources from Envato
Envato is an excellent resource for logos, fonts, graphics, and so much more. Here’s a short list of some of the most popular resources that you can find. Grab them and take your logos to the next level.
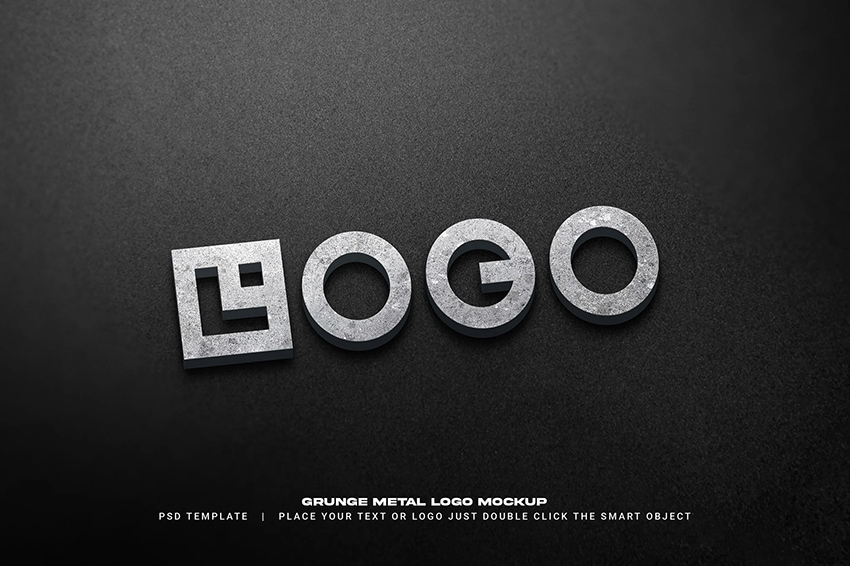
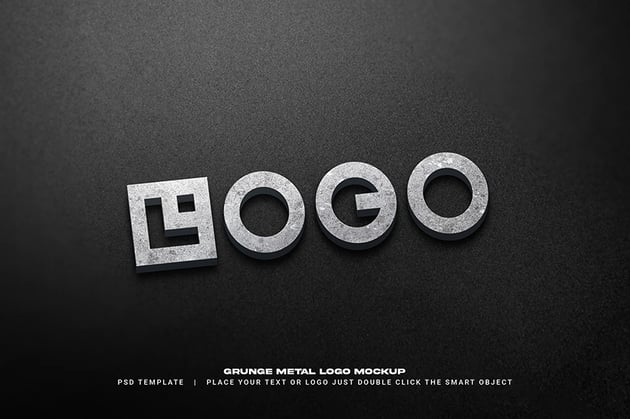
Grunge metal logo mockup (PSD)
Let’s start big with an amazing mockup that you can use to create a distressed and futuristic logo in no time. It’s very easy to use and edit to your liking, and it looks very professional. Try it!
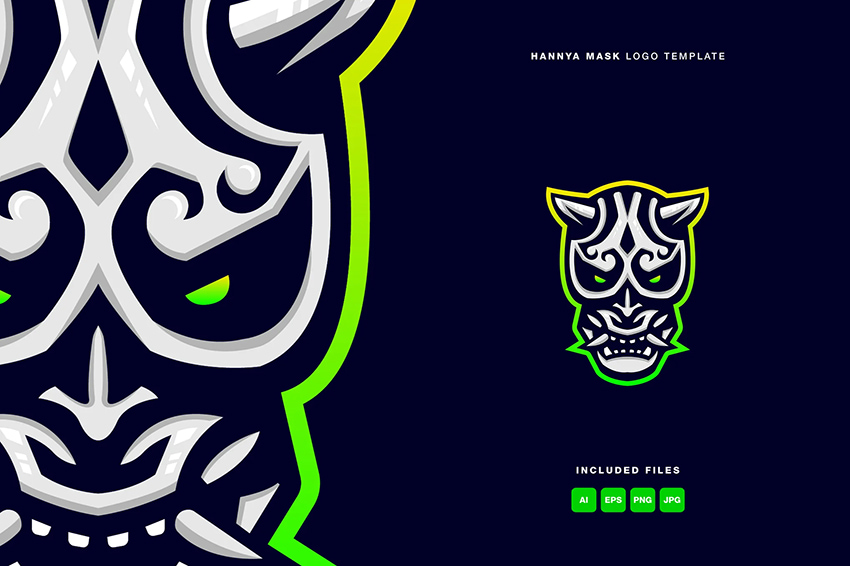
Hannya mask logo template (AI, EPS, PNG, JPG)
Maybe you’re interested in a cool mask logo like the masked villains in this TV series. In this case, the Hannya mask logo template is the perfect choice for you as it looks both mysterious and savage. The bright pop of color is a nice addition to make it stand out.
Rusoile soil texture sans font (OTF, TTF)
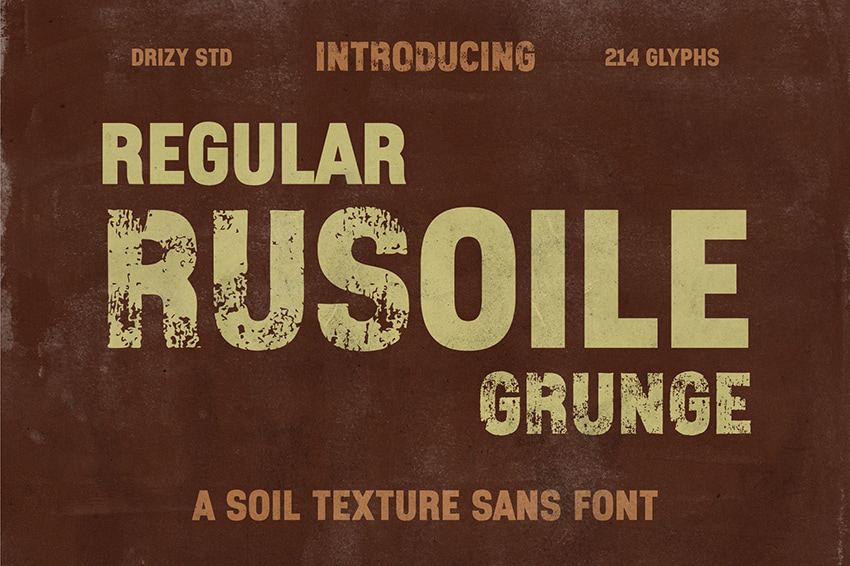
Here’s a font recommendation for you that has the grunge appearance of the Squid Game logo and is ready to use. All you have to do is to type any text and turn your designs into a distressed masterpiece.
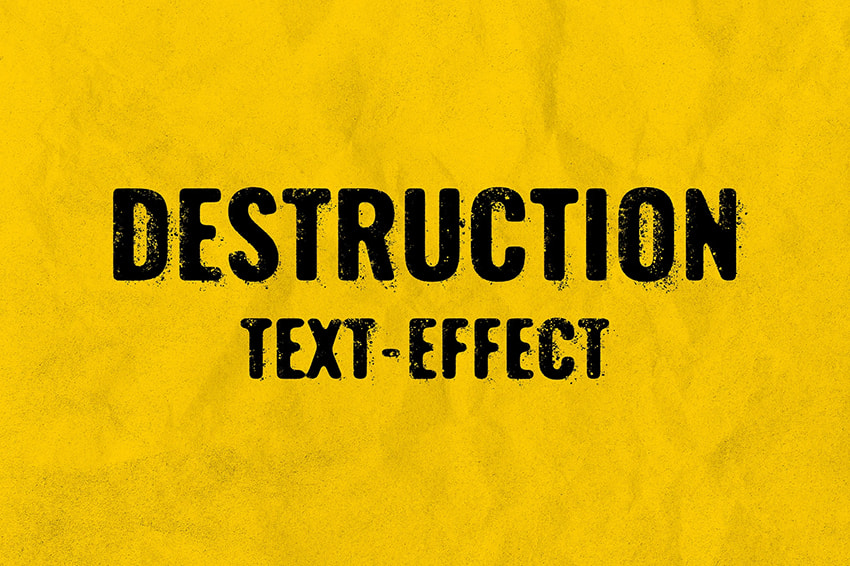
Smudged ink text effect (PSD)
This text effect is another quick and easy-to-use option. It’s perfect to use on banners, covers, ads, posters, and so much more. Definitely choose a bold background color to capture everyone’s attention. Grab it and be creative with it!
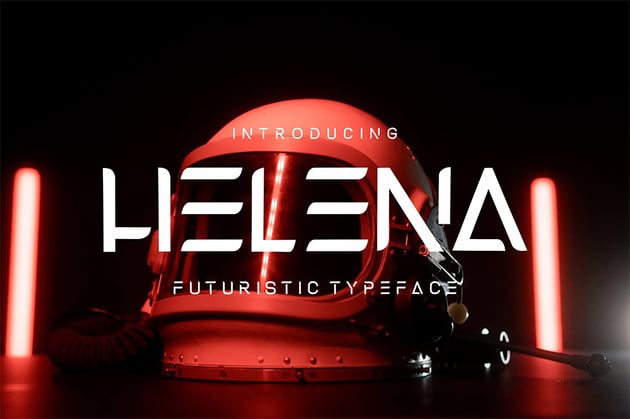
Helena futuristic font (OTF, TTF, WOFF)
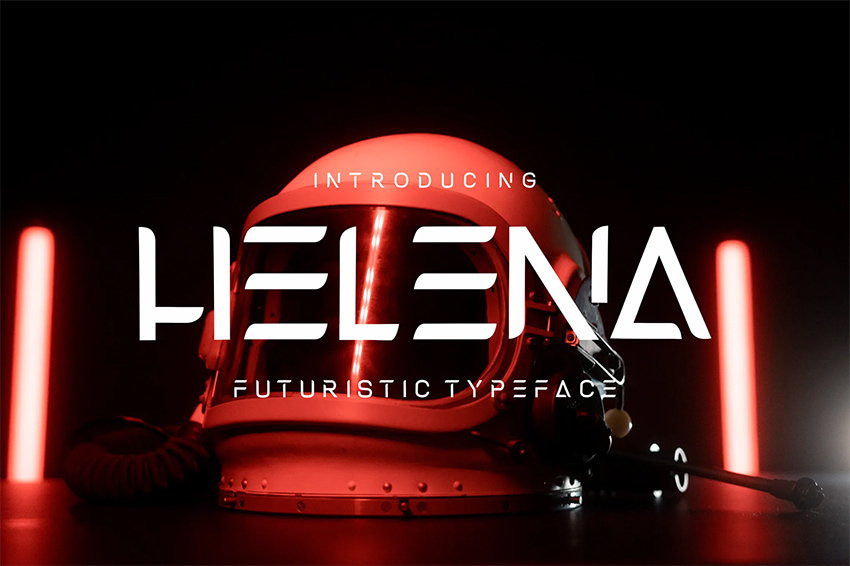
If you’re looking for another futuristic font, we’ve got you covered. Helena will make your designs stand out and look trendy. You can create pretty cool and modern logos too.
Want to learn more skills?
Did you like this tutorial dedicated to the best Korean show on Netflix? We have loads of tutorials on Envato Tuts+ that teach many other useful techniques. Here’s a list of tutorials specially made for you. Take a look!