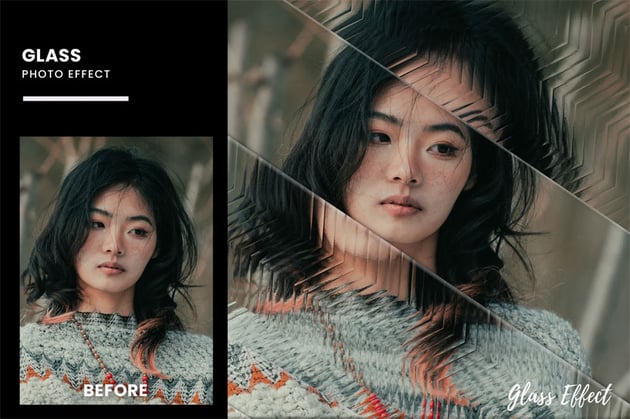
Glassmorphism is a term from graphic design, referring mainly to user interface elements that look like frosted glass—not simply covering the elements beneath them, but distorting them slightly for a unique, soft effect. But you can also glass-morph photos, using a variety of transparent effects borrowed from the real world.
Take reeded glass, for example—it’s a type of textured glass that divides the image into a series of lines, each distorting the view in a very characteristic way. In this Photoshop tutorial, I’ll show you how to achieve this creative glass effect step by step!
What you’ll need for this Photoshop tutorial
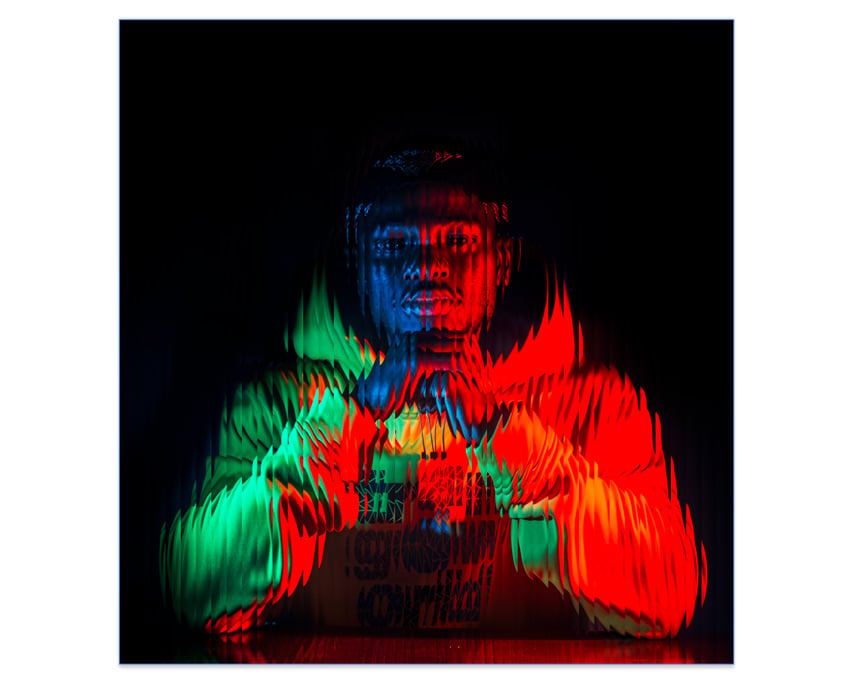
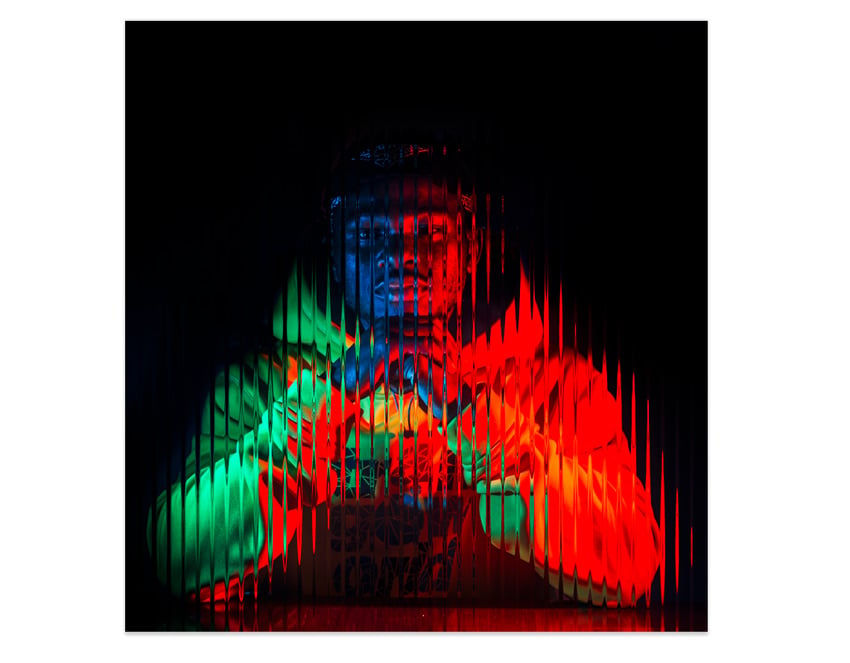
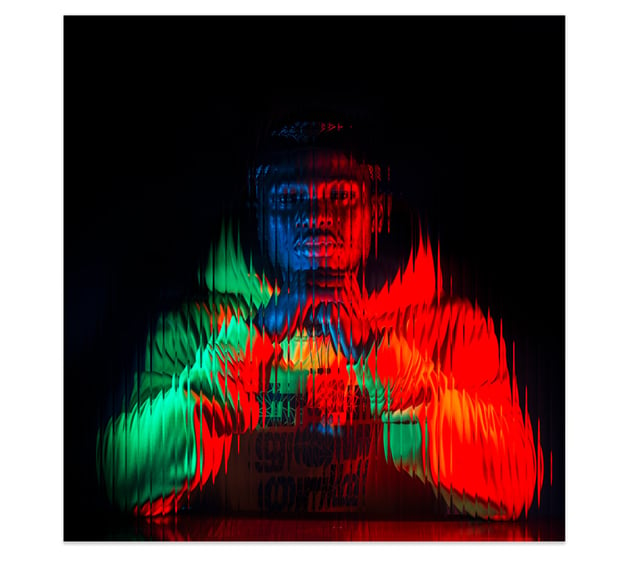
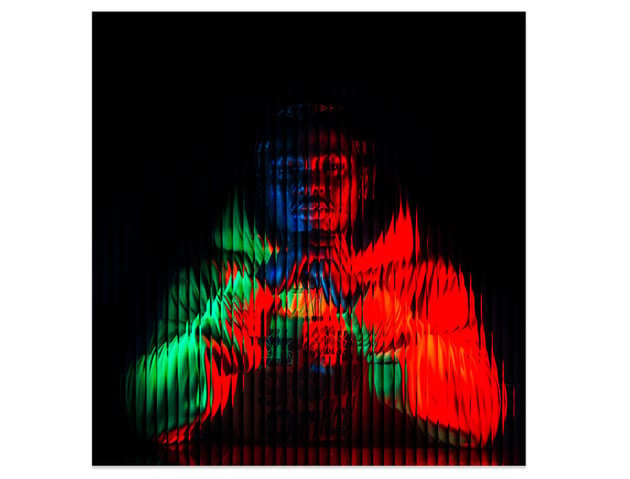
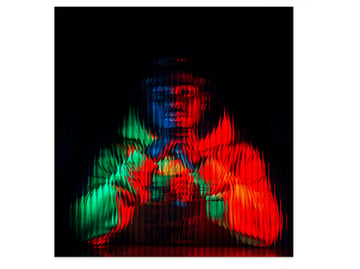
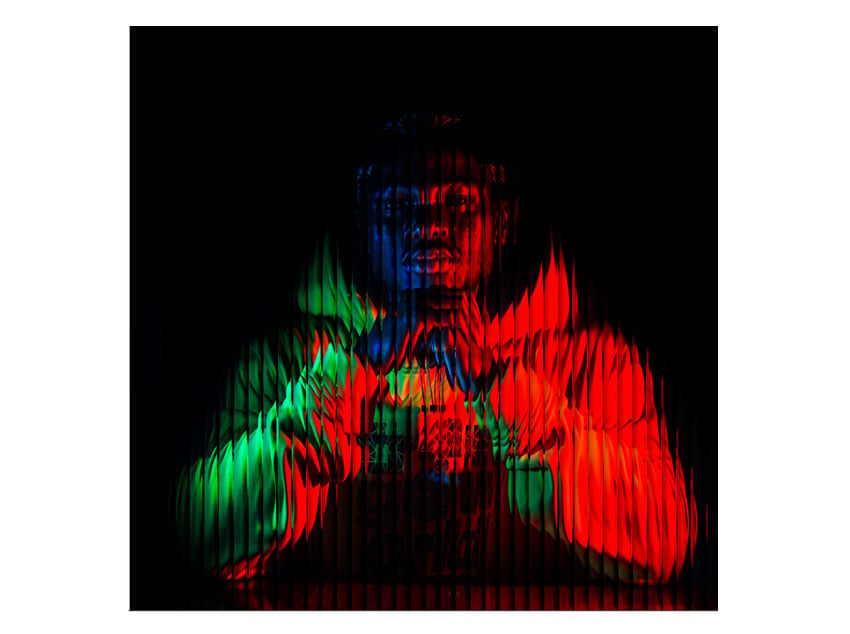
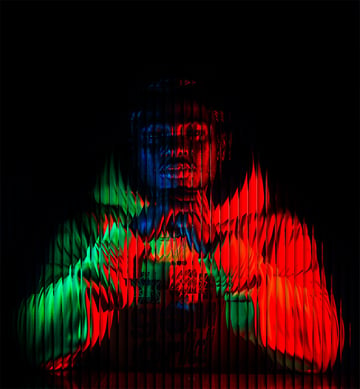
This Photoshop effect works best with high-contrast, colorful photos with a dark background. Here’s the one I’m going to use:
1. How to create a basic reeded glass effect
Step 1
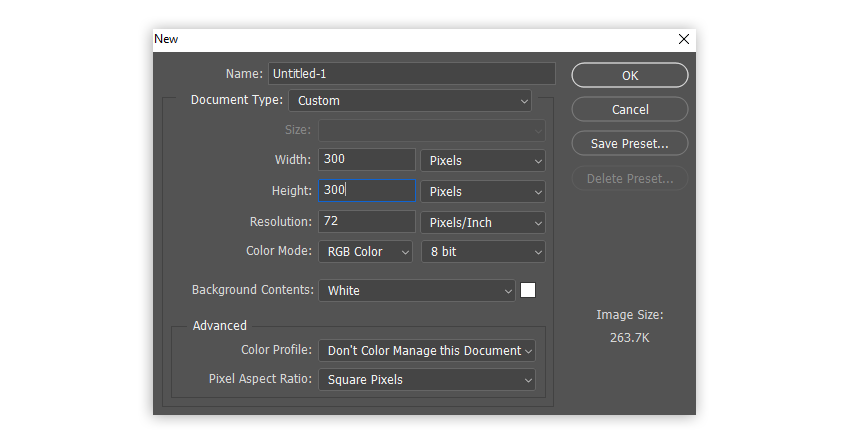
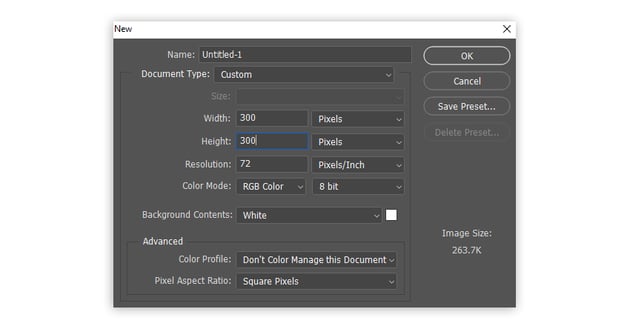
Create a New File with 300 x 300 px dimensions.

Step 2
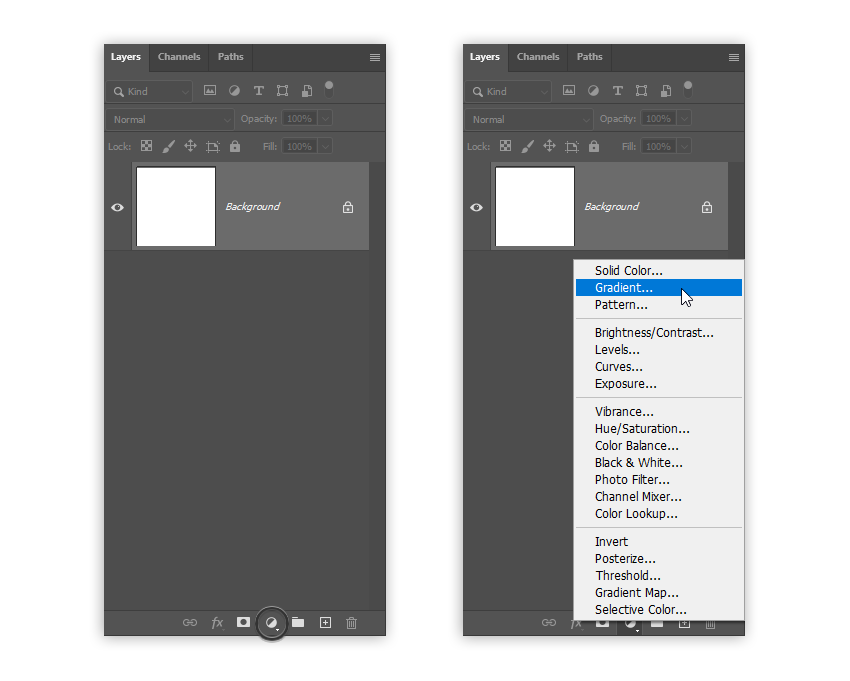
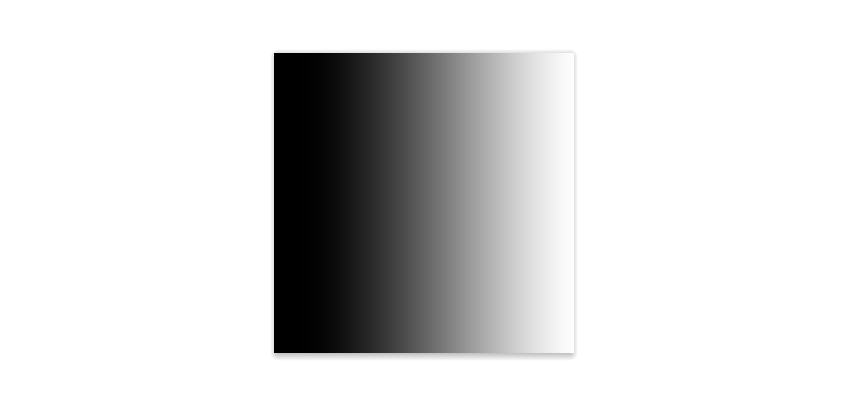
Press D to reset the swatches to the default black and white. Then add a Gradient Fill.


Step 3
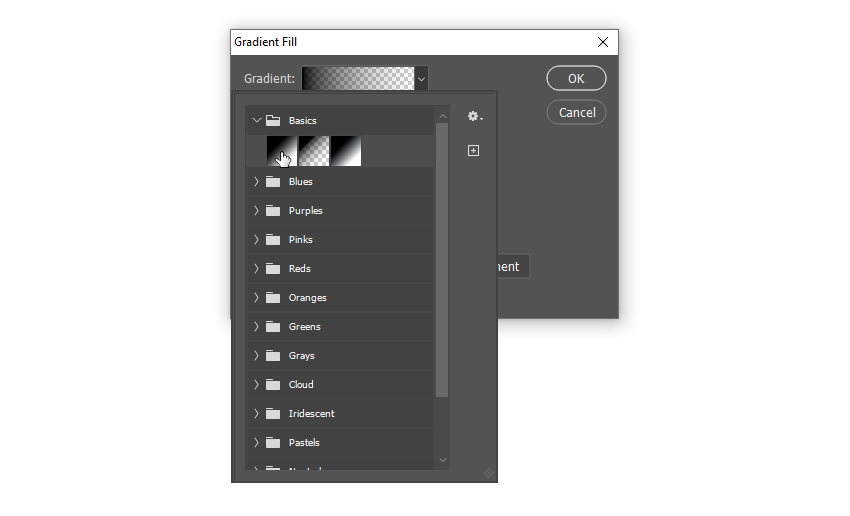
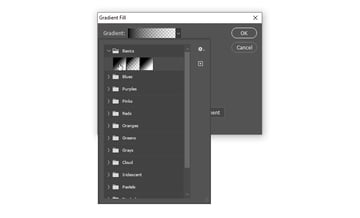
Click the gradient on top and open the Basics folder. Pick the first gradient on the list.

Step 4
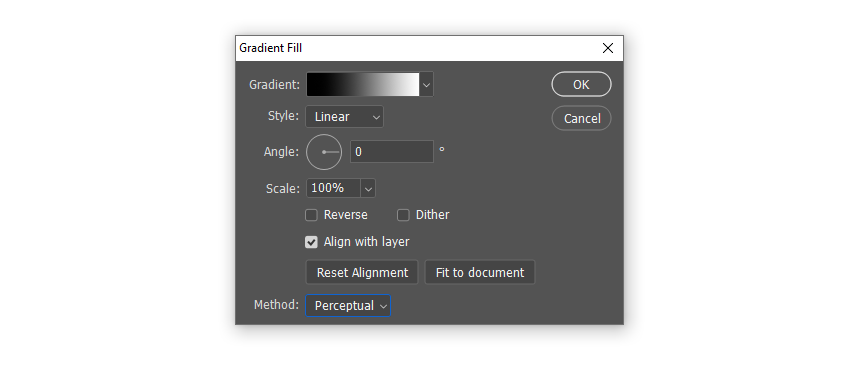
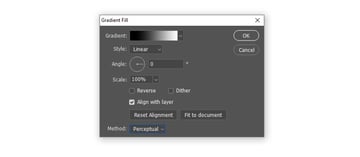
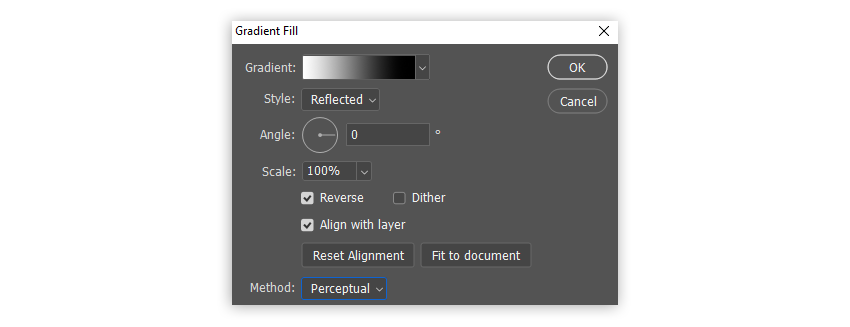
Change the Angle to 0 degrees and Method to Perceptual. Make sure Scale is set to 100% and Style to Linear, and click OK.


Step 5
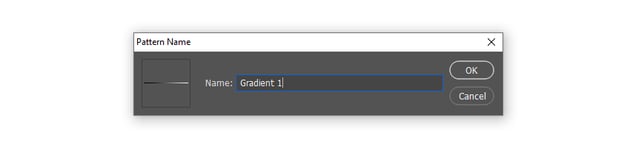
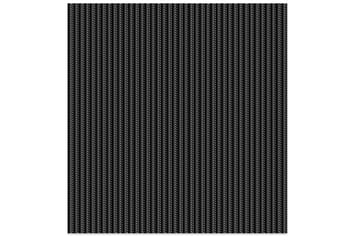
Go to Edit > Define Pattern. Name it Gradient 1.


Step 6
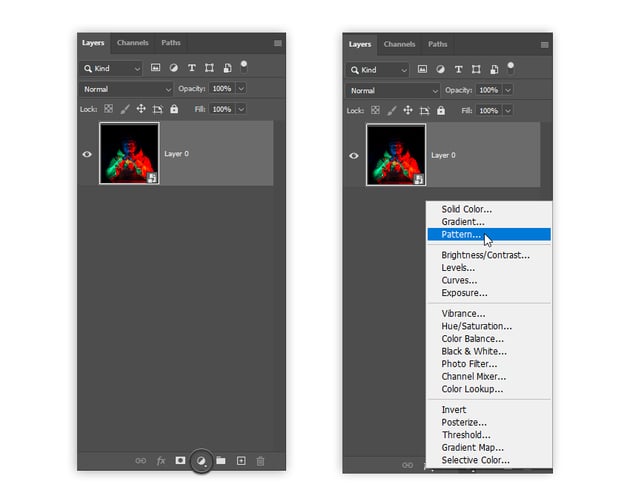
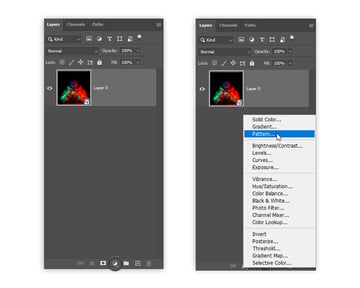
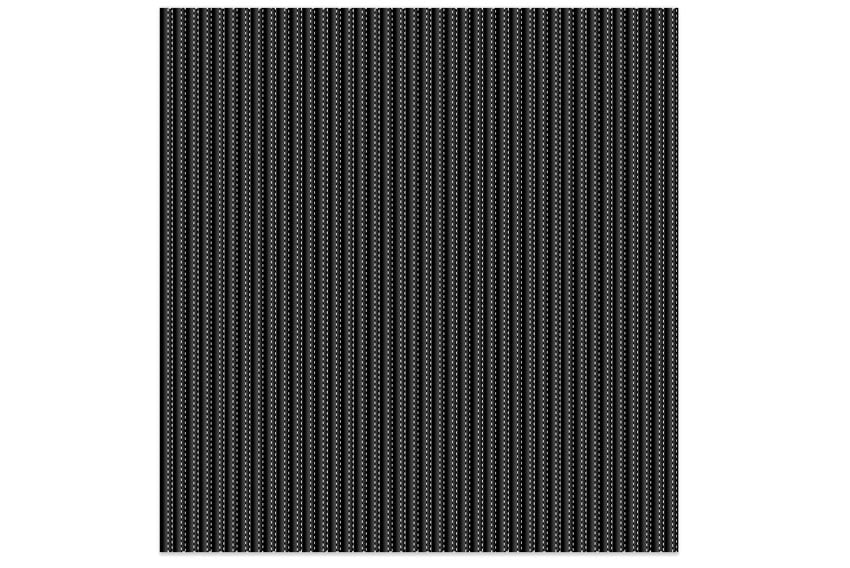
Open the image you intend to add the reeded glass effect to. Right-click it and select Convert to Smart Object. Add a Pattern Fill over this layer.

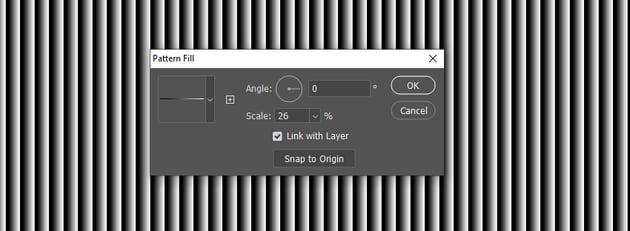
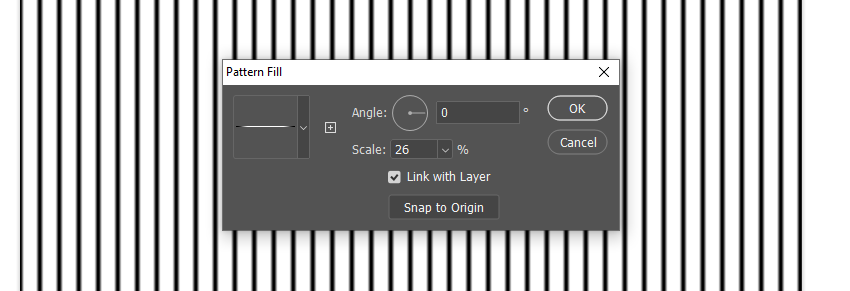
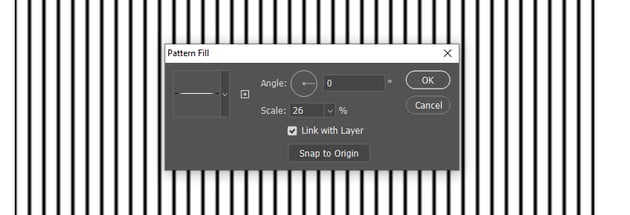
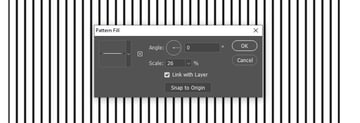
Step 7
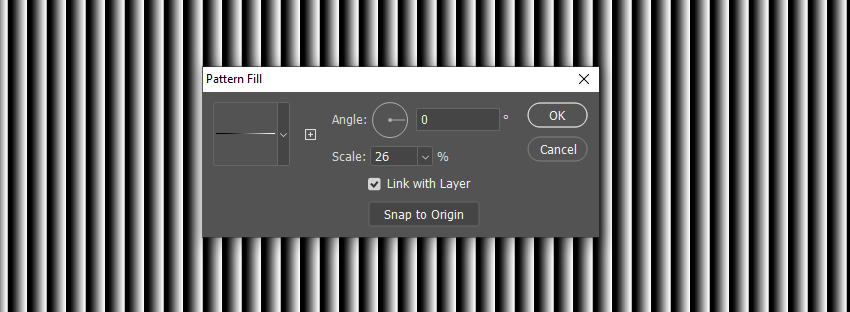
Select Gradient 1 for the pattern. Set Angle to 0 degrees, and adjust the Scale depending on the desired width of the reeded glass bars. In the photo I’ve used, 26% seemed to work the best.
Step 8
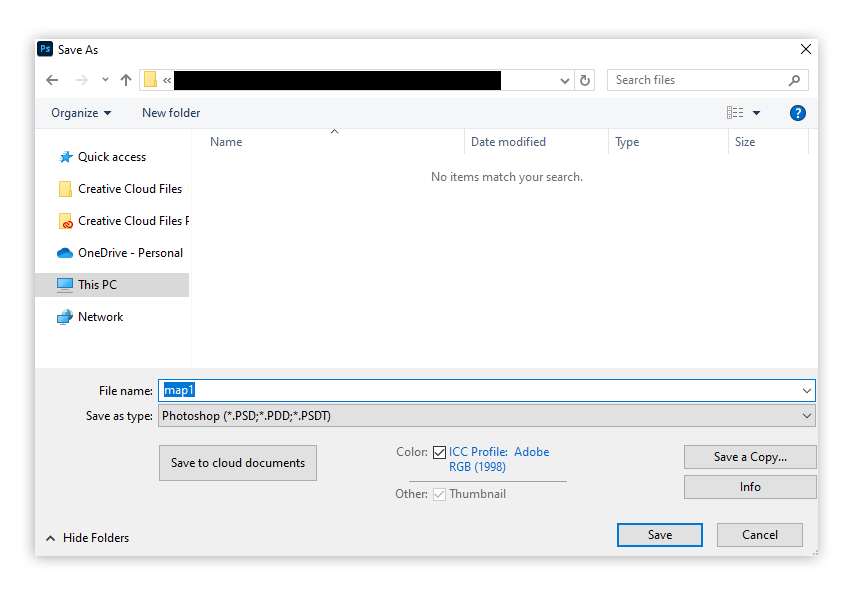
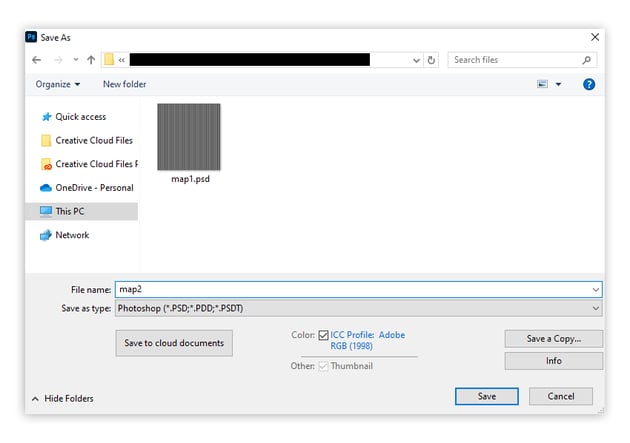
Go to File > Save As. Name it Map1, and save it as a PSD file.

Step 9
Hide the pattern layer and select the image layer. Go to Filter > Distort > Displace. Set Horizontal Scale to 30 and Vertical Scale to 0—this way, the image will only be distorted from left to right.


Step 10
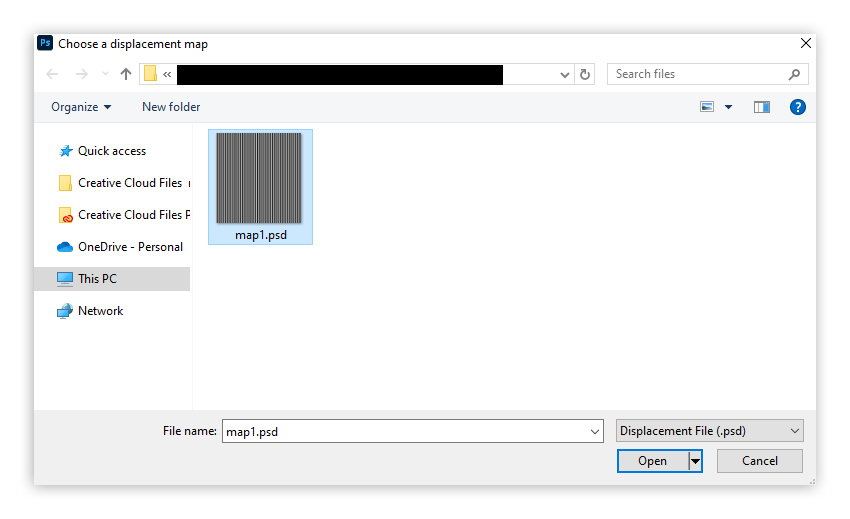
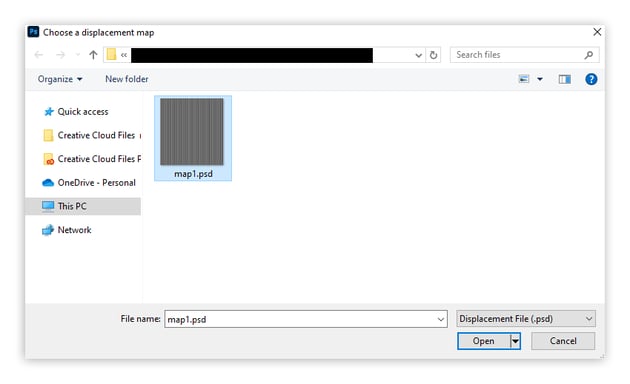
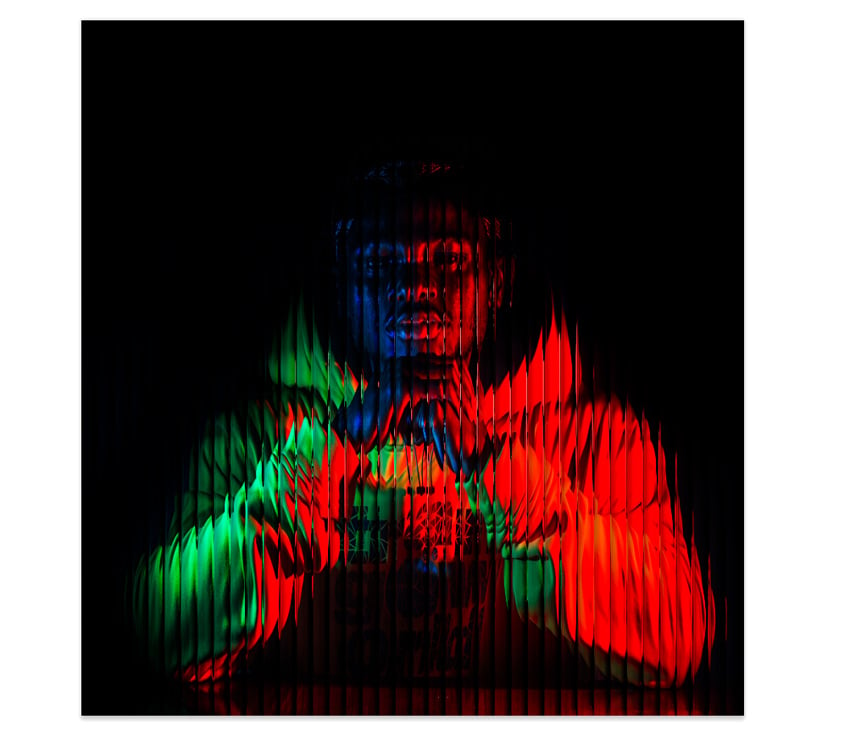
Click OK. A window will appear, prompting you to choose a displacement map. Select the file created earlier, called Map1. This should apply a reeded glass effect to your photo!


2. How to make the Photoshop glass effect more realistic
Step 1
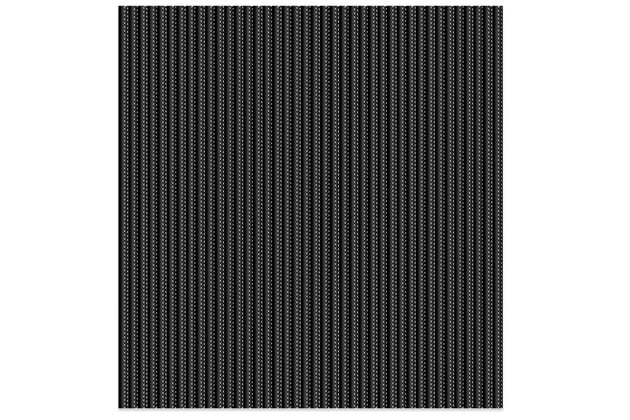
This is the most basic reeded glass effect, but we can make it more convincing with a few other tricks. First, create another 300 x 300 px file and add a Gradient Fill to it. Select the same gradient as before, but this time, set Style to Reflected and check Reverse.


Step 2
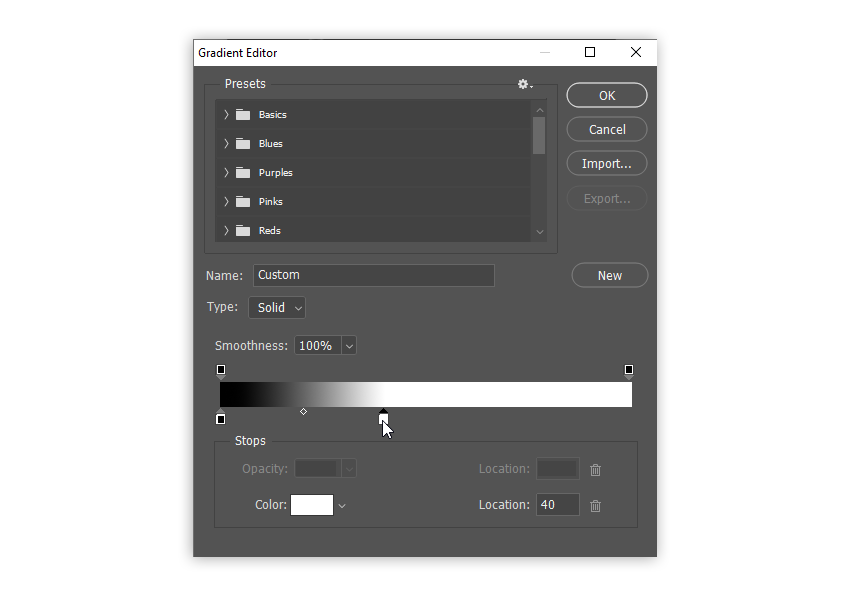
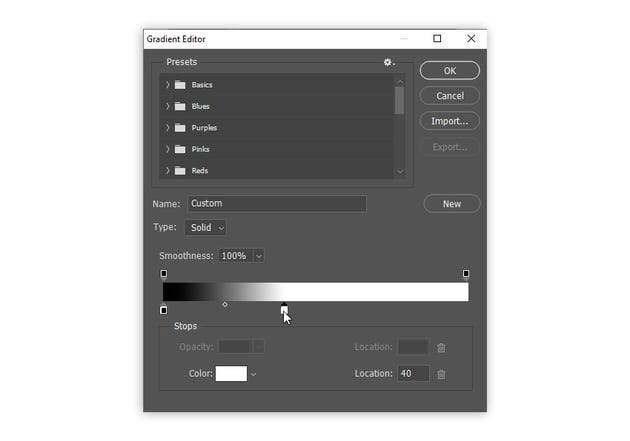
Click the gradient and adjust it—drag the white marker to the left, to the Location of 40. Press OK twice to finish creating the gradient.


Step 3
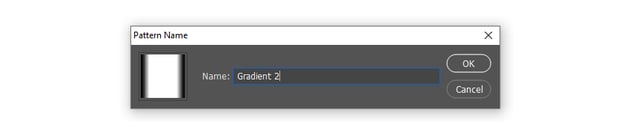
Go to Edit > Define Pattern and name it Gradient 2.


Step 4
Go back to the main file. Duplicate the Pattern Fill 1 layer with Control-J and double-click it. Select Gradient 2 for the pattern, leave the other settings unchanged, and click OK.
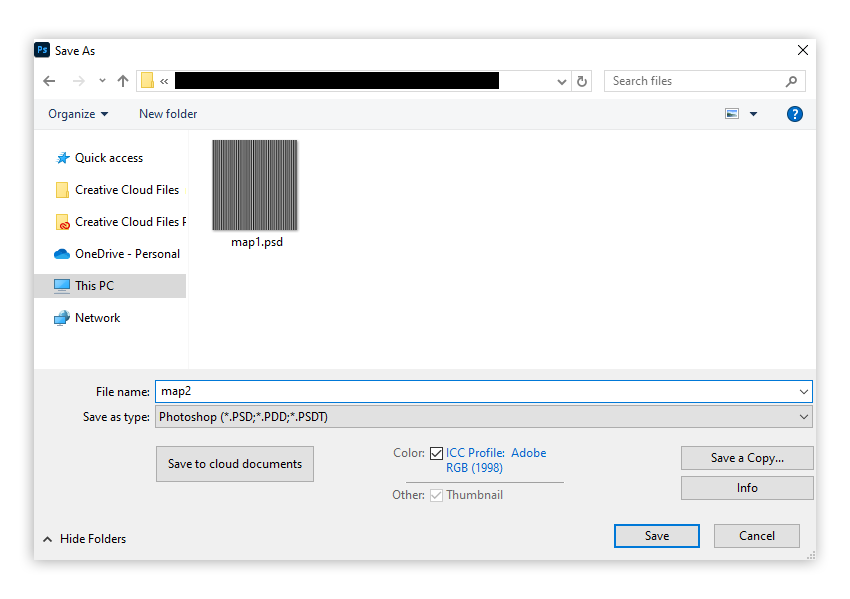
Step 5
Go to Save > Save As, and save it as Map2.
Step 6
Hide this pattern, and go back to the image layer. Duplicate it by pressing Control-J, and double-click the Displace filter to modify it. Change the Horizontal Scale to 70.


Step 7
Click OK, and use Map2 as the displacement map. This will add a stronger but narrower distortion to the image.


Step 8
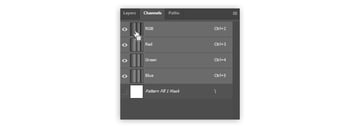
Let’s now combine this effect with the previous one! Show the Pattern Fill 2 layer again, and go to the Channels tab. Then, hold the Control key and click the thumbnail of the RGB layer.


Step 9
Go back to the Layers tab. Hide the Pattern Fill 2 layer again, and add a Layer Mask to the second distorted image.


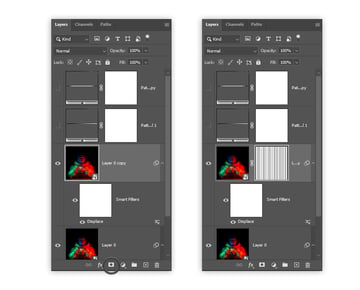
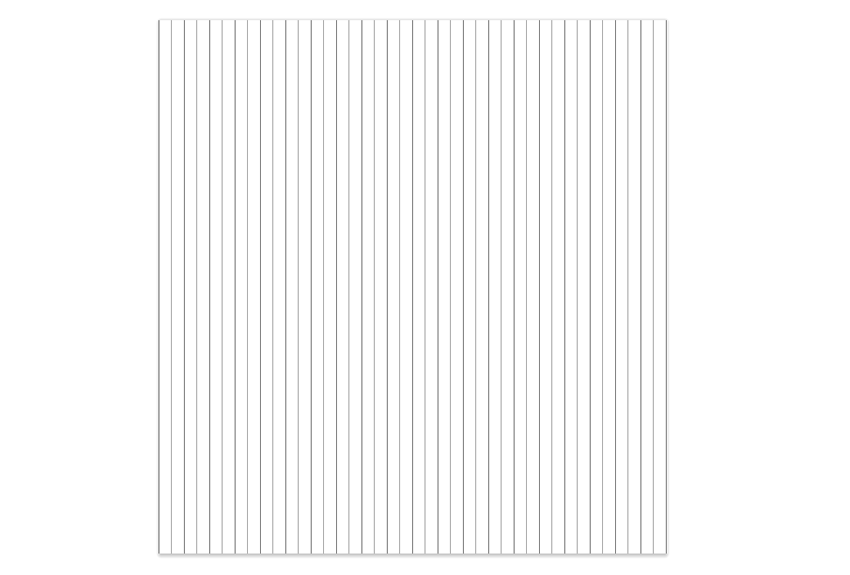
Step 10
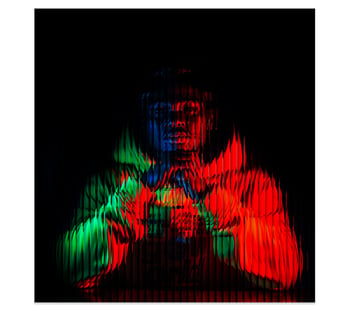
Select the mask and press Control-I to invert the colors. Now, the new distortion should land on the edges of the bars, revealing the less distorted image in the middle.


3. How to add final touches to the reeded glass effect in Photoshop
Step 1
Our reeded glass effect looks much more convincing now! Let’s just add a few more adjustments to finish the look. Show the Pattern Fill 1 layer again, and then go to the Channels tab, hold the Control key, and click the thumbnail of the RGB layer.


Step 2
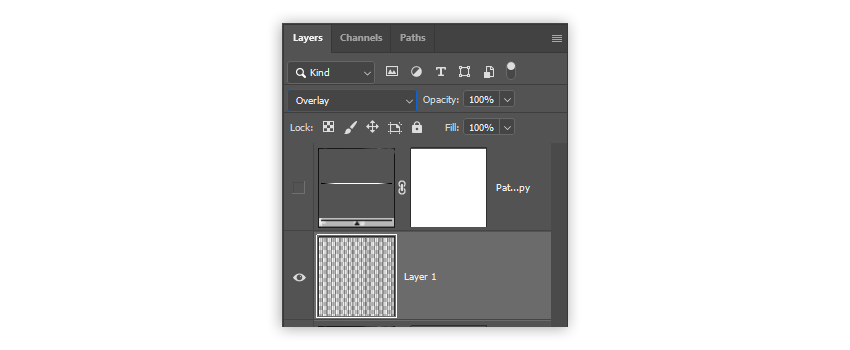
Go back to the Layers tab and create a New Layer. Fill the selection with black using the Paint Bucket Tool (G).
Step 3
Deselect (Control-D), and change the Blend Mode of this layer to Overlay.


Step 4
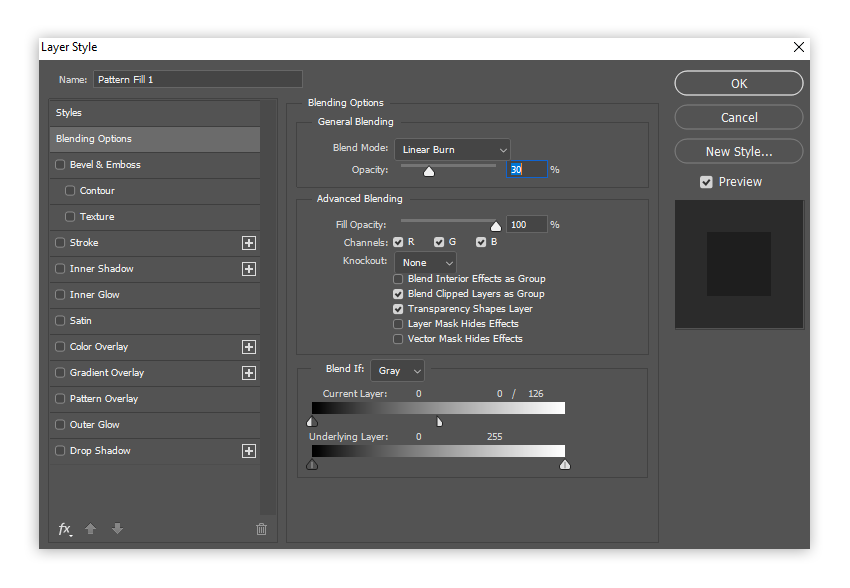
Go back to the Pattern Fill 1 layer. Right-click it and select Blending Options—the most versatile tool for applying Photoshop effects. Set the Blend Mode to Linear Burn and Opacity to 30%.
In the Blend If section, drag the upper white marker to the left to 126. Then hold the Alt key, and drag the right half of the marker all the way to the left. This way, the darkening effect of this pattern will be limited to its darkest areas only.


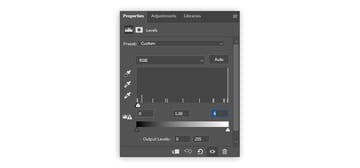
Step 5
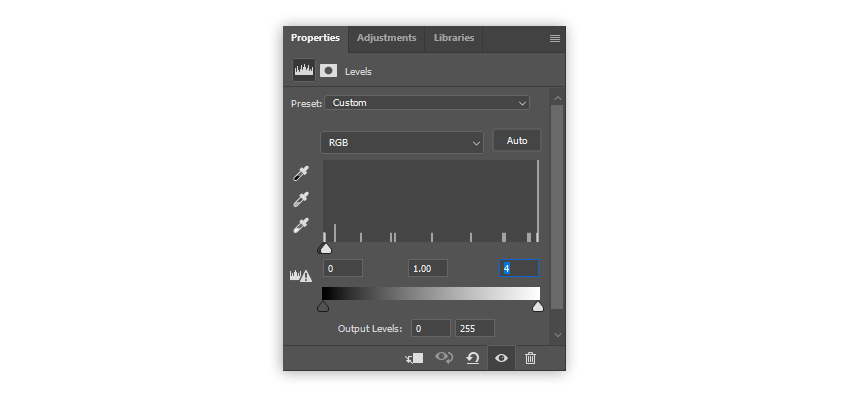
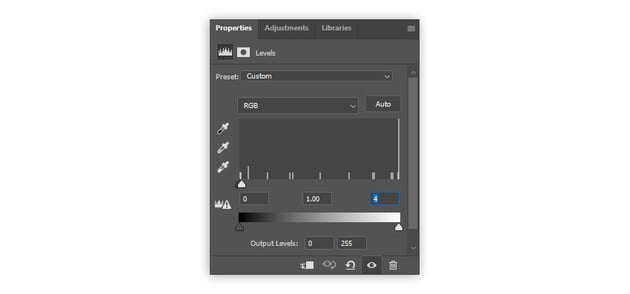
Show the Pattern Fill 2 layer again. Add a Levels adjustment layer on top, and drag the white marker to the left, to point 4, until only thin black lines remain.


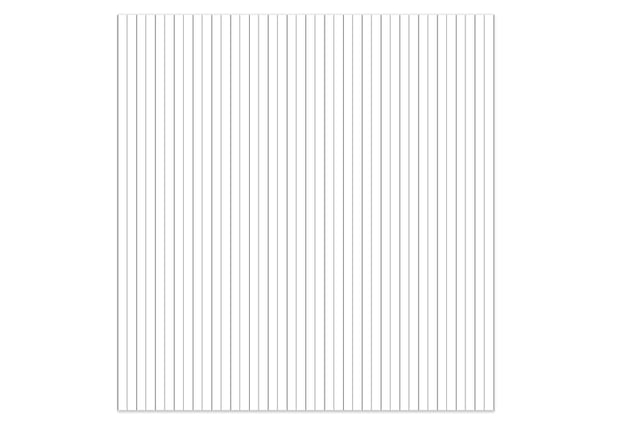
Step 6
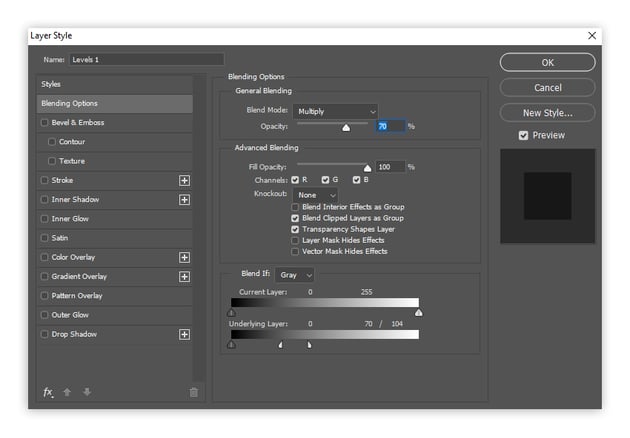
Hold Shift and select both layers, and then Merge them (Control-E). Duplicate the merged layer, and hide the copy. In the original, open the Blending Options, and make the following changes:
- Set Blend Mode to Multiply.
- Set Opacity to 70%.
- In the Blend If section, drag the lower white marker to the left to 104, and then split it with the Alt key and drag it some more.


Step 7
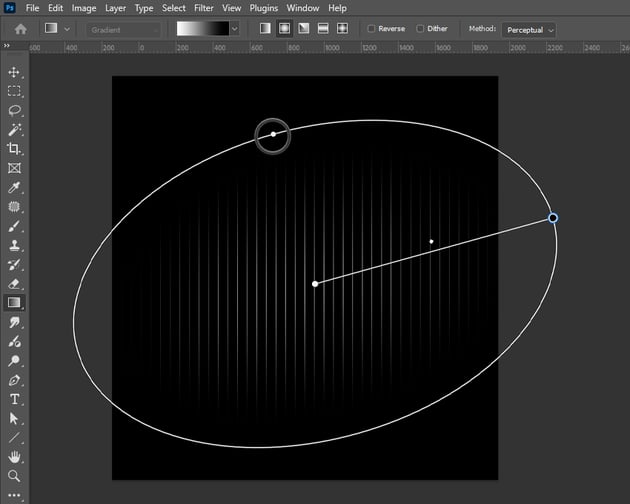
Show the copy now, and Invert its colors (Control-I). Create a New Layer over it, set its Blend Mode to Multiply, and use the Gradient Tool to draw a tilted ellipse.

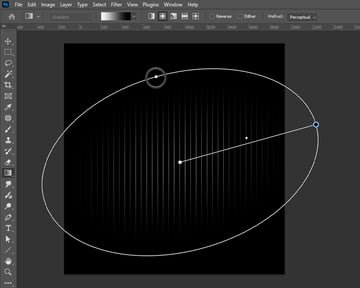
Step 8
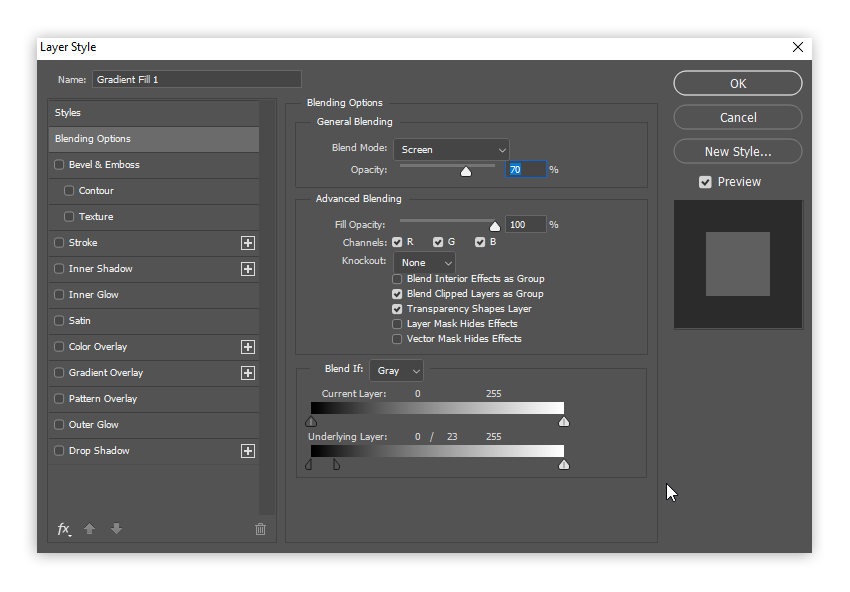
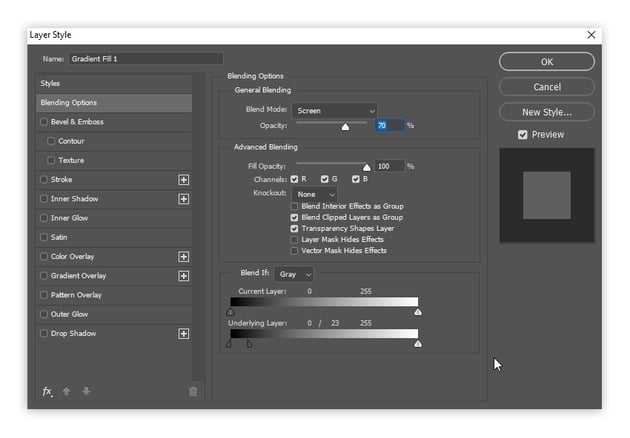
Select both layers and Merge them (Control-E). Then right-click this new layer, open its Blending Options, and set them like this:
- Set the Blend Mode to Screen.
- Set the Opacity to 70%.
- In the Blend If section, split the lower black marker with the Alt key, and drag it to the right until the 23 point.


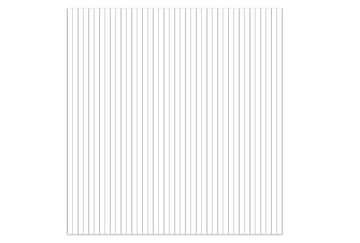
Step 9
To adjust the placement of these highlights, you can take the Move Tool (V) and push these lines a bit to the left with the Left Arrow key.

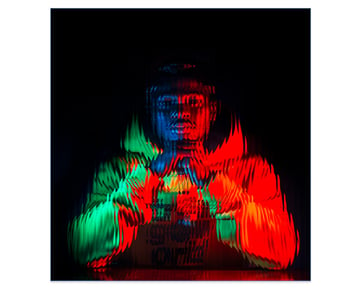
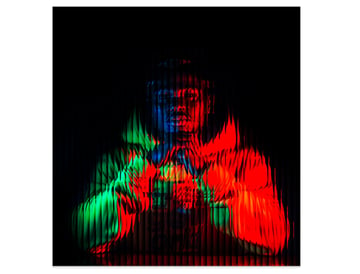
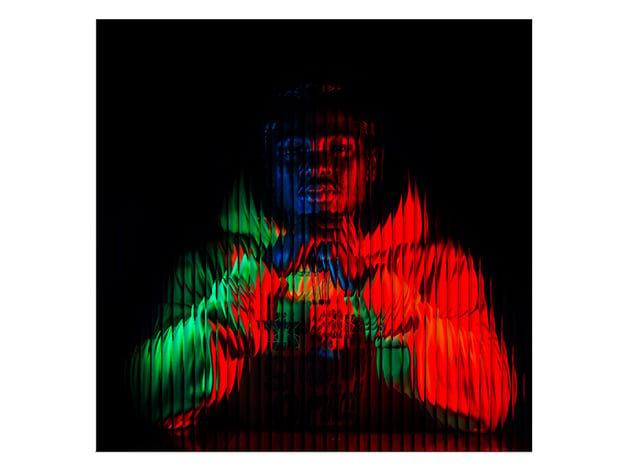
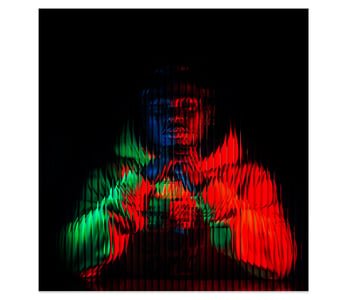
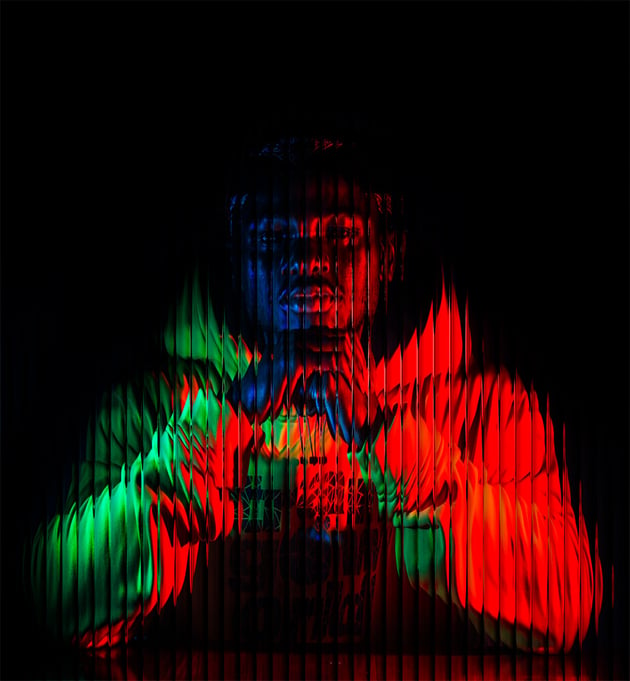
Congratulations!
Now you know how to create a glass effect in Photoshop and put your model behind reeded glass!

Recommended resources from Envato
If you want to create more Photoshop effects like this, with a variety of glassmorphism effects, check out Envato—a subscription-based service that gives you access to a huge library of assets for all kinds of creatives. Here are some examples!
1. Fractal glass photo effect (PSD)
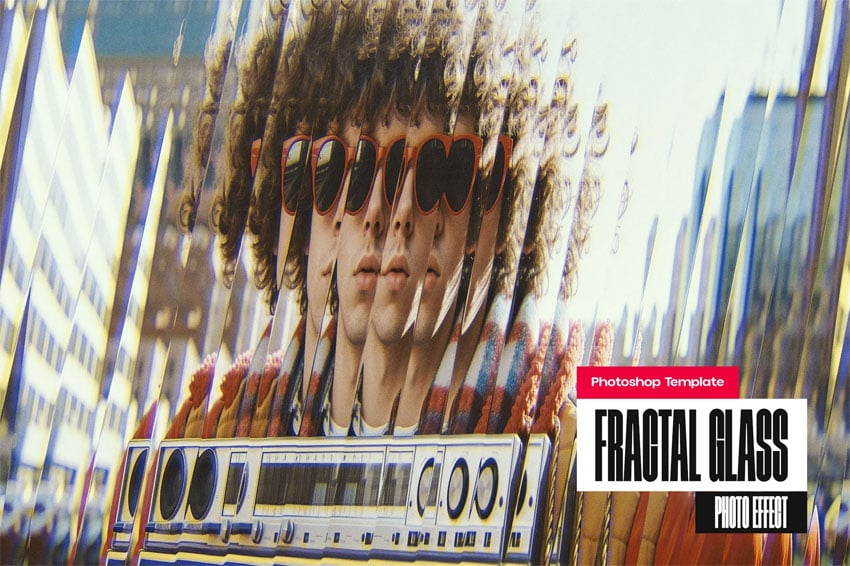

If you want to achieve a reeded glass effect similar to the one in this tutorial but you’re short on time, try this file—just replace the image in the Smart Object, and the glass effect will be applied to it automatically! You can also make your own adjustments afterwards.
2. Glass effect action (ATN, CSH)
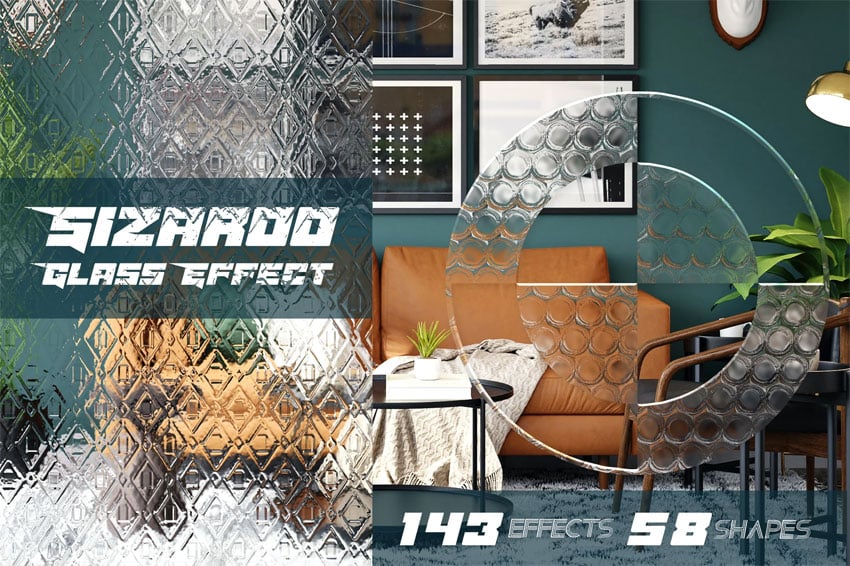


Are you looking for something more customizable? This amazing action will allow you to apply 143 different effects, based on a selection of 58 unique shapes. So if you find the classic reeded glass effect boring, here you’ll definitely find something more to your liking!
3. Warped glass PSD photo effect (PSD)


If you need a glass effect that looks realistic but doesn’t cover the subject/model too much, this effect may be exactly what you’re looking for. It applies gentle glass waves to your photo, distorting it only partially.
4. Textured glass effect for posters (PSD)
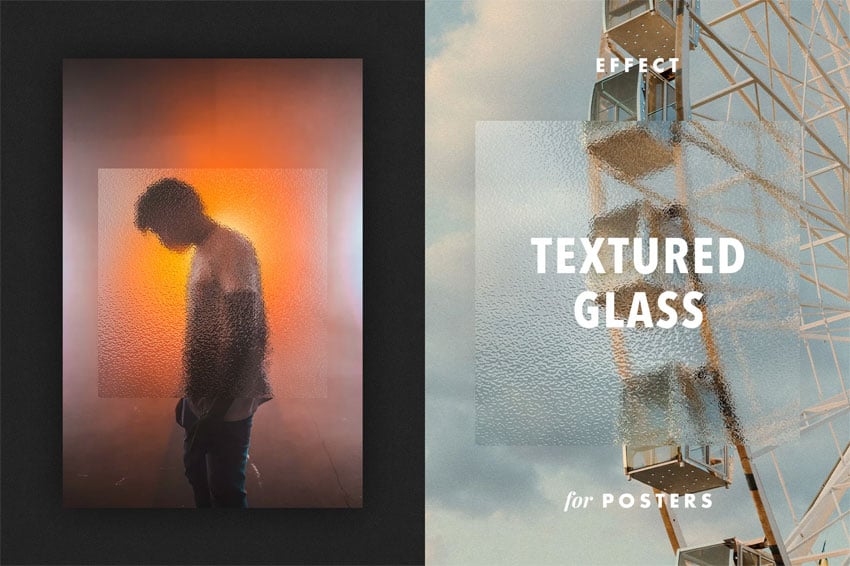


How about something classic—a traditional frosted glass effect? If you want to hide the subject a little but without applying too much crazy distortion, this may be the perfect solution for you. Just change the photo in the Smart Object, and you’re good to go!
5. Partial glass photo effect (PSD)


You don’t have to apply the glass effect to the whole photo—you can also distort it only partially, creating an interesting composition while keeping the part that matters clear. This effect will give you exactly that—with a very nice shape of reeded glass as a bonus!
Recommended tutorials
If you want to keep learning about Photoshop effects, here are a few recommended tutorials from our site: