An ultimate approach to Design Documentation
Managing projects efficiently is crucial to keep your work process moving smoothly. Working within a design team, or collaborating with multiple stakeholders, staying organised can be a challenge. This is where a Design Documentation Notion Template comes into play.
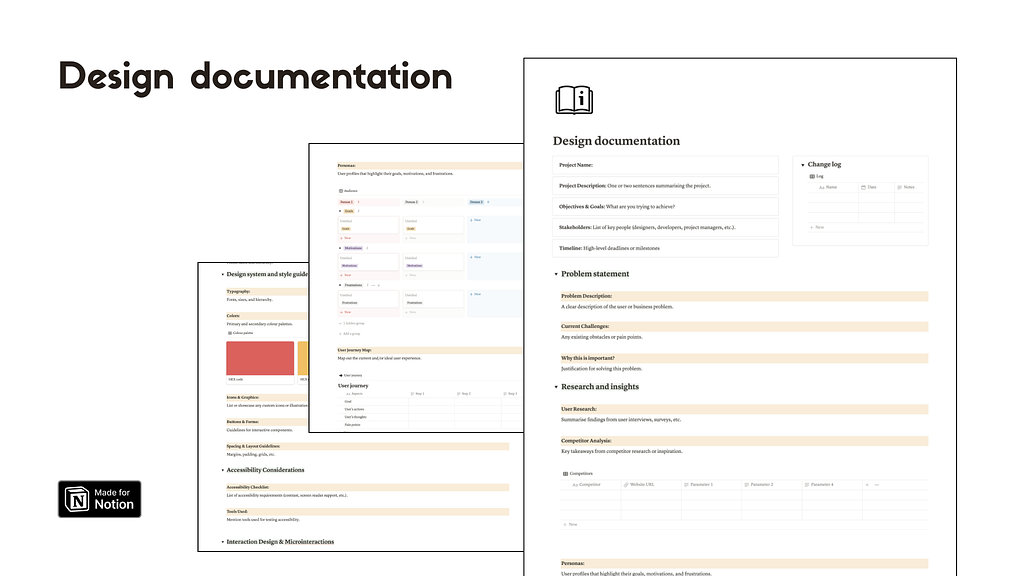
Design documentation – Notion template
A well-structured, comprehensive system for documenting your design work can save you time and nerves, ensure alignment across your team and beyond. In this article, we’ll walk through how to use a Design Documentation Notion Template effectively and show you how it can improve the way you manage design projects.
Why Use a Design Documentation Template?
Designers often find themselves juggling numerous tools, files, and feedback loops across different platforms. Without a central place to manage everything, it’s easy for to lose pieces of information and critical details, leading to confusion and delays. With Notion you can keep your documentation tidy and this template specifically designed for documenting design projects helps by:
- Centralising all project information: From research to final handoff, everything is stored in one place.
- Improving collaboration: Designers, developers, and stakeholders have easy access to the same information, ensuring alignment.
- Tracking progress: You can maintain a clear overview of where the project stands, making sure nothing slips through the cracks.
- Ensuring consistency: Reusable components like a style guide or design system ensure the team is adhering to brand guidelines.
How to Use the Design Documentation Notion Template
Let’s break down each section of the template and show how it can be used to support a smooth design process.
1. Project Overview
Start by filling out the Project Overview section. This is your high-level view of the project and provides context for anyone involved. Include:
- Project Name
- Objectives & Goals: Define what the project aims to achieve. This keeps everyone focused on the end result.
- Key Stakeholders: List the people involved in the project so everyone knows who to consult or update.
Having this information upfront helps orient everyone and ensures you start with clear expectations.
2. Problem Statement
Next, use the Problem Statement section to define the core problem you’re solving. This part focuses on the user pain points or business challenges. It’s critical to get this section right because it guides the entire design process. Use it to frame the problem clearly:
- What’s the problem?
- Why is it important to solve?
- What challenges do users face?
This will serve as your north star, ensuring that the design remains user-centric.
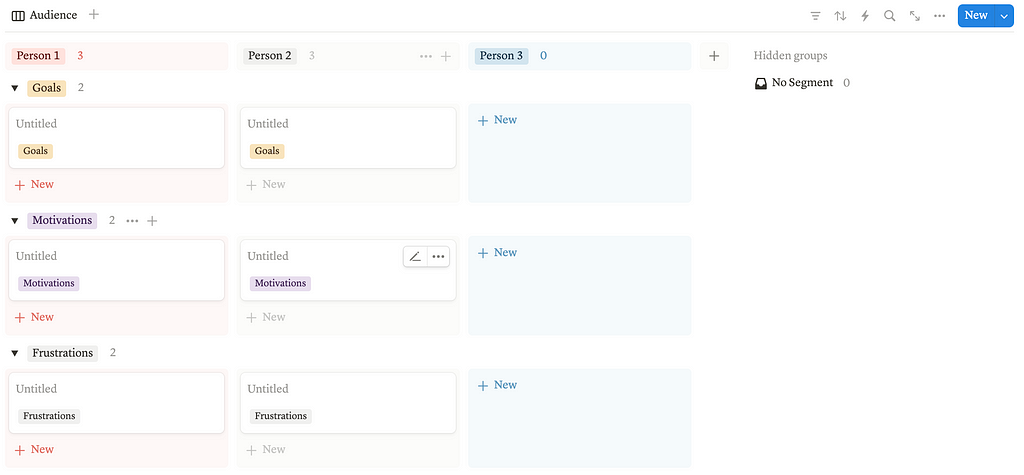
3. Research & Insights
In this section, document the research findings that influence your design. You can include:
- User Research: Summarise key insights from user interviews or surveys.
- Competitor Analysis: Highlight best practices or opportunities identified from competitors.
- User Personas: Add user profiles, including demographics, pain points, and motivations.
This section is essential for justifying your design decisions and ensuring they are grounded in real data. It also provides context for stakeholders who may not be involved in the research phase but need to understand its impact.
4. Design Requirements
Once the research is complete, lay out your Design Requirements. This section should include both functional and non-functional requirements:
- Functional: What features need to be included in the design?
- Non-functional: What performance, accessibility, or usability standards should the design meet?
This is crucial for guiding your design process and for ensuring that developers have a clear understanding of the deliverables.
5. Information Architecture
At this stage, it’s time to outline the Information Architecture. This includes any sitemaps, user flow diagrams, or content structures that show how users will navigate through the product or website. Use this to:
- Organise the flow of information
- Plan the hierarchy of content and pages
- Guide developers on how the design will function
Clear architecture ensures the design will work as intended, without confusion over navigation or content placement.
6. Wireframes & Mockups
Upload or link to your wireframes and mockups in this section. Notion allows you to embed Figma files, so you can keep your design iterations directly within the template. Start with:
- Low-fidelity wireframes to visualise layouts and structure
- High-fidelity mockups to show stakeholders and developers the polished designs
By keeping wireframes and mockups in one place, you make it easy to track changes and feedback.
7. Design System & Style Guide
A key feature of any design documentation is a Design System and Style Guide. This section ensures that your designs remain consistent across the project. Include:
- Typography and colour palettes
- Button styles and iconography
- Spacing and layout rules
- etc.
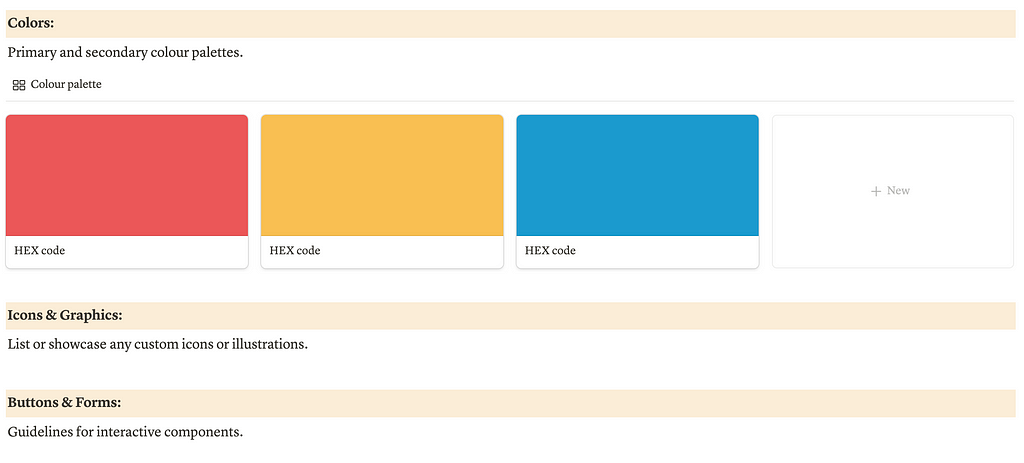
By documenting these elements, you provide a single source of truth for the visual language of the project, ensuring consistency in all designs.
8. Usability Testing
Before finalising designs, run usability tests to gather feedback from actual users. Document your test plan and results in the Usability Testing section:
- What you’re testing: Outline which parts of the design are being evaluated.
- Feedback: Summarise feedback from test users, focusing on any pain points or confusion they experienced.
- Changes implemented: Track any revisions made based on the feedback.
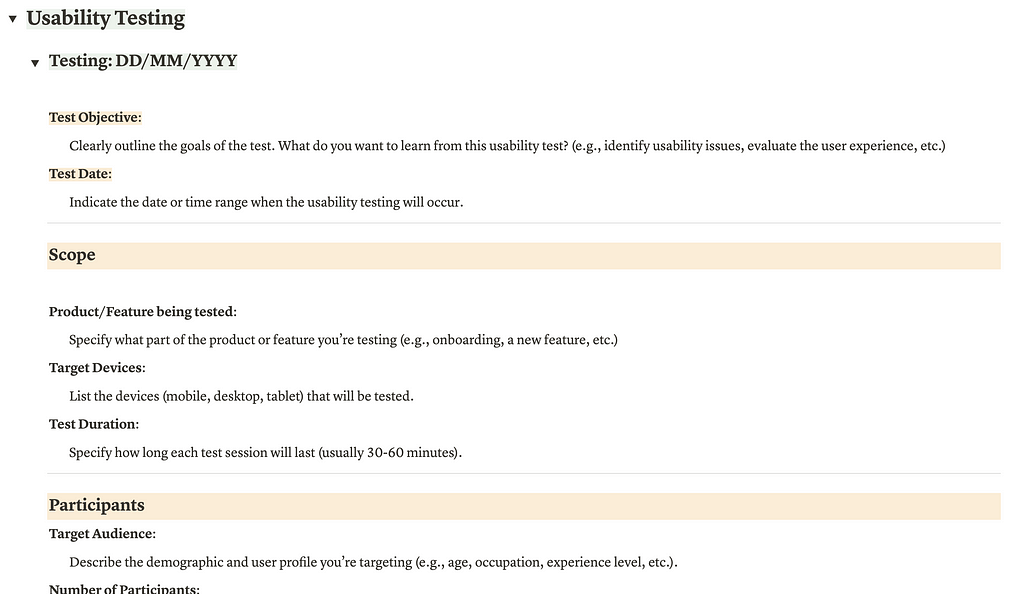
This section helps you track improvements made to the design and ensures that the final product will be intuitive and user-friendly.
9. Developer Handoff
One of the final steps in the process is the Developer Handoff. This section of the template includes everything a developer needs to implement the design:
- Annotated mockups with detailed instructions
- Design specs including spacing, fonts, and component dimensions
- Exportable assets like icons and images
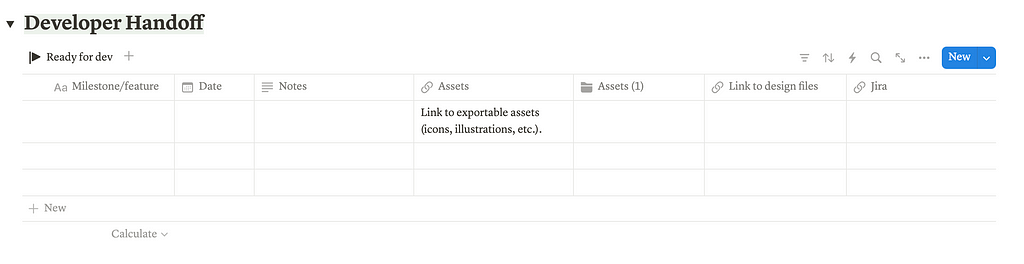
By centralising this information, you facilitate communication between designers and developers, minimising misunderstandings and ensuring the design is implemented as intended.
A Design Documentation Notion Template is more than just a collection of notes — it’s an essential tool for keeping your design projects organised, efficient, and collaborative. By using this template, you’ll have everything you need in one place, from the initial project overview to the final developer handoff. This not only saves time but ensures that every project is well-documented and that communication flows smoothly between all team members.
Let’s stay in touch: Twitter | LinkedIn | Instagram
- Design documentation – Notion template
- Planning a Design System: Insights from Nathan Curtis’s Framework
- Guided Design system planner – Notion template
Check out more resources for Product designers:
![]()
Documenting design process with Notion was originally published in UX Planet on Medium, where people are continuing the conversation by highlighting and responding to this story.