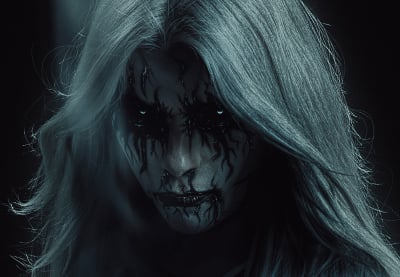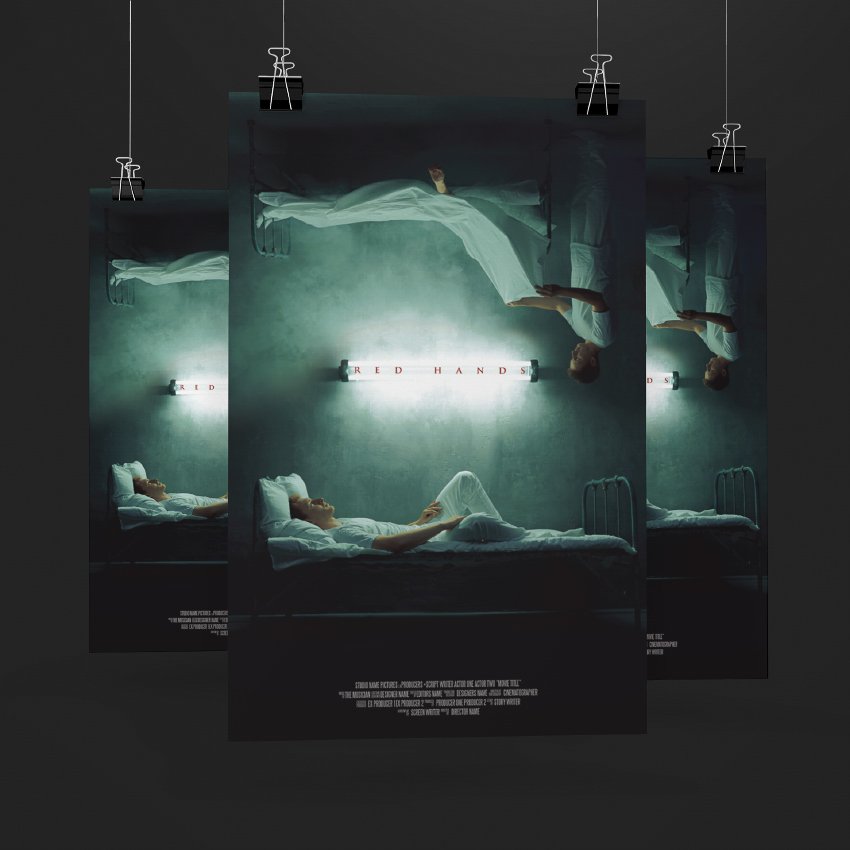
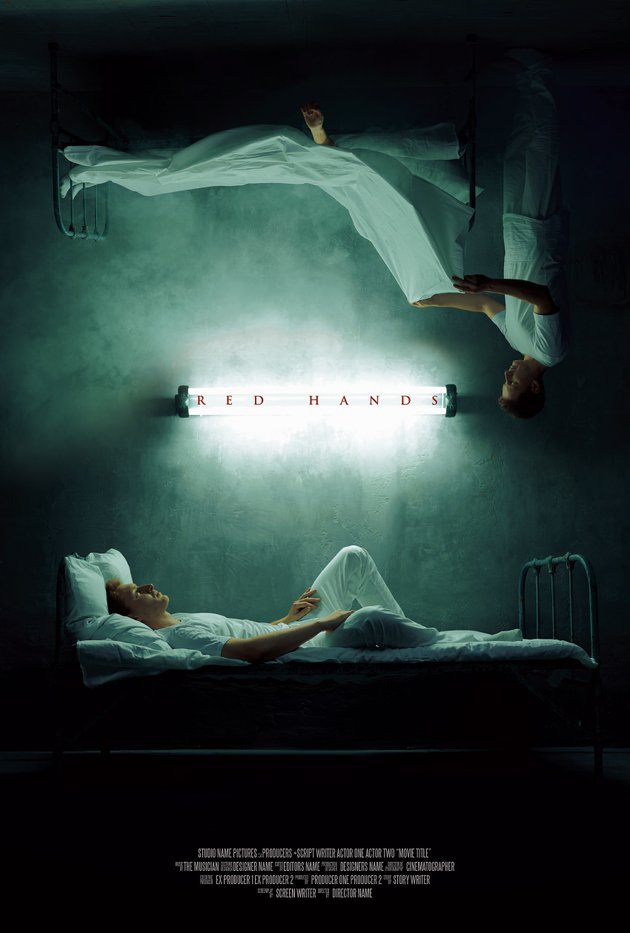
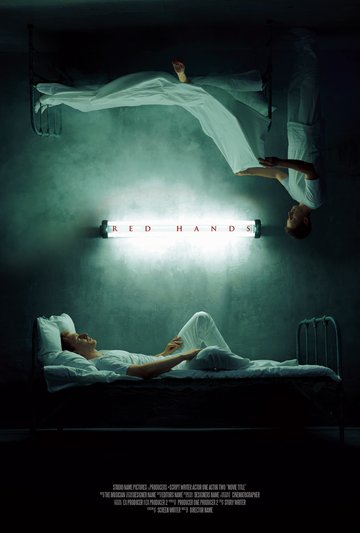
Today, we will be looking at how to make a horror movie poster using just two images in Photoshop! We’ll look at effective movie poster composition as well as your new go-to for horror movie poster typography.
Did you know that horror movie posters are most effective when they are simple and use minimal-style horror movie poster images and color? Combined with some classic horror movie poster typography, this horror movie poster layout can be adapted to fit everything from paranormal thrillers to zombie films!
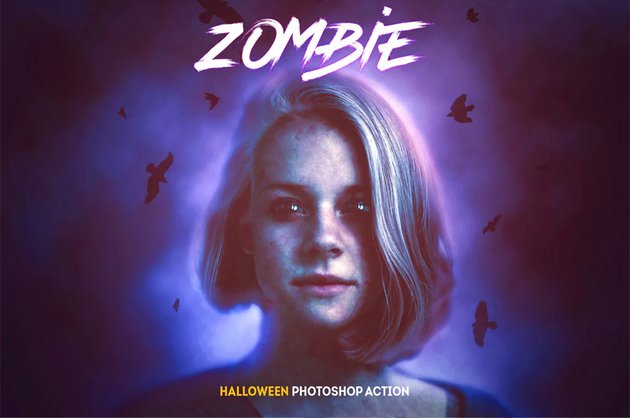
Speaking of zombies, if you’re looking for some of the best horror presets and actions around, then you should look no further than Envato Elements! Envato Elements has dozens of Photoshop actions that will add a touch of horror to any image in seconds.

Learn How to Compose and a Create Horror Movie Poster!
Head on over to our Envato Tuts+ YouTube channel, where you can learn more about poster design in Photoshop with my free video course Movie Poster Design in Adobe Photoshop.
Tutorial Assets
The following assets were used in the production of this tutorial:
Find more resources on Envato Elements!
1. How to Create a Horror Movie Poster
Let’s start by looking at how to create a horror movie poster using only two images and a layer mask!
Step 1
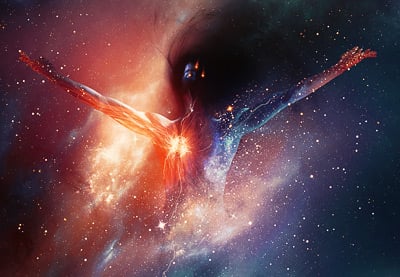
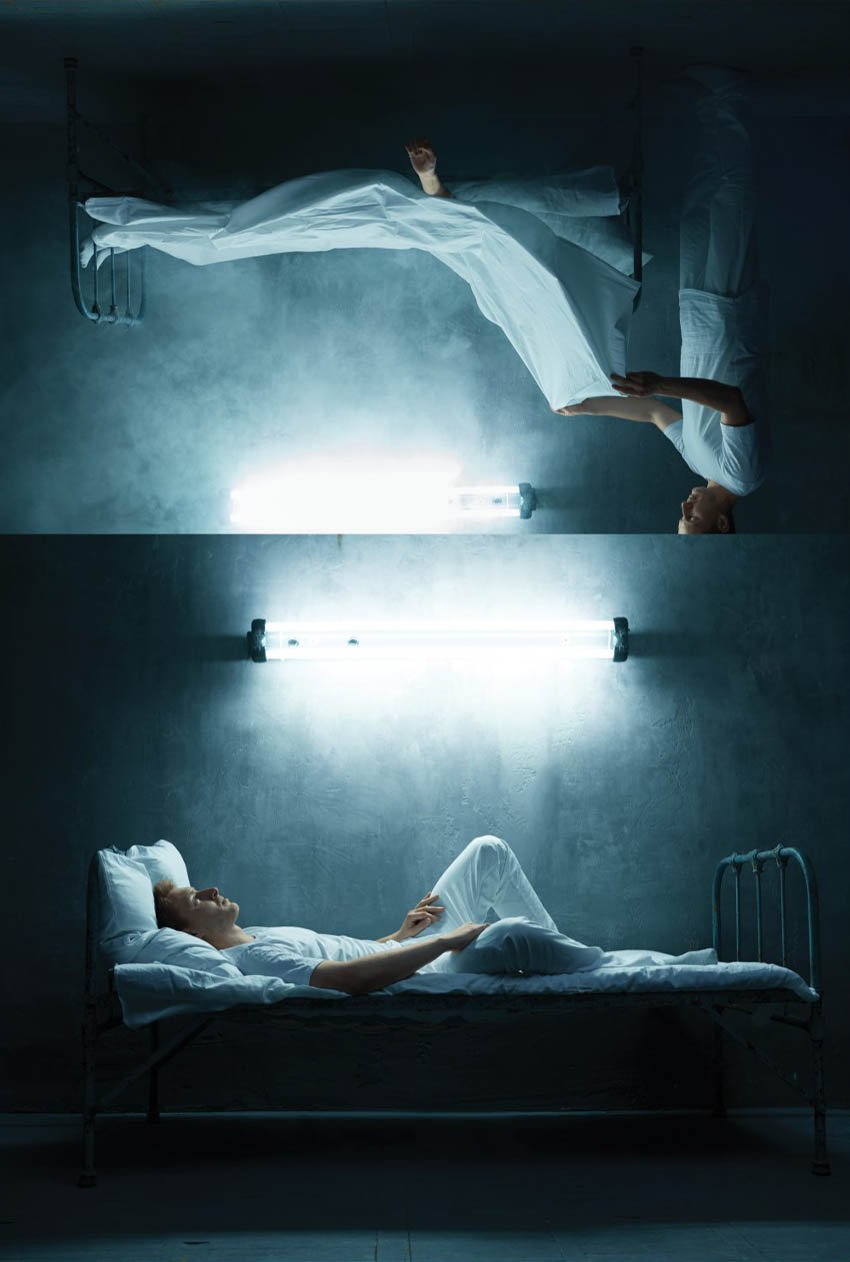
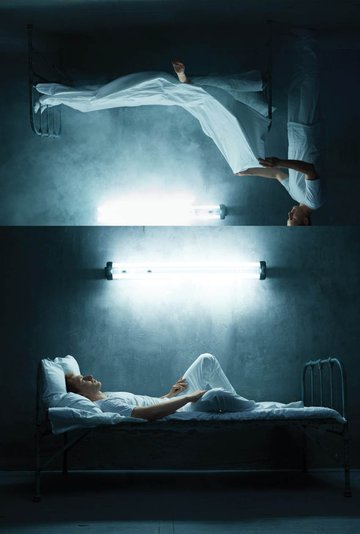
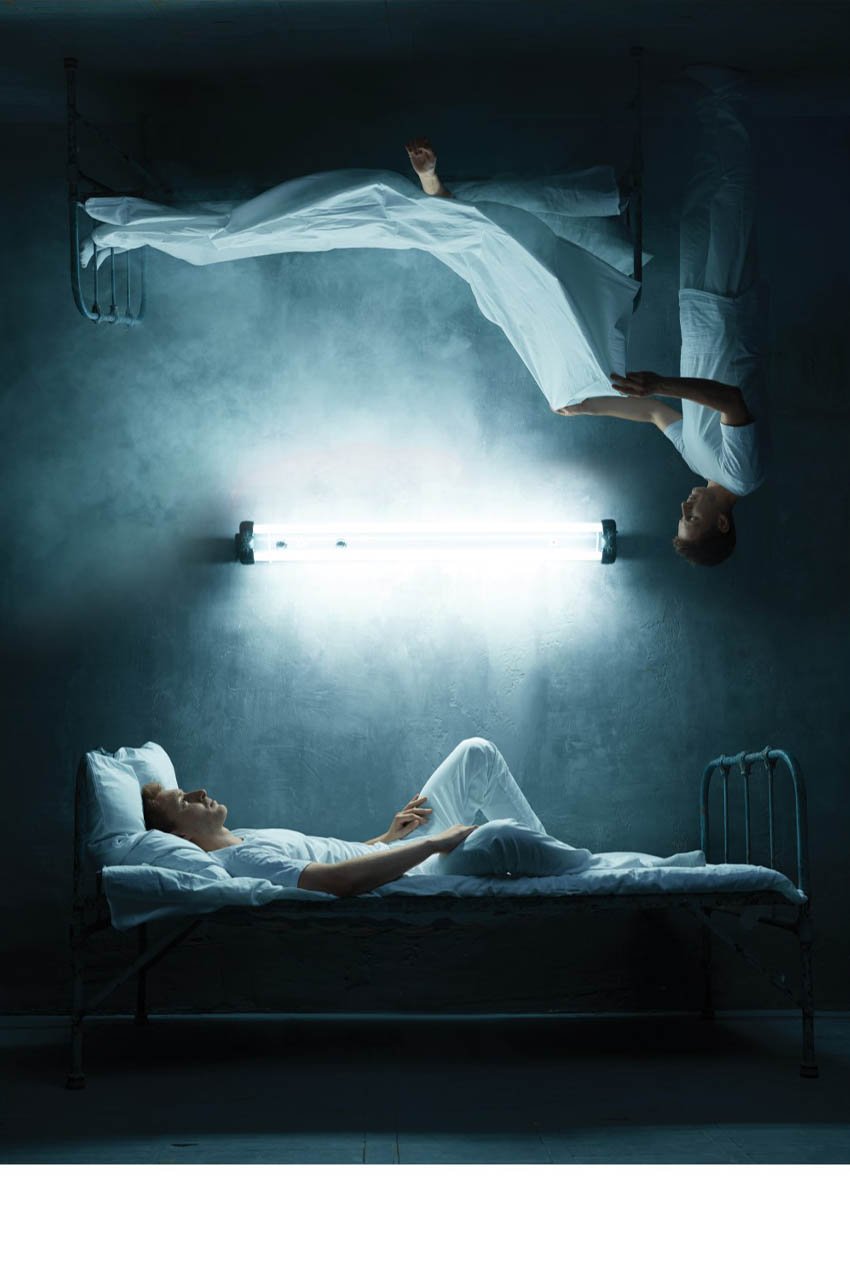
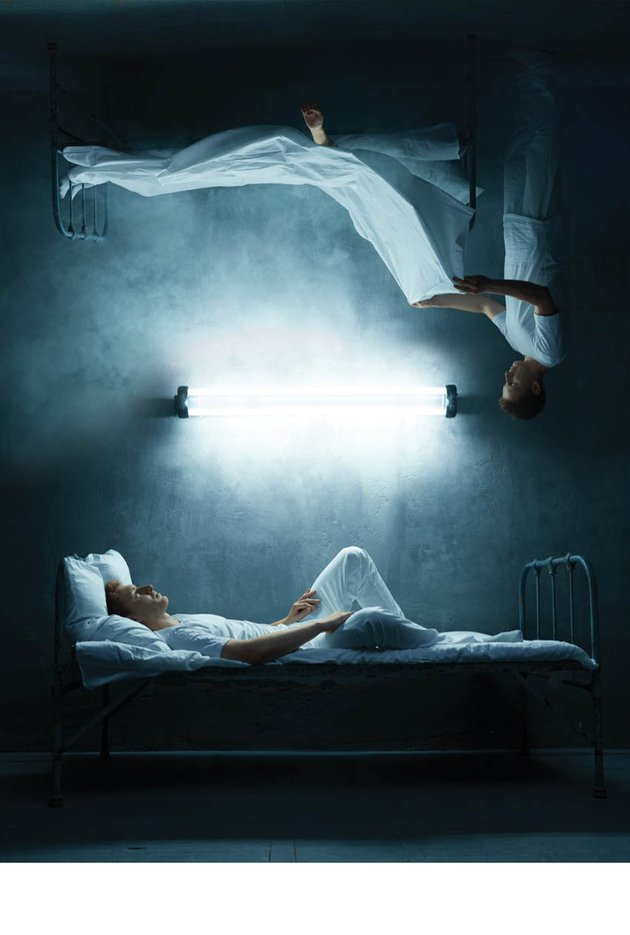
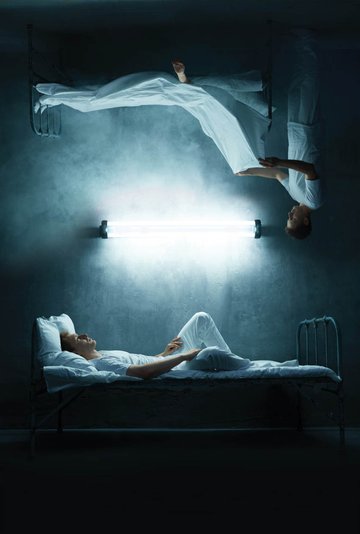
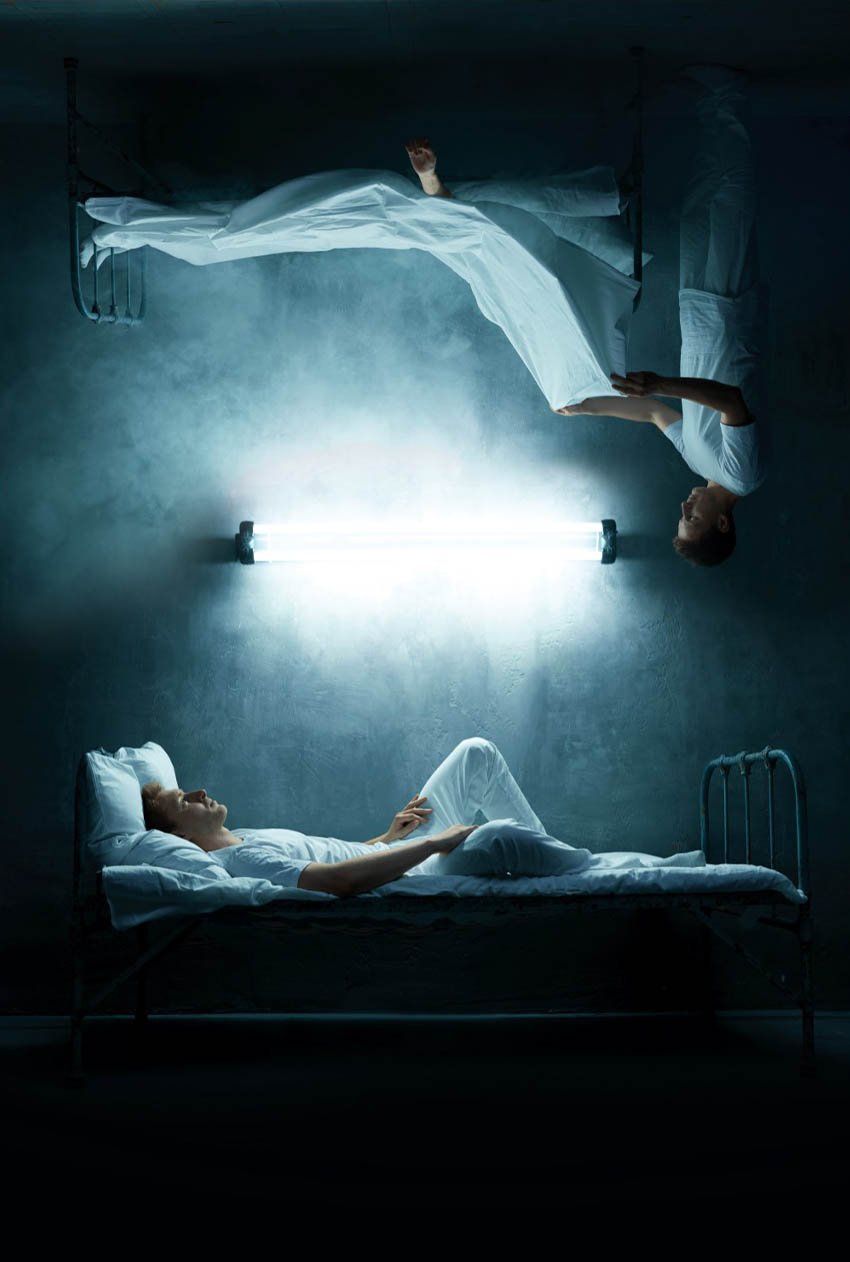
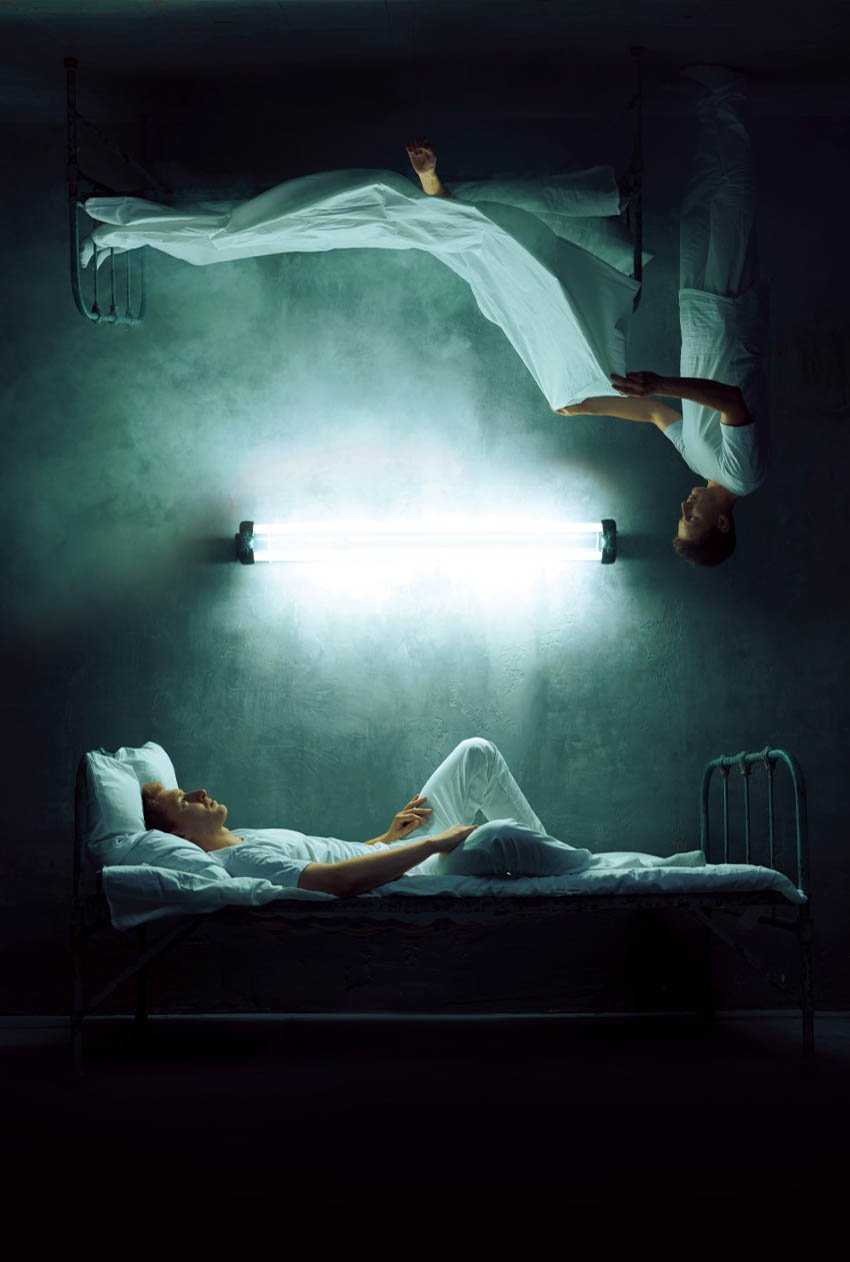
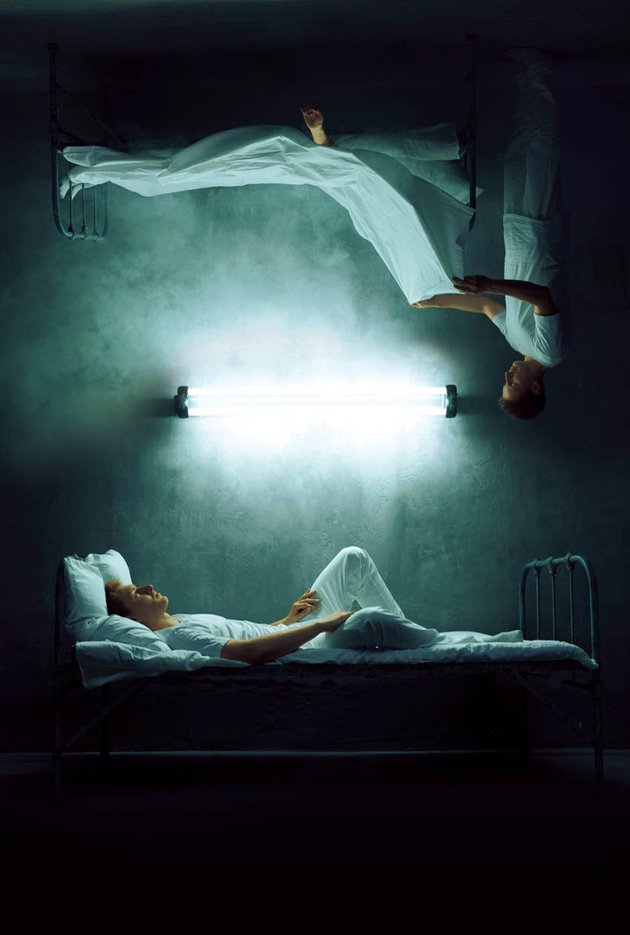
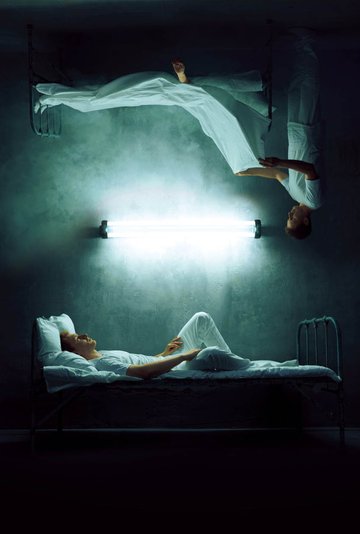
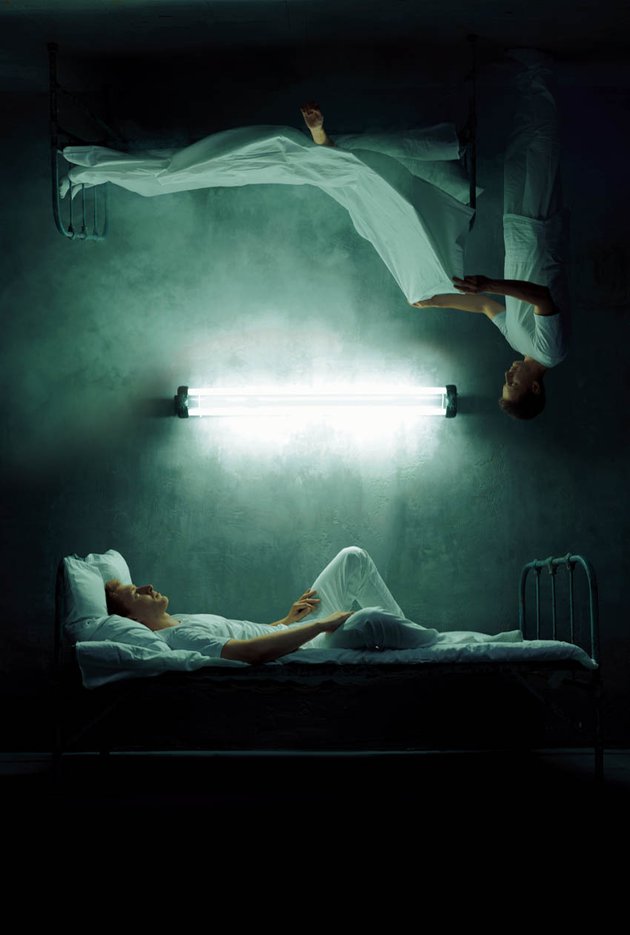
For this composition, we are using two images from the same shoot, both similar but with slight differences.
Place your images on a New Canvas set to 27 x 40 inches if you want a full standard movie poster. You can shrink the canvas but keep the same aspect ratio if you don’t need the design to be so large.
Step 2
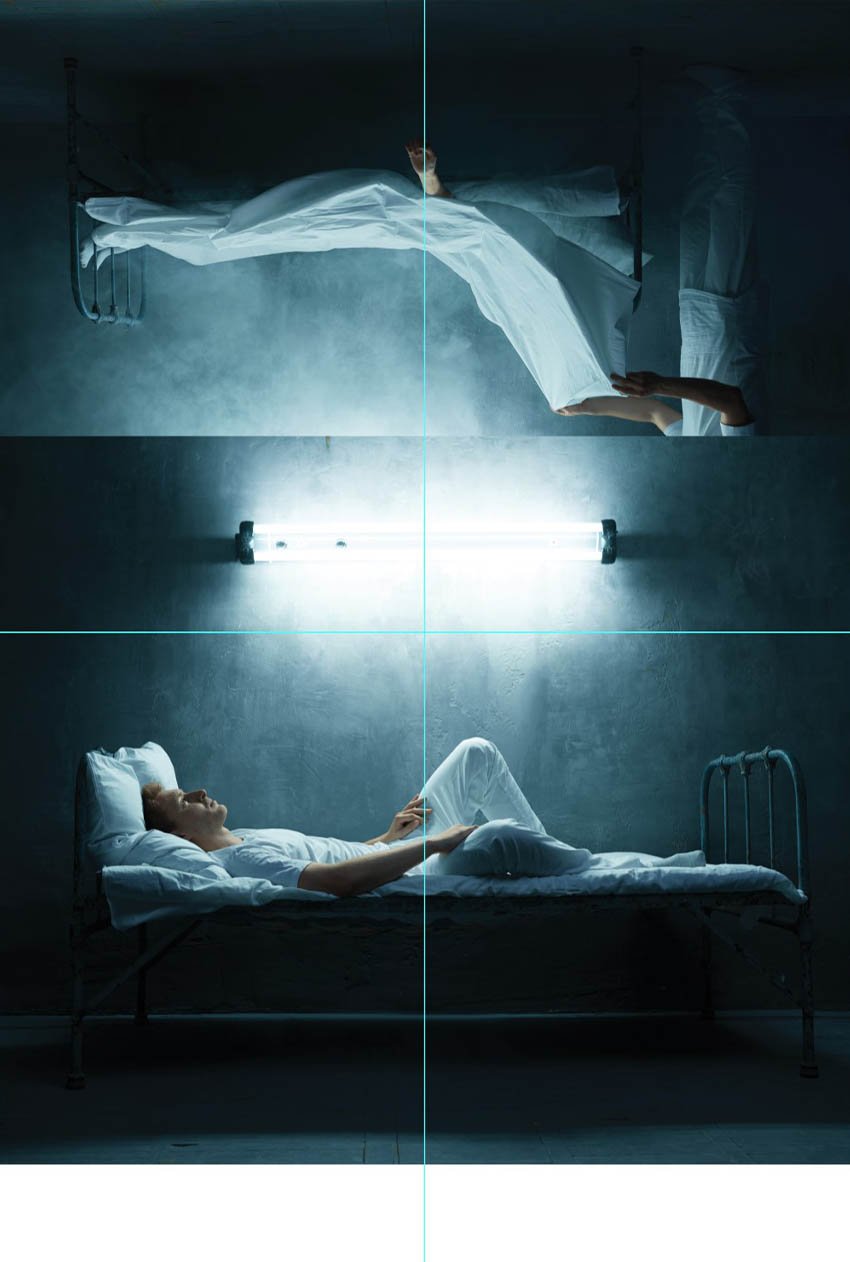
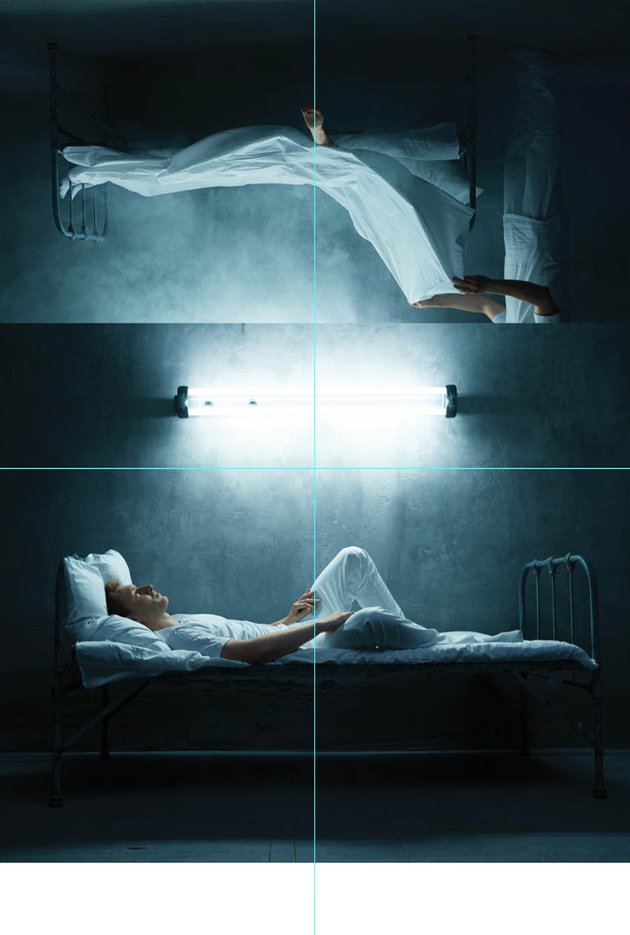
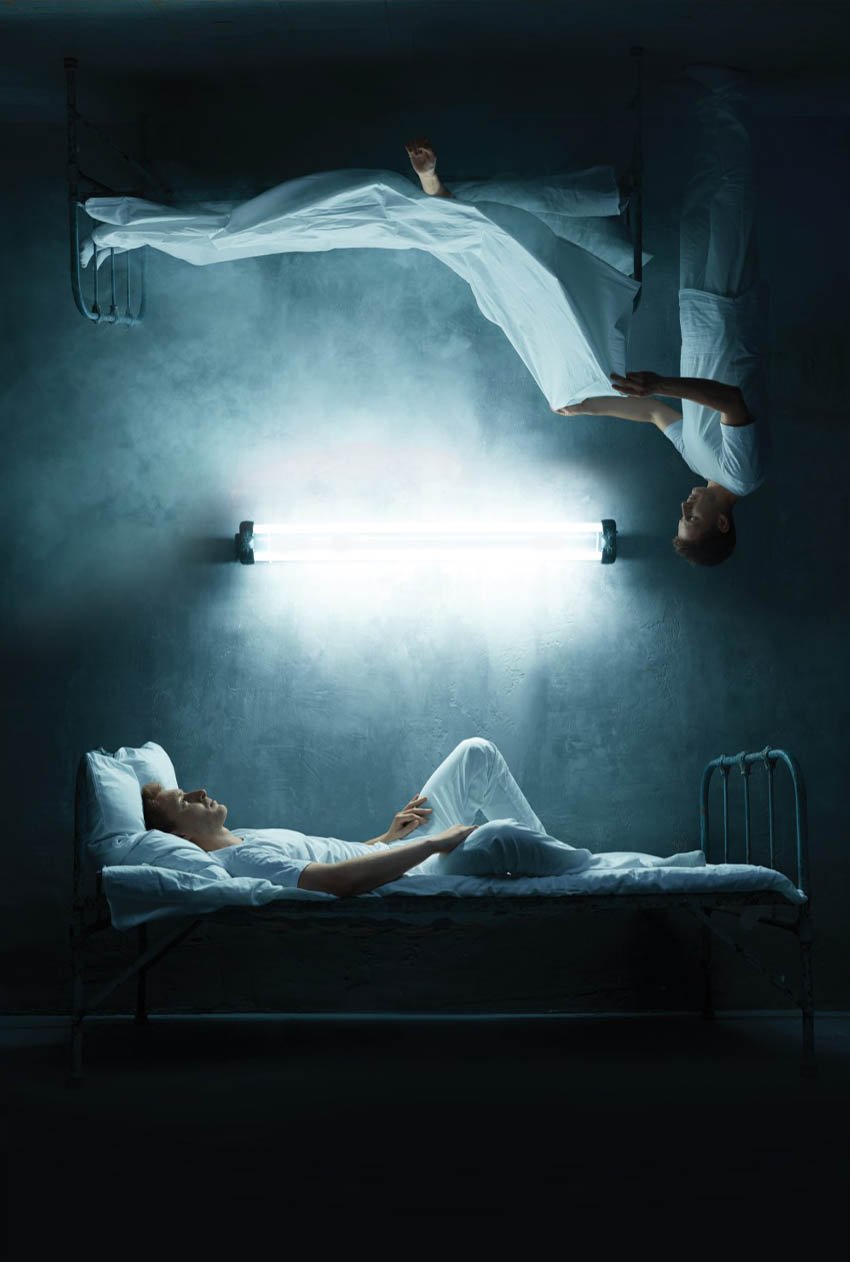
Move up the bottom image so that the light is slightly above the center of the poster. This is where our text will be placed as the area draws the most attention.
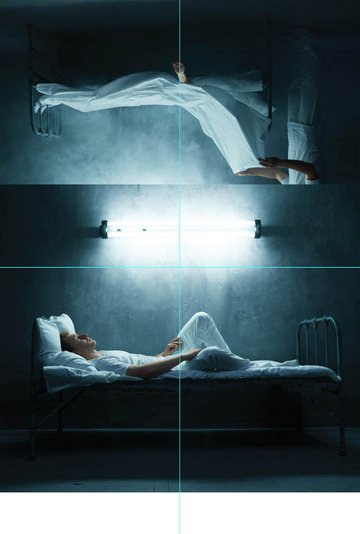
I added guides so you can better see my image placement.
Step 3
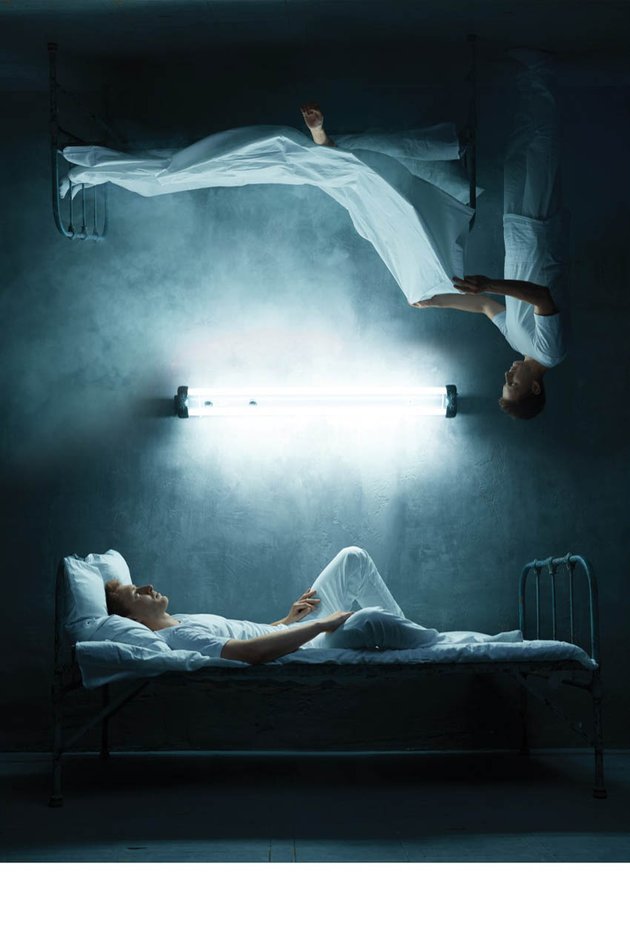
Add a Layer Mask to the lower image, and mask out the corners so they are no longer overlapping the upper image.
Use a soft round black brush for this.
Step 4
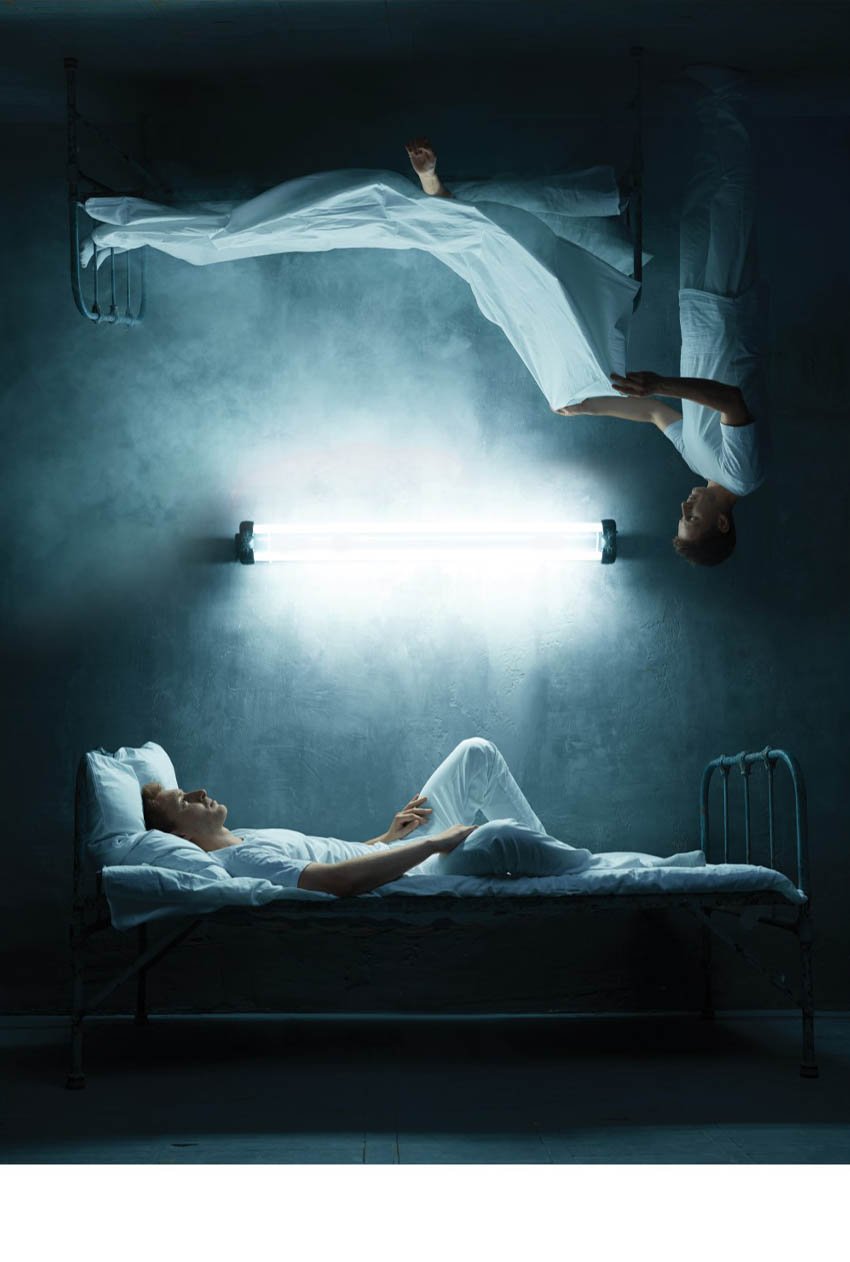
Create a New Layer, and paint away the darker areas on the left side of the light.
Color Pick a color from around the spots (#f4f8fb), and use a semi-hard round Brush to paint over the dark spots.
Step 5
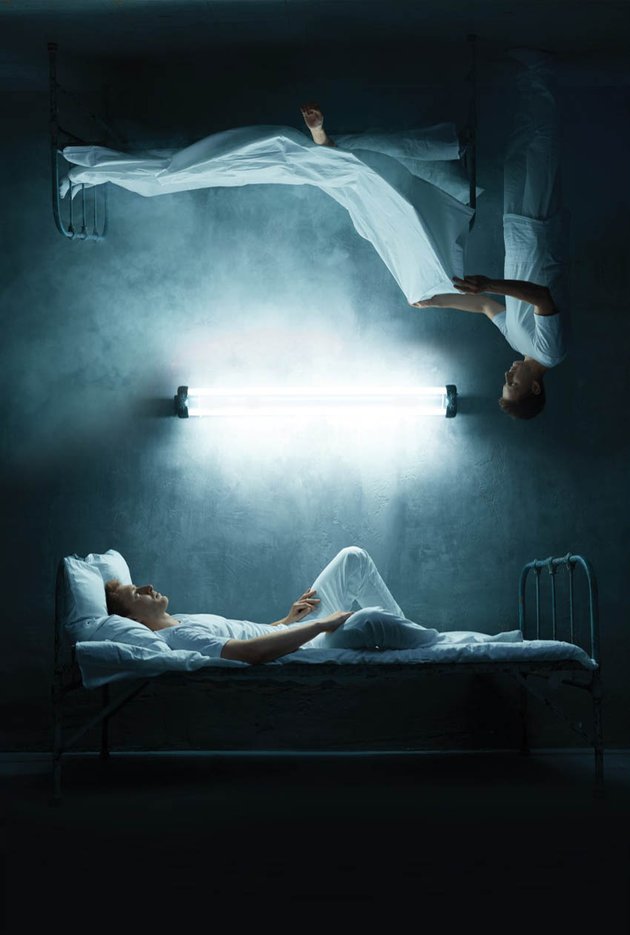
Color pick a color from the floor (#070b0c), and use a soft hard round Brush to fill in the bottom of the poster.
2. How to Create a Horror Movie Poster Color Grade
Step 1
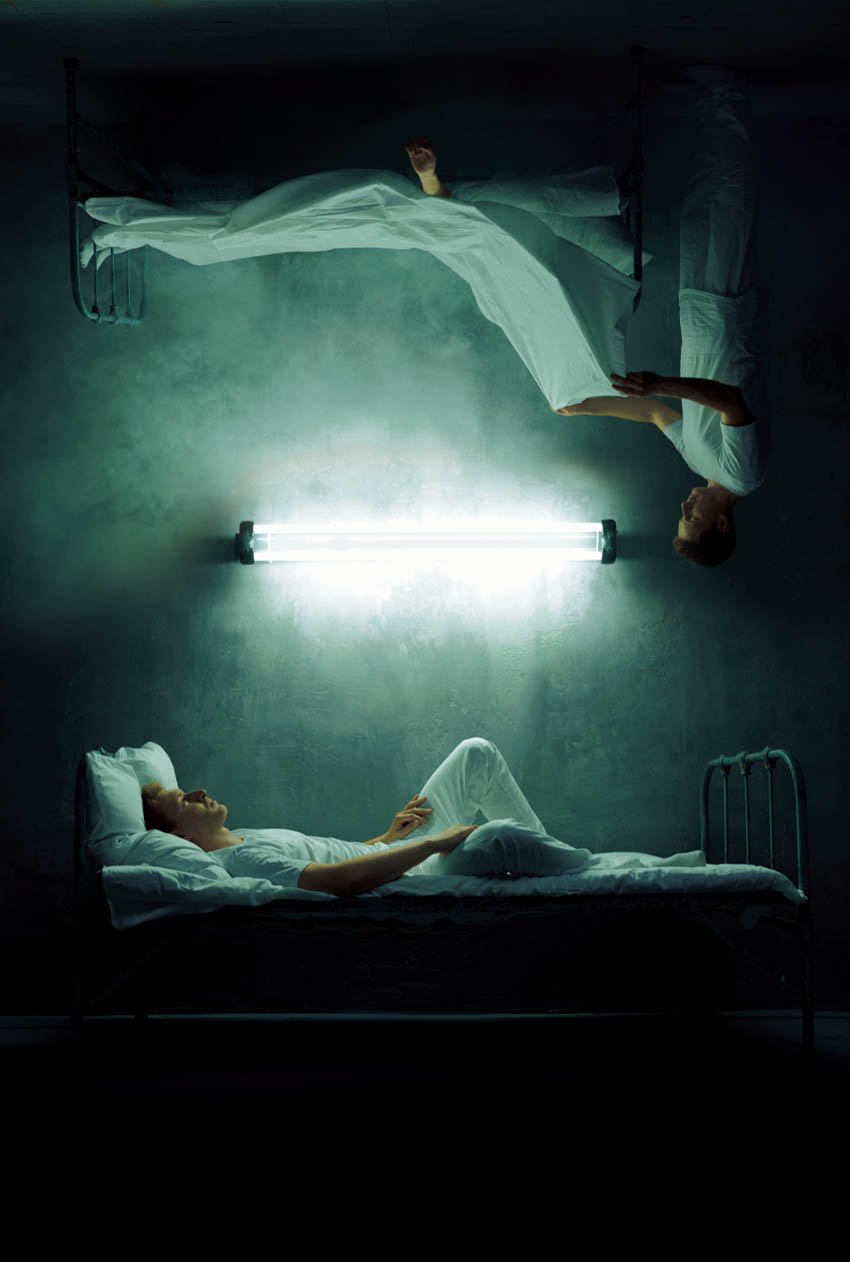
In this horror movie poster mockup, we have a simple color grade, bringing in a dark shadowy green.
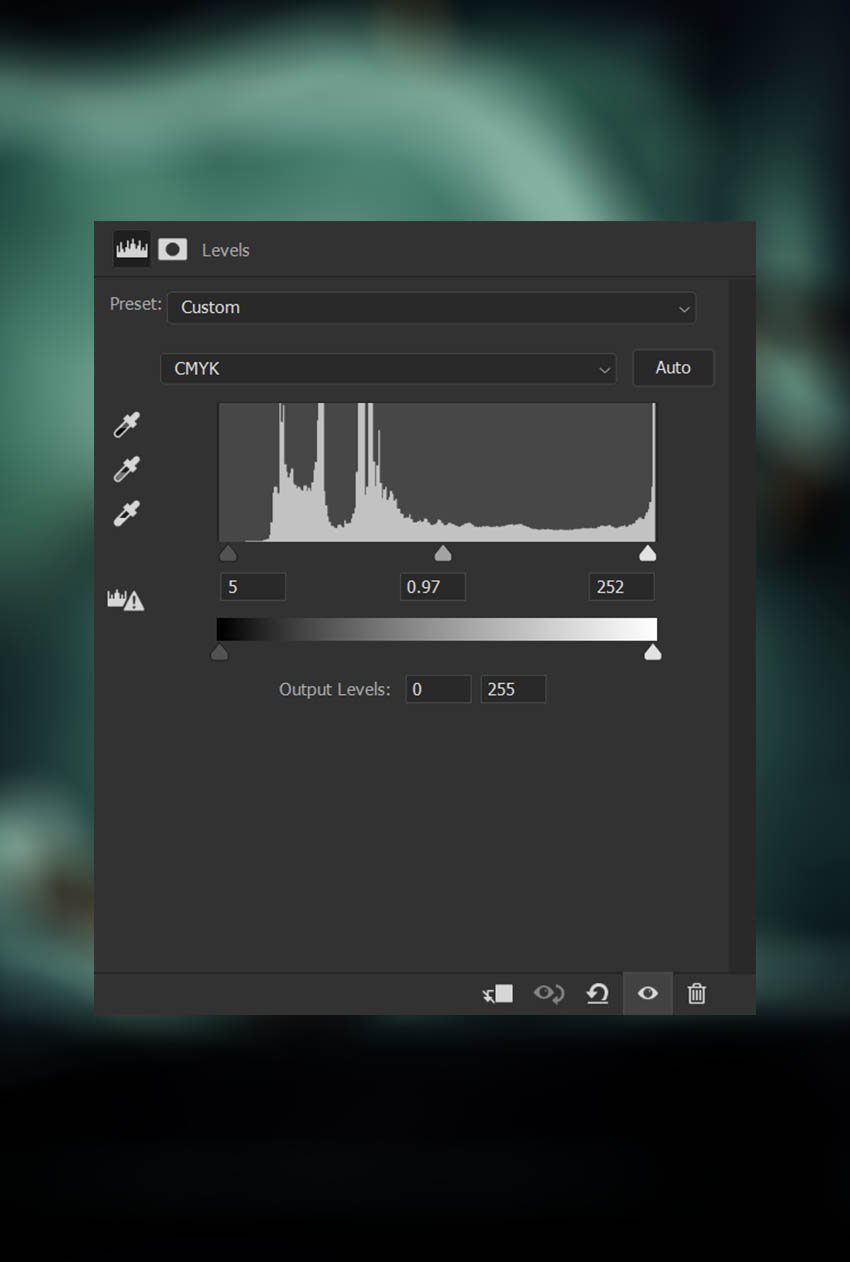
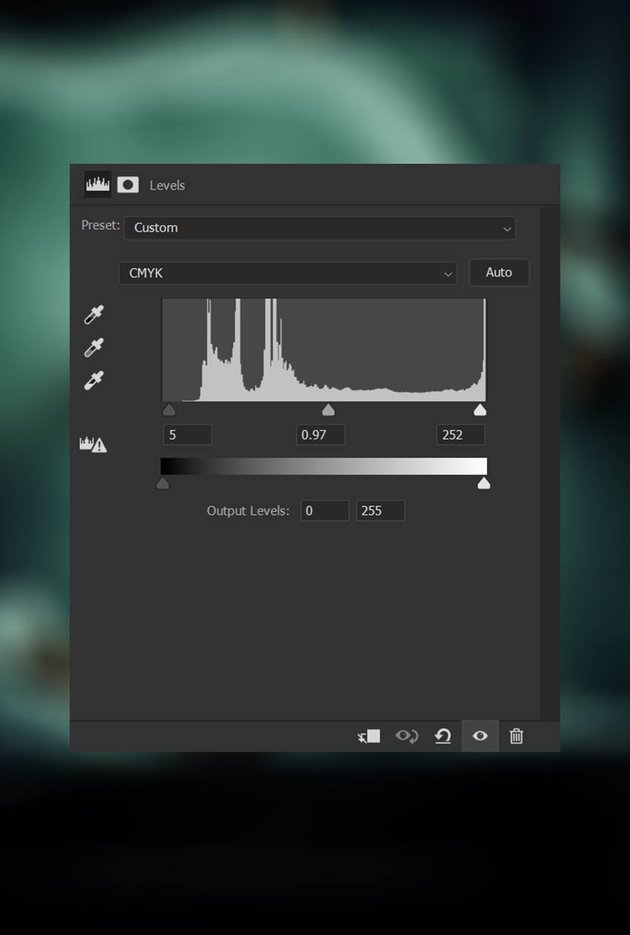
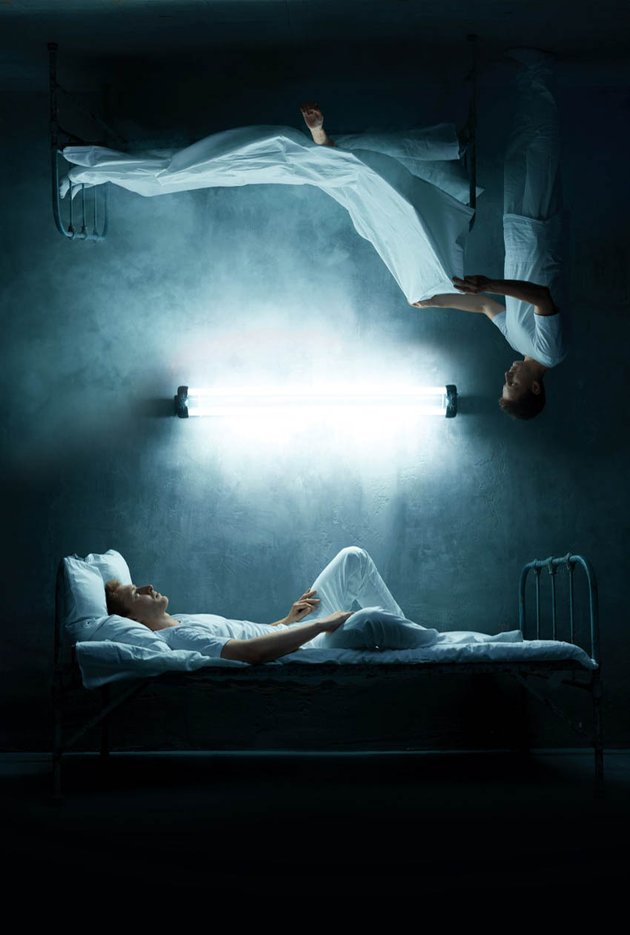
Frist. a Levels adjustment layer to add a small amount of contrast.
Step 2
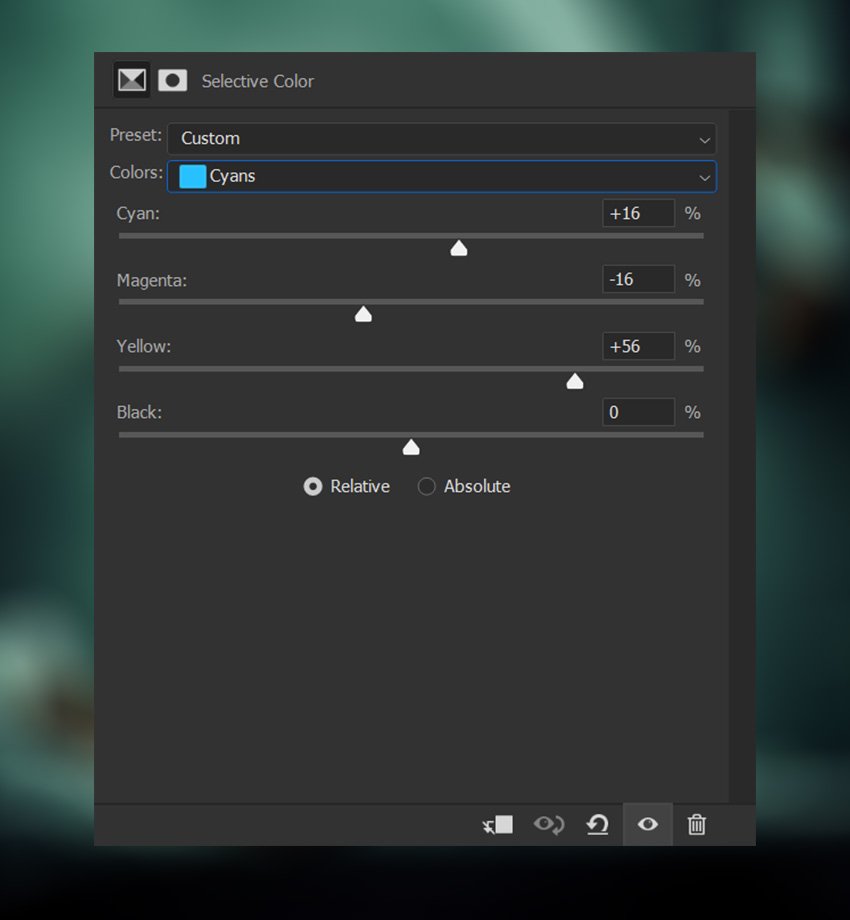
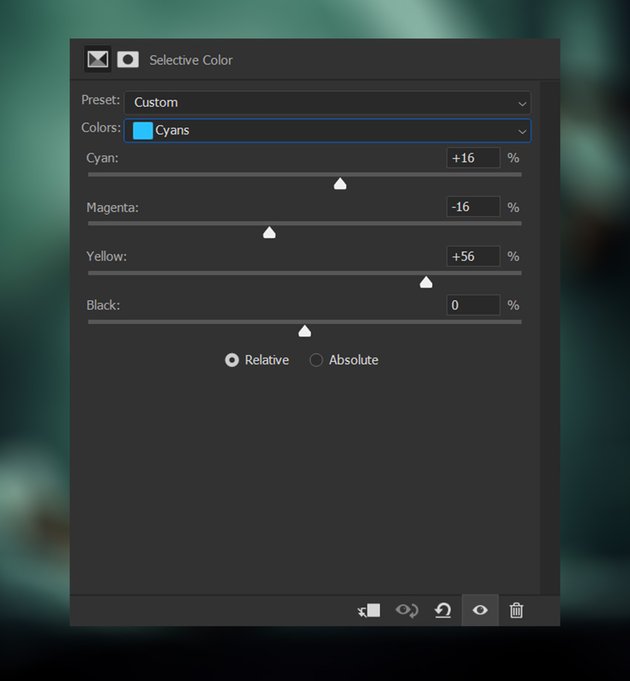
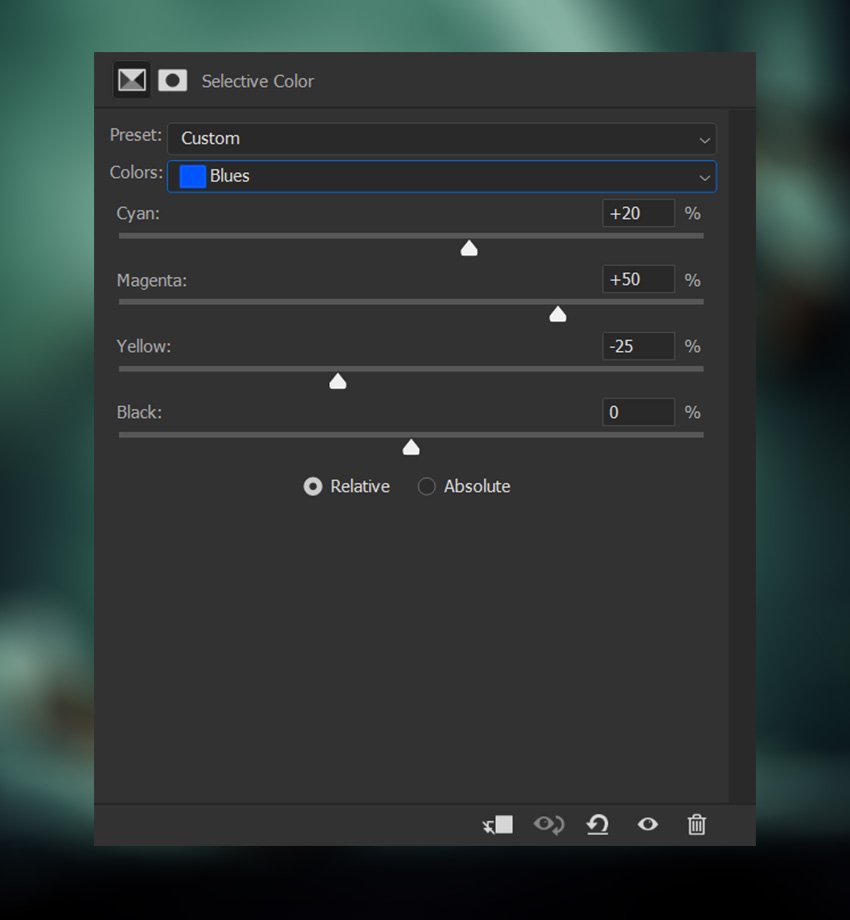
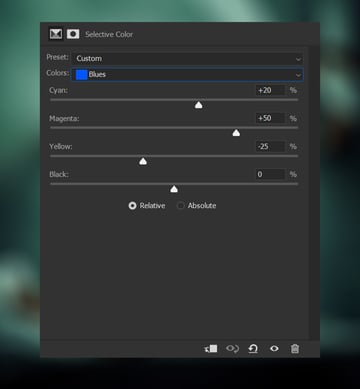
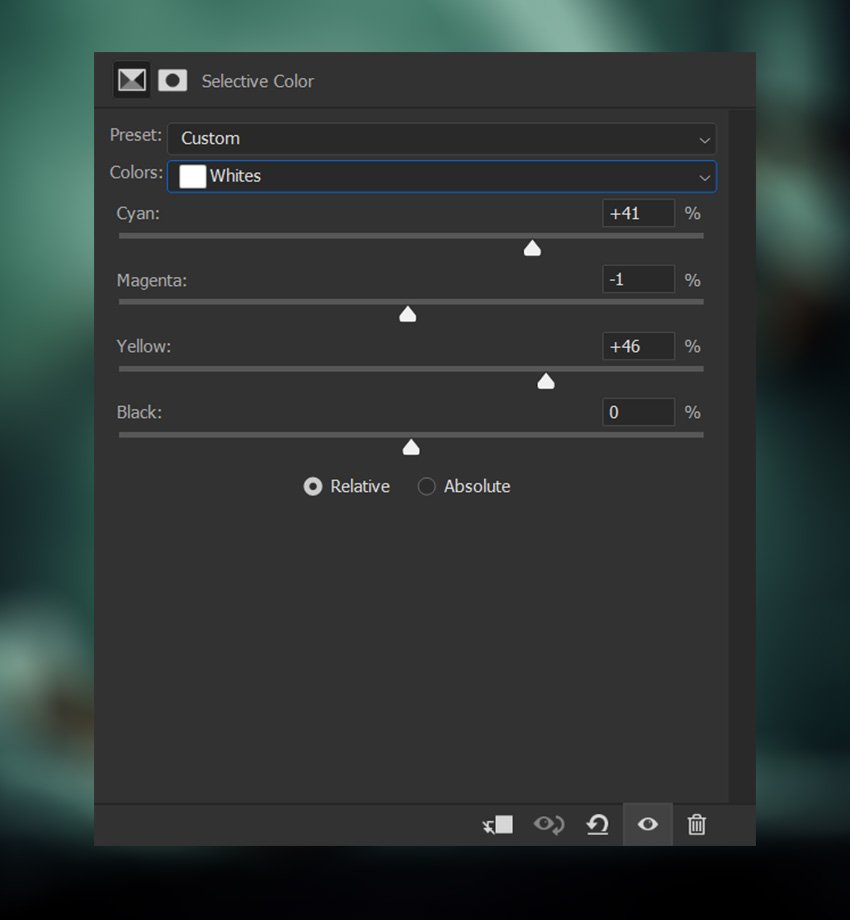
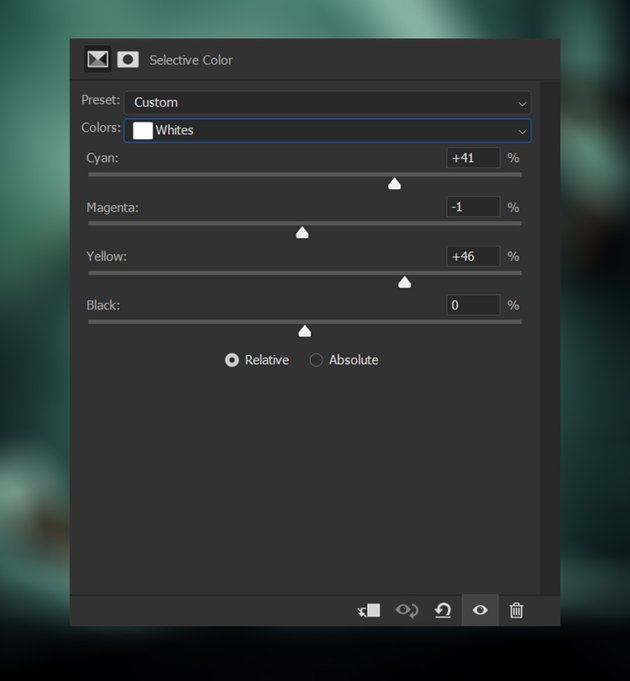
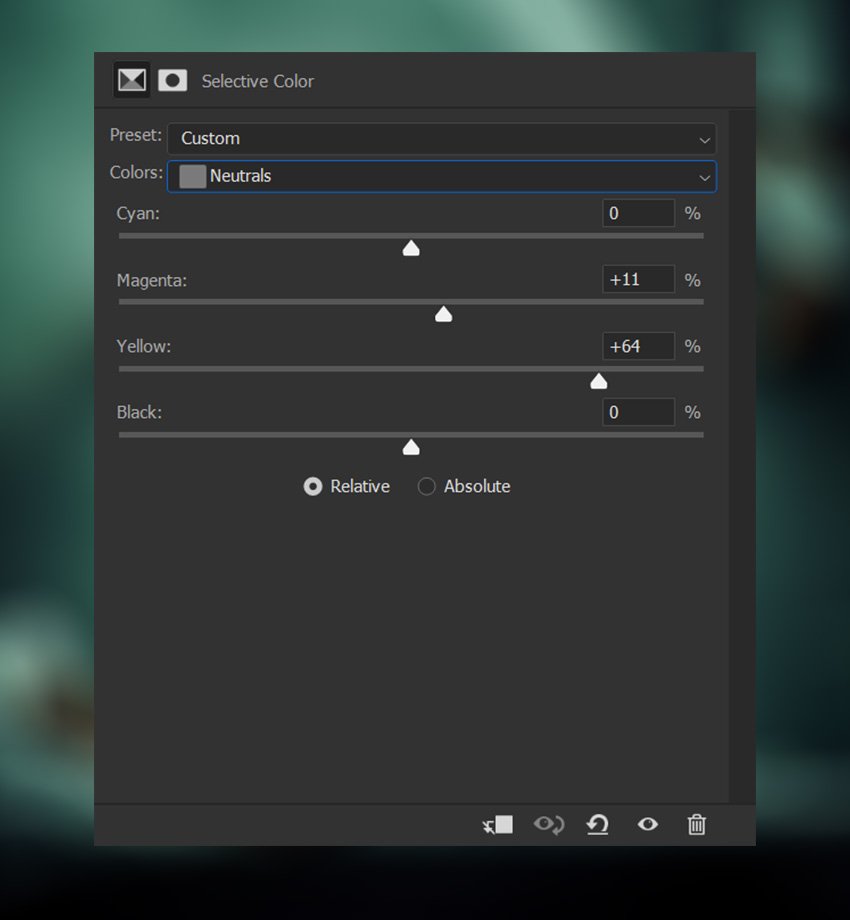
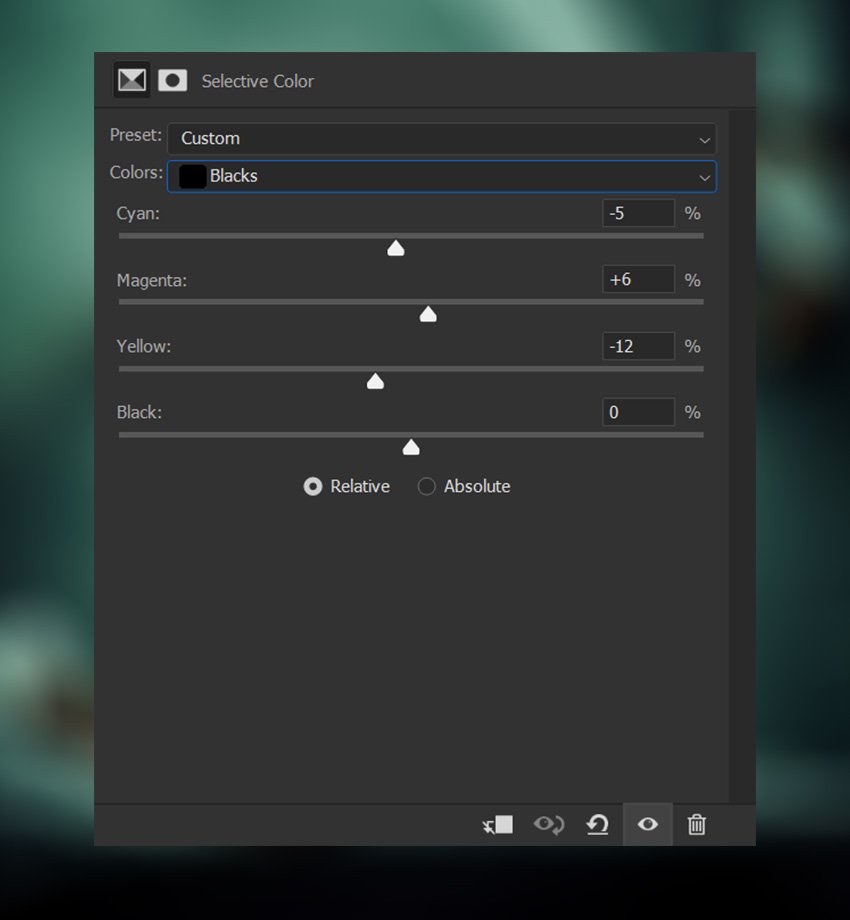
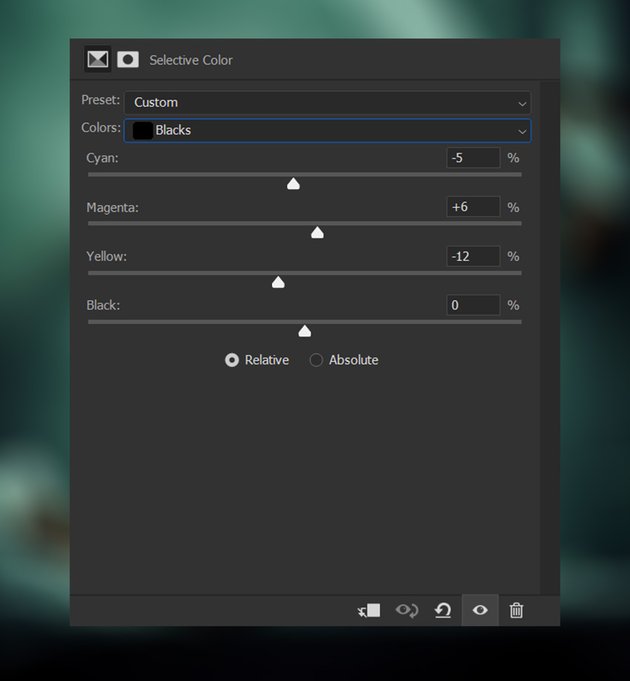
Then, above the Levels layer, add a Selective Color layer to adjust the Cyan, Blue, White, Neutral, and Black colors.
Step 3
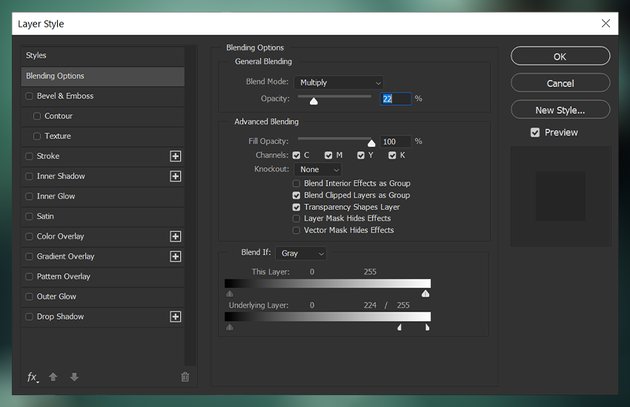
Finish the color grade with a green #417337 Color Fill layer, placing it above the Selective Color layer, and setting it to Multiply at 22% Opacity.
Set the Blend If settings to what you see below. Remember to hold Alt to split the toggles up:

This color grade does a particularly good job not only of bringing in a spooky green tone but also of deepening all of the shadows.
3. How to Create Horror Movie Poster Typography
Now, let’s add some simple typography to go with our classic horror movie poster images!
Step 1
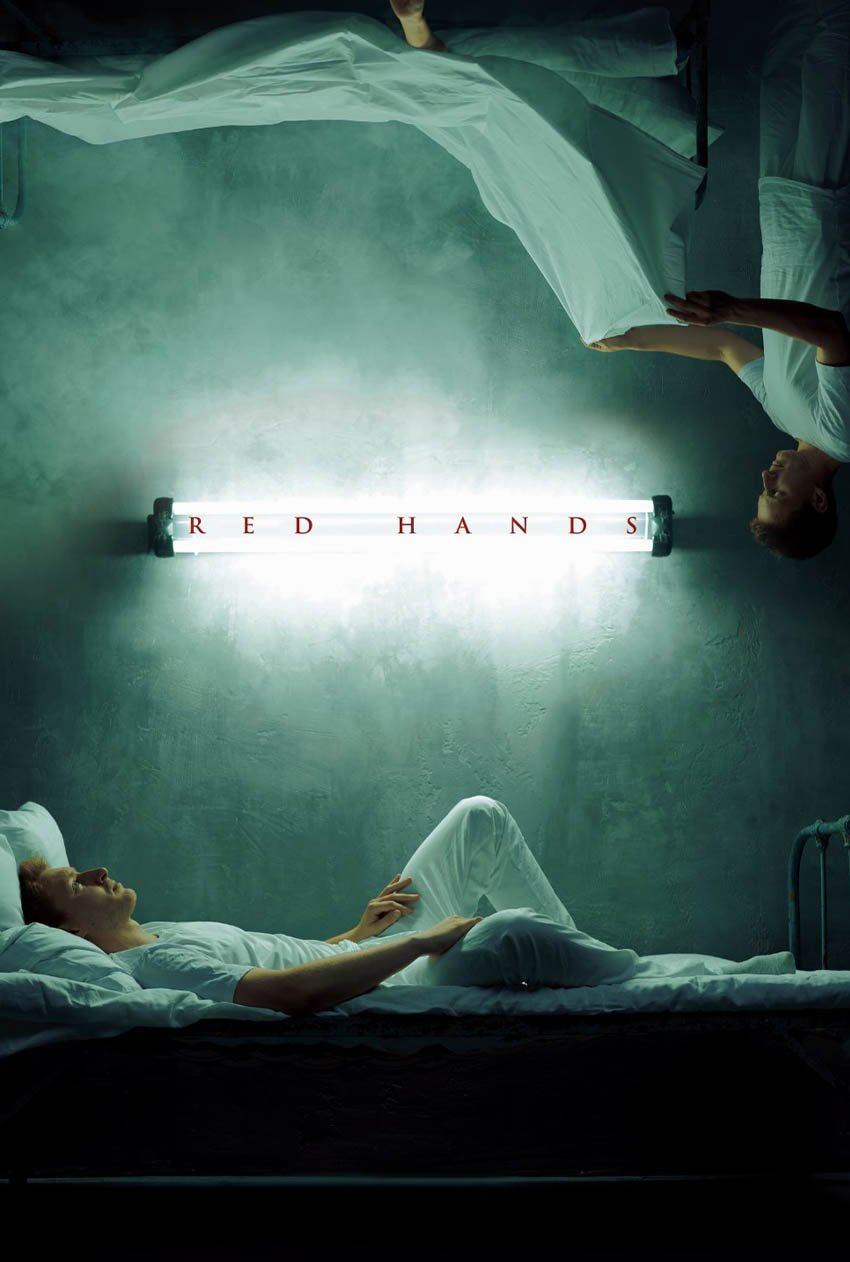
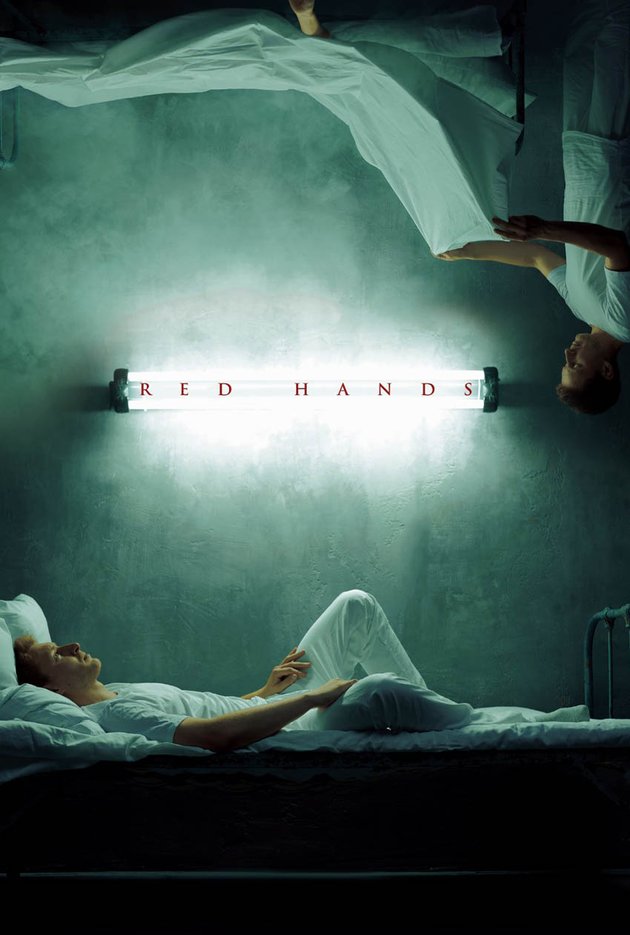
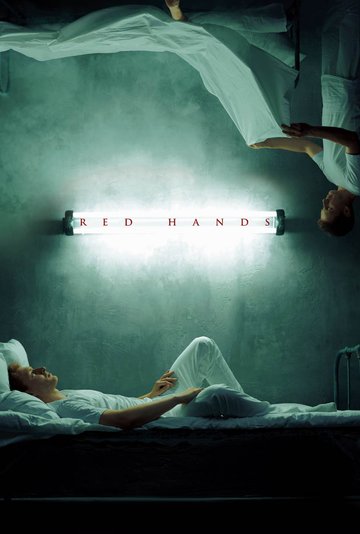
When it comes to creating a horror movie poster Photoshop template, you want Trajan! Trajan is the go-to horror movie poster font, for everything from indie horror to major blockbusters.
The sharp edges of this thin serif typeface convey that creepy feeling you are after, especially when you make it bloody red #90191c.
Your title should be the biggest text on the poster. You can add some Letter Spacing, I added 1760 for my title, so that it takes up even more space.
Step 2
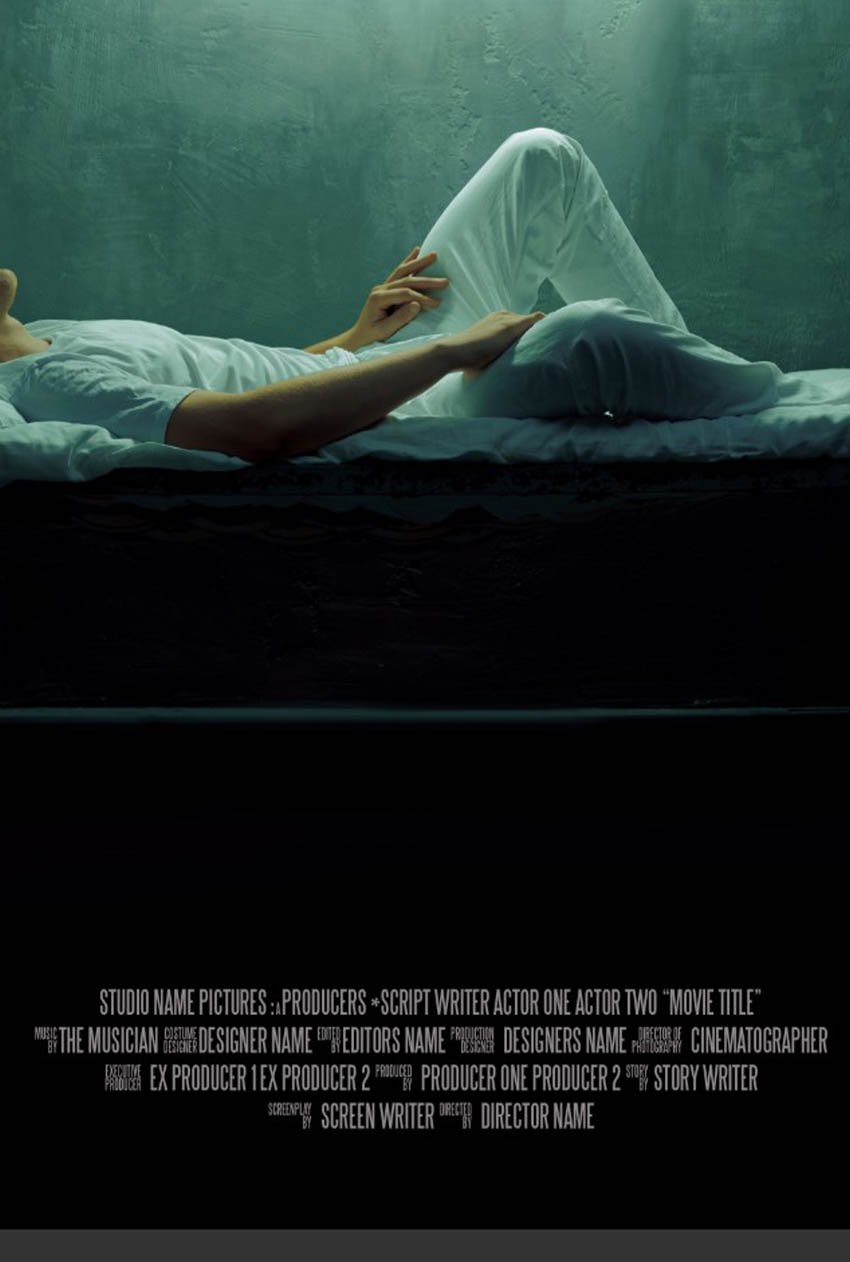
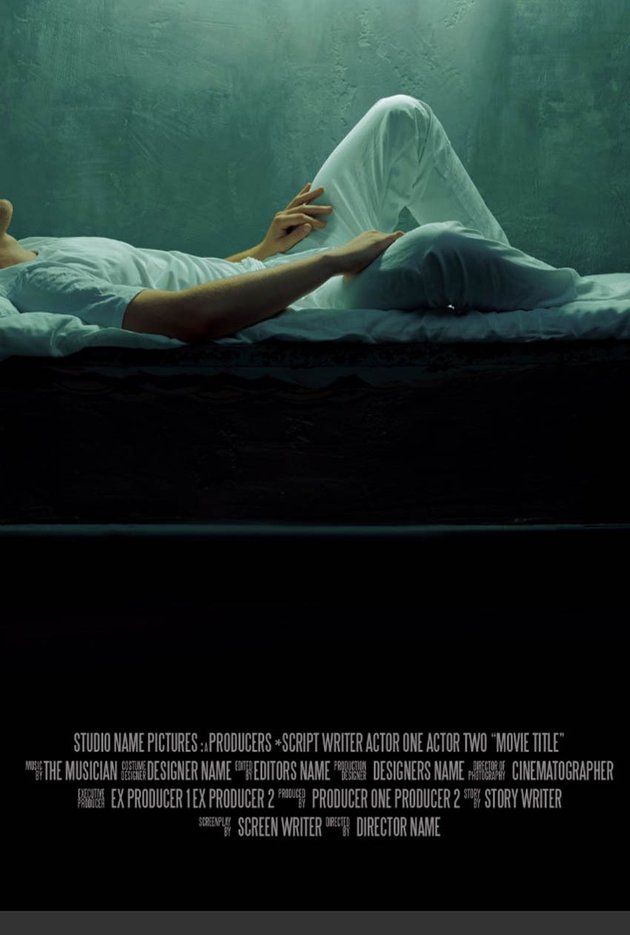
Finish up using a compressed sans serif font like Due Credit to add a credit block towards the bottom of the poster.
This should be the smallest text on the poster.
Try a Horror Movie Poster Maker!
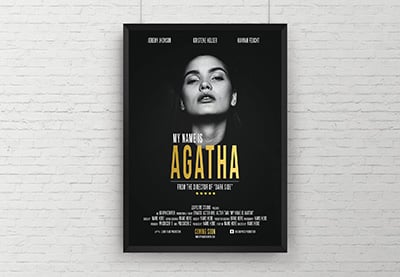
Finally, display your poster in all its glory using a movie poster mockup template like this one on Placeit!
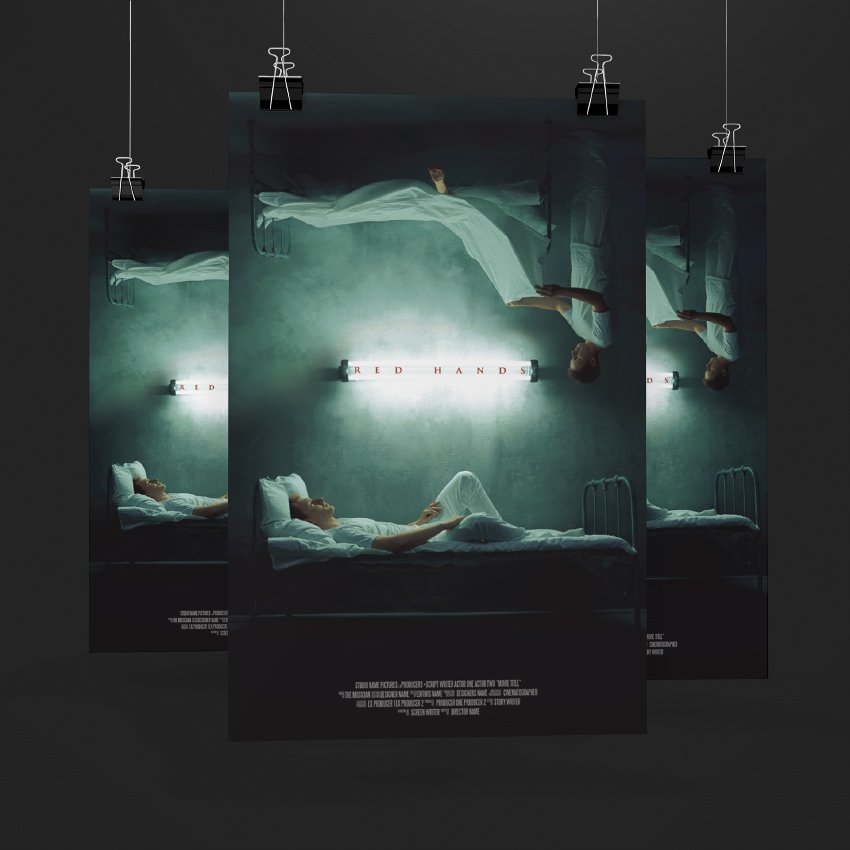
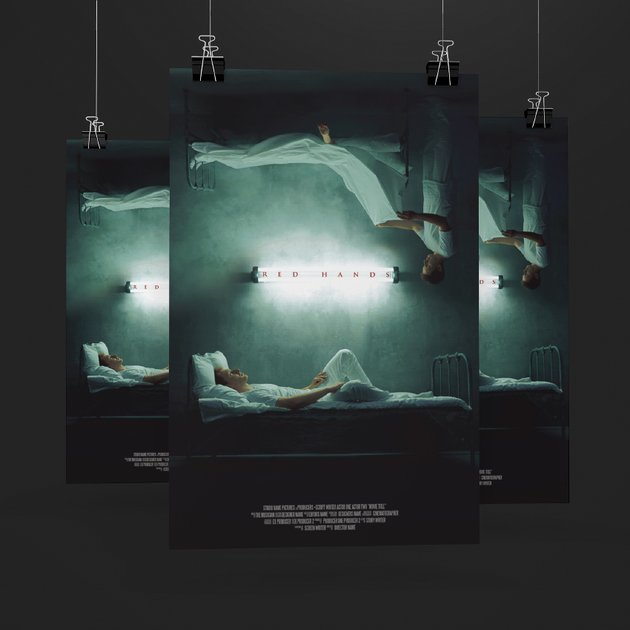
That’s It!
And that is all there is to creating a horror movie poster Photoshop template! When choosing imagery for your movie poster, remember to keep it simple, using classic horror movie poster images, but also keep it impactful! You want the viewer to remember it after all.

If you are looking to save some time but still have complete control over your design, that’s where professional-grade Photoshop actions and presets come in! From color grades to full-on photo effects, you can create a horror movie poster in just minutes using any combination of the add-ons below.
Clown Photoshop Action


If there’s anything scarier than a clown, horror movie fans don’t think so! And with this action, you can turn any model or actor into a killer clown instantly! The layers are well-organized and structured so you can refine the final look, ending with a Hollywood-level final effect.
Horror Glitch Photoshop Action


This glitch effect set gives you a classic horror look in just seconds! With different colors and glitch styles to choose from, you can use the horror movie poster maker over and over again but get a new result every time. The layers remain intact so you can control both intensity and color after you have run the action!
50 Horror Film Lightroom Presets and LUTs


Create a horror movie poster color grade instantly with any one of these 50 horror film presets for Lightroom! With a wide variety to choose from, you will find the perfect preset for your poster, no matter the genre.
Disturb | Intense Distortion Effect


Minimal and striking horror movie posters perform the best, which is what you will get if you use the Disturb distortion effect preset on your images! Create a horror movie poster in seconds: just add your title and you are done!
Looking to learn even more? Check out these tutorials:


 Fonts30 Horror-Inspired Fonts

 Photo ManipulationHow to Create a Ghostly Horror-Themed Photo Manipulation in Adobe Photoshop

 Photo ManipulationHow to Create a Living Galaxy Photo Effect in Adobe Photoshop

 Poster DesignMovie Poster Design 101: The Anatomy of a Movie Poster

 Photoshop Actions10 Scary Halloween Photo Effects & Horror Filters for Photoshop

