Developers and WordPress website owners frequently face the challenge of managing multiple logins across various websites and applications.


This can result in considerable time spent on authentication and account management. More importantly, relying on traditional email and password combinations can expose users to security risks, such as weak passwords, password reuse, and potential data breaches.
OAuth2 addresses these concerns by providing a standardized protocol that enables users to securely access multiple websites and applications using a single set of credentials.
In this tutorial, we’ll cover how you can set up one of the best OAuth2 WordPress plugins on the market to ensure an efficient, secure, and user-friendly authentication and access management solution across multiple WordPress websites.
What Are OAuth2 and Single Sign-On?


OAuth2 is an open-standard authorization protocol that provides a secure and efficient way to access protected resources without sharing sensitive user credentials. It streamlines the authentication process for users across multiple applications and websites by enabling single sign-on (SSO). This means that users can log in once and access various platforms without entering their credentials again.
For developers, OAuth2 simplifies the process of building applications that require access to user data from other platforms, such as social media accounts or third-party services. Instead of creating custom authentication systems, developers can rely on the robustness and security of OAuth2. This saves time and effort and ensures that user data is handled securely.
For website owners, implementing OAuth2 can significantly enhance the user experience by streamlining the login process. Users are no longer required to remember multiple sets of credentials for different websites, reducing password fatigue and the likelihood of using weak or reused passwords.
OAuth2 offers a secure, efficient, and user-friendly solution for managing access to online platforms. It benefits developers, website owners, and end users, promoting a seamless authentication experience and ensuring that sensitive data remains secure.
Lana Passport – OAuth2 Server WordPress Plugin

The Lana Passport – OAuth2 Server and Lana Single Sign On – OAuth2 Client WordPress plugins offer a streamlined solution for implementing OAuth2-based single sign-on within the WordPress ecosystem.
By using these plugins, developers can connect multiple WordPress websites, allowing users to authenticate once and access multiple sites without needing to enter their credentials repeatedly.
The Lana Passport plugin acts as the authorization server, handling user authentication and token generation. The Lana Single Sign On plugin communicates with the server to authenticate users on connected websites.
We’ll now guide you through setting up Lana Passport – OAuth2 Server and Lana Single Sign On and connecting two WordPress websites for seamless authentication.
Prerequisites for Setting Up Lana Passport

Before you start setting up the Lana Passport – OAuth2 Server and Lana Single Sign On plugins, you will need to ensure that you have the following prerequisites in place:
1. Two WordPress Websites
You will need two WordPress websites to implement the Lana OAuth2 one-click login. One website will act as the OAuth2 server, handling the authentication process and user data. The other website will function as the OAuth2 client, which will request access to the protected resources on the server.
2. Installing the Lana Passport and Lana Single Sign On Plugins
Next, you’ll need to install the two plugins. The Lana Passport plugin will be installed on the server site, and the Lana Single Sign On plugin will be installed on the client WordPress website.
The Lana Single Sign On plugin is added to the client’s site or the site where you want to have the one-click login.
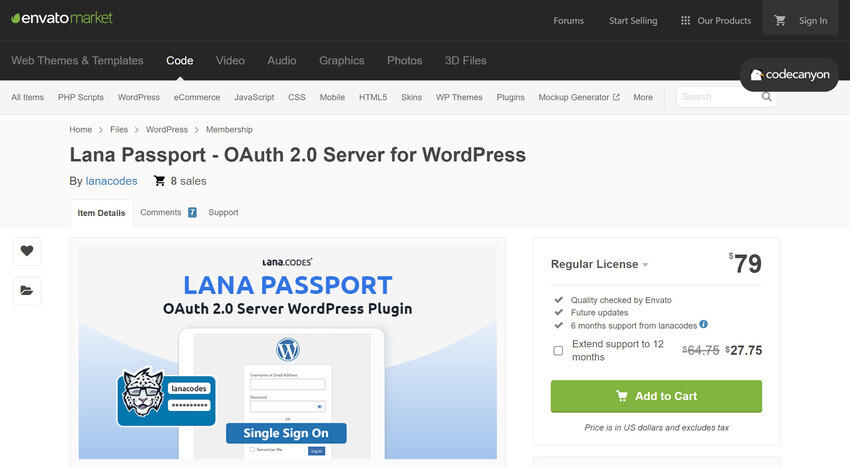
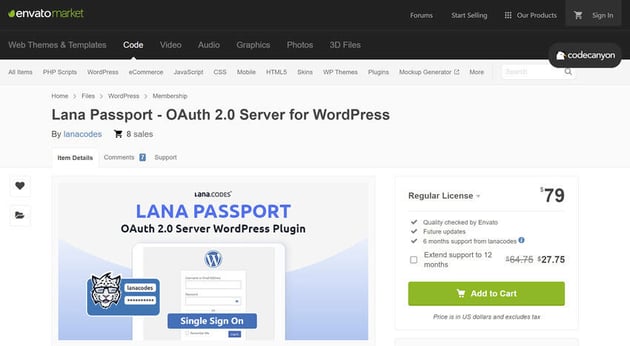
The Lana Single Sign On plugin is available for free through WordPress.org Plugins. You will receive the Lana Passport plugin once you purchase the plugin on CodeCanyon. Both plugins will be needed to run the OAuth login.
In the tutorial, we’ll refer to the site with the Lana Passport plugin installed as the “OAuth server” and the site with the Lana Single Sign On plugin as the “OAuth client”.
To install the Lana Single Sign On plugin, head on over to the WordPress Dashboard > Plugins > Add New. This will take you to the Add Plugins page, where you can search for the Lana Passport plugin using the search bar in the top-right corner.


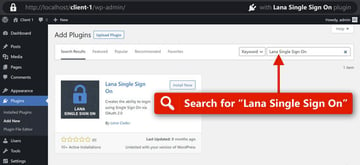
When you locate the desired plugin in the search results, click the Install Now button next to its name. WordPress will automatically download and install the plugin for you.
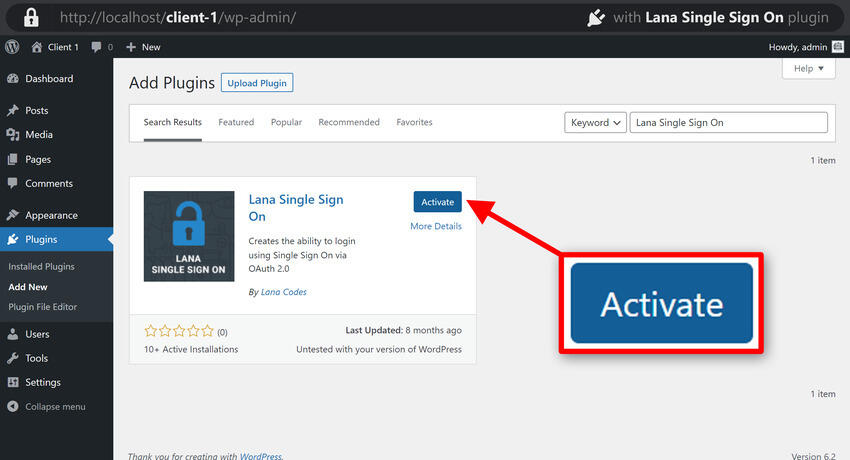
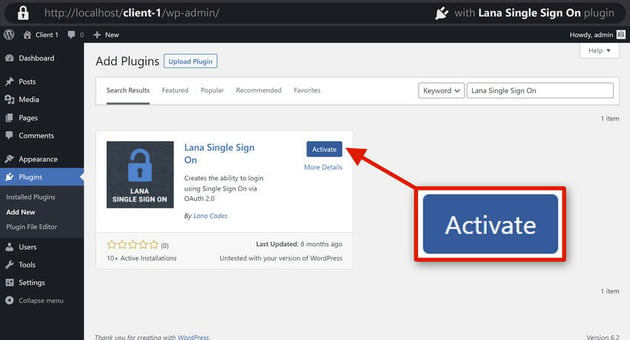
After the installation is complete, the Install Now button will change to Activate. To enable the plugin, click the Activate button.

To install the Lana Passport plugin, go to Dashboard > Plugins > Add New, but this time click Upload Plugin, and upload the zip file you received when you purchased the plugin from CodeCanyon. Then click Activate.
You are now ready to set up OAuth2 via the Lana Passport plugins.
Setting Up Lana Passport
This section will guide you through configuring the Lana Passport – OAuth2 Server plugin for a WordPress website’s single sign-on (SSO) functionality.
Following these detailed steps will enable users to log in to your website with just one click, using Lana Passport authentication.
Step 1: Open the OAuth Server WordPress Website and Add a New Client
The first step to setting up OAuth2 is to log in to the OAuth server site with the Lana Passport plugin installed.
From there, we want to add a new client to access the site with a one-click login through OAuth2.
To do this, from the admin sidebar, go to Lana Passport > Add New. Alternatively, you can use the Add New button on the client list.
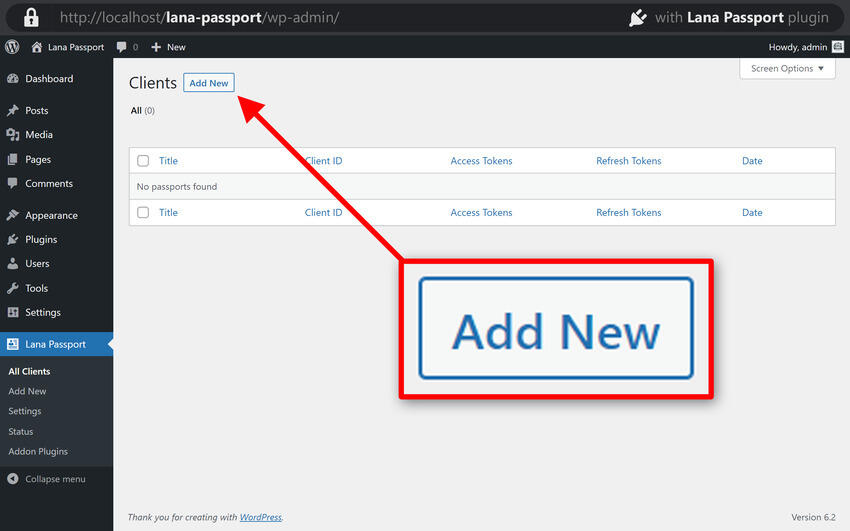

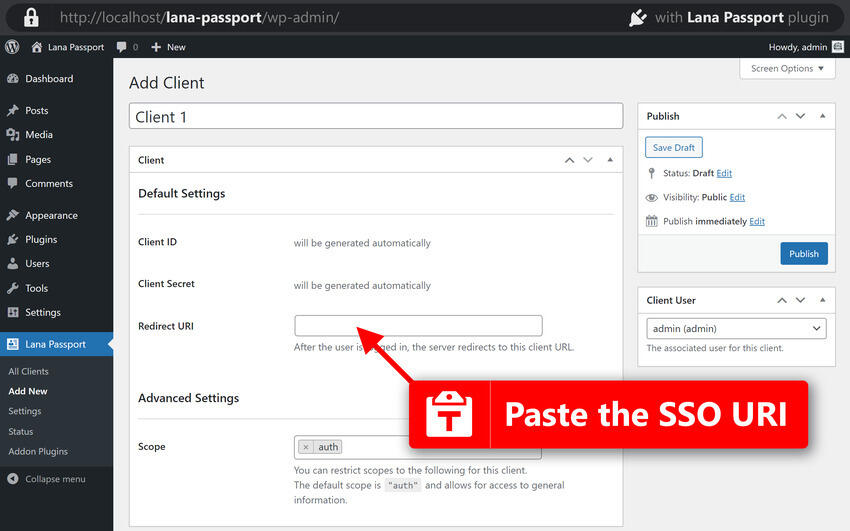
A client form will now appear. Enter a descriptive name for the client, which will help you identify it later when managing multiple clients.
Next, we must add the Redirect URI on the new client form. We can get it from the OAuth client WordPress website where the Lana Single Sign On plugin is located.


Go to the client’s site, and go to Settings > Lana SSO. You’ll now see the setting for the Lana SSO.
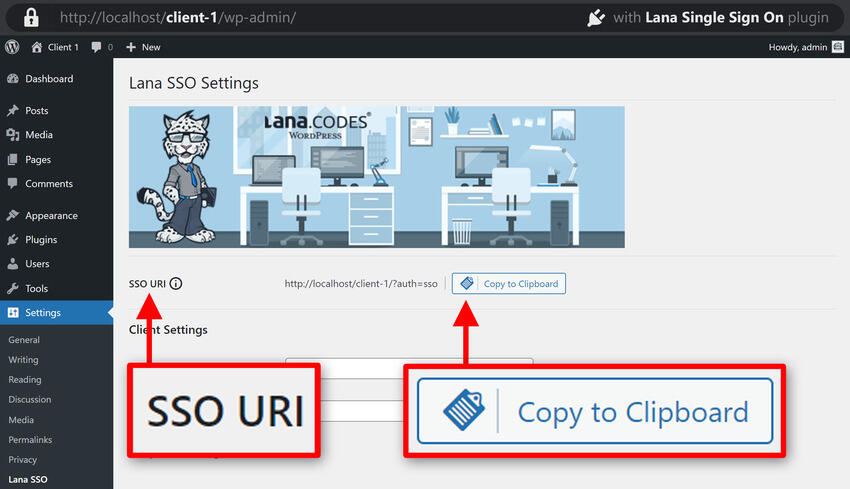
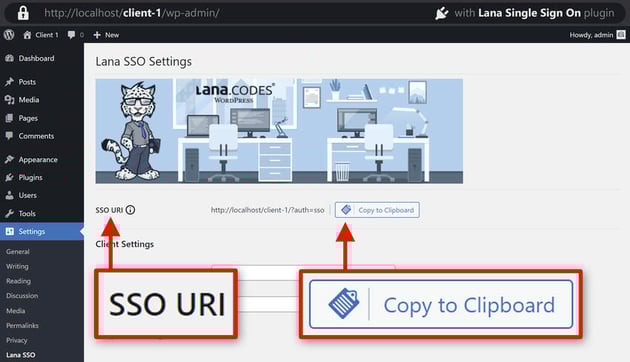
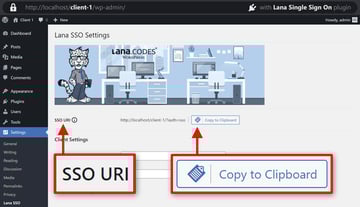
Copy the SSO URI from the top of the settings page, return to the OAuth server WordPress website, and paste the SSO URI into the Redirect URI field. Then click Publish to save the client.
Step 2: Configure the Client on Your WordPress Website
Now that you have set up the client, it’s time to configure it.
On the OAuth server website, locate the generated Client ID for the client you just set up under Default Settings.
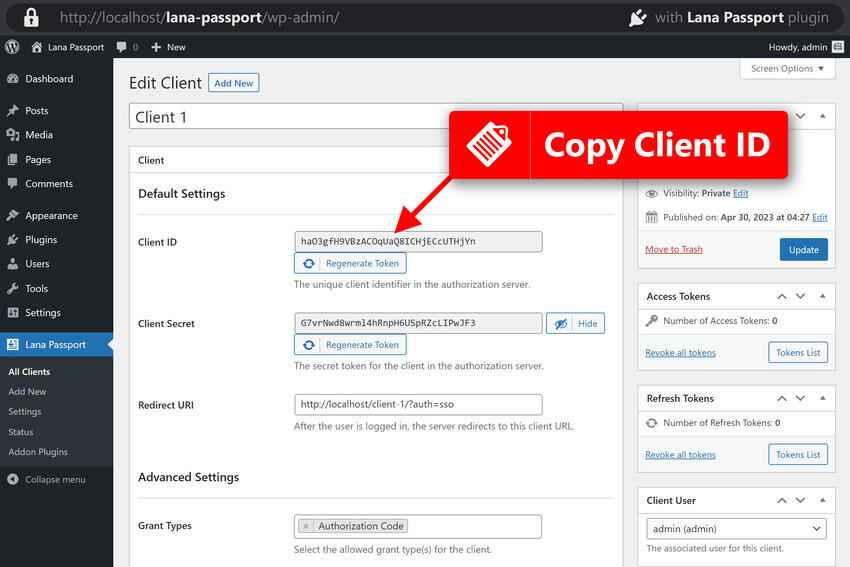
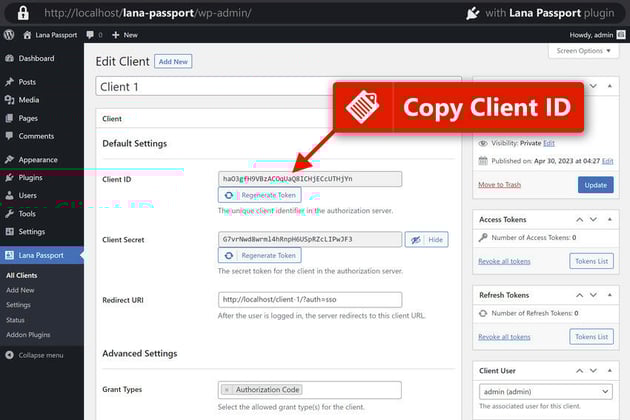
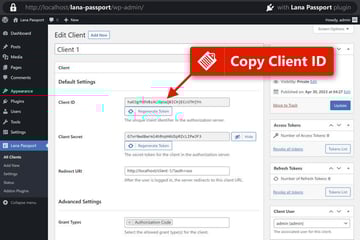


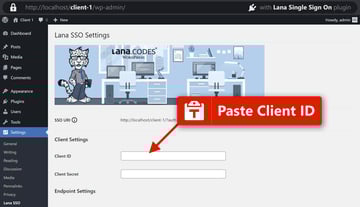
Copy the Client ID, and then switch back to the OAuth client website and go to Settings > Lana SSO. Paste the copied Client ID into the corresponding field.
Next, we must add the Client Secret to the OAuth client website.
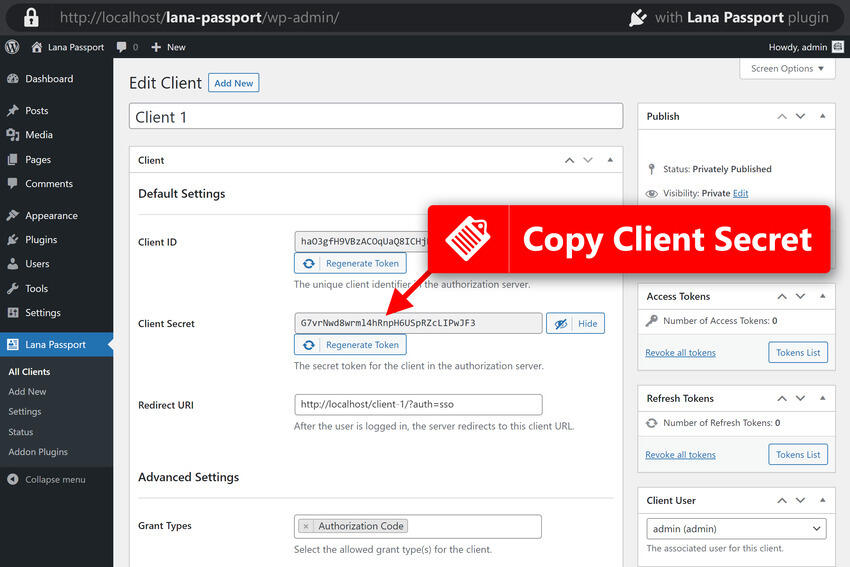
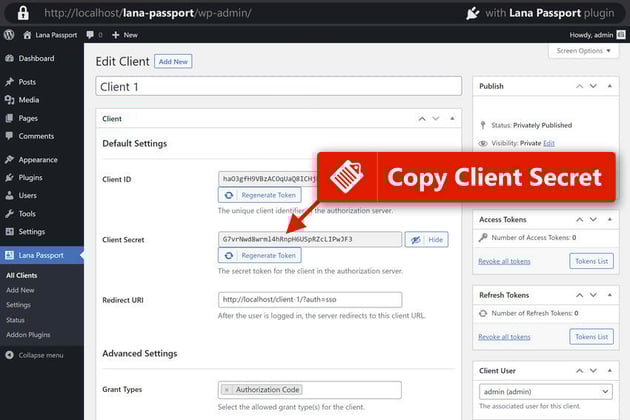

We’ll follow the same process by going to the Default Settings section in the client you created on the OAuth server website. Copy the Client Secret and paste it into the Lana SSO Settings page on the OAuth client site.
Step 3: Add OAuth Server Endpoints
The final step in setting up OAuth on the two WordPress websites is to add the server endpoints. Endpoints are simply URLs or addresses a client can use to communicate with a server.
Go back to the OAuth server website and, from the admin sidebar, click Lana Passport > Status.
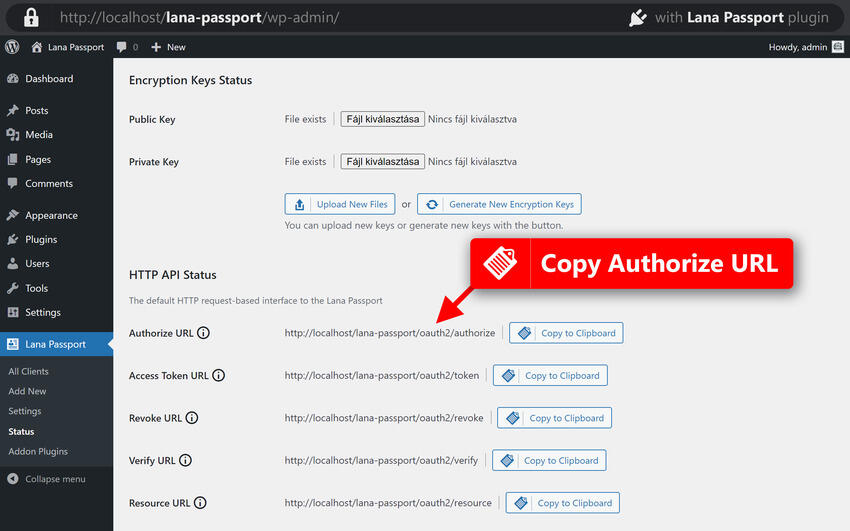
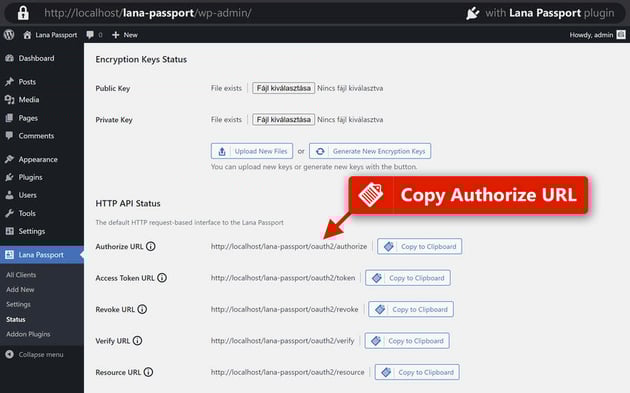

The status page will display various OAuth server endpoints. First, locate the Authorize URL and copy it.
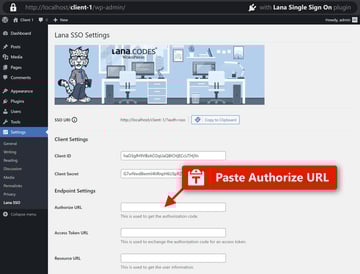
Switch to your OAuth client website, go to the Lana SSO Settings page, and paste the Authorize URL into the appropriate field.
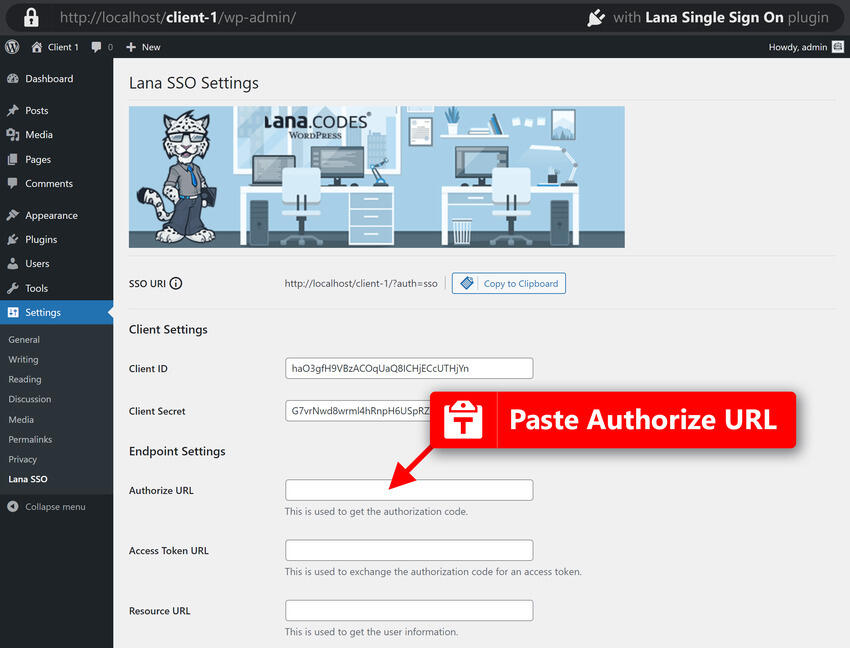

We’ll then follow the same process for the Access Token URL and the Resource URL.

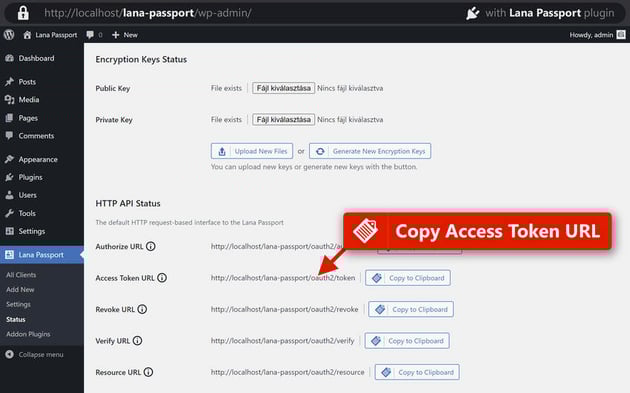
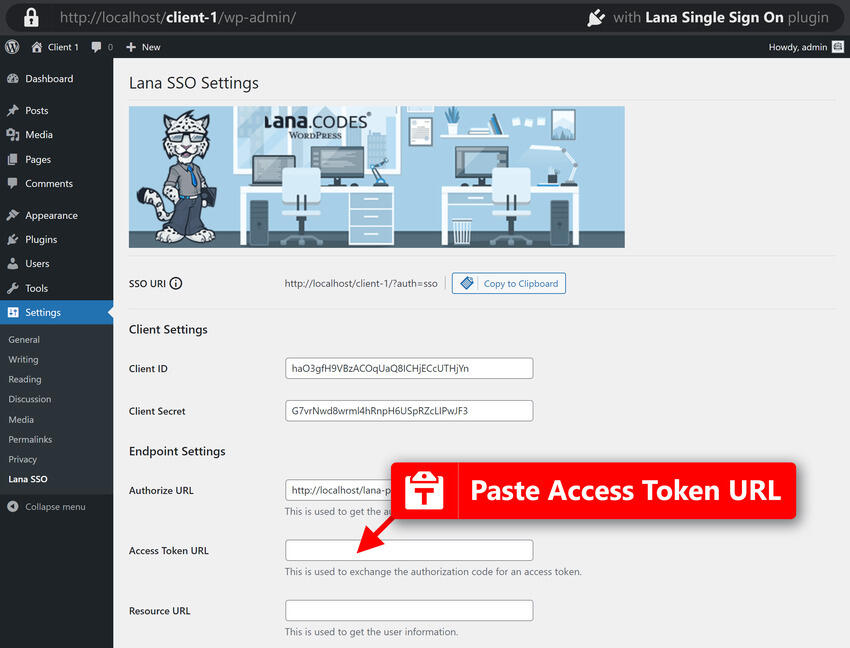

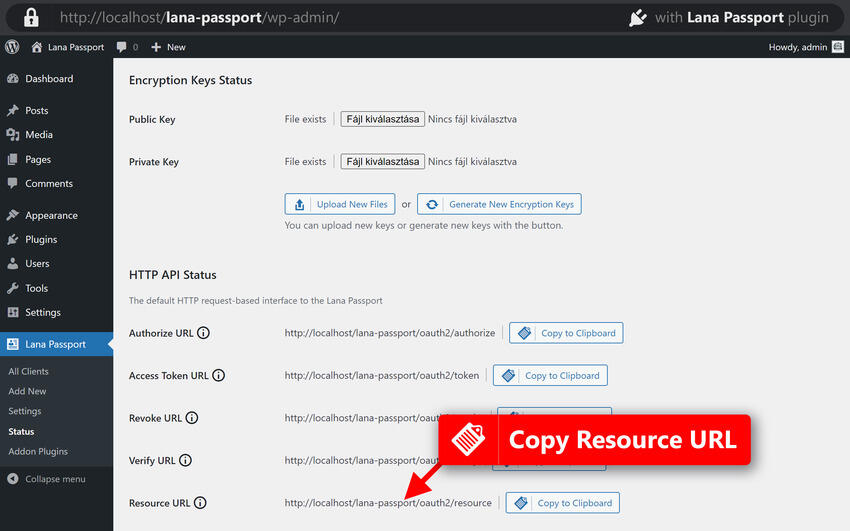

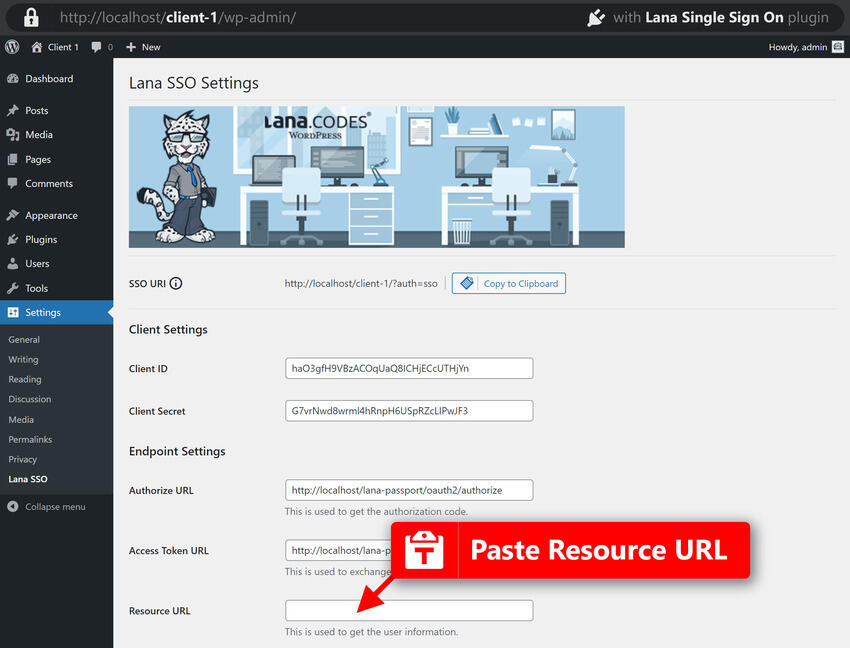

Copy each of these from the status page on the OAuth server site and paste them into the Lana SSO Settings page on the OAuth client site.
Finally, click the Save button to store your WordPress website’s Lana Single Sign On settings.
Step 5: Test Single Sign-On
Log out from your OAuth client WordPress website to test the single sign-on functionality: to do this, click the Logout option in the upper right-hand menu on the WordPress dashboard.
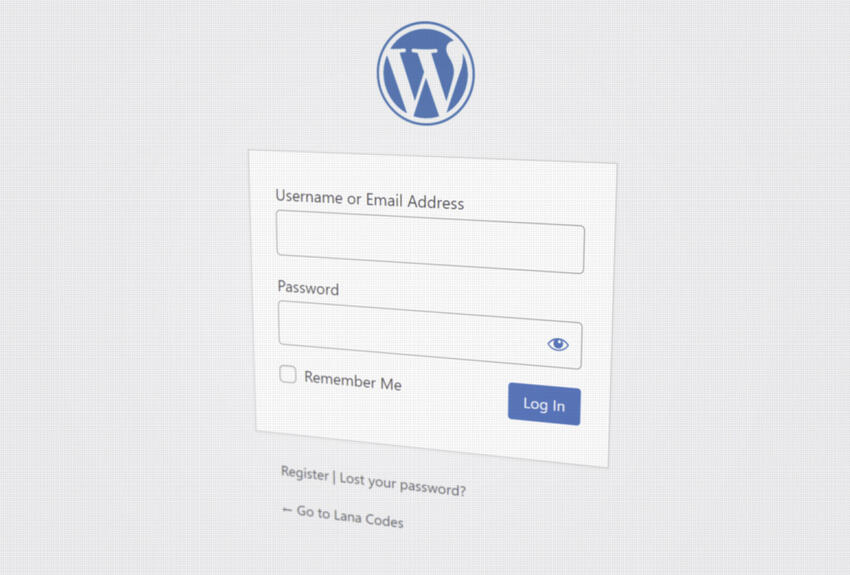
A Single Sign On button should be present on the WordPress site login.

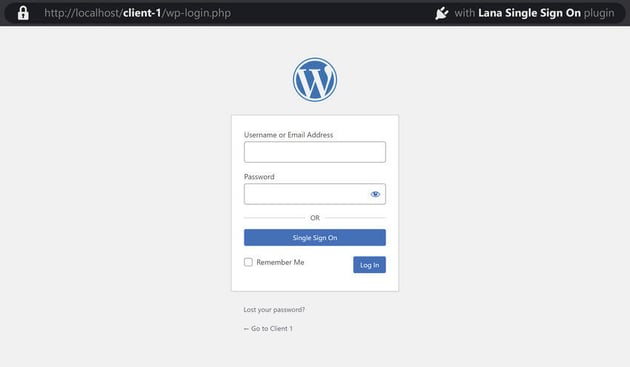
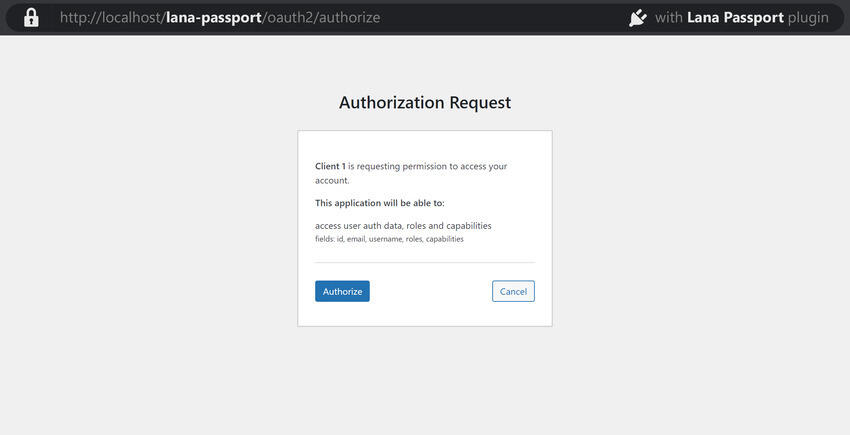
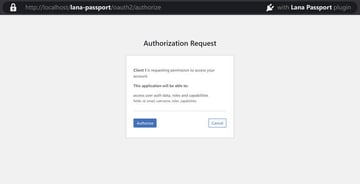
Click on the button. Since this is the first sign-in to the site, an authorization request notification will pop up. Click on the Authorize button, and you’ll be signed into the site with OAuth.
Troubleshooting and Support


If you still need help with issues or have questions while setting up and using the Lana Passport and Lana Sign On plugins, don’t worry because lanacodes has your back.
You can contact support through CodeCanyon on the support page of Lana Passport. You can also reference the plugin’s documentation.
Six months of support is included when you purchase the plugin through CodeCanyon, and extended support for another six months can be purchased separately.
Download Lana Passport Today!
Implementing OAuth2-based single sign-on in WordPress using the Lana Passport – OAuth2 Server and Lana Single Sign On – OAuth2 Client plugins can significantly enhance the user experience and improve security across multiple websites.
By following the steps outlined in this tutorial, developers and website owners can easily set up and configure OAuth2 single sign-on for their WordPress sites. This streamlines the user authentication process and reduces password fatigue and security breaches.
Embrace the benefits of OAuth2 and elevate your WordPress website’s user experience and security with the help of the Lana Passport plugins.