Design trend has changed a lot, now a days most of the designers prefer modern techniques while they design for their clients. And the clients also prefer that too. So the use of letterpress and letterbulge effects are very common now a days. It’s easy to design those effects in photoshop. But in earlier days it was not possible to convert these effects into codes. Instead they used directly the image of those texts while coding the site. So today, let’s talk about how to make a letterpress and letterbulge effects using photoshop and css.
First, we need to make the design in photoshop. For that, start from a new file.

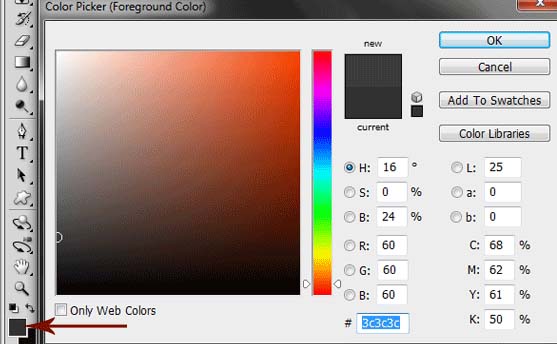
Now, fill the entire background area with the color #3c3c3c. This is to highlight the text while we apply the effects.
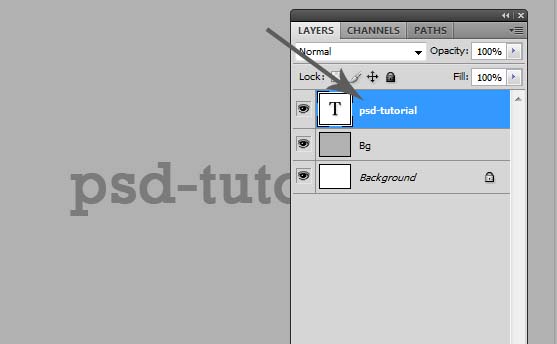
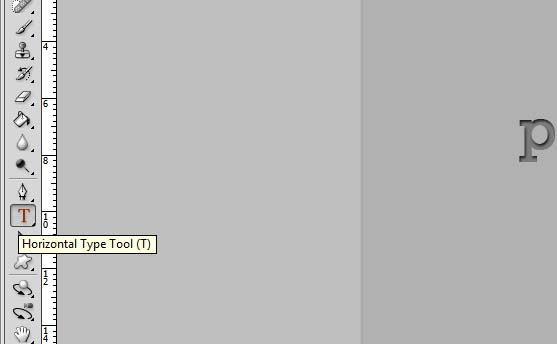
Now pick up the Typing tool and write some thing (eg: psd-tutorial). Make sure that the font color is #7b7b7b. This will give a nice look to the text while we apply the effects.

Now just right click the text layer (psd-tutorial) in the layer panel and select the blending Options. We are giving the magical touch to the text in this window.
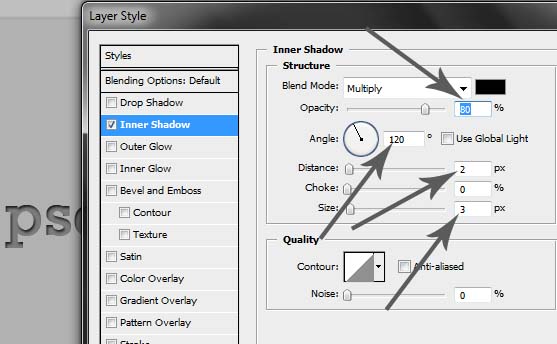
Tick the Inner shaddow and set the attributes to the following values.
Opacity: [strong]80%
Angle: 120
Distance: 2
Choke: 0
Size: 3 and press OK.
Opacity: [strong]80%
Angle: 120
Distance: 2
Choke: 0
Size: 3 and press OK.
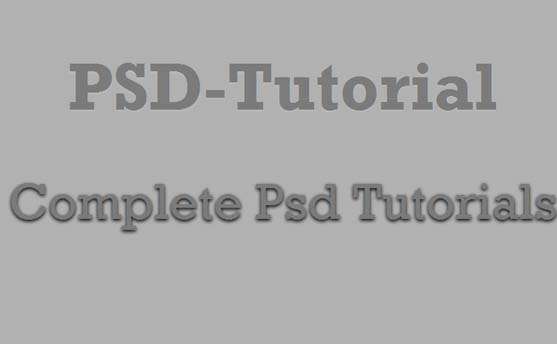
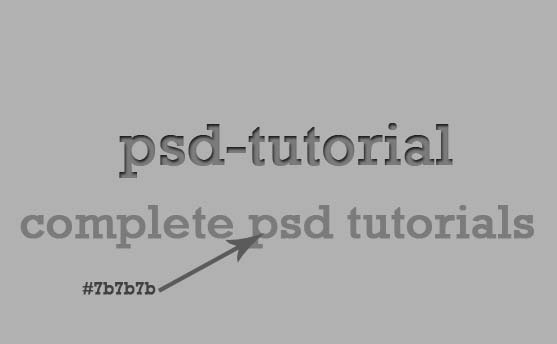
Now you can see the amazing textpress effects for your text just like the following image. Isn’t it amazing ?

Now we have to move on to the text bulge effect. For that, again select the type tool and make another text.
Here I just typed ‘complete psd tutorials’. Make sure that the font color is again #7b7b7b.
Now again, go to the newly created text layer in the layer panel and right click, choose blending options.
This time, tick the Drop Shadow effect instead of Inner shadow and set the values.
Opacity: 83%
Angle: 120
distance: 1
Spread: 0
Size: 3
Make sure that the color selected is black. Now press OK.
This time, tick the Drop Shadow effect instead of Inner shadow and set the values.
Opacity: 83%
Angle: 120
distance: 1
Spread: 0
Size: 3
Make sure that the color selected is black. Now press OK.

Here we go. That’s all about the Text bulge effect. How is this going? Interesting right?

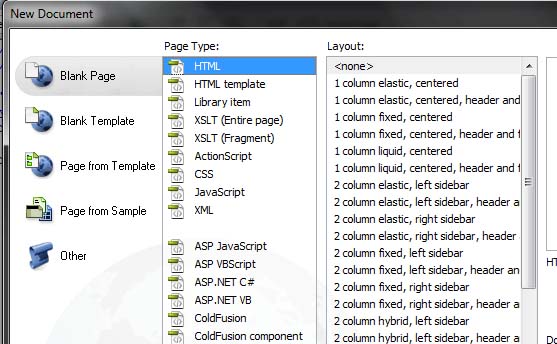
Okay, now we are moving on to the second part, that is coding of these letters. I’m using Adobe Dreamweaver for that. first of all create a new HTML page.
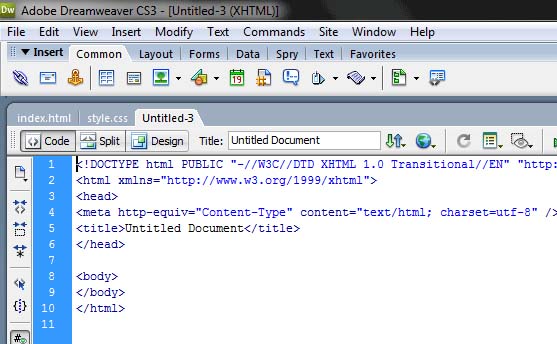
You will get a page like this and here we are doing the html codes for the page. Save this file as index.html
Now put the following codes in between and html
<link href="style.css" rel="stylesheet" type="text/css">
<h1>PSD-Tutorial</h1>
<h2>Complete Psd Tutorials</h2>
Next, we will have to create the CSS file for the same. So Take a new CSS page.
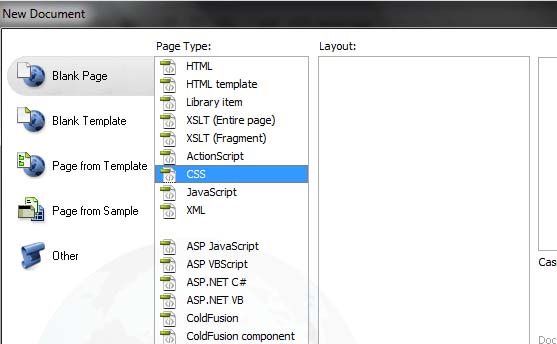
You will get a page like this. You can write the code after the default texts.
Just copy and paste this code in to the file.
Just copy and paste this code in to the file.
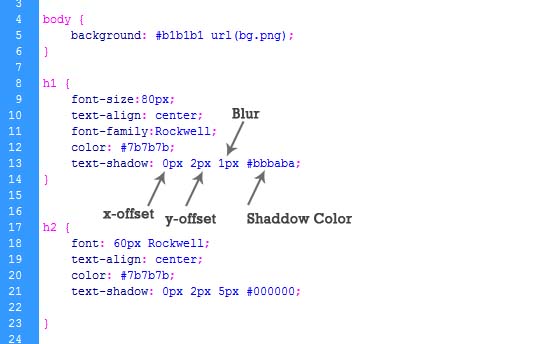
body {
background: #b1b1b1 url(bg.png);
}
h1 {
font-size:80px;
text-align: center;
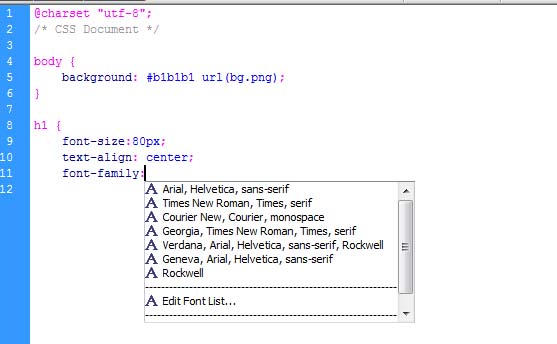
font-family:Rockwell;
color: #7b7b7b;
text-shadow: 0px 2px 1px #bbbaba;
}
h2 {
font: 60px Rockwell;
text-align: center;
color: #7b7b7b;
text-shadow: 0px 2px 5px #000000;
}
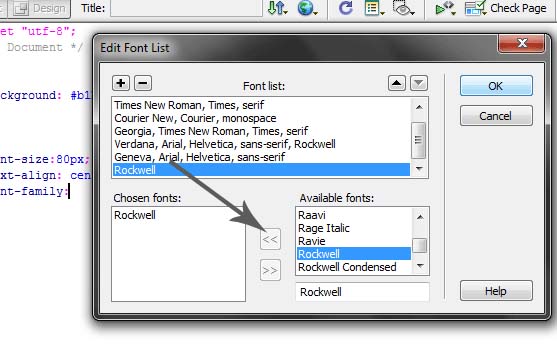
If you don’t have the Rockwell font in your list, try to add the font to the font-family. You can simply click the Edit font list and add the new font to the list.
Just select the rockwell font from the available fonts category and click the insert button pointed by the arrow in the image.
That’s all with the CSS styling. Save the file as style.css in the same folder where you saved the index.html. The main code behind the effect is the text-shadow attribute.
So here is the final screenshot of what you get when you double click the index.html