When you have an awesome idea for a character, you can feel how great it would be to see it on paper. But what if you don’t have “talent”? Or maybe you can draw, but humans are simply not your area of expertise? Are you supposed to spend hours learning just to draw this one character for fun?
The solution is to use a reference, one as close to your idea as possible. However, there’s a risk you’ll need to compromise your idea, because there’s no close reference you can use. Here, Fuse, a new addition to the Adobe family, comes to the rescue! It lets you create a human character from scratch using an advanced editor straight from RPG video games. Then you can edit it in Photoshop CC to finish the process to create a perfect reference for a drawing or digital painting.
Disclaimer: At this time, Adobe Fuse is still in an early development stage. Minor bugs and inconveniences may occur.
1. Build the Body
Step 1
Download Adobe Fuse from the official site. For the time being, it’s free for every member of Creative Cloud, even if you don’t have a subscription.
Step 2
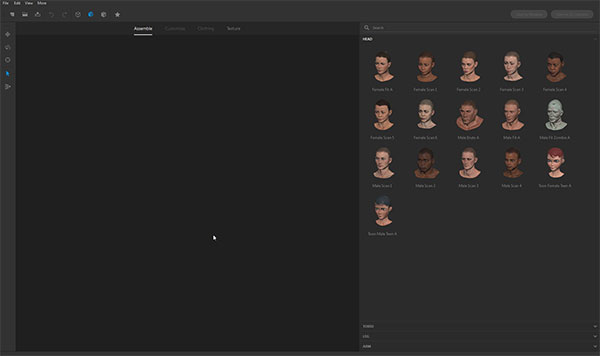
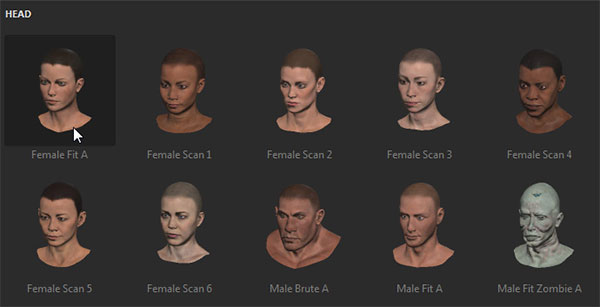
There are four stages of creating every character. Let’s start with Assemble.

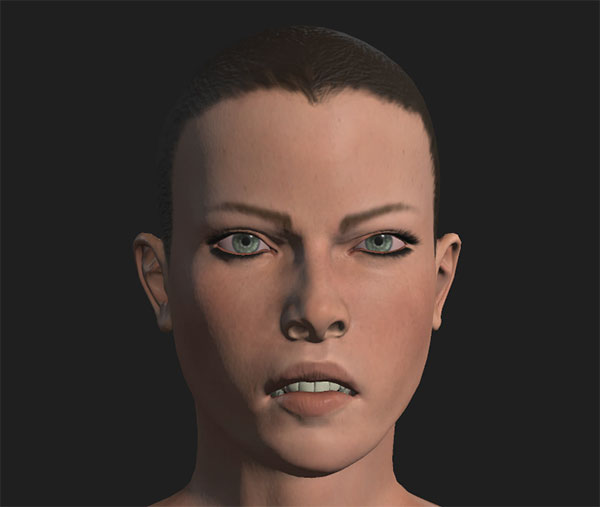
Pick the head that is the closest to your idea. It doesn’t need to be perfect—we will adjust it in a moment!
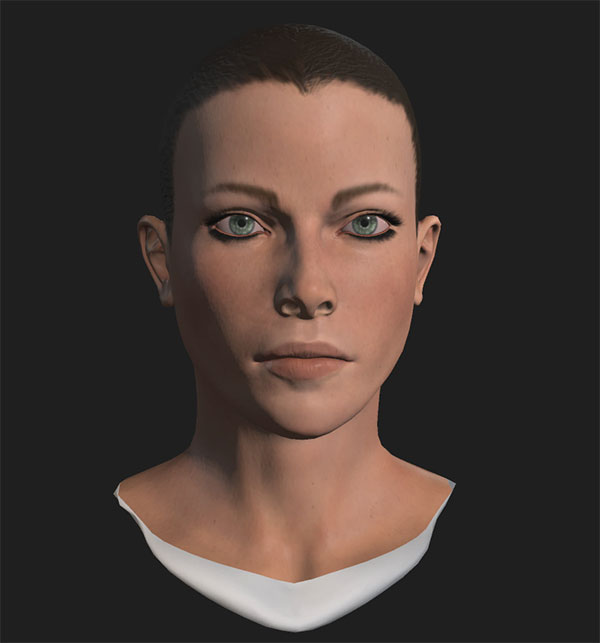
You can see a preview of the head on the left. We could assemble all the other parts now, but because we have the head in such a nice close-up, let’s customize it already.
Step 3
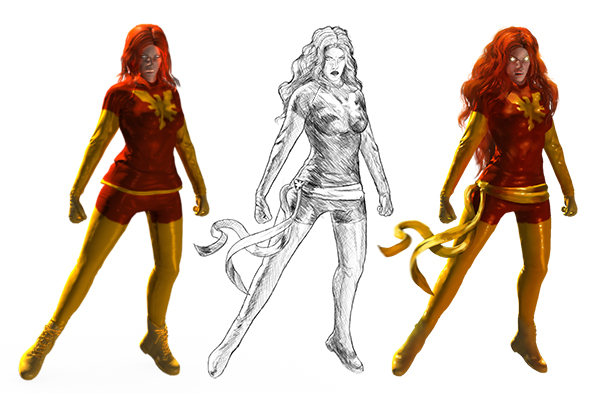
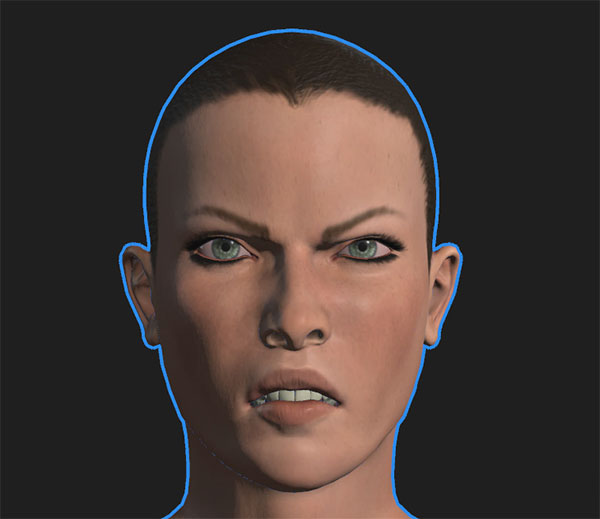
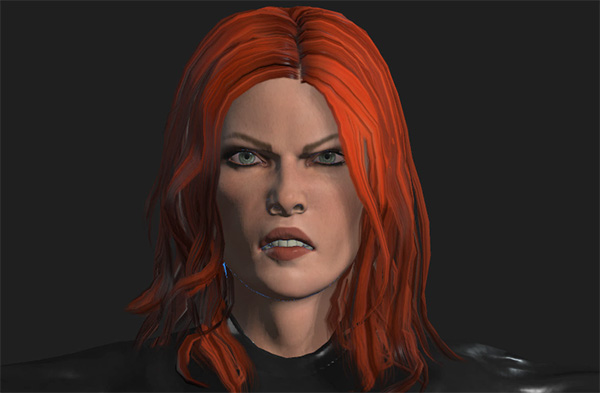
Click Face to reveal the list. I want to create the evil incarnation of Jean Grey, Dark Phoenix, so my goal is to make her look powerful and angry. This emotion is easy to picture, but keep in mind that more complex emotions may require playing with more sliders.

You should see the effects of your changes on the left. If you don’t see them right away, you may need to hover the cursor over the image to update it.
Step 4
Open the Head list. Experiment with the sliders to get the look you want. You don’t need to copy everything I did!

Step 5
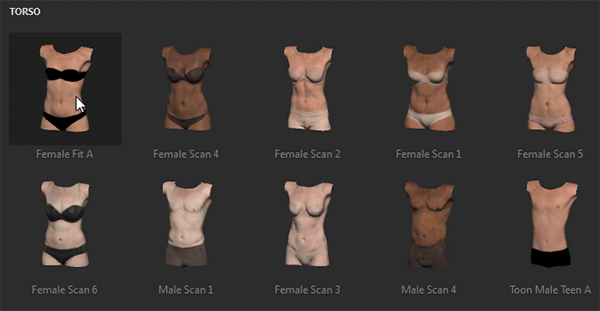
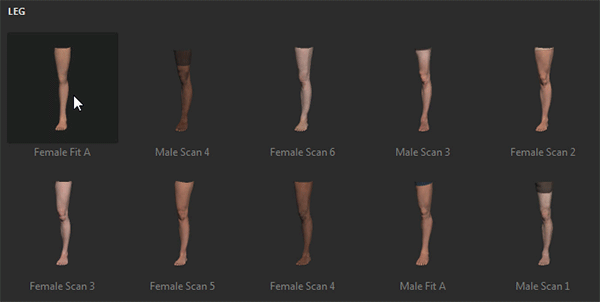
Go back to the Assemble tab and add the other parts of the body. You don’t need to use the same elements, but mixing them may lead to some problems when it comes to adjusting skin color.
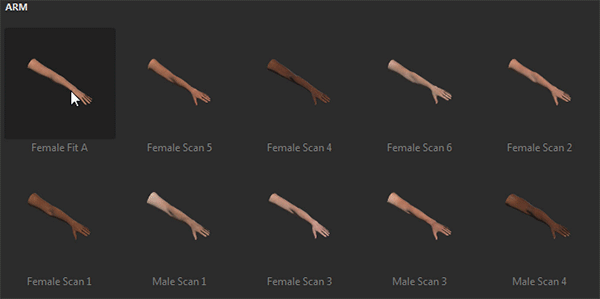

Step 6
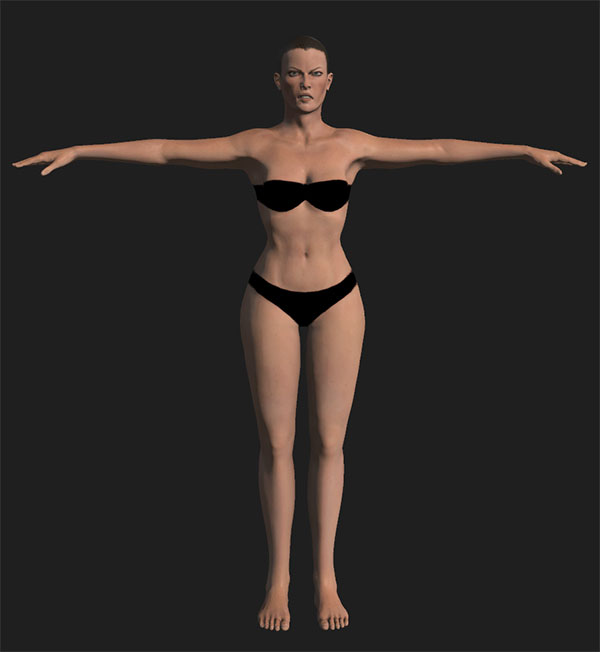
Switch to the Customize tab and adjust the sliders for every part of the body. Remember that it’s a 3D model, so you can rotate it to get a better view!
2. Add and Adjust the Clothing
Step 1
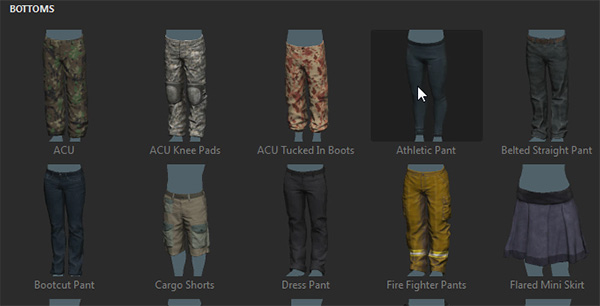
Go to the Clothing tab and pick something for every part of the body. Again, it doesn’t need to be perfect—it’s just a reference, and we can change everything later. Just pick something close enough.
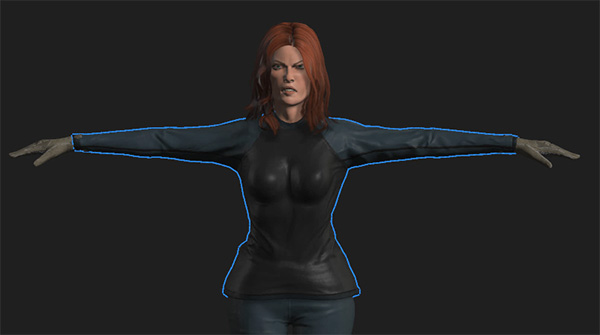
I want to create a superhero costume, so I’ve picked the tightest clothes I could find.
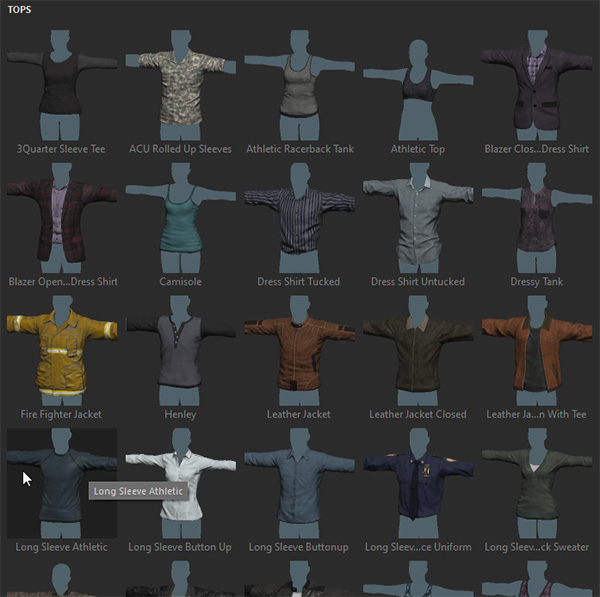
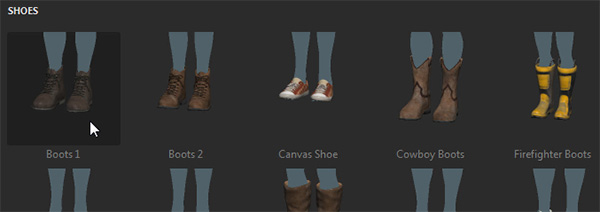

Close enough!
Step 2
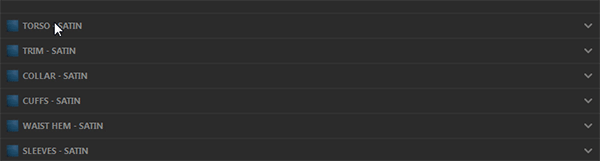
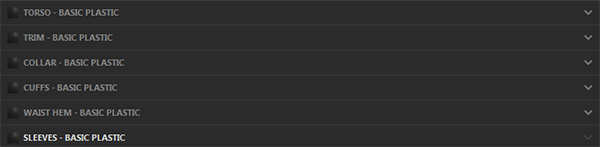
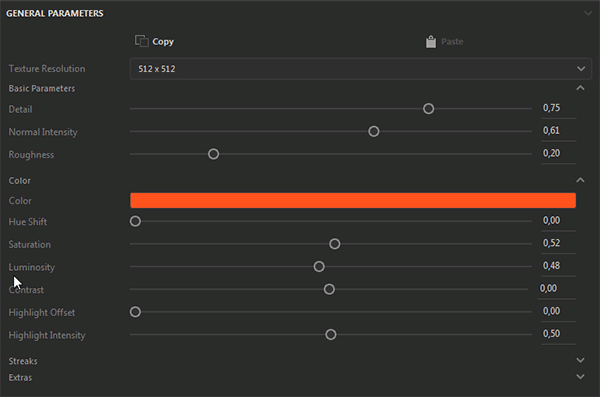
Go to the Texture tab. Click the part of the clothing you’d like to customize. In the lower right corner you’ll find a list of materials the clothing can be made of. Select one of them.
Step 3
On the left, under the model, you’ll find a list of materials you can use instead. Try them on!

Step 4
Adjust the materials for every part of the clothes.
Step 5
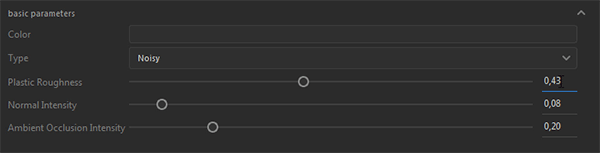
To make the material shinier, play with the Plastic Roughness slider.
Step 6
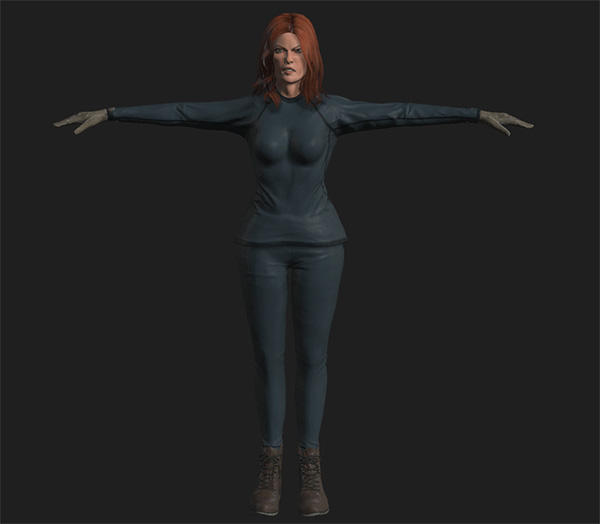
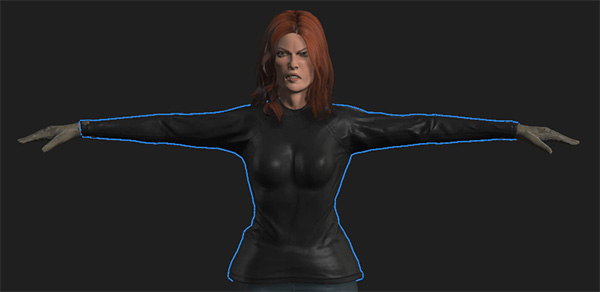
Adjust the materials for all the clothes. Now, it looks more like a superhero costume!
Step 7
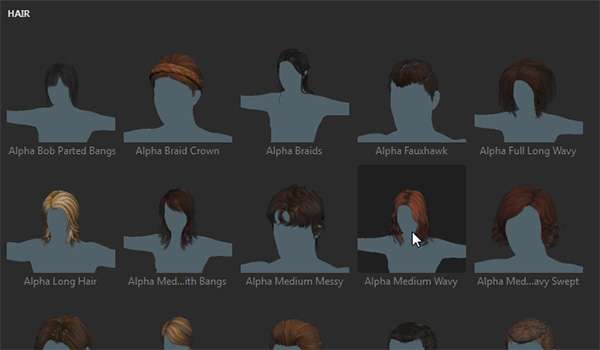
Select hair to adjust its properties, too.
Step 8
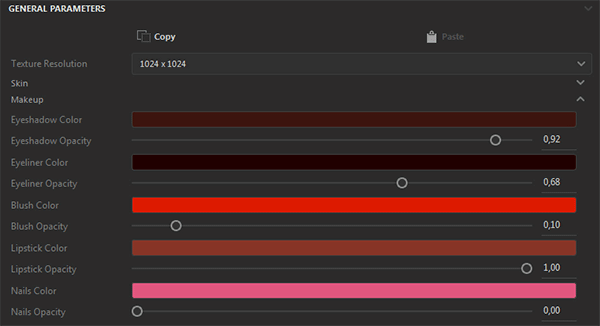
If you select the skin of the model, you’ll be able to adjust a lot of other properties. In my case I just decided to add some makeup.
3. Import the Model to Photoshop CC
Step 1
Once the model is ready, you can save it either to Mixamo or to a CC Library. I’m going to show you the second option, because it allows more advanced editing, but if you don’t have a CC subscription (and you can’t use a trial of Photoshop anymore), Mixamo is the way to go.
Disclaimer: for now, neither Fuse nor Photoshop allows full control over the poses. If you need something really unusual, try Mixamo instead to create a model ready to be edited in a 3D program.

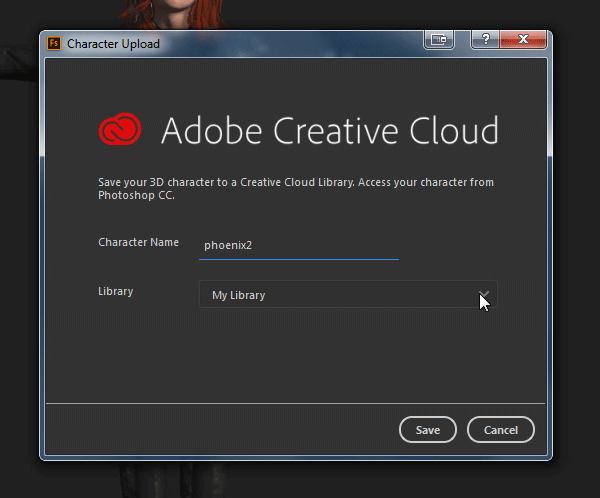
Step 2
Save the model to your chosen Library.
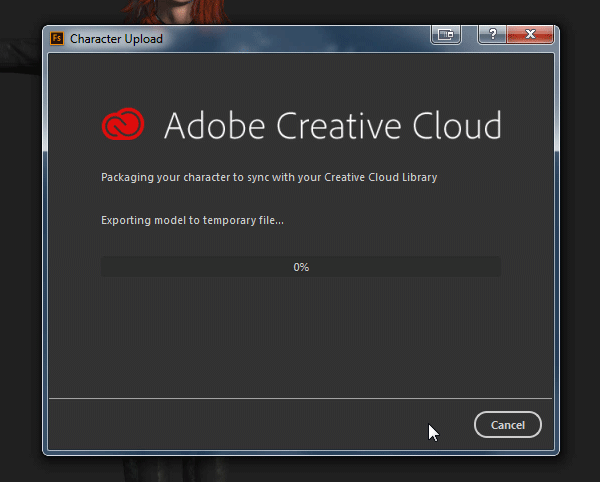
Wait for it to get uploaded.
Step 3
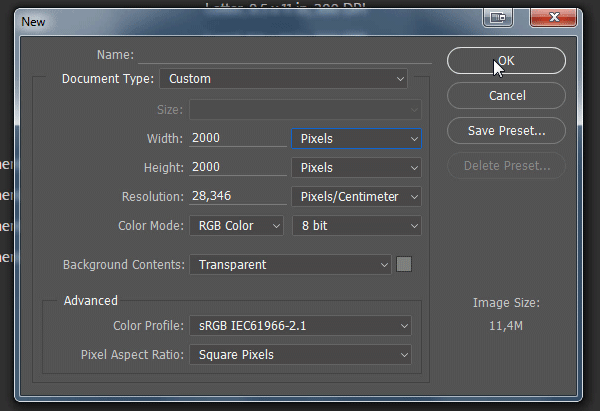
When you get information that the file has been synced, open Photoshop and Create a New File. If you want to create a drawing, 2000 x 2000 px should be enough. For a digital painting or a photo-manipulation you may need more, but keep in mind that the bigger it is, the slower your computer will process it.
Step 4
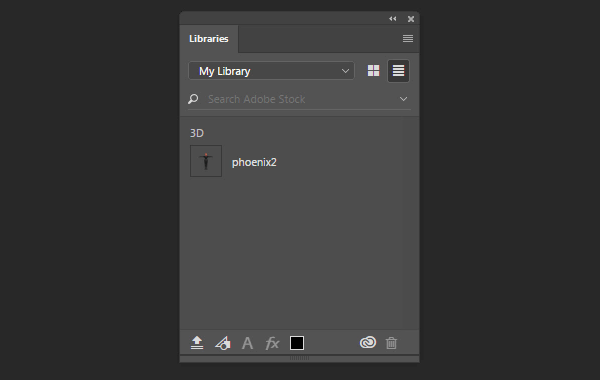
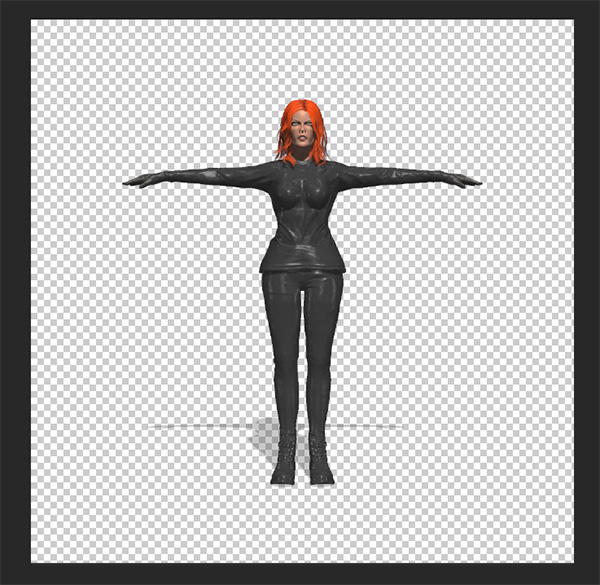
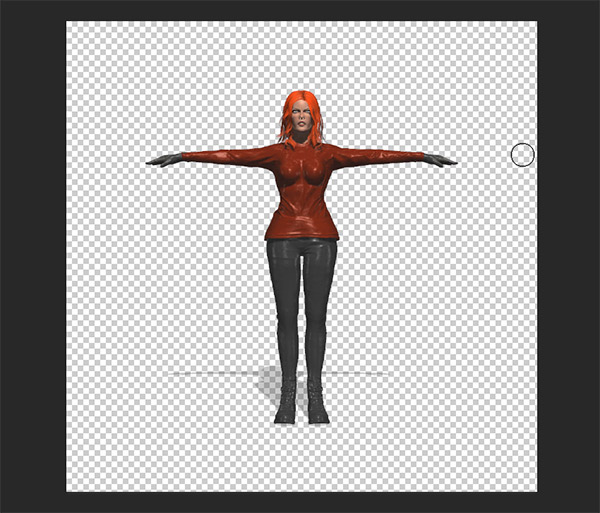
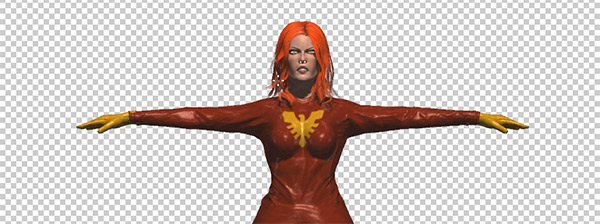
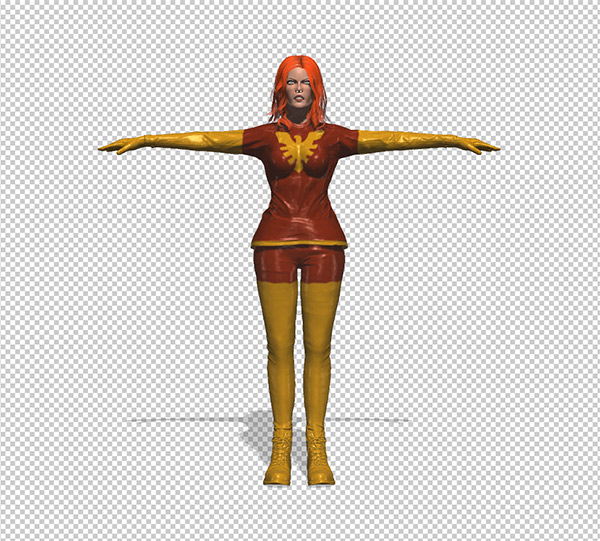
You should find your model in the Libraries panel. (If you don’t have it, open it with Window > Libraries). Drag it to the canvas to load it.
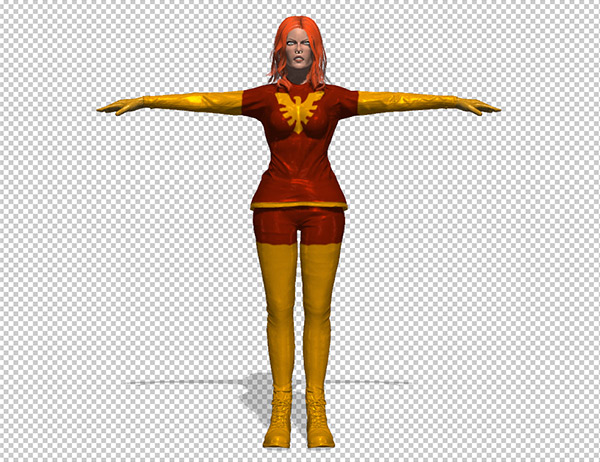
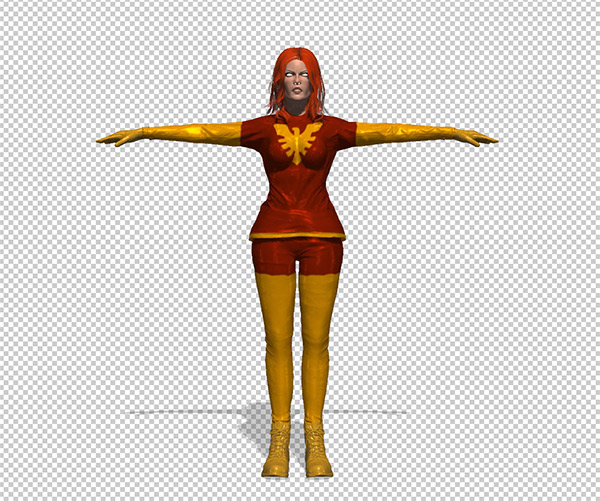
Here it is, ready to be edited!
4. Adjust the Textures and Materials
Note: If you want to use it as a reference for a sketch, you can skip this part, as we will be working on colors mainly.
Step 1
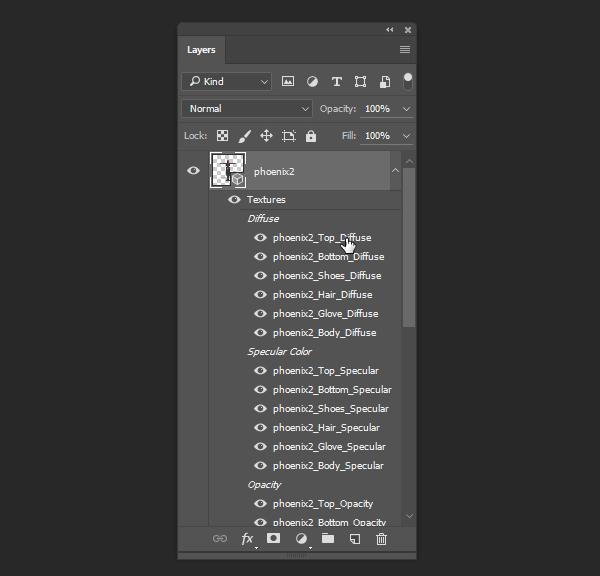
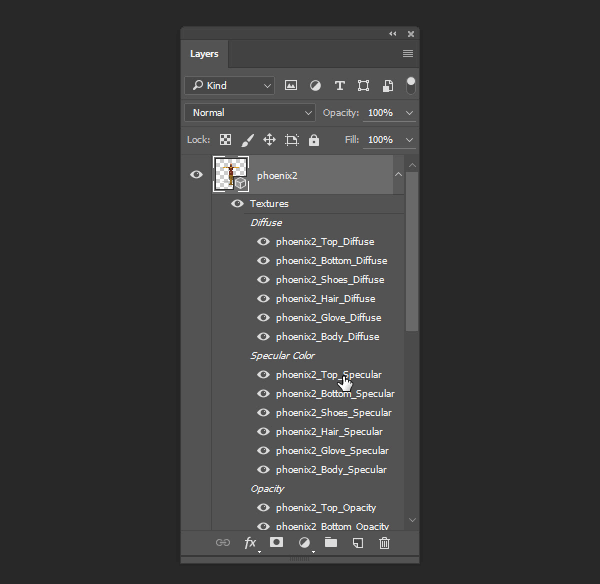
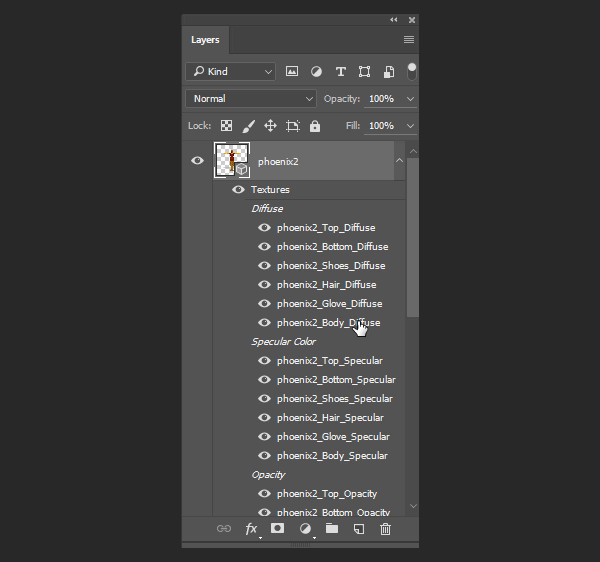
Our model created a special kind of layer: a 3D layer. Because of this, it has special properties you can edit. Two of them will be especially useful for us:
- Diffuse: base color
- Specular Color: color of the gloss
Every element of the model has its own properties. Let’s start with Top. Double click it to open it.
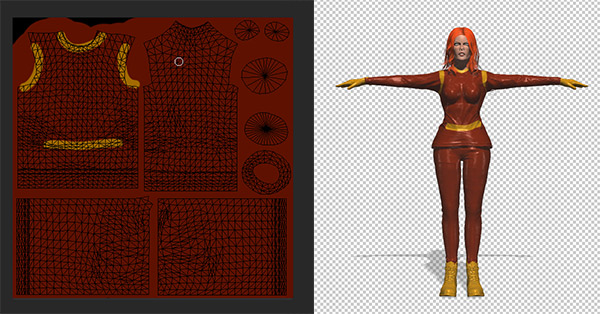
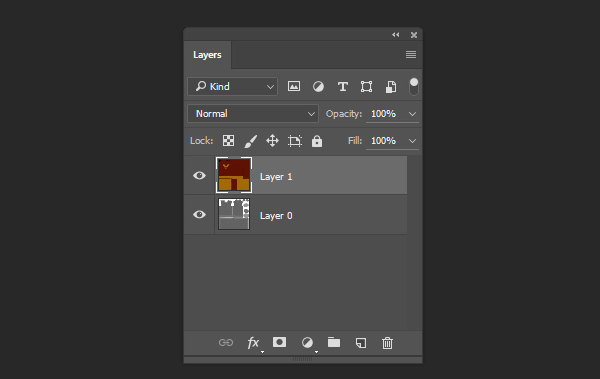
Step 2
You should see a 2D mesh of the top part of the body. Whatever you paint here will be visible in its 3D view. Test it! Create a New Layer (to make the change reversible) and paint it with the main color for the top.

Save it (Control-S) and come back to the model to see the change.
Give all the materials your preferred colors.
Step 3
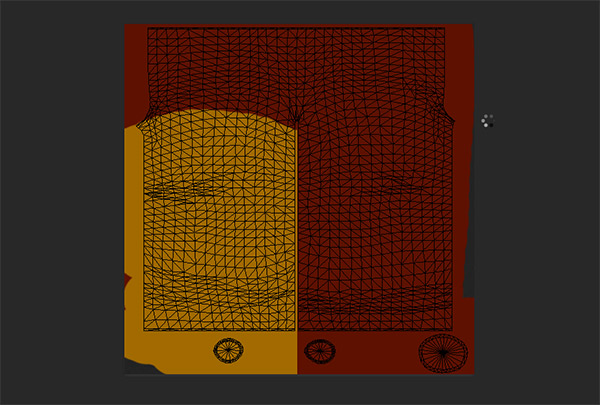
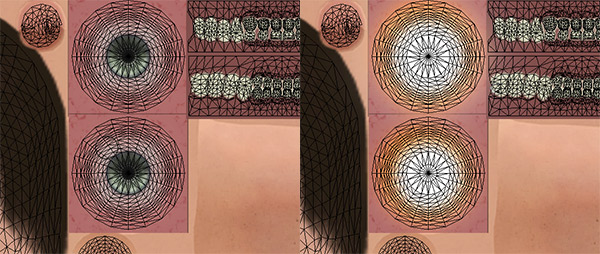
If you want to create a more advanced pattern, first draw a few marker strokes to see what the mesh looks like in its 3D version. You should be able to imagine the 3D result when painting in 2D.
I’ve used this method to paint the characteristic phoenix symbol.
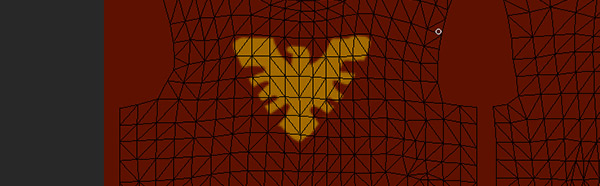
As long as you paint on a separate layer, everything can be adjusted after saving:
Step 4
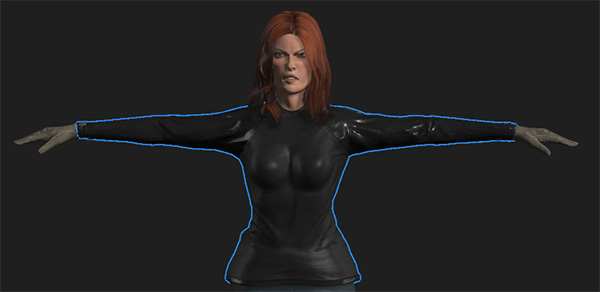
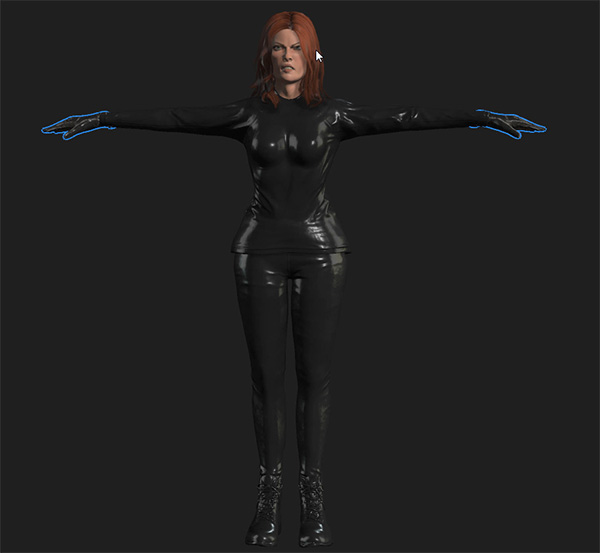
If you want to edit the material on the legs or arms, it’s often necessary to make it symmetrical. Paint the first leg…
… and then Duplicate it (Control-J) and Edit > Transform > Flip Horizontal.
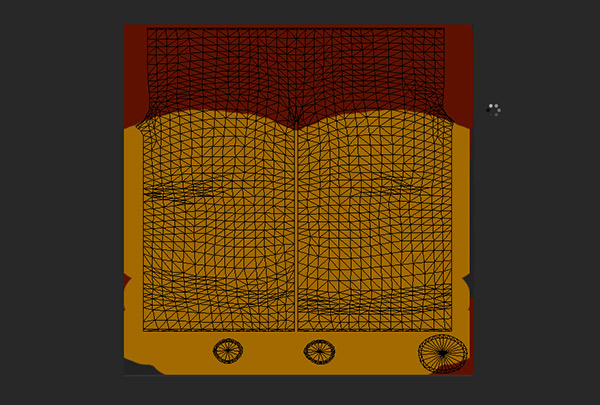
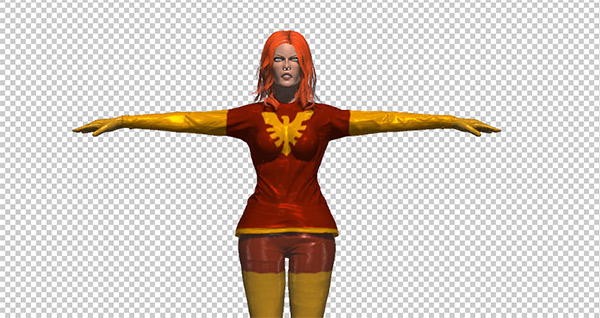
It’s starting to look more like my idea!
Step 5
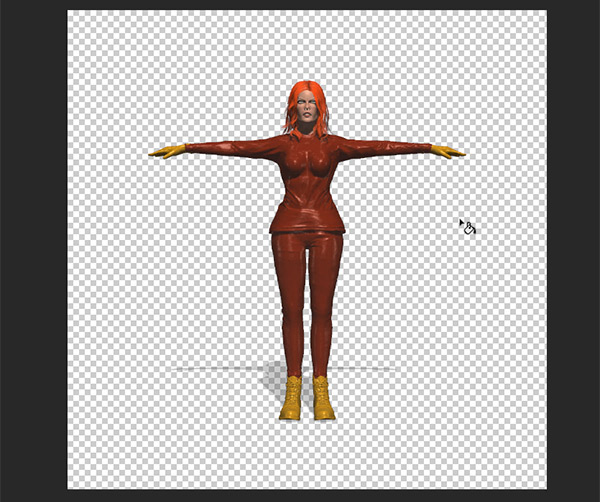
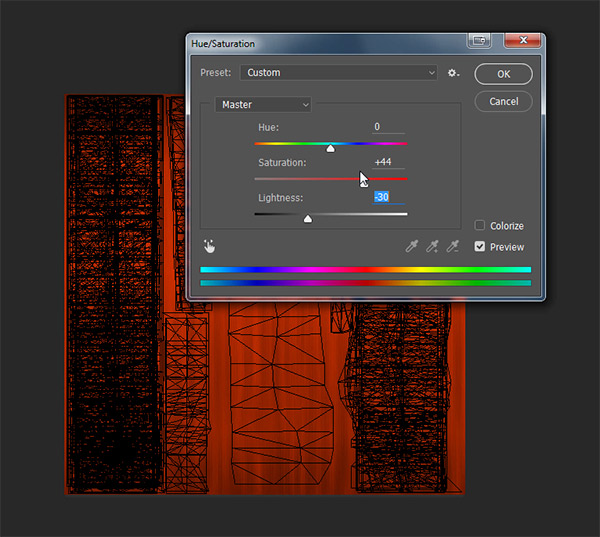
For now the costume looks like cheap plastic, so let’s work on it. That plastic feel comes from the white shine, so if we color it, it should change drastically. First, go to the Diffuse mesh of the part you want to color and Copy it all (Control-Alt-Shift-C). Then go to its Specular counterpart and paste it.
Works like a charm!
Use this trick for every other part:
Step 6
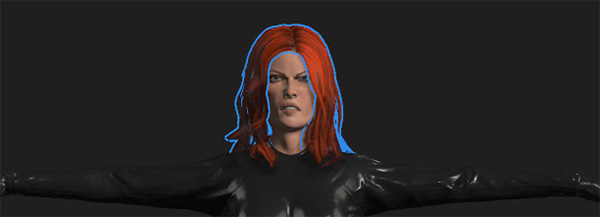
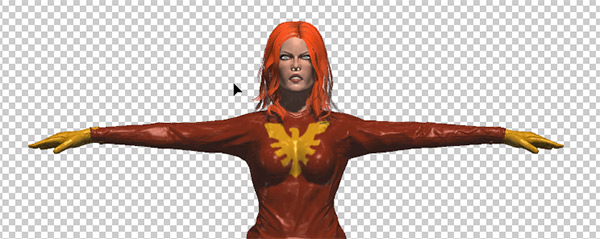
Let’s go back to the Diffuse meshes to adjust the eyes…
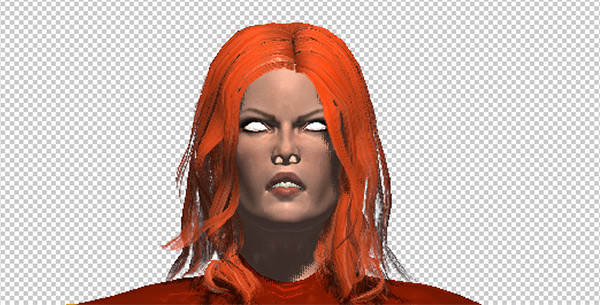
… and hair:
The character is done!
5. Pose the Character
Step 1
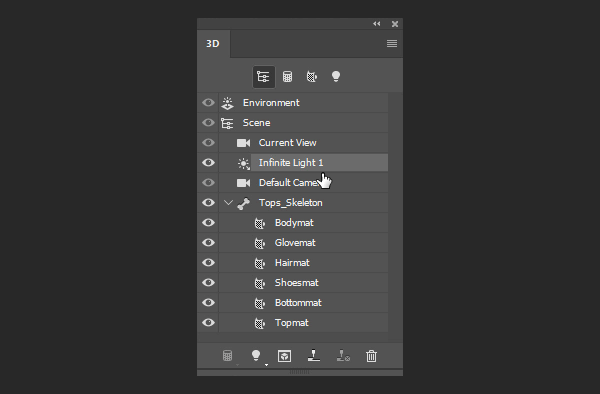
Open Window > 3D panel to see even more options for our model. Select anything with Skeleton in the name.
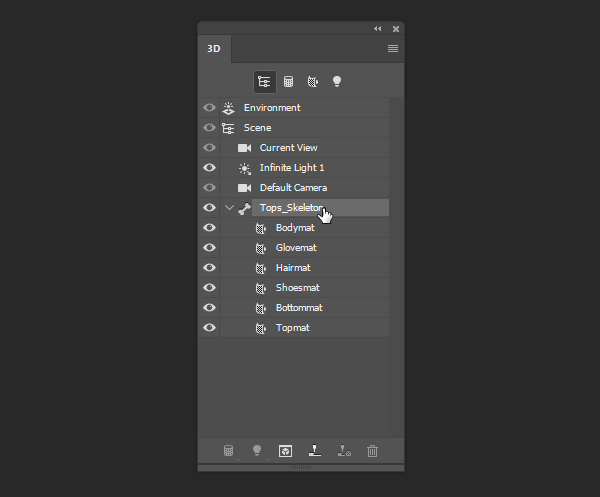
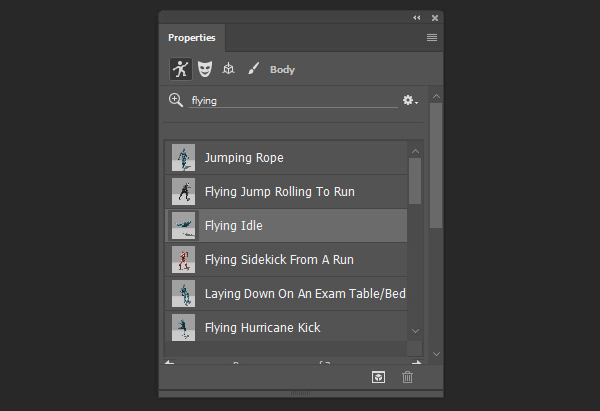
Open the Window > Properties panel to find a pose for our character. As I mentioned before, we can’t (yet) create a pose from scratch, but the library of poses is so huge it shouldn’t really limit you.
After you have chosen the pose, if it’s animated, you can pick a certain frame of that animation using Window > Timeline. In my case it wasn’t necessary.
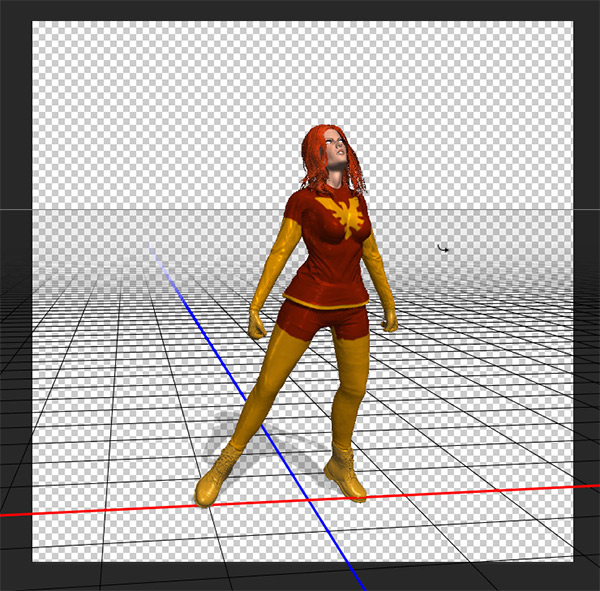
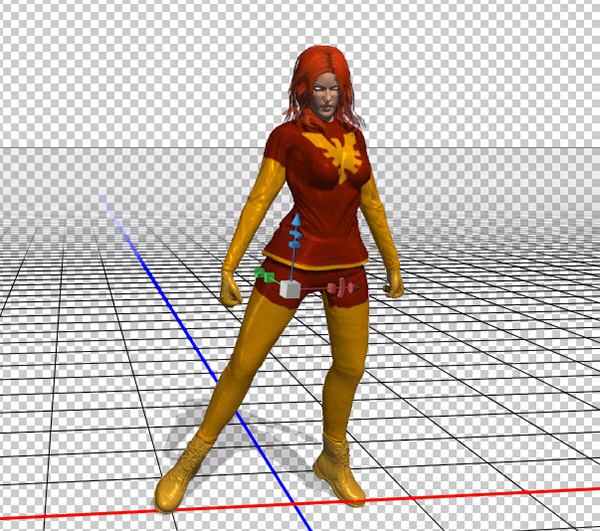
Step 2
What is necessary, though, is that I should change the perspective to something clearer. Use the Move Tool (V) to rotate the character and/or its ground.
Step 3
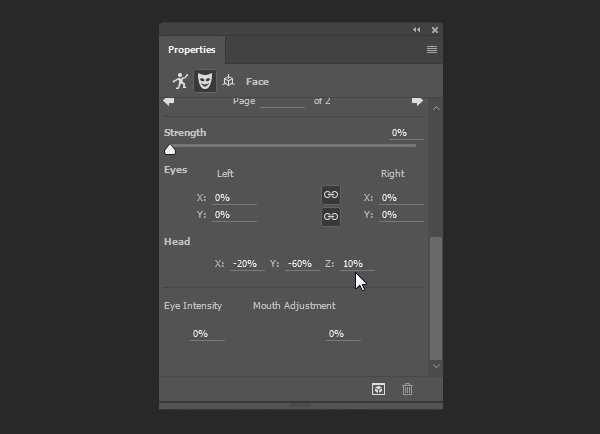
With the Skeleton still selected, go to the other tab in the Properties panel. Pick any expression you wish…
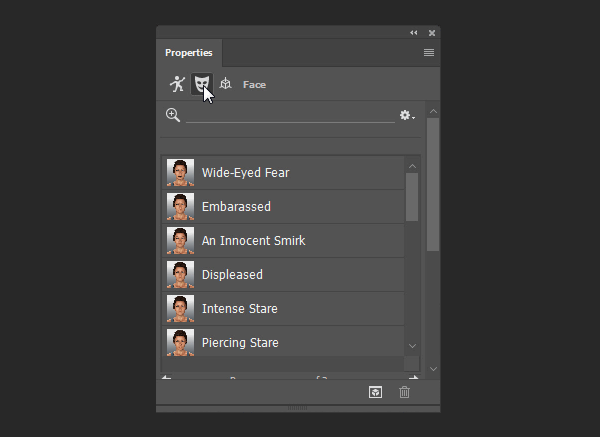
… or if you don’t want it, pick any and then lower its Strength to 0%.
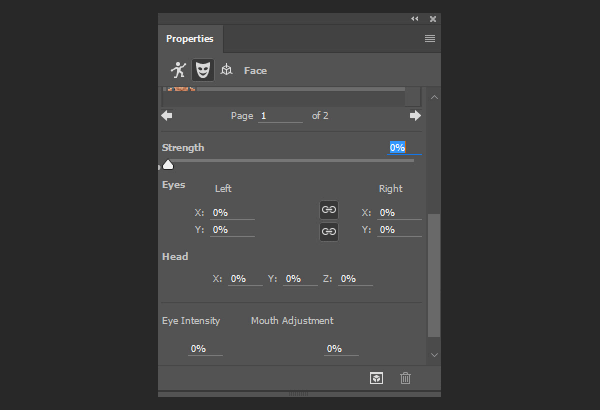
Now you can edit the head’s coordinates to create a more fitting pose.
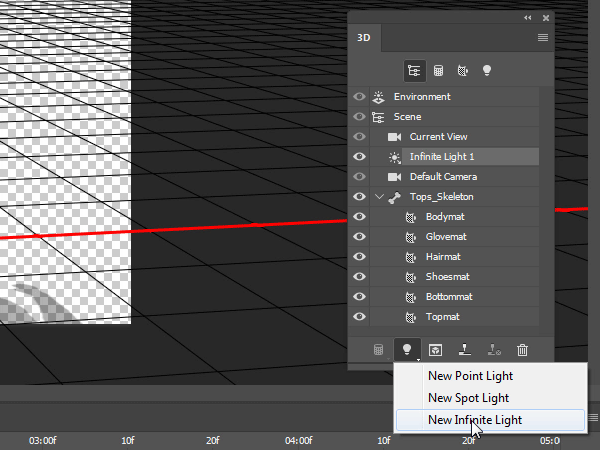
6. Add the Lighting
Step 1
In the 3D panel you’ll find something named Infinite Light 1. This is a default light—you can remove it or change its Properties to fit your needs.
You can also change its location with the Move Tool (V).
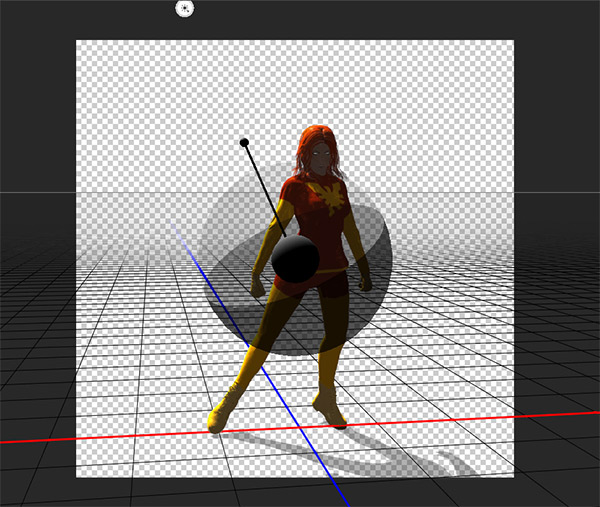
Step 2
To make even more interesting lighting, you can add more light sources:
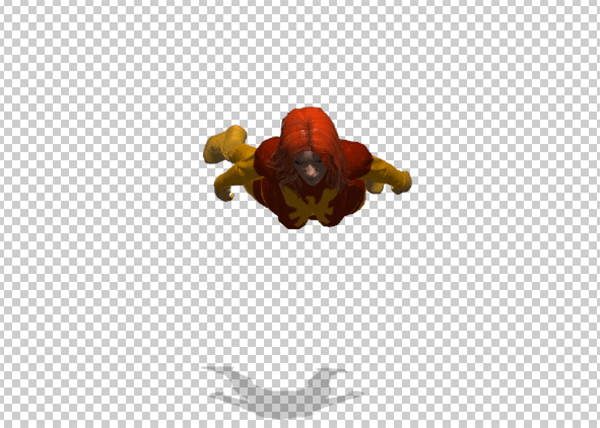
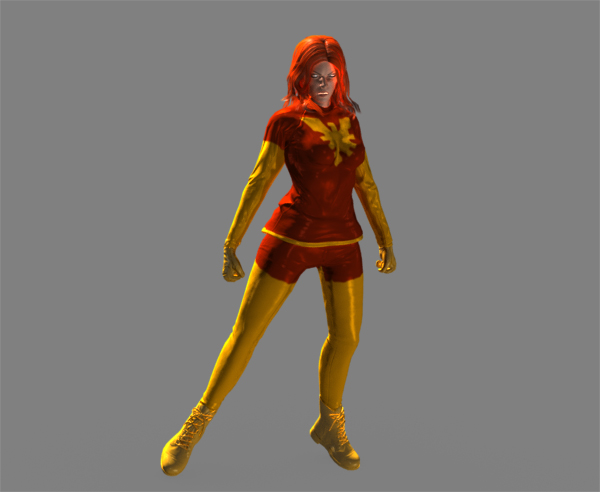
This is how it may look in the end. I’ve removed the shadows, because they would look unnatural in the light situation I’ve planned. I’ve also fixed the silhouette with Filter > Liquify (works only if the layer has been rendered).
To render the layer and improve shading this way, right click the 3D layer and select Render 3D Layer. The bigger the resolution of your picture and the textures, the longer it may take.
Your Reference Is Done!
You can now use it to create a drawing (to trace it or use as a reference—it’s your choice), or as a base for digital painting. This way you’ll be able to show your idea to others without trying to obtain a skill you don’t really need. And even if you’re a skilled digital artist, this method lets you create an accurate lighting reference, which is especially useful for specular highlights—they’re very hard to calculate.
As a side note, a 3D layer from Photoshop can be exported to popular 3D formats, so that you can edit it in a more advanced manner. If you want, you can learn the basics from our tutorials covering various programs: