In the following tutorial, you will use Adobe Illustrator to design a poster which includes experimental typographic techniques. Skewing text is an essential tool to learn that can add dimension and experimentation to your designs. Let’s get started!
If you’re short on time, be sure to check out Envato for cool text effects for your posters.
What you’ll learn in this tutorial
- How to skew text in Illustrator
- How to skew vector elements in Illustrator
What you’ll need for this tutorial
For this tutorial, you’ll need access to Adobe Illustrator, and you’ll also need the following assets:
1. How to create a document
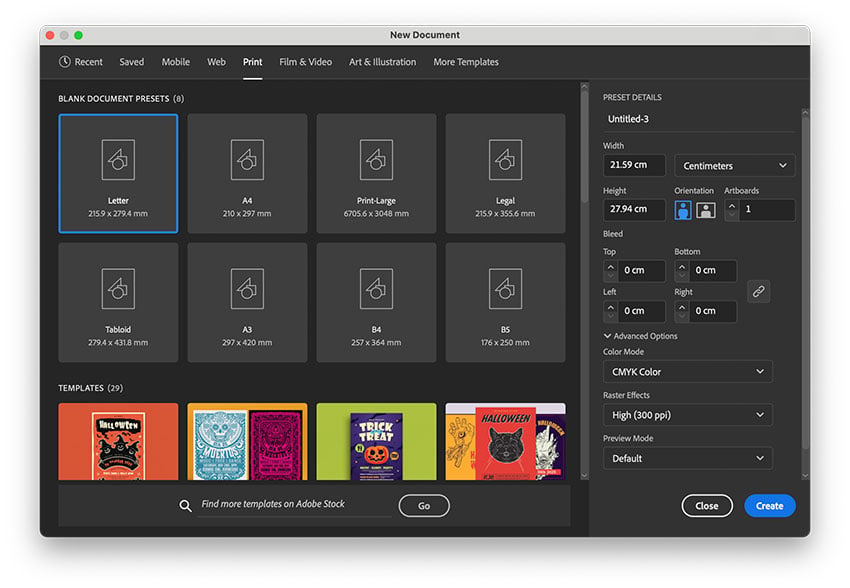
Hit Control-N to create a new document. Select the Print tab from the top bar. Under Blank Document Presets, select Letter.
Choose Centimeters from the Units drop-down menu. Set the Color Mode to CMYK and the Raster Effects to 300 dpi. Click Create.

2. How to create a background
Step 1
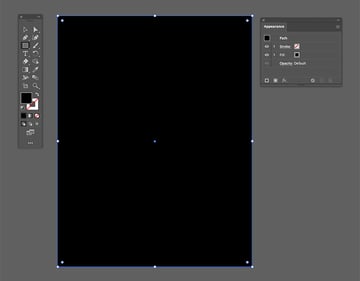
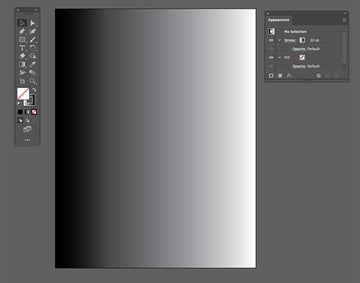
Select the Rectangle Tool (M) and create a rectangle to cover the area of the Letter size page.


Step 2
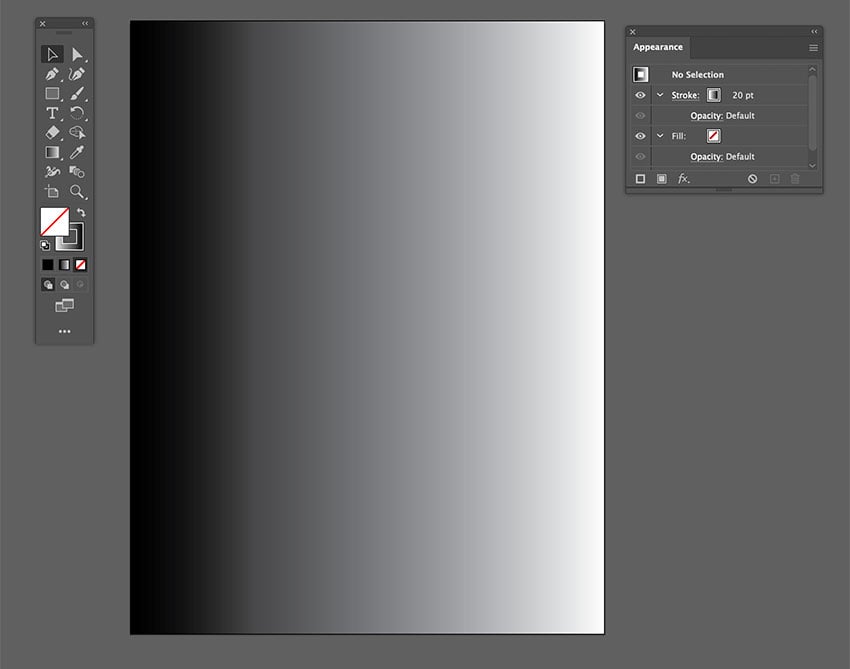
Select the Gradient Tool (G) and apply it to the rectangle created in Step 1. Set the gradient to be black on the left and white on the right.

Step 3
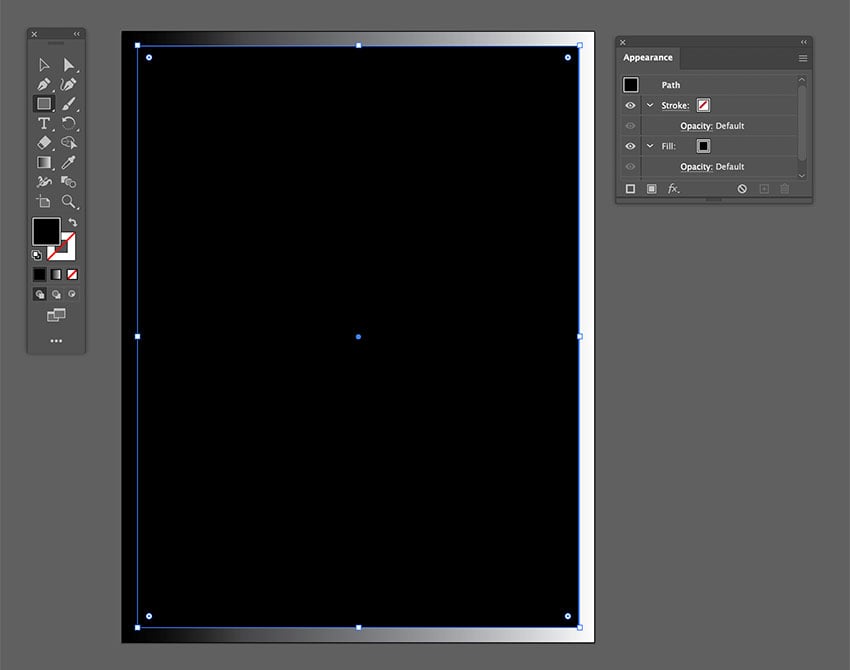
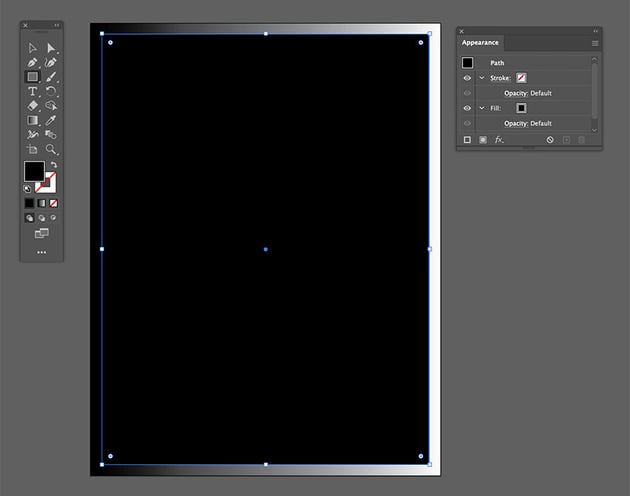
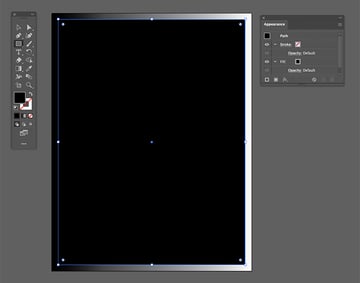
Using the Rectangle Tool (M), create a rectangle smaller than the page size. Let the gradient act as a border for the poster.
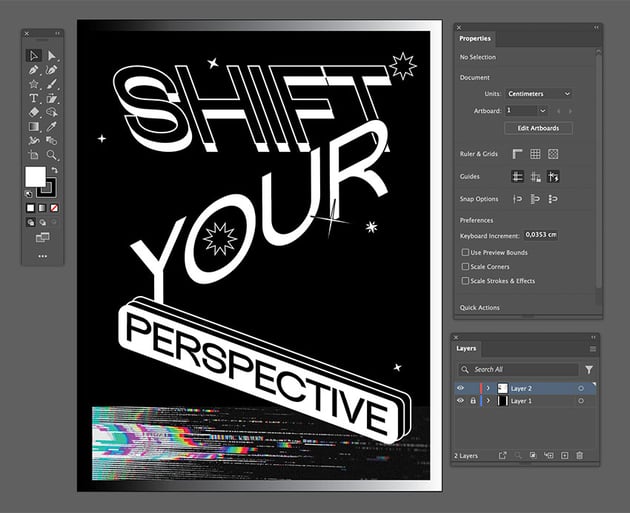
3. How to skew text in Illustrator
Step 1
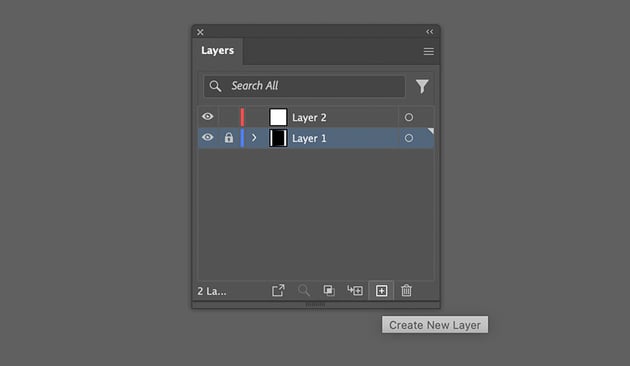
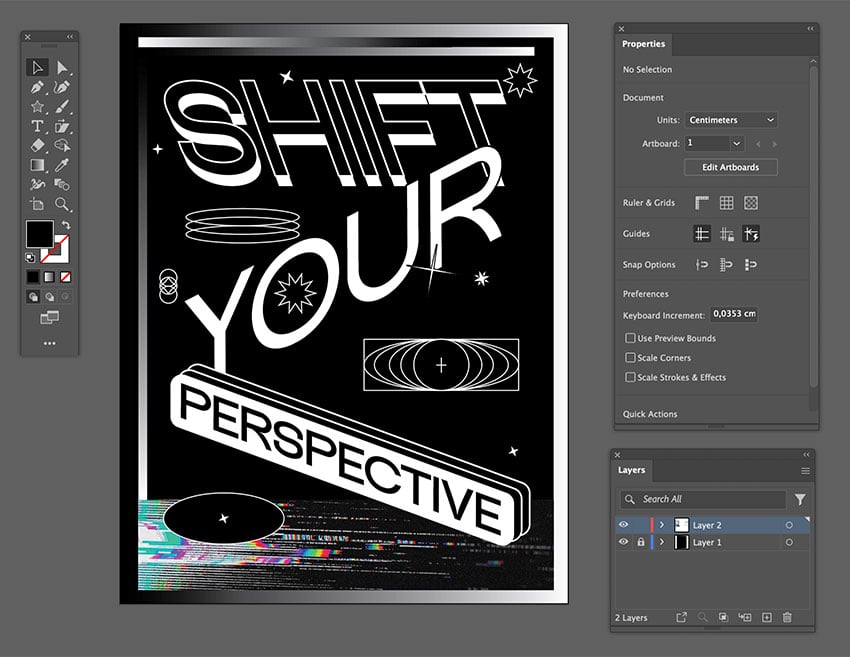
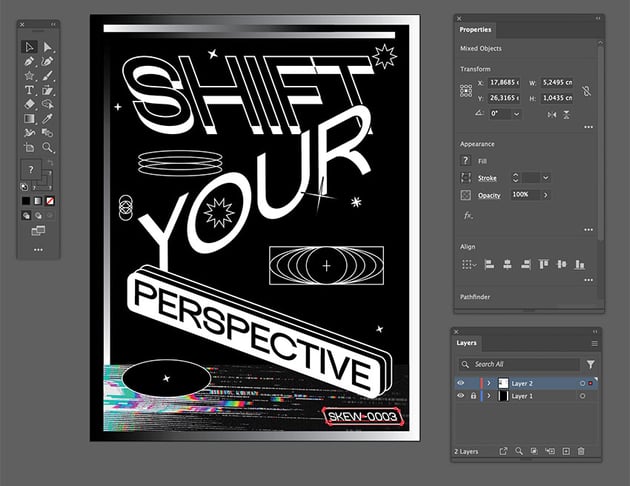
Go to the Layers panel and lock Layer 1 by clicking on the square next to the eye symbol. Click on the New Layer button to create Layer 2. Select Layer 2 to start working on that layer.


Step 2
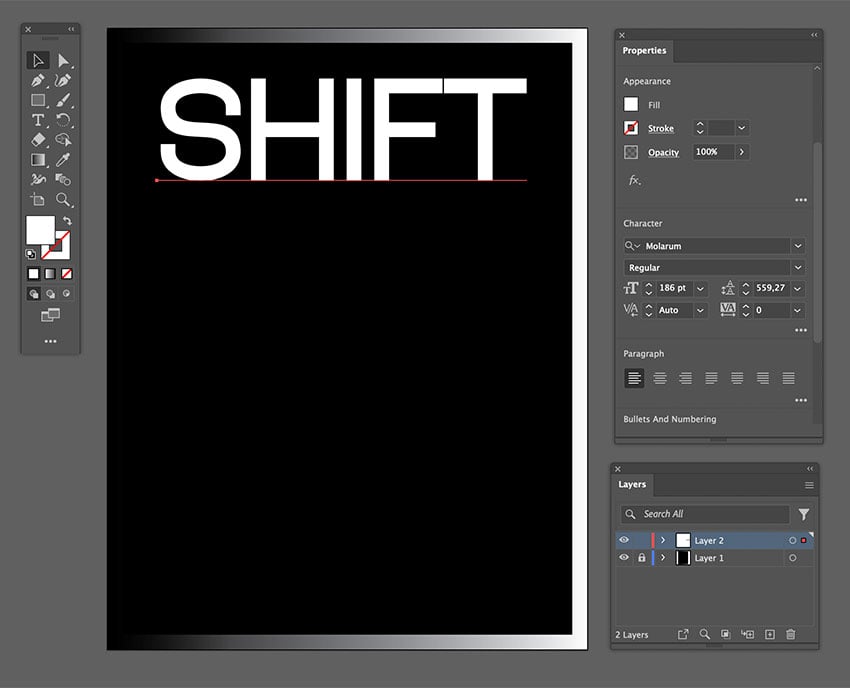
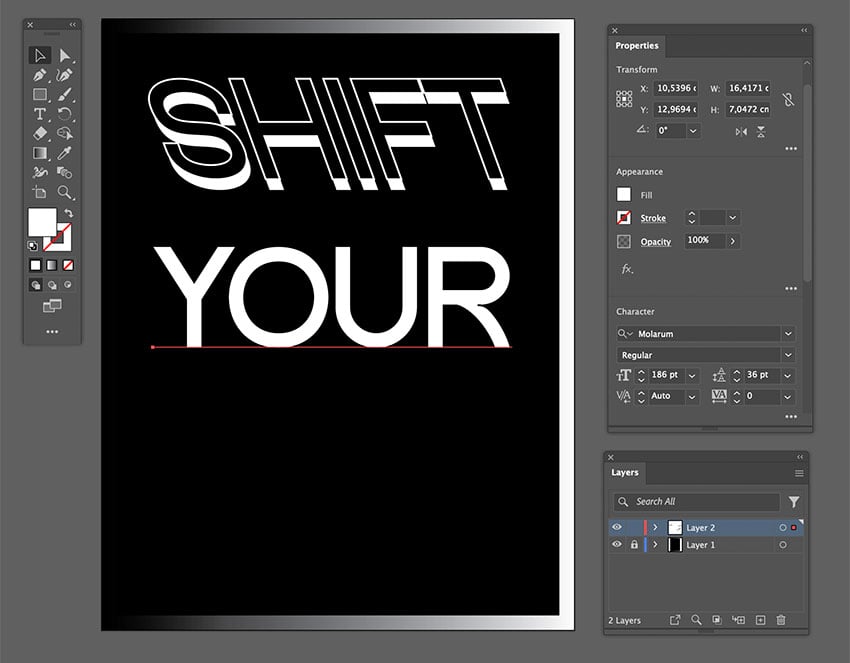
Select the Text Tool (T) and type the word “SHIFT”. Set the Font to Molarum, the Size to 186 pt, and the Fill Color to White.

Step 3
Select the text box and head over to Type > Create Outlines. The text is now converted into a vector shape.


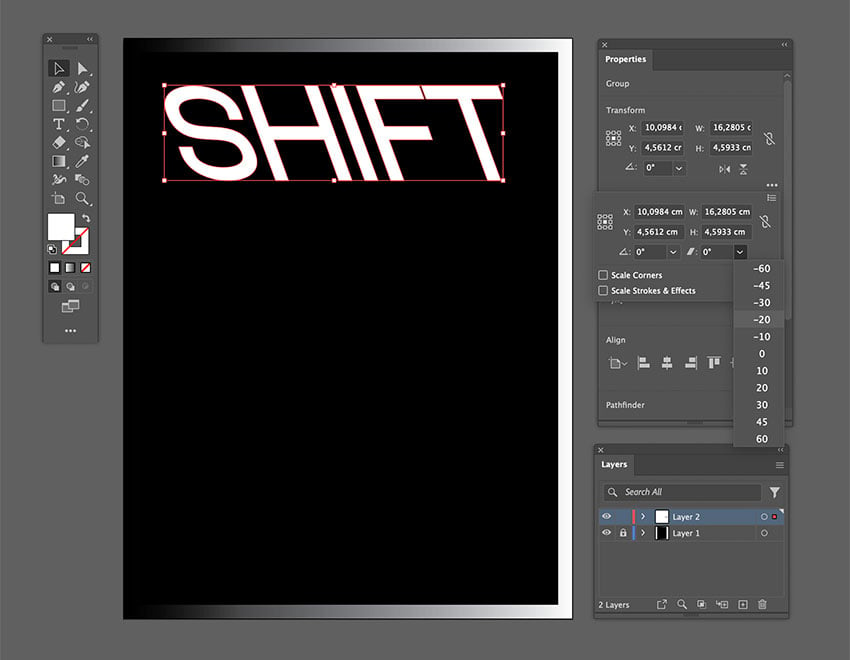
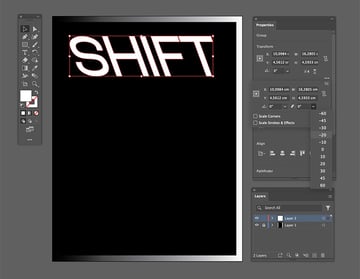
Step 4
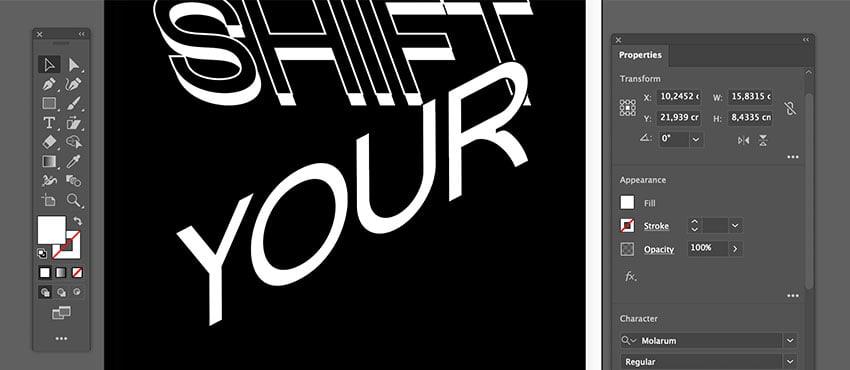
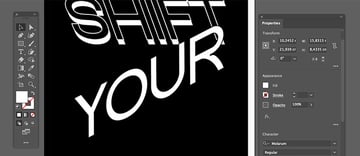
In the Properties panel, go to Transform. Expand the options by clicking on the three dots. Set the Shear degrees to -20.

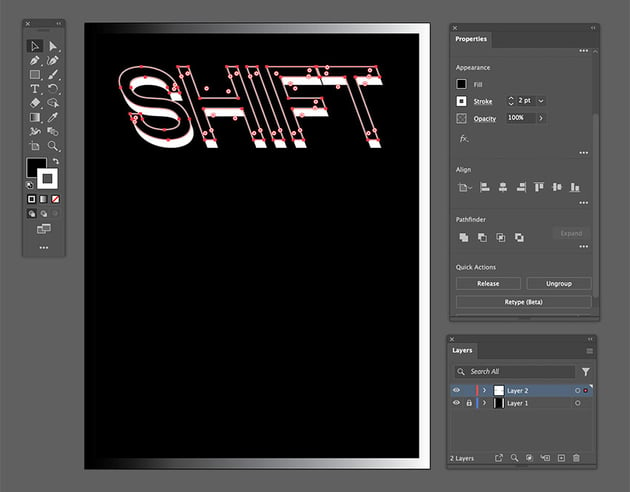
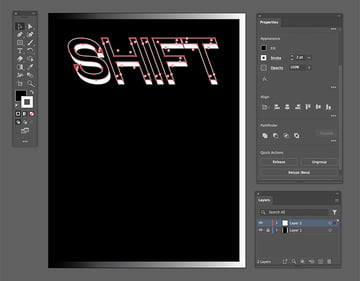
Step 5
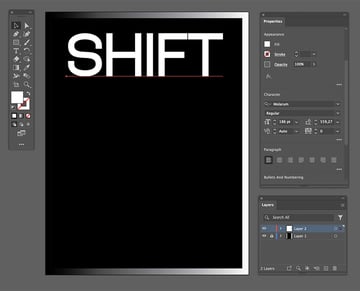
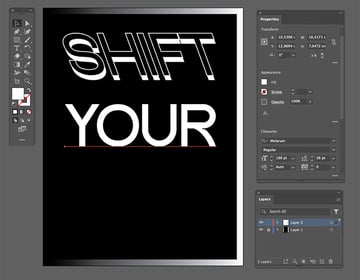
Duplicate the object by pressing Option and dragging the object. In this case, drag the object up.
In the Properties panel, go to Appearance. Set the Fill Color to Black and the Stroke Color to White. Set the Stroke to 2 pt.

Step 6
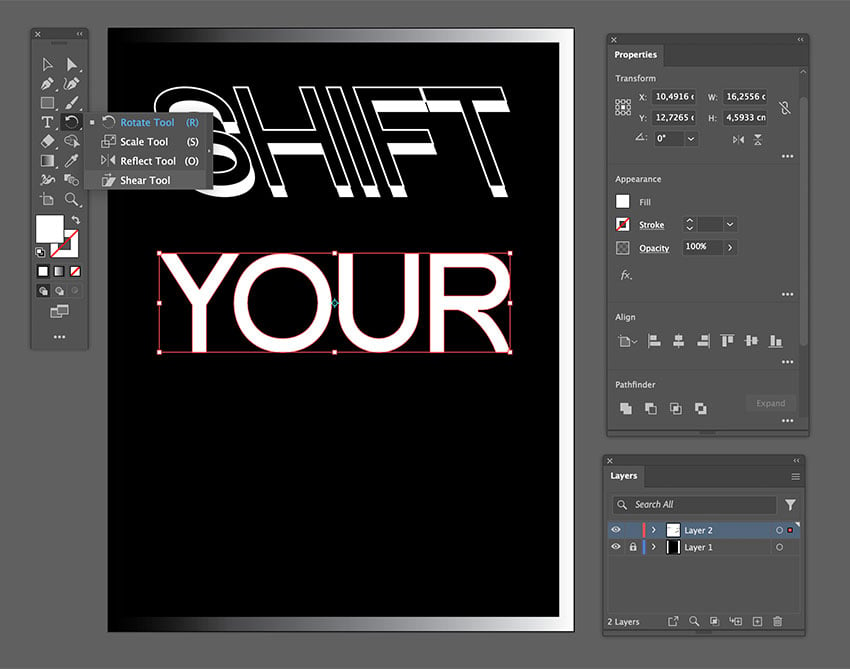
Select the Text Tool (T) and type the word “YOUR”. Set the Font to Molarum and the Size to 186 pt. Set the Fill Color to White and the Stroke Color to Black.

Step 7
Select the text box and head over to Type > Create Outlines. The text is now converted into a vector shape.

Step 8
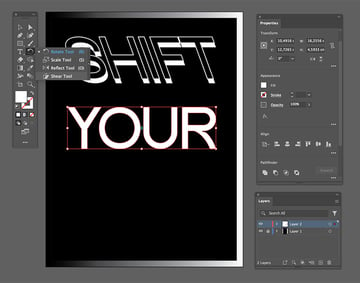
Select the Shear Tool from the toolbar. Click and move while selecting the object to achieve a skewed look.

Step 9
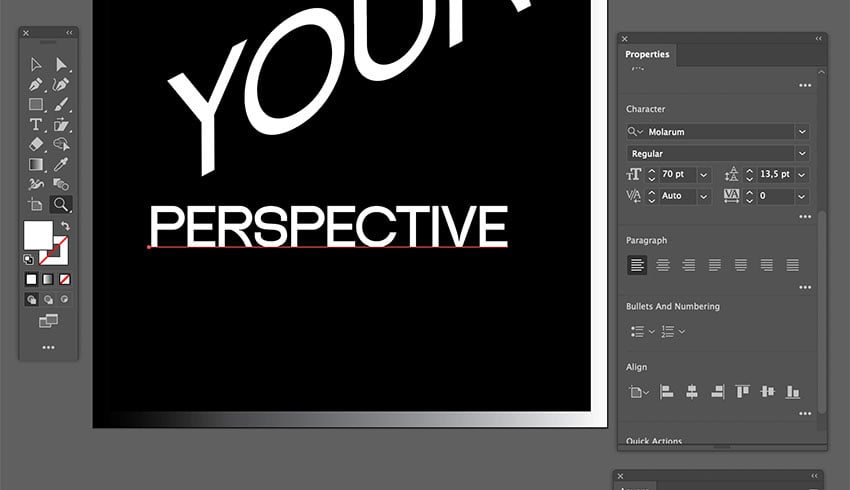
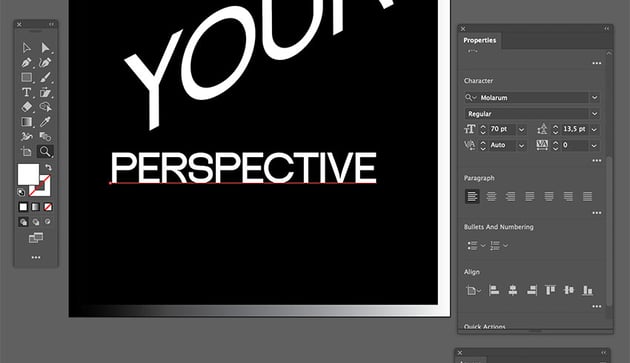
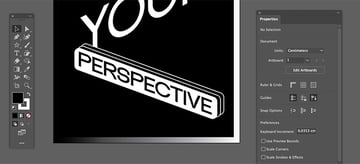
Select the Text Tool (T) and type the word “PERSPECTIVE”. Set the Font to Molarum and the Size to 70 pt. Set the Fill Color to White.

Step 10
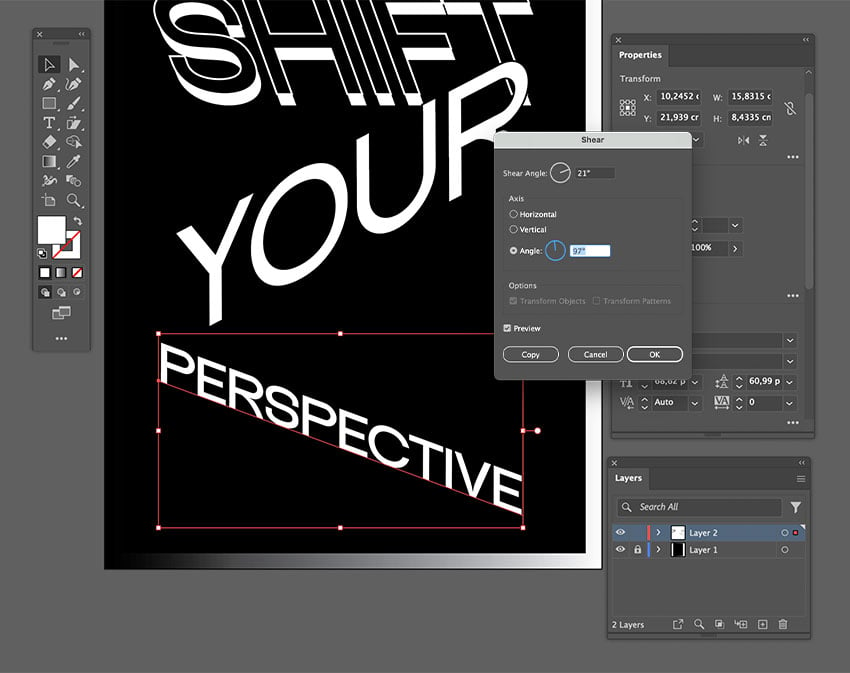
It’s also possible to skew text boxes—this is handy for when you want to edit text later on. Select the text box and go to Object > Transform > Shear.
In the Shear pop-up window, set the Shear Angle to 21° and the Axis Angle to 97°.

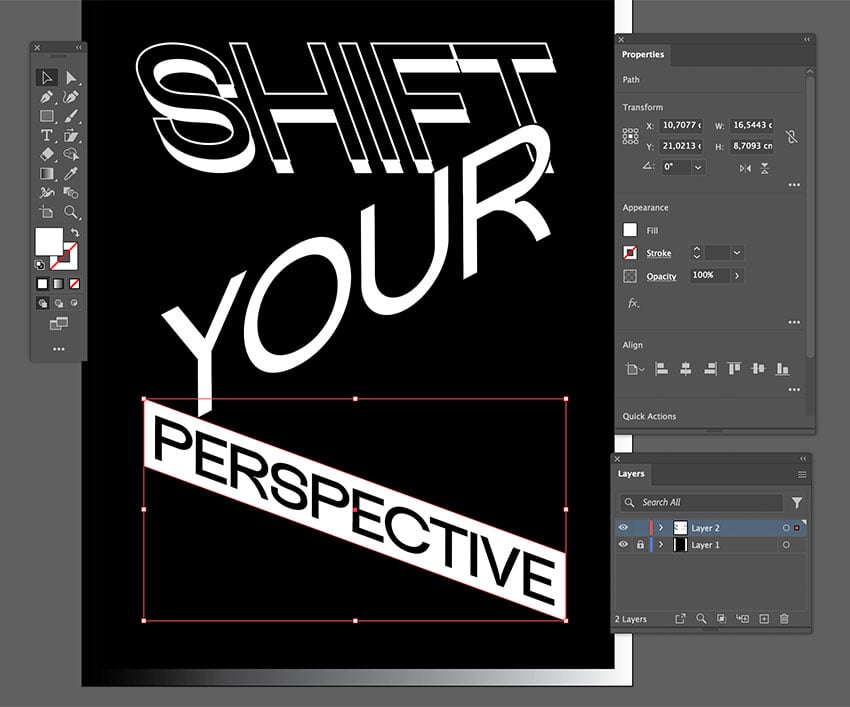
Step 11
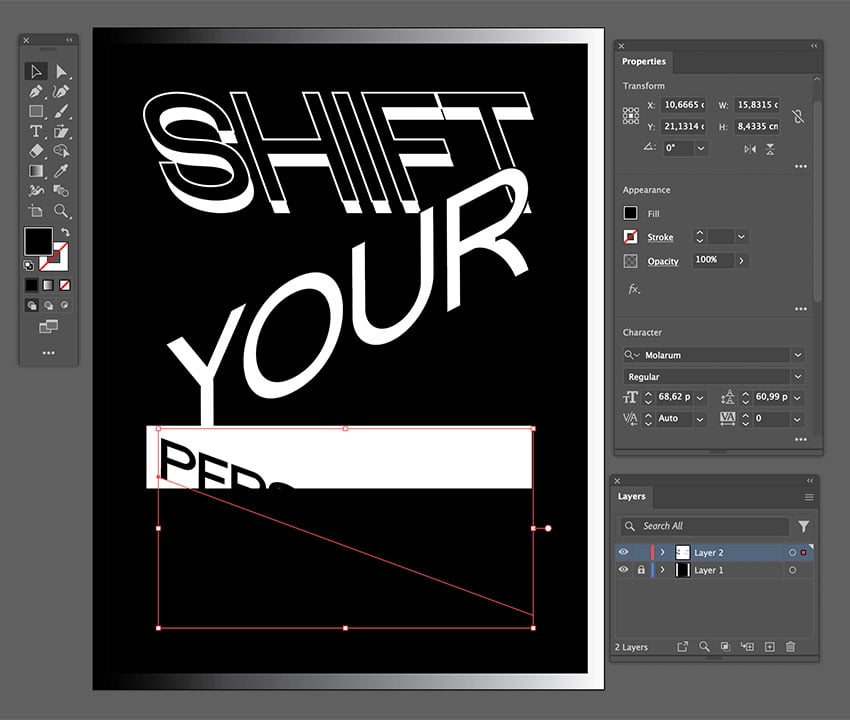
Use the Rectangle Tool (M) to create a rectangle of any size—we’ll resize it shortly.
Select the text box we just skewed in the last step, and bring it to the front by pressing Shift-Command-]. Change the Fill Color of the text to Black.

Step 12
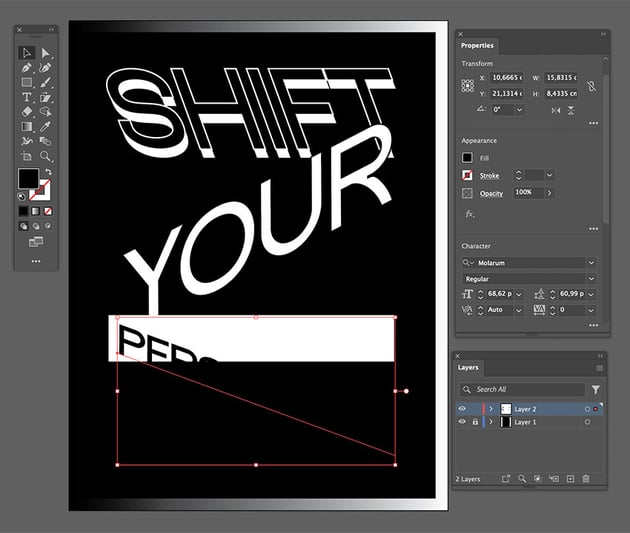
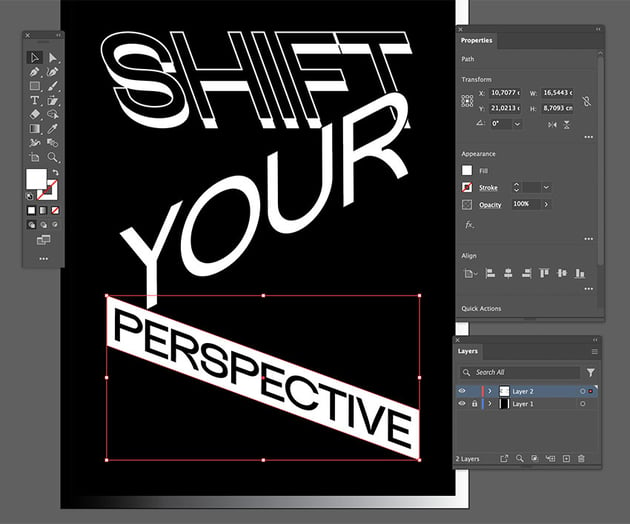
Using the Direct Selection Tool (A), select the two points on the left of the rectangle and shift them down to fit the text.
Step 13
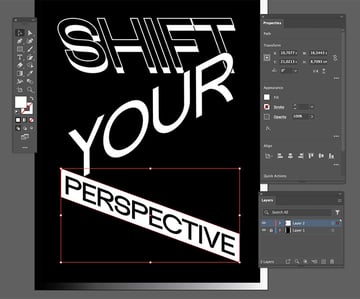
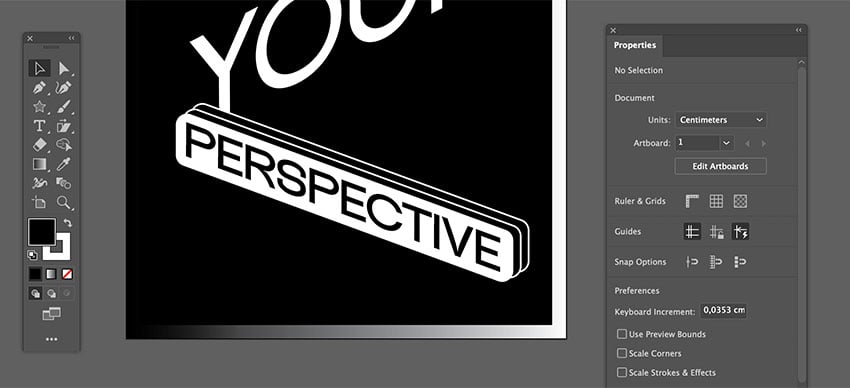
Select the rectangle and curve the corners slightly. Duplicate the rectangle twice and place the copies behind the white rectangle. Set the Fill Color to Black and the Stroke Color to White.

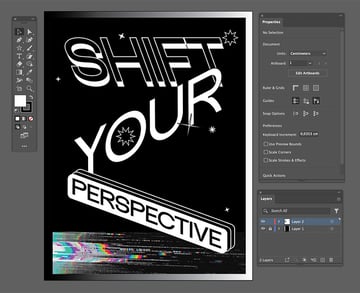
4. How to add details to the text effect
Step 1
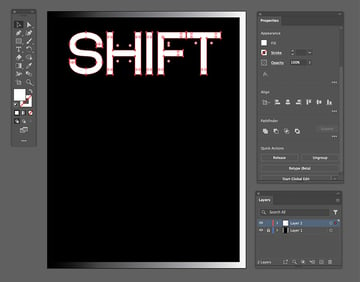
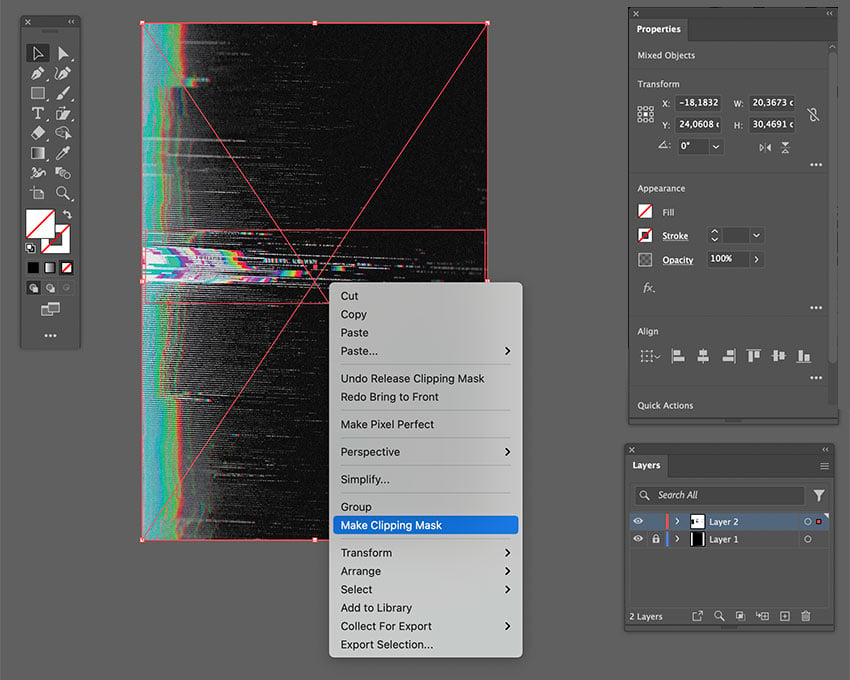
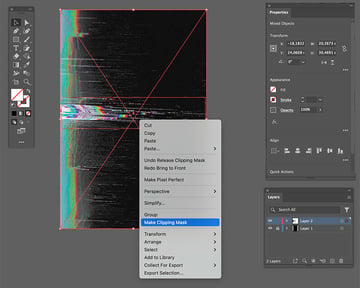
Place the the VHS Glitch (7) file into Illustrator. Using the Rectangle Tool (M), create a rectangle to fit the lower part of the poster.
Select both the VHS image and the rectangle, making sure that the rectangle is on top of the VHS image. Right-click and select Clipping Mask.

Step 2
Using the Star Tool from the toolbar, create stars with different Points to create variety. Select the Star Tool and double-click on the document to open the pop-up window.
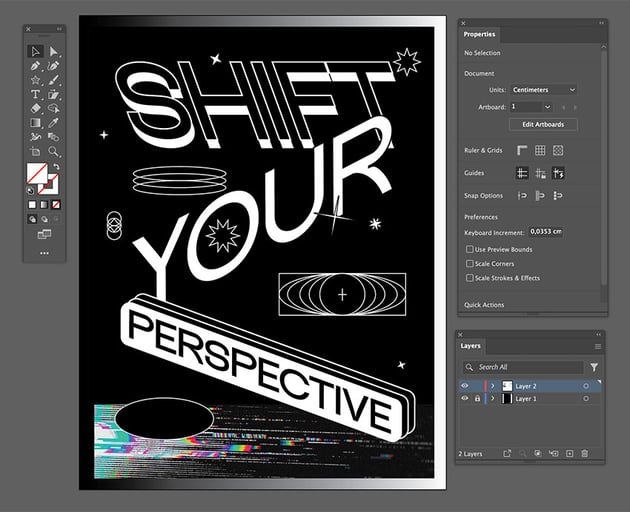
Step 3
Using the Ellipse Tool, create other objects to adorn the poster. In this case, I created a group of ellipses by duplicating a single object multiple times.

Step 4
Use the Rectangle Tool (M) to create slim rectangles to apply to the top and left edges. Add a gradient from black to white.
Step 5
Using the Text Tool (T), create one last text box and add “SKEW-0003”. Set the Font to Molarum and the Size to 23 pt. Set the Fill Color to White.
Use the Rectangle Tool (M) to create a rectangle to fit around the text box. Curve the corners and set the Stroke Color to White.
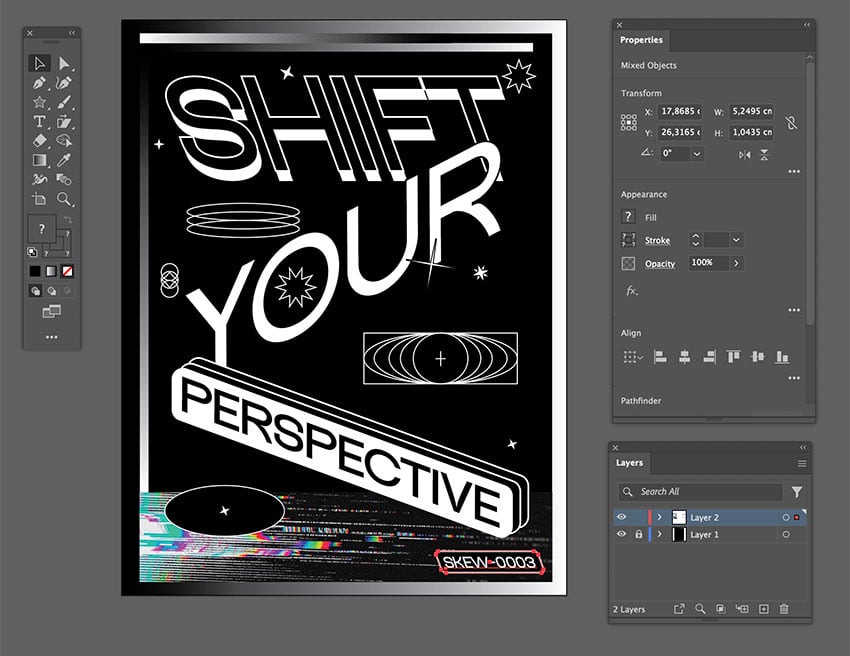
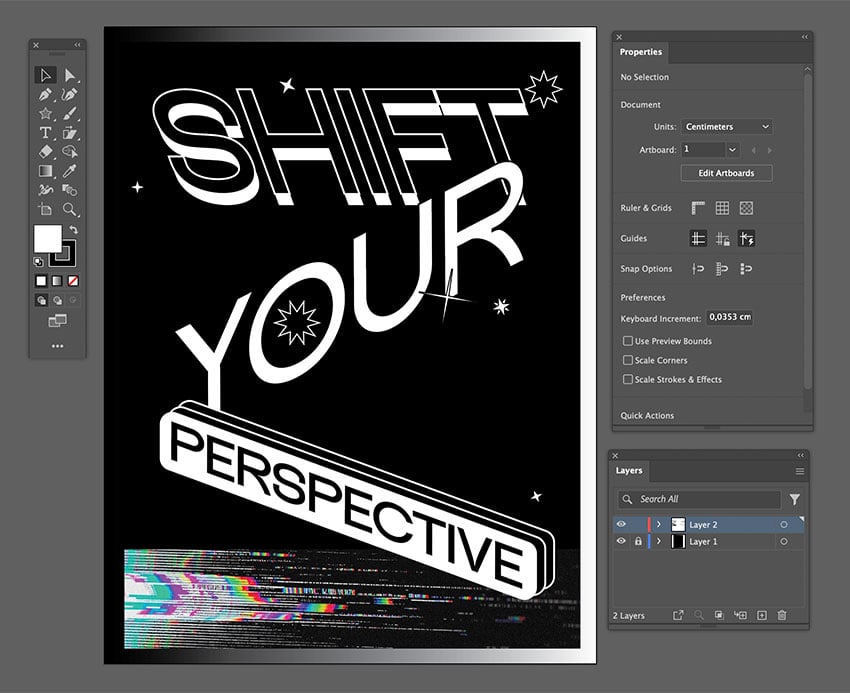
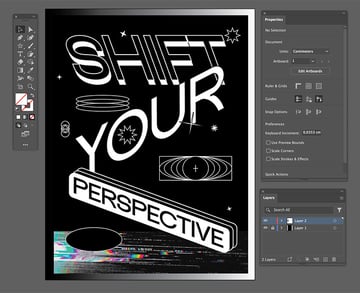
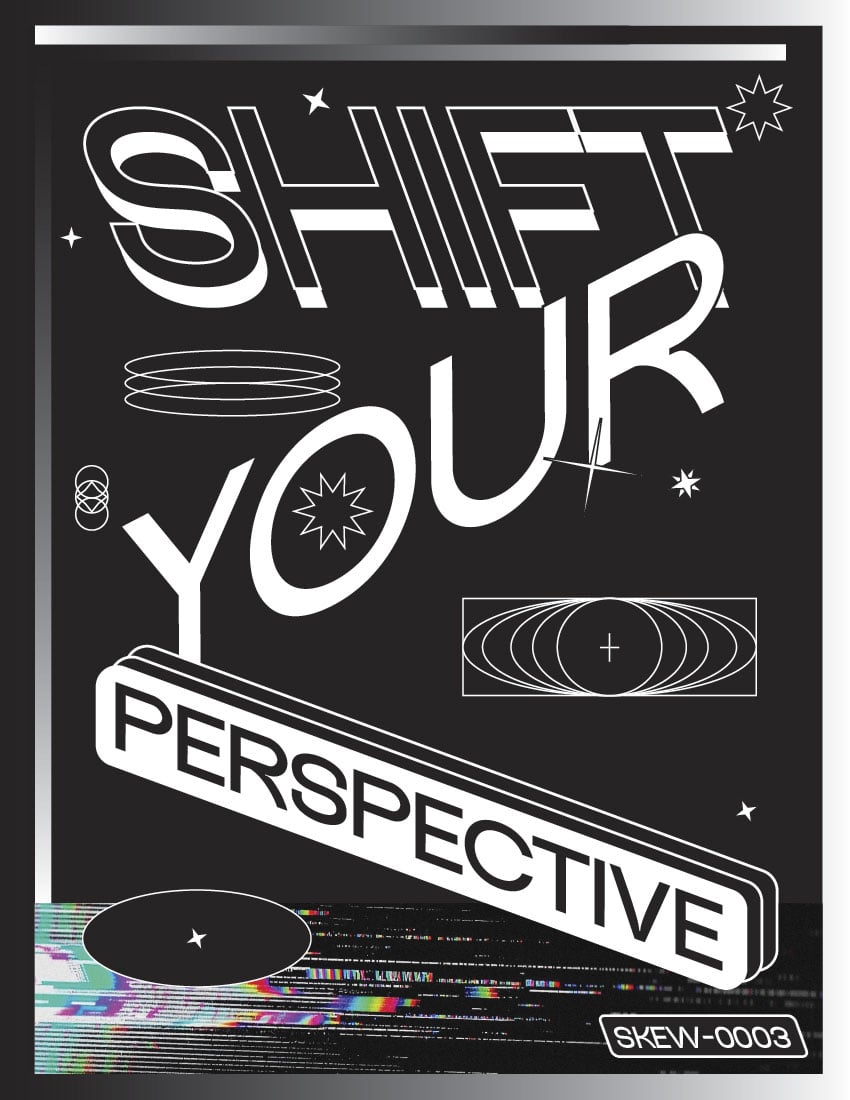
Congratulations! You’re done!
Here’s how your skewed typographic poster should look. I hope you enjoyed this tutorial and can apply these techniques to your future projects.
You can find some great fonts at Envato to experiment with these skewing techniques, as well as tons more cool text effects for Illustrator.


If you liked this tutorial, you might like these other Illustrator tutorials: