In this tutorial, you will learn how to make a chain brush in Photoshop. I will explain everything in so much detail that everyone can create the brush, even those who have just opened Photoshop for the first time.
Do you want to save time with a ready-made brush? Check out this Chain Brush Photoshop add-on over on Envato Market, where you can find over a thousand awesome brushes!

What You’ll Learn in This Chain Brush Photoshop Tutorial
- How to make a chain Photoshop brush
- How to define Photoshop brushes
- How to adjust the chain brush Photoshop settings
- How to apply a chain brush to a photo
- How to make a chain in Photoshop
What You’ll Need
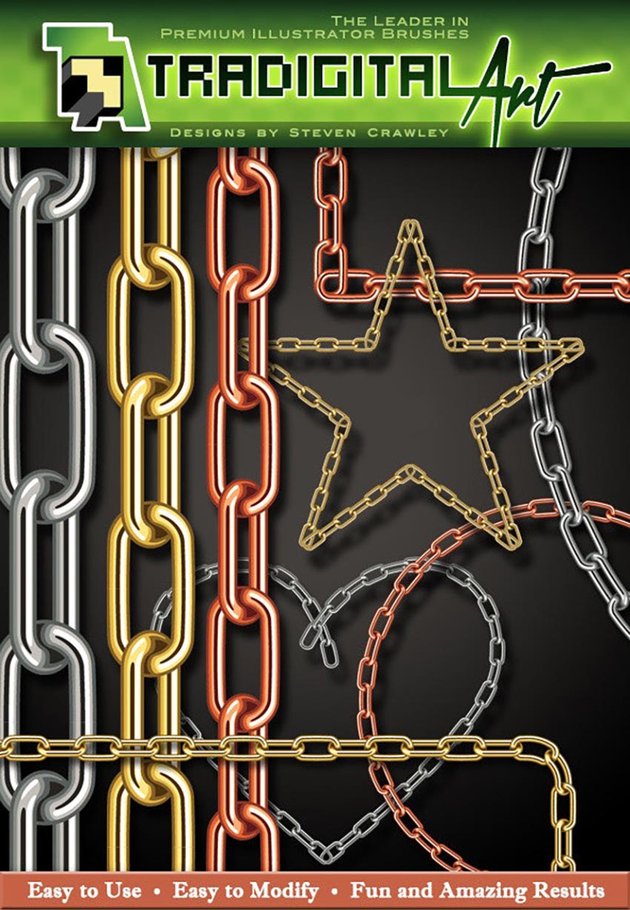
To recreate the design above, you will need the following resources:
1. How to Start Creating a Chain Photoshop Brush
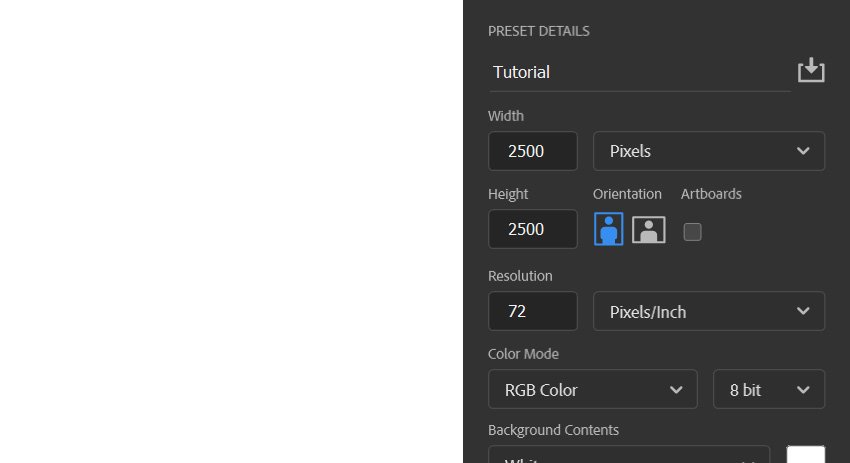
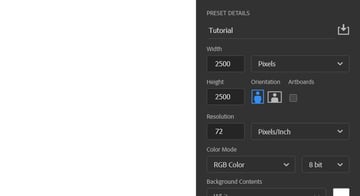
First, create a new file. Go to File > New and set the Width and Height to 2500 px and the Resolution to 72 px/in.
2. How to Make a Chain Brush
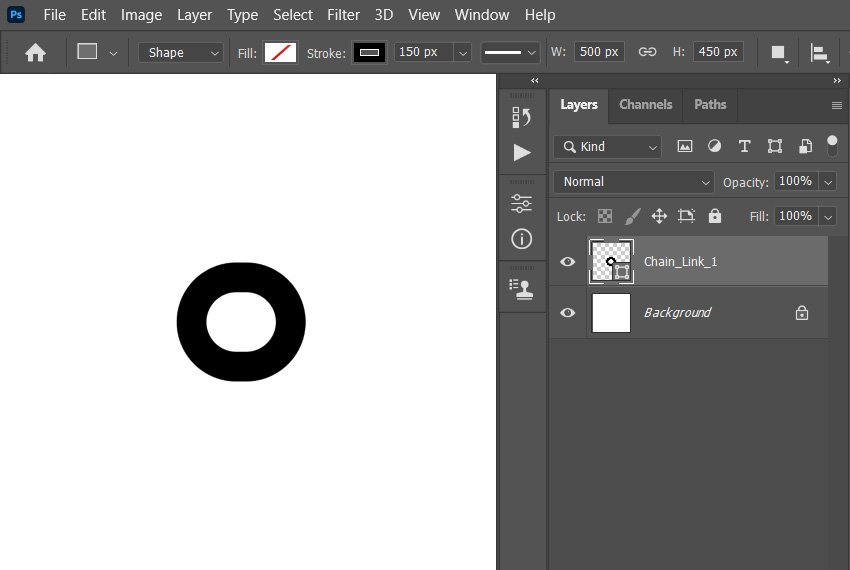
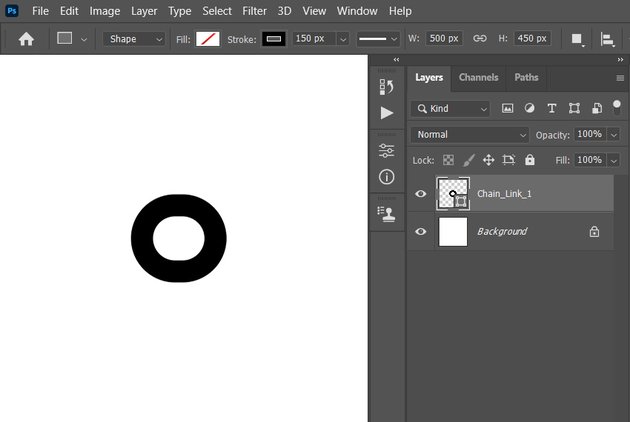
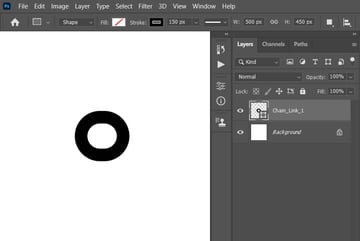
Step 1
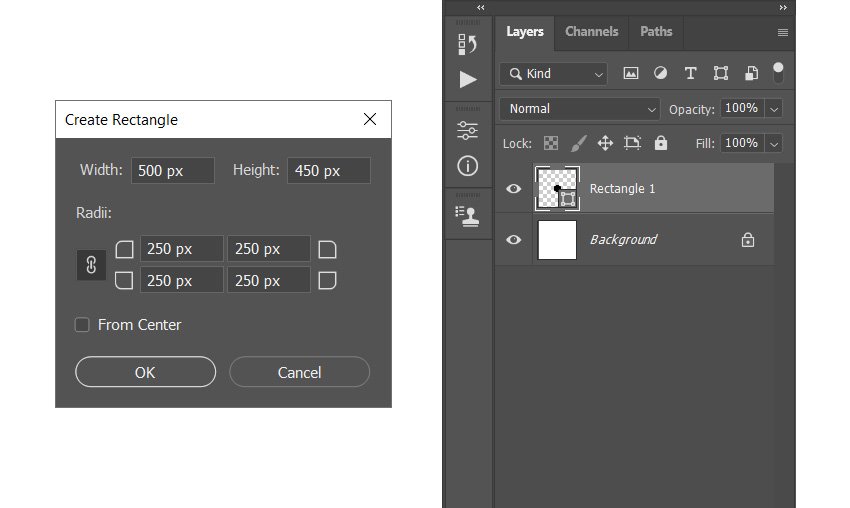
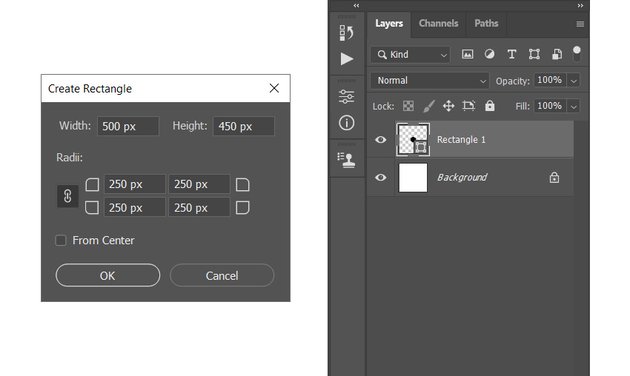
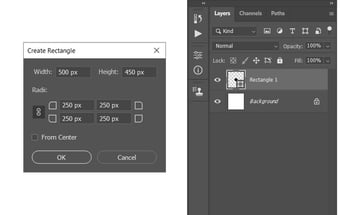
In this section, we are going to create the chain brush. Choose the Rectangle Tool (U), and click anywhere inside the canvas to create a new rectangle shape layer. Then, set the Width to 500 px, Height to 450 px, and Radii to 250 px.
Step 2
Now set the Fill Solid Color to No Color, Stroke Solid Color to #000000, and Stroke Width to 150 px. Position this layer with the coordinates X: 1215.50 px and Y: 1250 px, and name it Chain_Link_1.
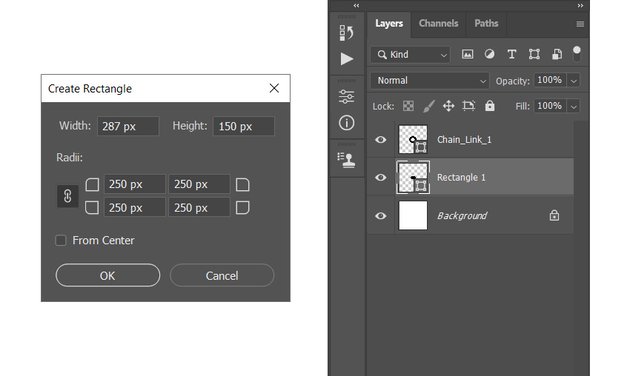
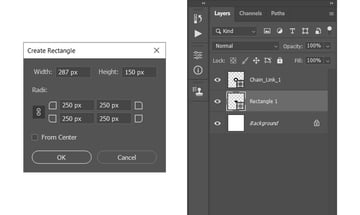
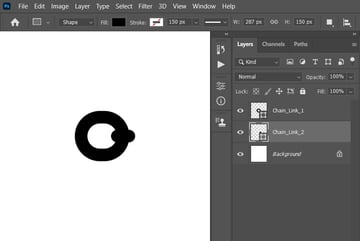
Step 3
Select the Background layer, choose the Rectangle Tool (U) again, and click anywhere inside the canvas to create a new rectangle shape layer. Set the Width to 287 px, Height to 150 px, and Radii to 250 px.
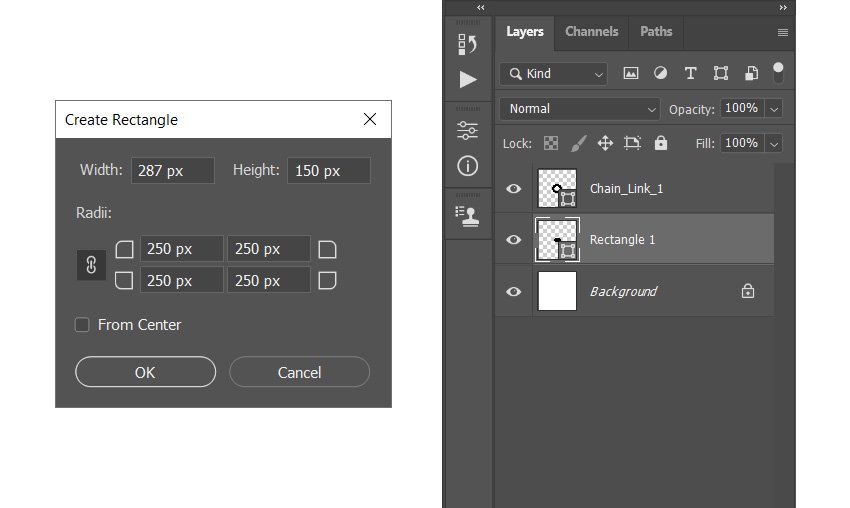
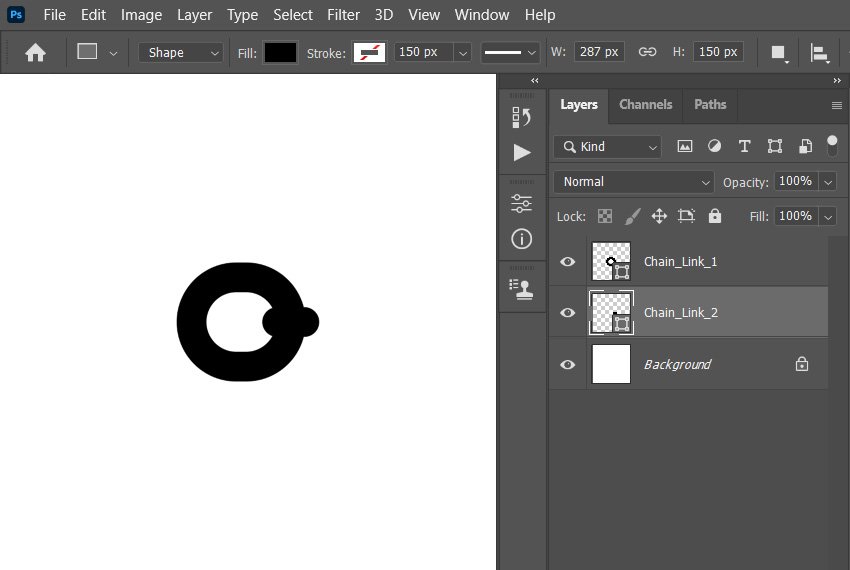
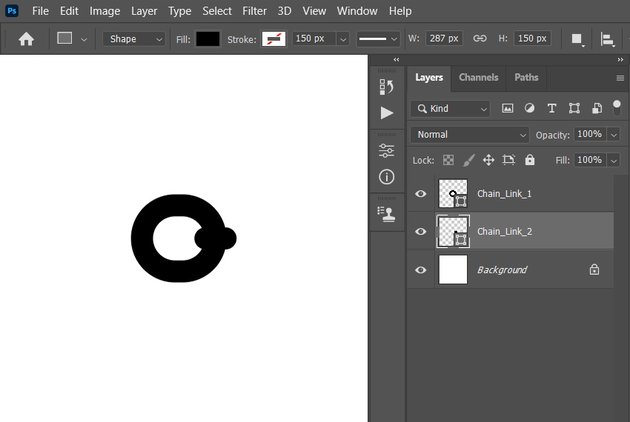
Step 4
Now set the Fill Solid Color to #000000 and Stroke Solid Color to No Color. Position this layer with the coordinates X: 1465.50 px and Y: 1250 px, and name it Chain_Link_2.
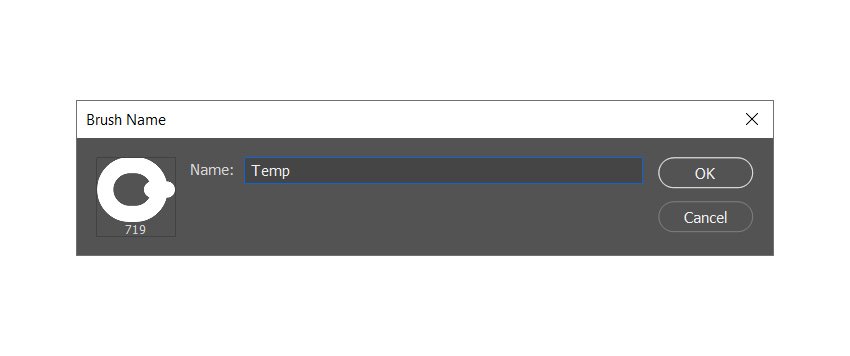
Step 5
Go to Edit > Define Brush to define this shape as a brush, and name it Temp. You can also use this shape to create a chain pattern Photoshop asset that you can use for another project.


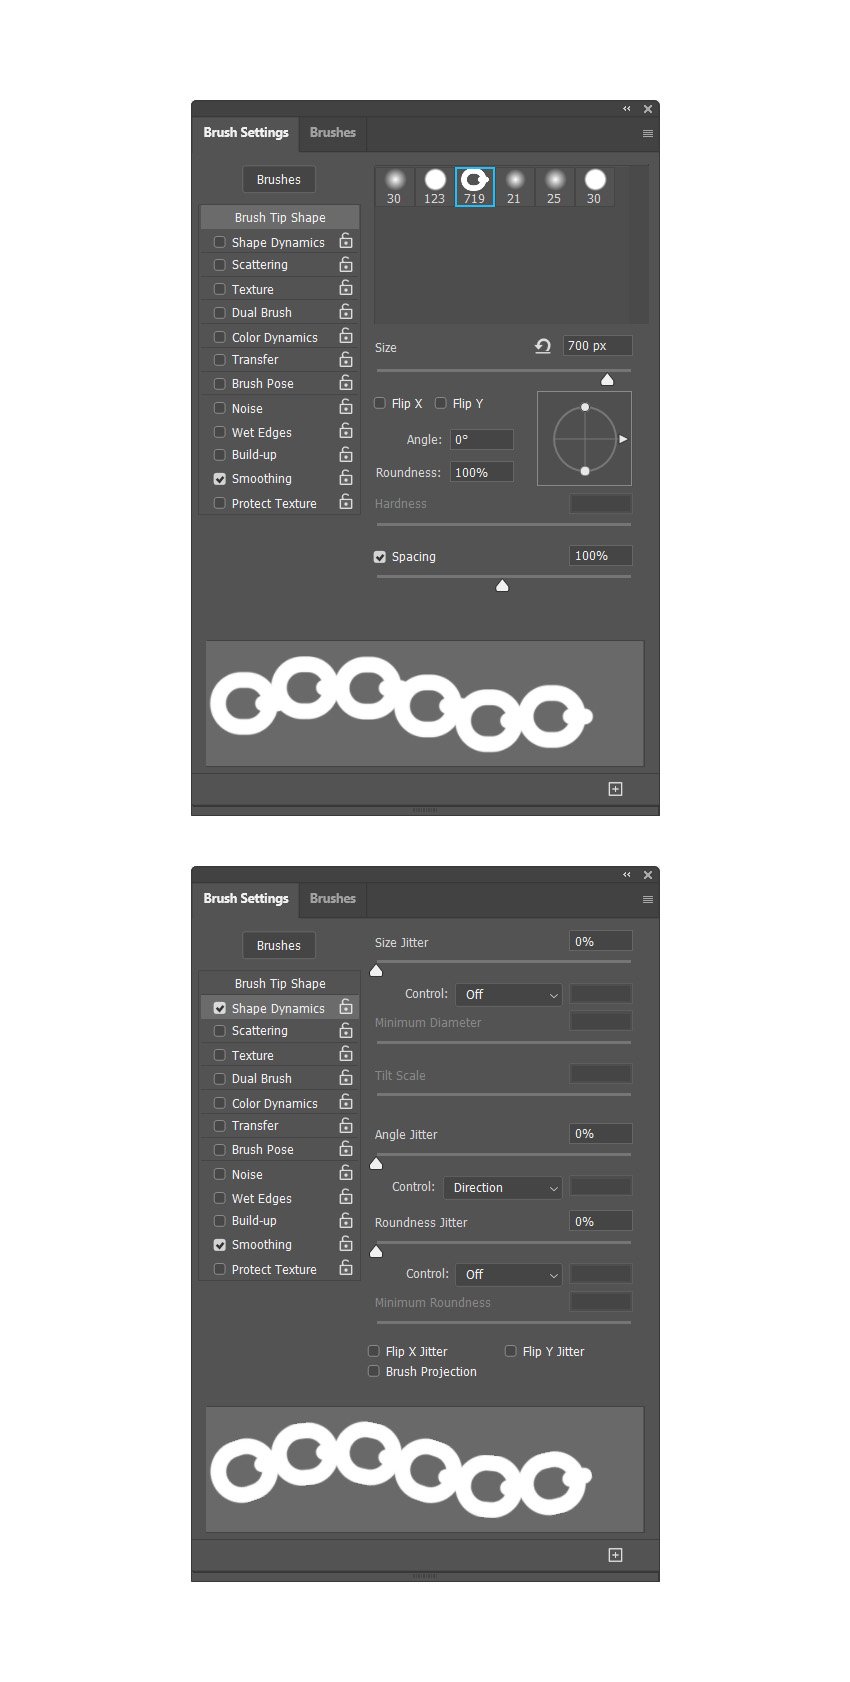
Step 6
Now press B on your keyboard, Right-click anywhere inside the canvas to bring up the Brushes panel, and select the Temp brush. Then go to Window > Brush Settings, and use the settings below:


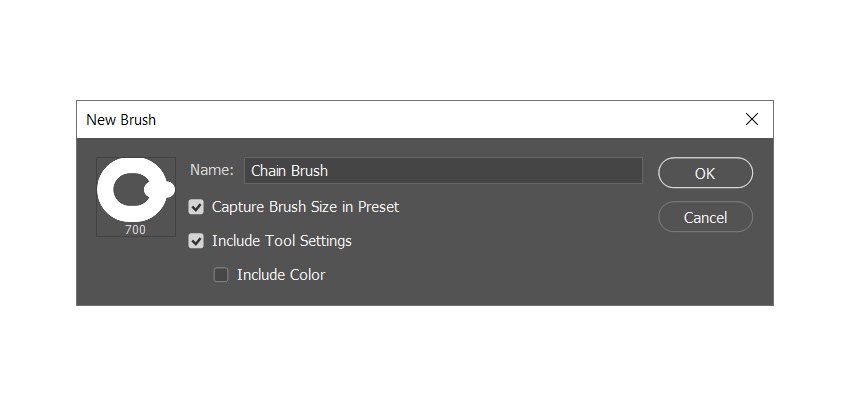
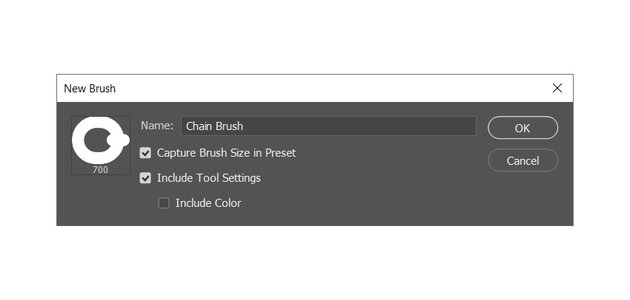
Step 7
To define this brush with new settings as a new brush, click on the Create New Brush icon in the bottom-right corner of the Brush Settings panel, and name it Chain Brush.
3. How to Apply a Chain Photoshop Brush to a Photo
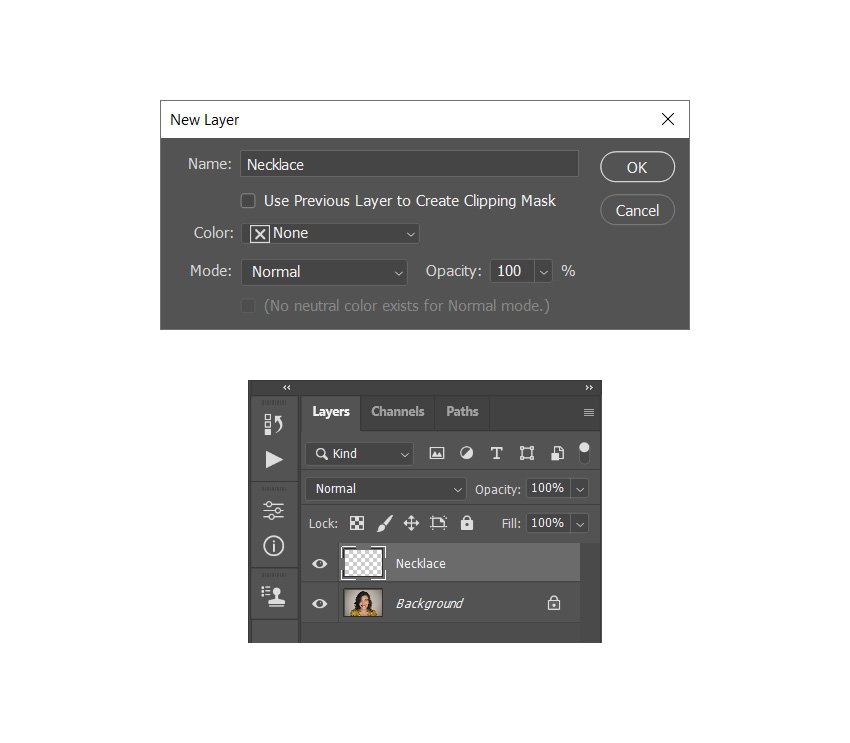
Step 1
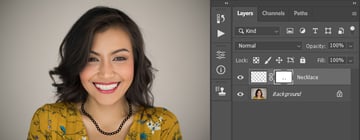
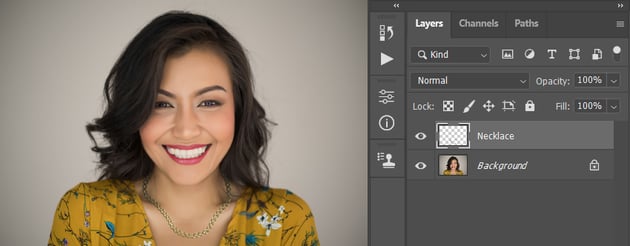
In this section, we are going to apply our chain brush to a photo to create a necklace. Go to File > Open, choose the photo from the link, and click Open. Then, go to Layer > New > Layer to create a new layer, and name it Necklace.


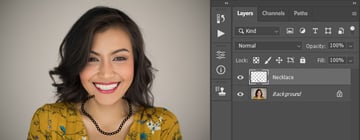
Step 2
Now set the foreground color to #000000, choose the Brush Tool (B), select the Chain Brush brush, and set the Brush Size to 90 px. Brush over your photo to draw a necklace as shown below:


Step 3
Go to Layer > Layer Mask > Reveal All to add a layer mask that reveals the whole layer. Then, set the foreground color to #000000, choose the Brush Tool (B), pick a hard brush, and brush over the necklace parts that should be behind the neck.


Step 4
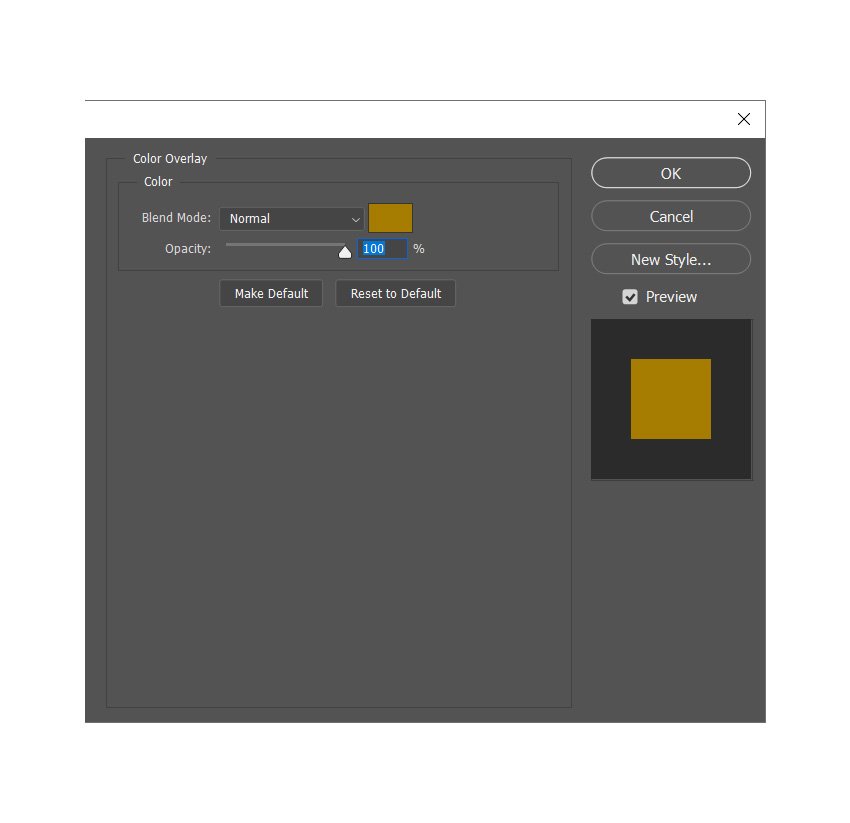
Right-click on this layer and choose Blending Options. Select and check the Color Overlay effect and use the settings below:


Step 5
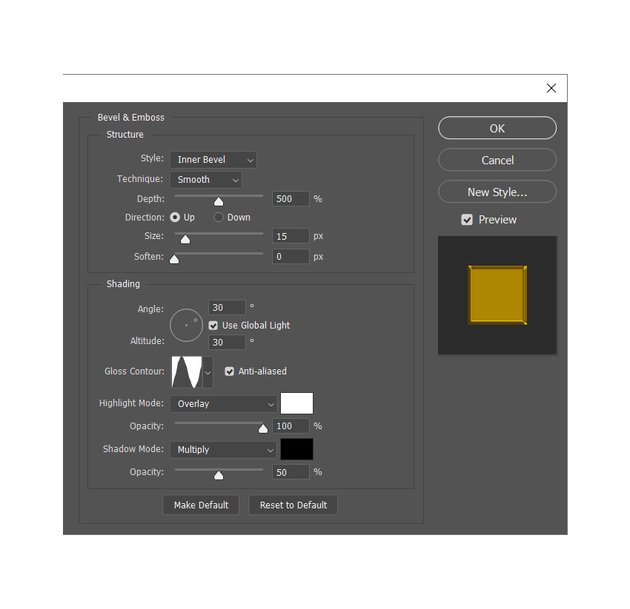
Right-click on this layer and choose Blending Options again. Then, select and check the Bevel & Emboss effect and use the settings below:


Step 6
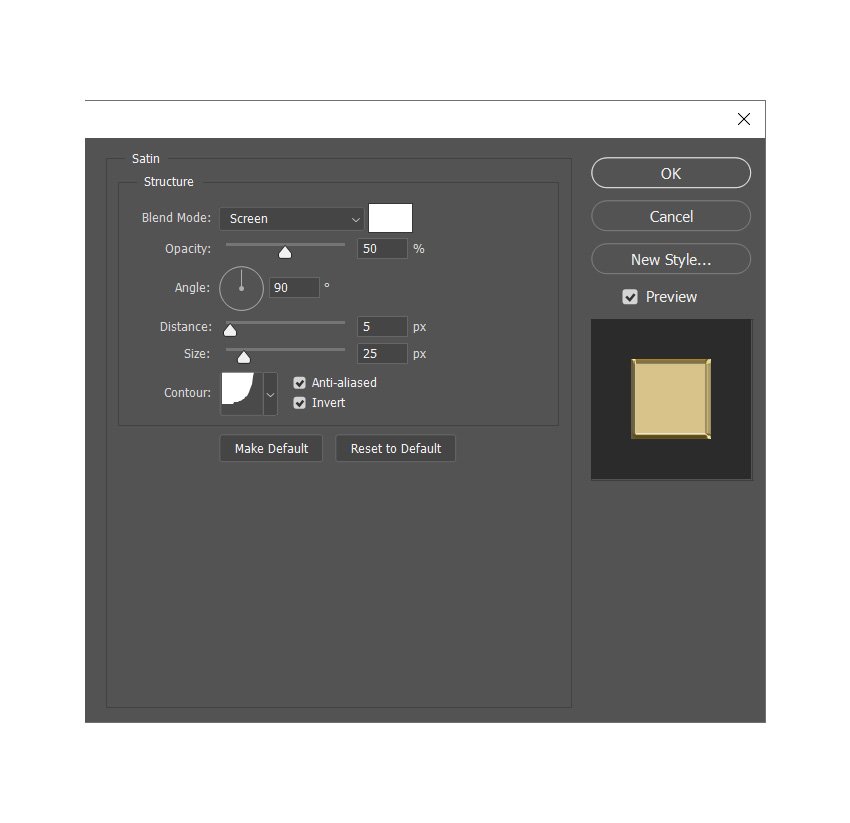
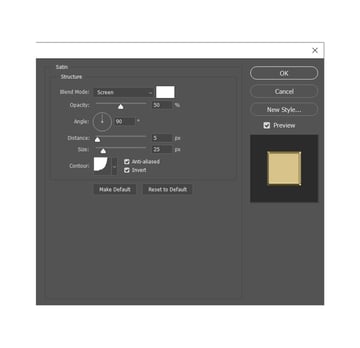
Right-click on this layer and choose Blending Options once again. Then, select and check the Satin effect and use the settings below:

Step 7
Right-click on this layer and choose Rasterize Layer Style. Then, choose the Burn Tool (O), set the Exposure to 100%, switch the Range between Highlights and Midtones, and brush over the necklace to darken it as shown below:


You Made It!
Congratulations, you’ve succeeded! You’ve now learned how to make a chain brush in Photoshop and how to make a chain in Photoshop. Here is the final result of creating and applying a chain brush Photoshop asset to a portrait:


5 Cool Photoshop Actions
Want to see some cool Photoshop actions? Check out this list of actions from Envato Elements. Enjoy!
Oil Paint Brushes (ABR)


This brush set includes 32 high-quality and resolution oil paint brushes. You can use them to create amazing oil paint art and oil painting effects!
Stipple Brush Set for Photoshop and Illustrator (ABR, ATN, PAT)

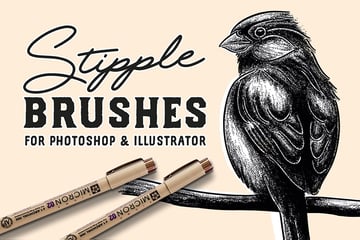
Here you can find 62 stipple brushes included in this set, 32 for Photoshop and 30 for Illustrator. You can create hundreds of tiny dots with just a single brush stroke!
Polygonal Shapes Photoshop Brushes (ABR, PNG)
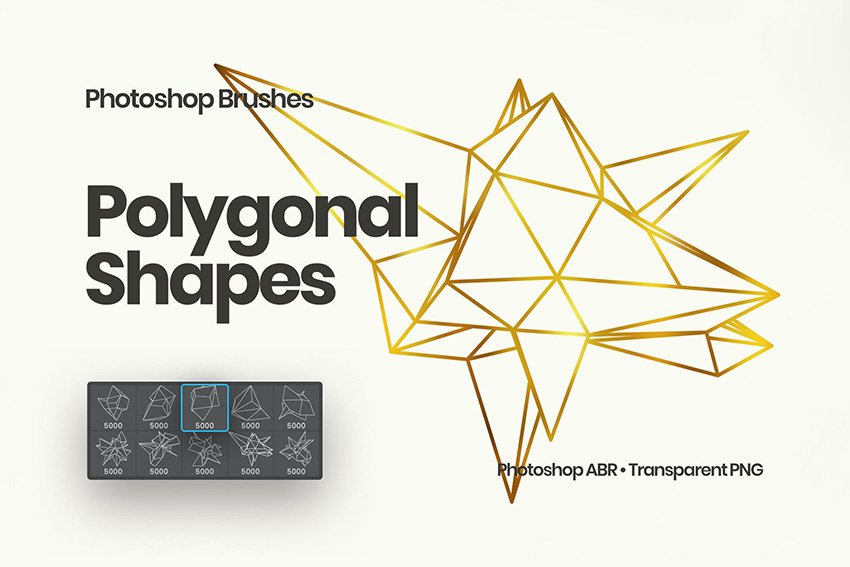
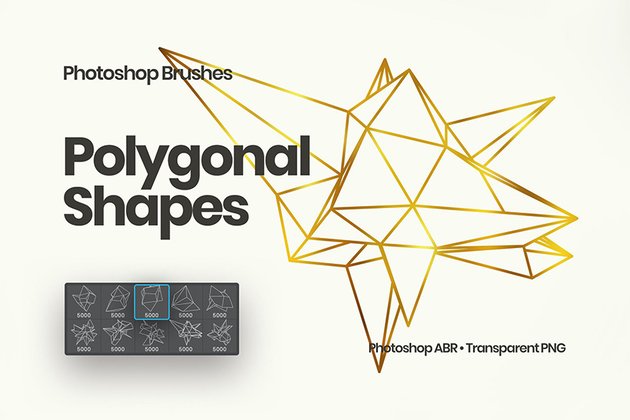
Add futuristic and techno styles to your designs with this set of brushes. There are also ten transparent PNG files included that you can use as textures!
Creative Masking Kit Brushes (ABR, PSD, PDF)

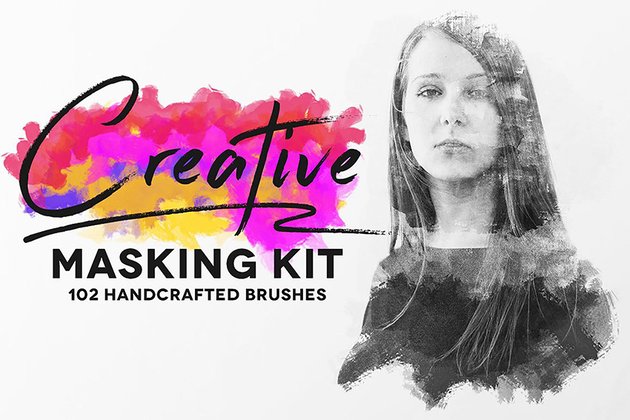

Create masks, colorful elements, or backgrounds for your photos and text layers with this set of brushes. There are even 102 handcrafted Photoshop brushes included!
Northern Lights Brushes (ABR)

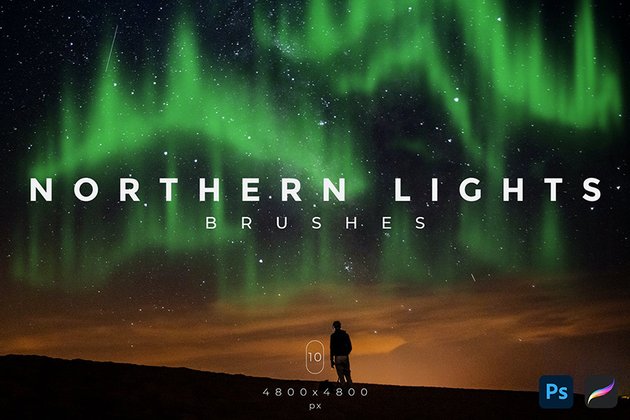

With this set of ten northern lights brushes, you can create aurora effects in just a few clicks. Just make sure to use Screen or Color Dodge blending modes for the layer that you brush onto!
Did you like this chain brush Photoshop tutorial? Then you may also like: