Consider the following scenario: you have a WordPress blog with hundreds of posts. On your blog archive page, six posts appear at a time. Of course, there’s pagination for moving between older and newer posts. But what if you want to give users the option to choose the number of posts they want to display per page?
In this new tutorial, we’ll learn how to achieve this functionality. For this demonstration, I’ll work on a local installation with a child theme of Twenty Twenty-One (v1.6 at the time of this writing). However, you can easily incorporate the code that I’ll provide here into your custom themes.
Here’s a quick video that demonstrates the expected functionality:
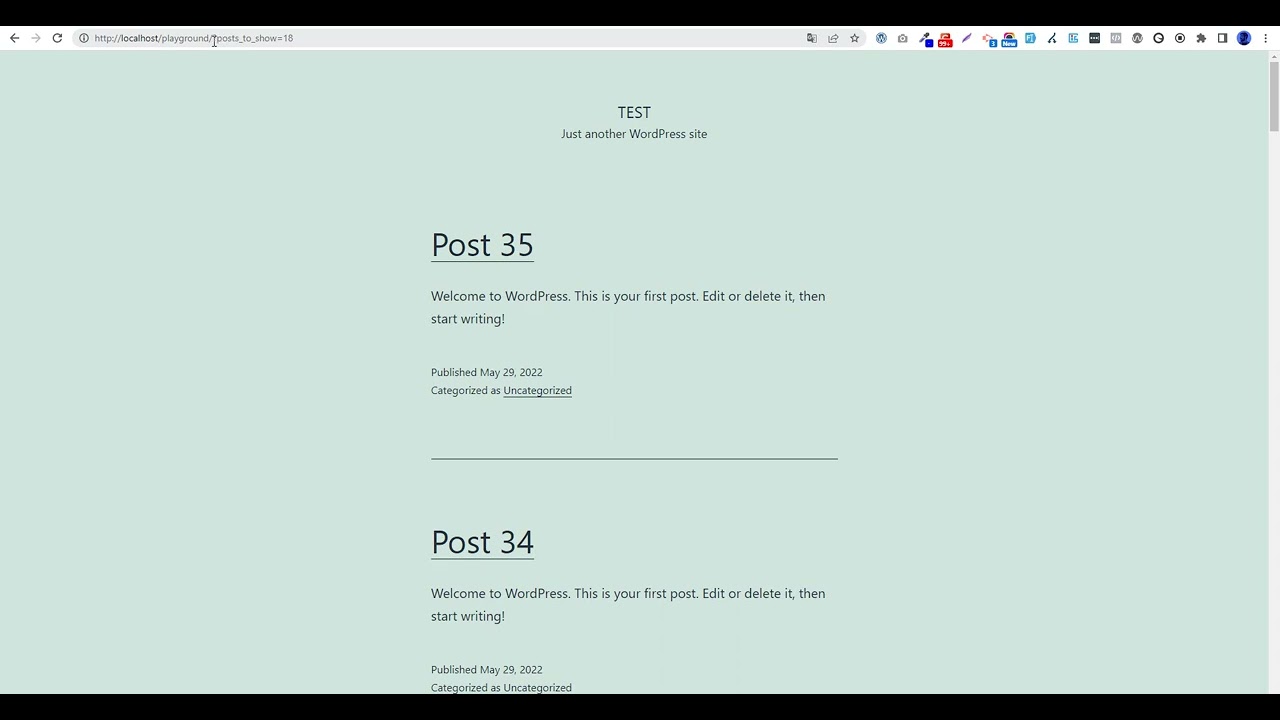
Pay attention to how the URL gets an extra parameter when the selected option changes.
Does this sound like a good exercise? Let’s dive in then!
This tutorial assumes that you’re familiar, to some degree, with developing WordPress themes.
1. Configure the Number of Posts Displayed Per Page
By default, all WordPress archive pages display ten posts per page. This is something you might want to configure based on your layouts. For example, if your design is based on a three-column layout, you’ll probably want to show nine posts per page.
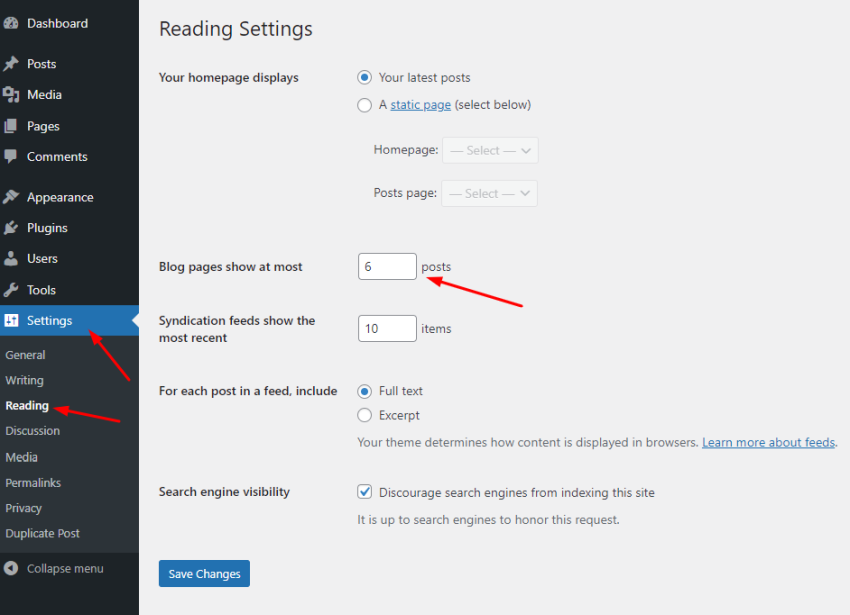
To accomplish this, navigate to the Reading sub-menu of the Settings menu and change the value of the Blog pages show at most option. In my case, I’ll change this to six.

2. Create Some Posts
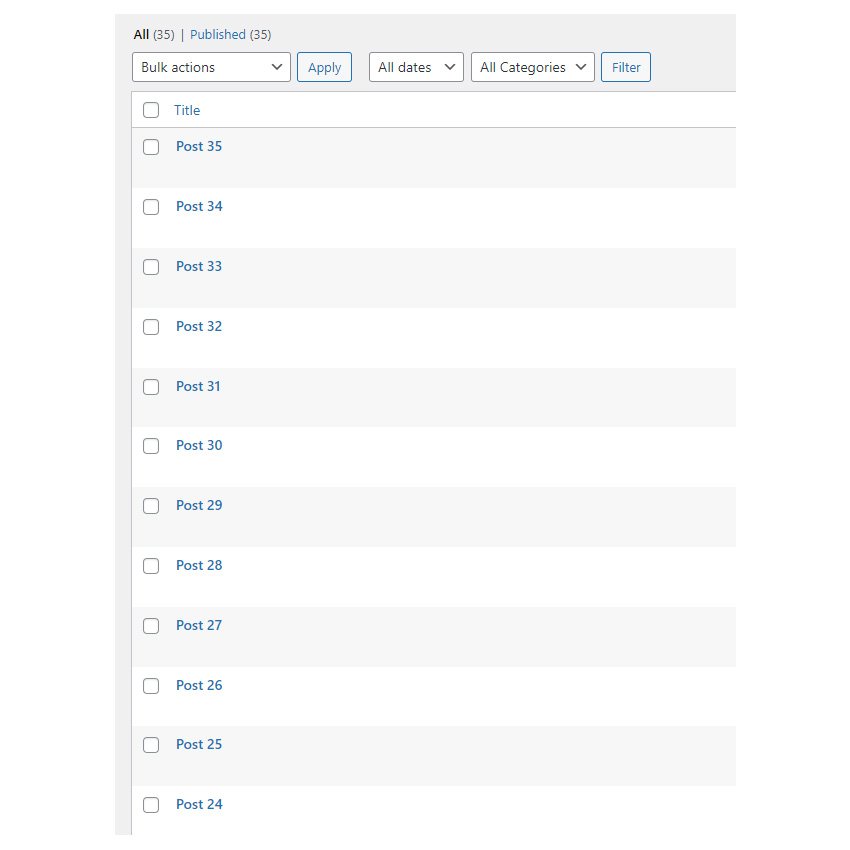
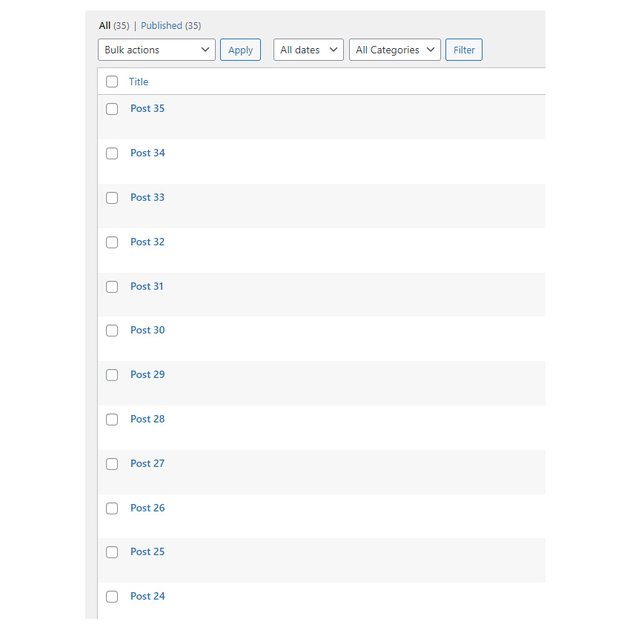
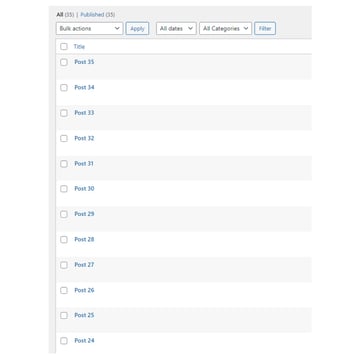
To test this we’ll need some content. In my case, I’ve created 35 posts.
3. Add the Required PHP and JavaScript to Your Theme
As I mentioned earlier, for this example I’ll set up a local environment and work with a child theme of the Twenty Twenty-One theme. I’ll name my local website playground. I assume that you’re familiar with how to build child themes, so I’ll skip those steps and only discuss the parts responsible for building the target functionality.
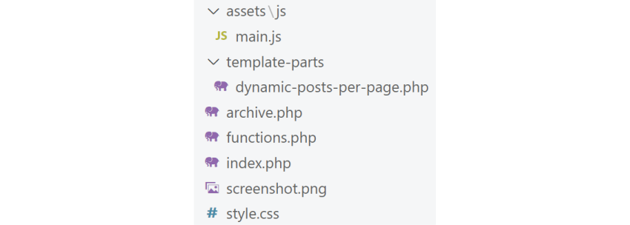
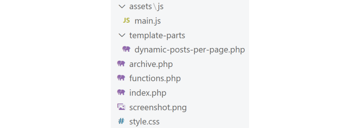
You can find all the files of the child theme in this GitHub repository in case you want to install it and follow along with it as your active theme.
Here’s its theme structure:

Create the Dropdown
Let’s first start from the front-end and build the dropdown that will let users decide how many posts will appear per page.


Here are the steps that we’ll follow:
- Grab the default posts per page value (6) and generate some multiples of this value (12, 18, 24). Of course, here, you can pass values independent from the default
posts_per_pageoption. - Store all these generated values within the
$posts_to_showarray. - Create a
selectelement with options that will come from the array values. - The value of each option will be the current URL (the value of
$_SERVER['REQUEST_URI']) with the additionalposts_to_showparameter appended to it. To achieve this, we’ll use theadd_query_arg()function. - Add the
selectedattribute to the appropriate option based on the value of theposts_to_showparameter.
Here’s the required PHP code:
<?php
$default_posts_per_page = (int) get_option( 'posts_per_page' );
$posts_to_show          = array( $default_posts_per_page, $default_posts_per_page * 2, $default_posts_per_page * 3, $default_posts_per_page * 4 );
?>

<select class="posts-per-page">
  <?php
  foreach ( $posts_to_show as $number ) :
    $selected = isset( $_GET['posts_to_show'] ) && (int) $_GET['posts_to_show'] === $number ? 'selected' : '';
	?>
    <option value="<?php echo esc_url( add_query_arg( 'posts_to_show', $number ) ); ?>" <?php echo $selected; ?>>
      <?php echo $number; ?>
    </option>
  <?php endforeach; ?>
</select>
And the generated markup:


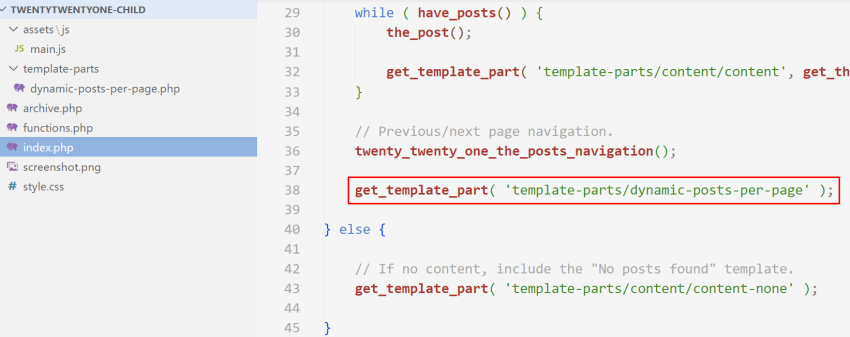
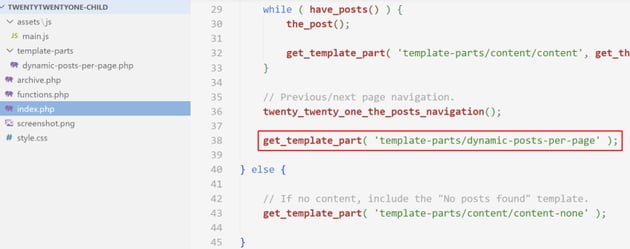
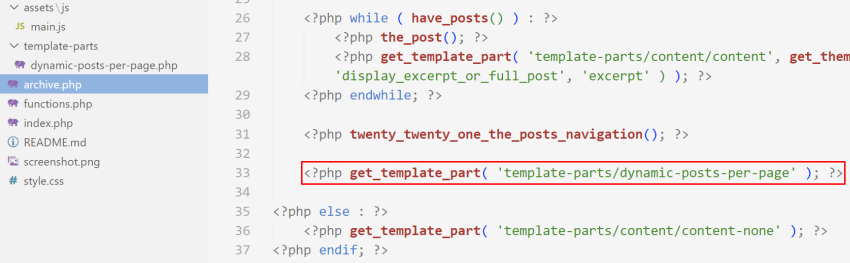
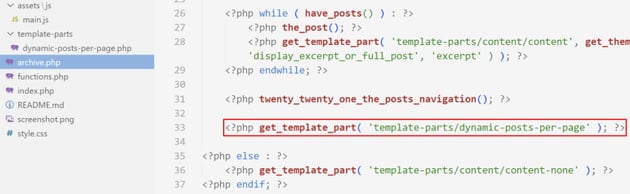
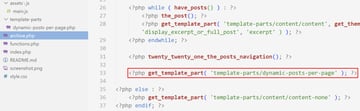
Depending on your theme structure, this code can exist in different places. In my case, I’ll place it in the dynamic-posts-per-page.php file. Next, I’ll include this file in the areas where I need this functionality. As I need it in the home, blog, and archive pages, I’ll override the parent theme index.php and archive.php files as follows:

It’s worth noting that instead of having some predefined values from which users can choose the posts per page, an alternative implementation will be to give them the freedom to type their desired number via an input element.
In any case, a good rule of thumb is to sanitize the input data (and generally what is outputted) especially when we don’t have full control of it, to prevent common attacks like XSS (Cross-site scripting). Thankfully, WordPress comes with various built-in functions for this target, yet we can always use other built-in PHP functions as well. For example, to give you an idea, in the code above I used the esc_url() function to escape the output URL.
Alter the Main Query
To alter the default posts_per_page value and show the correct posts based on the users’ selection, we’ll take advantage of the pre_get_posts hook.
Here’s what we’ll do:
- Use two conditionals to ensure that this modification will happen only for the main query and on the frontend pages. From here, we can go a step further if we want and limit this functionality only to certain post types, the blog page, etc. Here are the conditional tags that WordPress provides and can help you to be more specific.
- Check to see if the
posts_to_showparameter has been defined in the URL. Remember that if this is defined, this means that the user has made a selection. In such a case, we’ll use that parameter value to set the desired posts per page. In any other case, theposts_per_pageoption value will determine the number of posts that should appear in each page.
Here’s the required PHP code that we should add to the functions.php file:
function filter_posts( $query ) {
  if ( $query->is_main_query() && ! is_admin() ) :
    if ( isset( $_GET['posts_to_show'] ) ) :
      $posts_to_show = $_GET['posts_to_show'];
    else :
      $posts_to_show = get_option( 'posts_per_page' );
    endif;
    $query->set( 'posts_per_page', $posts_to_show );
  endif;
}
add_action( 'pre_get_posts', 'filter_posts' );
Reload the Page
Last but not least, we’ll force the page to reload each time a user changes the selected option.
Here’s the JavaScript code we should add to our theme:
forcePageReloadOnSelectChange();

function forcePageReloadOnSelectChange() {
  const selects = document.querySelectorAll("select.posts-per-page");
  for (const select of selects) {
    select.addEventListener("change", function () {
      location.href = this.value;
    });
  }
}
In my case, I’ll add this piece to the main.js file located in the assets folder.
Conclusion
That’s all, folks! Today we learned how to give users the option to choose the posts they want to show per page. This can be a great addition to your WordPress sites, especially if your archive pages contain a lot of posts and users have to do a lot of clicking until they see them all.
I hope you enjoyed this little WordPress exercise as much as I did and that it helped you learn one or two things about WordPress theme development.
As always, thanks a lot for reading!