Free WordPress Courses for Beginners
Follow along with these two epic free courses for beginners and learn the basics of WordPress. With these guides you can go from knowing nothing whatsoever, to being able to create a WordPress website and even begin editing and coding your own themes. Subscribe to the Tuts+ Youtube channel for more!
Why Would You Want to Learn WordPress?
WordPress is one of the most popular open-source CMS frameworks—you can use it to build websites that may range from a simple blog to a full-fledged eCommerce website. It’s really easy to use and can be set up on your server within minutes. The figures suggest that WordPress powers almost 38% to 40% of all websites, and more are being added every day.
For website admins, WordPress allows you to create websites very easily and quickly. Because of its popularity, you’ll find thousands of ready-made themes and plugins available at your disposal. On the top of that, you can use tools like page builders to completely customize the design of your website from the admin dashboard itself.
On the other hand developers can completely customize WordPress however they like. If you learn how to create custom themes and plugins in WordPress, there’s hardly anything which you can’t achieve.
Today, we’ll explore WordPress from both perspectives: site admin and developer.
Learn How to Use WordPress
In this section, we’ll take a look at the WordPress dashboard.
Before we go ahead, I assume that you’ve working WordPress installation and access to the admin dashboard. If you haven’t installed WordPress yet or you don’t know how to do it, we have an article which explains the installation process in detail. Once you’ve installed it, we’re ready to move to the next section.
Dashboard Overview
Once you login to the WordPress admin, it displays the dashboard as shown in the following screenshot.
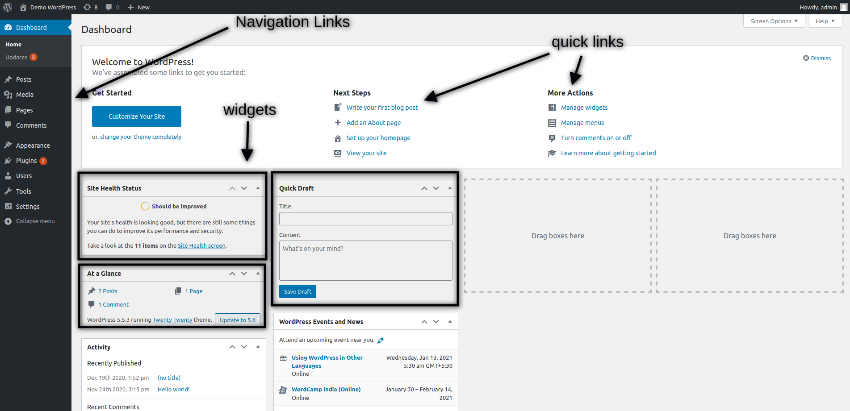
On the left hand side, it displays the main navigation links that you could use to navigate to the different sections of the website. On the right hand side, it displays a few quick links and a few widgets like Activity, At a Glance, Site Health Status and more. You could use the drag-and-drop feature to reorder widgets, and you could also display more widgets on the dashboard as per the requirements.
Now, we’ll briefly discuss the important sections on the dashboard.
Posts
It’s difficult to imagine a WordPress site without posts. In fact, posts are the heart of any WordPress website. Mainly they allow you to manage categories and posts on your website. You can add new posts, as well as edit and delete existing posts in this section. This is the section you will deal with most of the time.
Media
When you create content on your website, you may need to embed different types of media files along with the text content, it could be images, videos, pdf files and alike. The media section is a central place where you could manage all media files of your website. Once you upload files in this section, it would be available to you when you create posts or pages.
Pages
In this section, you can manage the static pages of your website. A page in WordPress is a different type of content which you want to use when you create a content which is purely static and doesn’t need publishing features.
Comments
The comments section allows you to manage post comments that are made by users. You could perform different operations like Approve, Unapprove, Mark as Spam and Move to trash.
Appearance
The appearance section allows you to configure and control theme-related aspects of your website. In fact, it provides a whole lot of options that you can use to change the look and feel of your website. Importantly, it allows you to install new themes and switch between different themes.
Plugins
The plugin section allows you to install and configure third-party plugins in your website. The WordPress marketplace provides thousands of the plugins, so you can find and install plugins for any feature.
Users
The users section allows you to manage users in your website. You could create different types of users like Subscriber, Contributor, Author, Editor and Admin.
Settings
In this section, you can configure the global settings of your website. It contains various settings like date format in posts, thumbnail image size, or number of posts to display.
How to Create Your First Post
In this section, we’ll see how to create posts in WordPress.
Head over to the back-end and go to the Posts > Add New section. It should open the following UI.
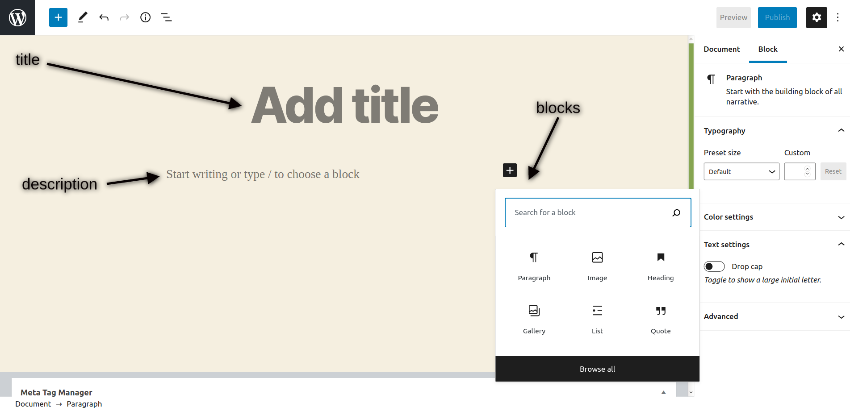
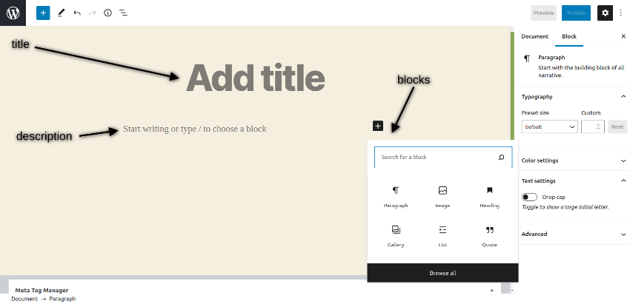
It provides a nice and intuitive UI which makes it easy for you to create and publish posts effortlessly. You can add title, description and configure different settings of the post. In the description section, you could insert different blocks like paragraph, quote, image, heading etc. to add different types of content. It allows you to format your posts according to the different types of blocks.
Apart from this, you could assign a post to the specific category, add featured image and do a couple of more settings under the Document tab on the right hand side.
Once you’ve entered the content, click on the Publish button on the top right to publish the post! Head over to the front-end, go to that post. In my case, it looks like this!
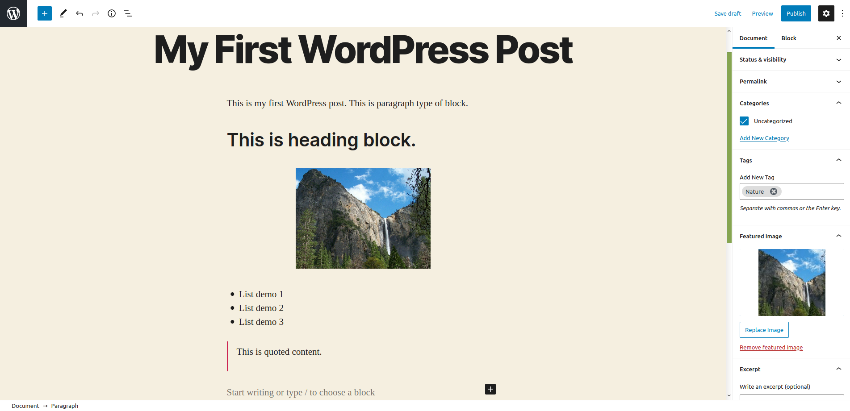
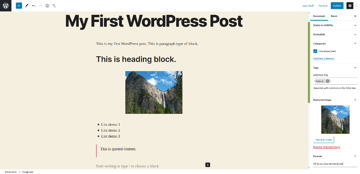
So that’s how you could create blog posts from the back-end. Similarly, you could add static pages as well under the Pages section.
How to Use the Media Manager
In this section, we’ll see how you could manage different types of media files in WordPress.
Head over to your WordPress dashboard and navigate to Media > Add New. It will display the following screen.


Click on the Select Files button, which allows you to choose files from your computer that you want to upload. Select the desired files, and they’ll be uploaded right away, as shown in the following screenshot.
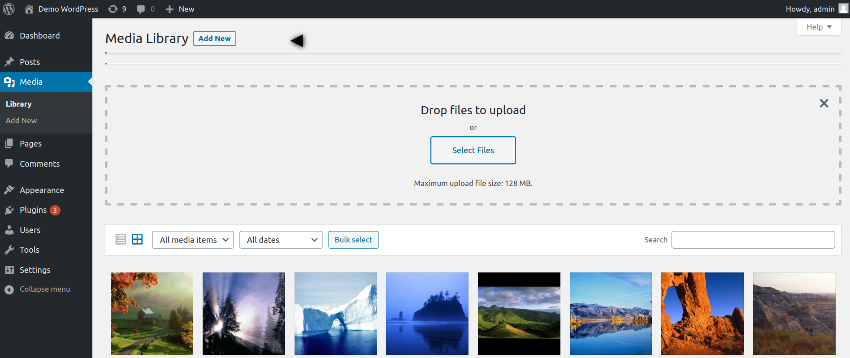
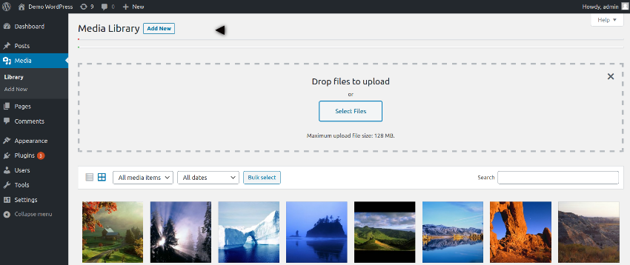
Navigate to the Media > Library section, and it should display the list of files that is already available. If you want to view or modify any file details, click on the file which you’ve just uploaded to see the file details.
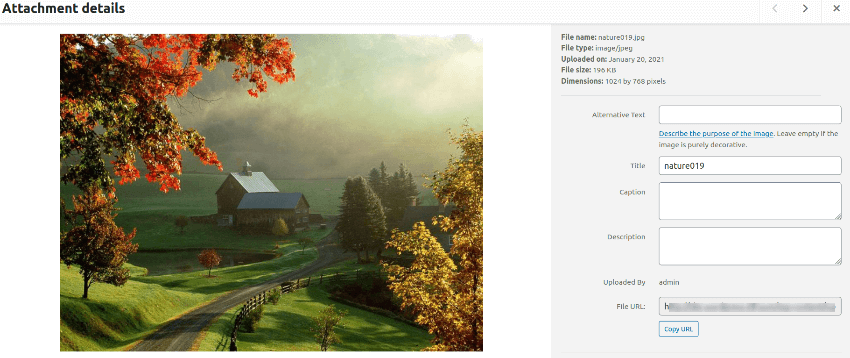
The above UI allows you to edit the image, add a few image details like caption, description etc.
In this way, you could manage files with the Media manager.
WordPress Themes
In this section, we’ll discuss WordPress themes. A WordPress theme is responsible for the look and feel of your website. By default, WordPress provides a couple of basic themes to start with, but you could always download and install third-party themes of your choice. Of course, you could build your custom theme as well if you want to customize the front-end as per your requirements.
How to Activate Themes
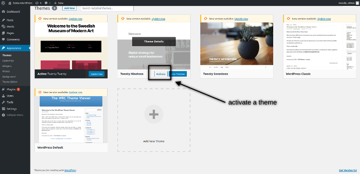
Go to the Appearance > Themes section, and it should list out the built-in themes as shown in the following screenshot.
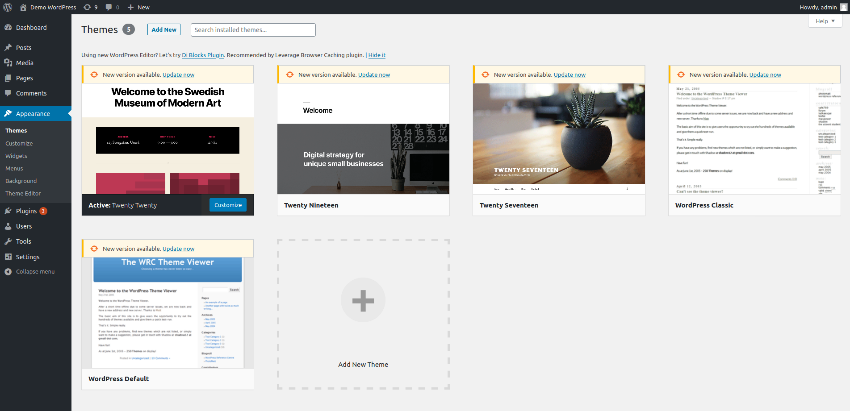
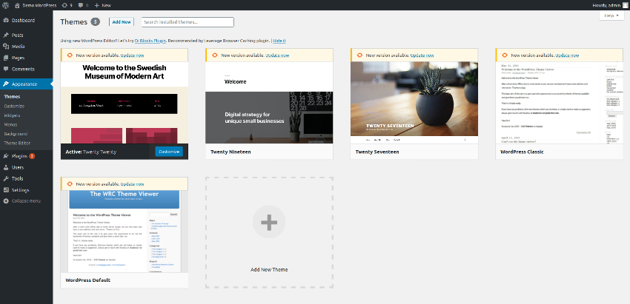
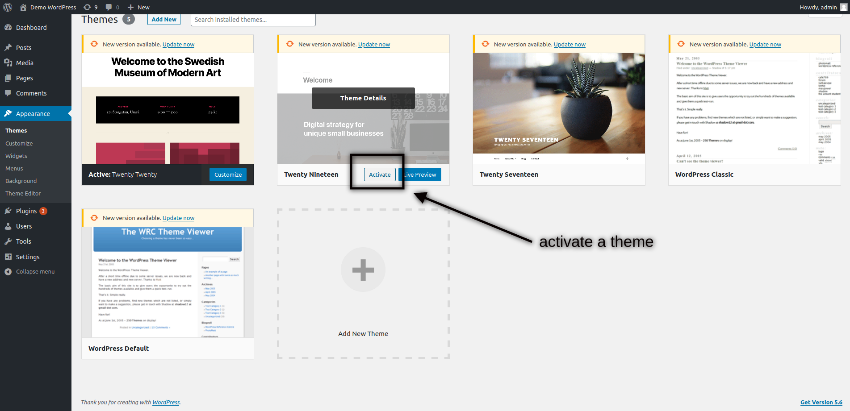
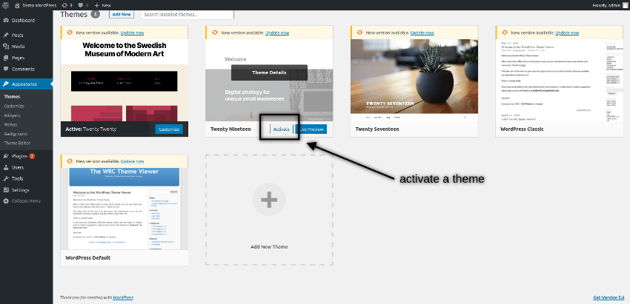
The default theme in WordPress is Twenty Twenty, and you could see it as an active theme. If you want to activate any other theme, you just need to click on the Activate button as shown in the following screenshot.
How to Customize the Default Theme Settings
For each theme, you could customize a few settings under the theme configuration section. Let’s quickly go through how to do it. Click on the Customize button for the active theme as shown in the following screenshot.
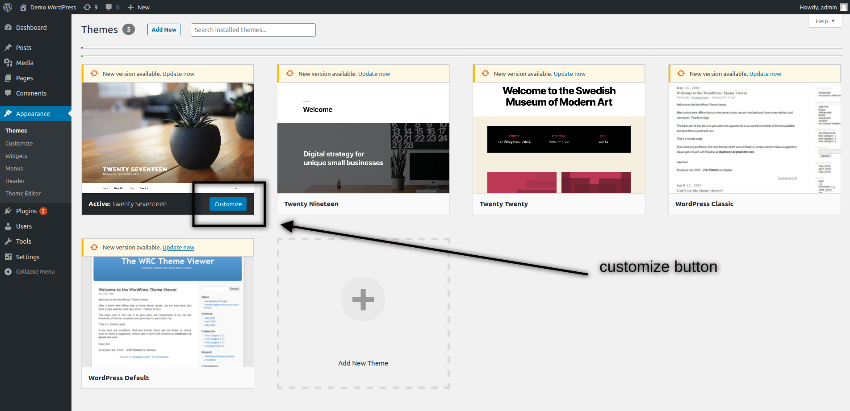
Once you click on the customize button, it takes you to the following page.
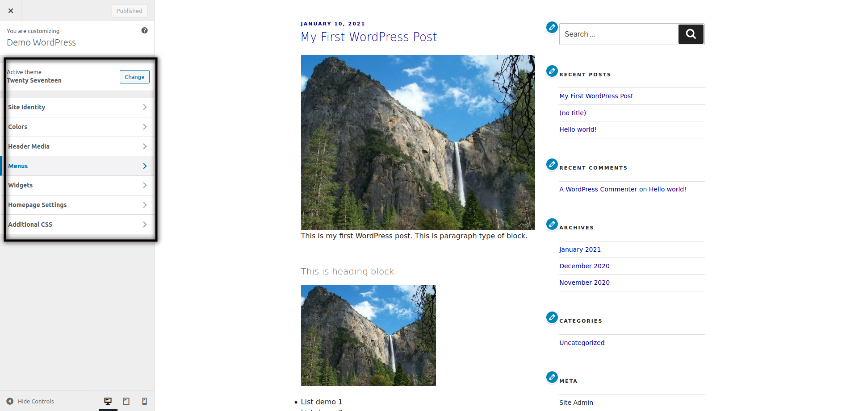
Here you can configure different settings like Site identity, Colors, Additional CSS, Menus and more. These settings are theme specific settings, so it’s up to the theme provider how many settings they provide in the configuration section. If you’re using an advanced theme, you would see a whole lot of configuration options in this section.
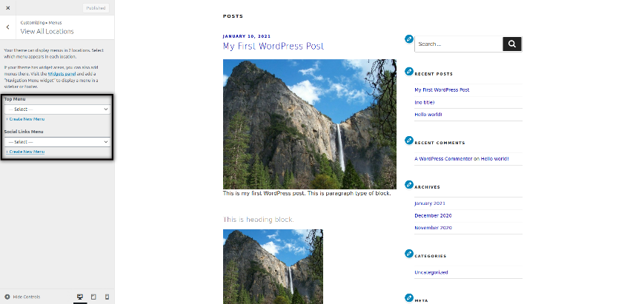
Specifically, Menus and Widgets settings are important ones. Menus settings allow you to display menus at different locations supported by the active theme. In the following screenshot, you could see that the active theme supports two locations: Top Menu and Social Links Menu.
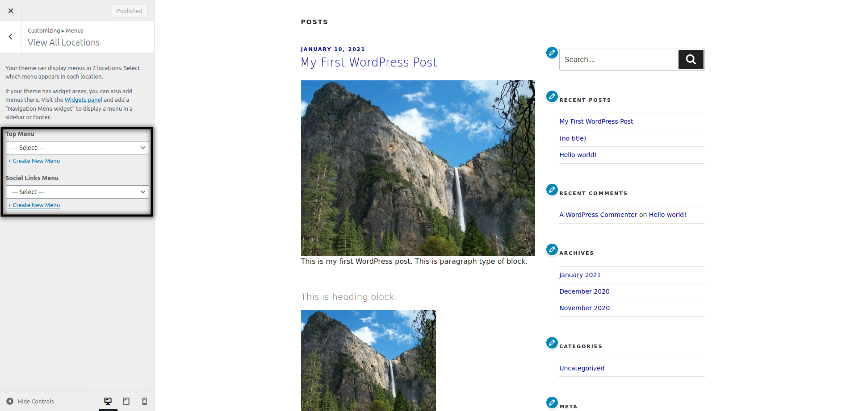
On the other hand, widgets are blocks that are displayed at different positions of your web page like left sidebar, right sidebar, footer-1, footer-2 etc. Widgets are really useful in a way that they add content and features to your website. For example, you could have different widgets like recent posts, most viewed posts, image galleries, recent comments and many more.
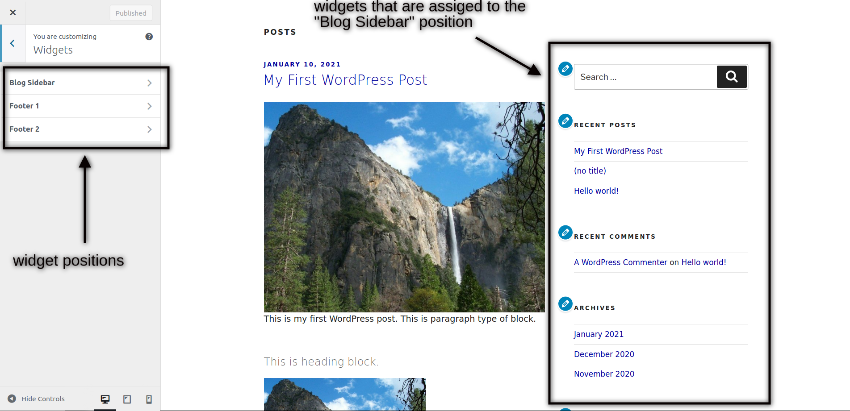
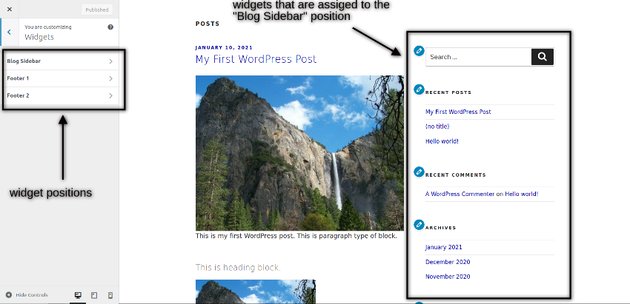
It’s up to template to provide different widget positions that you could use to display content. For example, the Twenty Seventeen theme provides three widget positions as shown in the following screenshot. You could also see the widgets preview on the right hand side.
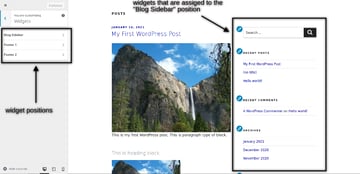
If you want to add a new widget, you just need to click on the widget position. Once you click on that, you could use the Add a Widget button to add widgets in that position. When you click on the Add a Widget button, it allows you to choose from the different types of widgets as shown in the following screenshot.
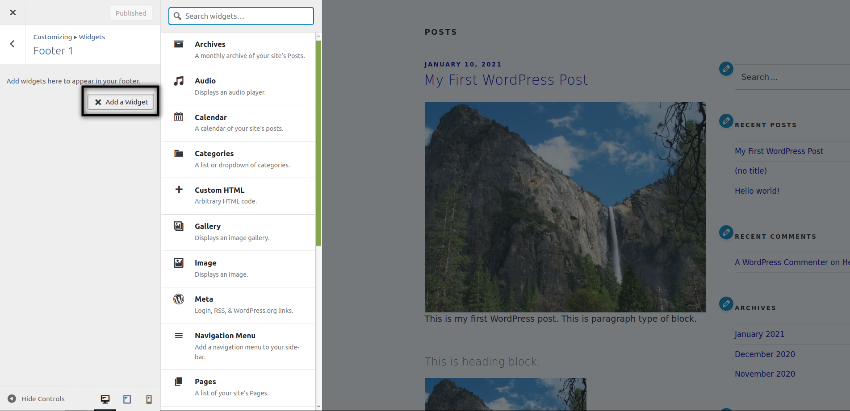
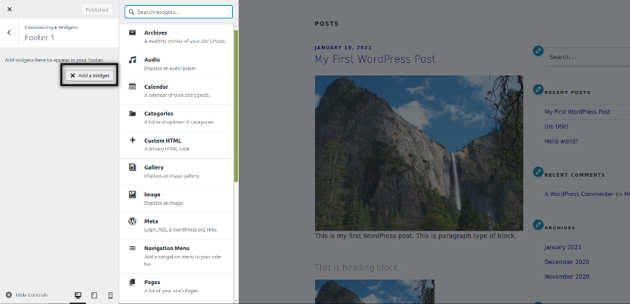
As you could see, you could choose from the different types of widgets like Archives, Audio, Custom HTML and many more. Feel free to play with it and observe the changes in the front-end.
How to Install Themes
Although, built-in WordPress themes are a great starting point and good to experiment with, if you want to build a professional website, you would like to use a third-party theme or build your own custom theme. In this section, we’ll discuss how you can install third-party themes.
When you purchase or download a theme, you would get a .zip theme file which is used for theme installation. Go to the Appearance > Themes section, and click on the Add New button. Next, click on the Upload Theme button which opens the following popup.
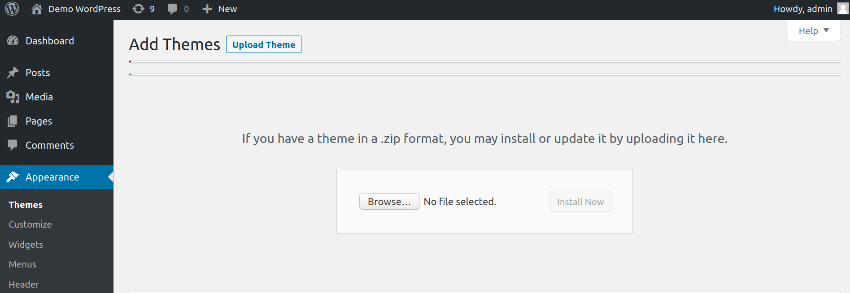
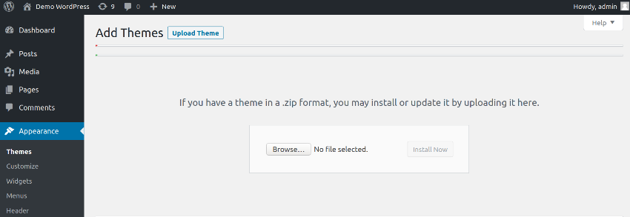
Upload the .zip file by clicking on the Browse button, and click on the Install Now button to install it. And that’s it, you’ve installed a WordPress theme successfully!
So that was the quick introduction to WordPress themes.
WordPress Plugins
At its heart, WordPress is a CMS and blogging platform, and thus, the core WordPress features revolve around it. Now, when you want to extend the functionality of WordPress by adding new features, you’re looking for WordPress plugins.
A WordPress Plugin is a third-party bundle which you could install in your site and it it would enhance the functionality of WordPress. There are thousands of free plugins available on the WordPress marketplace, and you could also purchase premium plugins for advanced features.
For example, you could install an e-commerce plugin which would turn your site into an online shopping cart. On the other hand, you could use a combination of plugins to turn your site into an online portal. So you just need to search right plugins as per your requirements, download and install it on your website.
How to Install WordPress Plugins
Installing WordPress plugins is pretty similar to themes, and we’ve already discussed it earlier.
To install a third-party plugin, go to the Plugins > Add New section. Next, click on the Upload Plugin button which opens the popup which allows you to upload the plugin .zip file. Finally, click on the Install Now button to install it. And with that, you’ve installed a WordPress plugin successfully!
How to Learn WordPress Development
In this section, we’ll discuss WordPress from the developers point of view. If you’re interested in WordPress development and want to be a WordPress developer, I would point out a couple of things you could start with.
Technologies WordPress is Built On
Primarily, WordPress is built on PHP, one of the most popular server side scripting languages used for web development, and MySQL which is an open-source RDBMS. Along with that, it also needs a web server software like Apache, Nginx or IIS.
If you don’t know PHP and MySQL, you must learn it before you dive into WordPress. On the other hand, if you already know it, and you’ve already developed websites based on that, it should be easy for you to start learning WordPress.
WordPress Development: What Should You Learn?
When it comes to custom development in WordPress, there are mainly two areas that you would like to focus and be expert in.
- custom plugin development
- custom theme development
In the process of learning custom theme and plugin development, you would get aware of the inner workings of WordPress, APIs and much more.
Custom Plugin Development
As we discussed earlier, WordPress plugins enhance WordPress functionality by adding new features on the top of it. In fact, it’s difficult to imagine a real world WordPress website which runs without any third-party plugins. In one way or another, WordPress website needs plugins, and thus, if you learn custom plugin development, you can add custom features on the top of WordPress.
Custom plugin development falls more on the programming side, and it requires a solid understanding of PHP and MySQL concepts in the first place. If you’ve a prior programming experience, it should be really easy for you to get on board.
Custom Theme Development
If plugin development is more of a programming thing, custom theme development falls on the designing side. There are thousands of third-party themes available, both free and premium, and you just need to to download and activate it to completely change the look and feel of your website.
To become a professional theme developer, you need to learn tools like Adobe Photoshop or Illustrator which allows you to create a website design. Then, you need to convert the design into an HTML. And finally, you would learn the WordPress theme structure, so that you could convert the HTML into the WordPress theme.