In the past, we’ve discussed different customizations of the WordPress Contact Form 7 (CF7) plugin. Today, we’ll learn how to build custom checkboxes and radio buttons with this plugin.
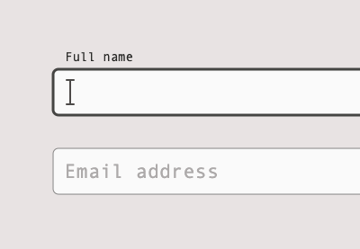
Sound like a good exercise? Here are two animated images that show how these form elements will look after our custom styling:
And here is a static HTML demo of what the form components will look like:
This tutorial expects that you are somewhat familiar with WordPress and Contact Form 7.
1. Create the Contact Form
Assuming that we’ve installed (I’m using v5.5.4 at the time of this writing) and activated CF7, the next step is to create the necessary shortcodes from the WordPress dashboard.
First, we’ll add a new group of checkboxes:
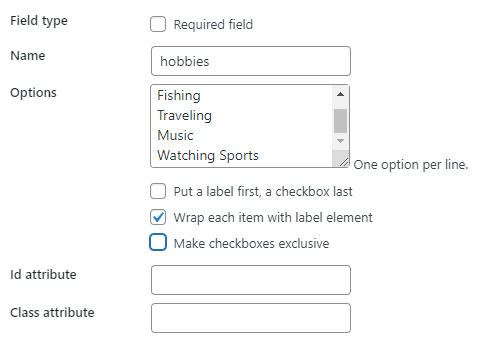
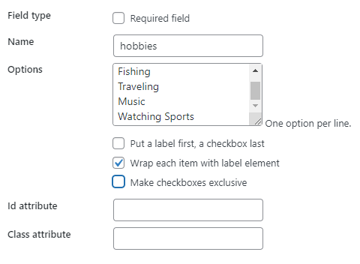
This will generate the following shortcode:
[checkbox hobbies use_label_element "Reading" "Fishing" "Traveling" "Music" "Watching Sports"]
Secondly, we’ll add a new group of radio buttons:
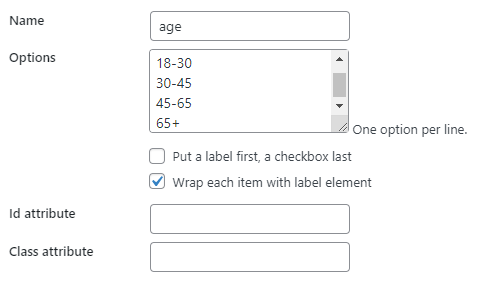
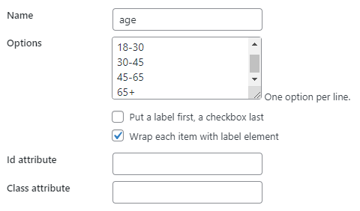
This will generate the following shortcode:
[radio age use_label_element default:1 "Under 18" "18-30" "30-45" "45-65" "65+"]
2. Call the Contact Form
Assuming that we’ve built the form, we’ll incorporate its generated shortcode in the desired part of our project:
[contact-form-7 404 "Not Found"]
Notice the class name that we append to it? We’ll use this to differentiate the forms with custom checkboxes and radio buttons.
Coming up next, let’s use the browser console to examine the markup that Contact Form 7 for WordPress emits for checkboxes and radio buttons:
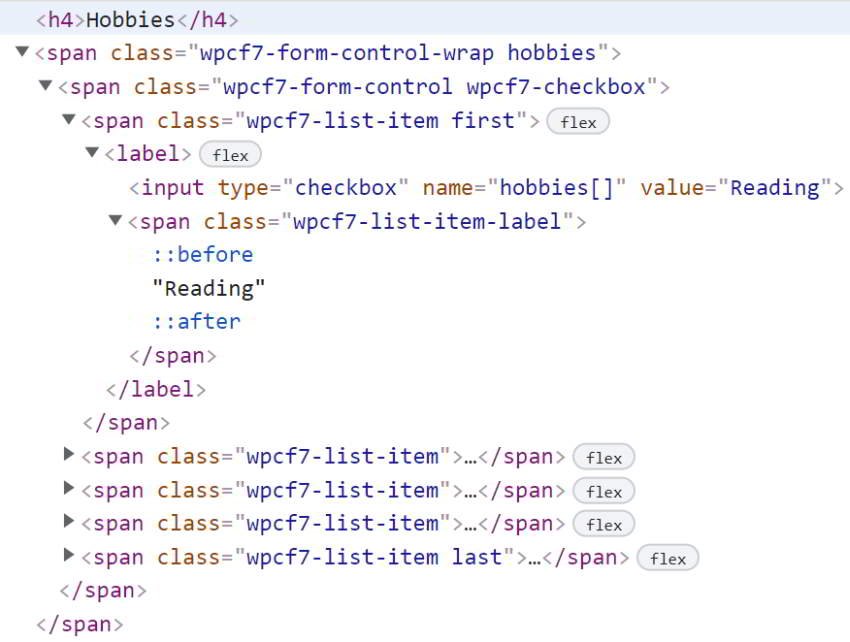
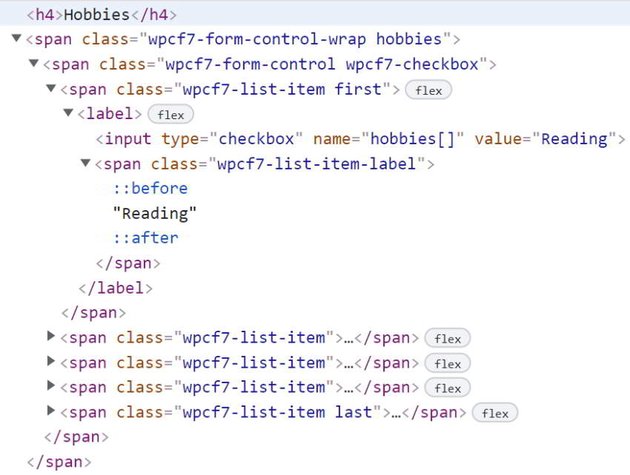
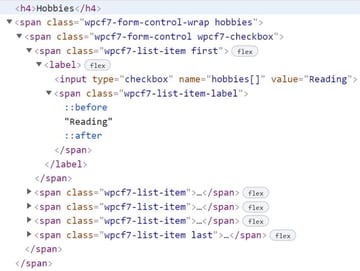
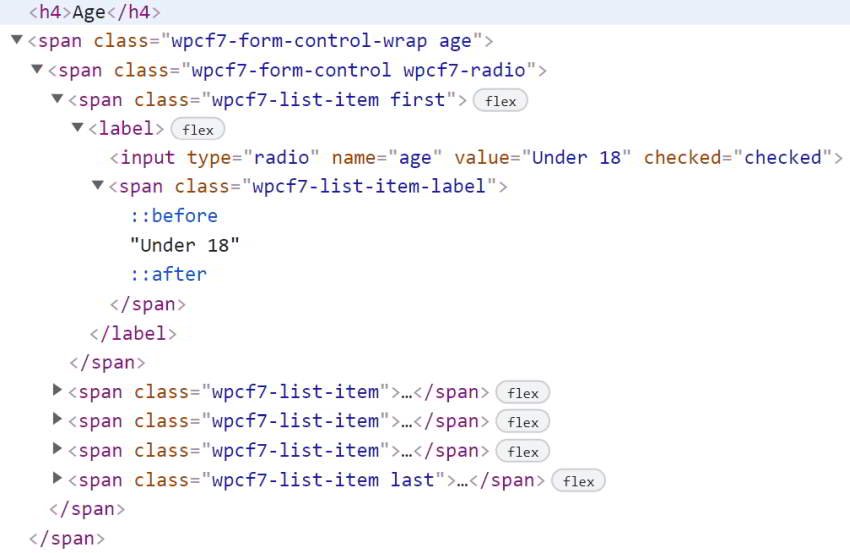
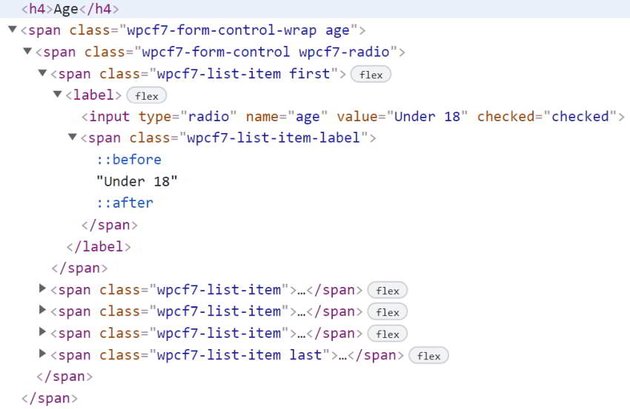
Based on these outputs, we’ll create our own styles. Bear in mind that this markup can change after a CF7 update, thus breaking the associated styles. If this occurs, be sure to check the HTML for changes and modify the styles accordingly.
3. Add the Form CSS Styles
Now that we know the HTML output, let’s add the styles that will make our target form controls look attractive. So, in a CSS file of our project, we’ll place the styles that matter:
.form-with-custom-checkboxes-radios .wpcf7-list-item,
.form-with-custom-checkboxes-radios label {
  display: flex;
}

.form-with-custom-checkboxes-radios .wpcf7-list-item {
  margin: 0;
}

.form-with-custom-checkboxes-radios .wpcf7-list-item:not(:last-child) {
  margin-bottom: 10px;
}

.form-with-custom-checkboxes-radios label {
  cursor: pointer;
}

.form-with-custom-checkboxes-radios [type="radio"],
.form-with-custom-checkboxes-radios [type="checkbox"] {
  position: absolute;
  left: -9999px;
}

.form-with-custom-checkboxes-radios [type="radio"] + .wpcf7-list-item-label,
.form-with-custom-checkboxes-radios [type="checkbox"] + .wpcf7-list-item-label {
  position: relative;
  padding-left: 30px;
  line-height: 20px;
}

.form-with-custom-checkboxes-radios [type="radio"] + .wpcf7-list-item-label::before,
.form-with-custom-checkboxes-radios [type="checkbox"] + .wpcf7-list-item-label::before,
.form-with-custom-checkboxes-radios [type="radio"] + .wpcf7-list-item-label::after,
.form-with-custom-checkboxes-radios [type="checkbox"] + .wpcf7-list-item-label::after {
  content: "";
  position: absolute;
  box-sizing: border-box;
}

.form-with-custom-checkboxes-radios [type="radio"] + .wpcf7-list-item-label::before,
.form-with-custom-checkboxes-radios [type="radio"] + .wpcf7-list-item-label::after {
  border-radius: 50%;
}

.form-with-custom-checkboxes-radios [type="radio"] + .wpcf7-list-item-label::before,
.form-with-custom-checkboxes-radios [type="checkbox"] + .wpcf7-list-item-label::before {
  top: 0;
  left: 0;
  width: 20px;
  height: 20px;
  border: 2px solid black;
}

.form-with-custom-checkboxes-radios [type="radio"] + .wpcf7-list-item-label::after,
.form-with-custom-checkboxes-radios [type="checkbox"] + .wpcf7-list-item-label::after {
  top: 5px;
  left: 5px;
  width: 10px;
  height: 10px;
  background: black;
  transition: all 0.2s;
}

.form-with-custom-checkboxes-radios [type="radio"]:not(:checked) + .wpcf7-list-item-label::after,
.form-with-custom-checkboxes-radios [type="checkbox"]:not(:checked) + .wpcf7-list-item-label::after {
  opacity: 0;
  transform: scale(0.01);
}

.form-with-custom-checkboxes-radios [type="radio"]:checked + .wpcf7-list-item-label::after,
.form-with-custom-checkboxes-radios [type="checkbox"]:checked + .wpcf7-list-item-label::after {
  opacity: 1;
  transform: scale(1);
}

.form-with-custom-checkboxes-radios [type="radio"]:focus + .wpcf7-list-item-label::before,
.form-with-custom-checkboxes-radios [type="checkbox"]:focus + .wpcf7-list-item-label::before {
  box-shadow: 0 0 4px 3px red;
}
Here are the key points to remember:
- We’ll visually hide the default checkboxes and radio buttons.
- We’ll define the
::beforeand::afterpseudo-elements of the.wpcf7-list-item-labelelements. Both pseudo-elements will be squares for checkboxes and circles for radio buttons. By default, the::beforepseudo-element will only be visible. The::afterpseudo-element will appear smoothly as soon as its related form control is checked. Plus, it will have the half-width of the::beforepseudo-element and be centered within it. To accomplish things, we’ll take advantage of the adjacent sibling combinator (+). - Just for a small accessibility enhancement, we’ll add a red box shadow on the focused inputs.
To better demonstrate things, check out the a CodePen demo at the top of the page. It has all the aforementioned styles and isolated markup from our CF7 form. Again, this markup may differ depending on your CF7’s version and settings. This is extracted with the settings discussed above from a website that uses v5.5.4.
Conclusion
That’s it, folks! In this short tutorial, we concluded another CF7 customization. Hopefully, you’ve found it beneficial and will give it a try in your future CF7 forms that require custom checkboxes or radio buttons.
If you want to examine more components built with advanced CSS selectors and the CSS Checkbox Hack Technique, be sure to look at some other tutorials in the library.
CSS Checkbox Hack Tutorials
What other Contact Form 7 for WordPress customizations would you like to see? Leave us a comment on social media. As always, thanks a lot for reading!