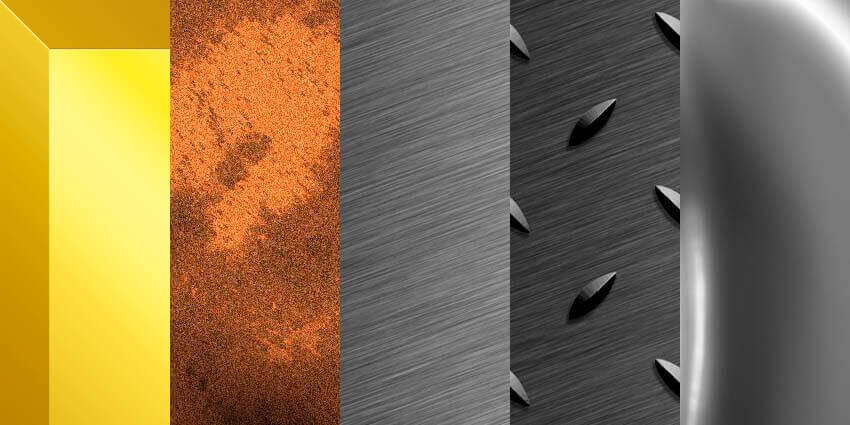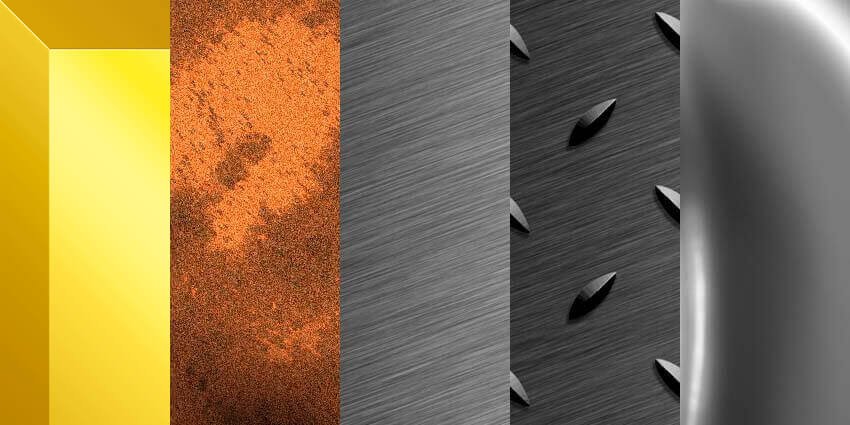
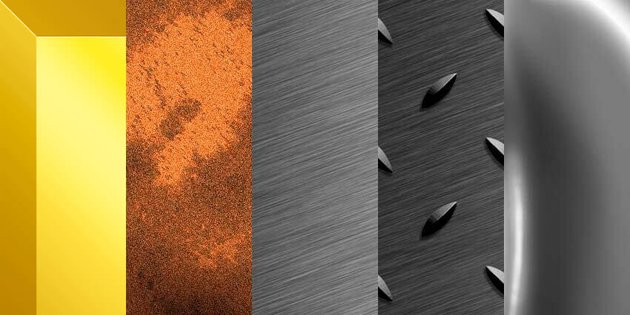
In the following tutorial, I’m going to teach you how to create a metal pattern in Photoshop. You’ll create five different textures with Photoshop filters, gradients, and Blending Modes. You’ll get a cool metal pattern in Photoshop to use in your photo manipulations and digital paintings.
Looking to brush up on your Photoshop skills? Head on over to our Envato Tuts+ YouTube channel where you can check out our course on Photoshop for Beginners. It’s over three hours long and absolutely free.
What You’ll Learn in This Metal Texture Pattern Photoshop Tutorial
- How to create a gold texture effect
- How to create a rust texture effect
- How to create a brushed steel effect
- How to create a diamond plate effect
- How to create a mercury/liquid metal effect
What You’ll Need
For this tutorial, I will be using stock photos from Envato Elements as our metal reference.
1. How to Create a Gold Texture Effect in Photoshop
First on our list of metallic effect Photoshop designs: gold (Au).
Step 1
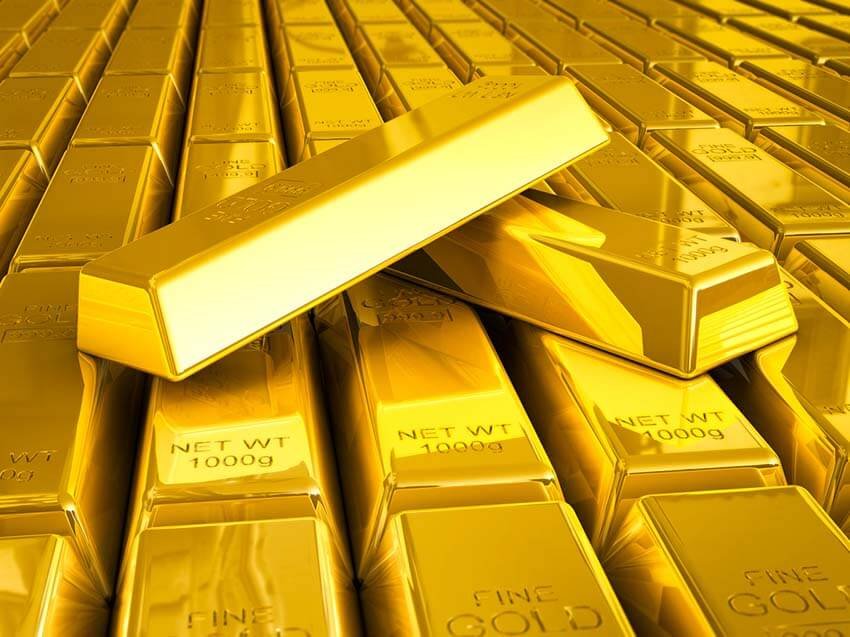
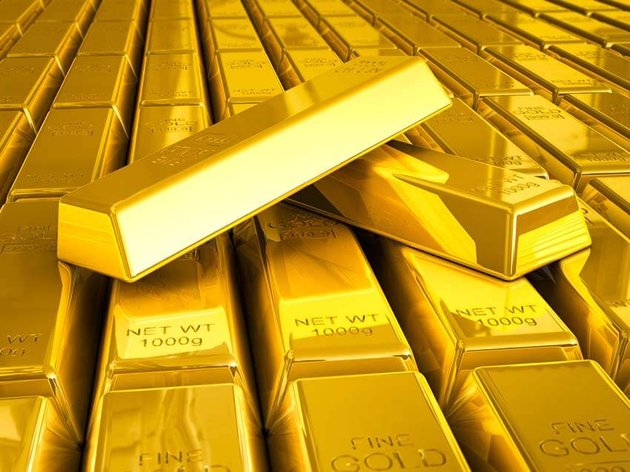
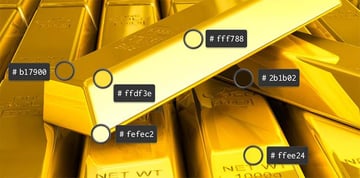
To understand how to create a metal texture pattern in Photoshop, we must first analyse its properties. Gold has been treasured for centuries due to its scarcity, its brilliant colour, and its easy workability into jewellery and trinkets. Gold is the colour of indulgence, money, and power.
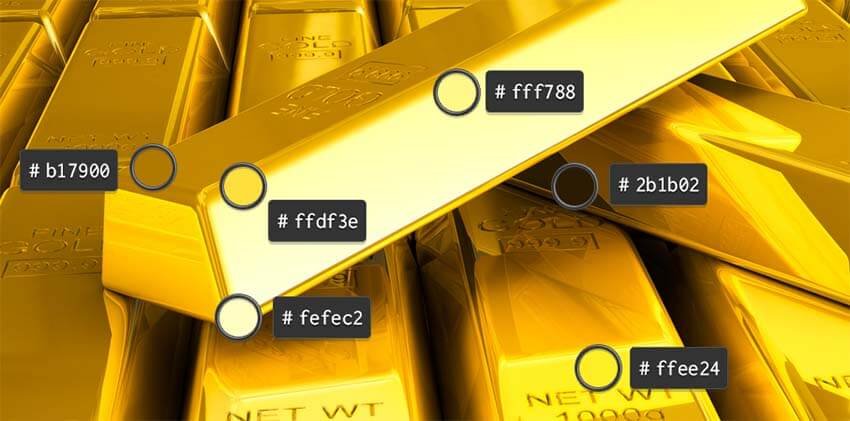
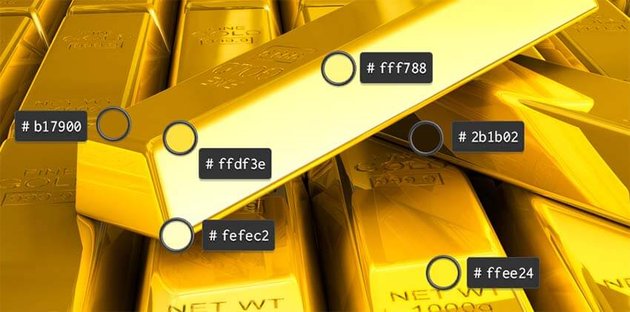
The most notable visual property of gold is the colour: usually a vibrant yellow which is cheerful and warming. From this image, we can see that there are many tones to gold. Of course, due to gold’s high reflectivity, the colour can take on hues from the surrounding objects and light.
To create a realistic metal pattern in Photoshop, we need to bear in mind the high contrast—notably here with the rich chocolate browns to the pale lemony white highlights. Note too the steps of contrast where the planes of the gold bars change.
In the next step, we’ll be looking at how to create a metal texture in Photoshop based on gold.
Step 2
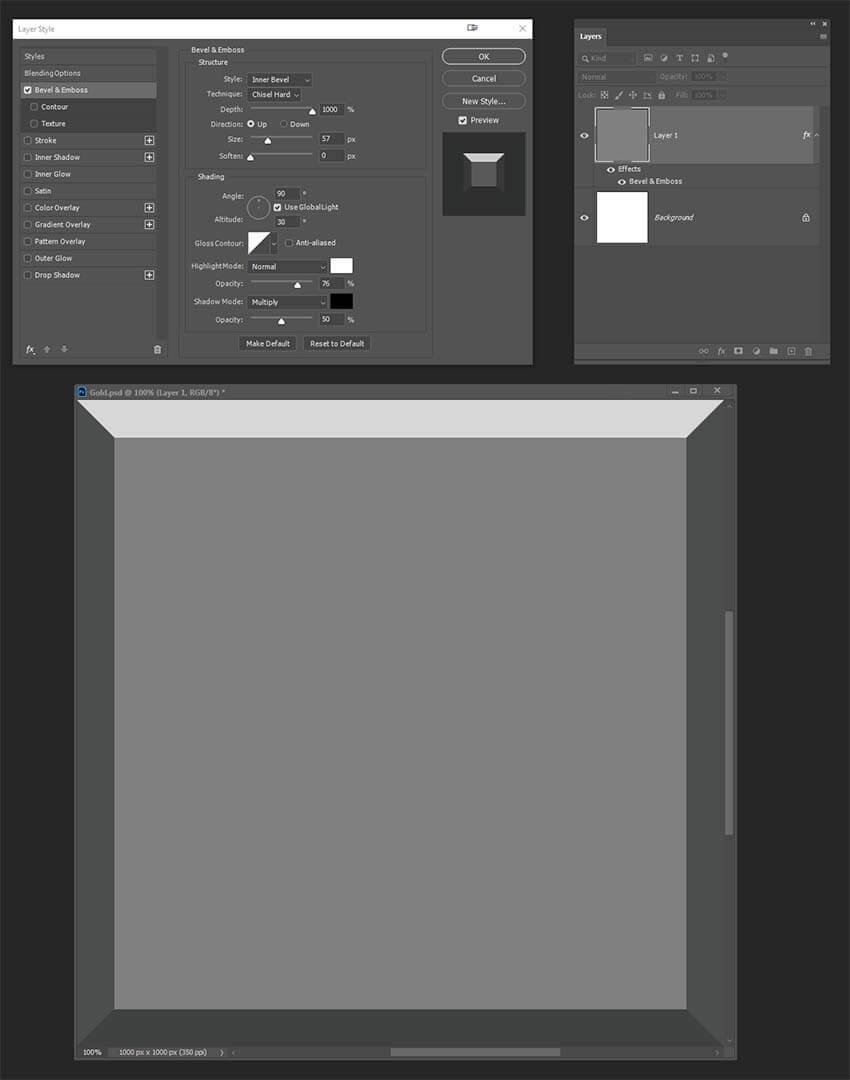
For this metal texture pattern in Photoshop, I find it works best if you are working on a surface with many planes. For this example, I’ll be created a bevelled edge.
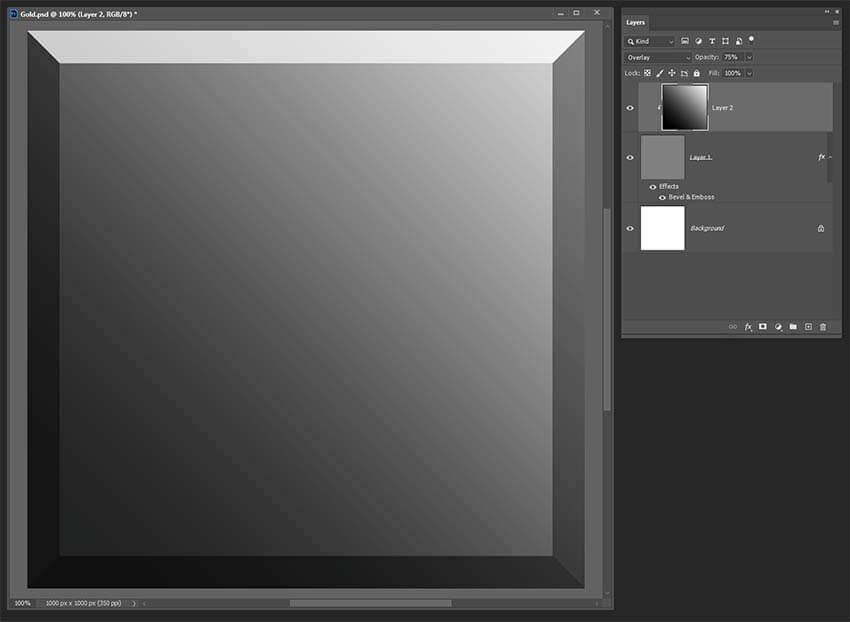
Begin with a New Layer (Control-N) and fill it with a midtone grey. Next, double-click on the layer to bring up the Layer Style dialogue box.
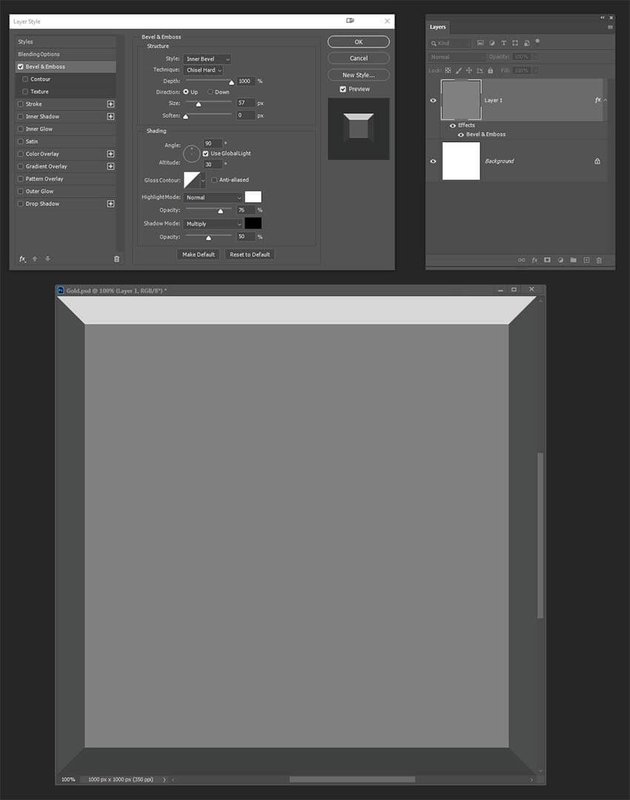
In the Bevel & Emboss section, under Structure, we set the following parameters:
- Style to Inner Bevel
- Technique to Chisel Hard
- Depth at 1000%
- Direction to Up
- Size to 57 px
- Soften to 0 px
Under the Shading section, we set:
- Angle to 90°
- Use Global Light: selected
- Altitude to 30°
- Gloss contour to Linear
- Deselect Anti-aliased
- Highlight Mode to Normal; Colour selection to White; Opacity at 76%
- Shadow Mode to Multiply; Colour to Black; Opacity at 50%
Step 3
Next, create a New Layer (Control-N) and Fill (G) it with a Black to White gradient. This will create an overall tonal base for the next step.
tip
To quickly change your colour selections to the default, press D when the Fill Tool (G) is selected.
Step 4
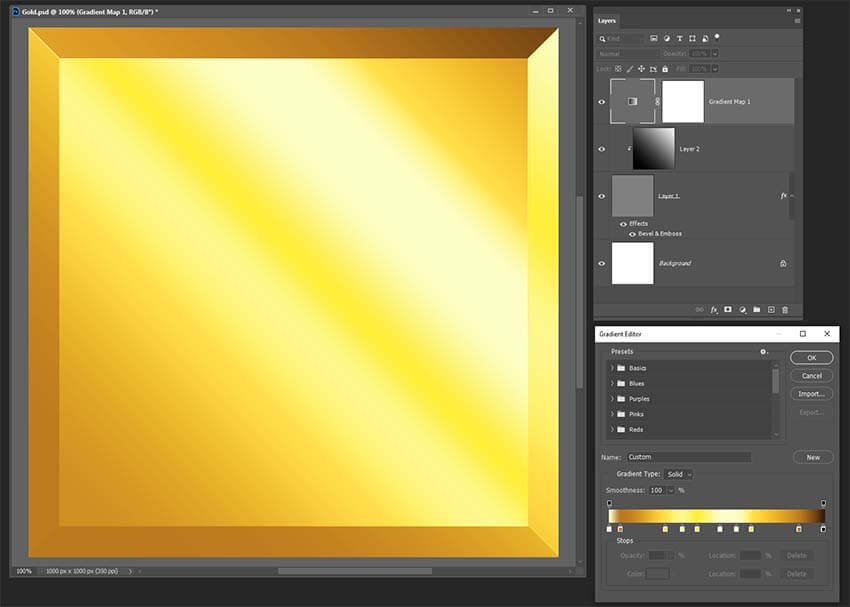
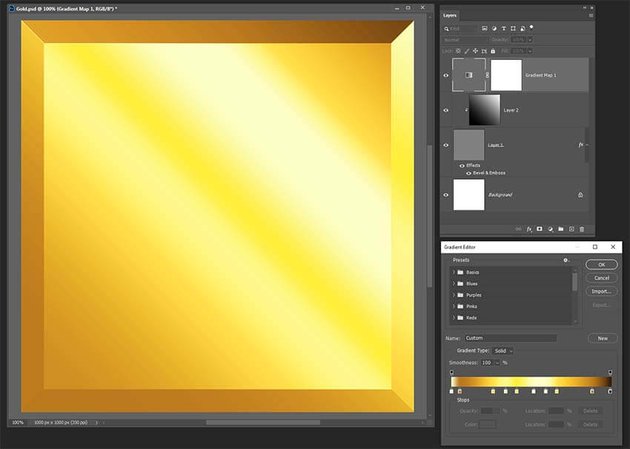
Next in this metallic gradient Photoshop tutorial, let’s create a Gradient Map. You can add a Gradient Map layer by clicking on the white and grey circle at the bottom centre of the Layers panel.
In the Gradient Editor, you can change the gradient and add as many colours as you like. For this tutorial, I have attached the gold gradient I created, so you can familiarise yourself with how gradients work. Notice that I have spaced the darks to one end of the gradient to ensure that it catches on the top right edge to create that all-important contrast. When you are happy with how your gradient is applied to your base, click OK.
Step 5
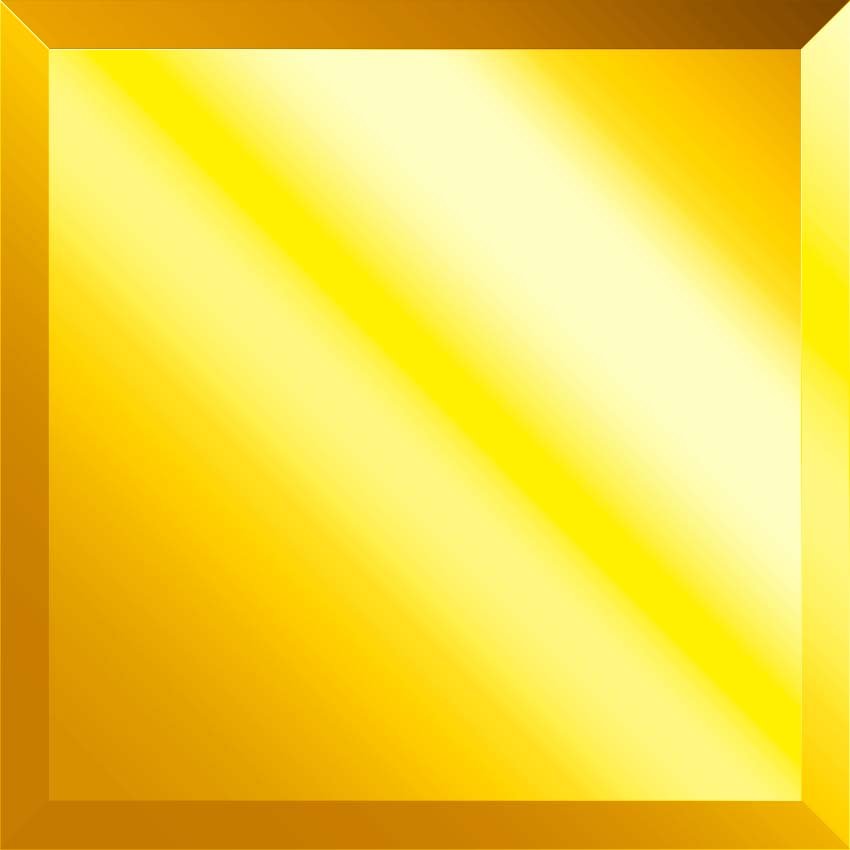
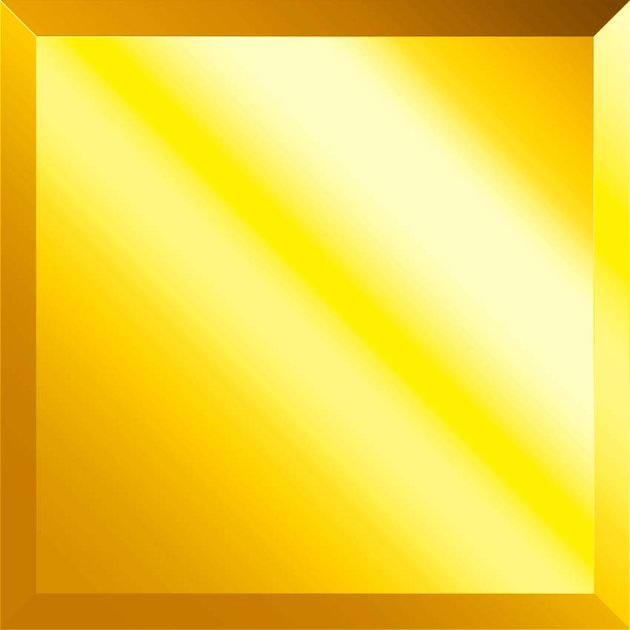
This metallic gradient Photoshop tutorial just covered gold. Here we have our simulated metallic effect Photoshop texture. This is a great base to start out from with a wide range of applications. Remember to keep the contrast high and use warm colours in the shadows to avoid dirty-looking colours.

2. How to Create a Rust Texture Effect in Photoshop
For our second metallic effect Photoshop design, we are looking at rust. Rust is the oxidised form of iron (Fe). Iron oxide (Fe²O³) occurs when iron reacts with oxygen and water. Bear in mind when adding rust to metal that it is in fact iron or an iron alloy for believability.
Step 1
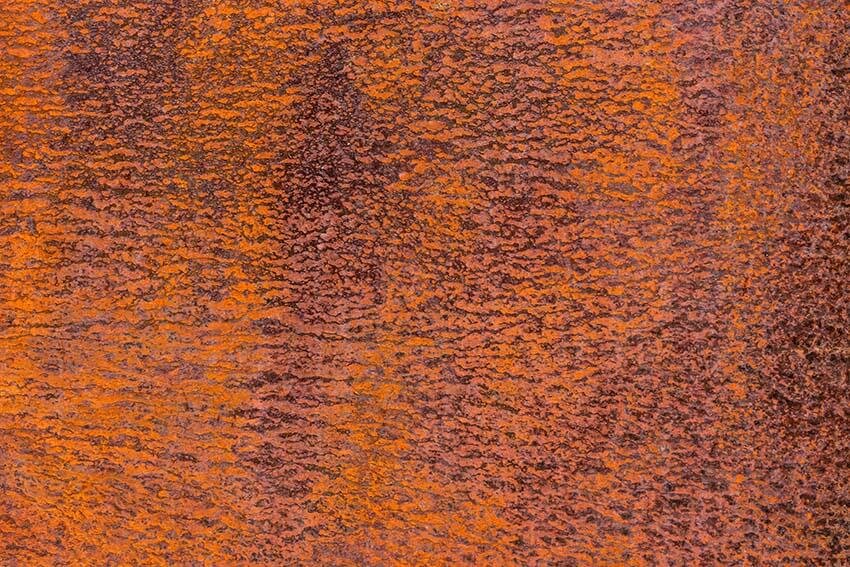
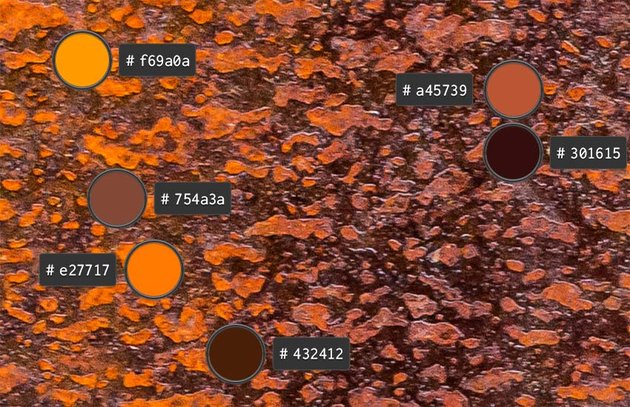
If we take a close look at rust, we can see that layers of the iron are flaking off. To create our texture, we will need to mimic this uneven scaling.
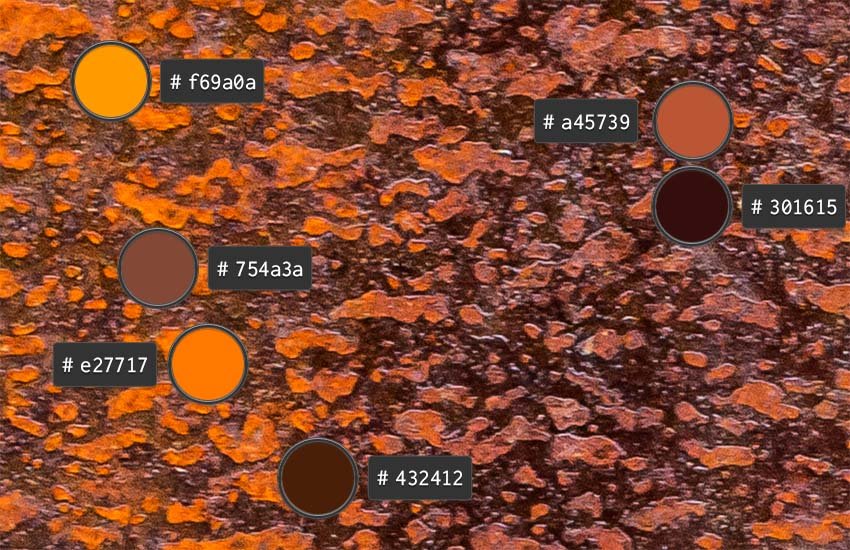
Next, we look at the colour. Rust is orange/red, and you might be surprised to learn that the reason that most blood is red is due to the presence of oxidised iron. The surface of Mars also appears red due to the high concentration of iron at the surface. Highlights on rust tend to have an orange/yellow tone due to how the light reflects off the red wavelength. If you look at a light spectrum, the red, orange, and yellow wavelengths are next to each other.
Another factor to consider with rust is that unlike gold, rust has a gritty, matte finish that has few highlights but does have a lot of dark red and mid-saturation browns in contrast to areas of mid- to high-saturation yellow and orange.
In the next steps, I’ll be showing you how to create a metal texture in Photoshop that mimics rust, using Clouds, Noise, Masks, and a little bit of detail painting.
Step 2
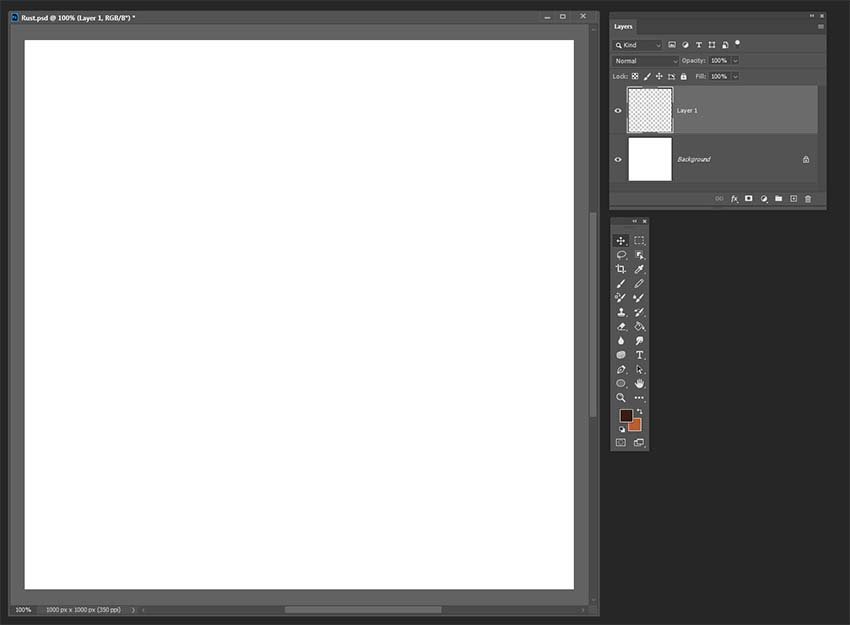
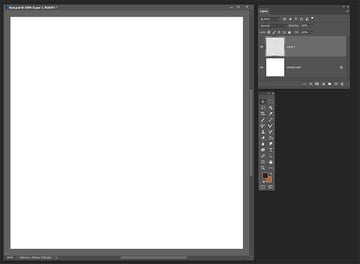
Let’s start this brushed metal pattern by creating a New Layer (Control-N).
Step 3
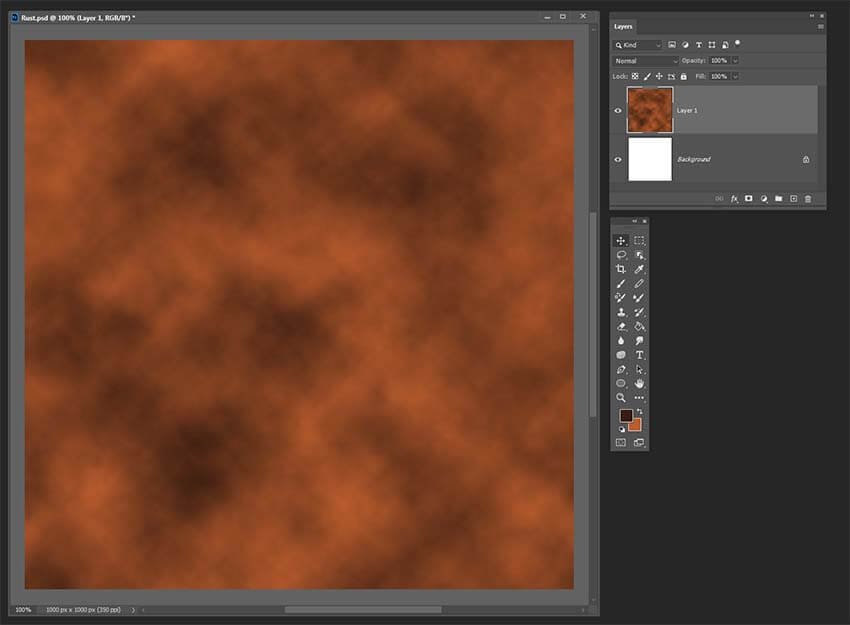
In this step, it’s important that your Foreground and Background colours are set using a rich red brown and a rusty orange colour. These two colours will be used to create our base.
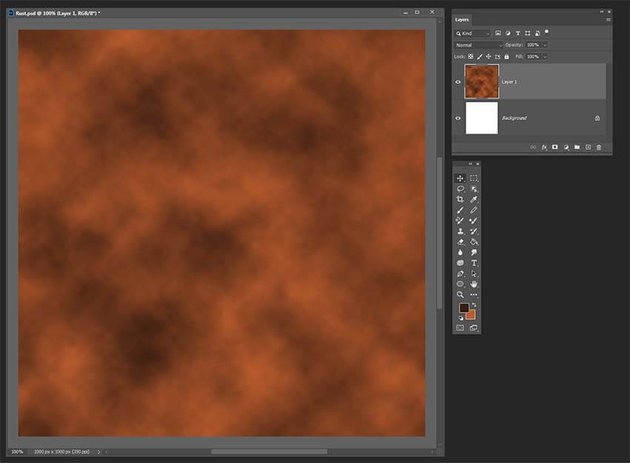
Once you’ve set those colours by double-clicking on the coloured squares at the base of the toolbar, go to Filter > Render > Clouds. This will create a mottled base for us to work with.
Step 4
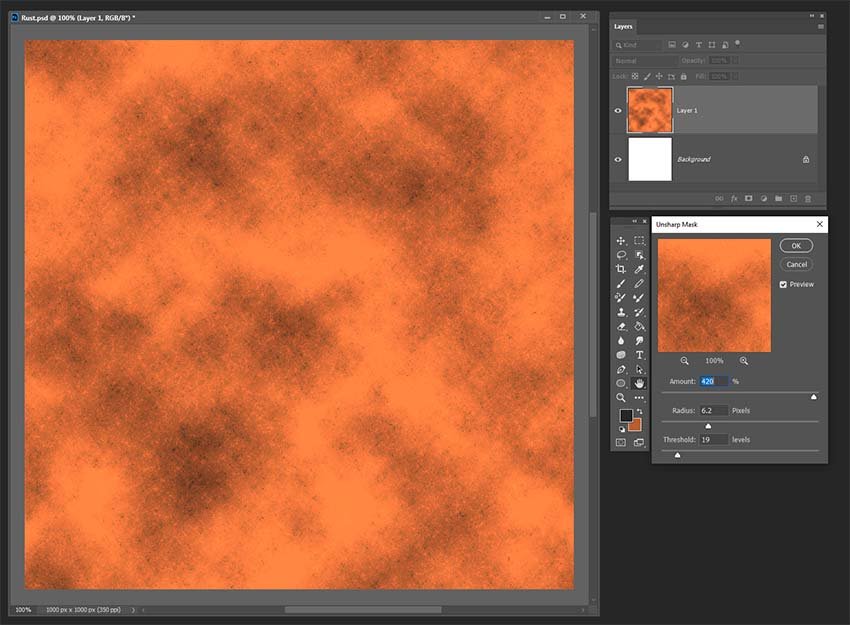
Next, we go to Filter > Sharpen > Unsharp Mask. We use this to create a subtle gritty texture for the rust base.
In the Unsharp Mask settings, set:
- Amount at 420%
- Radius to 6.2 pixels
- Threshold to 19 levels
What we’re aiming for here are more defined edges and a little more contrast. When you are happy, click OK.
Step 5
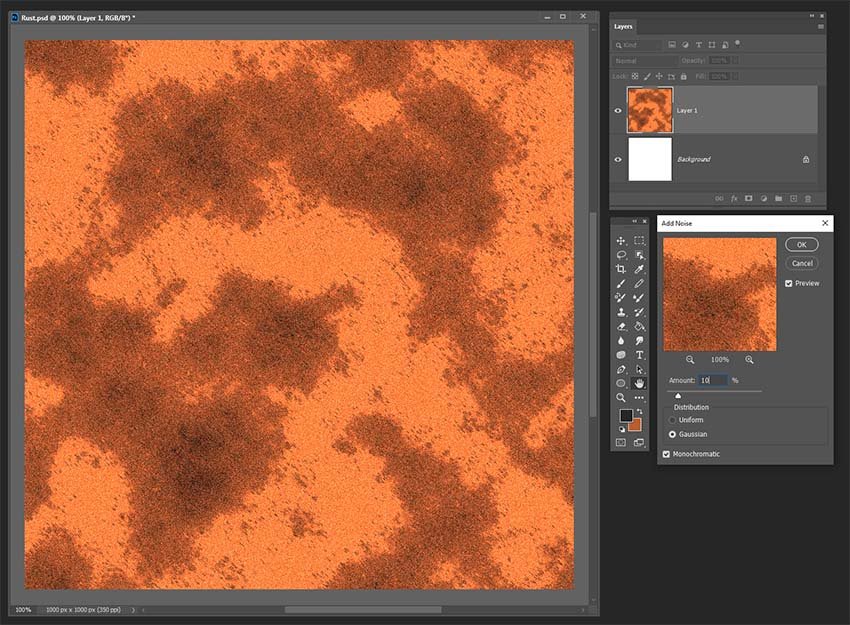
To add more grit and grunge, we will be adding some noise.
Go to Filter > Noise > Add Noise and apply the following settings:
- Amount at 10%
- Distribution to Gaussian
- Check Monochromatic
Play with these settings until you feel the rust texture is looking gritty enough for your purposes. When you’re happy with this, click OK.
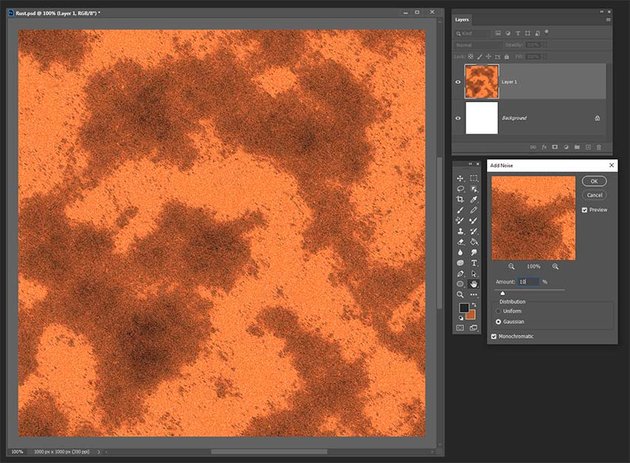
Step 6
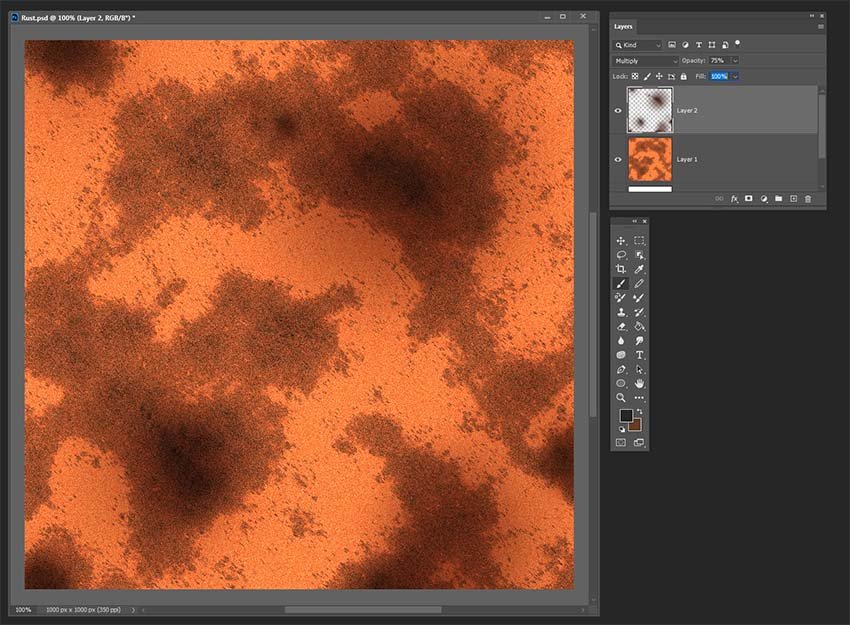
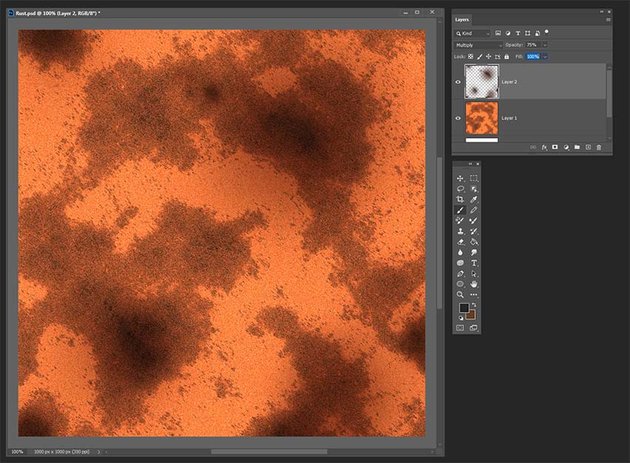
The base texture is looking great so far, but we need to add a little organic randomness. For this, I have selected the Brush tool (B) along with a default soft brush. On a New Layer (Control-N), set the Blend Mode to Multiply. To know where to paint the darker spots, I look at where the filters have naturally created darker spots. I paint these in to intensify the areas which would have the most corrosion. To make sure that the contrast is not too intense, I adjust the Layer Opacity to 75%.
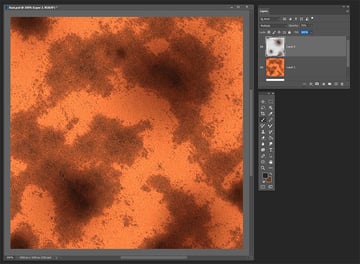
Step 7
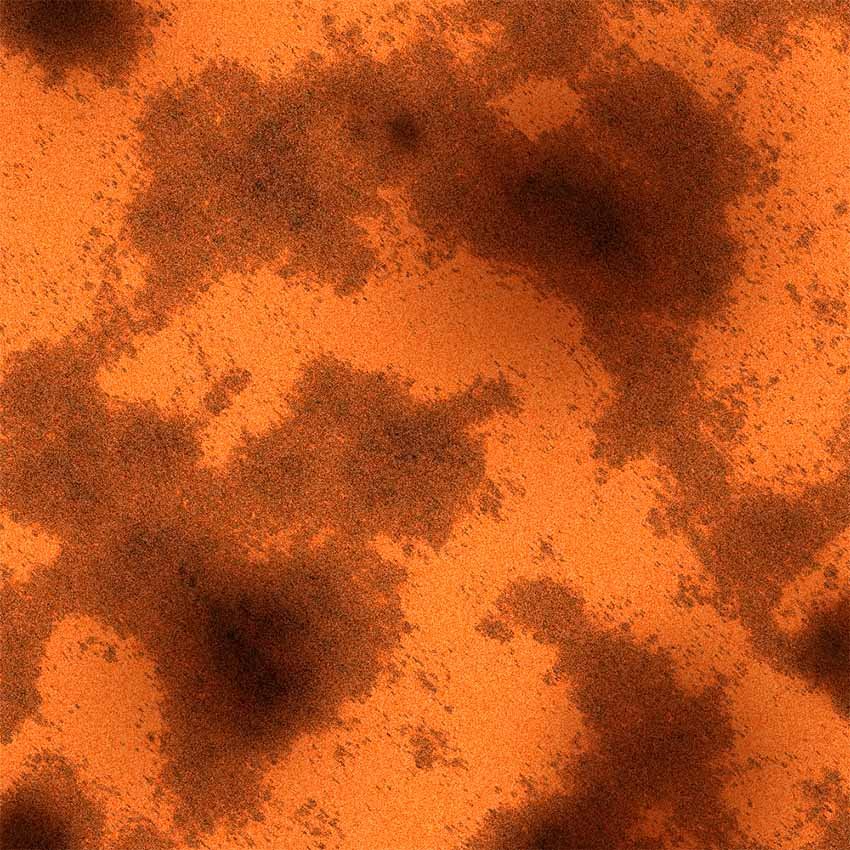
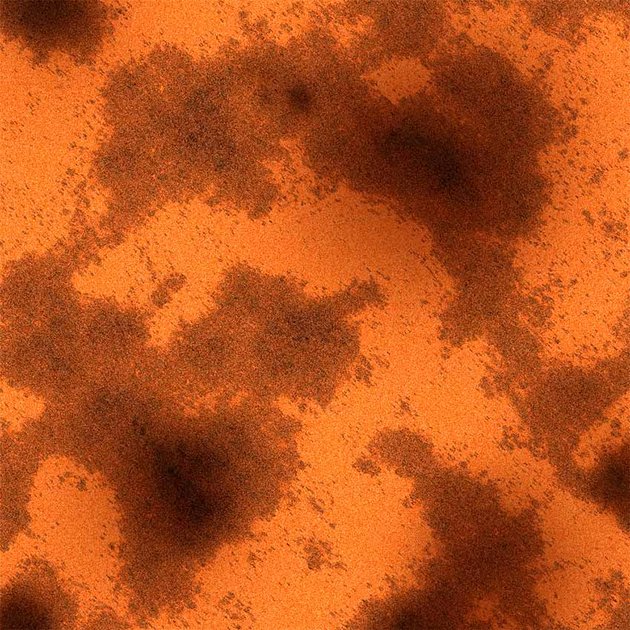
Here we have our rust texture. The Photoshop brushed metal texture is a good base to use for some grungy type or adding a worn texture to some old ironwork.
Next, I’ll be talking you through how I create a brushed steel pattern in Photoshop.
3. How to Create a Brushed Steel Pattern in Photoshop
Now, let’s turn our attention to brushed steel. This brushed metal pattern in Photoshop is usually found on decorative items like jewellery, watches, and kitchen appliances.
Step 1
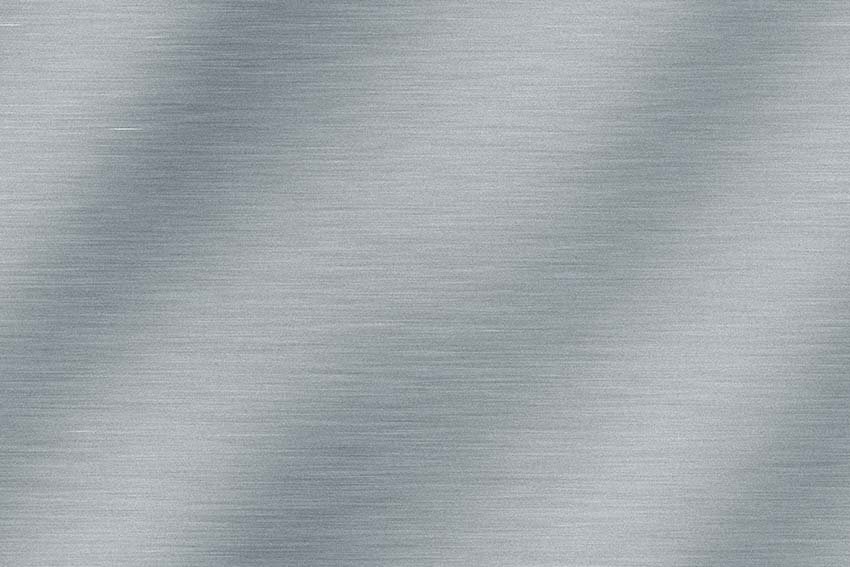
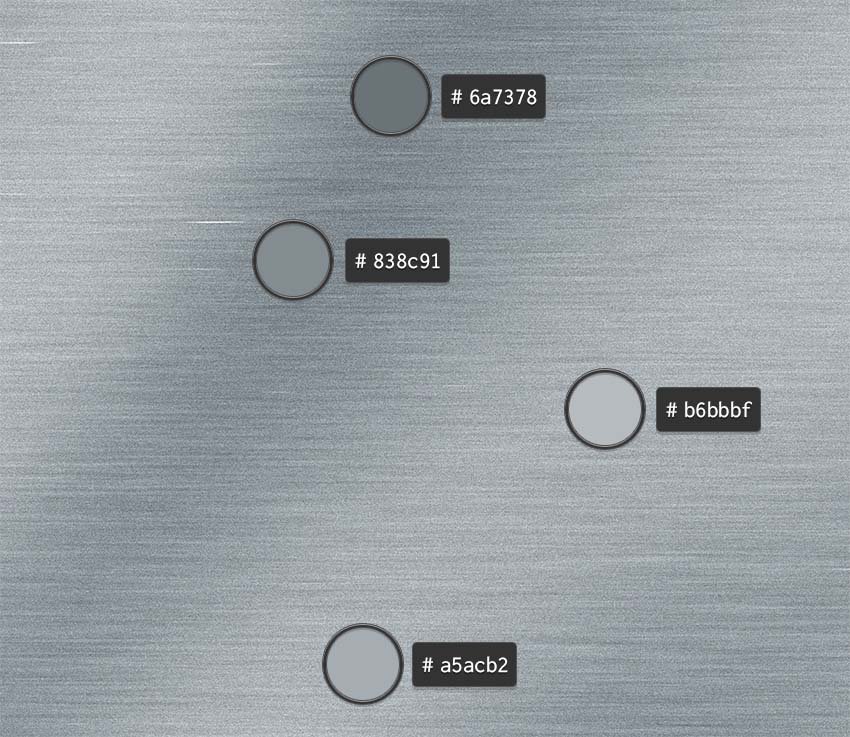
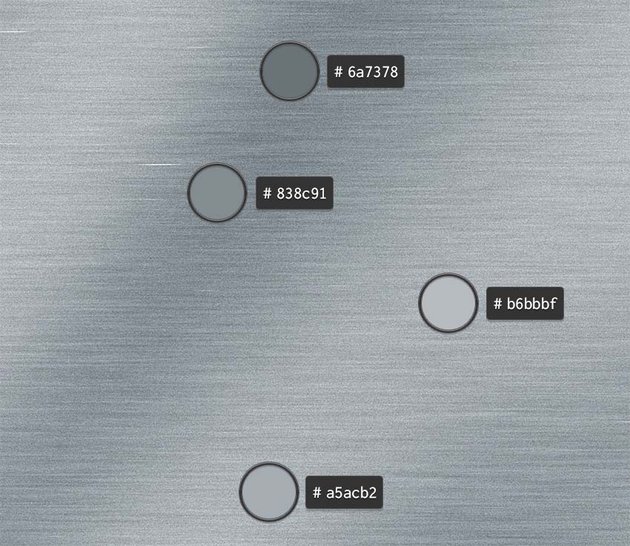
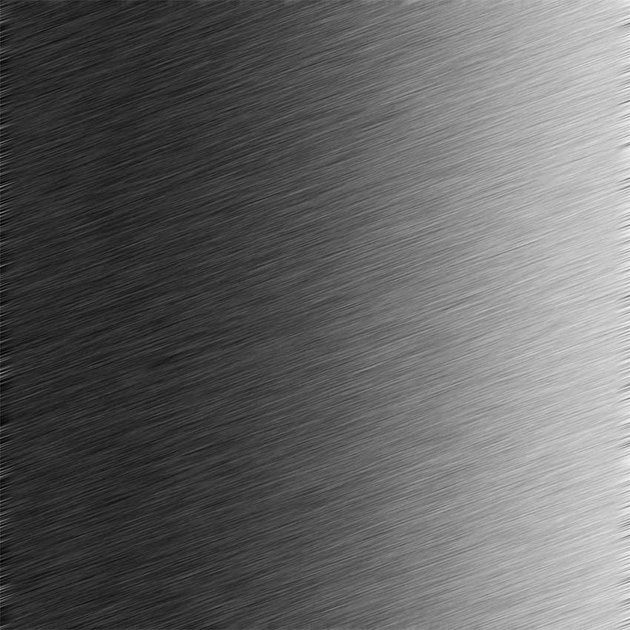
The most notable difference between steel and brushed steel is the fine striations from polishing the metal in one direction. The contrast on brushed steel is quite low as light has a hard time bouncing off the textured surface. As you can see here, the colours are fairly similar in hue and intensity. Next, let’s look at how to create a brushed metal pattern!
Step 2
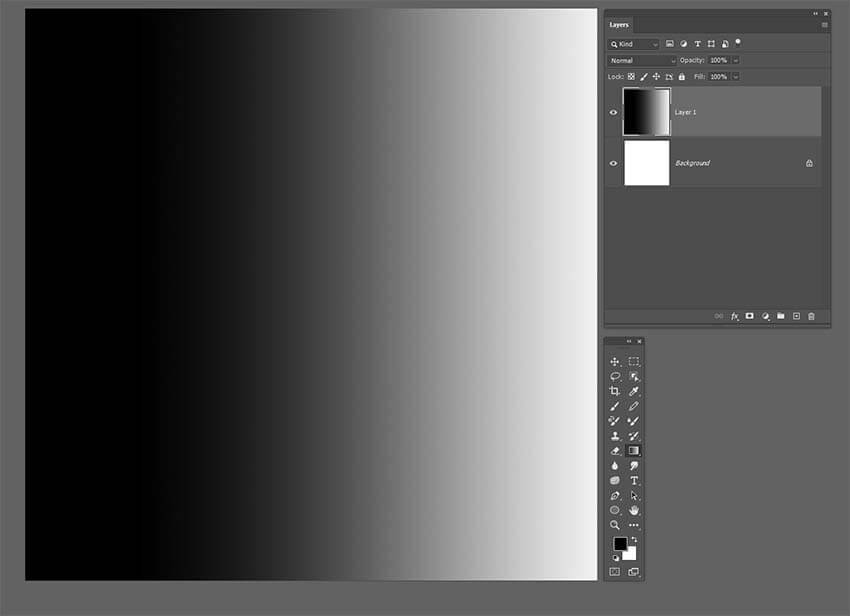
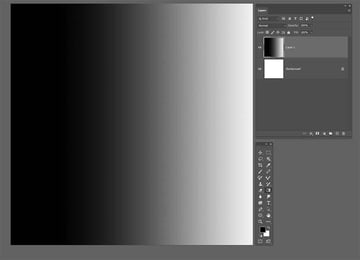
In your document, create a New Layer (Control-N) and Fill (G) it with a vertical Black to White Gradient.
Step 3
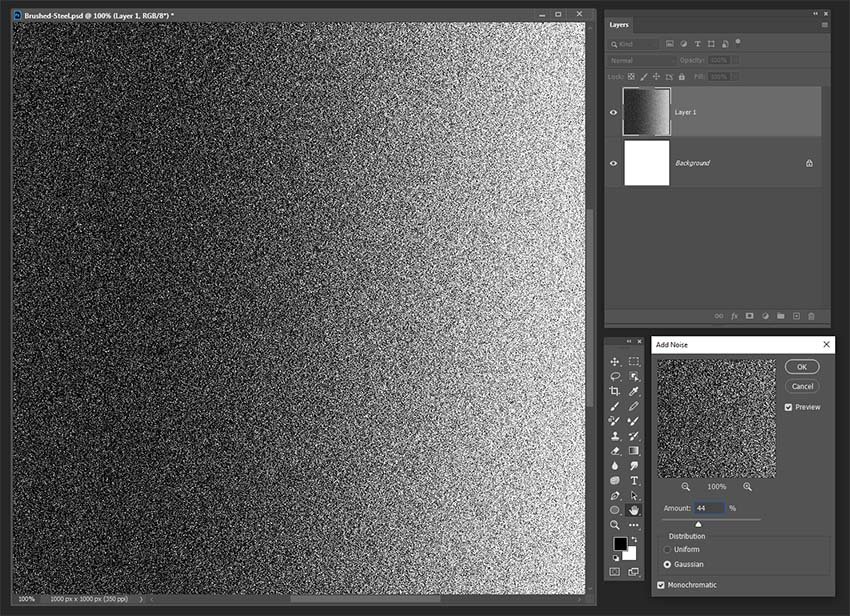
Next, go to Filter > Noise > Add Noise and input the following:
- Amount to 44%
- Distribution to Gaussian
- Check Monochromatic
Click OK.
Step 4
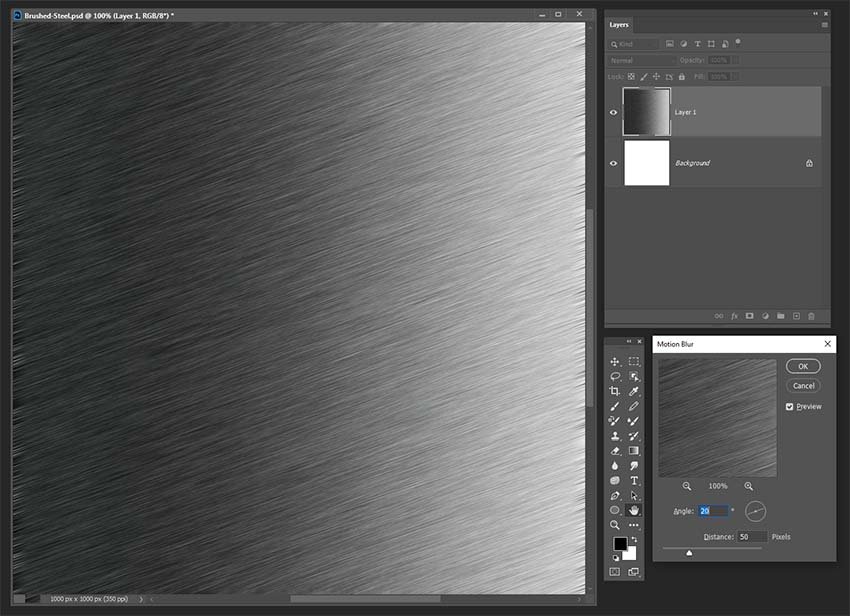
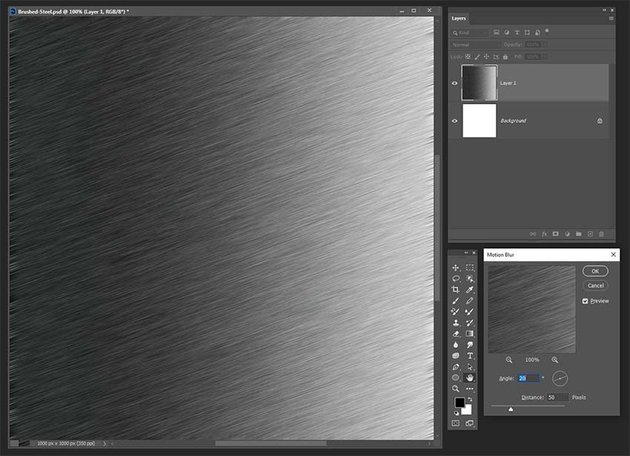
Now that we have our Noise applied, go to Filter > Blur > Motion Blur. For the brushed steel, we want medium-length bursts, and to add some variety we’ll angle the grain.
To do this, we set the Motion Blur to:
- Angle of 20°
- Distance of 50 pixels
When you’re happy, click OK.
Step 5
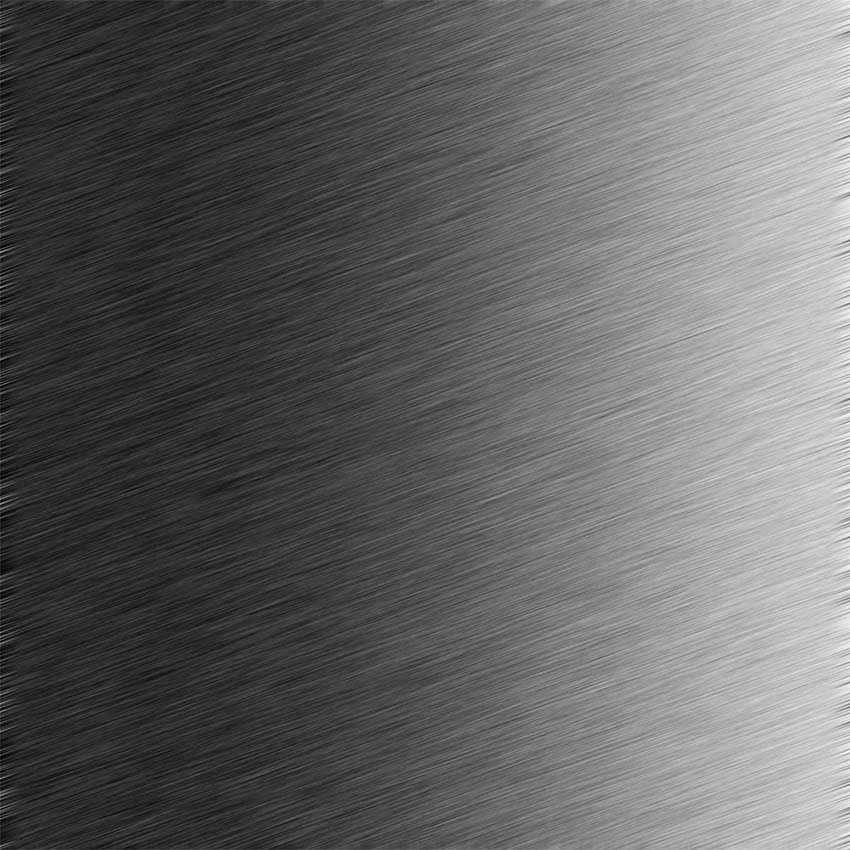
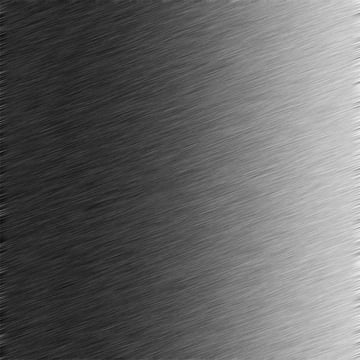
Here’s our final brushed metal pattern in Photoshop.
tip
As shown below, the edges can distort a little, so my pro tip is to make the texture slightly larger than you require.
Next, I’ll be showing you how to take this dark metal pattern in Photoshop and use it as a base for some diamond plate.
4. How to Create a Diamond Plate Effect in Photoshop
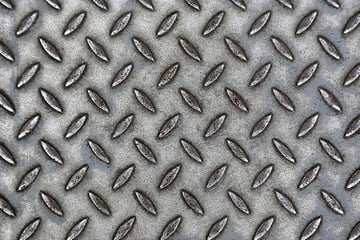
For our fourth metal texture pattern in Photoshop, we will be looking at diamond plate. For this, we will be using the texture we just created: the brushed steel pattern in Photoshop.
Step 1
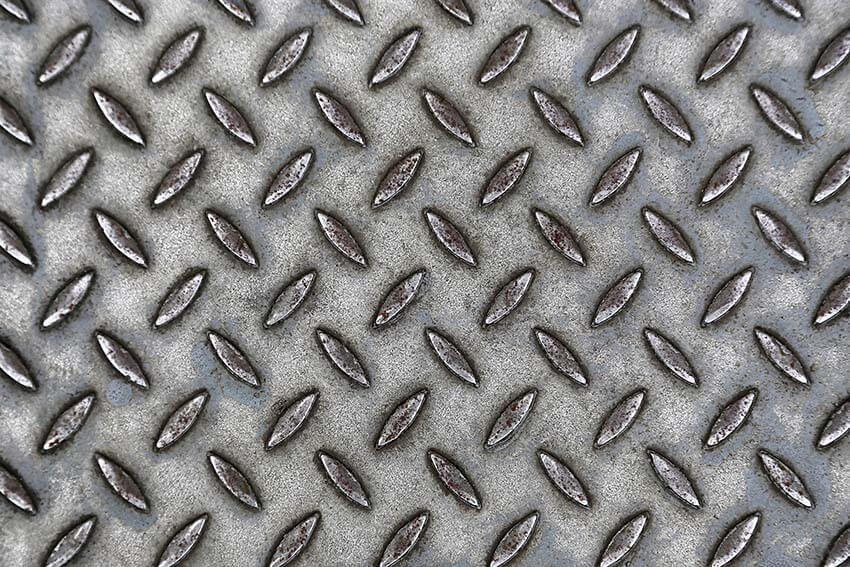
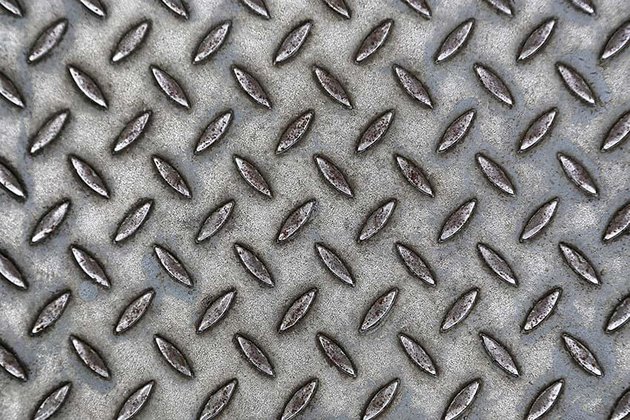
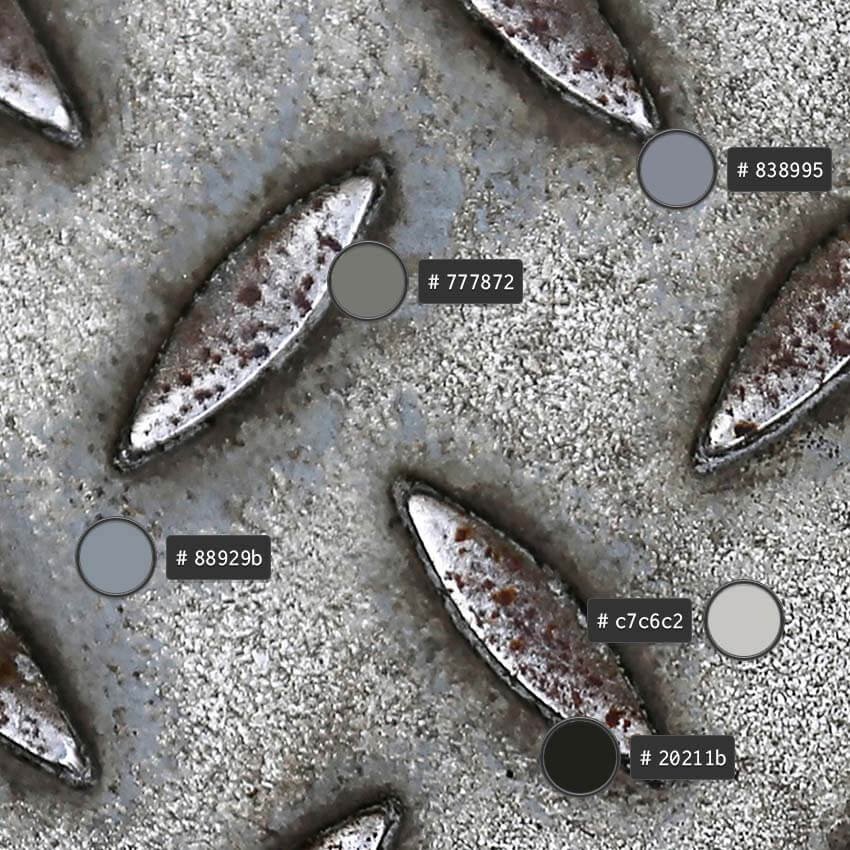
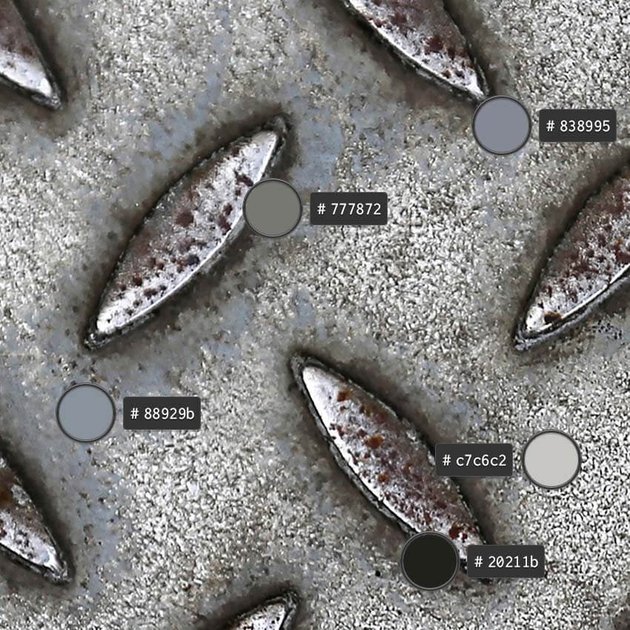
Diamond plate, as the name suggests, is covered in raised diamond shapes which are usually used in areas of high traction to prevent slipping. Understandably, these surfaces get a lot of wear. Much like our brushed metal pattern, the colours are quite muted, with a fairly low sheen on the main texture and some highlights on the raised diamonds.
Step 2
Here I have the brushed metal pattern in Photoshop from the last lesson. This is a fab starting ground, and it’s always fun to try to mix up textures. The diamond plate texture will be cleaner than the example above, but if you’re feeling adventurous, try placing the rust texture from Section 2 over your finished diamond plate and playing with Blend Modes and Masks!


Step 3
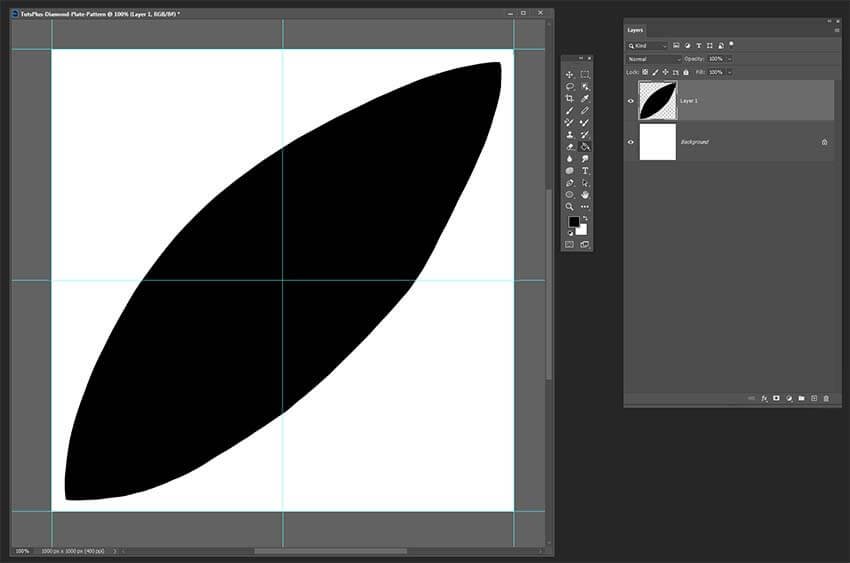
For this dark metal pattern in Photoshop, first create Horizontal and Vertical Guides. Go to View > New Guide, input 50% in Horizontal, and click OK. Then, go back to View > New Guide, input 50% in Vertical, and click OK.
For our diamond plate pattern, we need a diamond shape. On a New Layer (Control-N), I created a leaf shape with the Lasso Tool (L) and filled it with black.
Step 4
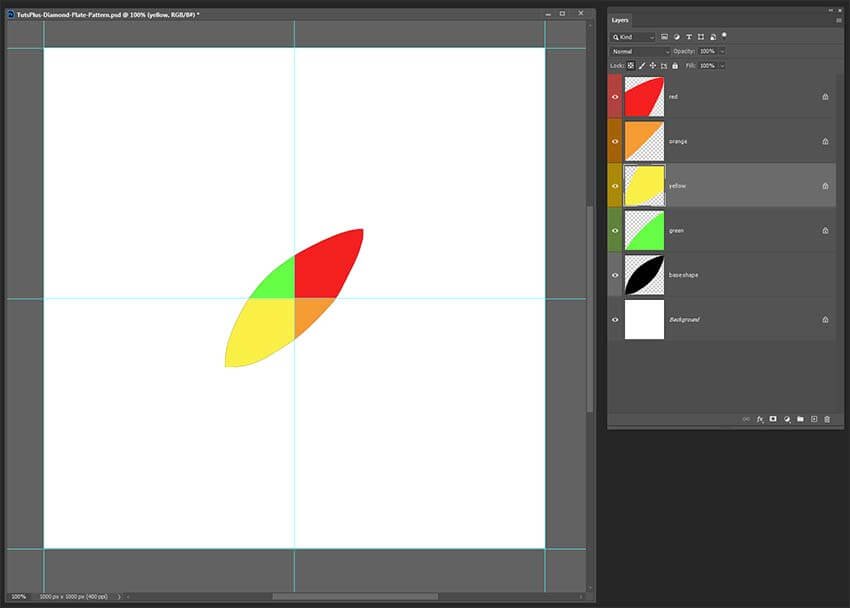
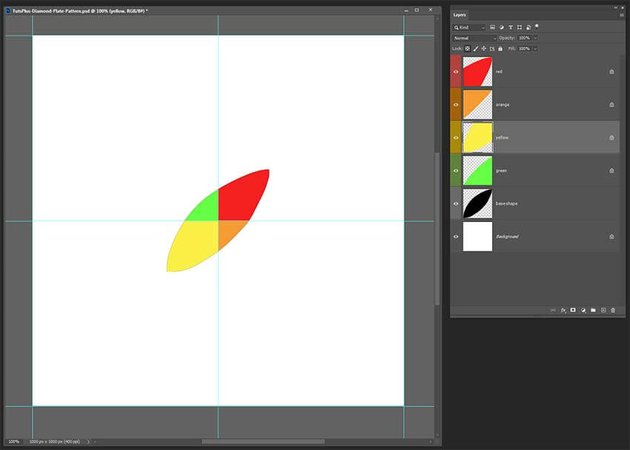
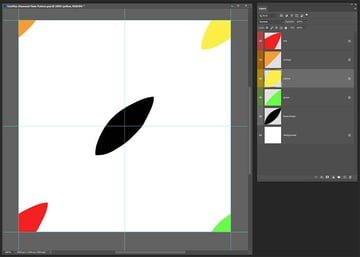
Making our pattern might seem a little tricky, but it’s really straightforward. I’ve colour-coded each section of the diamond for clarity, but our final image must be in black and white.
Duplicate the base diamond. Next, take the Rectangular Marquee Tool (M) and cut the diamond so that each quarter is on its own layer. You can do this by selecting the area with the Rectangular Marquee Tool, pressing Cut (Control-X), and then (Control-Shift-V) to Paste in Place.
tip
Have Snap To Guides (View > Snap To > Guides) selected for cleaner cuts that will all line up.
Step 5
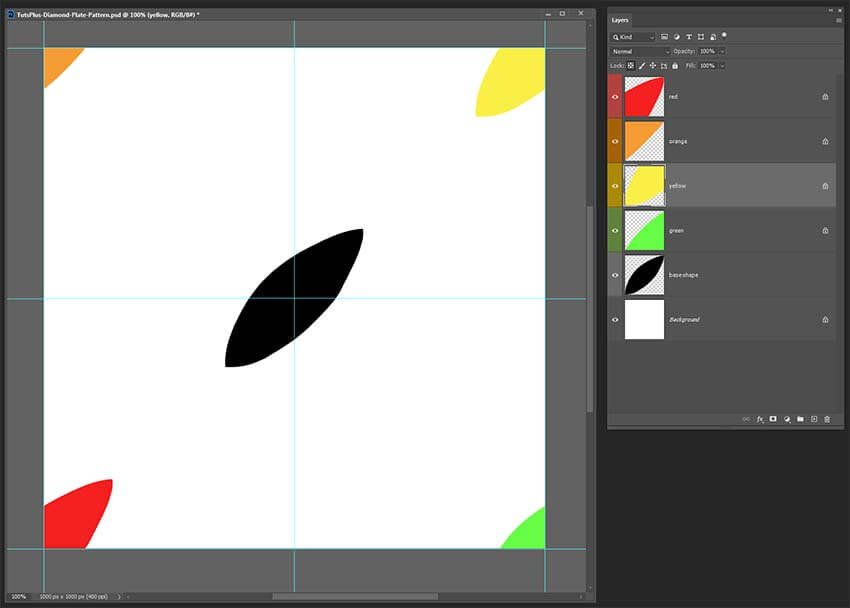
Now take each section and move it diagonally across from its position. For example, here we take the yellow section to the top right and the red to the bottom left. This means that when we create a pattern, it will tile this shape seamlessly.
Step 6
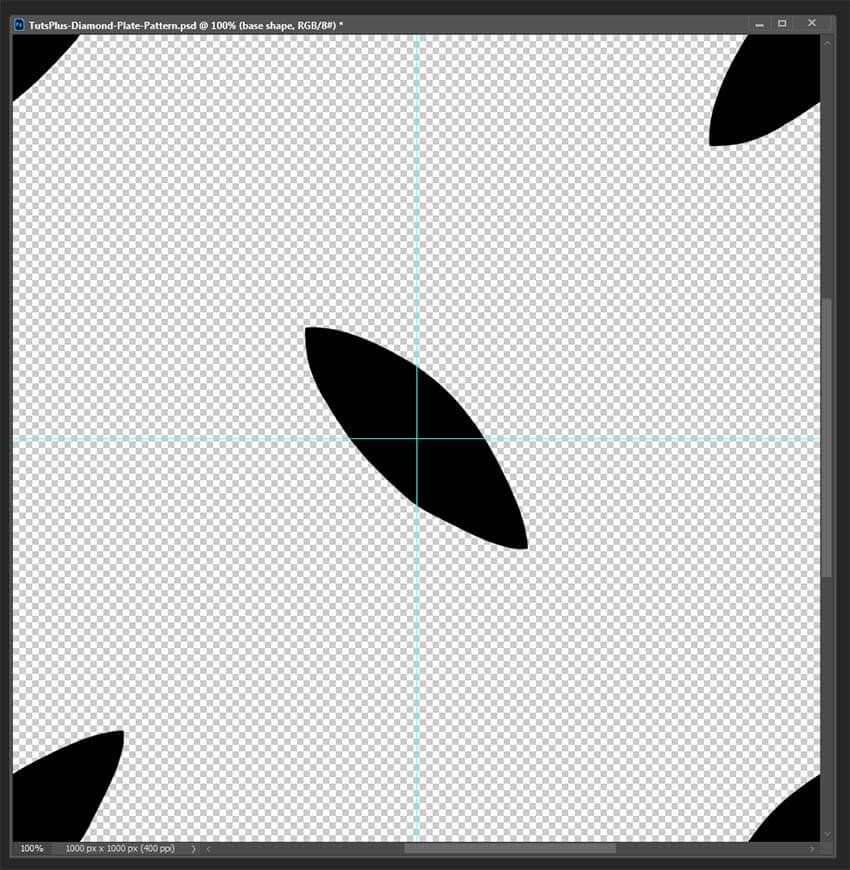
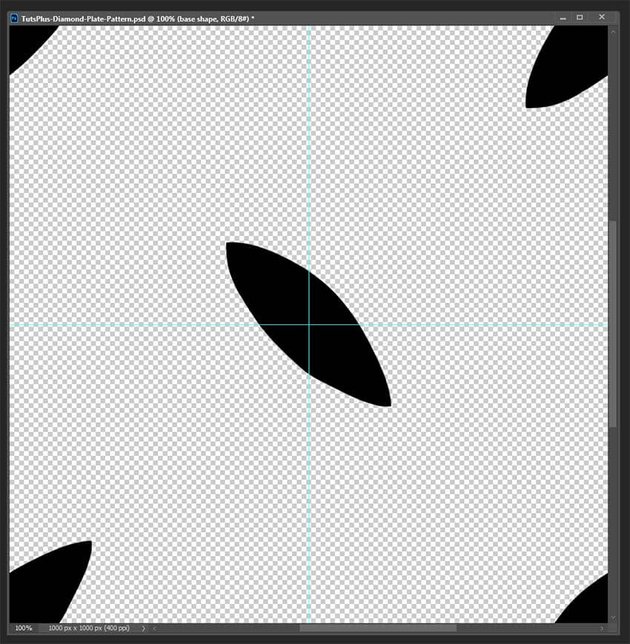
Next, Rotate the central leaf shape 90° to mimic the reference photo. Go to Edit > Define Pattern to create the pattern.
Step 7
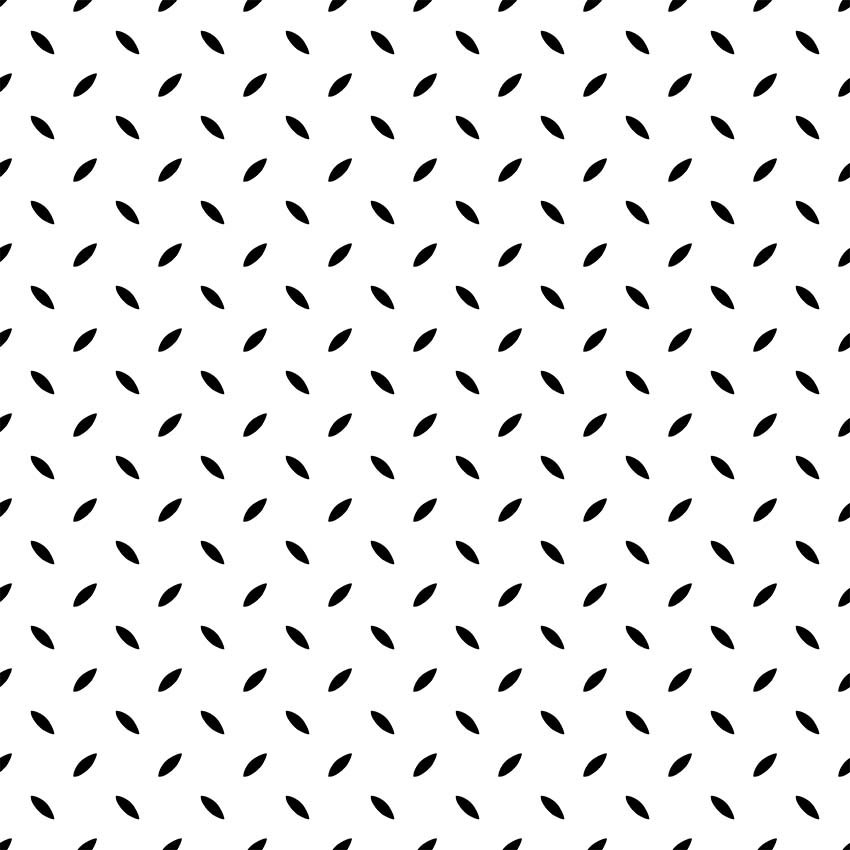
In a New Document, create a New Layer (Control-N). Select the Fill Tool (G) and set the Fill to Pattern.
tip
You can find this dropdown in the top toolbar. Click on the dropdown menu that says Foreground to change the fill type.
Step 8
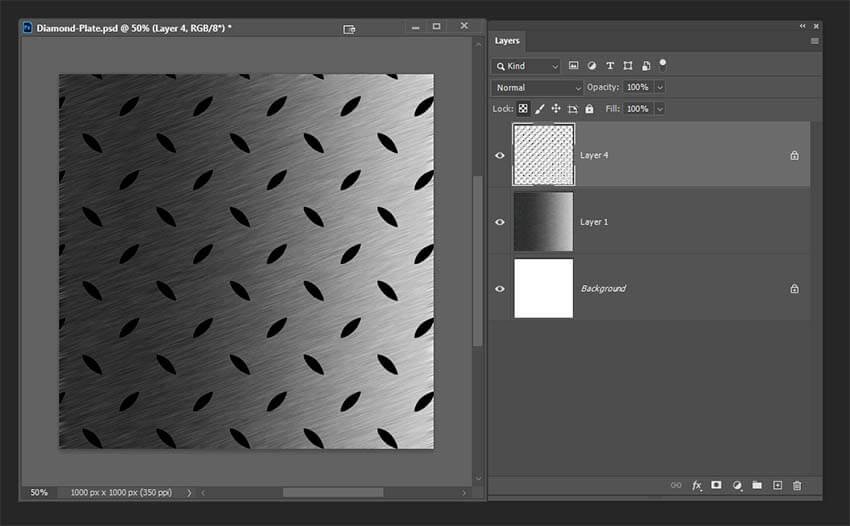
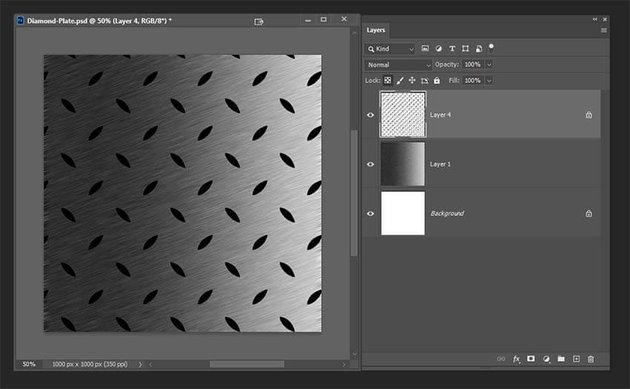
Next, drag this layer over your brushed steel texture and Scale (Control-T) the pattern until you’re happy with the size.
Step 9
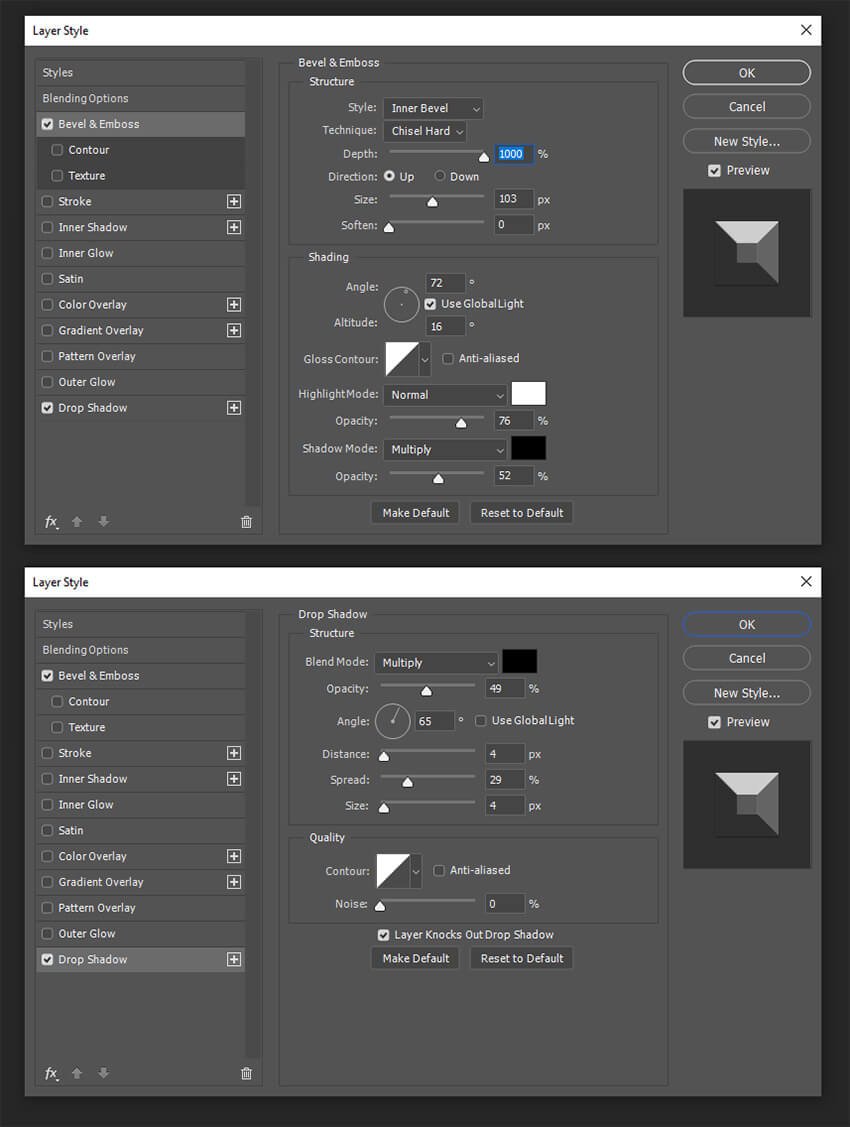
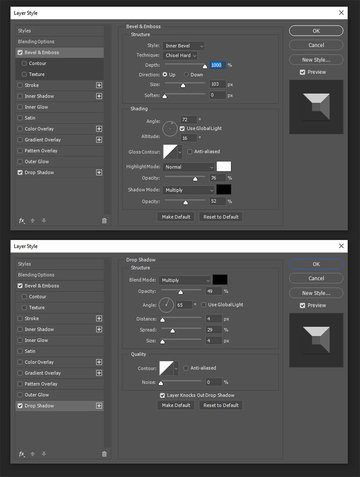
Next, double click on the pattern layer to bring up the Layer Style.
Bevel & Emboss
Structure:
- Style set to Inner Bevel
- Technique to Chisel Hard
- Depth at 1000%
- Direction set to Up
- Size to 103px
- Soften to 0px
Shading:
- Angle at 72° with Use Global Light selected
- Altitude to 16°
- Gloss Contour to Linear; Anti-aliased deselected
- Highlight Mode set to Normal with White as the Colour; Opacity at 76%
- Shadow Mode set to Multiply with Black as the Colour; Opacity at 52%
Drop Shadow
Structure:
- Blend Mode set to Multiply; Opacity at 49%
- Angle at 65°; Use Global Light deselected
- Gloss Contour set to Linear with Anti-aliased deselected
- Distance set to 4px
- Spread at 29%
- Size at 4px
Quality:
- Gloss Contour set to Linear with Anti-aliased deselected
- Noise at 0%
- Check to Layer Knocks Out Drop Shadow option
Step 10
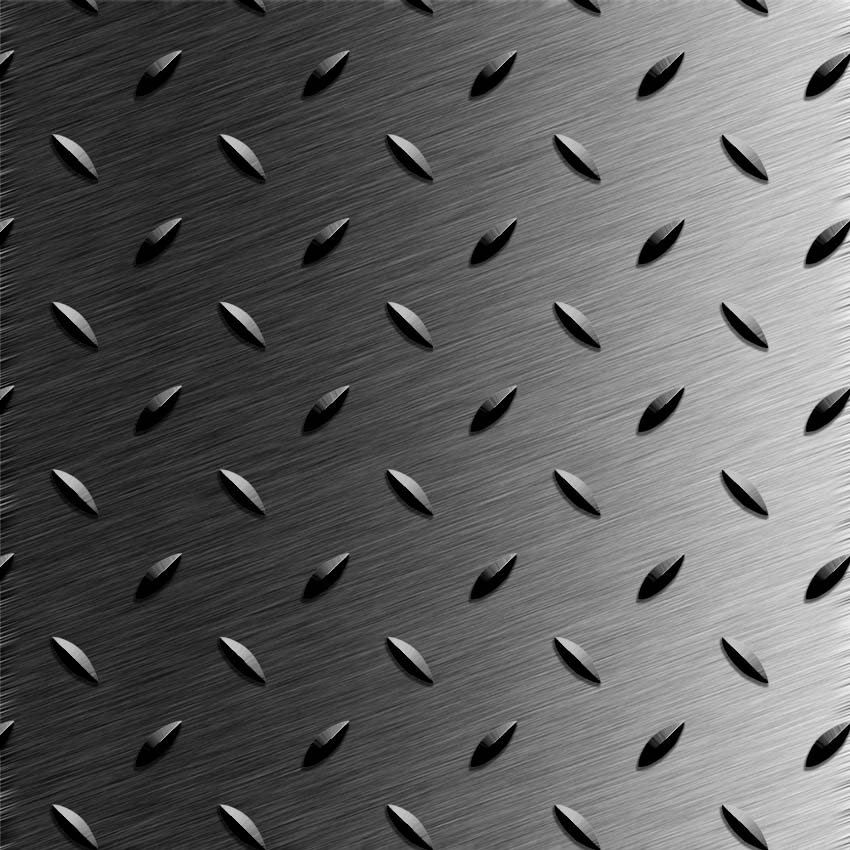
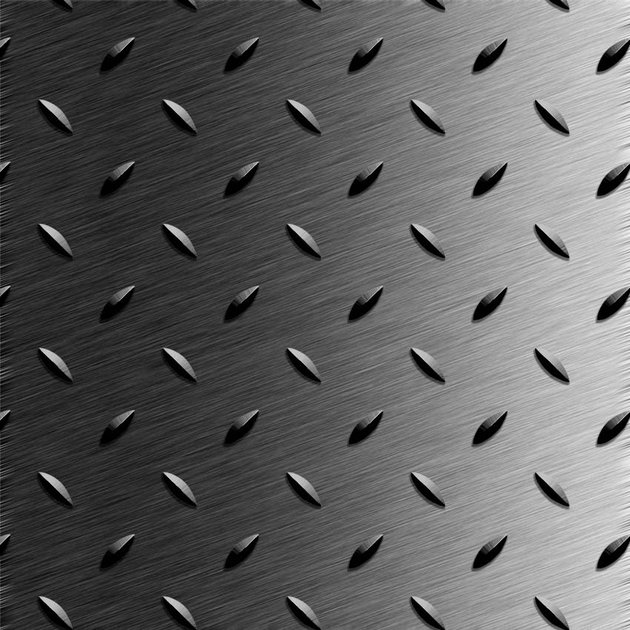
Here we have our diamond plate texture. This unique Photoshop brushed metal texture would be great for using as a game asset to texture a floor.
5. How to Create a Mercury or Liquid Metal Effect in Photoshop
Our final metal in this tutorial will be mercury (Hg). This metal texture pattern in Photoshop would also work well for other liquid metals such as gallium (Ga) or chrome designs.
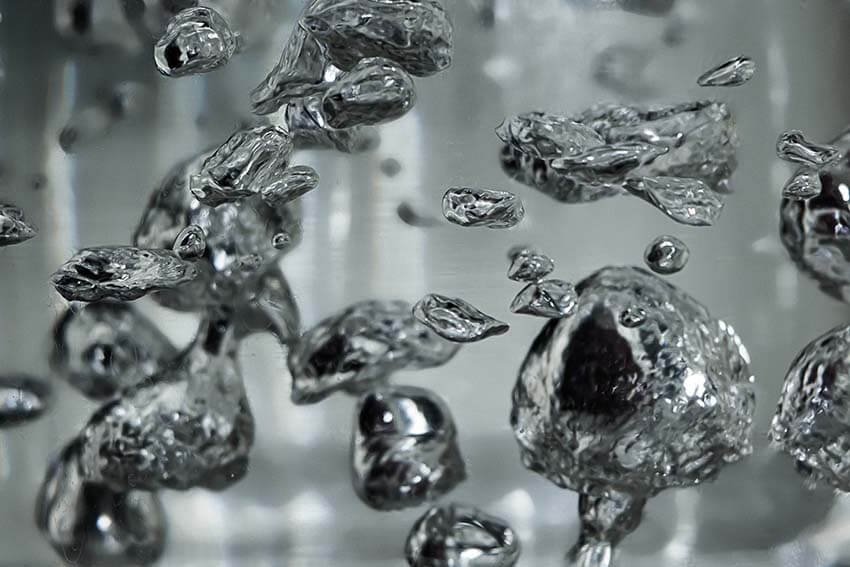
Step 1
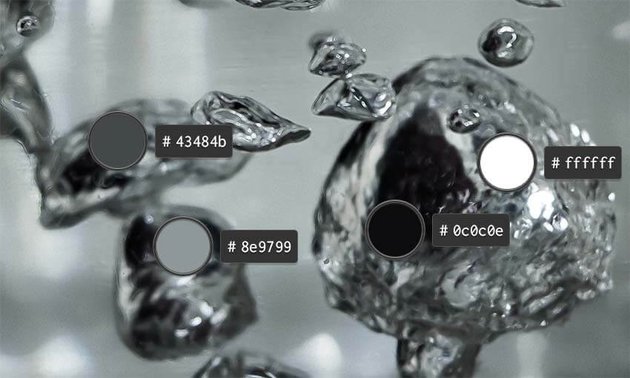
Mercury is a liquid metal at room temperature, and its properties mean that it tends to form balls. Because of the strong metallic bonding forces between mercury atoms, it has a really high surface tension. This causes the surface of the mercury to be drawn into itself to minimise its surface area, which is why it tends to form a sphere.
Mercury is highly reflective and beautiful to look at, and because of this there is a lot of high contrast: dark darks and bright highlights, with a fairly consistent range of midtones. In the following steps, we will be looking to create this effect using four different Layer Styles and some hand-painted elements.
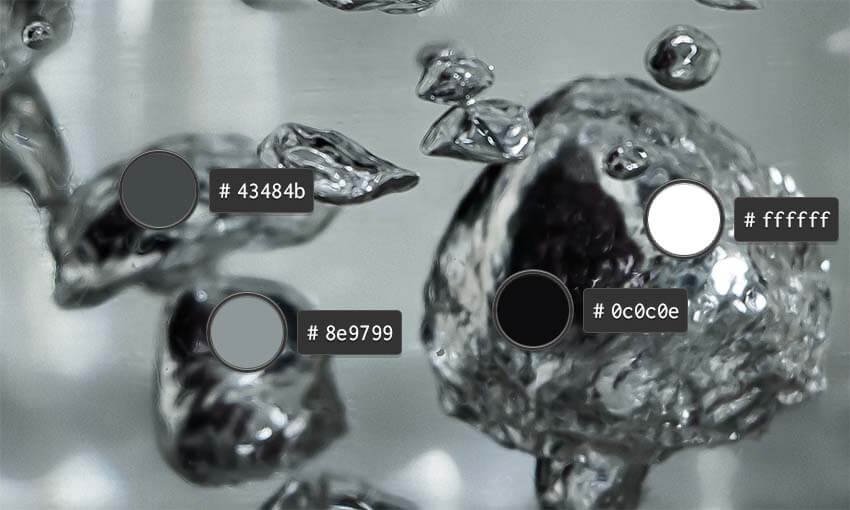
Step 2
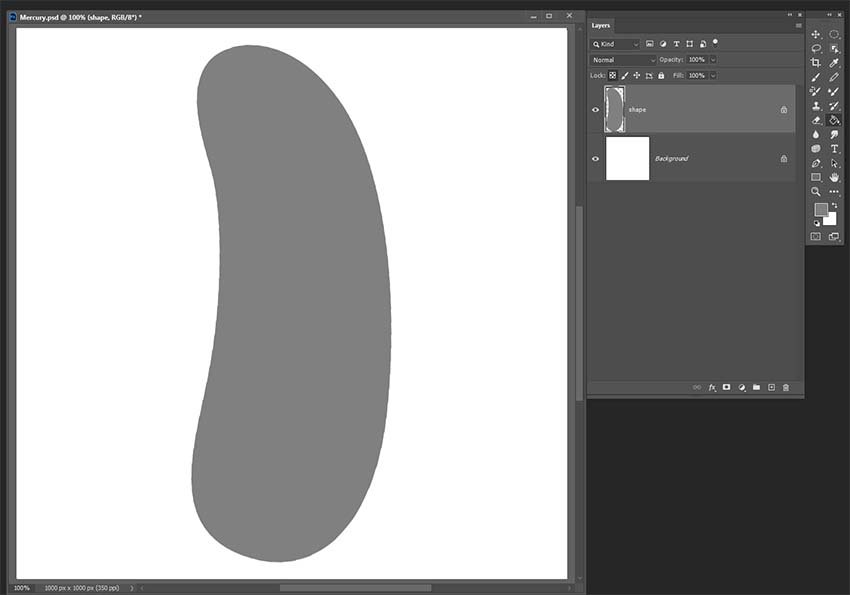
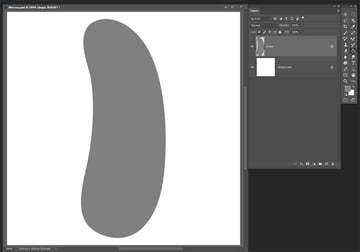
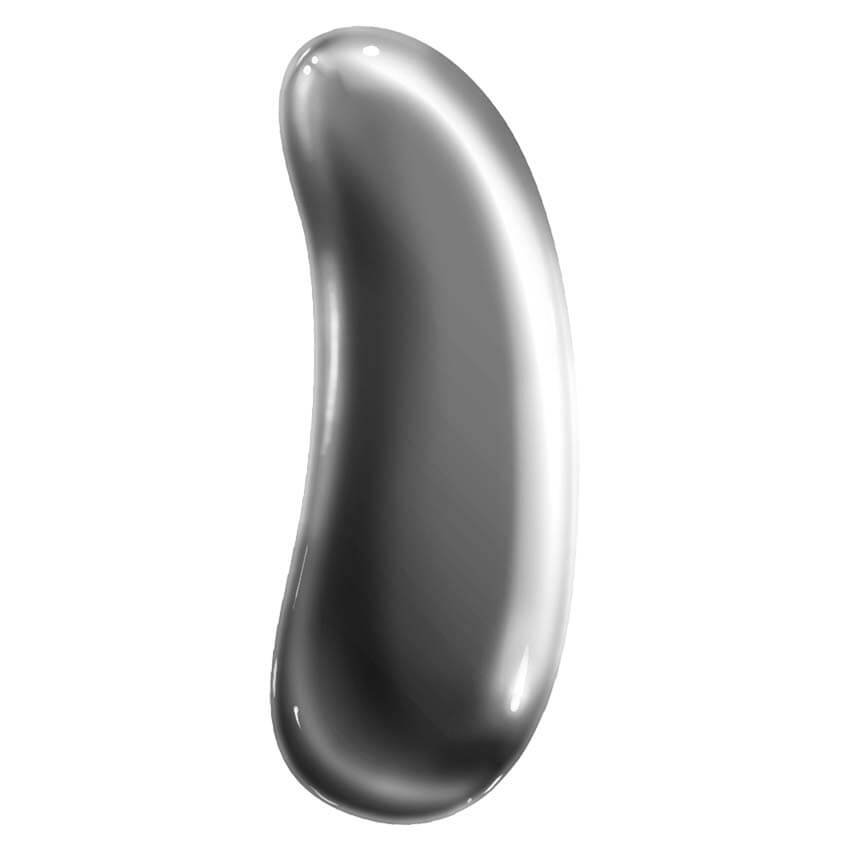
Due to the liquid properties of mercury, this texture method works best on irregular shapes. On a New Layer (Control-N), I drew a bean shape using the Lasso Tool (L) and filled it with a neutral grey.
Step 3
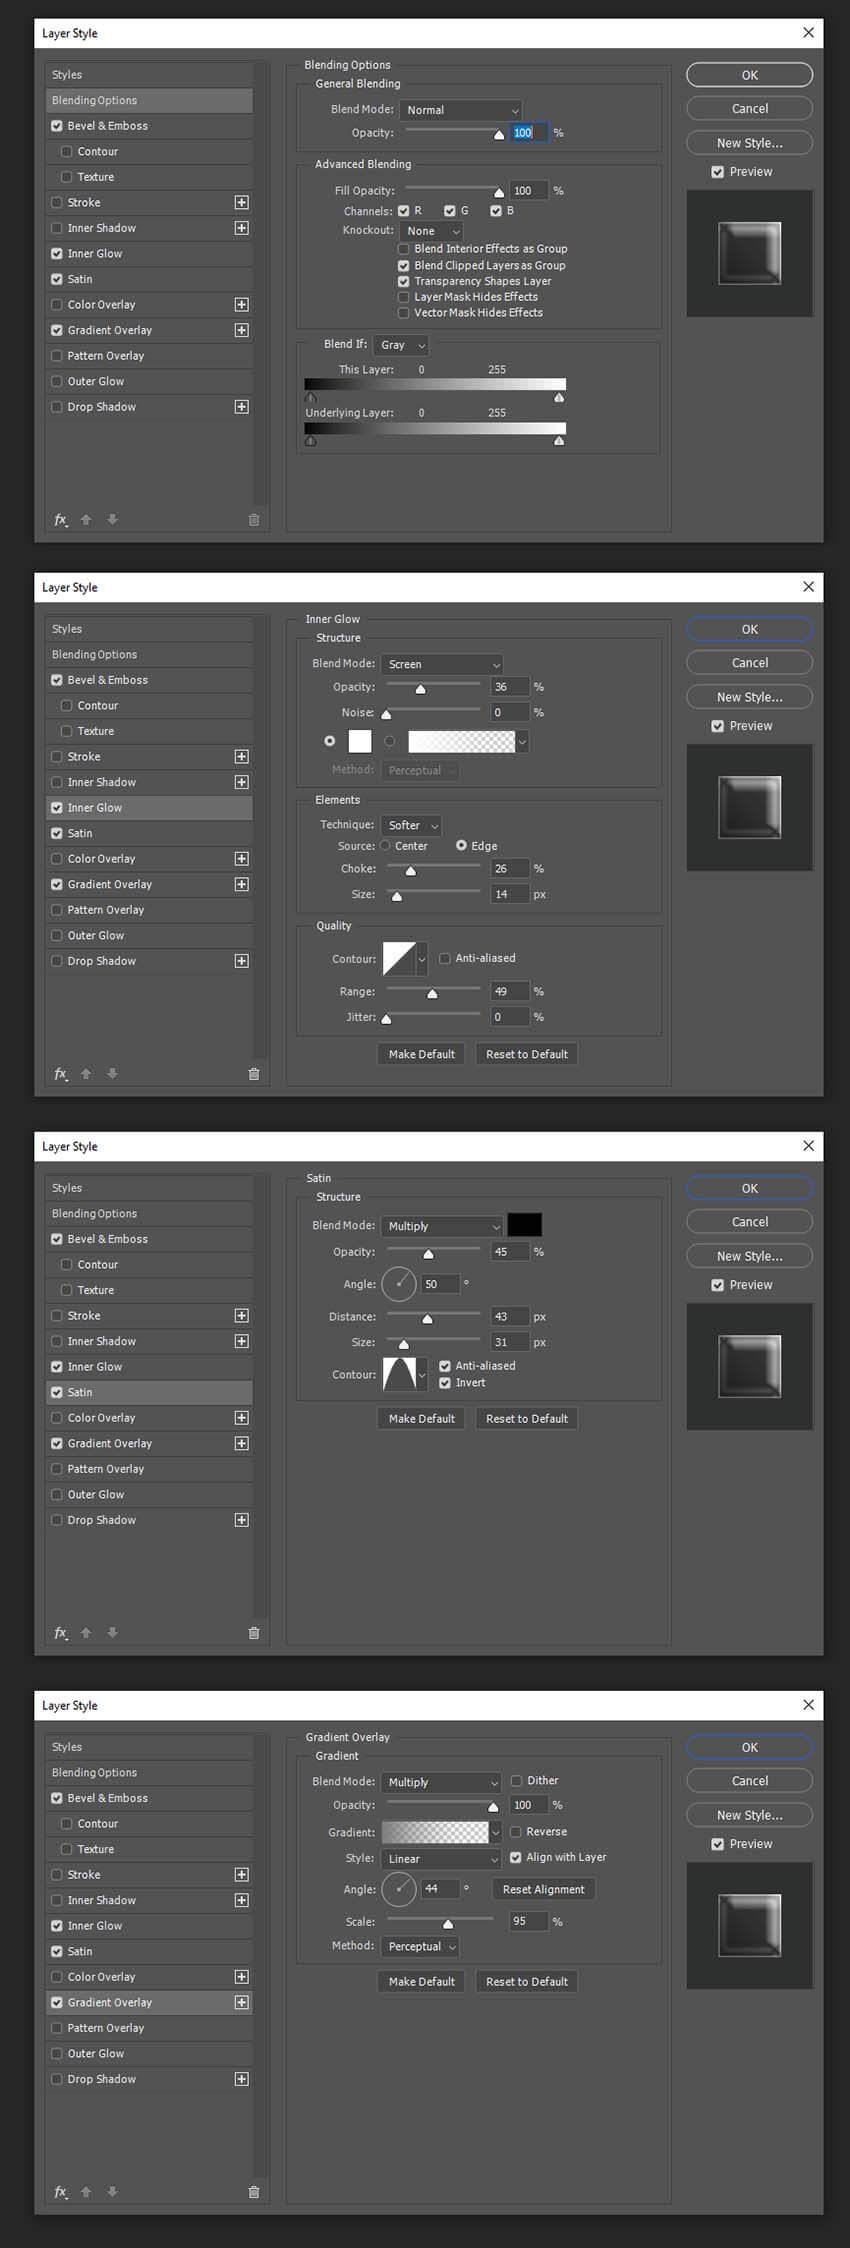
To create our base mercury shading, double-click on the shape layer to bring up the Layer Style dialogue and input the following fields.
Bevel & Emboss
General Blending:
- Blend Mode to Normal
- Opacity at 100%
Advanced Blending:
Inner Glow
Structure:
- Blend Mode to Screen
- Opacity at 36%
- Noise at 0%
Elements:
- Technique set to Softer
- Source set to Edge
- Choke at 26%
- Size to 14 px
Satin
- Blend Mode set to Multiply; Colour set to Black
- Opacity at 45%
- Angle to 50°
- Distance to 43 px
- Size to 31 px
- Contour set to Cone
Gradient Overlay
- Blend Mode set to Multiply
- Opacity at 100%
- Gradient set to the Light Grey to Transparent Gradient
- Style set to Linear
- Angle to 44°
- Scale at 95%
When you are happy with your result, click OK.
Step 4
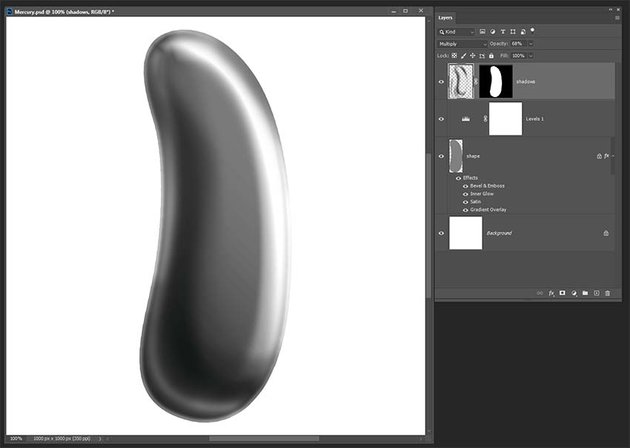
Here’s how our shape looks with the Layer Styles applied. This looks okay, but we need it to be a bit punchier, with areas of higher contrast.
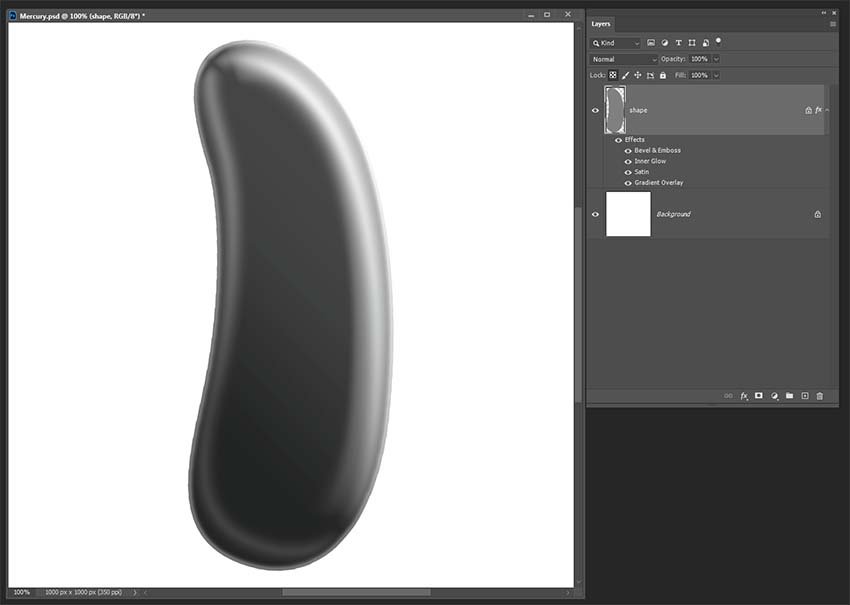
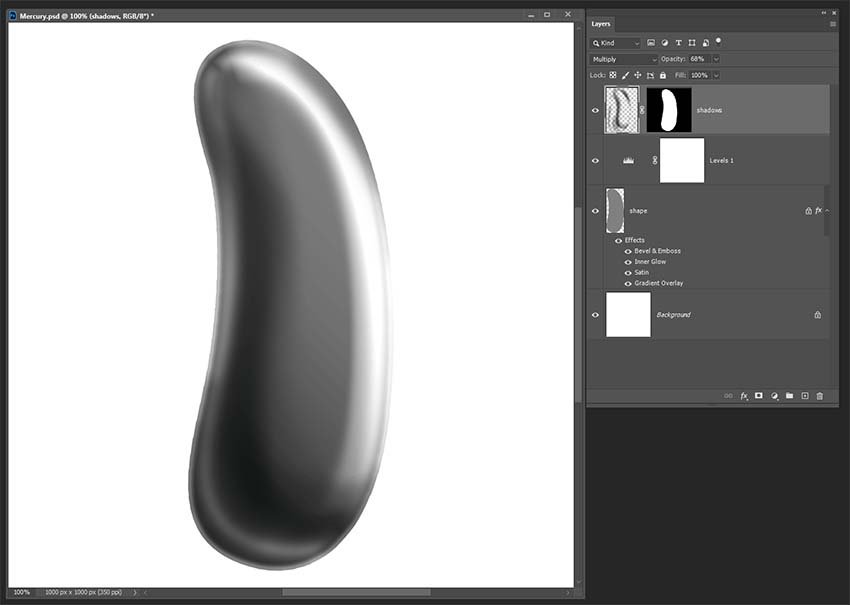
On a New Layer (Control-N) set to Multiply, paint in some shadows using a soft brush and a dark grey.
tip
If you are worried about going over the edges, then Control-click on the Layers panel thumbnail of the base shape. Next, go onto your New Layer and with the selection active, press the Mask button at the bottom of the Layers panel. This will look like a rectangle with a circle at the centre
Step 5
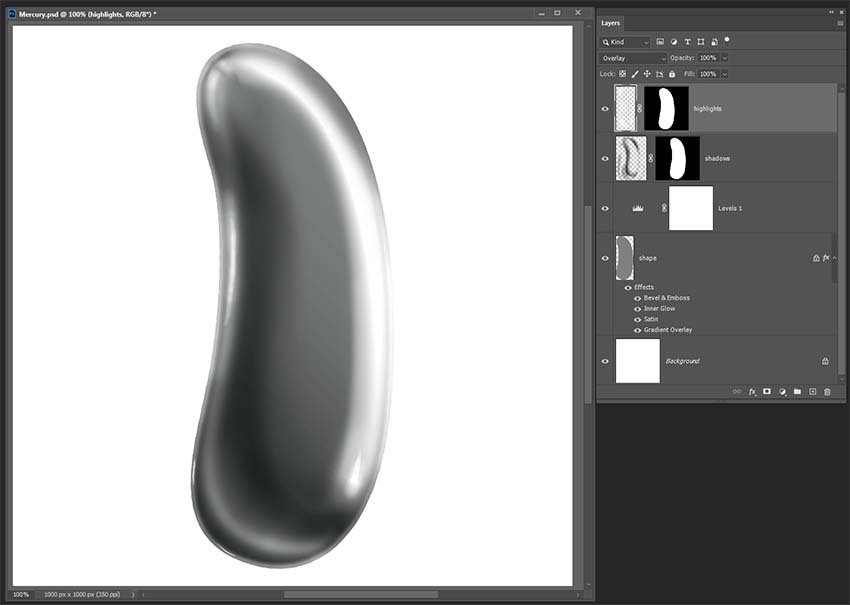
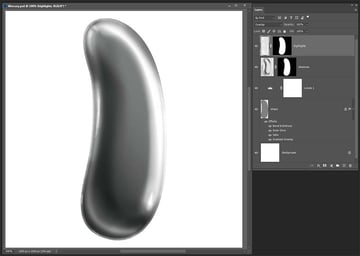
Next, create a New Layer (Control-N) set to Overlay and paint in some soft white light with the same soft brush.
Step 6
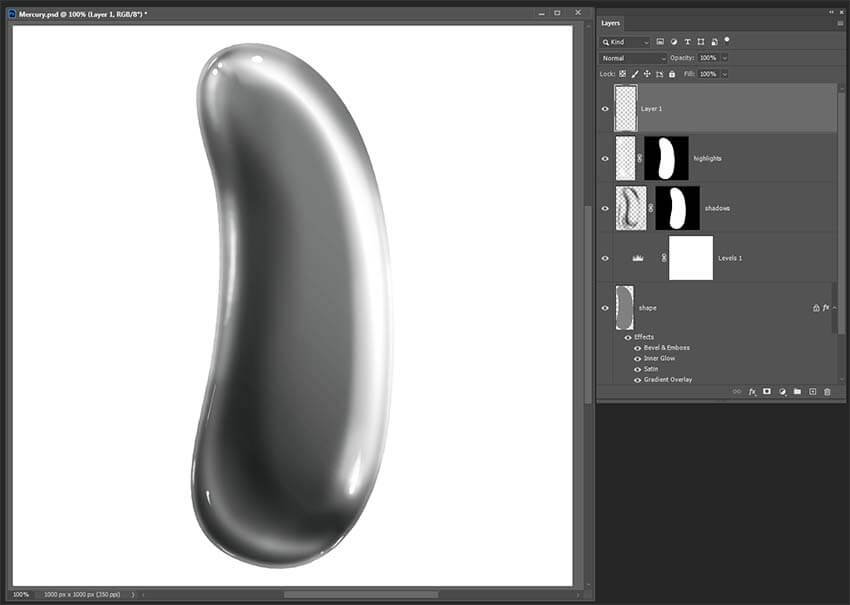
Next, on another New Layer (Control-N) using a Hard Edge brush, paint in a few pinpoint highlights. Add extra little ones around the edges on areas where you painted some white in the previous step. These hotspots will boost the contrast and give our mercury some realistic touches.
Step 7
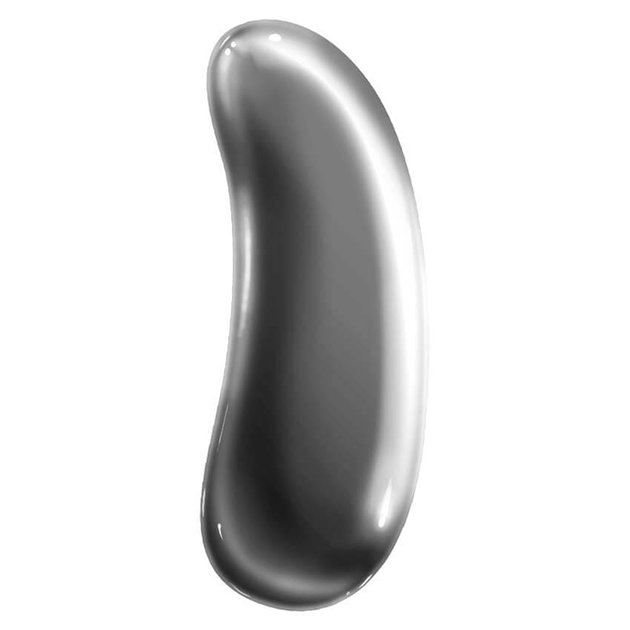
Here we have our finished mercury texture. This technique can work great on script fonts, fancy robots from the future, and soft, organic shapes.
Marvellous Work, You’re Done!
I really hope you have enjoyed this tutorial on how to create a metal pattern in Photoshop. You’ll now be able to create gold, rust, brushed steel, diamond plate, and mercury/liquid textures with just a few clicks!
If you’d like to learn more about Photoshop and using textures in your work, then please check out some of the tutorials I have linked to below.
