At its core, running a business is a problem-solving practice. To conquer challenges, you’ll need team buy-in. It helps to create presentations that highlight problem solution slides.


In this tutorial, you’ll learn how to use 7-step problem-solving techniques in presentations. It’s critical to present the problem in a way that makes sense to the audience.
You’ll see presenting problem examples to drive great discussions. Then, you’ll learn how to create slides that share a solution to the problem at hand. Let’s jump in!
Problem-Solving Presentations and Basic Slides to Include
Problems are a fact of life and business, but they can also be repositioned as opportunities for improvement. When a problem is framed properly, you can present options and move past it with growth.
In this tutorial, we’ll tackle how to create problem solution slides. Not only will it show you how to frame a problem, but it will also help you get support from your team.
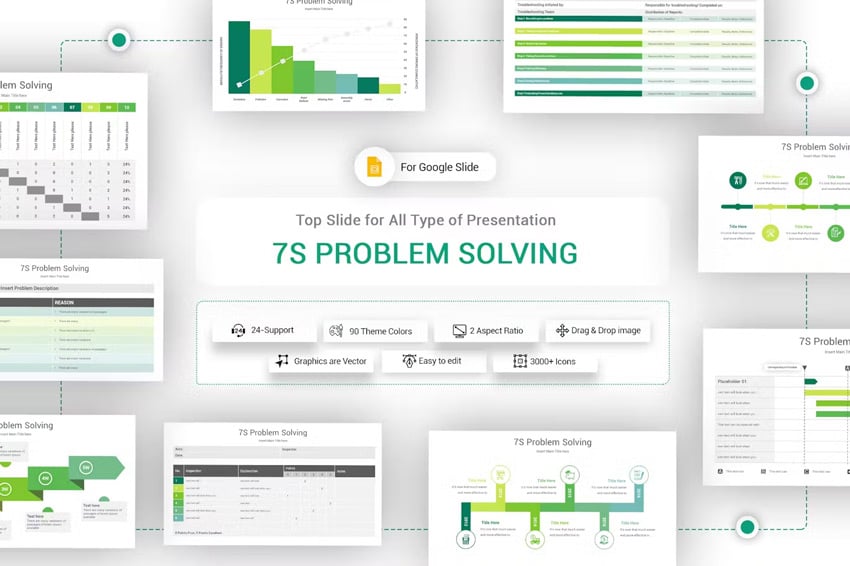

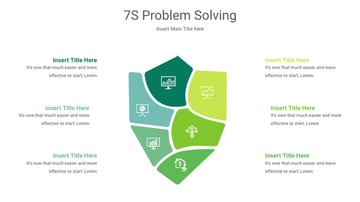
To save time and create great designs, we’ll use a design from Envato Elements. The 7S Problem Solving Google Slide Template has a litany of pre-built slides we can use. With these out-of-the-box visuals, we can simply update the template with our specifics.
This template includes many great designs that connect to the 7-Step Problem-Solving framework. The 7-Step Problem-Solving approach is a hybrid of many common management frameworks for problem-solving.
Here are the key steps:
- Define the problem: It’s important to start by framing the problem. Use a slide to explain the problem and its possible causes.
- Analyze the problem: After an initial hypothesis, it’s important to turn to data. Use data analysis to dig deeper into the “why” for the problem and solution.
- Define the goals: Before you solve a problem, you should set goals. You can then test your potential solutions to ensure they move you toward those goals.
- Generate potential solutions: Brainstorming is crucial. You need a range of options to choose from, so generate ideas with an open mind.
- Select the solution: After sifting through potential options, narrow the scope to a single path forward.
- Implement the solution: Once a solution is selected, you need an action plan to put it into practice. Use a slide to share the implementation plan.
- Evaluate the results: You might not choose the perfect solution to a problem. It’s important to monitor results with an open mind. That gives you the freedom to adjust your solution to the problem.
Now, let’s review seven slides that connect to the 7-step problem-solving framework. You could use slides like these to spark a group discussion. Plus, they can help you align on the path forward. Or use them to explore problems and solutions in your own business. Let’s dive in!
1. The Problem Statement Slide
Let’s build out an example slide that focuses on defining the problem. This is an under-appreciated part of the problem-solving process.
If the group doesn’t agree on the problem presented, how can you develop a solution? Slide 2 is ideal for teeing up the problem and building up the “why” factors that contribute.
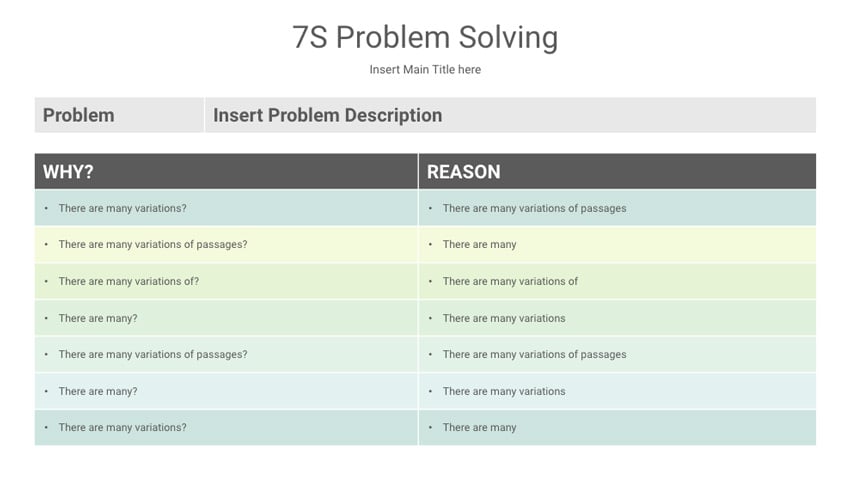
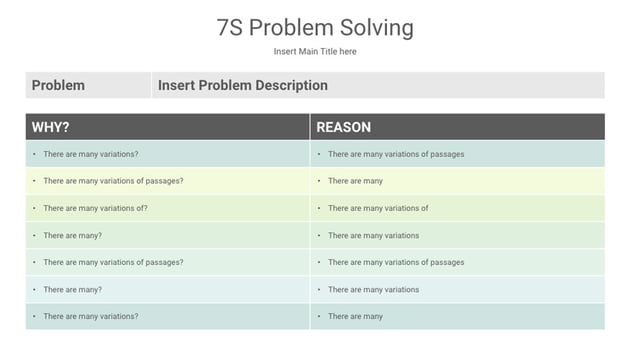
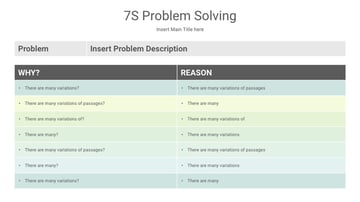
In my experience, sharing a problem statement slide sparks discussion. Use this as a working session to define the problem being presented. It’s best to start out with an open, candid conversation.
Start the session with only two things complete: the slide title and the Problem statement. Then, use a working session with your team to fill out all of the Why? points on the slide. It’s crucial to use this process to build buy-in from your team.
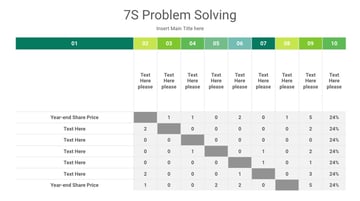
2. The Problem Analysis Slide
Here’s a tip I’ve found for framing the problem presented: you need to bring data to the table. Tie your approach back to the problem, and the solution will become clear.
Slide 14 is what’s known as a Pareto chart, and it’s ideal for showing parts that make up the entirety of the problem. In many cases, the Pareto chart highlights two to three key drivers that explain almost the entire story.
In a Pareto chart, you’ll list the key statistical factors that contribute to your problem. Populate the leftmost bars with the largest drivers. You can use the overlaid line chart to build toward 100%. This visual highlights the most prevalent root causes, which can help you formulate solutions to the problem options.
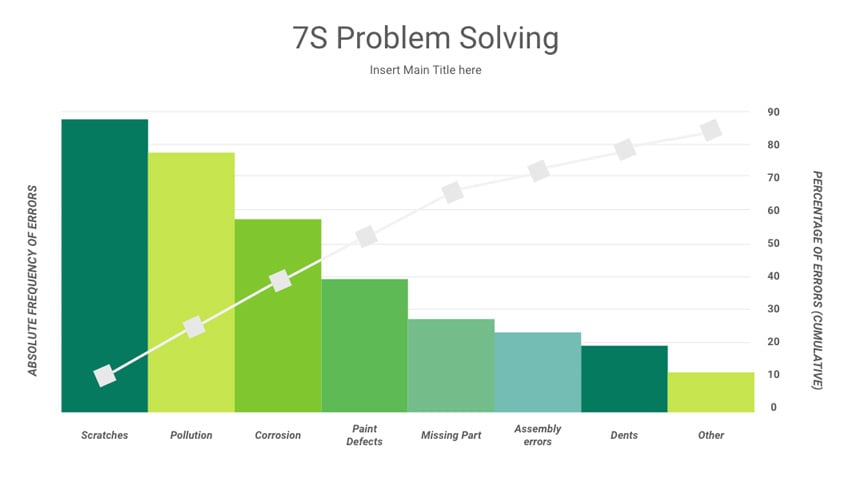


If you don’t have data, you might want to rethink how you’re framing the problem. After all, if you lack data about the problem, how can you arrive at a solution? Consider taking a step back to collect data that builds buy-in for change.
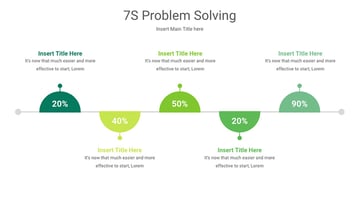
3. The Objective-Setting Slide
If you don’t set a goal, how will you know if you’ve solved your problem? It’s important to create a slide that sets the objective for solving the problem presented.
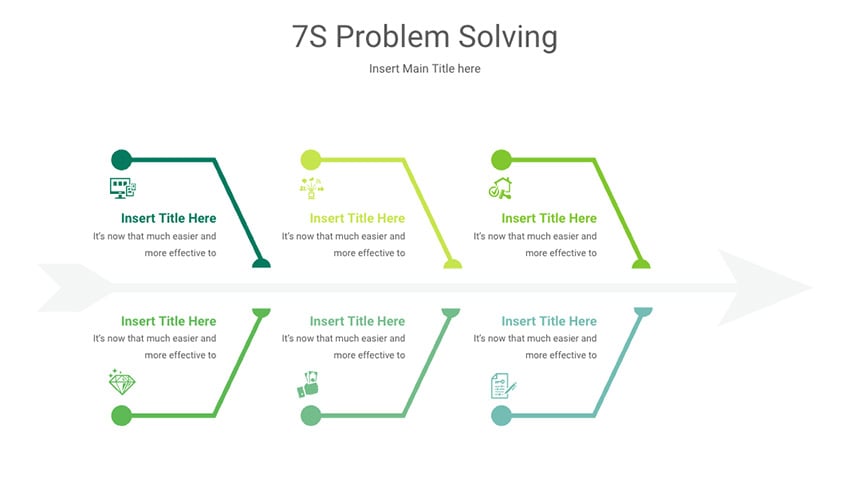
I’ll start with Slide 3 in the presentation, which most closely resembles a timeline. But there’s no reason that you have to use it for chronological data. I’m going to customize it to show the key pillars of my objectives.


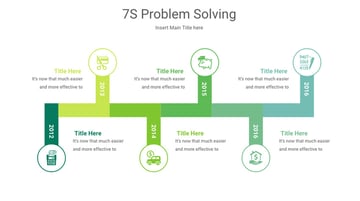
Remember that at this stage in the process, we haven’t decided on an exact path forward. I like to use an objective-setting slide to paint a high-level vision.
As an example, I customized the slide with key objectives. In my case, I opted to remove the icons and simplify the “timeline” to just four key pillars. This brings more focus to the slide.


Remember that every slide in our presentation is totally customizable. It’s designed to give you a starting point. Then, you can use these presenting problem examples to describe your scenario.
Don’t forget: if the icons on this slide don’t match your business purpose, you can source other icon sets on Envato Elements. Your subscription unlocks Google Slides problem-solving templates and icons.
4. The Solution Exploration Slide
By now, some trends should emerge in your exploration of the problem. You’ve probably started to zone in on several key options you could use to solve the problem.
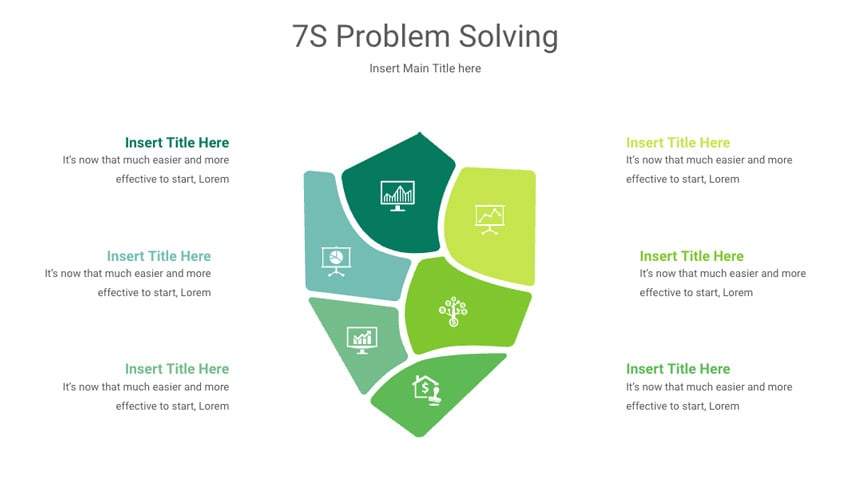
At this stage, I suggest gathering the potential range of solutions and building out a slide that shares them. You could use any slide for this approach, but I like to display them all for discussion. You can use slide 6 in our template for this.
Remember that great slides can serve as the catalyst for a discussion. By sharing your ideas, you’re sure to ignite more ideas for collaboration.
5. The Solution Selection Slide
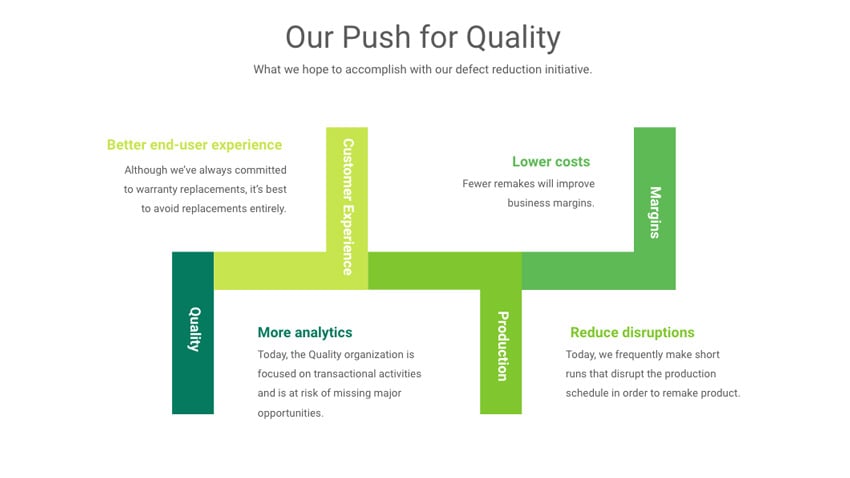
It’s time to share the solution implemented. For this, I’ll use slide 11.
In situations like this, I employ a tactic that I call “something for everyone.” You want to create buy-in from every group and let them know they were considered in decision-making.

Slide 11 is great for this concept. Think of each of these blocks as an opportunity to explain your decision. Use one block per group or team affected, and then share your idea.
6. The Solution Implementation Slide
Once you’ve settled on a solution to the problem presented, you’re ready to formulate a plan. That means taking the individual action steps and sequencing them. For this, I love slide 12, which uses a Gantt chart.
The Gantt chart methodology is common and powerful for planning a project. Most projects consist of many actions that run in parallel. By using a Gantt chart, you can show each of those steps and who owns them.


For a complete guide to creating a Gantt chart in Google Slides, check out our tutorial below:
7. The Results Review Slide
Change management is an ongoing process. It means revisiting your results over time to ensure that the solution addresses the problem.
I recommend using a slide like slide 13 to keep your team posted with the results of your solution. You can use each of these points on the slide to monitor metrics to measure project success.


That’s it! You’ve created a deck that includes all of the essential problem solution slides. With this approach, you can spark great group discussion and formulate a plan. Jump in and try it yourself to share the problem and the solution.
Learn More About Google Slides
Google Slides is easy to get started with, but there’s plenty of power under the hood. Building great presentations takes practice. We’ve got you covered with more helpful resources that teach you Google Slides features.
You can master Google Slides skills with the help of our tutorials. The tips here will help you fill out your problem-solving templates with less work than ever before. Check out top Google Slides tutorials below:
More Top Google Slides Templates
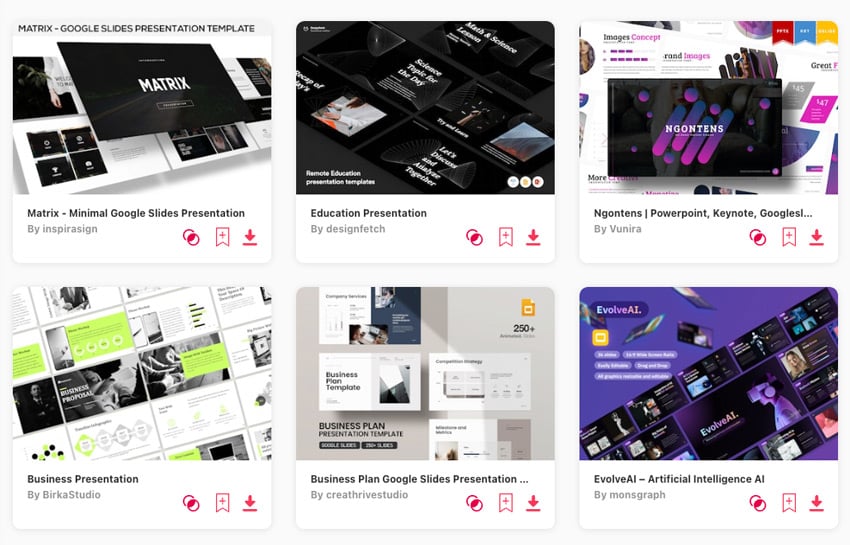
In this tutorial, we featured a template as we learned how to create problem statement slides. Then, we tackled presenting problem examples with that same template. We frequently feature top Google Slides templates that make any project easy, and you can see more top choices below.
Many of these templates can help you frame the problem and the solution. Remember: templates are flexible to your content. That means that many of these will function perfectly as problem-solving templates.
The Best Source of Google Slides Templates (With Unlimited Downloads)
Looking for the fastest way to develop your presentation? It’s best to start with a premium template from Envato Elements.
Envato Elements is the best source to find problem statement slide templates. It comes with an offer that can’t be beaten: unlimited downloads.


With Elements, one subscription unlocks everything you need. You’ll benefit from unlimited access to presentation templates, stock photos, illustrations, and more. Presenting problem examples is much easier with great visuals to share.
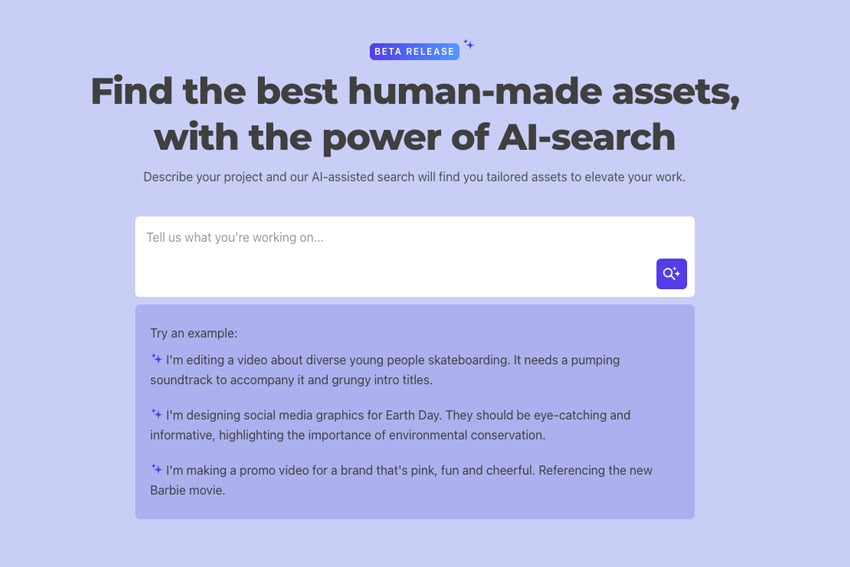
It’s easier than ever to find what you need with the new AI-powered search tool! Elements includes millions of assets. With AI-powered search, the tool finds the perfect creative assets for you. Just enter your description, and you’ll have everything you need.

Don’t delay creating your best presentation ever. Join Envato Elements and you’re on your way!
You Just Learned Problem Solution Slide Skills
Problems are a fact of life and a constant in business. Presenting problem examples is a crucial skill. You learned tips so that the problem presented is clear. Then, you learned how to share and monitor a solution to the problem using Google Slides templates.
Now, it’s your turn. I’m going to challenge you to use a problem-solving template for a challenge of your own. Use our tips and problem-solving templates to explore the challenge from a new angle. You’re on your way to finding creative solutions!