WordPress features a built-in menu management system that makes it easy to add menus to your website. However, as you add more and more pages, posts and other miscellaneous content, it may become impossible to include every destination in your standard menu bar.
In these scenarios, you can provide easy access to every section of your website without cluttering the menu bar, by replacing the standard horizontal menu bar with a dropdown menu.
In this quick tip, I’ll share two easy ways that you can transform any standard WordPress menu into a dropdown menu.
Best WordPress Navigation Plugins
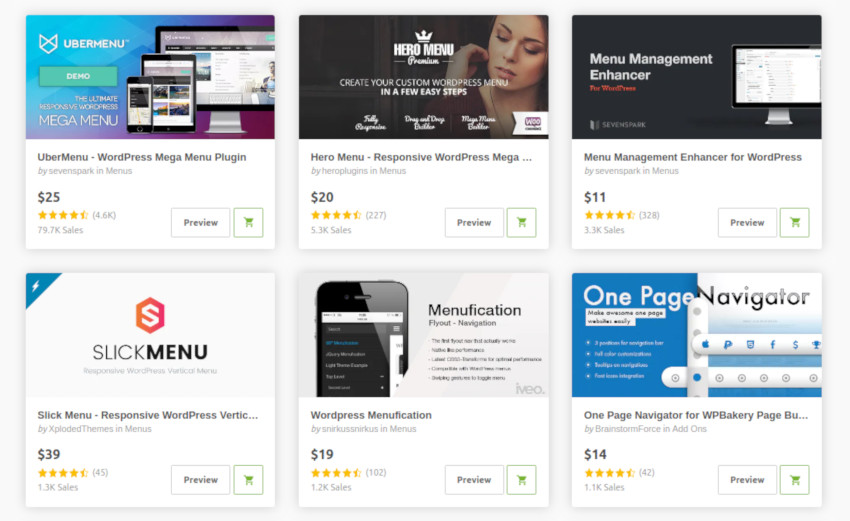
Before we get started, I want to mention that over seven thousand of the best WordPress plugins ever created on CodeCanyon. With a cheap one time payment, you can purchase these high-quality WordPress plugins for navigation or other need.

Create at Least One Standard WordPress Menu
You can add dropdown functionality to any WordPress menu.
If you don’t have a standard menu that you want to convert into a dropdown menu, then you’ll need to create one:
Log into your WordPress account, if you haven’t already. In WordPress’ left-hand menu, select Appearance > Menus, then click the Create a new menu button. Give your menu a name, and then select Create new menu.
Note that the menu’s name won’t appear anywhere on your website, so this is solely for your reference. The Add menu items section lists all the Pages, Posts, Custom Links, Categories, and Formats that you can add to your menu. Click any section to see all the available items within this category. When you find an item that you want to add to your menu, select its accompanying checkbox.

When you’re happy with your selection, click Add to menu. All of these items will now be added to your menu.
At this point you’ve created a standard WordPress menu; your next task is adding the dropdown functionality.
Convert Any WordPress Menu Into a Dropdown Menu
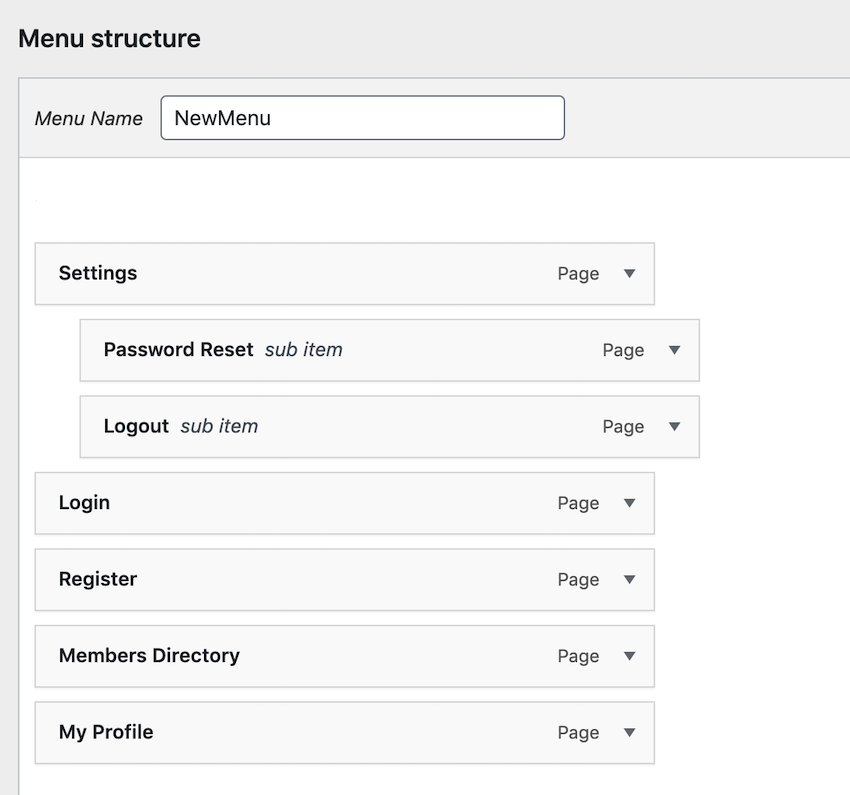
To turn a regular menu into a dropdown menu, you’ll need to use drag and drop to create “parent” items, which will displayed as part of the main menu, and “child” items which will appear as part of their parent’s dropdown.
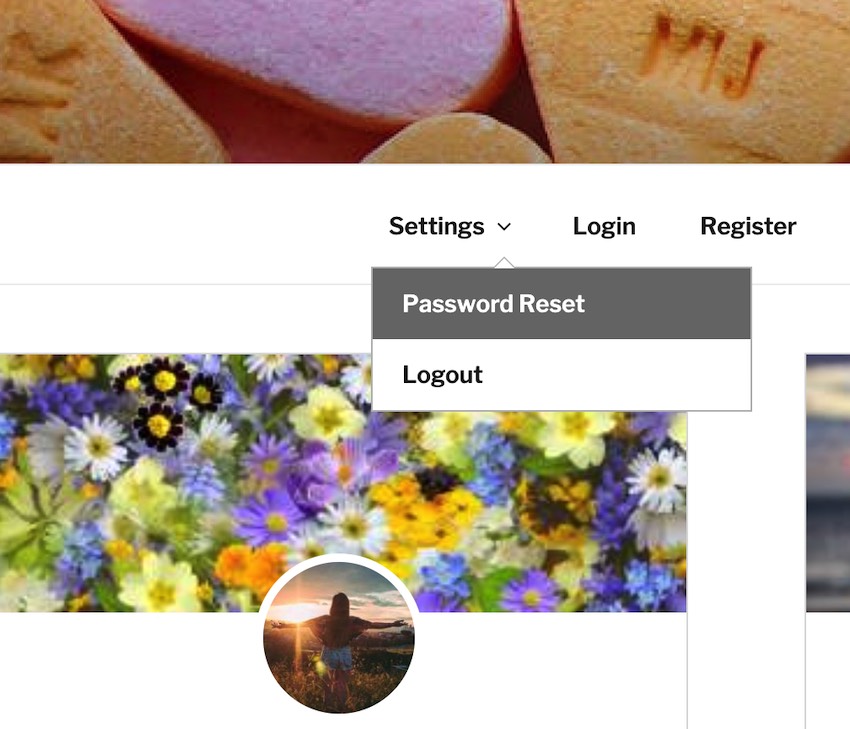
For example, in the following screenshot Settings is the parent and Password Reset and Logout are its children.
This gives me the following dropdown:
You can separate your menu items into parents and children in the Menu structure area.
First, grab any item that want to turn into a child. Drag the child onto the parent item, but don’t release your mouse just yet. Move your mouse slightly to the right, so it’s embedded below the parent. Release your mouse, and the menu item should become a child of the parent item.
When you’re happy with how your dropdown menu is organized, click Save Menu.
Manage Locations: Displaying Your Menu
Now we need to place this dropdown menu on our website, so give the Manage Locations tab a click.
Depending on how your site is set up, you may have different options for positioning your menu. However, if you want your menu to appear as part of your website’s header then you’ll typically need to select Top Menu, Primary Menu or Primary.
When you’re happy with your selection, click Save Changes. Your dropdown menu should now be displayed along the top of your website.
Building Dropdown Menus With Theme Customizer
Alternatively, you can create dropdown menus using WordPress’ live preview and customizer feature:
In WordPress’ left-hand menu, select Appearance > Menus.
Give the Manage with Live Preview button a click. This takes you to an area of Theme Customizer where you can build a standard WordPress menu, by giving the Create New Menu button a click. Give your menu a name, and then click Next.
Click Add items and select every item that you want to display as part of your menu. To turn a standard menu item into a child menu item, drag it onto the item you want to use as its parent. Before releasing your mouse, drag the child item a little to the right, and then release. This item should now be transformed into a child of the parent item, and will appear as part of its dropdown menu.
As you divide your menu into parents and children, your changes will be automatically reflected in the live preview. Rinse and repeat until you’re happy with how your dropdown menu is configured.
Specify where your new dropdown menu should appear, by selecting one of the Menu Location checkboxes. Note that the available options will vary, depending on the WordPress theme you’re currently using. When you’re happy with how your dropdown menu is configured, click Publish.
Your new dropdown menu should now appear on your website.
Conclusion
In this quick tip, I showed you how to create a standard WordPress menu, and then convert that menu into a dropdown menu. By opting for dropdown menus, you can ensure your website is easy to navigate, without cluttering the menu bar.
For more tips and tricks on how to get the most out of WordPress’ menus and other WordPress plugins, check out some of our other tutorials.
-
![]()
Road signs let us know where we are and point us to where we want to go. Similarly, website menus help users to navigate your website. Menus tell users their…
-
Whether you want to show off customer testimonials, your latest blog posts, your best images, or just celebrate the members of your team, there is a…
-
![]()
Whether you need an event calendar plugin, a booking system with payments, or a Google Calendar widget, this list of plugins will have something to improve…
-
Mega menus can be great for sites with lots of pages or sections for people to navigate, but they’re not always the answer to your navigation needs. Find out…


If you’re looking for a best-in class menu plugin for WordPress, check out UberMenu.

You can develop customized Mega Menus for your WordPress site quickly with UberMenu. One of CodeCanyon’s best-selling WordPress Mega Menu options, this plugin works right out the box to build fully responsive, touch-enabled menus that perform consistently across platforms. This user-friendly plugin lets you quickly build advanced submenu layouts in a system that you are already comfortable using.
This plugin is fully customizable, so you can build a Mega Menu that works perfectly with your website.