Preview of Final Results

Tutorial Resources
- Model – Dazzle-stock
- Railway – Sed-rah-stock
- Sky 1 – Frostbo
- Sky 2 – Frostbo
- Moon – Yumi1805
Step 1
Create a new document with a trasparent background.
Size:
- Width 1500px
- Height: 2000px

Step 2
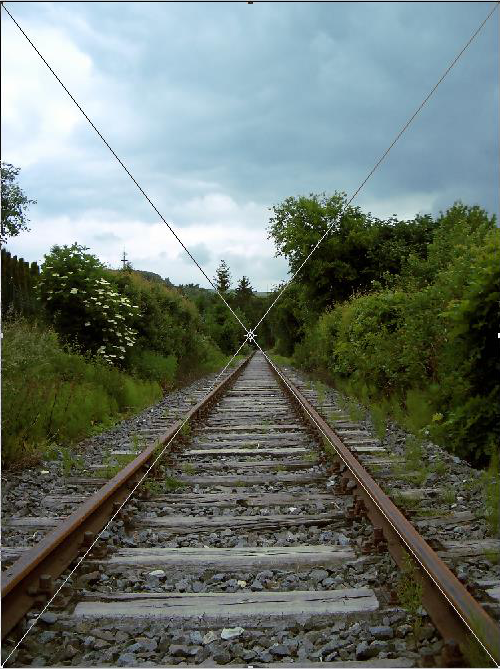
Go to File > Place and open the ‘Railway’ Stock.
Step 3
Go to Edit > Free Transform and choose ‘Rotate’. Rotate a bit the image to through right to fix the Railway prospective. Then choose ‘Scale’ to fit the canvas size. Rename the layer to ‘Railway’.

Step 4
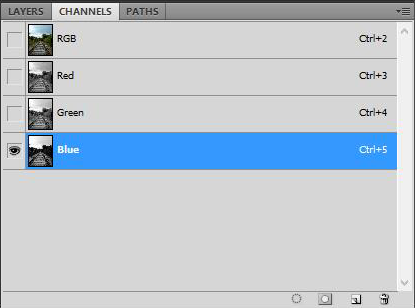
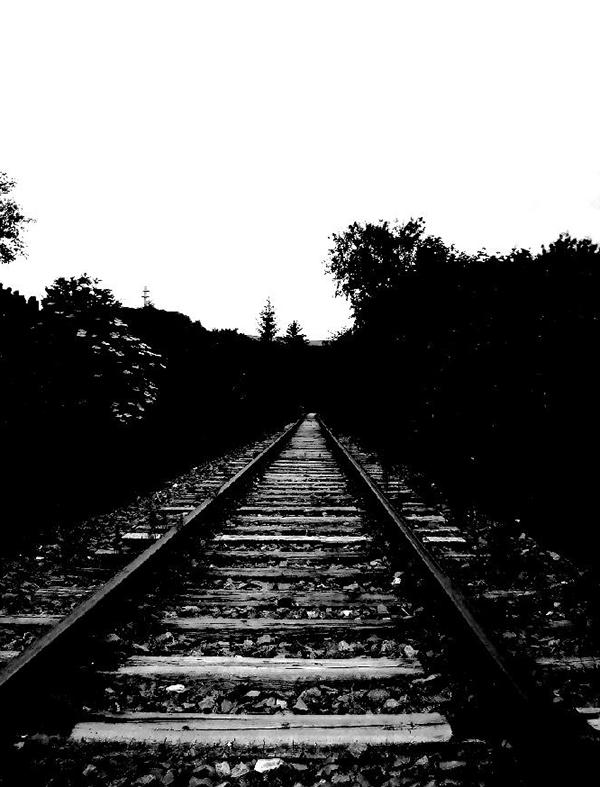
We are going to select the sky so we can replace it with another one. Go to Channel and select the channel that has more contrast. In this case the Blue one. The image will turn to Black & White but don’t worry, everything it’s normal. If you don’t see the Channels then go to Window and select Channel.
Step 5
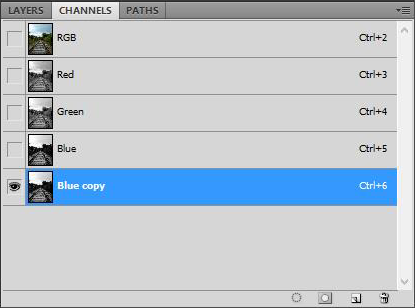
Now right click on the Blue channel and choose ‘Duplicate channel’. Deselect the Blue Channel and select the Blue copy.
Step 6
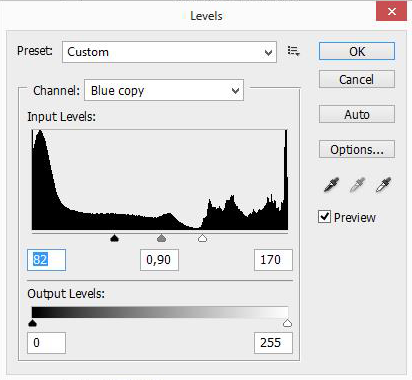
To make a selection of the sky we have to paint with black on the copy of the Blue channel. Before painting we can help ourselves running a Level adjustment on it. Go to Image > Adjustments > Levels. We have to give more contrast. Put the settings I set below and you will see that the sky will be white.
Step 7
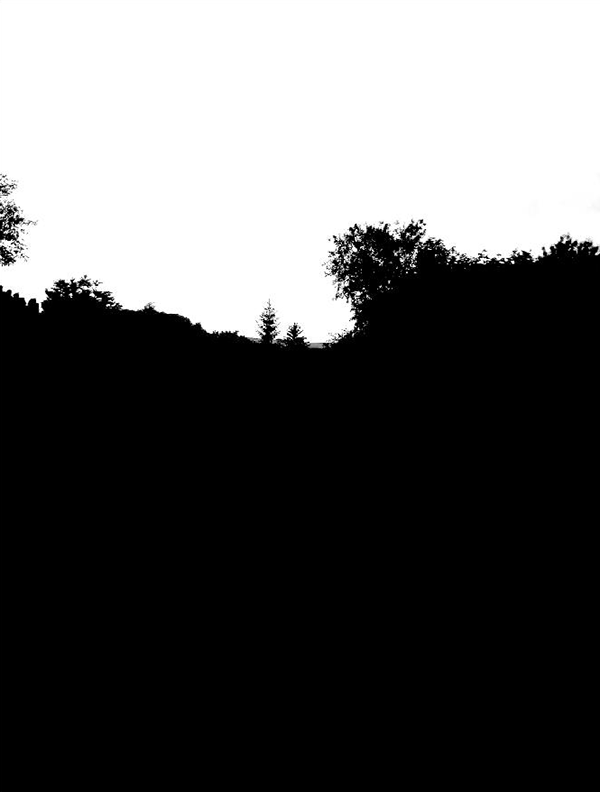
Now we paint with black over the parts we don’t want. Brush has to be 100% Opacity.
Step 8
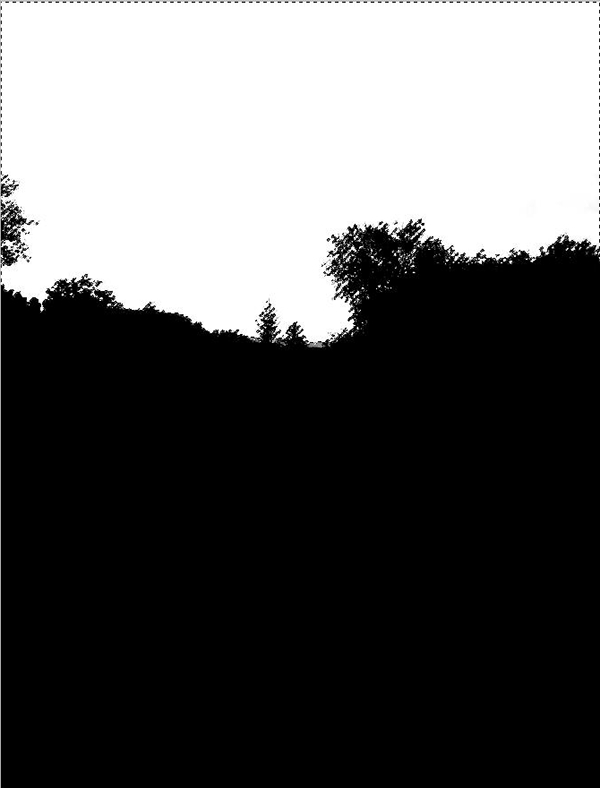
Now we are ready for our selection. Place the mouse on the Blue copy channel. Keep pressed CTRL and press left click on the mouse. The white part will be selected.
Step 9
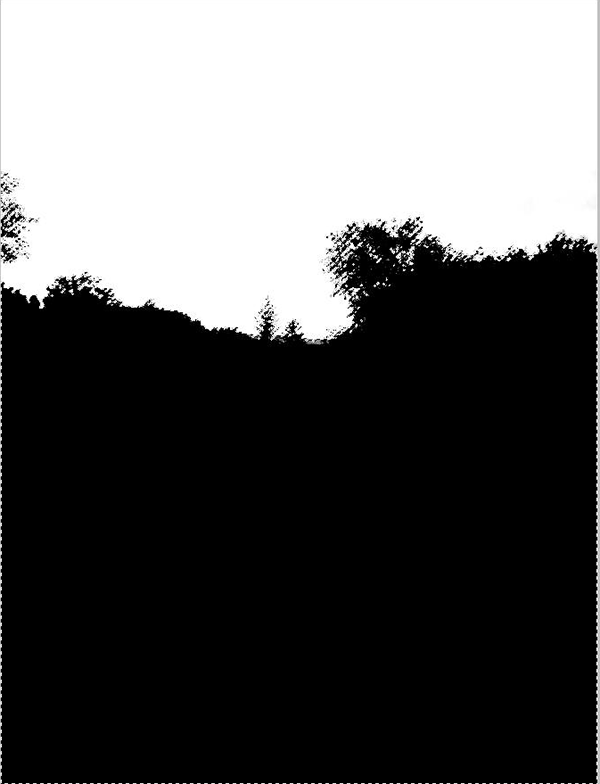
We want to keep the part below so we have to invert the selection. Go to Select > Inverse. The selection is now inverted.
Step 10
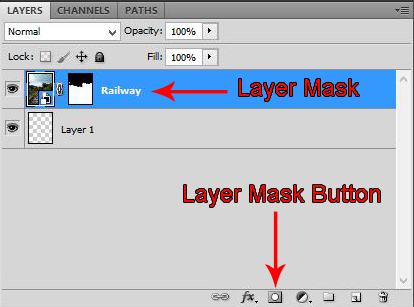
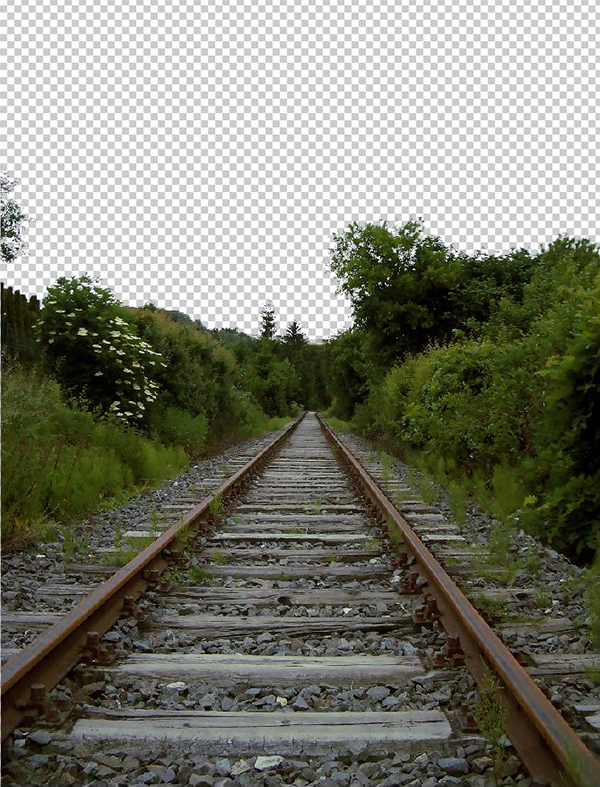
Delete the Blue copy channel and go back to the Layers panel. As you can see the image isn’t black & white anymore and the lower part is selected. Now just click the Layer Mask and the sky will disappear.
Step 11
Go to File > Place and open the ‘Sky 1′ Stock. Name the layer ‘Sky 1′. Put this layer below the ‘Railway’ layer.

Step 12
Go to File > Place and open the ‘Sky 2′ stock. Put it above the ‘Sky 1′ layer and name it ‘Sky 2′. Then set it to Hard Light.


Step 13
Go to File > Place and open the ‘Moon’ stock. Name the layer ‘Moon’ and place it above the ‘Sky 2′ Layer.

Step 14
Set the ‘Moon’ layer to Screen.

