
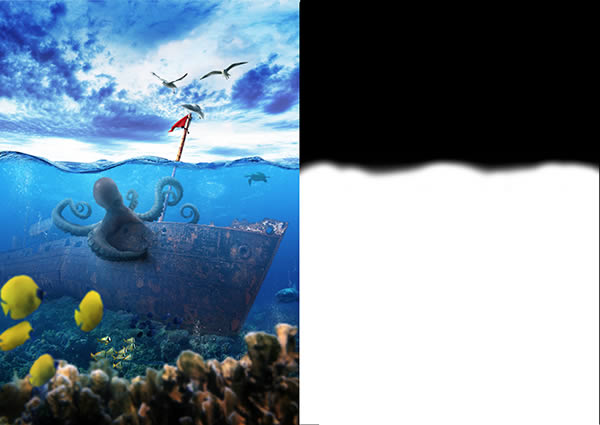
Final Product What You’ll Be Creating

Underwater scenes can be quite challenging to create in a realistic way. In this tutorial, we will explain how to create an Underwater scene in Photoshop using several stock photographs. Let’s get started!
Speed Art Video
Take a look at this stunning speed art video that shows how this artwork was created from beginning to end.
Tutorial Assets
The following assets were used during the production of this tutorial. Please download them or find alternatives before you begin work.
- Seagulls #1
- Seagulls #2
- Octopus #1
- Octopus #2
- Octopus #3
- Octopus #4
- Octopus #5
- Fish #1
- Fish #2
- Fish #3
- Fish and Reef
- Reef
- Reef #2
- Sky #1
- Sky #2
- Shipwreck
- Turtle
- Shark – Image note available. Find alternative.
- Cracks
- Flag
- Bubbles
- Water #1
- Brush Pack
1. Setting Up the Base
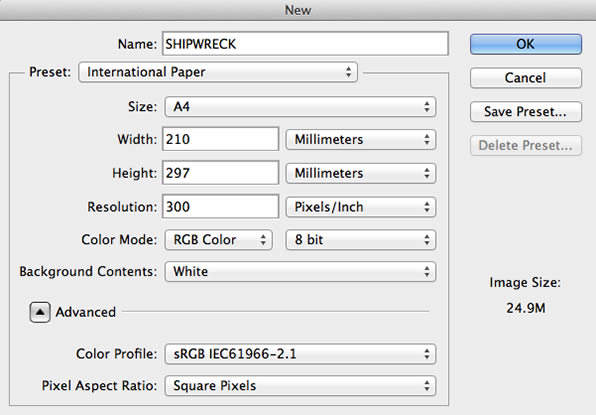
Step 1
Create a new A4 document using the presets shown below. You can make it smaller or bigger but keep the proportion of A4 document.
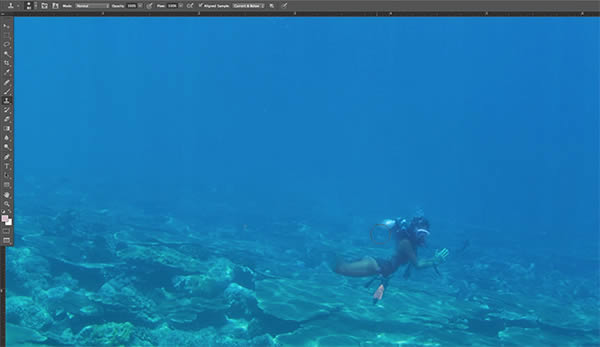
Step 2
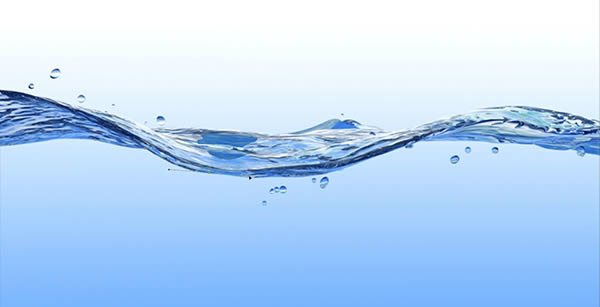
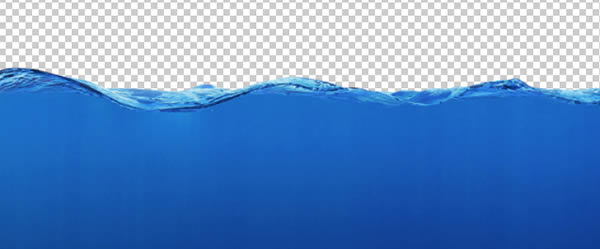
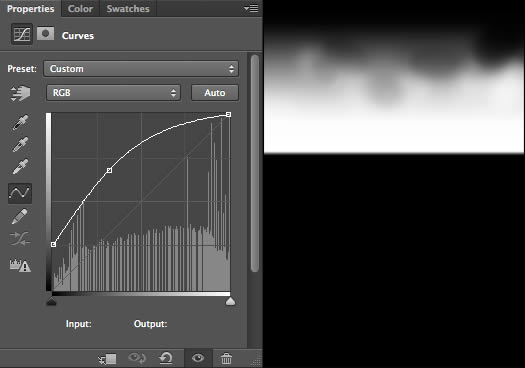
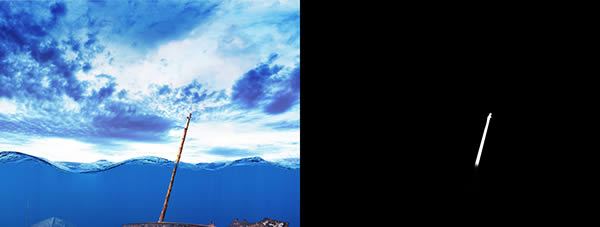
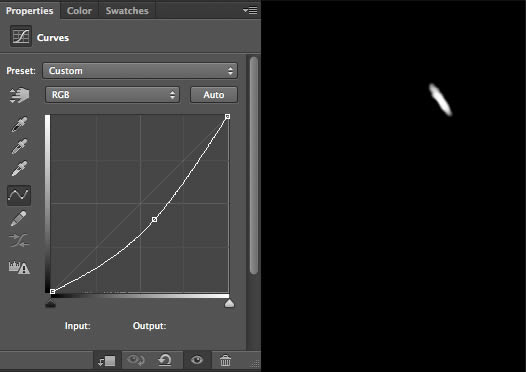
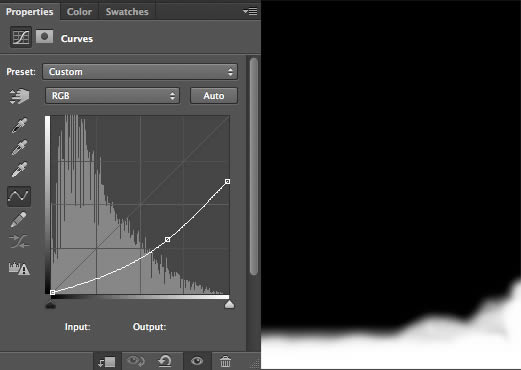
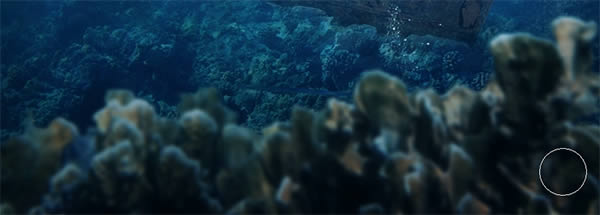
Open the underwater image to make the base of the ocean. With clone stamp tool (S) clean the diver out of the image.
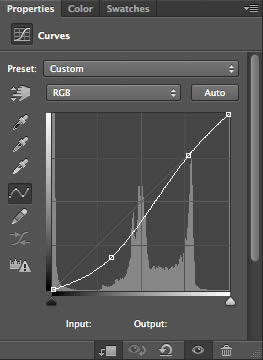
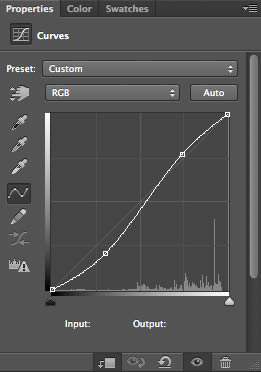
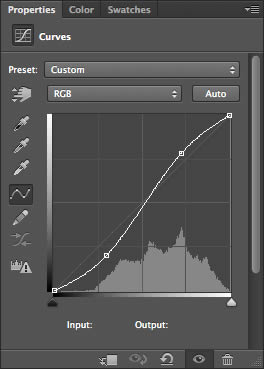
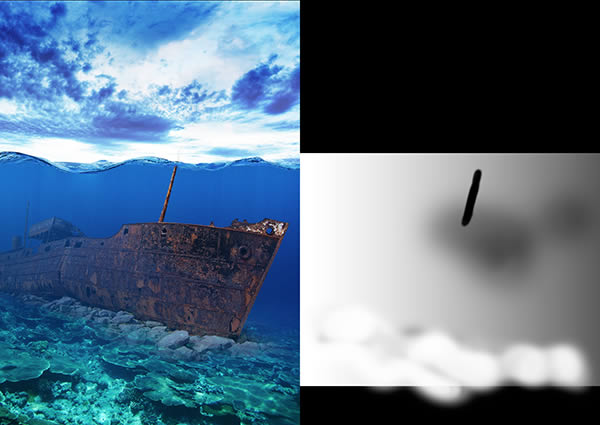
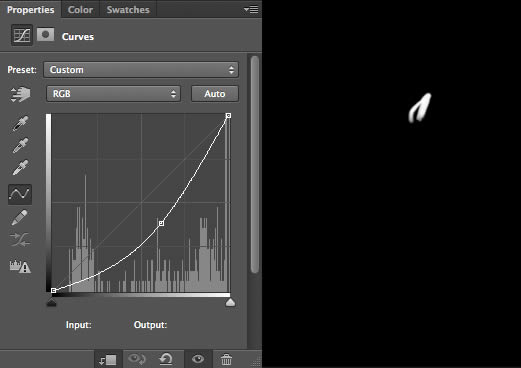
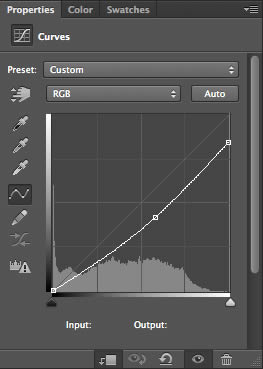
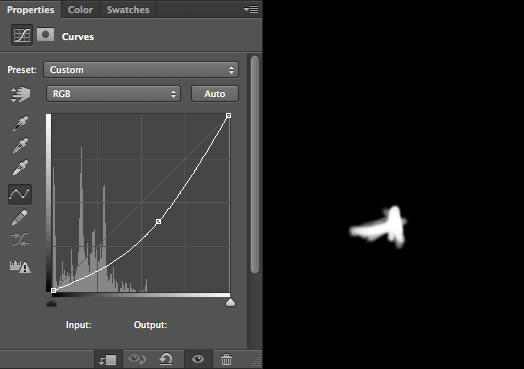
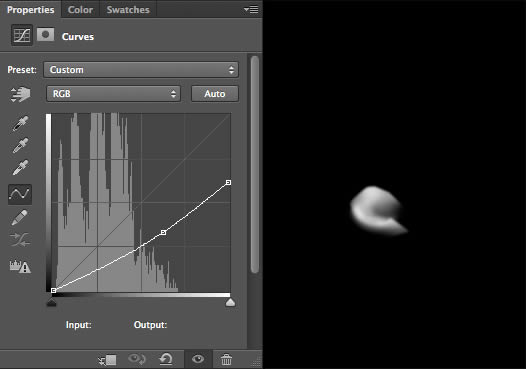
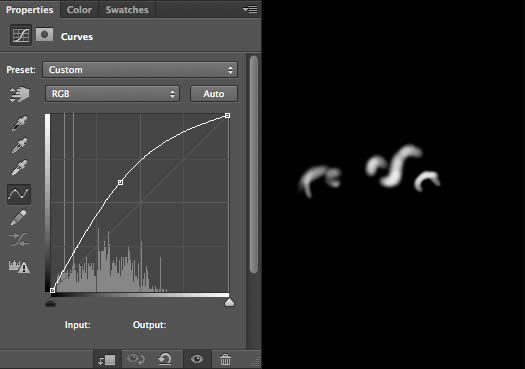
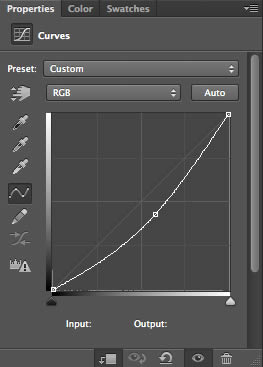
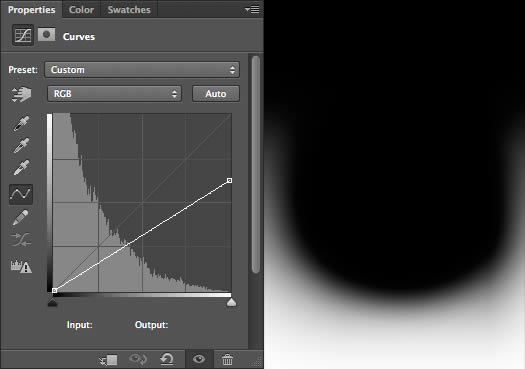
Now using curves (CTRL/CMD + M), change the contrast like shown below.
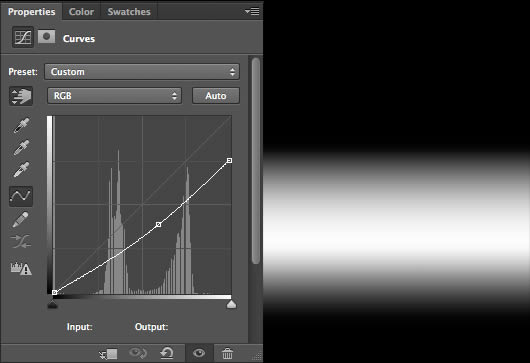
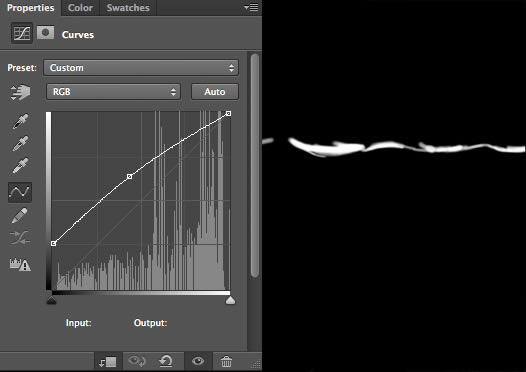
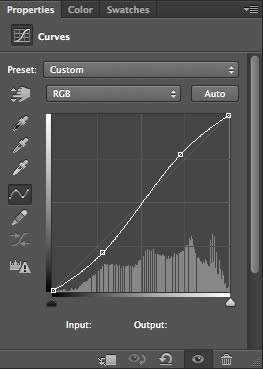
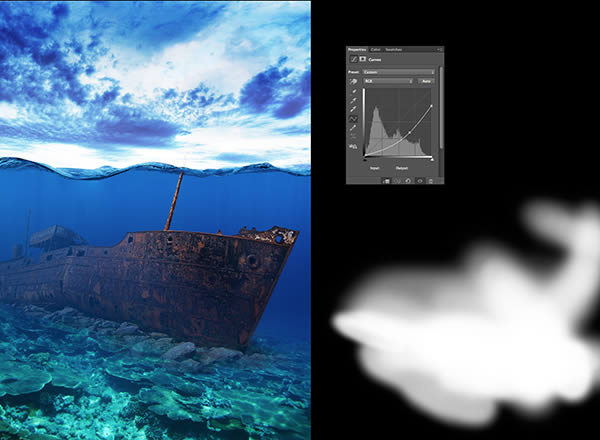
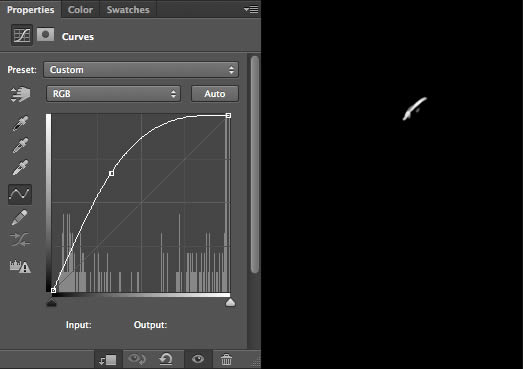
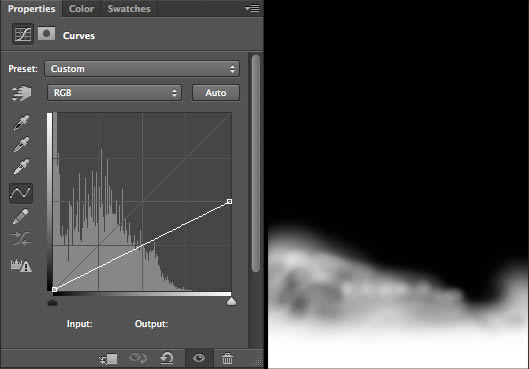
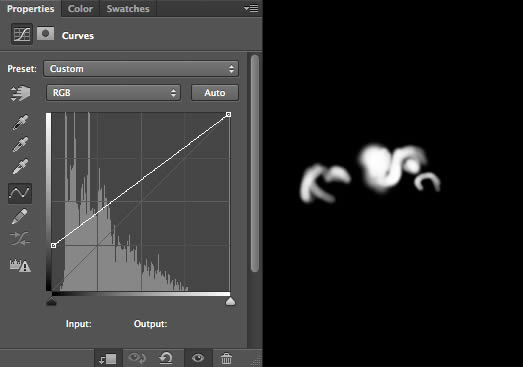
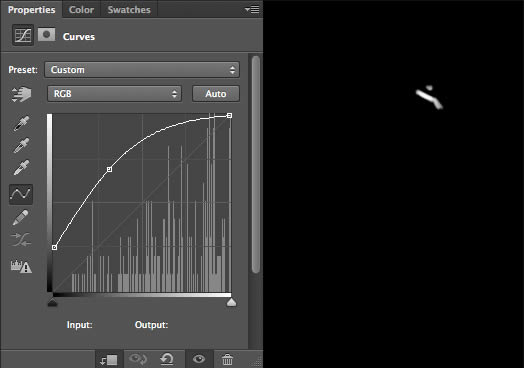
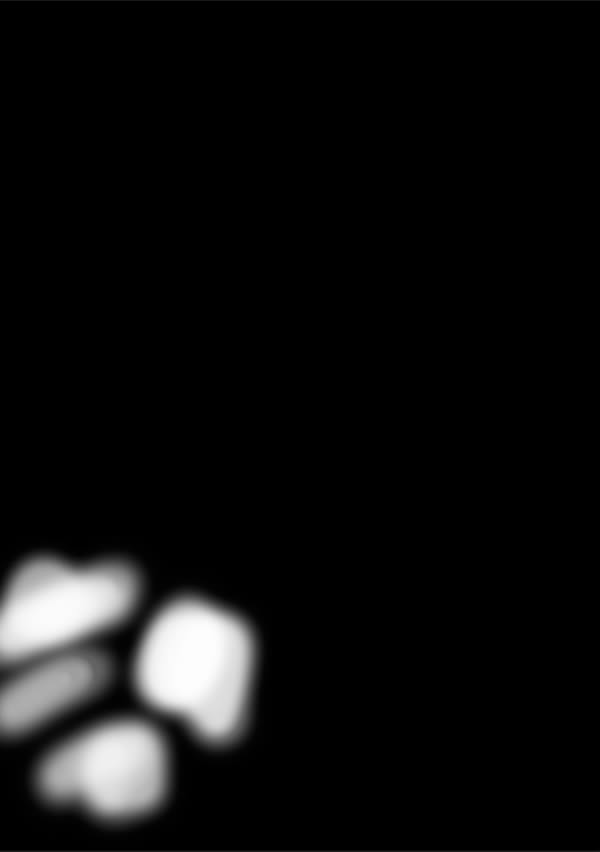
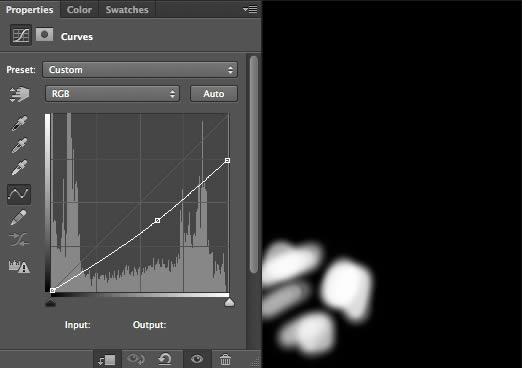
After that, make another curves with layer mask layer to give more depth to the ocean as the next image shows.
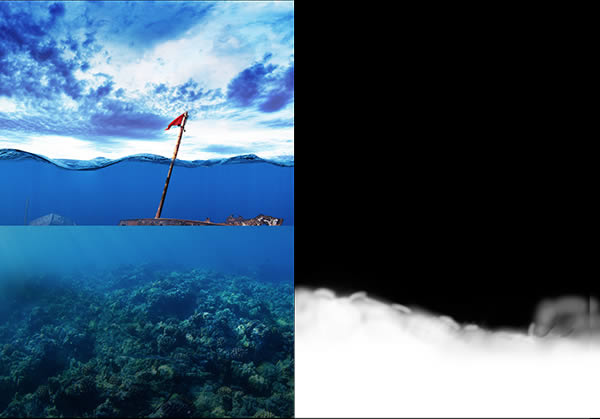
Step 3
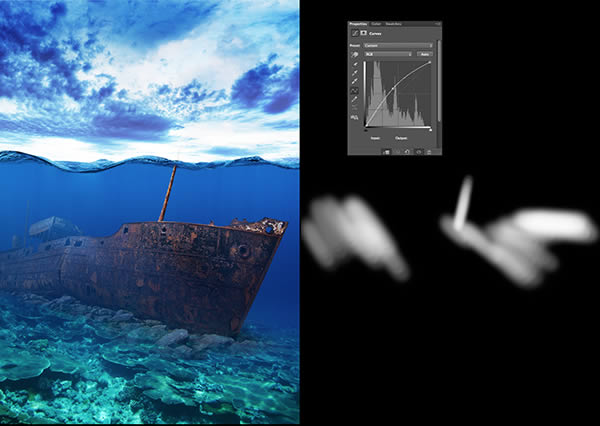
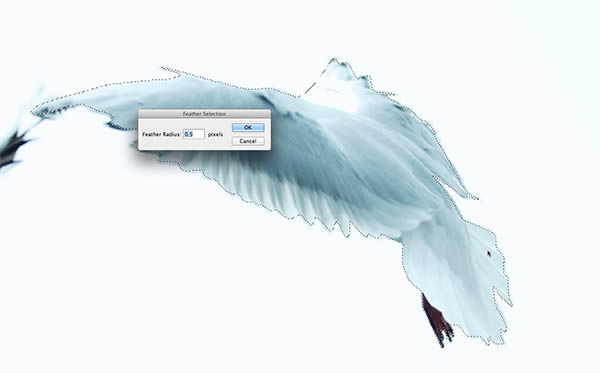
For the water surface, you will cut with the path tool (P) the image water #1. After finishing the path press CTRL/CMD + enter to transform the path in selection and CTRL/CMD + F6 to make the selection softer using a feather around 0.5 or more.
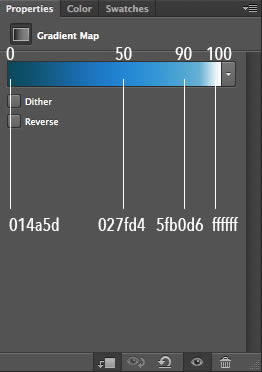
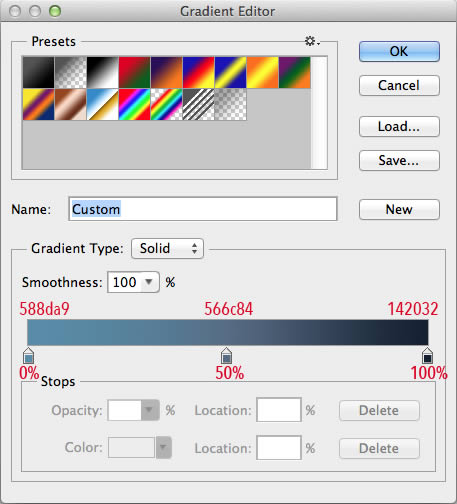
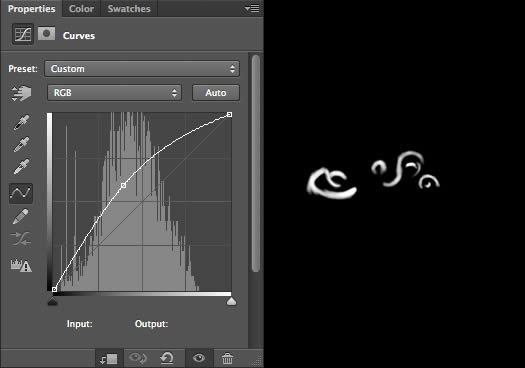
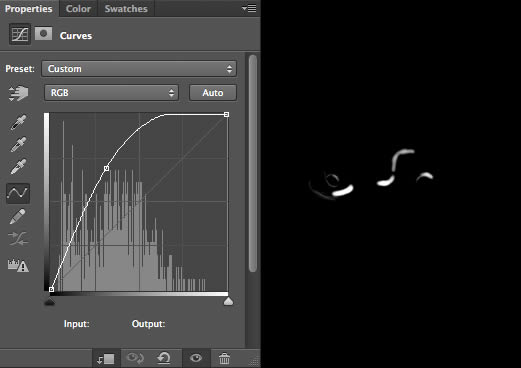
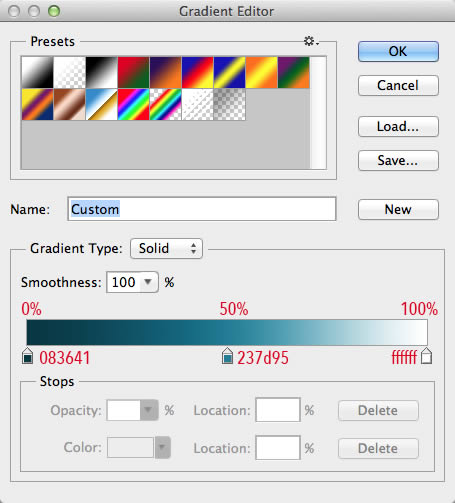
The water surface adjustments, you will use gradient map and curves like the sequence below.
At the end, the image should look like this.
Step 4
Open the image Sky #1 for use as a base, after that open the Sky #2 and set the blend mode set to multiply but mask some parts just to put a few clouds in the clear areas of the sky base.

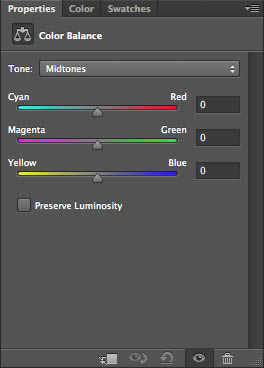
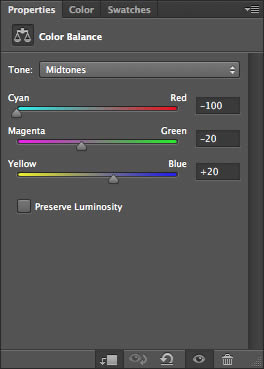
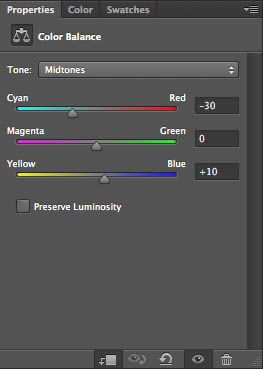
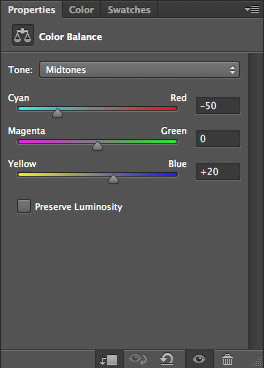
Now for the sky adjustments you will use curves and color balance as the following sequence.
Curves:
Curves:
Color Balance in soft light blending mode whit 50% opacity:
Curves with clipping mask:
2. Insert New Elements
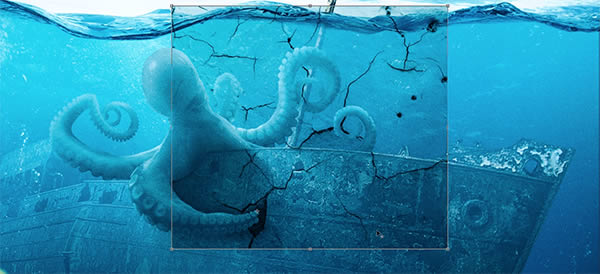
Step 1
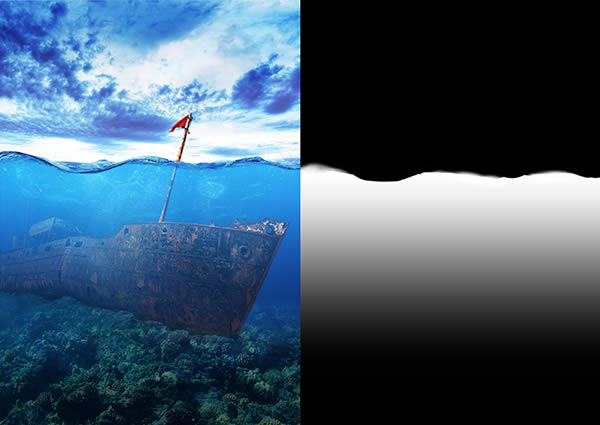
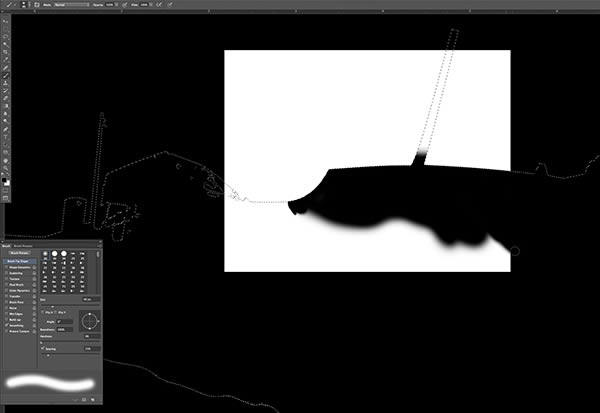
The next step will be to insert the shipwreck into the water. Like previously, use the path tool to cut the ship, make a path press CTRL/CMD + enter to transform the path in selection and CTRL/CMD + F6 to make the selection softer using a feather around 0.5 and after that with a soft brush bring back some rocks on the bottom of the ship. To make it appear that there is water on the ship you will make a copy of the sea, right click on the sea`s folder and select Duplicate Layer with the selected folder duplicated press CTRL/CMD + E to merge in one layer, after that change the opacity of this layer to 75% and create a mask like the image below to make depth and then with ALT pressed click between the layers to bind the ocean layer to the ship layer.
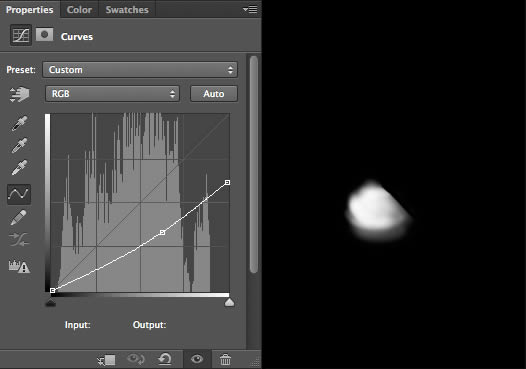
To make light and shadow of the shipwreck, you will use curve adjustments. Create a new curves layer and position between the ship and sea layers like the nest image.
For the light create a new curves layer on top of the other layers.
For the mast out of the water, duplicate the layers of the ship and light then mask like below.
For the final touch on the ship, open the flag image and cut the red one. Then follow the next adjustments layers:
Curves with clipping mask:
Curves with clipping mask:
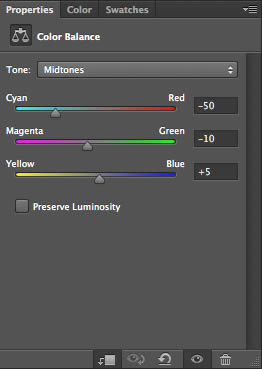
Color balance:

Step 2
The image of the stones will be used for better integration between the ship and the sea. Place the image as in the example and with a soft brush, paint in the mask.
For the colors and lighting adjustments, follow the images below.
Curves:
Color Balance:
Curves with clipping mask:
Step 3
Open the bubbles image and position on the top of waterline and set the blend mode to screen, then make a mask like below.
3. Inserting Animal Life
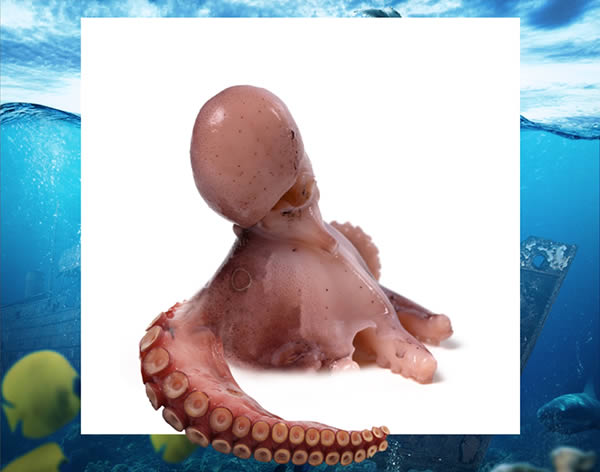
Step 1
For the octopus you will use five images. For the main part, mix the images #1 and #2, position the tentacle like image below and with a soft brush paint in the mask to integrate the tentacle with the octopus.
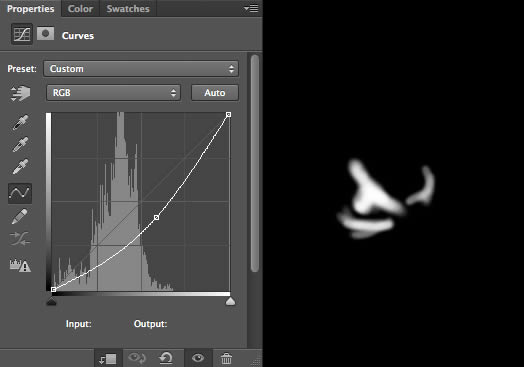
After that merge these two layers in one and cut with path. Follow the next adjustments for color and lighting corrections:
Curves:

Duplicate the bubbles layer and set the opacity to 40% without mask.
Curves with clipping mask:
Curves with clipping mask:
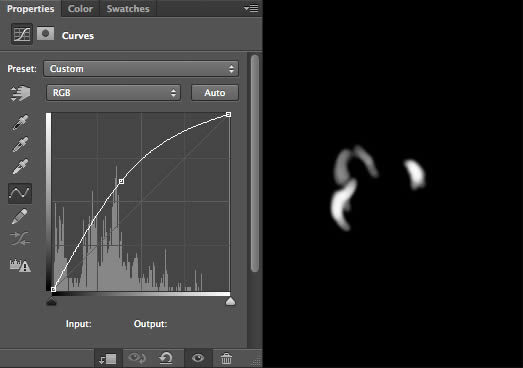
Curves with clipping mask:
Curves with clipping mask:
Color Balance:
Now create a mask on the folder of octopus, after that go the shipwreck mask and pressing CTRL/CMD click under the mask to make a selection with the shape of the ship, press SHIFT + CTRL/CMD + I, to invert the selection and go back to the octopus mask, now with a soft brush you will paint on the mask parties that should be hidden.
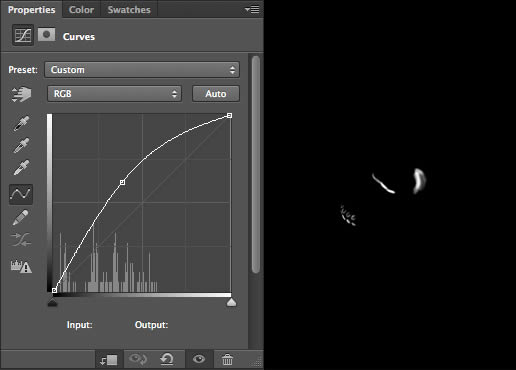
To make the shadow, you will use curves adjustments.
Curves with clipping mask:
Curves with clipping mask:
The tentacles you have complete freedom to make the shape you want, for this, cutting parts of images 3,4 and 5, than go to edit menu and select puppet warp tool to model the tentacles as you wish.
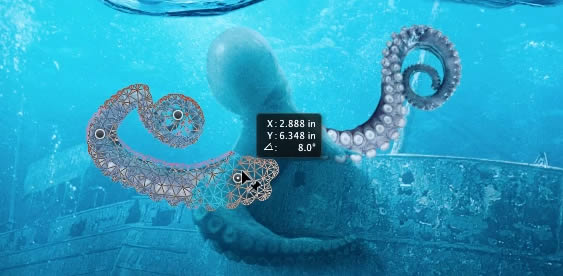
After positioning the tentacles merge all in one layer. Now make the adjustments adapting the masks for your design, having in mind that the direction of the light comes from top left.
Gradient map, to let all the tentacles with the same tone:
Curves with clipping mask:
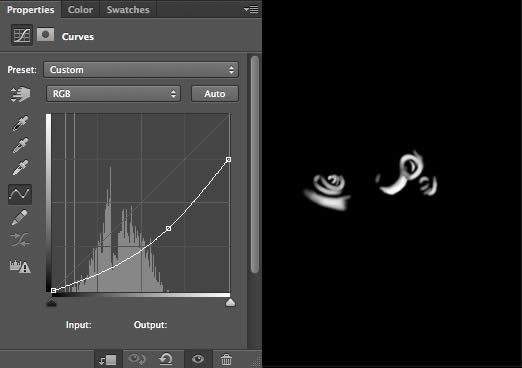
Curves with clipping mask:
Curves with clipping mask:
Curves with clipping mask:
Curves with clipping mask:
Color Balance:
Once again, make a copy of the sea and put on all the layers and set opacity to 50%.
To finish the octopus, open the cracks image and set to multiply, opacity 75% and scale/rotate the way you want to make cracks in the hull of the boat.
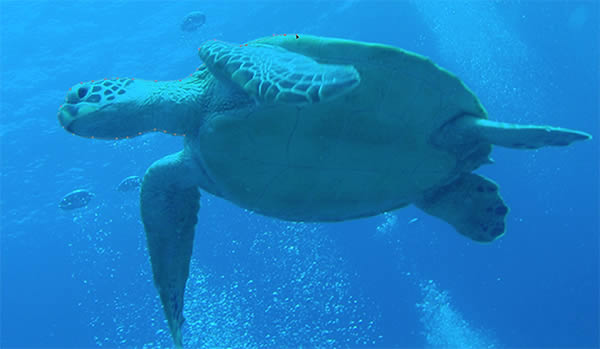
Step 2
Open the turtle image and after cut it set the opacity to 70% and position on top right of the water.
Step 3
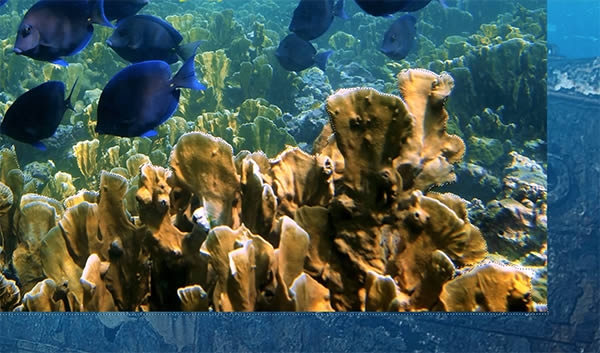
The image fish and reef you will use both but for now cut the school of dark fish.
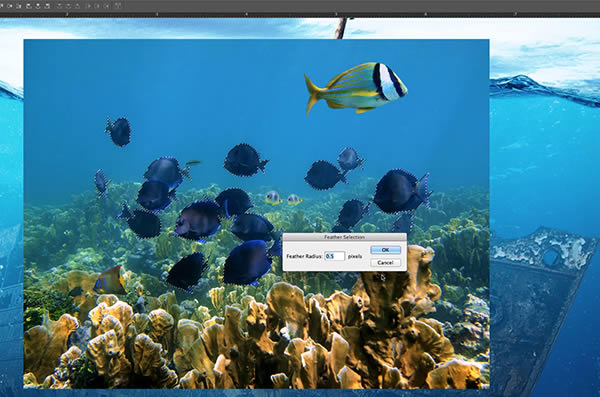
Then go to filter, blur, Gaussian blur and blurry a little bit, around 0.5. After that you will make two adjustments:
Curves:

Color Balance:

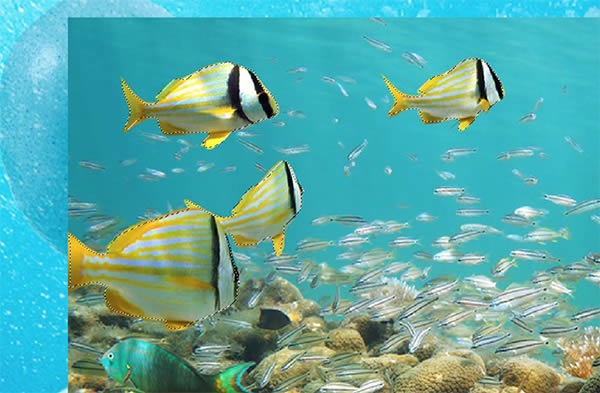
Step 4
The images fish #1 and #2, you will cut the light shoal.
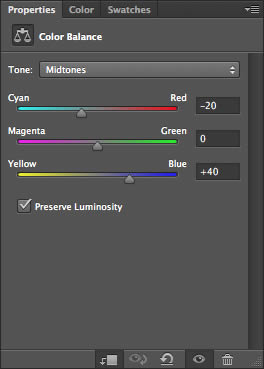
Curves:

Color Balance:
Step 5
Now you will cut the shark image.
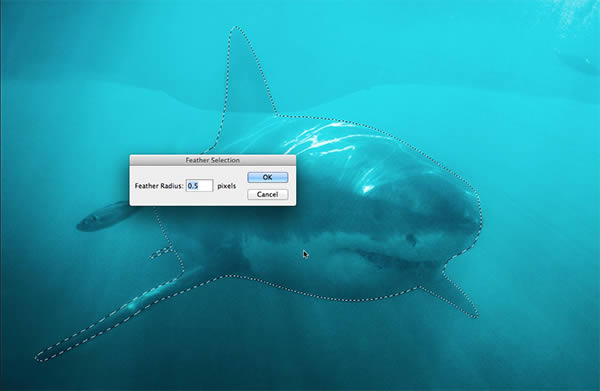
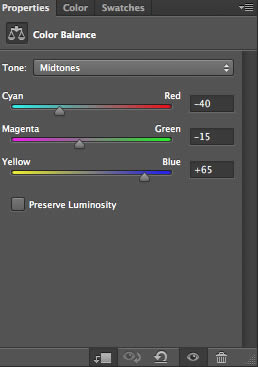
Next flip the shark (edit, transform, flip horizontal) and position beside the boat on the bottom, then set the opacity to 75% and make the adjustments below.
Color Balance:
Curves:
Step 6
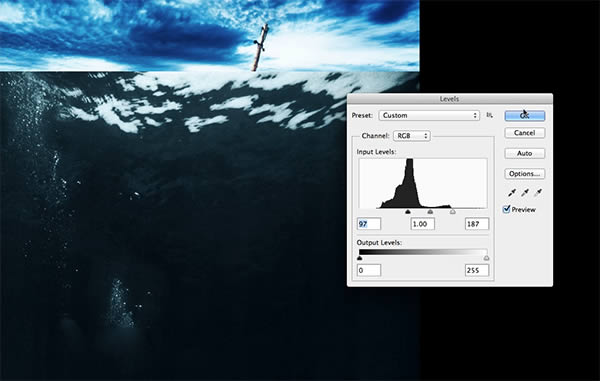
Now you will spread some bubbles around the water. For this, duplicate the image that you used for the base of the ocean, then turn into black and white pressing SHIFT + CTRL/CMD + U and set the levels(image, adjustments, levels) like the image below.
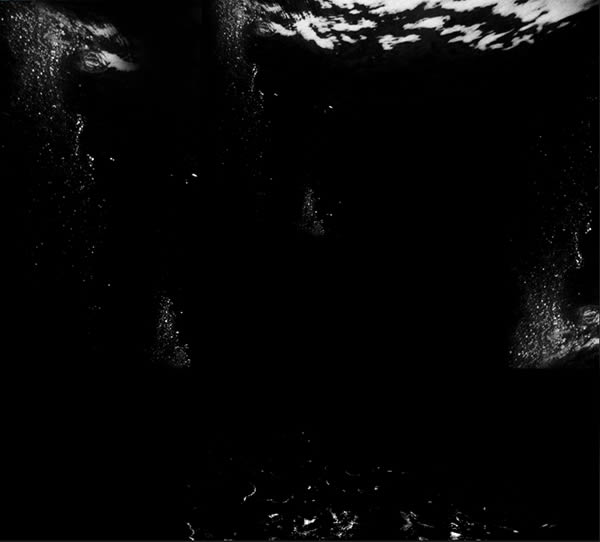
Set the blend mode to screen and change the intensity of the bubbles paint in the mask or decreasing the opacity. At the end the layer will be like image below.
Step 7
You will cut the seagulls images and position near the ship’s mast.
Then follow the adjustments sequence.
Curves with clipping mask. This effect is to make the shadows, try to paint the right side of the birds:
Curves with clipping mask. This effect is to make the lights, try to paint the left side of the birds:
Color Balance to adjust color:
4. Foreground Elements
Step 1
This part of tutorial you will put elements on foreground. Open once again the fish and reef image for now cut just the reef, using Gaussian blur, blurry the image around 8.0 and scale to appear that are close to the camera lens.
With color Balance set the colors like below:

Using curves you will make the shadows painting in the mask with a soft brush darkening the underside of corals, like next image:
For the fish, follow the first steps of the reef. The difference is the shadow and color adjustments.
Using curves, make the shadows painting in the mask with a soft brush the underside of the fish:
With color Balance change the tones:
Step 2
This step is optional. If you want to make the distortion of water you have to make a copy of all layers together. Press SHIFT + CTRL/CMD + ALT + E (Combines all visible layersinto one) then go to filter, filter gallery, distortion, glass and set like image below.
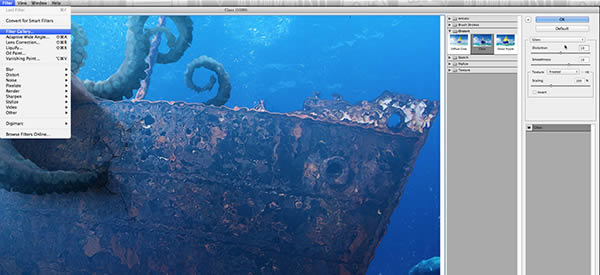
To finish, make a mask only in part of the water and set the opacity to 50% or the way you prefer.
Step 3
For the last step of all process you will create the environment. This part is to make all the elements appear to be in the same atmosphere. You can change some settings for your preference.
Curves with clipping mask to darken the corners:
Gradient Map with blend mode set to color and 40% opacity:
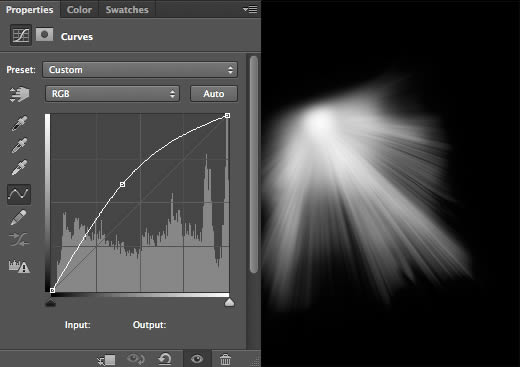
Now using the brush pack of light, you will create some rays of light entering on the water with curves adjustment:
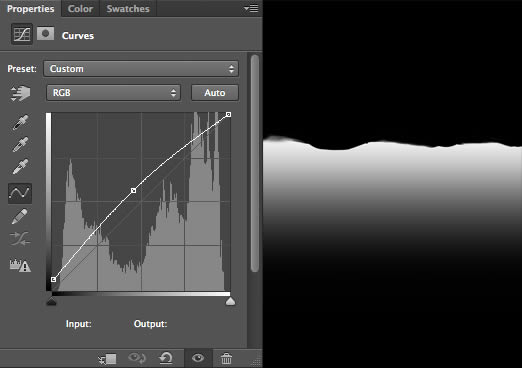
Curves with clipping mask to lighten the surface of the water:
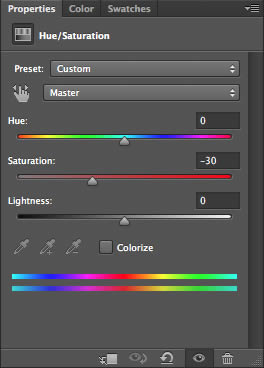
Hue/saturation to decrease the saturation:
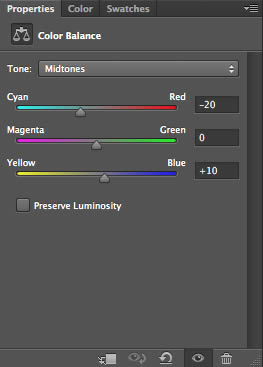
Color Balance to adjust color and tones:
This next effect is only available in version CS6 and beyond. Called color lookup has several variations of preset moods, in this case, Horror Blue
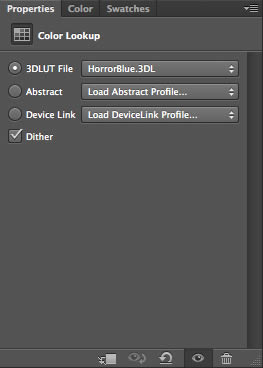
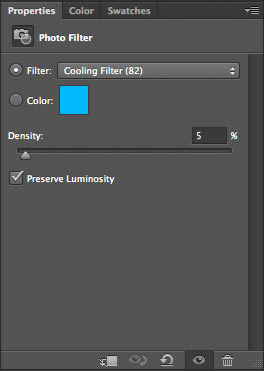
Photo filter to change the kind of blue:
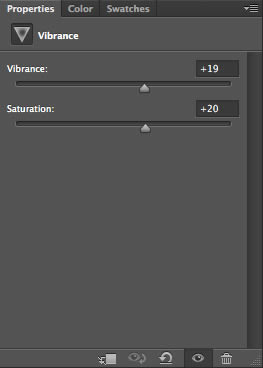
Vibrance, to bring more life to the image:
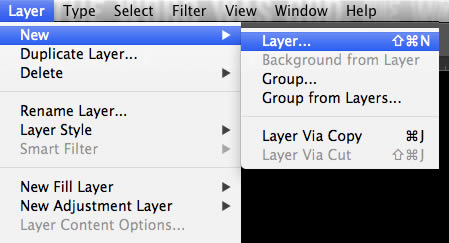
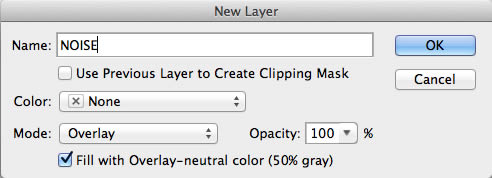
The final touch is to add noise throughout the image. Go to menu bar > new layer, in the menu that appears change the mode to overlay and select the option, Fill with overlay.
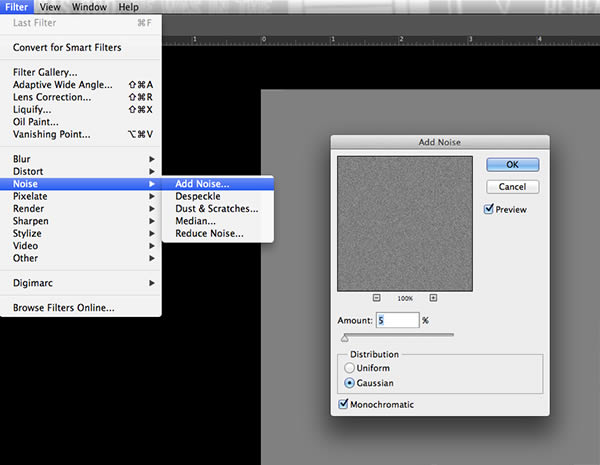
Then go to filter, noise, add noise and set like window below.
Conclusion
In this tutorial, we have shown you how to composite several photos together and incorporate them into an Underwater scene in a realistic way. Hopefully, you have learned something from this tutorial and can incorporate these techniques into your own artwork.