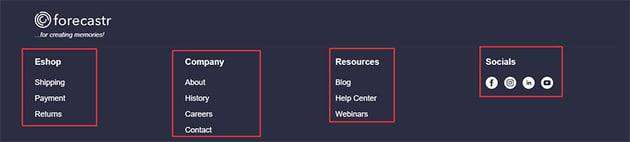
Here’s our initial static demo that we’re going to convert into a WordPress theme (the colors have been changed for the WordPress version):
Make a Plan
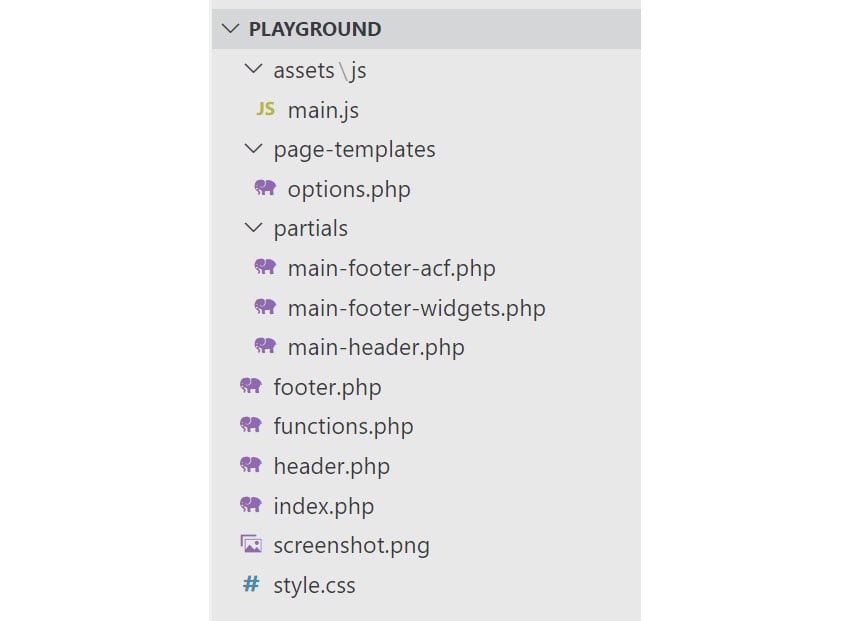
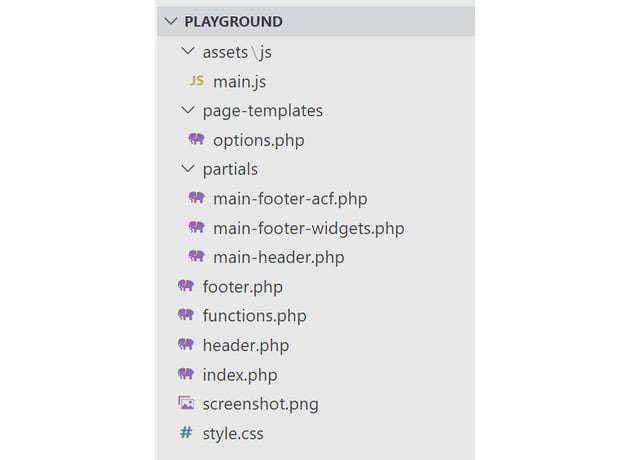
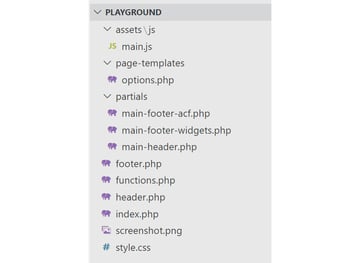
For this demonstration, we’ll create a new simple custom WordPress theme (Playground). Its file structure will look like this:
We’ll host it on a GitHub repo from where you can download it, and then install and activate it on a WordPress site.
As we already know from the demos, our footer consists of four columns. The first three columns include a heading and a list with links, while the fourth one includes a heading and some social icons with links to the associated channels.


The goal is to keep the existing styles but let website admins update the columns’ content. For instance, they might want to remove a link or change the text of a heading. To achieve this, we’ll go through two methods:
- Define new widget/footer areas using the
register_sidebar()built-in function. - Use the free version of the ACF plugin—one of the most popular WordPress plugins—for defining an Options page that will handle the footer content.
Depending on the selected method, the associated code responsible for displaying the footer columns in the front end will sit either on the main-footer-widgets.php or main-footer-acf.php files.
To test it, after the theme activation, navigate to the root URL of your site and make sure that you see something like this. In my case, I’m using WordPress 6.3 which is the latest version at the time of this writing.

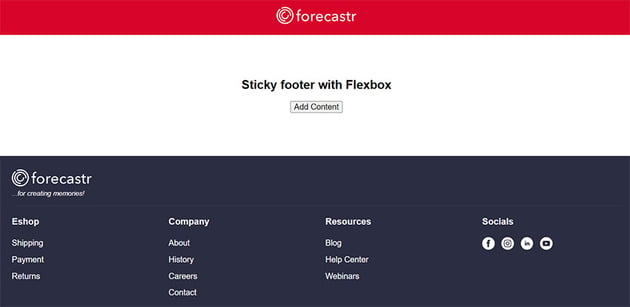

Of course, the footer columns will be empty. To populate it, use one of the methods described in the next sections.
In the WordPress world, widgets are pieces of information added to different website sections like sidebars, headers, and footers. They live inside a widget area, or as often called a sidebar. Each widget area can have one or more widgets.
Common examples of popular widgets include ones that show post categories, post comments, navigation menus, page links, social links, newsletter forms, etc.
WordPress comes with various predefined widgets, yet you can always add your own by coding them or installing a plugin.
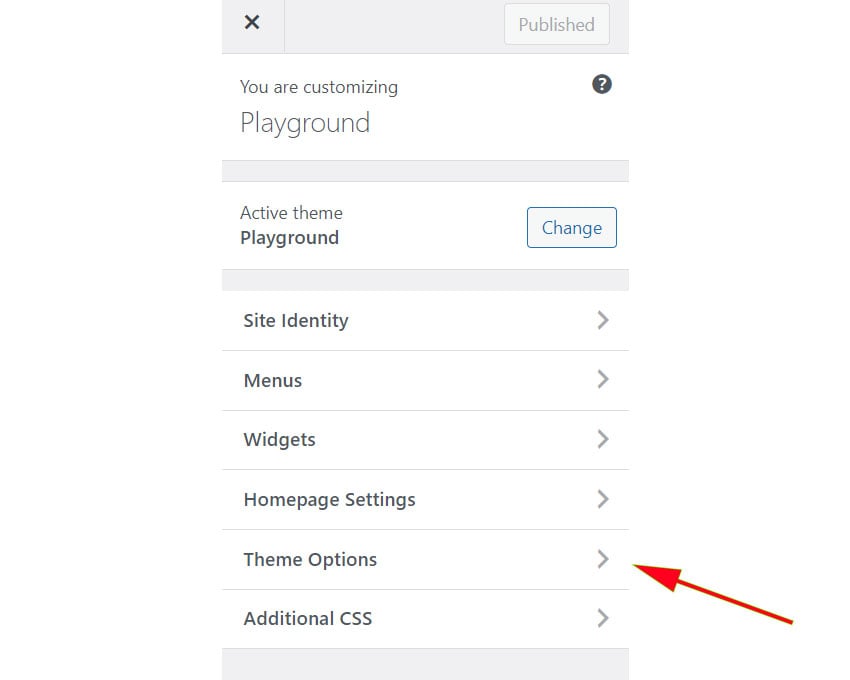
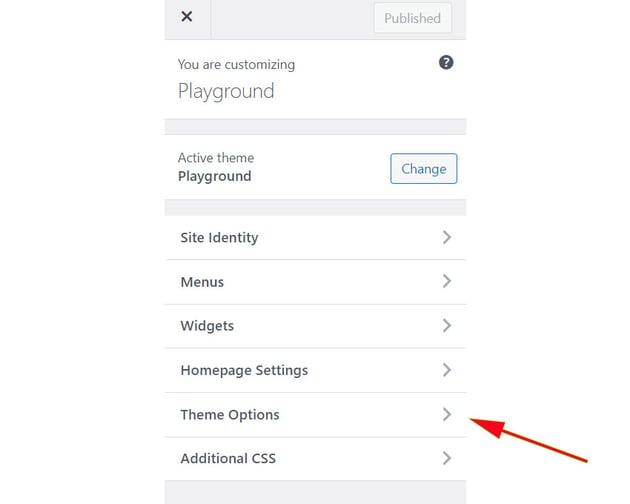
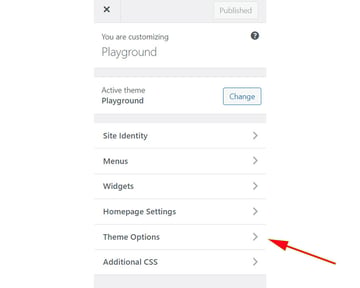
Depending on your theme settings, you can find the registered widget areas and feed them with widgets on the Theme Customizer or Appearance > Widgets in the WordPress Administration Screens.
Footer Widgets Without a Plugin
The register_sidebar() built-in function allows us to create new widget areas. In our case, we need four columns, so we’ll call this function four times. But when will we call it? Actually, when all default WordPress widgets have been registered. That’s what the widgets_init hook is responsible for.
Here’s the code that we need to throw in the functions.php file:
1 |
function playground_sidebar_registration() { |
2 |
$shared_args = array( |
3 |
'before_title' => '<h5 class="widget-title">', |
4 |
'after_title' => '</h5>', |
5 |
'before_widget' => '<div id="%1$s" class="widget %2$s">', |
6 |
'after_widget' => '</div>', |
7 |
);
|
8 |
|
9 |
register_sidebar( |
10 |
array_merge( |
11 |
$shared_args, |
12 |
array( |
13 |
'name' => __( 'Footer 1', 'playground' ), |
14 |
'id' => 'footer-1', |
15 |
'description' => __( 'Add widgets here.', 'playground' ), |
16 |
)
|
17 |
)
|
18 |
);
|
19 |
|
20 |
register_sidebar( |
21 |
array_merge( |
22 |
$shared_args, |
23 |
array( |
24 |
'name' => __( 'Footer 2', 'playground' ), |
25 |
'id' => 'footer-2', |
26 |
'description' => __( 'Add widgets here.', 'playground' ), |
27 |
)
|
28 |
)
|
29 |
);
|
30 |
|
31 |
register_sidebar( |
32 |
array_merge( |
33 |
$shared_args, |
34 |
array( |
35 |
'name' => __( 'Footer 3', 'playground' ), |
36 |
'id' => 'footer-3', |
37 |
'description' => __( 'Add widgets here.', 'playground' ), |
38 |
)
|
39 |
)
|
40 |
);
|
41 |
|
42 |
register_sidebar( |
43 |
array_merge( |
44 |
$shared_args, |
45 |
array( |
46 |
'name' => __( 'Footer 4', 'playground' ), |
47 |
'id' => 'footer-4', |
48 |
'description' => __( 'Add widgets here.', 'playground' ), |
49 |
)
|
50 |
)
|
51 |
);
|
52 |
}
|
53 |
add_action( 'widgets_init', 'playground_sidebar_registration' ); |
The widget title we added through the code will only be available on the legacy widgets (see next section).
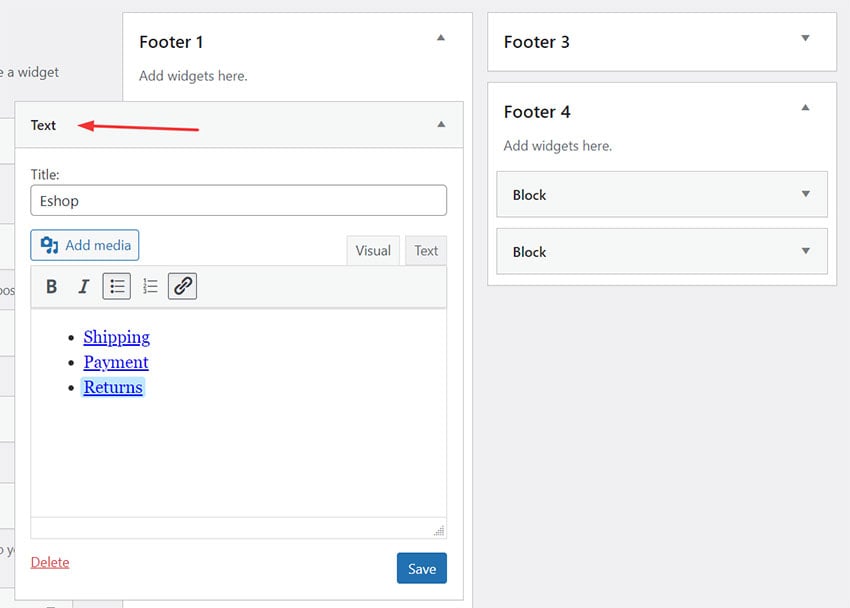
After doing this, we’ll see the newly added widget areas inside the Widgets admin page.
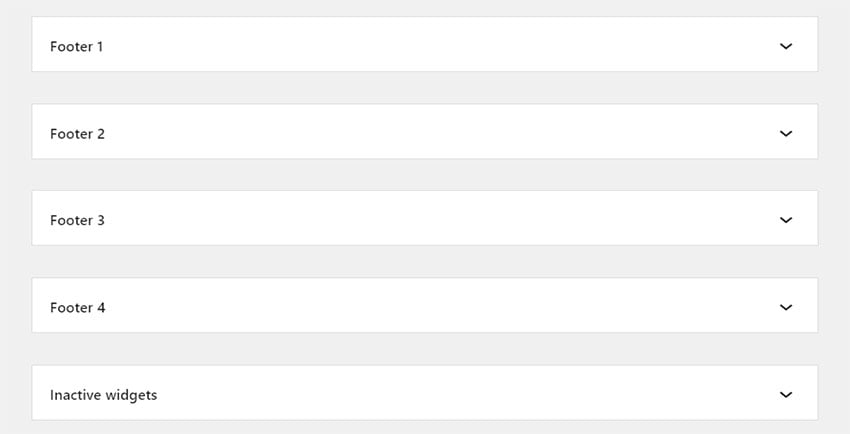
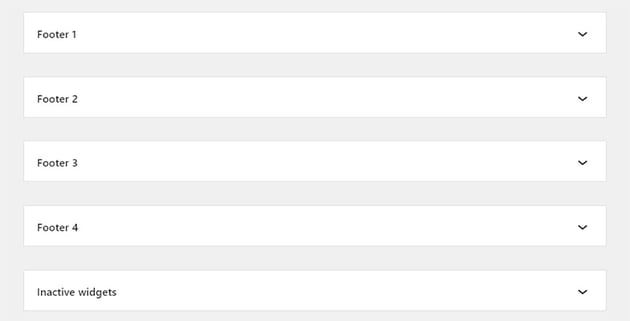
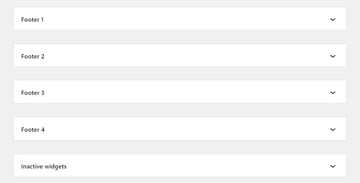
From here, we can add blocks just like we would in the Post Editor.
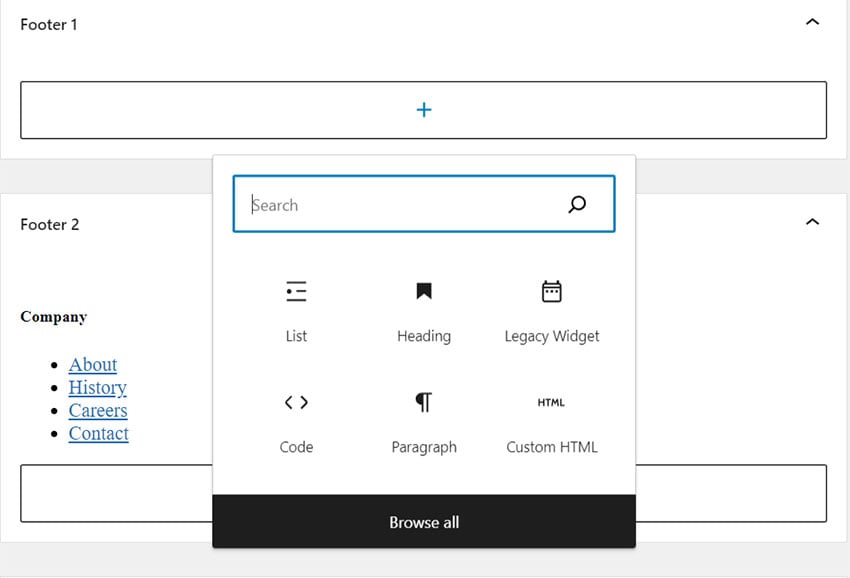


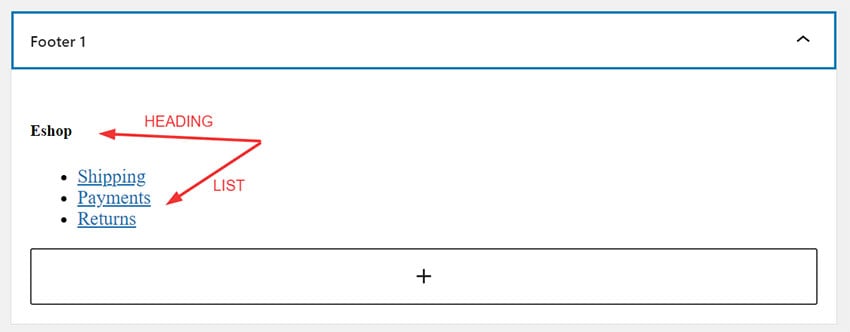
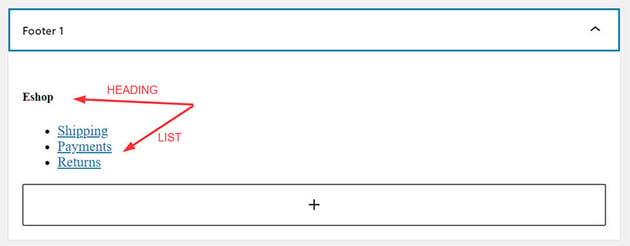
In the first three widget areas, we’ll add two text blocks: a Heading and a List.

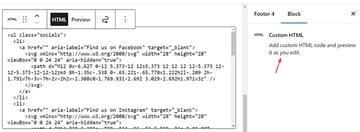
In the fourth widget area, we’ll add a Custom HTML block where we’ll insert the code for the socials.


An alternative implementation, instead of using the Custom HTML block, would be to have the social links stored in a Theme Options Page and generate the above markup using a shortcode. Anyhow, chances are that the social links will appear in other website parts like header and contact pages.
Then, to show the widgets in the front end, we’ll use the dynamic_sidebar() function and pass as a parameter the ID of the associated registered widget area. Also, before printing the widgets in the front end, we’ll use the is_active_sidebar() function to check whether the widget areas contain any of them.
Here’s the complete code added inside the main-footer-widgets.php file:
1 |
<footer class="site-footer"> |
2 |
<div class="container"> |
3 |
<div class="logo-wrapper"> |
4 |
<img width="178" height="38" src="https://assets.codepen.io/162656/forecastr-logo-white.svg" alt="forecastr logo"> |
5 |
<div>...for creating memories!</div> |
6 |
</div>
|
7 |
|
8 |
<div class="widgets-wrapper"> |
9 |
<?php if ( is_active_sidebar( 'footer-1' ) ) : ?> |
10 |
<div class="widget"> |
11 |
<?php dynamic_sidebar( 'footer-1' ); ?> |
12 |
</div>
|
13 |
<?php
|
14 |
endif; |
15 |
|
16 |
if ( is_active_sidebar( 'footer-2' ) ) : |
17 |
?>
|
18 |
<div class="widget"> |
19 |
<?php dynamic_sidebar( 'footer-2' ); ?> |
20 |
</div>
|
21 |
<?php
|
22 |
endif; |
23 |
|
24 |
if ( is_active_sidebar( 'footer-3' ) ) : |
25 |
?>
|
26 |
<div class="widget"> |
27 |
<?php dynamic_sidebar( 'footer-3' ); ?> |
28 |
</div>
|
29 |
<?php
|
30 |
endif; |
31 |
|
32 |
if ( is_active_sidebar( 'footer-4' ) ) : |
33 |
?>
|
34 |
<div class="widget"> |
35 |
<?php dynamic_sidebar( 'footer-4' ); ?> |
36 |
</div>
|
37 |
<?php endif; ?> |
38 |
</div>
|
39 |
</div>
|
40 |
</footer>
|
Remove the Widgets Block Editor
WordPress 5.8 replaced classic widgets with Gutenberg block-based ones. Still, there are plenty of options in case we want to disable the Widgets Block Editor and create the widgets using the Classic Widgets Editor. One approach is to add the following code to the functions.php file or install the Classis Widgets plugin.
1 |
function playground_setup() { |
2 |
remove_theme_support( 'widgets-block-editor' ); |
3 |
}
|
4 |
add_action( 'after_setup_theme', 'playground_setup' ); |
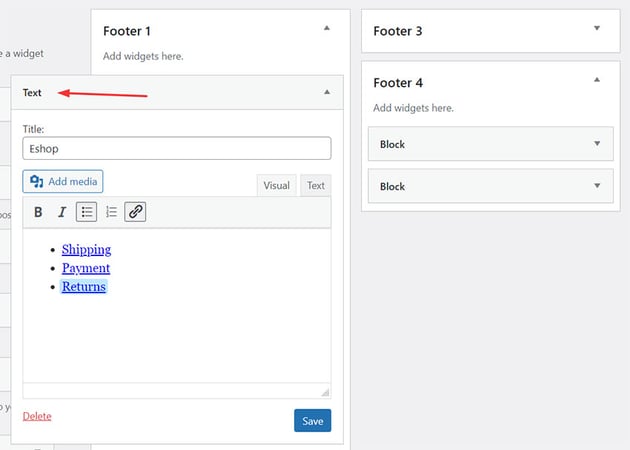
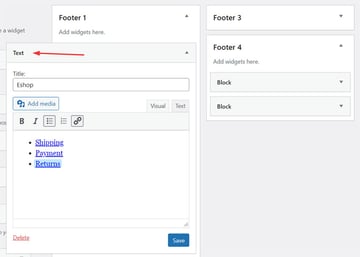
Upon doing so, we’ll have available the classic Text widget for populating the widget areas.
For more info regarding the compatibility of the classic and block-based widgets, consider the official documentation.
Footer Widgets With ACF
There are many plugins available for setting up footer widgets. One of my favorites is the Advanced Custom Fields (ACF), which provides total control of the output markup. The primary use of it is the creation of custom fields, post types, and taxonomies. One of the nice add-ons of its premium version (ACF PRO) is the Options Page. This works as the primary Theme Options Page, where we specify generic settings that should be available on any page like social links, banners, APIs, etc.
It’s worth mentioning that at the time of this writing, I’m using the plugin’s latest version (6.2.0).
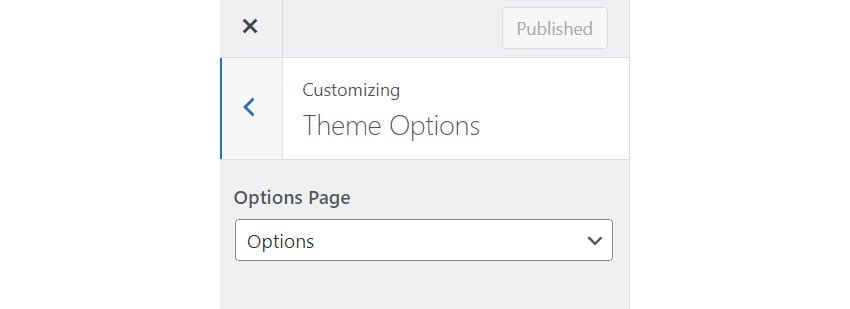
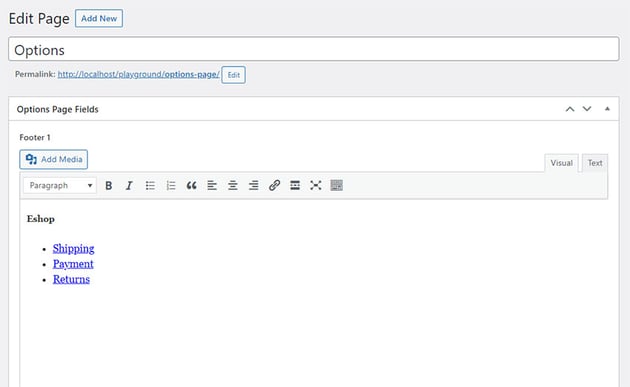
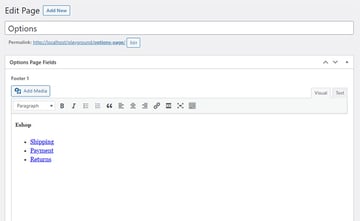
In our case, we won’t have this built-in page as we’ll install the plugin’s free version. However, we can construct it somehow. That said, let’s create a custom page template (Options Page) inside the page-templates folder.


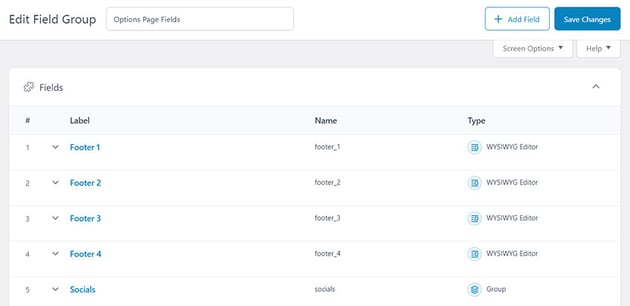
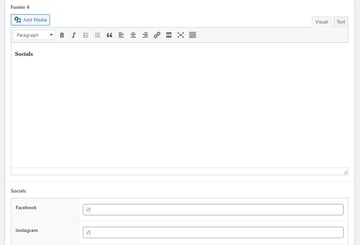
Then, we’ll define a new Field Group (Options Page Fields) that will appear only on the Options Page. Inside this group, we’ll declare as widgets:
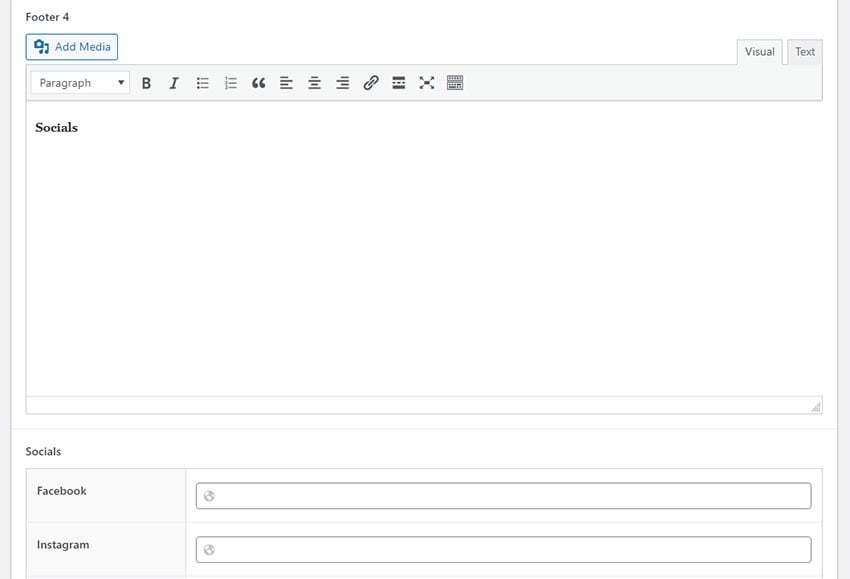
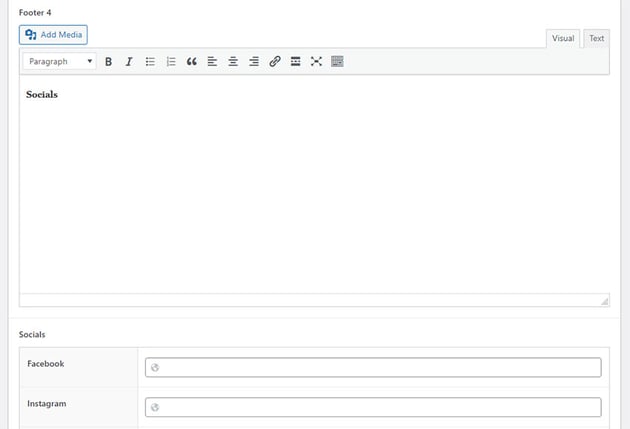
- Four Wysiwyg fields and
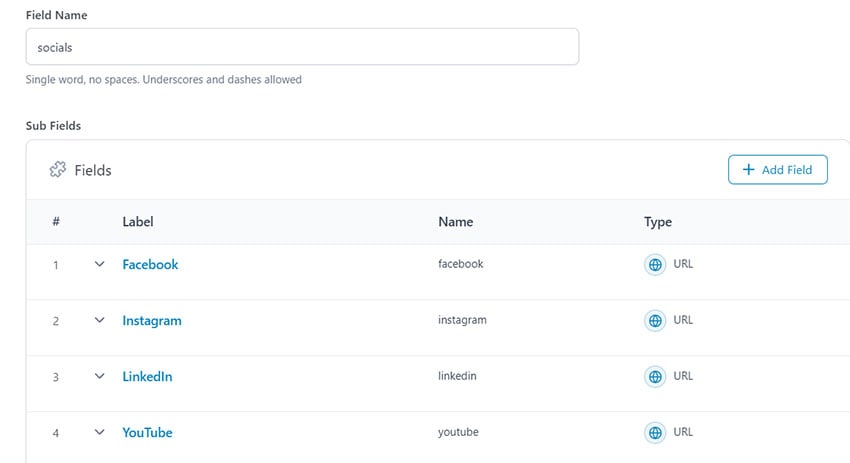
- one Group field for the socials. This field will consist of four URL fields for storing the social links.


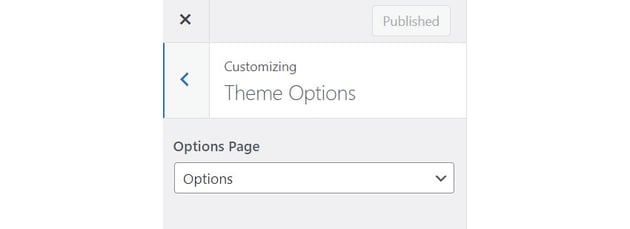
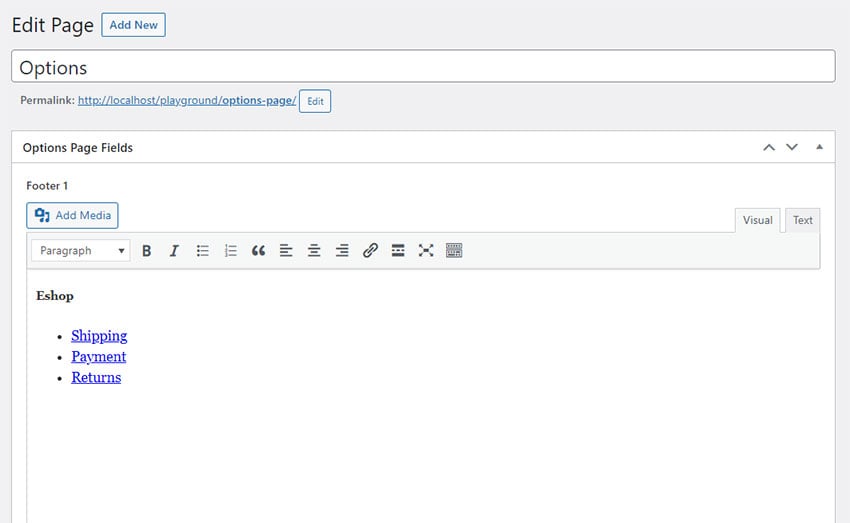
Now, if we go to the Options Page, we’ll see these new fields and be able to add content to them.
To display the contents of the Options Page, we’ll first have to grab its ID. The query below will do this job:
1 |
$options_page_id = get_posts( |
2 |
array( |
3 |
'post_type' => 'page', |
4 |
'posts_per_page' => 1, |
5 |
'fields' => 'ids', |
6 |
'meta_key' => '_wp_page_template', |
7 |
'meta_value' => 'page-templates/options.php', |
8 |
)
|
9 |
)[0]; |
It’s wiser to avoid hardcoding the page ID in the code as, at some point, we might use another page as an Options Page or want to translate it into other languages.
Then, using ACF’s get_field() function, we’ll grab the fields of the four Wysiwyg fields and output them after making the essential checks.
Here’s the necessary code added inside the main-footer-acf.php file:
1 |
<?php
|
2 |
$footer1 = get_field( 'footer_1', $options_page_id ); |
3 |
$footer2 = get_field( 'footer_2', $options_page_id ); |
4 |
$footer3 = get_field( 'footer_3', $options_page_id ); |
5 |
$footer4 = get_field( 'footer_4', $options_page_id ); |
6 |
?>
|
7 |
|
8 |
<footer class="site-footer"> |
9 |
<div class="container"> |
10 |
<div class="logo-wrapper"> |
11 |
<img width="178" height="38" src="https://assets.codepen.io/162656/forecastr-logo-white.svg" alt="forecastr logo"> |
12 |
<div>...for creating memories!</div> |
13 |
</div>
|
14 |
|
15 |
<div class="widgets-wrapper"> |
16 |
<?php if ( $footer1 ) : ?> |
17 |
<div class="widget"> |
18 |
<?php echo wp_kses_post( $footer1 ); ?> |
19 |
</div>
|
20 |
<?php
|
21 |
endif; |
22 |
|
23 |
if ( $footer2 ) : |
24 |
?>
|
25 |
<div class="widget"> |
26 |
<?php echo wp_kses_post( $footer2 ); ?> |
27 |
</div>
|
28 |
<?php
|
29 |
endif; |
30 |
|
31 |
if ( $footer3 ) : |
32 |
?>
|
33 |
<div class="widget"> |
34 |
<?php echo wp_kses_post( $footer3 ); ?> |
35 |
</div>
|
36 |
<?php endif; ?> |
37 |
|
38 |
<div class="widget"> |
39 |
<?php
|
40 |
if ( $footer4 ) : |
41 |
echo wp_kses_post( $footer4 ); |
42 |
endif; |
43 |
// SOCIALS HERE
|
44 |
?>
|
45 |
</div>
|
46 |
</div>
|
47 |
</div>
|
48 |
</footer>
|
Moving on, inside the fourth column, we’ll also add the code for displaying the socials. In this case, we’ll add some checks as some social accounts might not be available.
Here’s the code:
1 |
<?php
|
2 |
$socials = get_field( 'socials', $options_page_id ); |
3 |
$socials_fb = $socials['facebook']; |
4 |
$socials_in = $socials['instagram']; |
5 |
$socials_link = $socials['linkedin']; |
6 |
$socials_yt = $socials['youtube']; |
7 |
|
8 |
<ul class="socials"> |
9 |
<?php if ( $socials_fb ) : ?> |
10 |
<li>
|
11 |
<a href="<?php echo esc_url( $socials_fb ); ?>" aria-label="Find us on Facebook" target="_blank"> |
12 |
<svg xmlns="https://www.w3.org/2000/svg" width="28" height="28" viewBox="0 0 24 24" aria-hidden="true"> |
13 |
<path d="M12 0c-6.627 0-12 5.373-12 12s5.373 12 12 12 12-5.373 12-12-5.373-12-12-12zm3 8h-1.35c-.538 0-.65.221-.65.778v1.222h2l-.209 2h-1.791v7h-3v-7h-2v-2h2v-2.308c0-1.769.931-2.692 3.029-2.692h1.971v3z" /> |
14 |
</svg>
|
15 |
</a>
|
16 |
</li>
|
17 |
<?php
|
18 |
endif; |
19 |
if ( $socials_in ) : |
20 |
?>
|
21 |
<li>
|
22 |
<a href="<?php echo esc_url( $socials_in ); ?>" aria-label="Find us on Instagram" target="_blank"> |
23 |
<svg xmlns="http://www.w3.org/2000/svg" width="28" height="28" viewBox="0 0 24 24" aria-hidden="true"> |
24 |
<path d="M14.829 6.302c-.738-.034-.96-.04-2.829-.04s-2.09.007-2.828.04c-1.899.087-2.783.986-2.87 2.87-.033.738-.041.959-.041 2.828s.008 2.09.041 2.829c.087 1.879.967 2.783 2.87 2.87.737.033.959.041 2.828.041 1.87 0 2.091-.007 2.829-.041 1.899-.086 2.782-.988 2.87-2.87.033-.738.04-.96.04-2.829s-.007-2.09-.04-2.828c-.088-1.883-.973-2.783-2.87-2.87zm-2.829 9.293c-1.985 0-3.595-1.609-3.595-3.595 0-1.985 1.61-3.594 3.595-3.594s3.595 1.609 3.595 3.594c0 1.985-1.61 3.595-3.595 3.595zm3.737-6.491c-.464 0-.84-.376-.84-.84 0-.464.376-.84.84-.84.464 0 .84.376.84.84 0 .463-.376.84-.84.84zm-1.404 2.896c0 1.289-1.045 2.333-2.333 2.333s-2.333-1.044-2.333-2.333c0-1.289 1.045-2.333 2.333-2.333s2.333 1.044 2.333 2.333zm-2.333-12c-6.627 0-12 5.373-12 12s5.373 12 12 12 12-5.373 12-12-5.373-12-12-12zm6.958 14.886c-.115 2.545-1.532 3.955-4.071 4.072-.747.034-.986.042-2.887.042s-2.139-.008-2.886-.042c-2.544-.117-3.955-1.529-4.072-4.072-.034-.746-.042-.985-.042-2.886 0-1.901.008-2.139.042-2.886.117-2.544 1.529-3.955 4.072-4.071.747-.035.985-.043 2.886-.043s2.14.008 2.887.043c2.545.117 3.957 1.532 4.071 4.071.034.747.042.985.042 2.886 0 1.901-.008 2.14-.042 2.886z" /> |
25 |
</svg>
|
26 |
</a>
|
27 |
</li>
|
28 |
<?php
|
29 |
endif; |
30 |
if ( $socials_link ) : |
31 |
?>
|
32 |
<li>
|
33 |
<a href="<?php echo esc_url( $socials_link ); ?>" aria-label="Find us on LinkedIn" target="_blank"> |
34 |
<svg xmlns="http://www.w3.org/2000/svg" width="28" height="28" viewBox="0 0 24 24" aria-hidden="true"> |
35 |
<path d="M12 0c-6.627 0-12 5.373-12 12s5.373 12 12 12 12-5.373 12-12-5.373-12-12-12zm-2 16h-2v-6h2v6zm-1-6.891c-.607 0-1.1-.496-1.1-1.109 0-.612.492-1.109 1.1-1.109s1.1.497 1.1 1.109c0 .613-.493 1.109-1.1 1.109zm8 6.891h-1.998v-2.861c0-1.881-2.002-1.722-2.002 0v2.861h-2v-6h2v1.093c.872-1.616 4-1.736 4 1.548v3.359z" /> |
36 |
</svg>
|
37 |
</a>
|
38 |
</li>
|
39 |
<?php
|
40 |
endif; |
41 |
if ( $socials_yt ) : |
42 |
?>
|
43 |
<li>
|
44 |
<a href="<?php echo esc_url( $socials_yt ); ?>" aria-label="Find us on YouTube" target="_blank"> |
45 |
<svg xmlns="http://www.w3.org/2000/svg" width="28" height="28" viewBox="0 0 24 24" aria-hidden="true"> |
46 |
<path d="M12 0c-6.627 0-12 5.373-12 12s5.373 12 12 12 12-5.373 12-12-5.373-12-12-12zm4.441 16.892c-2.102.144-6.784.144-8.883 0-2.276-.156-2.541-1.27-2.558-4.892.017-3.629.285-4.736 2.558-4.892 2.099-.144 6.782-.144 8.883 0 2.277.156 2.541 1.27 2.559 4.892-.018 3.629-.285 4.736-2.559 4.892zm-6.441-7.234l4.917 2.338-4.917 2.346v-4.684z" /> |
47 |
</svg>
|
48 |
</a>
|
49 |
</li>
|
50 |
<?php endif; ?> |
51 |
</ul>
|
As discussed earlier, an alternative social implementation, is to build a shortcode and pass it to the fourth widget.