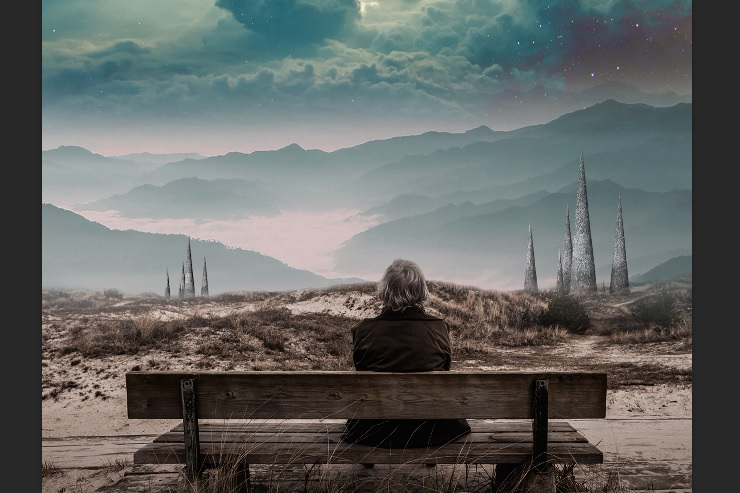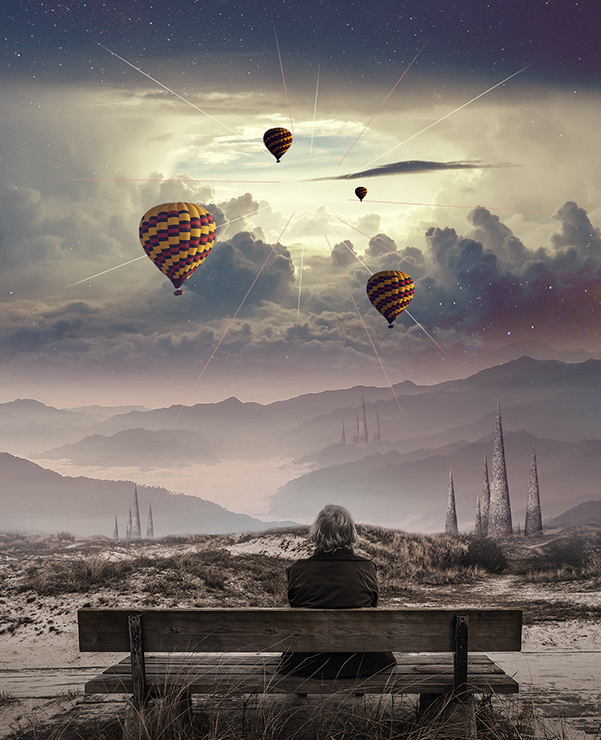

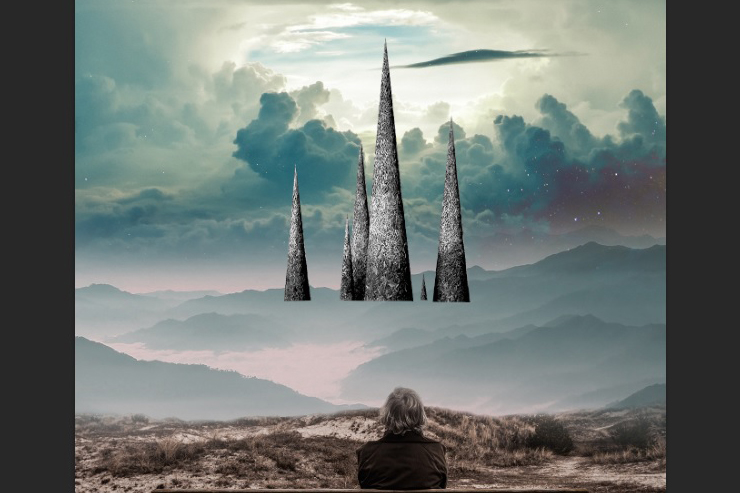
In this tutorial we’re going to create a surreal photo manipulation of a man watching what looks to be a magical portal to another world. This will take you through all the process with explanation at every step. Now… Shall we begin?
What you’ll be creating
Although this artwork has been created with Adobe Photoshop CC, you should be able to follow it with older versions without any problems. The main features that we’re going to use are masking and adjustment layers, masking in order select what we need from a picture and adjustment layers to blend it all together.
Tutorial Resources
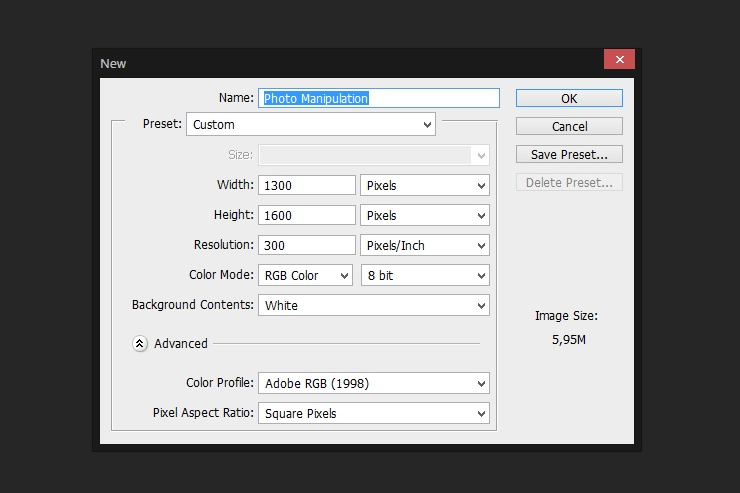
Step 1
Let’s start by creating a new document, we will use the values you see below and we will fill it with black.
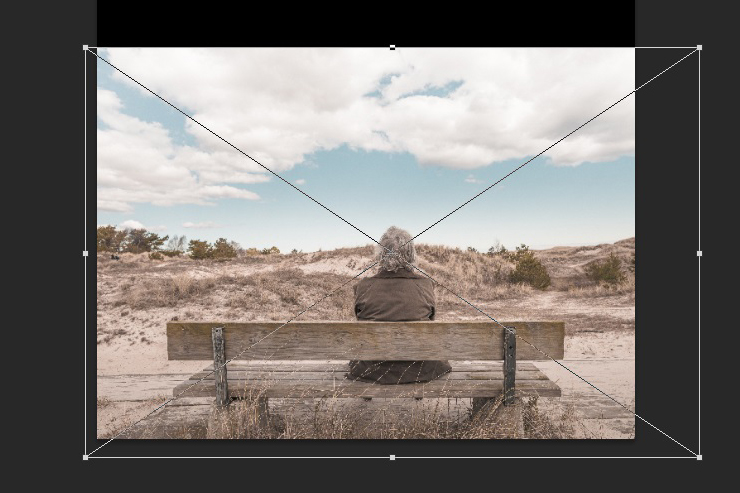
Step 2
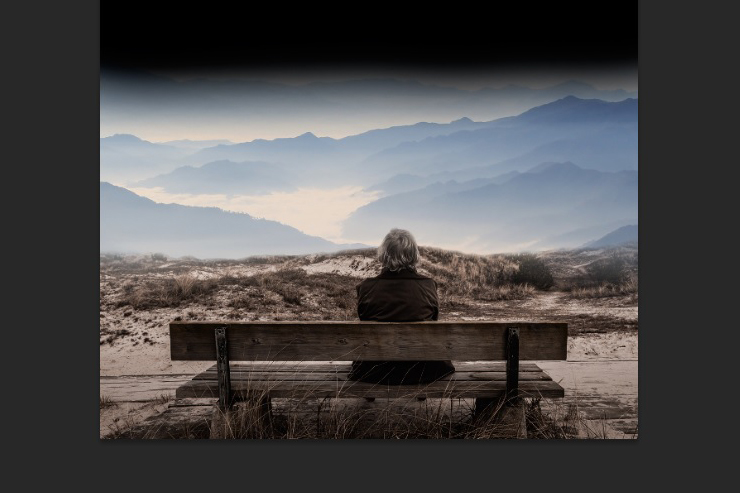
The first thing that we’re going to place on the canvas is going to be the man and we’ll do it by going to File > Place and place it the way I placed it. Hold Shift while you are making your image bigger, this way you’ll keep the ratio. Placing your image this way automatically turns it into a Smart Object, allowing you to apply non-destructive transformations and filters.
Step 3
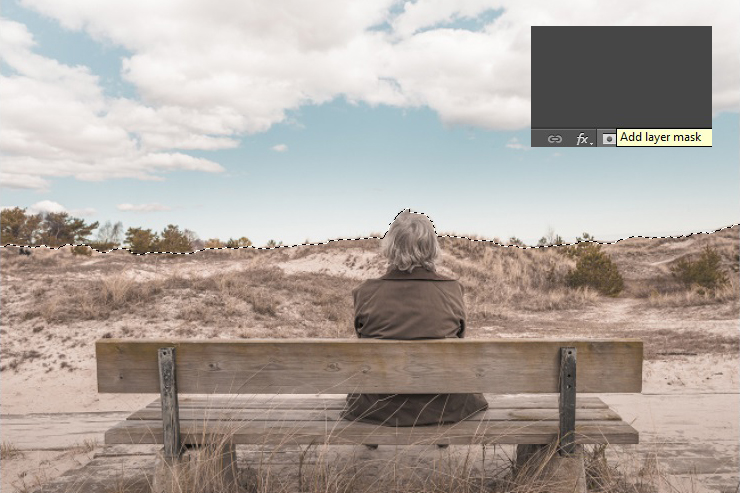
Since we’re creating our own sky we need to mask the one that we see in the picture. A trick I like to use, that you may or may not know, is to select the area that I want to use and click the Add layer mask button at the bottom of the layers panel. You can do the selection with the Pen Tool(P) or Lasso Tool(L).
Step 4
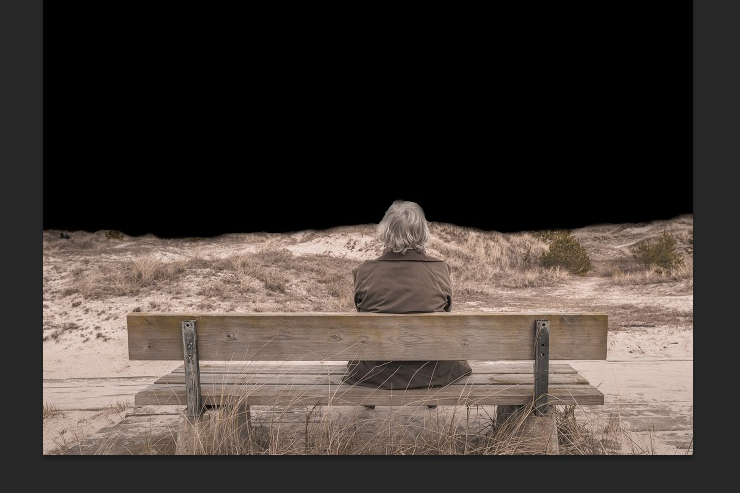
In order to make the edges smoother, we will paint with a soft brush with black colour on the mask layer around the edges. This will help us blend the landscapes.
Step 5
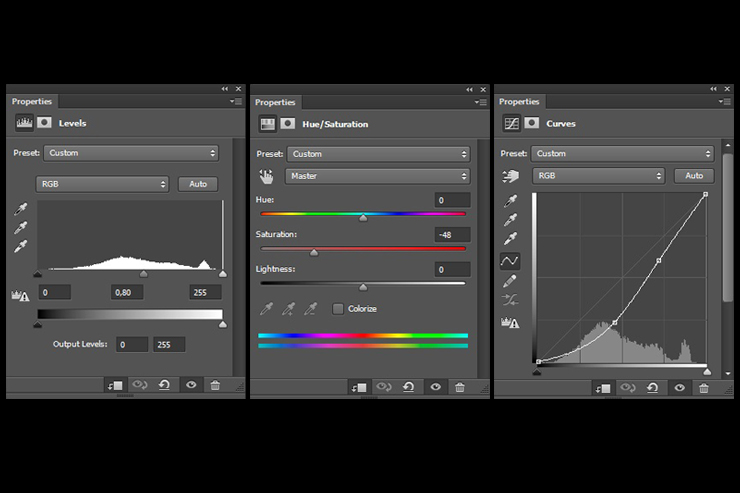
This layer needs 3 adjustment layers, Hue/Saturation, Curves and Levels. Apply them by going to Create new fill or adjustment layer, which is a button next to the Add layer mask button. Set the values you see below. Make sure these adjustment layers only apply to this layer, right-click on them and select Create Clipping Mask.
Step 6
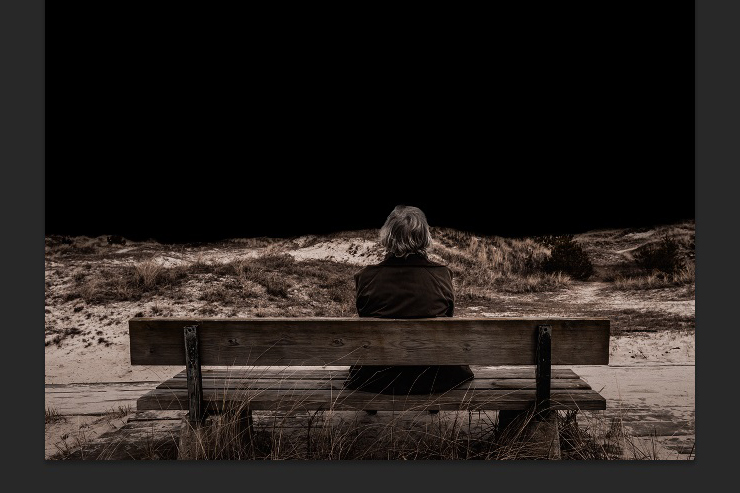
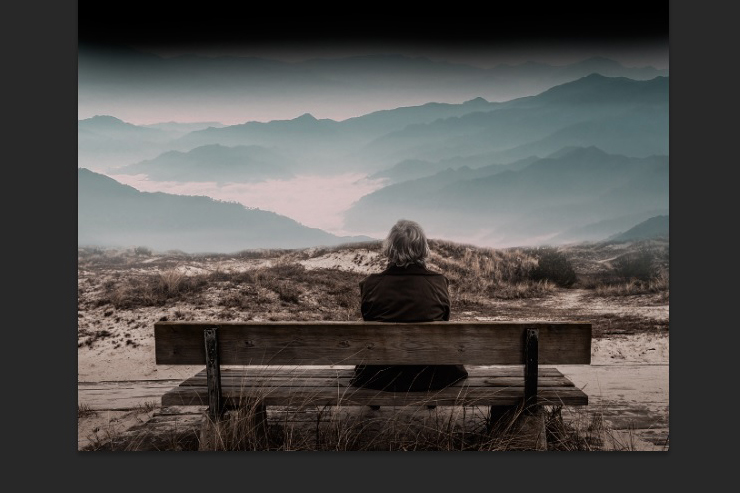
This is how it should look after applying the adjustment layers.
Step 7
Let’s place the next picture on the canvas, which is the mountainous landscape. Move this layer under the first one in the layers panel and mask some of the top. Choose the mountains you want to display as you like.
Step 8
Now we need to apply 2 adjustment layers, Curves and Hue/Saturation.

Step 9
And this is the result.
Step 10
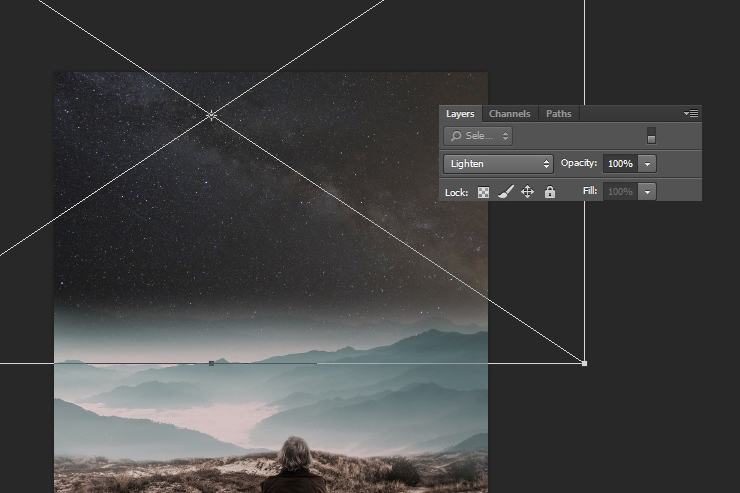
Place the picture with the stars under the previous layer in the layers panel and change the layer mode from Normal to Lighten.
Step 11
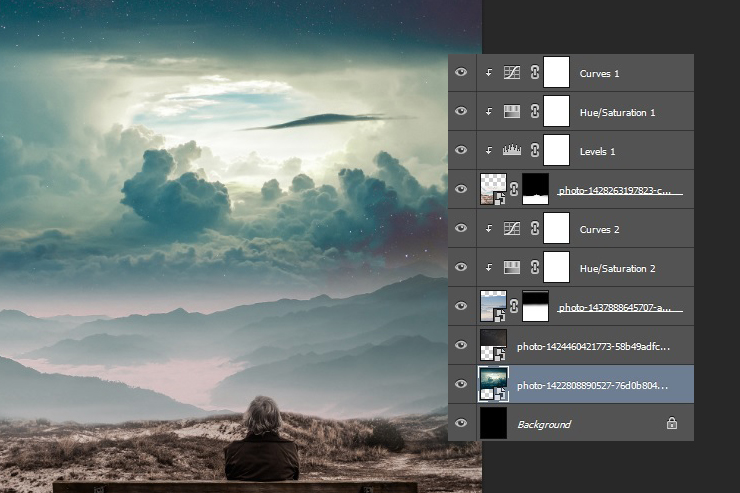
At the bottom of all layers and just on top of the background, place the picture with the sky on top of the stars, this layer requieres no masking or adjustments layers. Having the layer with the stars on Lighten mode will make the stars slightly visible.
Step 12
Bring the cone shaped structures on the canvas and get rid of the background, leaving only the structures. One way to do it through masking is to add the mask to this layer and paint it all black, now you won’t see anything and we need to bring back only the structures. The way to do it is to disable the mask, in the layers panel right-click on the mask and select Disable Layer Mask, now we just need to make a selection of the shapes and paint it white, this way when we enable the mask the structures will still be visible.
Step 13
Now we will place this shapes around the landscape. The first spot will be on the right side of the man. To blend it together we will reduce the Opacity to 65% and with a soft brush and black colour we will paint a little bit on the mask the bottom of the shapes.
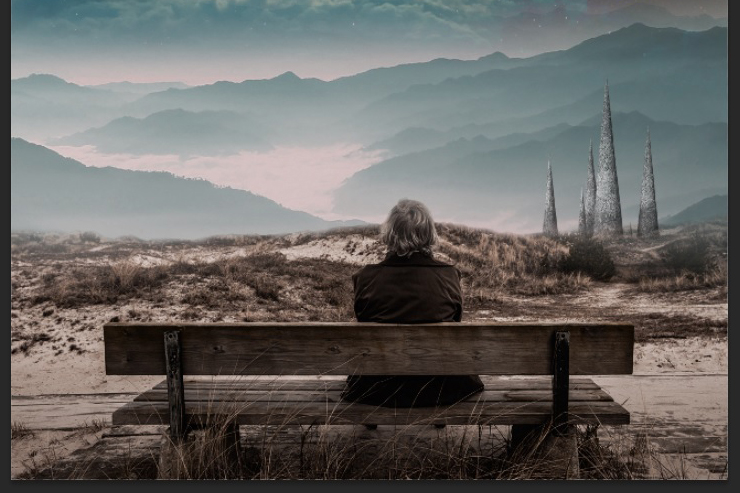
Step 14
Duplicate that layer and place it somewhere on the left with 50% Opacity. Since it’s supposed to be further, reduce the size.