In this tutorial we will create a somewhat sad and melancholic photo manipulation of a guy having a cloud pouring rain on him. We’ll create a custom brush and use a variety of both simple and advanced techniques. Let’s begin!
Final Results

Tutorial Resources
Step 1
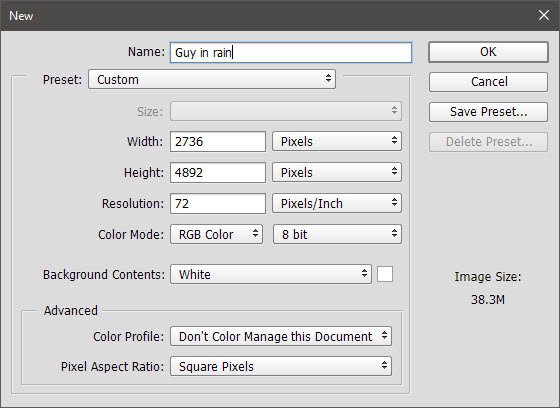
Open Photoshop and create a new document 2736×4892 px (Ctrl + N).
Step 2
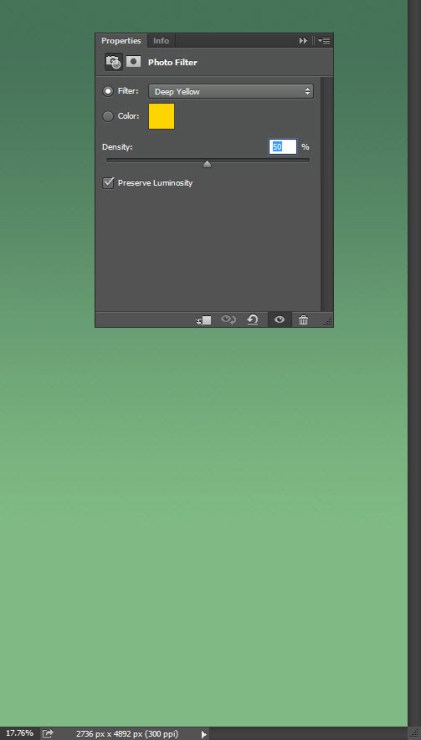
Set the foreground color to #467359 and the background color to #80ba84 (click on the two swatches you can see in the toolbar palette). Select the Gradient Tool (G) and drag from the top of the document to the bottom while holding the Shift key to create gradient as shown below. This will be our base sky.
Create a Photo Filter Adjustment Layer (Layer > New Adjustment Layer > Photo Filter ) and use the settings shown below. This will be our atmosphere layer and we will keep it above all other layers we will create at future steps. So remember – any layers you create in the next steps should be placed below this Adjustment layer in the layer palette (F7).
Step 3
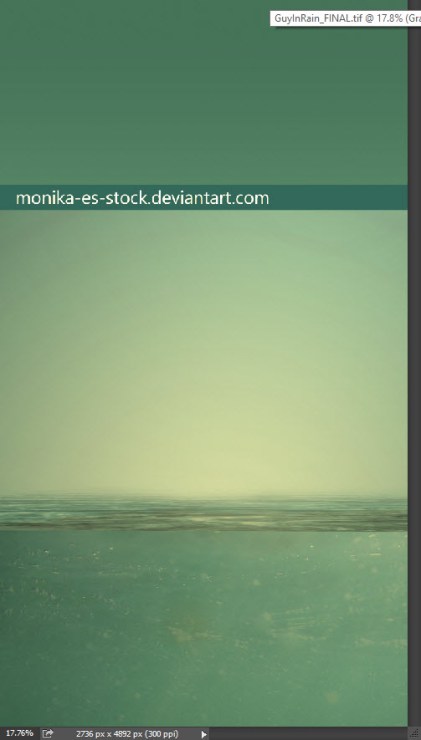
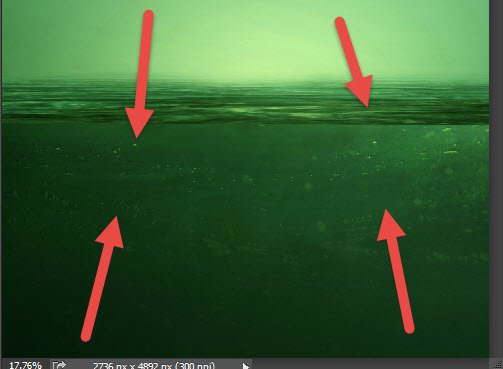
Open the file “Underwater” and select all with Ctrl + A. Copy with Ctrl + C and go back to our document. Paste with Ctrl + V and convert the pasted layer into a smart object by right clicking on the layer in the layer palette (F7) and choosing from the drop down menu “Convert to Smart Object”. Resize and position this layer as shown below using the Free Transform (Ctrl + T). You can hold the Shift key while dragging the corner handles to preserve aspect ratio.
Converting to Smart Objects all your imported layers is a good practice because it allows us to modify, resize, rotate and apply various filters without actually destroying any pixel information – this allows us to revert to the original layer in case we do something wrong with the layer. Do this for all your imported layers.
Step 4
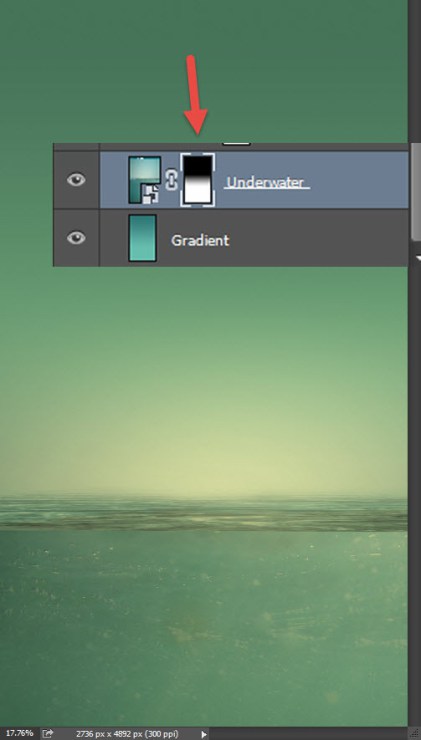
Add a layer mask to the underwater layer by going to Layer > Layer Mask > Reveal all. Set the colors to default by pressing D and select the Gradient Tool. Click on the layer mask thumbnail (the white thumbnail next to the layer thumbnail in the layer palette) and drag from the upper section towards the bottom to gradually hide the upper section of the underwater layer.
In a layer mask white reveals and black conceals so by creating a black gradient coming from top we will softly mask the upper section of the layer without leaving any visible hard lines.
Step 5
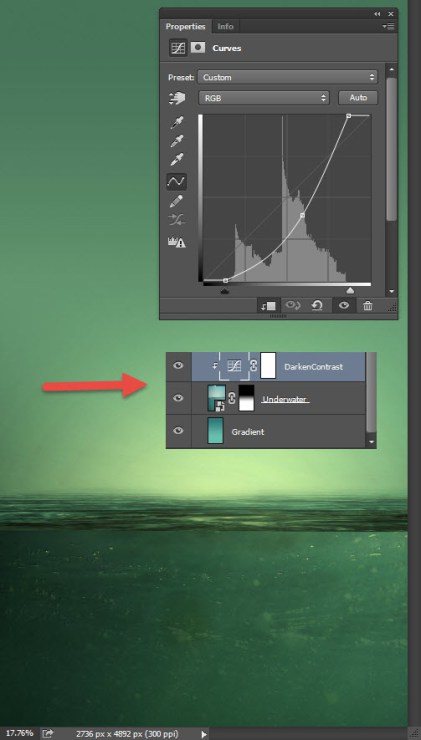
Create a new Curves Adjustment Layer by going to Layer > New Adjustment Layer > Curves. Use the settings shown below to darken and increase contrast and then clip the Curves Adjustment Layer to the underwater layer by Alt-clicking between the two in the layer palette.
Clipping a layer means that the upper layer will show only through the visible pixels of the bottom layer thus leaving the rest of the scene unaffected – in our case the darkening effect of the Curves Adjustment Layer will be applied only to the underwater layer.
Step 6
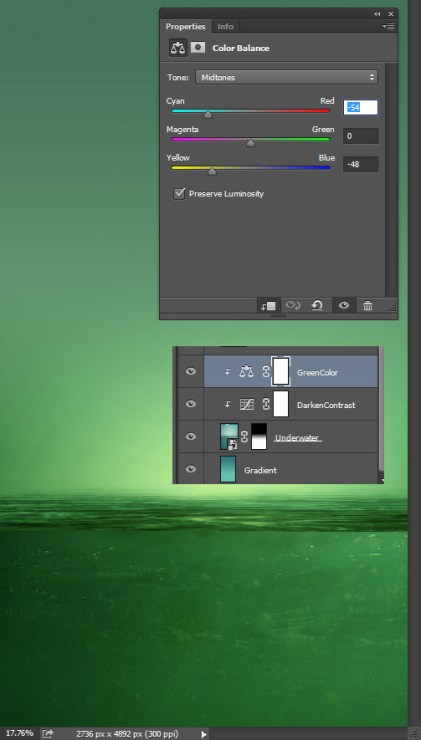
Now let’s change the color of the underwater layer so that it will match the rest of the scene. Create a new Color Balance Adjustment Layer by going to Layer > New Adjustment Layer > Color Balance and using the settings shown below. Clip this layer to the underwater layer by Alt-clicking between the Color Balance layer and the Curves layer. You can have multiple clipped layers – layers that will show only through the bottom layer.
You can find all the adjustments layer used in this tutorial under Layer > New Adjustment Layer > … so from now on I will simply just say the name of the needed adjustment layer – you know where to find it.
Step 7
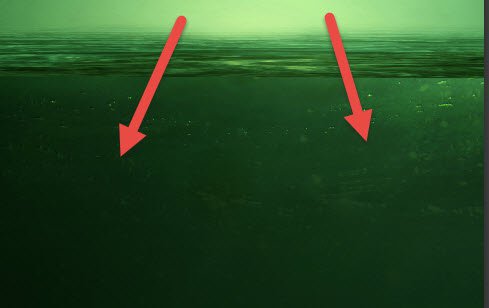
Let’s add some darkness to the water. Create a new layer (Ctrl + Shift + Alt + N) and set the blending mode to Overlay. Choose the standard round soft brush (B) and set the opacity to 30%. Paint with black on the lower section of the underwater. If the effect is not strong enough repeat this step with another layer set to Overlay – you can fine tune the final result by lowering the Opacity of the duplicated layer.
Step 8
Let’s add some lightness to the upper region of the underwater layer. Create a new layer, set the blending mode to Overlay and paint with a round soft brush with white over the upper section of the underwater.
Step 9
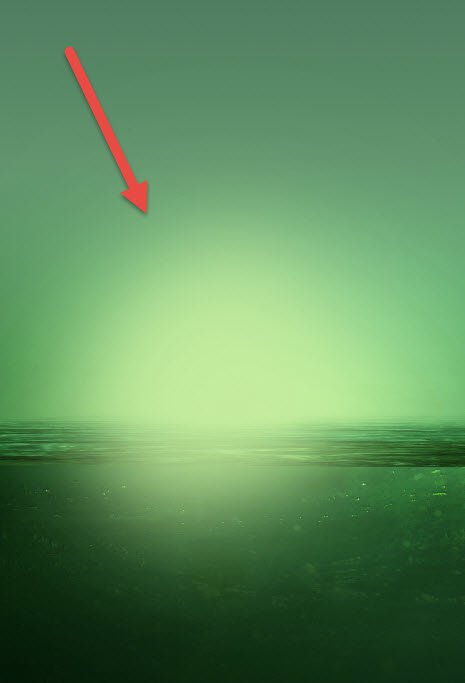
Let’s add a center source of light. Create a new layer and set the foreground color to #c4ec9e. With the round soft brush at 70% Opacity click a couple of times in the center of the scene to achieve the result shown below.
Step 10
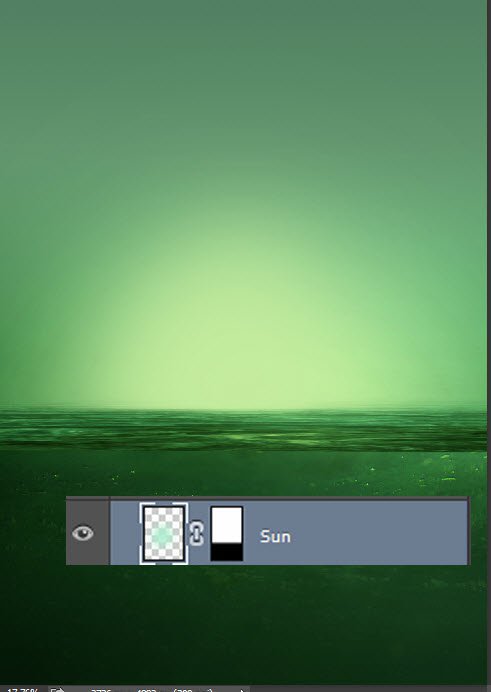
Add a layer mask to the light source layer and use the Gradient Tool in the layer mask to hide the area that is shown over the water – basically we want to show the light source only on the sky.
Step 11
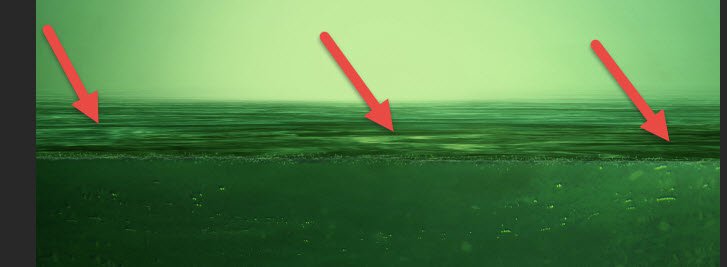
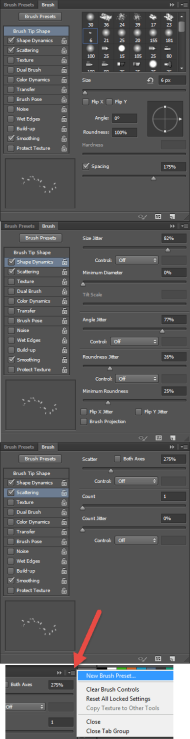
Let’s create some thin waves that will separate the surface of the water from the underwater. First we will make a custom brush that will use for waves and splashes. Select the chalk brush and open the Brush window (Window > Brush). Use the settings shown below to create a dynamic splash brush.
Save the new brush preset (otherwise when you’ll select another brush these settings will be set to default) by clicking on the button shown below in the Brush window and choosing “New Brush Preset”. Give it a name (I named it Dynamic Splash) and click ok.
Step 12
Make a new layer and use the Dynamic Splash brush you created at the previous step to create some small waves/splashes on the line that separates the surface of the water from the underwater.