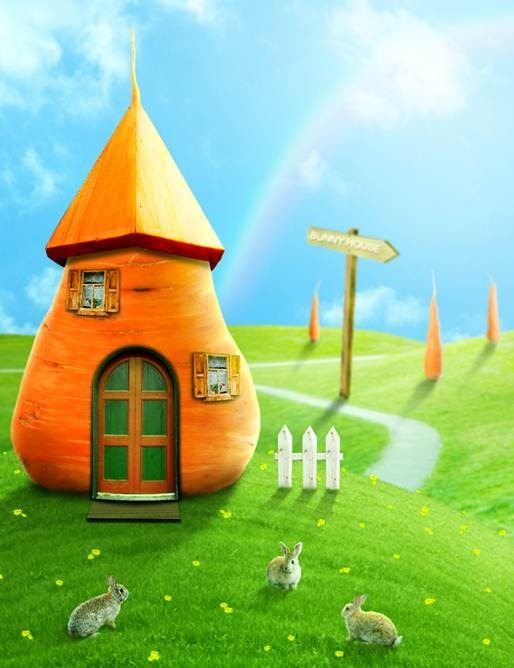
Tutorial Resources
- Grass – Morguefile
- Daisies – Maureenolder
- Road – happeningstock
- Sky – sxc.hu
- Signpost – sxc.hu
- Big carrot – Stockfreeimages
- Three carrots – Stockfreeimages
- Roof – Morguefile
- Door – Stockfreeimages
- Rug – sxc.hu
- Window – sxc.hu
- Fence – Morguefile
- Bunny 1 – Morguefile
- Bunny 2 – Morguefile
- Bunny 3 – Morguefile
Step 1
Create a new document and fill it with white ( or you can use any bright colors you like) and set the height larger than the width ( mine is 1000×1300 px).
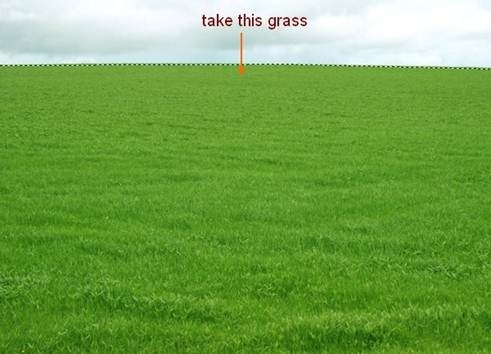
Open grass stock. Extract grass only and move it into white canvas, resize it ( use combine key Cmd/Ctrl+T) as shown below:

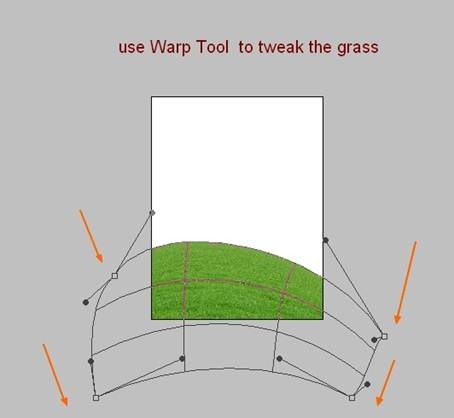
Go to Edit-Transform-Warp and tweak the grass to make a shape of a hill:
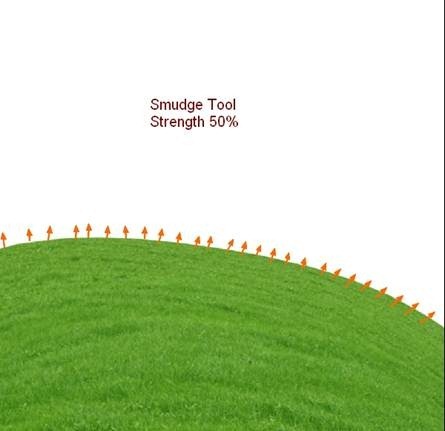
To make this hill look more natural, I make a new layer above grass one. Press R to active Smudge Tool with Strength about 50% and remember to check “Sample All Layers” on property bar. Turn off background layer ( white one) so it won’t be affected by smudging process. Use very small brush size ( about 6-8 px but it depends on the size of your picture) to stretch out small and tiny blades of grass and follow the position of the hill. You can see how I use this tool in screenshot below ( I turn on background layer to make you see obviously):
Result:
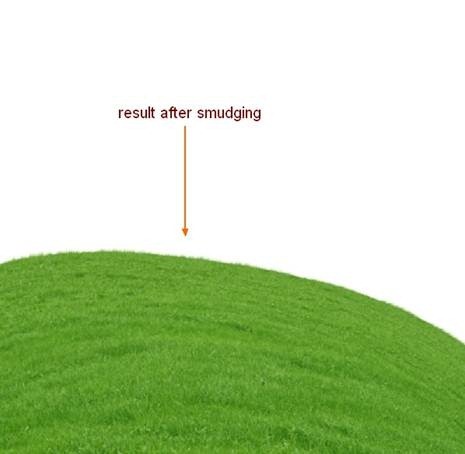
I want to sharpen it a bit so choose Filter-Sharpen-Unsharp Mask:

Step 2
Open sky stock. Drag it by Move Tool ( press M to active it) into our picture, place it under hill layer. You can see I only take one part of this sky but you can choose any part for your taste.

Step 3
Open stock with road and hill. Extract only this part and move it into our main picture, resize it and position it under hill and above sky one. Call this layer “road”.

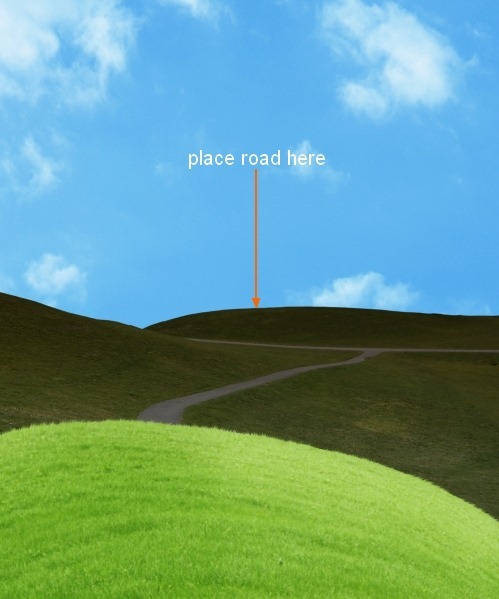
Flip it by choose Edit-Transform-Flip Horizontal and we have result:
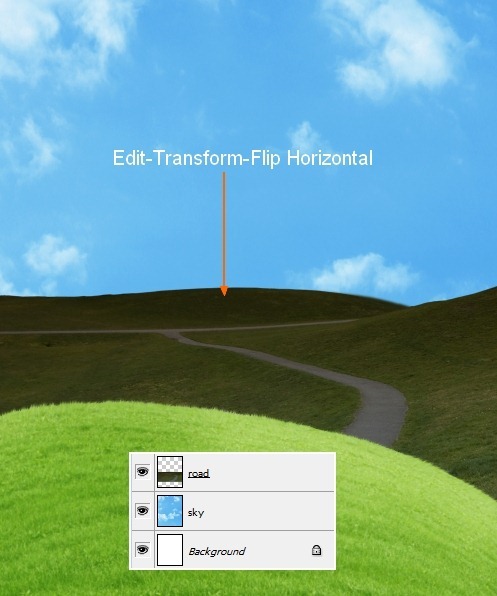
I want to blur it to create some depth for background. So choose Filter-Blur-Gassian Blur and set radius as 2:
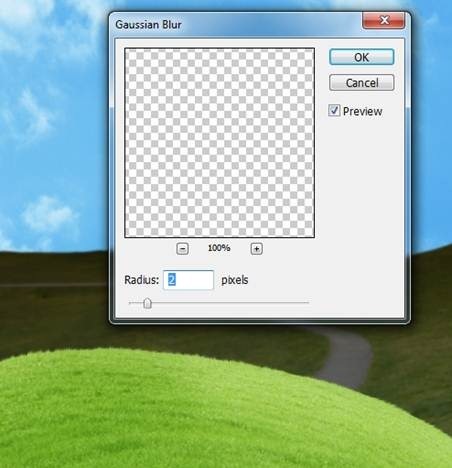
Step 4
You can see that the road look too dark against the rest. To correct it, I use some adjustment layers with Clipping Mask. On road layer, go to Layer-New Adjustment Layer-Curves:

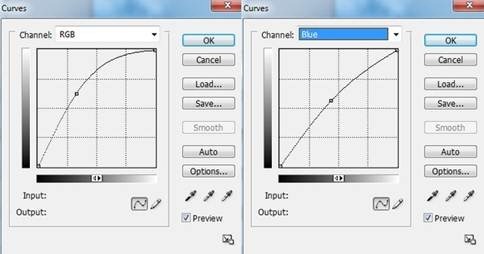
Layer-New Adjustment Layer-Color Balance:


Step 5
I aim to set the main light source come from upper right so the road needs to be brighter.
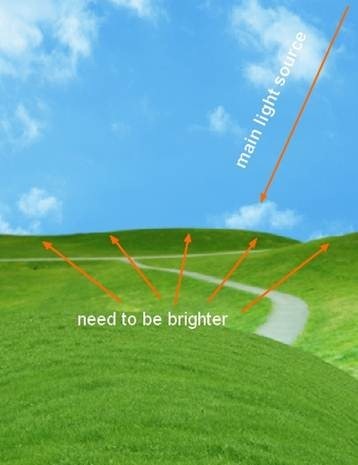
Create a new layer with Clipping Mask and use soft white brush to paint over the road. Change the mode to Soft Light 100%:
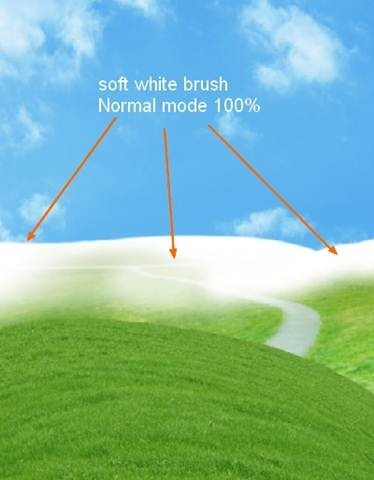
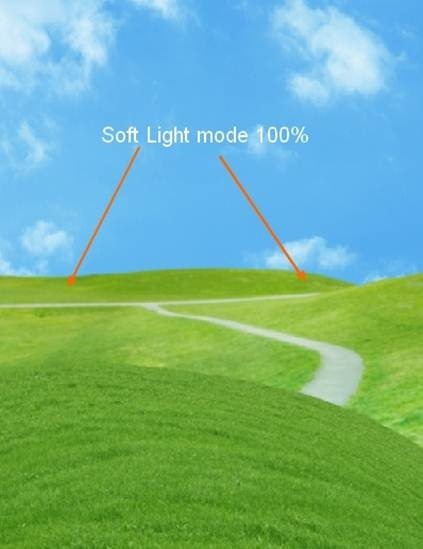
Name this layer “brighten 1″.
Create a new layer (Clipping Mask) and use soft white brush again to paint on the top right of the road as it catches most light from sky so it must be a bit brighter. Put the mode as Soft Light 100%:
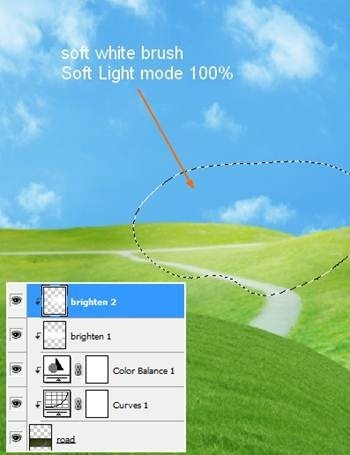
Step 6
To make color of the hill fit background, choose “hill” and “smudge tool” layer then press Cmd/Ctrl+G to make group for them. Click the small triangle symbol on the left side of this group to show all layers inside ( hill, smudge tool):

Change the mode of this group from Pass Through ( default mode group) to Normal 100%:

On smudge tool layer, go to Layer-New Adjustment Layer-Color Balance:
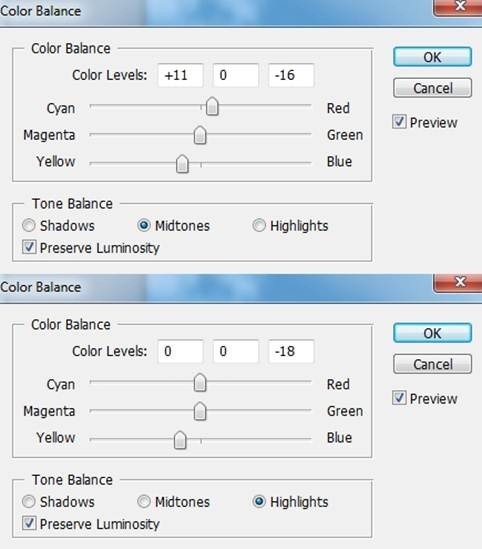
Because the mode of this group changed to Normal 100% so this Color Balance layer only affects the layers inside this group ( hill, smudge tool):
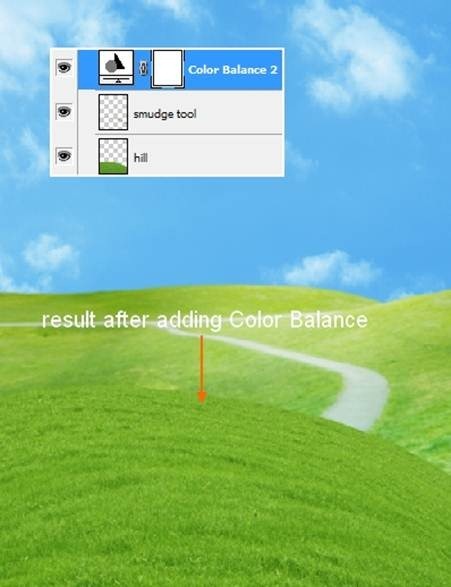
The hill needs to be brighter so I add a new layer ( inside this group and use soft white brush with opacity about 50-60% and 80-90 % painting on it ( as there are some parts brighter and anothers less). Put the mode of it to Soft Light 100%.

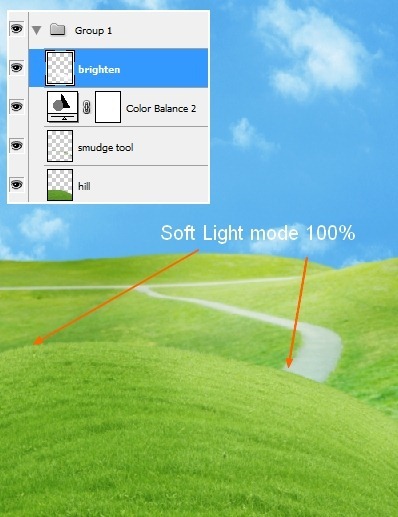
Rename this group “hill”.
Step 7
In this step we will make a rainbow. Make a new layer between road and hill ones. Hit G to active Gradient Tool then open Gradient box to choose Special Effects:
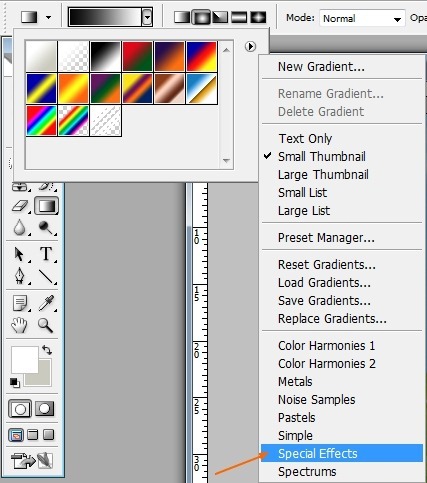
Choose Russel’s Rainbow Gradient:

Drag a line from left to the right:

We have result:
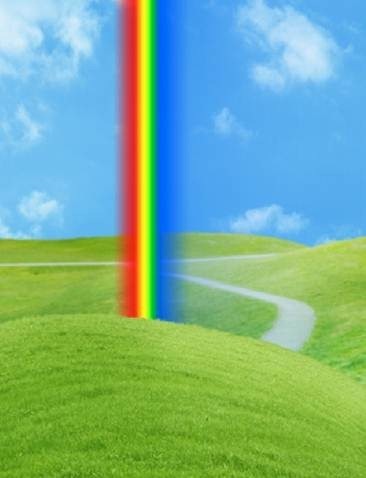
Go to Filter-Distort-Shear and change like this:

Press Cmd/Ctrl+T to transform this rainbow:

Change the mode to Screen 100%. Add layer mask for this layer and erase any rough edges to get the look as image below shows:
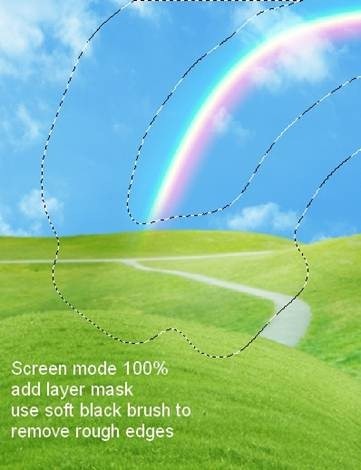
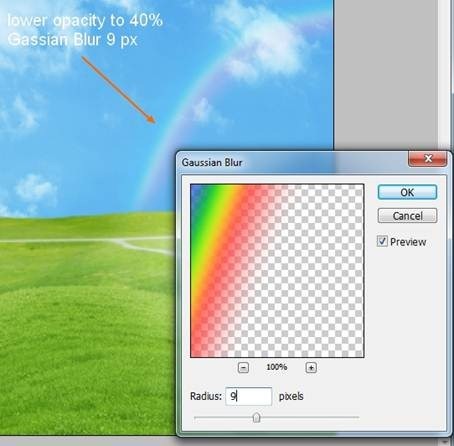
Lower opacity to 40% and then go to Filter-Blur-Gassian Blur and choose radius as 9 px:
