In the following tutorial, you’ll learn how to add bleed and crop marks in Photoshop in just a couple of steps. We’ll go through the basics and then delve into the details of how to make bleed and crop marks in Photoshop, one of the most basic Photoshop tips.
What you’ll learn in this quick Photoshop tutorial
- What is a bleed?
- What’s the difference between bleed marks and crop marks?
- How to add a bleed in Photoshop
- How to add crop marks in Photoshop
1. What is a bleed?
Now that you know what a bleed is, let’s see how to add a bleed in Photoshop.
2. How to add a bleed in Photoshop
Step 1
To learn how to add a bleed in Photoshop, let’s start by adding some guides around the edges of your document. Start by enabling the Rulers (Control-R) and then go to View > Snap To > Document Bounds to make sure that new guides will snap to the document edges.
Now click the top ruler and drag down a guide to the top edge of your document. Move to the left ruler and drag a second guide to the left edge of your document. In this case, a business card.
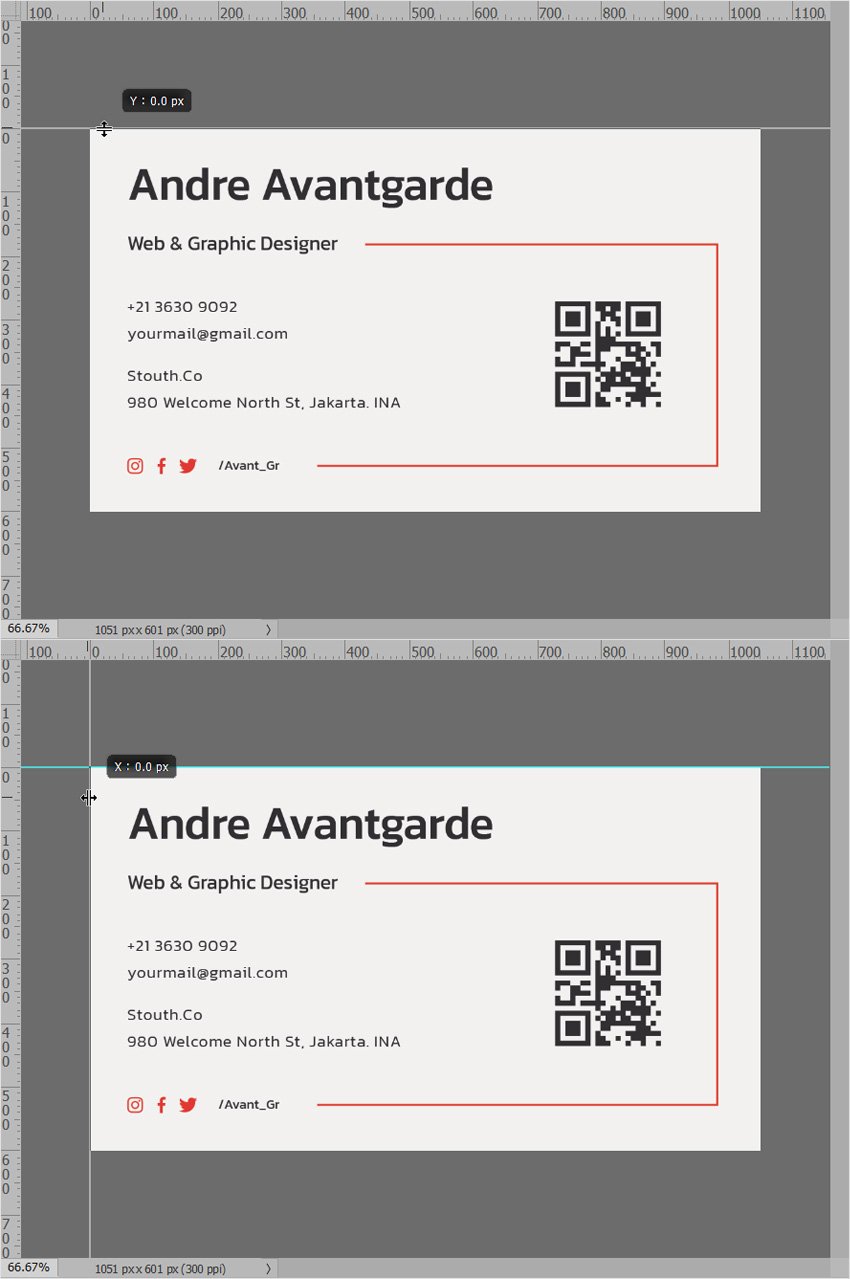
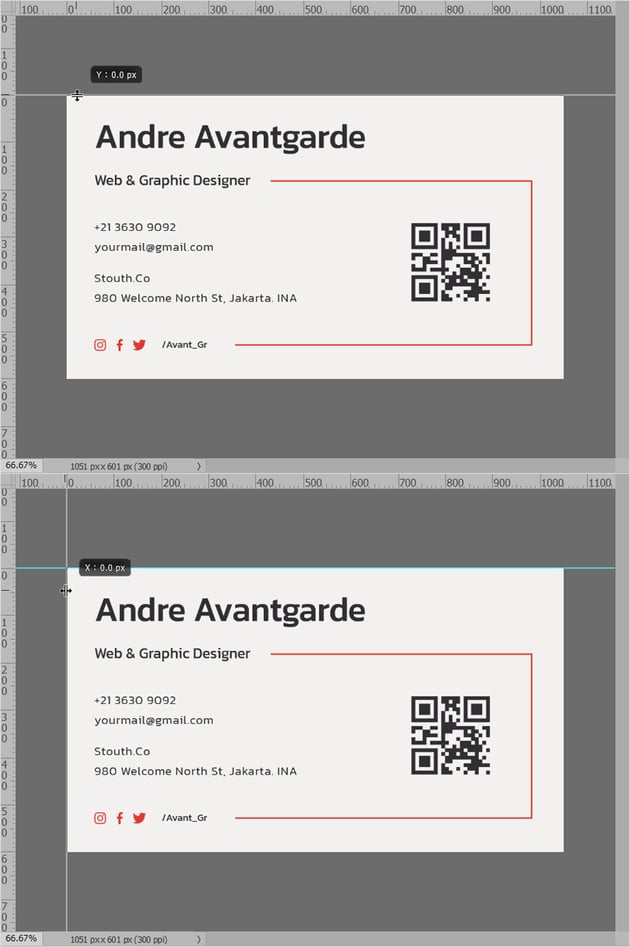
Using the same techniques, add another two guides on the other two edges of your business card. Having these guides active will help you demarcate the printed area from the area that will be trimmed.


Step 2
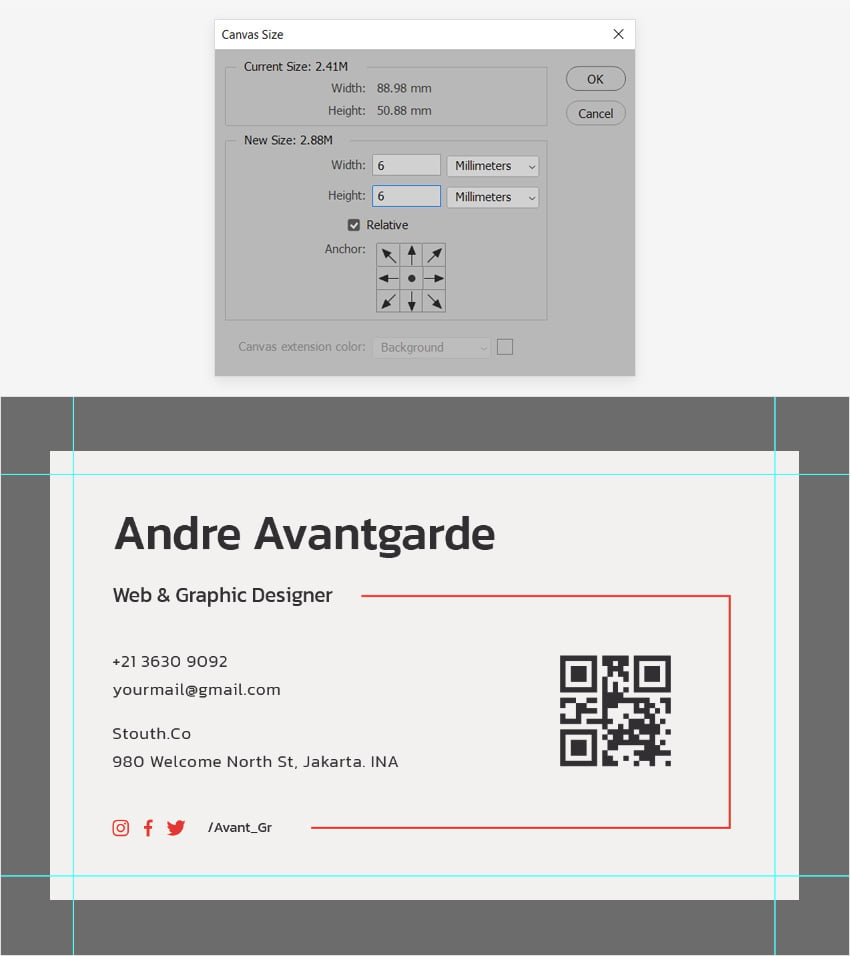
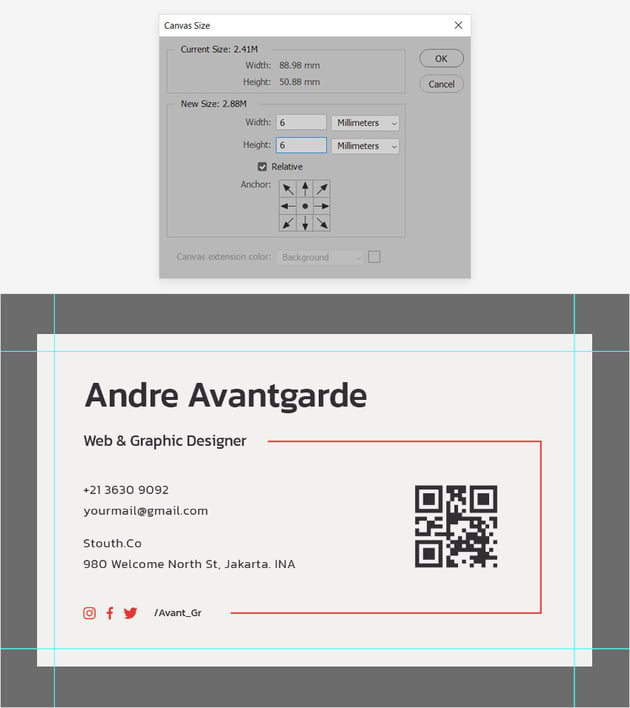
To add a bleed in Photoshop, go to Image > Canvas Size and set the units to millimeters.
We want to add 3 mm for each edge of the document, so you need to increase the existing Width and Height values by 6 mm. You can add 6 mm to the existing values or you can check the Relative box and enter 6 in both the Width and Height boxes.
Click OK and your document will expand by 3 mm on each edge.
3. How to add crop marks in Photoshop
Let’s continue and learn how to add crop marks in Photoshop.
Bleed marks or crop marks are the thin lines placed on the corners of a document to indicate where your document should be trimmed after printing.
You could add a new layer, draw the lines, align them, and color them, but this would be a bit more time-consuming than the following technique.
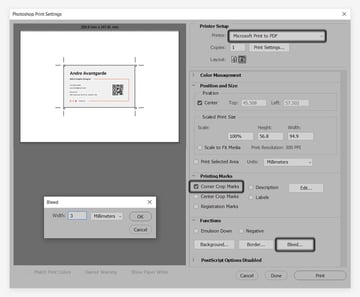
To quickly add crop marks, go to File > Print and start by selecting Microsoft Print to PDF from the Printer drop-down menu. Move to the Printing Marks section and check the Corner Crop Marks box, and then click the Bleed button from the Functions section and set the Width to 3 millimeters. Click OK and then hit the Print button to save your document as a PDF file.
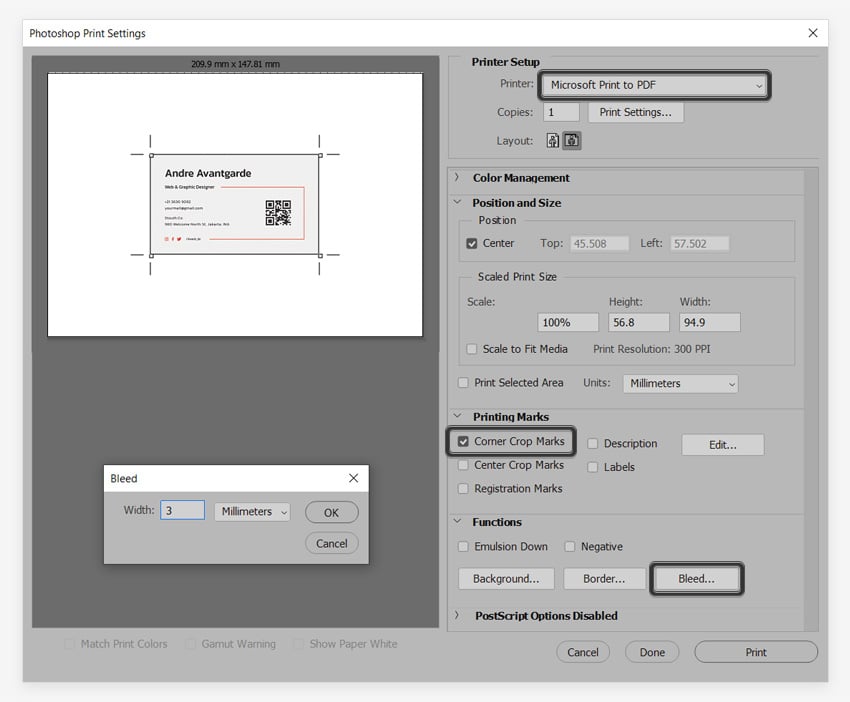
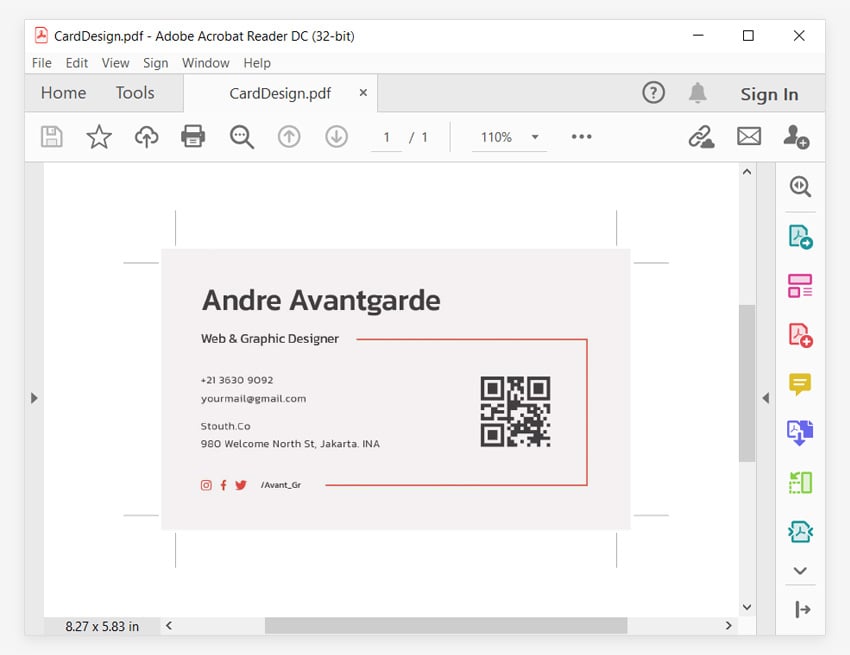
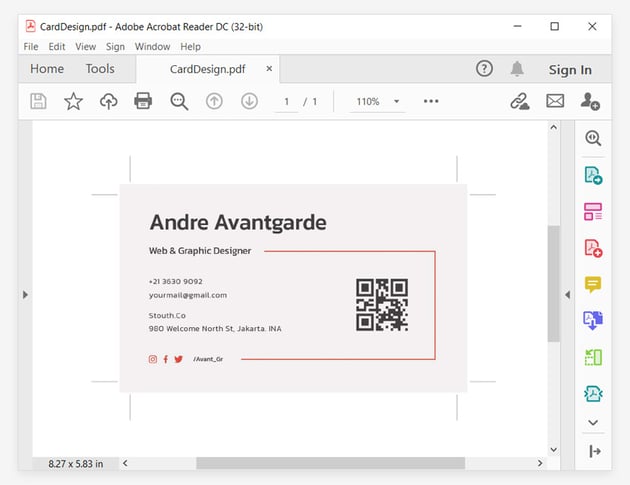
Open your PDF file, and as you can see, your design comes with some neat crop marks. That’s how easy it is to learn how to add crop marks in Photoshop.

Congratulations! You’ve learned how to make bleed and crop marks in Photoshop!
I hope you’ve enjoyed this Photoshop tutorial and can apply these techniques in your future creative projects.
Now that you know how to make bleed and crop marks in Photoshop, you can easily prepare your designs for printing. Check out Envato Elements for interesting solutions to improve your print designs.
If you prefer to learn by following video tutorials, here’s a new video from the Envato Tuts+ YouTube channel you cannot miss:
Popular assets from Envato
Envato is an excellent source of print-ready resources and professional Photoshop add-ons. You can find loads of templates, from flyers and brochure templates to posters and card templates. Here’s the print template I used for this Photoshop bleed tutorial:
Name Card Template (AI, EPS, PDF, PSD)


This business card template is just one of many examples. You won’t have to bother with adding a bleed in Photoshop as it comes print-ready. Just enter your information and hit print.
Want to learn more?
Now you know that adding crop marks and bleeds in Photoshop isn’t difficult, and it comes in handy when you print your documents. Would you like to explore even more resources? We have loads of Photoshop tutorials on Envato Tuts+, from beginner to intermediate level. Take a look!