Learn how to design a logo in Illustrator in this free course. Explore how to design your own logo with an experienced logo designer. We’ll create a finished logo design by the end of the course!
Watch the Full Mastering Logo Design in Adobe Illustrator Course

What You Will Learn
- How to design your own logo
- How to design a logo in Illustrator
- The basics of Illustrator for creative logo design
- A look at the creative logo design process from a logo designer
About Your Instructor
Daniel White
As a designer, I love to share my experience and to help aspiring creatives develop their skills.
Jump to content in this section
1. Intro to Adobe Illustrator Logo Design
1.1 Introduction to Logo Design in Adobe Illustrator
Ready to explore Adobe Illustrator logo design? In the first half of this course, we’re going to look at the essential tools in Adobe Illustrator that you need as a logo designer. In the second half, we’ll use those techniques to build a logo together. At the halfway point, we’ll pause for a Q&A session, originally held in this course’s livestream.
Ready to get started? Let’s begin!
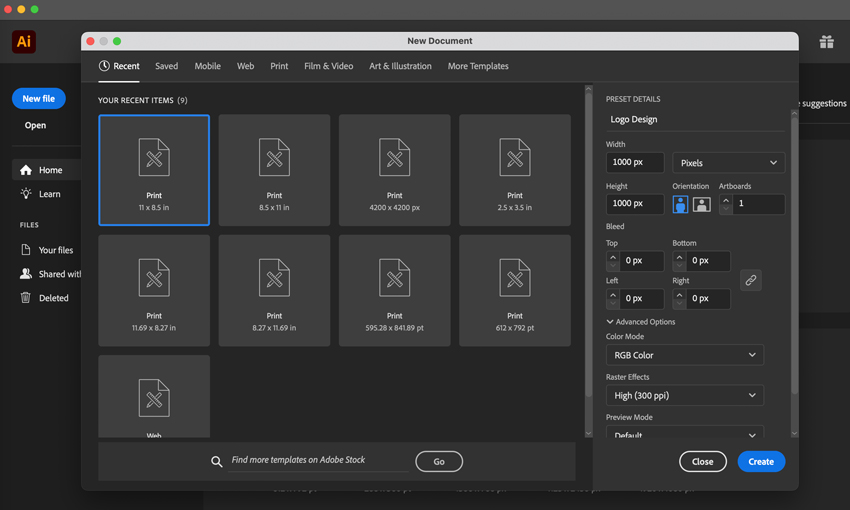
1.2 How to Create a New Document in Illustrator
Let’s begin our exploration of Adobe Illustrator by creating a new document. Follow along with this lesson to get started in the software. Keep in mind that you could change these values to suit your project.
Need a little help with some Adobe Illustrator basics? Consider bookmarking or checking out these beginner Illustrator tutorials for extra help:
1.3 How to Make Shapes and Lines in Adobe Illustrator
Lines and shapes are some of the core aspects of creating artwork within Adobe Illustrator. In this lesson, you’ll get a feel for how to use them yourself. We’ll start simple, so we can build upon these shapes later.
You can find the Shape Tools and the Line Tool within the Tools panel.
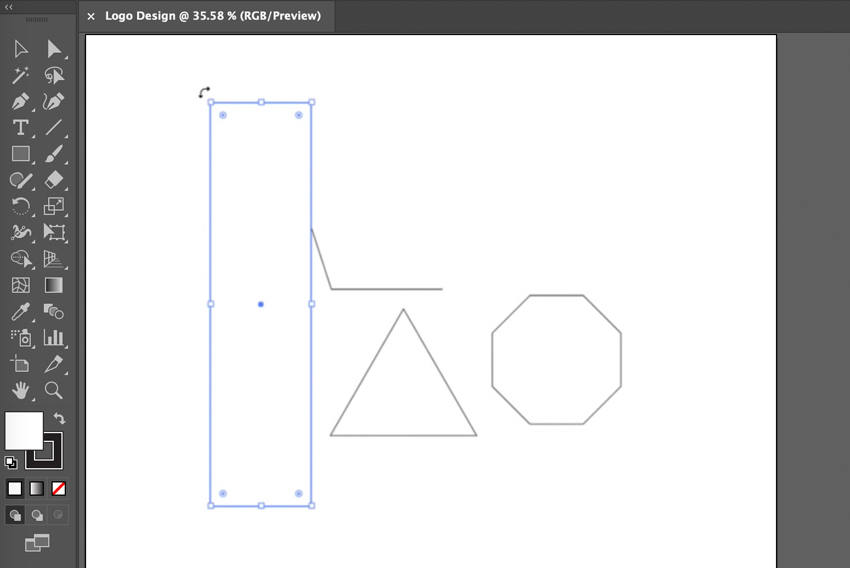
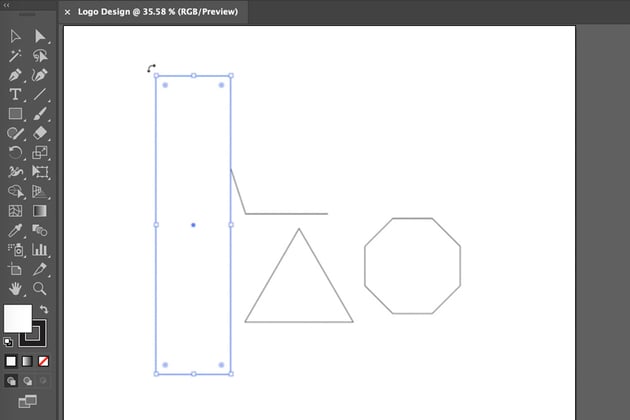
Can’t find a specific Shape Tool? Click and hold to expand the tools in the Tools panel. For example, your Ellipse Tool may be nested under your Rectangle Tool.
1.4 How to Use the Pen Tool in Illustrator
The Pen Tool is another Adobe Illustrator essential. In this lesson, you’ll learn how the Pen Tool works. It’s a great way to create custom shapes and curves. You can find the Pen Tool in the Tools panel.
Don’t worry if you’ve never used it before—this lesson will give you all the ins and outs you need to get started. We’ll create points and customize them too.
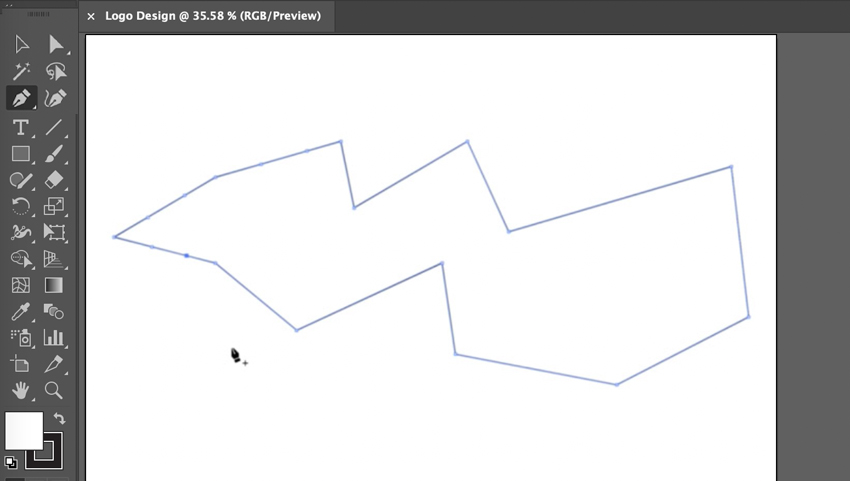
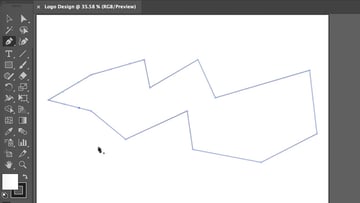
Want to see more of the Pen Tool in action? You can learn even more about working with the Pen Tool in this free tutorial:
1.5 How to Use the Selection Tools in Illustrator
There are two Selection Tools you should know in Adobe Illustrator: The Selection Tool and the Direct Selection Tool. In this lesson, you’ll learn the difference between the two and see them in action.
Selection Tool
Use the Selection Tool to select artwork in your workspace, overall.
For example, you could select an entire shape with the Selection Tool.
Direct Selection Tool
Use the Direct Selection Tool to select points in your artwork.
For example, you could select one point in a shape with the Direct Selection Tool.
Not sure which selection tool to use? Remember to keep an eye on the selection you’ve made in Illustrator (what it has highlighted). Consider the Selection Tool your “main” selection tool.
1.6 How to Use the Stroke Panel in Adobe Illustrator
We’ll use the Stroke panel in this lesson to customize our strokes—from the size to the color. You can open the Stroke panel by going to Window > Stroke. Ready to give it a try?
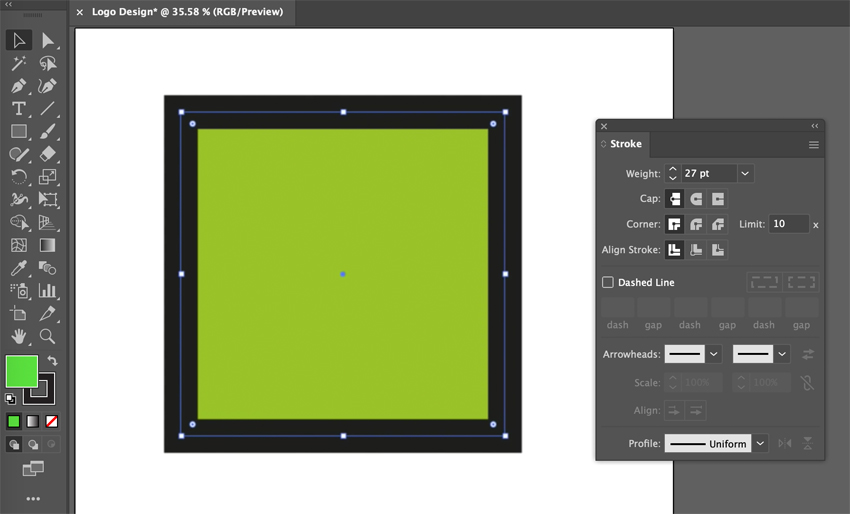
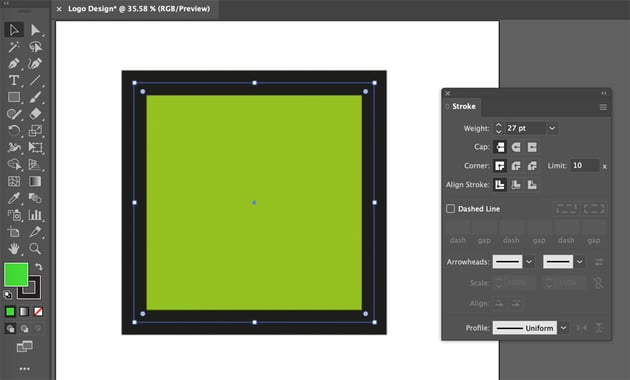
You can change your Stroke and Fill colors from the Tools panel. This is also a quick place where you can turn the Stroke and Fill colors “off” if you don’t want them visible.
2. How to Work With Shapes in Illustrator
2.1 How to Use the Layers Panel in Adobe Illustrator
Layers are a powerful part of Adobe Illustrator. They’re going to help us take our logo design even further. Before we dig into using this feature for creative logo design, let’s take some time to explore how layers work—and why you’d want to use them.
Open your Layers panel by going to Window > Layers. Keep in mind that you can create, delete, duplicate, and hide layers from this panel.
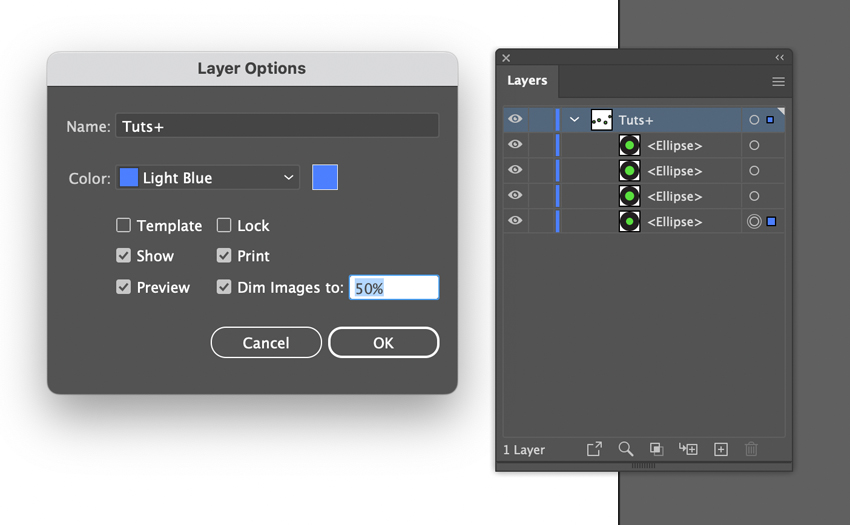
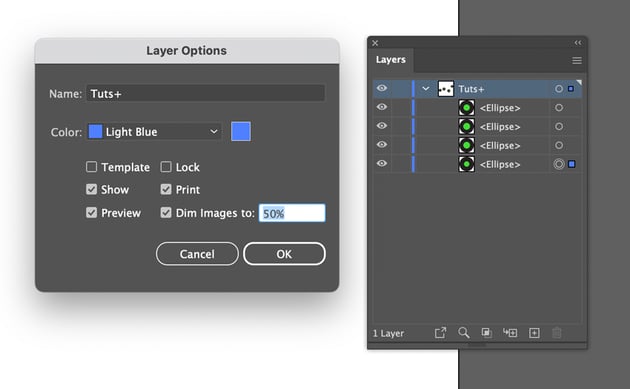
Want to learn even more about the ins and outs of Adobe Illustrator layers? Check out these free tutorials:
2.2 How to Adjust Transparency in Adobe Illustrator
Sometimes, you may want to experiment with transparency as you explore creative logo design. In this lesson, we’ll take a look at some ways we can use transparency to create some interesting effects in Adobe Illustrator.
2.3 How to Use the Path Finder Tool and Shape Builder Tool
This lesson is all about using our tools to build and manipulate more complex shapes.
The Path Finder Tool is used to manipulate shapes. For example, you can unite two selected shapes into one. This tool allows us to quickly and simply combine and subtract different parts of our work.
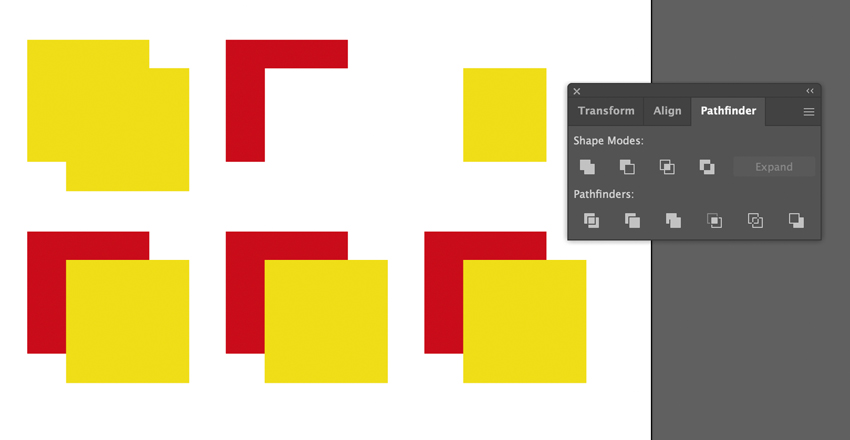
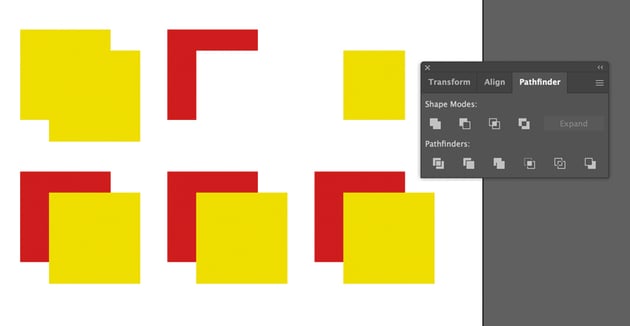
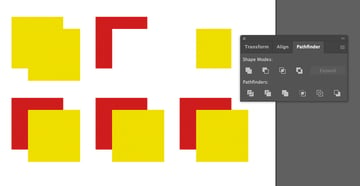
Similarly, the Shape Builder Tool also allows us to manipulate shapes—but in some regards, makes it even easier! In this lesson, we’ll also walk through how to use this tool to combine and remove parts of compounded shapes.
You can learn even more about working with the Shape Builder Tool in this free tutorial, right here at Envato Tuts+:
These concepts can be utilized in many different ways. You could, for example, draw an abstract shape with the Pen Tool or achieve a similar result by using the Shape Builder Tool—your workflow, your preferred way.
2.4 How to Use Swatches in Adobe Illustrator
Swatches in Adobe Illustrator are one of the best ways to use, apply, and keep your colors at hand. We’ll look at using the Swatches panel in this lesson. This is an important one that we’ll use later in the course, as well. Go to Window > Swatches to open up the Swatches panel.
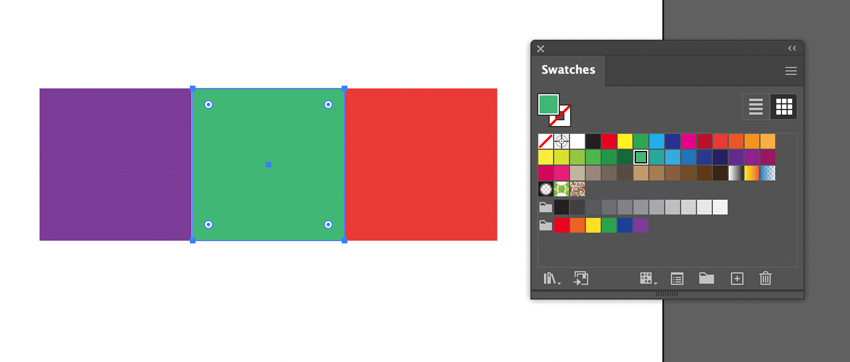
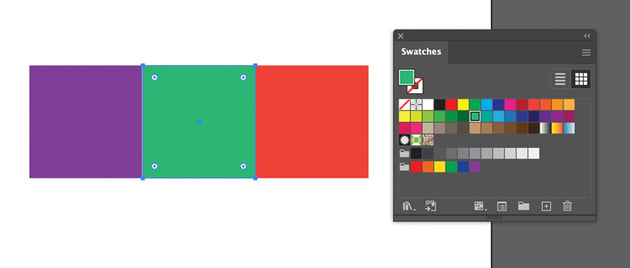
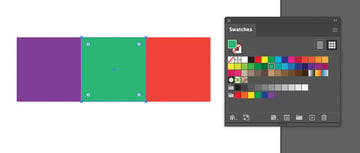
We’ll look at Global Swatches in this lesson too—which make changing the colors in your composition even easier!
You can learn even more about working with Swatches in this free Adobe Illustrator tutorial:
2.5 How to Use Gradients in Illustrator
Gradients, when used properly, can help bring depth to our work. That’s just what we’ll do, once we’re ready to explore how to design a logo in Illustrator. For now, we’ll start off this lesson by exploring how gradients work. Then, we’ll expand upon this with some great ways to use them later in this course.
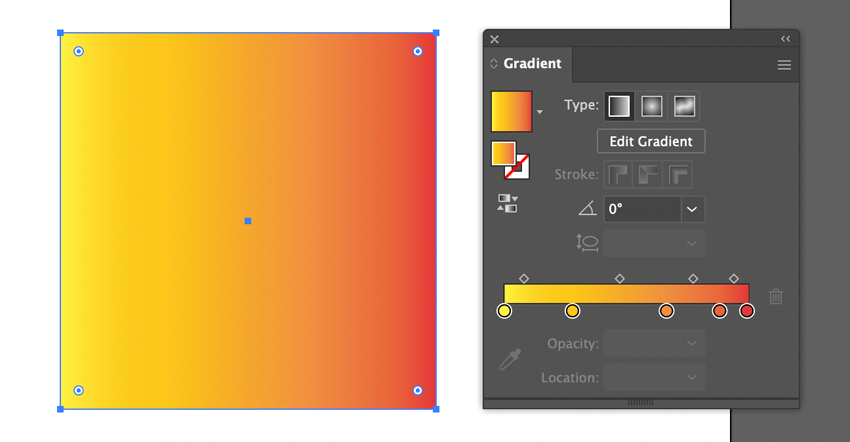
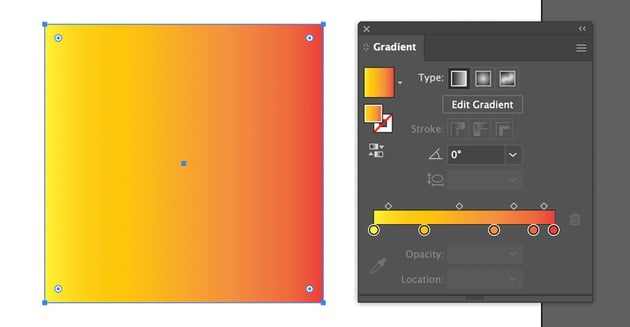
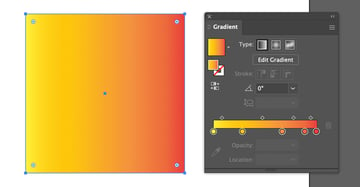
You can always go back and adjust your gradients from the Gradient panel. Go to Window > Gradient to open it up!
Want to learn even more about working with gradients in Adobe Illustrator? Check out this tutorial; it’s got everything you need!
2.6 How to Use the Shaper Tool and the Smooth Tool
Sometimes, you might want to go back and adjust the curve of some of your lines. Thankfully, the Smooth Tool makes doing so a breeze. The Shaper Tool allows us to quickly draw shapes and interprets them for us. Join me in this lesson, where we walk through how to use these tools to make this process simple for us in our logo design process.
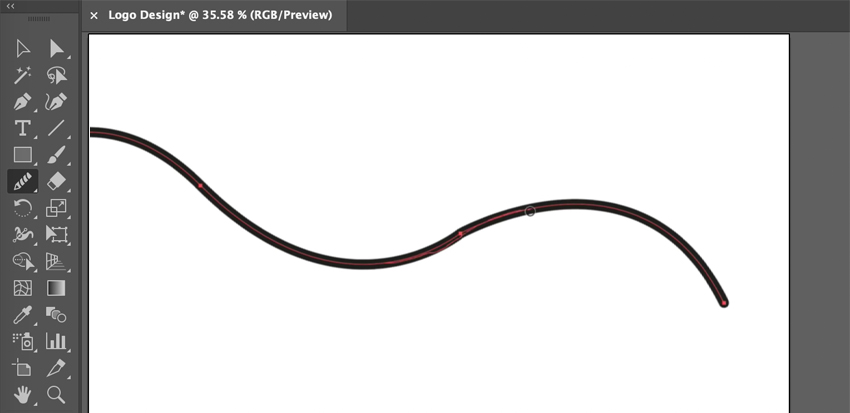
These tools are located in the Tools panel—many of the core tools in Adobe Illustrator are. If you ever have trouble finding a tool, try clicking the “…” symbol at the bottom of this panel. It will help reveal hidden tools.
2.7 How to Use the Knife Tool in Adobe Illustrator
Wouldn’t it be convenient if we could just slice off part of a shape in our work? Well, with the Knife Tool, we can do just that—and yes, it’s as handy as it sounds. Join me in this lesson, where we give the Knife Tool a demonstration in Adobe Illustrator. You can find the Knife Tool in the Tools panel.
2.6 How to Use the Scissor Tool in Adobe Illustrator
The Scissor Tool is a little similar to the Knife Tool—but instead, we can use it to make different slices in our work. It’s a perfect go-to if you want to make a slice at specific points in our work. Check out this lesson’s demonstration to get a feel for how this tool works.
3. Adobe Illustrator Q&A Session
3.1 Adobe Illustrator Live Stream Q&A Session
At this point in the original live stream, we took a break for questions from the audience. While the stream isn’t live, you can still tune in and check out this session—and all of the great tips and tricks addressed within it!
If you’d like to skip over the Q&A Session from this live stream, jump to Section 4: How to Create a Logo Design, where we resume the main part of the course content.
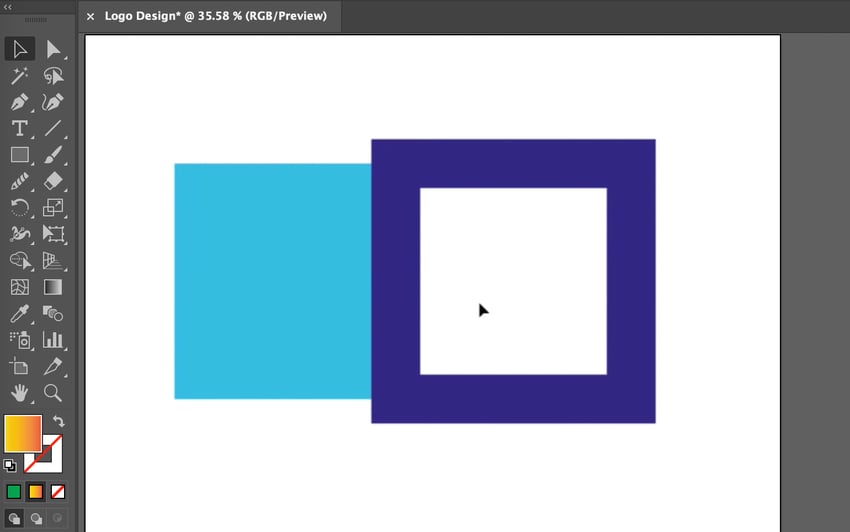
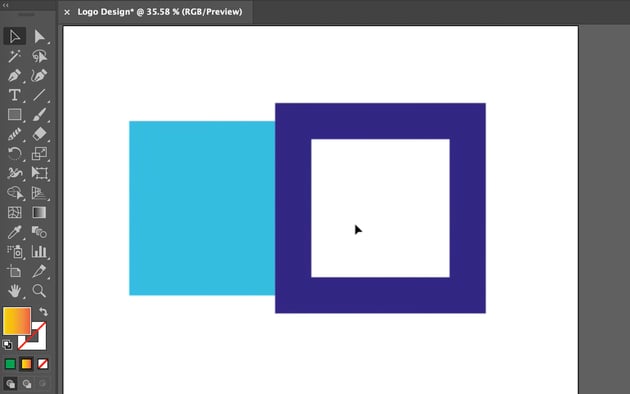
3.2 Is There an Automated Way to Separate the Line From the Fill in Illustrator?
Tune in to this lesson to figure out how to separate the stroke from the fill in Adobe Illustrator. There isn’t necessarily a completely automated way—but there are certainly simple ways to achieve this. Check out this walkthrough to figure out how.
3.3 How to Zoom In and Out in Adobe Illustrator
Being able to navigate your workspace certainly makes working in Adobe Illustrator easier. In this brief Q&A lesson, we’ll take a look at how to zoom and pan in Illustrator. It’s quick and easy but very useful.
Looking for a shortcut? Zoom in with Control + on PC or Command + on Mac. Zoom out with Control – on PC or Command – on Mac.
3.4 Do the Merging Tools (Shape Builder) Exist in Illustrator CS6 As Well?
Older versions of Illustrator don’t necessarily have the same tools as the current version of Illustrator CC. However, that’s not to say that building shapes is impossible in Illustrator CS6. In this Q&A lesson, let’s walk through what’s available to you if you’re running an older version of the software.
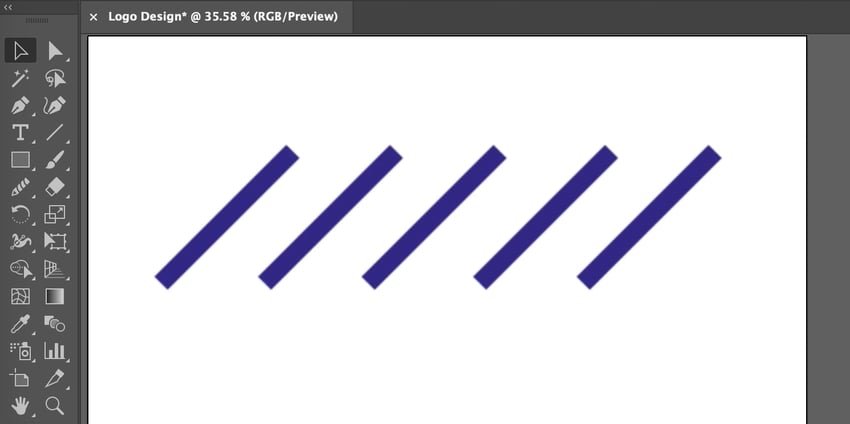
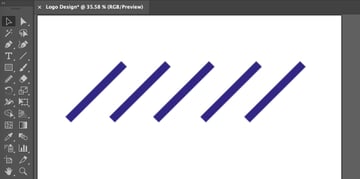
3.5 What’s the Easiest Way to Make Shapes Striped?
Stripes can be a fun addition to your shapes—and there are multiple ways to achieve this look! Let’s explore a couple of ways we could achieve striped shapes in Adobe Illustrator, together, in this Q&A lesson.
Want to Learn More About Adobe Illustrator?
Adobe Illustrator for Beginners is a perfect course for those just getting started with Illustrator. Even better, the course is completely free!
Illustrator is an excellent choice for logo design software. Start learning more today!

4. How to Create a Logo Design
4.1 Building the Shape of Our Logo Design
Now that we’ve taken an in-depth tour of Adobe Illustrator, let’s take what we’ve learned and put it into action. We’ll begin building the overall shape of our logo design.
Take a look at the tools we explored in action, below. There are many ways to achieve these results based on what we learned. Let’s walk through some ways to achieve this together in this lesson.
Want to learn more about the creative logo design process in Adobe Illustrator? Check out these tutorials for more insight and inspiration:
4.2 Creating the Shadows
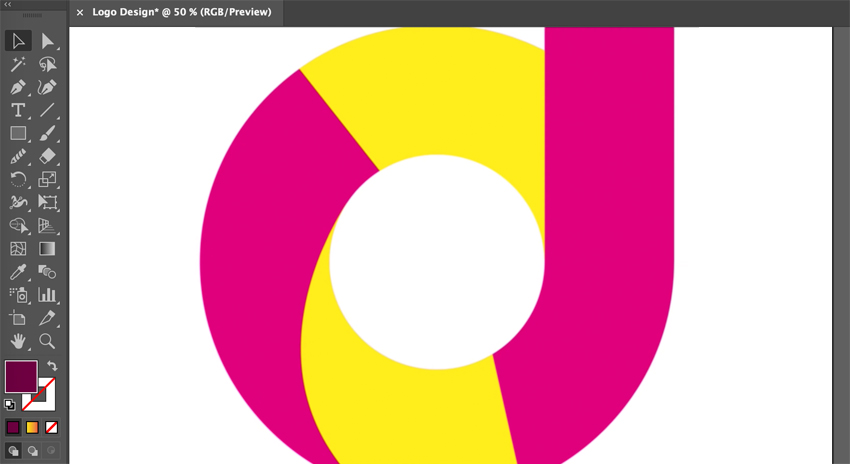
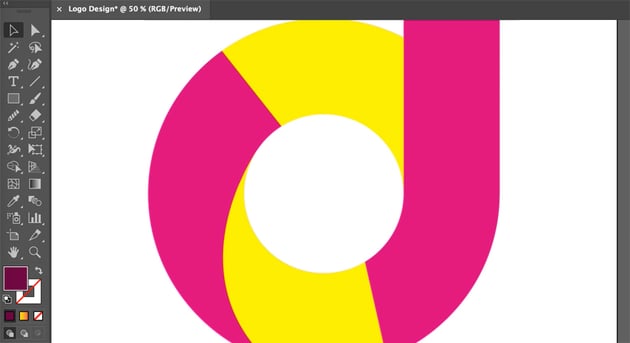
Let’s add some shadows to our work, to bring some depth to our logo design. We’ll do so using gradients, as we explored earlier in the course. We’ll make them blend in, and manipulate the shape so it seamlessly works with the shape we’ve put together.
Ready to make some magic happen? Let’s begin.
4.3 Adding Highlights
We can also use these concepts to add highlights. Let’s take the same idea as the last lesson, and apply it to the top of our logo design.
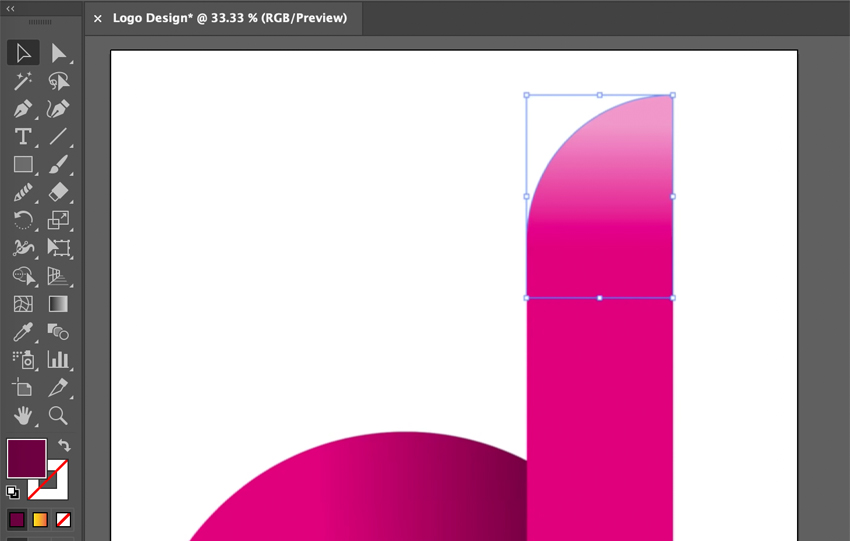
Remember, you can always return to your Gradient panel and Swatches panel to make adjustments to the colors in your work. We’ll walk through that again in this lesson.
4.4 Adjusting the Logo’s Color
But what if you want to experiment with your logo design’s color? It’s time to go back to our swatches again. This time, you’ll really get a hands-on feel for just how convenient working with swatches can be. We can easily sample new colors and make adjustments. Ready to give it a try?
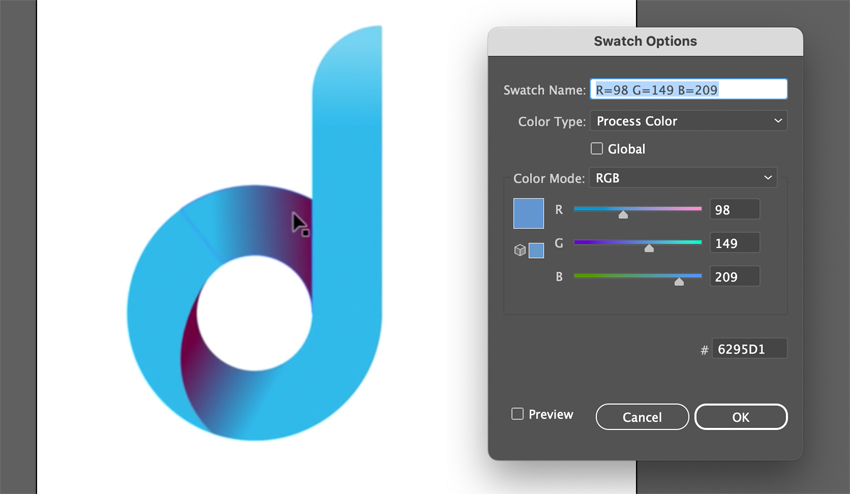
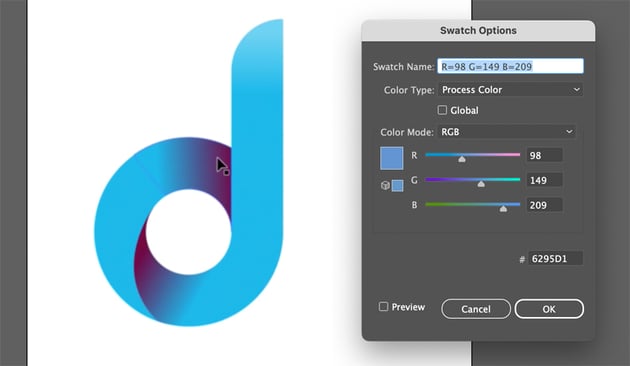
This is such a great example of why those swatches from earlier in the course are important! Remember, you can open the Swatches panel by going to Window > Swatches.
4.5 Changing the Color Mode (RBG and CMYK)
Your color mode will matter, depending on how you plan to use your work. If you plan to print, for example, you’ll likely want to switch over to CMYK. Let’s walk through changing the color mode together in this lesson.
RGB stands for “Red Green Blue” and is color intended for screens. CMYK stands for “Cyan Magenta Yellow Black” and is intended for print.
5. How to Complete Your Logo Design in Adobe Illustrator
5.1 Grouping Your Completed Logo
You’ll likely need to move or resize your logo at some point. It can be very convenient to group your completed work so that nothing gets accidentally bumped or changed. In this lesson, we’ll walk through this simple process together.
You can also ungroup your work by going to Object > Ungroup.
5.2 Using and Positioning Your Work With Artboards
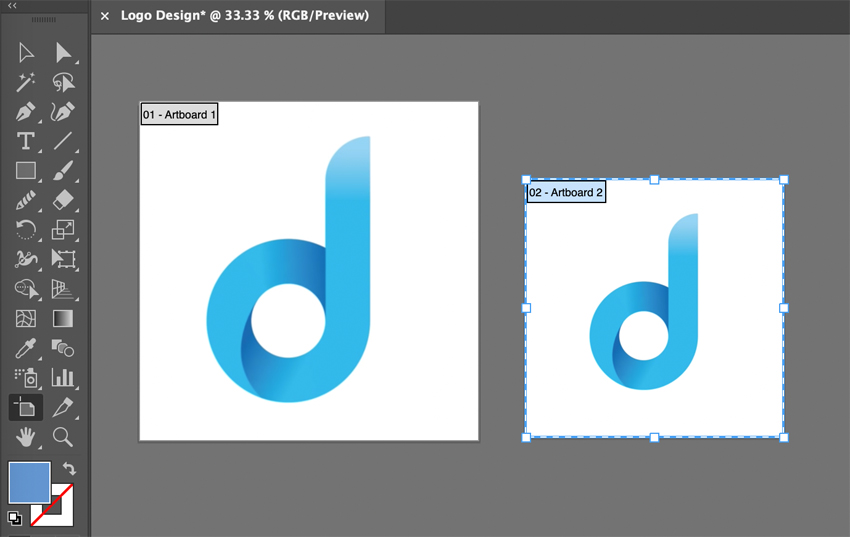
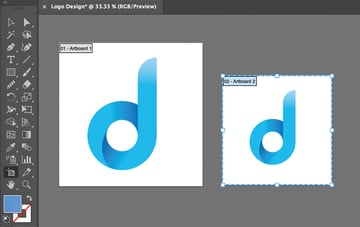
Let’s create and adjust our artboards in this lesson. What are artboards? Consider them like a canvas in your work area. You can have more than one, and this might be advantageous in some cases. We’ll use the Artboard Tool to adjust, resize, and create some new artboards in this lesson, as we finalize our work.
5.3 Exporting Your Logo
Once your logo design is complete, it’s time to Export! Let’s walk through the process together so you can save and prepare your work for use. We’re almost at the finish line!
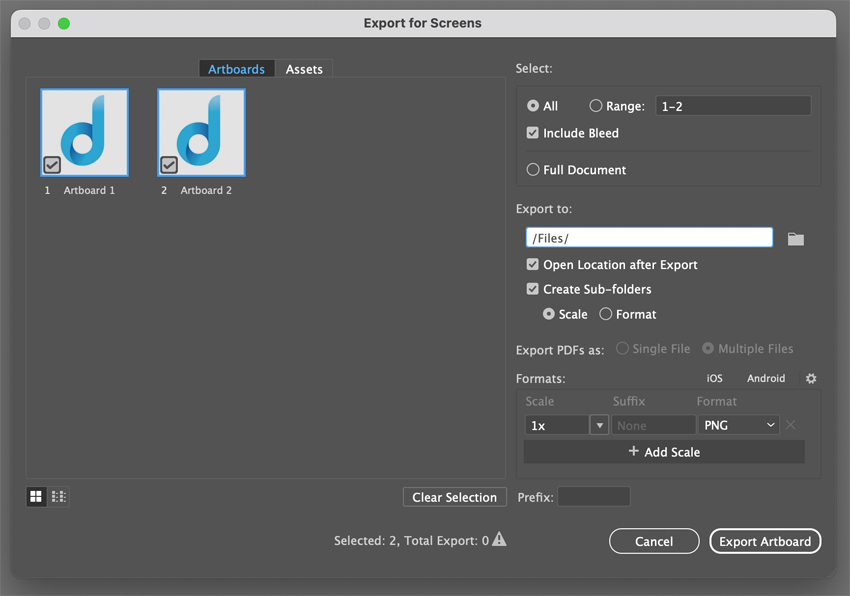
Because we’ve made more than one artboard, we have the option of selecting which artboard we’d like to export—you can name them, too, for your convenience!
5.4 Conclusion
You’ve made it to the finish line and created a logo design, step by step! Congratulations! Now that you’ve learned how to design your own logo, what will you create? Adobe Illustrator logo design can be a fun, rewarding skill to add to your skillset.
Let’s wrap things up together with some final thoughts on Adobe Illustrator and creative logo design.
Learn More About Adobe Illustrator
Want to learn even more about Adobe Illustrator? It’s awesome logo design software, but it can do a lot more too! Check out these free video tutorials from Envato Tuts+. There’s no better time than right now to watch and learn even more.
Or, if written tutorials are more your style, why not check out the library of written tutorials here on Envato Tuts+? From beginner tips to advanced techniques, there’s so much tutorial content to explore. Learn more about Adobe Illustrator today: