
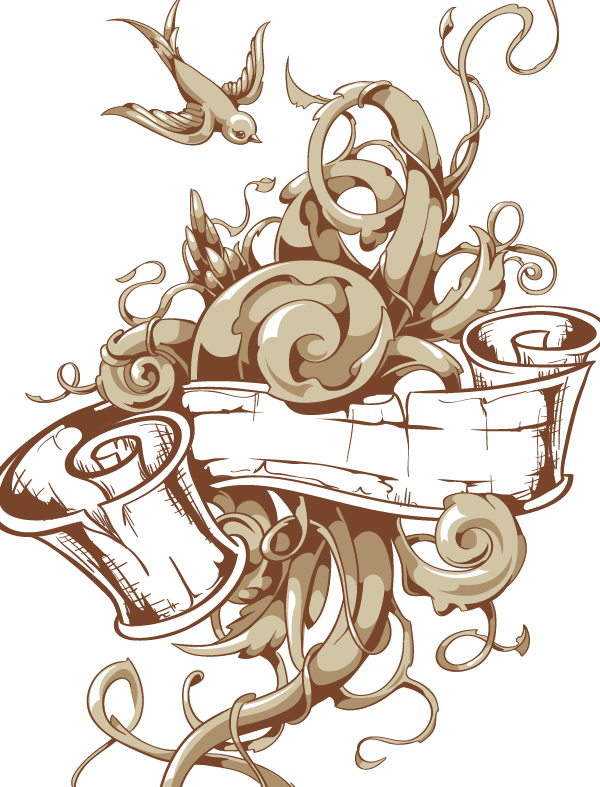
Final Product What You’ll Be Creating
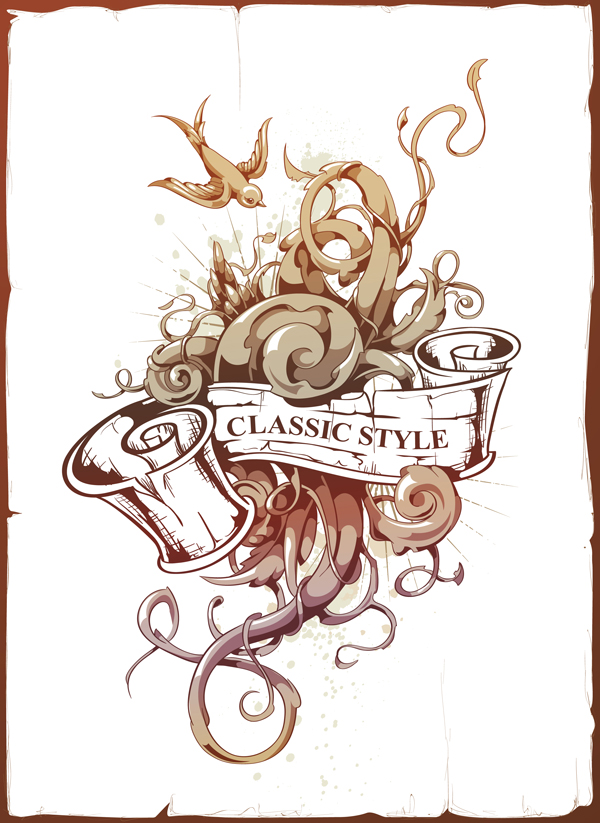
In the following tutorial you will learn how to create hand-drawn tattoo styled illustration in Adobe Illustrator. You will need a graphic tablet such as Wacom to learn how to create, set up and use Calligraphic Brushes. Starting with sketch work you will learn how to work with Strokes and Layers. Then you will learn how to work with the Pathfinder panel and Live Paint Bucket.
1. Create Your Tattoo Sketch
Step 1
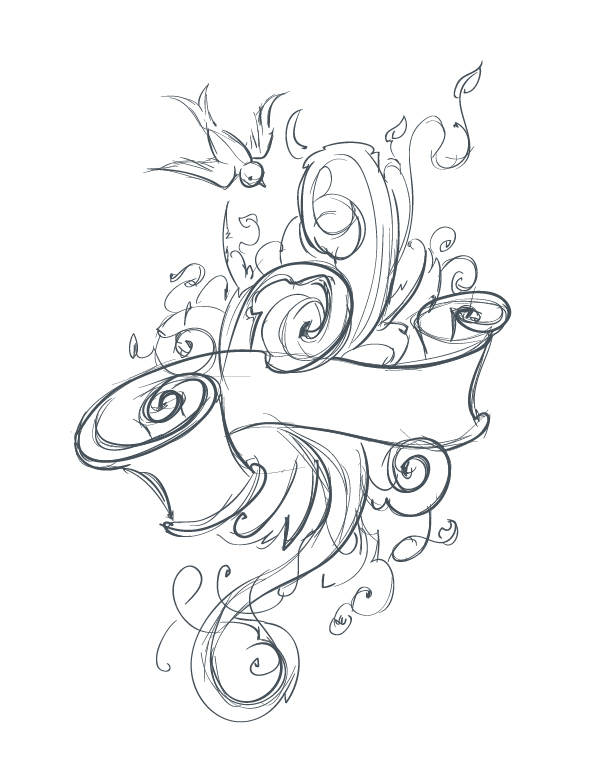
I create my sketches directly in Adobe Illustrator with help of my graphics tablet. Sketching helps to build up the composition and main lines rather than jumping in without any plan of your design.
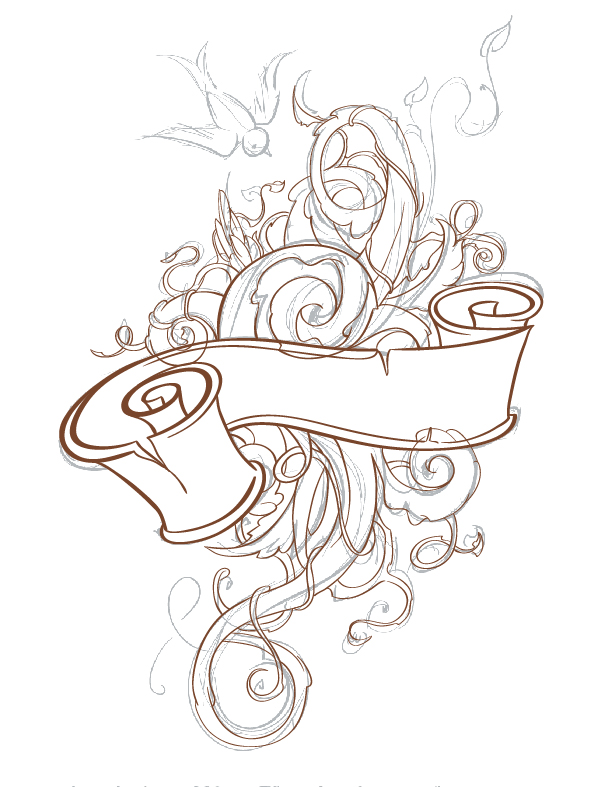
So here I have a sketch of a vintage, scrolled ribbon. It’s done with a small simple Round Calligraphic Brush with 1-3pt Diameter. You can find both in the default Brushes panel, however it is easy to create your own.

To finish the composition, I add scrolled, floral patterns. I’m also adding a bird to create an old-fashioned tattoo style. The bird also balances the composition.
Step 2
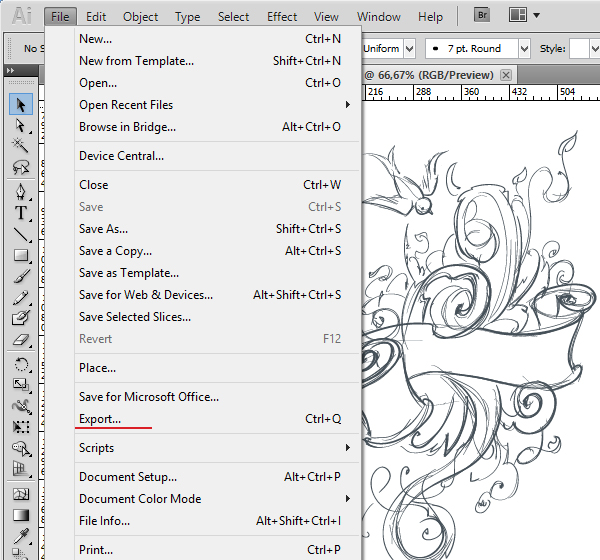
When your sketch is finished, convert it to JPG format by going to File > Export.
2. Create Your Line Art
Step 1
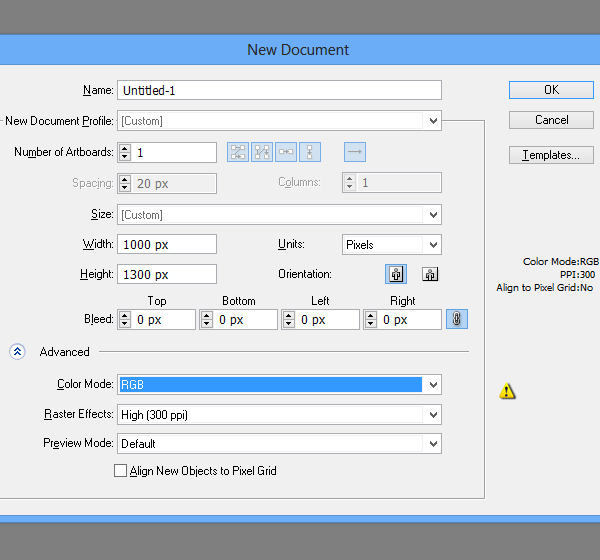
Let’s create a New Adobe Illustrator document with a 1000 x 1300px size and RGB Color Mode.
Step 2
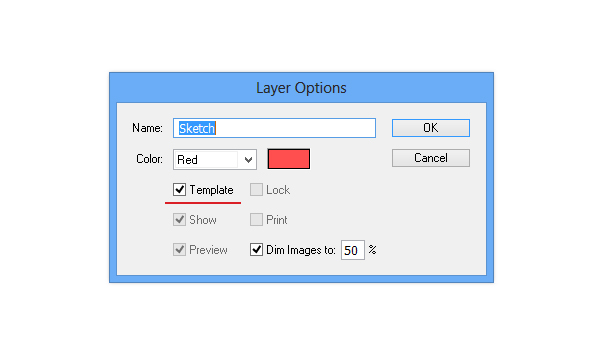
Create New Layer and place it at the bottom of the Layers panel. Drag and drop the image with the sketch in this layer. Make sure the layer you have created is a Template layer by going into the Layer Options. Do this by double-clicking on the layer in the panel. Rename this layer to “Sketch” and tick the check boxTemplate.
Step 3
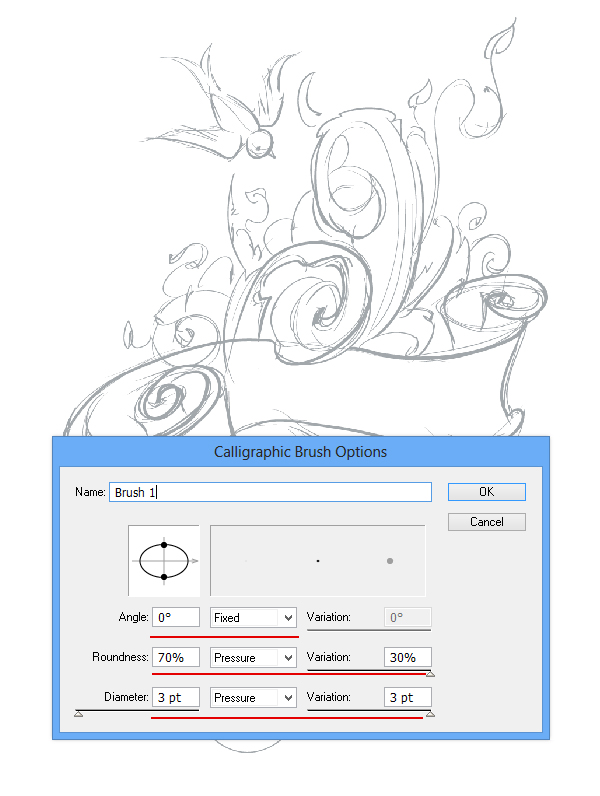
Now we need to create a New Calligraphic Brush to help create some smooth contours to the design. Let’s open the Brushes panel by going to Window > Brushes. In the drop-down menu choose New Brush. Next, choose Calligraphic Brush. Use the settings below for your new brush and click on OK.
Step 4
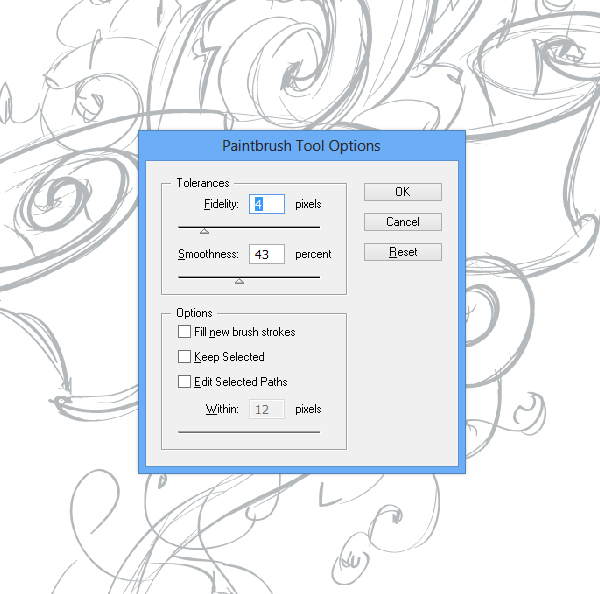
Select the Paintbrush Tool (B) and press Enter to access the Paintbrush Tool Options. Use the settings below.
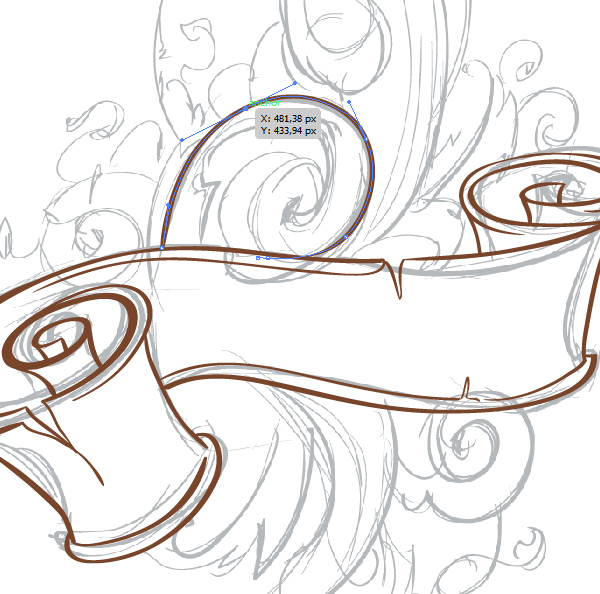
Step 5
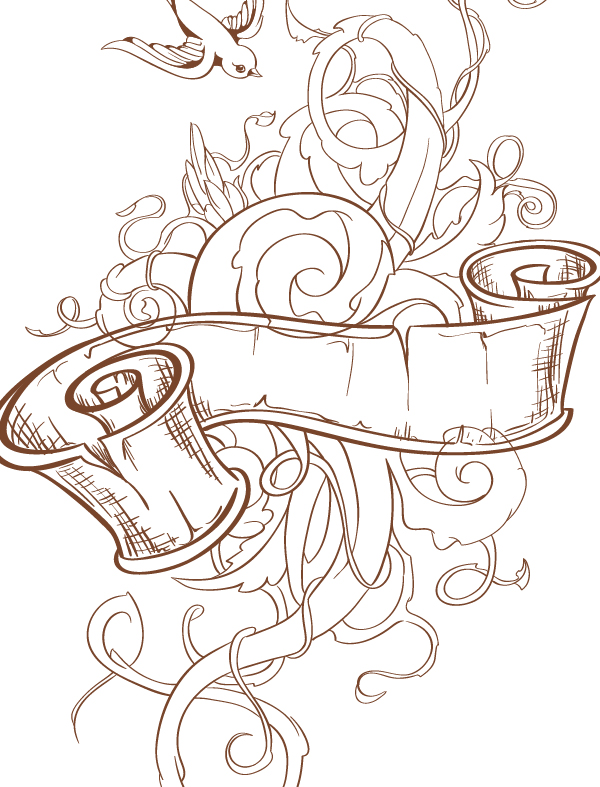
Make sure that Fill color is null and Stroke color is #78452B. Create New Layer and rename it to “Ribbon”. Begin tracing your original sketch to create the ribbon. When you’re done with the ribbon Create New Layer, rename it to “Florals”. Draw the floral roots at this new layer.
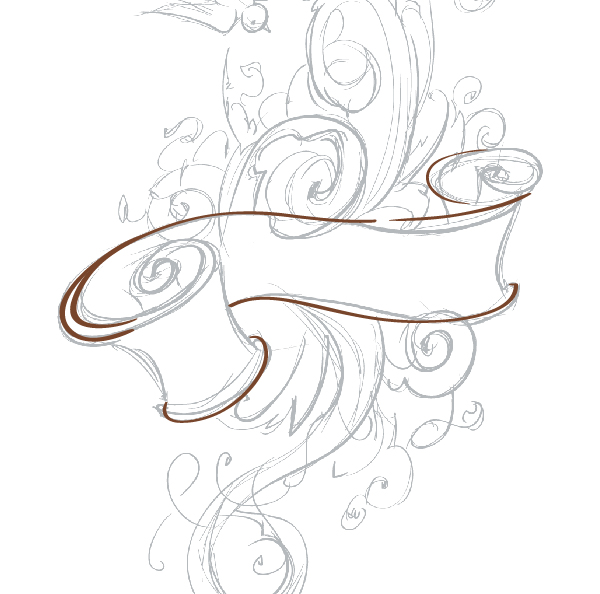
Your contours have to be clean and strong. If you don’t like your hand-drawn lines, use a mouse and edit them with the Pen Tool (P). Use it to add or remove points. Alternatively, choose the Direct Selection Tool (A) to move the points to make your lines more smooth.
When you’re finished, select all the brush strokes you created in this layer and go to Object > Expand Appearance.
Step 6
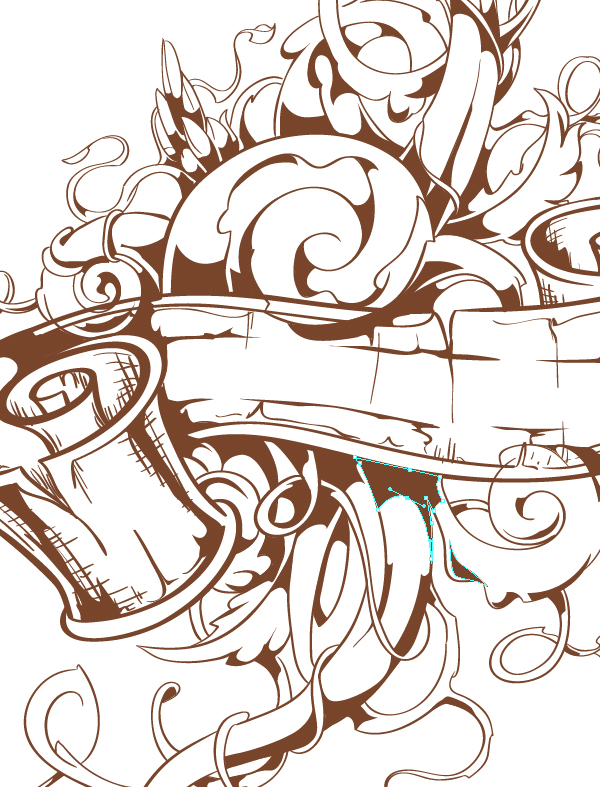
When you’re done with the contours, it’s time to add details and shadows. I wanted to keep a vintage, old-fashioned style so the next step is to add thin lines to the scrolled ribbon to make it looks like it’s engraved. Use a Calligraphic Brush with smaller diameter. Just duplicate your first brush using the drop-down menu in Brushes panel and change Diameter rate to 1pt. Create New Layer with the name “Scratches” and add vertical and horizontal lines to create shadows and an aged engraving effect.
Step 7
Classic tattoo styles show a lot of contrast. So we need to add deep contrast shadows. In the “Florals” layer and using Pen Tool (P), let’s draw shadow shapes one by one. Wonder where to place the shadows? Just imagine that the light comes from above the design.
3. Add Colors to Your Design
Step 1
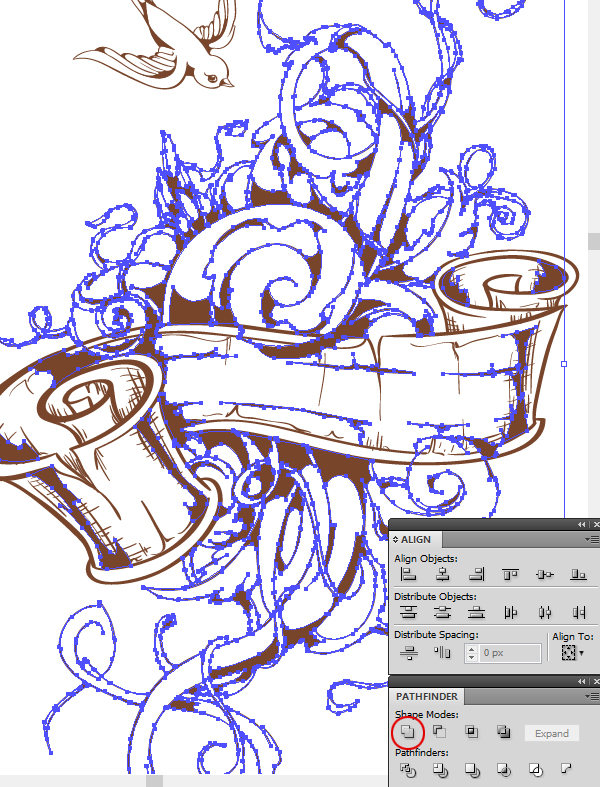
Select all the objects you have in the “Florals” layer and hit the Unite button in Pathfinder panel to create one solid object.
Step 2
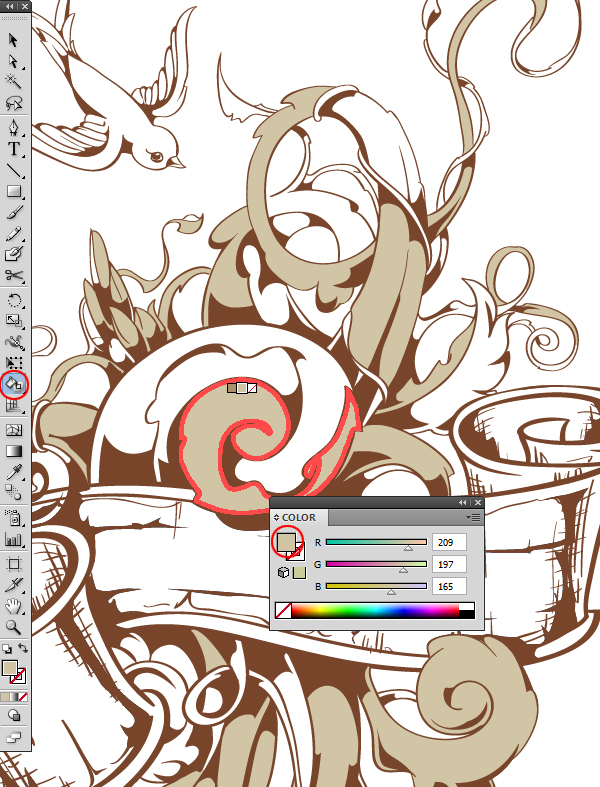
Set up the Fill color as #D1C5A5. Select our solid object and choose the Live Paint Bucket (K). Keep your object selected and click on it with Live Paint Bucket. Fill the open spaces with the tool until done.
Step 3
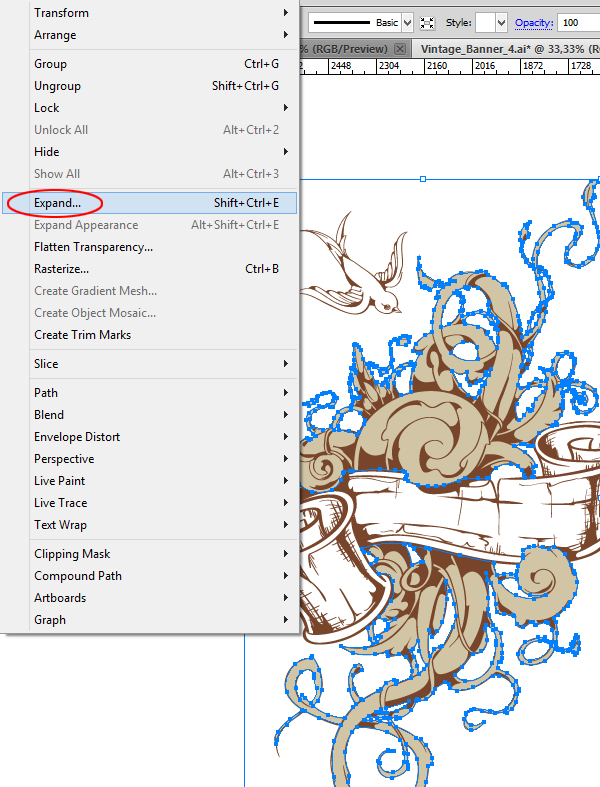
After you have finished, select all on this layer and Expand it by going to Object > Expand.
Step 4
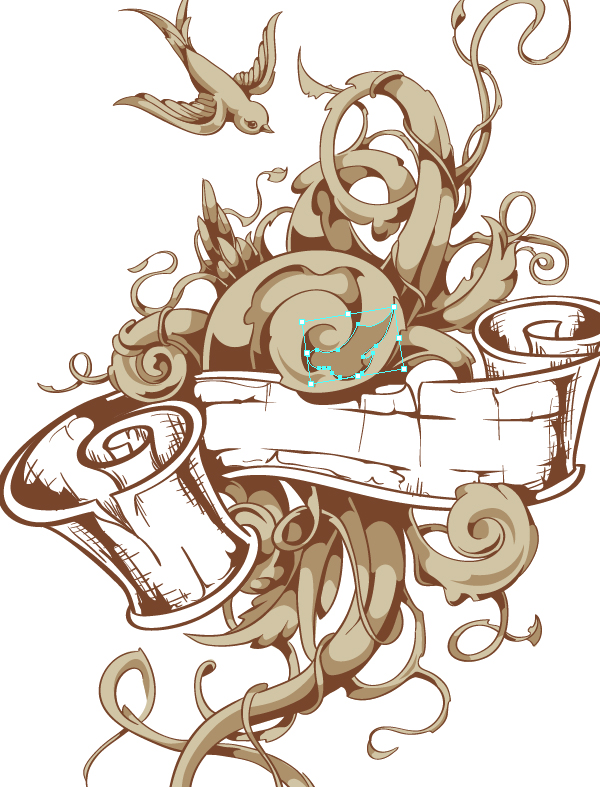
Cut this expanded object (Control + X) and paste it in a new layer placed under (Control + F). Rename this layer to “Colors”. Now we need to add one more shadow and highlight within this layer. Set up the fill color #AD916B and create shadows using the Pen Tool (P).
Step 5
Add highlights the same way with a white fill.
4. Add Text to the Scroll
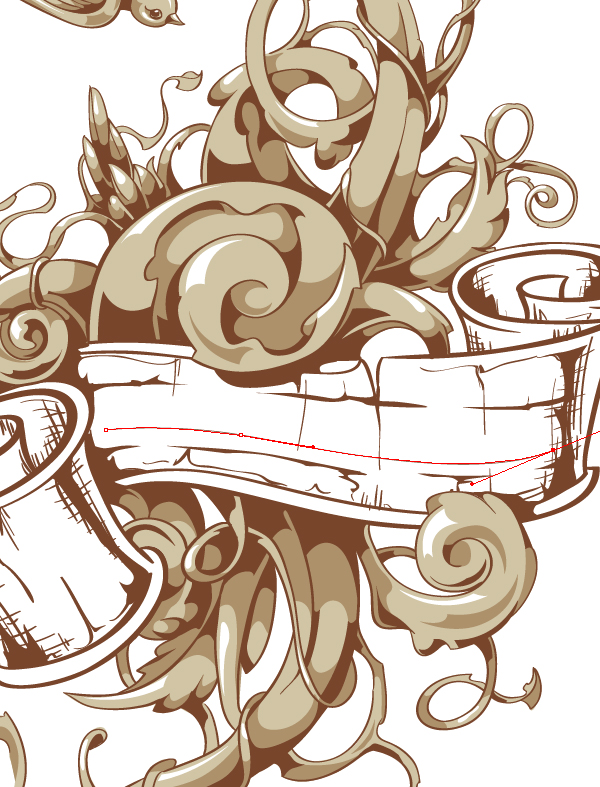
Step 1
Create New Layer with name “Text”. Create a curved line using the Pen Tool (P) across the middle of the scroll.
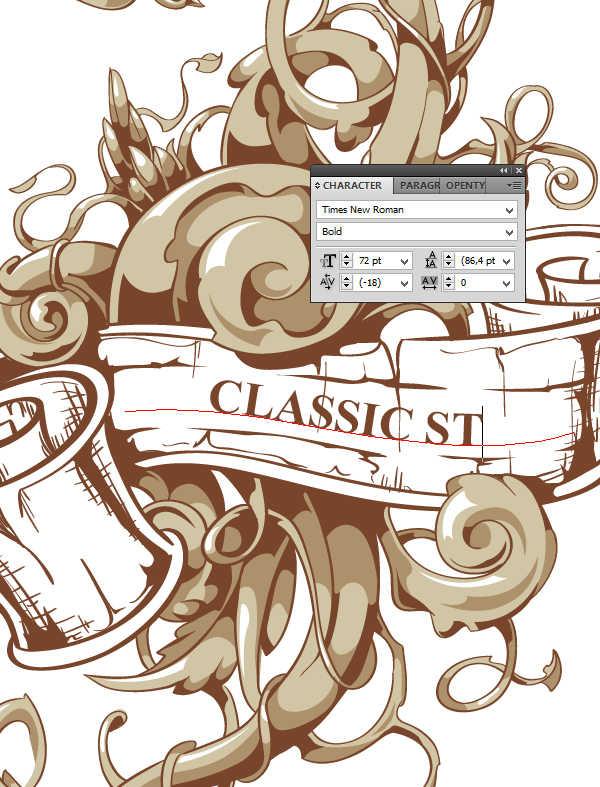
Step 2
Choose Text Tool (T) and click to the curve. Type your text. I was using “Times New Roman” for the font.
5. Add a Dash of Color With a Gradient
Step 1
Select all of your objects on all layers and Copy them. Create New Layer above all the other layers andPaste.
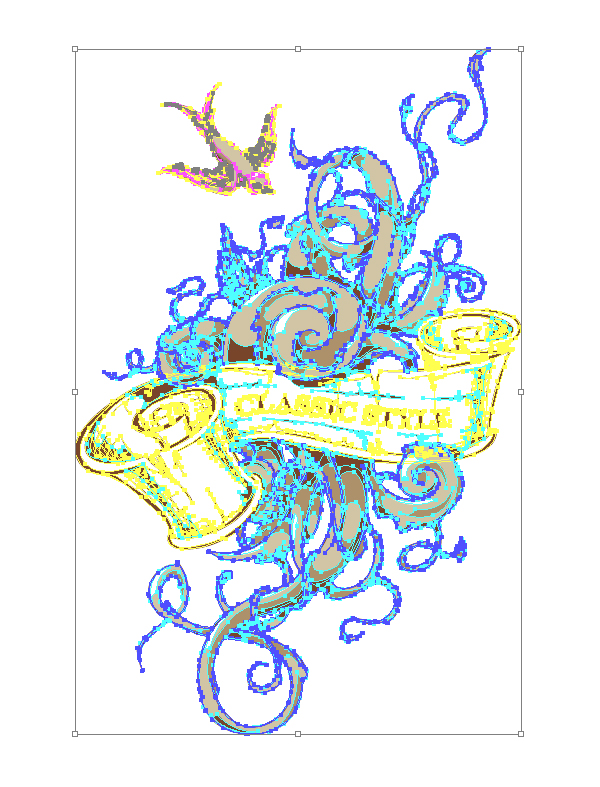
Step 2
Click Unite button in the Pathfinder panel to get one solid object. Fill this object with a Linear Gradient (G). Drag the gradient from top to bottom with a little tilt and add to the gradient the following colors:#DB611F; #B85736; #1F366E; #800030; #330AA3; #3F0E87; #791F00.
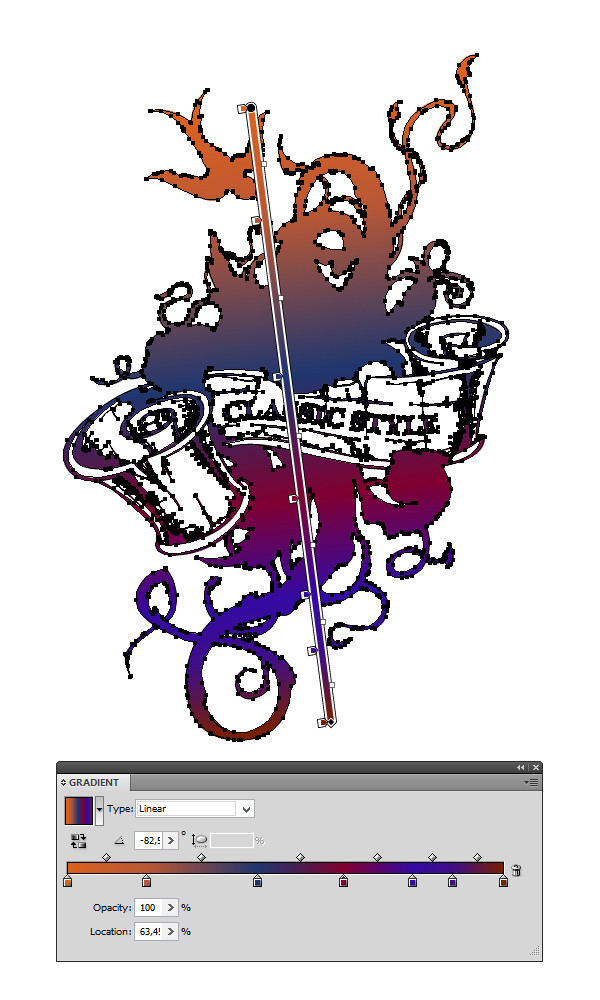
Step 3
Change the Blending Mode in the Transparency panel to Overlay and Opacity to 40%. Now it looks more cool and bright!

Step 4
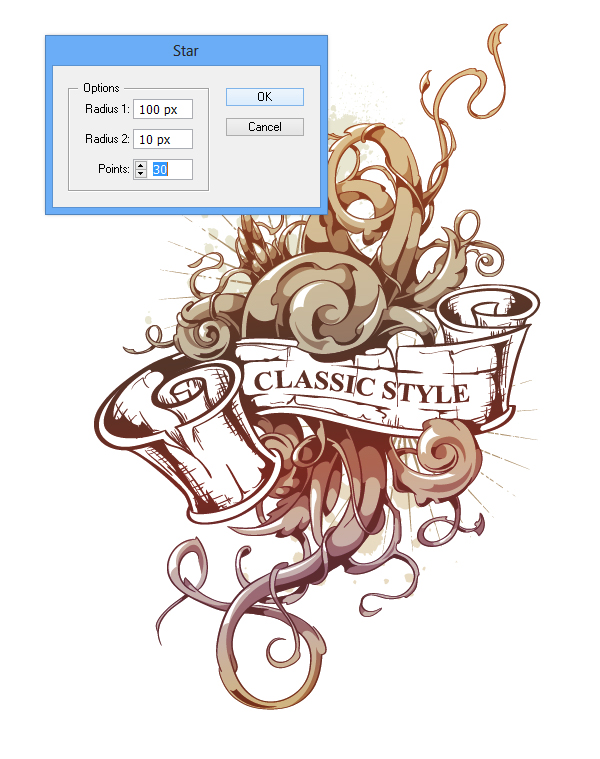
Add some decorative elements and background on a new layer placed to bottom. I have used traced ink splashes to add some grunge dirt. Also I was using star shapes (Star Tool) to create some grunge beams in the background.
Step 5
Finally add some more decorative scratches to make your design more aged. I also added the brown frame using the Pen Tool (P).
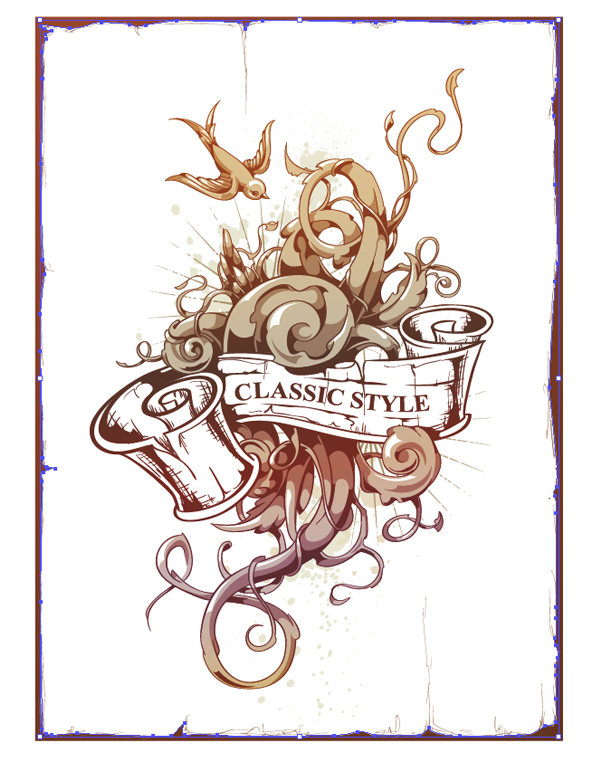
Congratulations! You are Done!
Awesome work! I really love this old-fashioned style and I hope you have enjoyed this tutorial!