
This article is part of a series created in partnership with SiteGround. Thank you for supporting the partners who make SitePoint possible.
Many developers who use MySQL for their databases may be pros at managing MySQL databases from the command line, but others really need a visual tool, something with a graphical interface, to use when managing databases. It seems that one of the most common tools used for that purpose is phpMyAdmin. This is a web based tool, one that is installed on your web server. Users can head to a particular address and port, login as a database user, and visually manage databases on that server. While useful, this can be inherently insecure, providing a web interface for MySQL users.
Another option is MySQL Workbench, a program that can be downloaded for use on many major operating systems, and can remotely connect to databases for management and planning purposes. This post, however, will illustrate the use of a third option for macOS users: Sequel Pro
.
Sequel Pro is a native application for macOS. You can set up as many database connections as you need in a favorites list, allowing quick access to those which you need to get at repeatedly. Sequel Pro also provides options to use SSH keys from within the application, in order to let you use it to manage databases over SSH, using keys rather than a username and password. This provides significant security advantages over methods that require users to login using only a MySQL user and corresponding password.
Using Sequel Pro
Sequel Pro is an easy way to manage your databases on macOS. Getting started is a simple process; you download the application, install it, and then launch Sequel Pro!
Setting up a New Database Connection
When you launch Sequel Pro, if you have no databases set up yet, you’ll be greeted by the screen that asks you to create a new server connection.
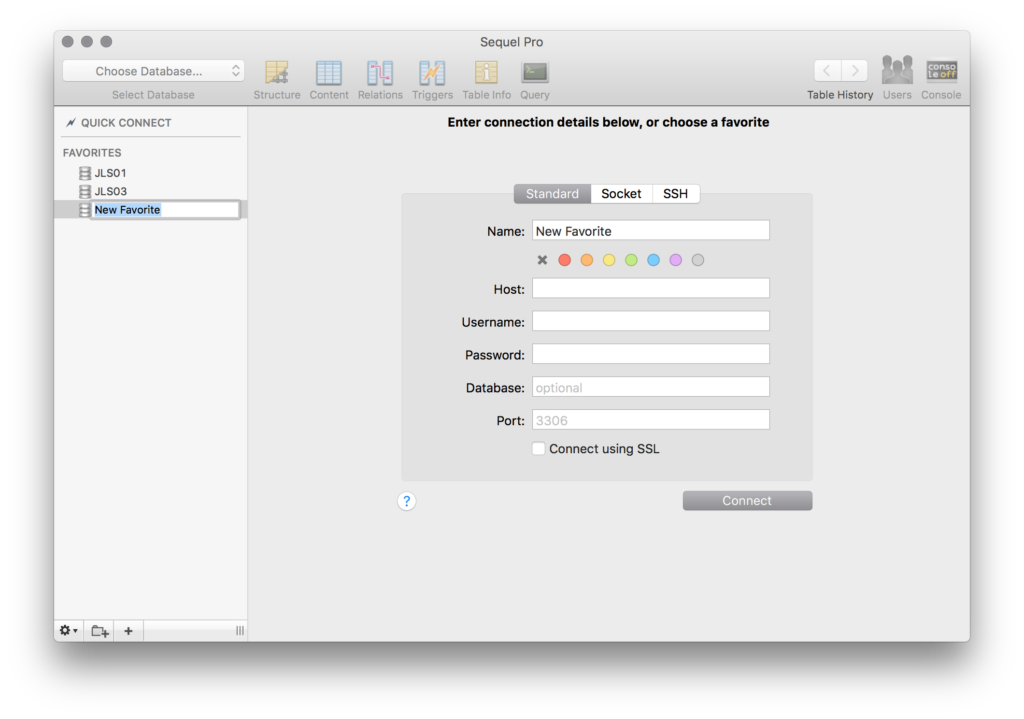
The above is the connection information for a standard database, but you can also choose the SSH tab to use SSH to connect to your database, depending on your server’s configuration and security.
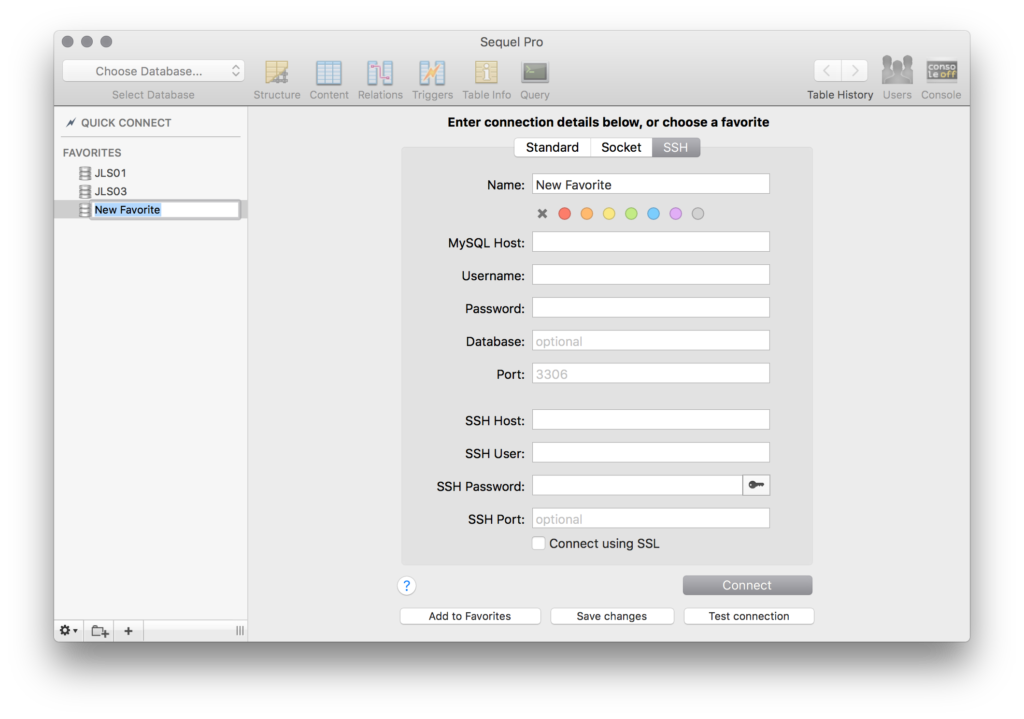
The requested details are relatively straightforward.
- Host – The IP or URL used to access the database
- Username – The username of a MySQL user (one with the correct permissions to read from or write to the database)
- Password – The password of a MySQL user (one with the correct permissions to read from or write to the database)
- Database – The name of the specific database to which you intend to connect
- Port – The port via which to connect to the server. The default is 3306 for a standard MySQL connection.
And if the type of new connection is SSH, you’ll need to provide your SSH host, username, password, and a port (defaults to 22) as well. If you would prefer to use an SSH key, you can click the key icon by the password field to allow the selection of a key file from your Mac’s filesystem.
Once you’ve connected to your database, you’ll be presented with the Structure View.
Structure View
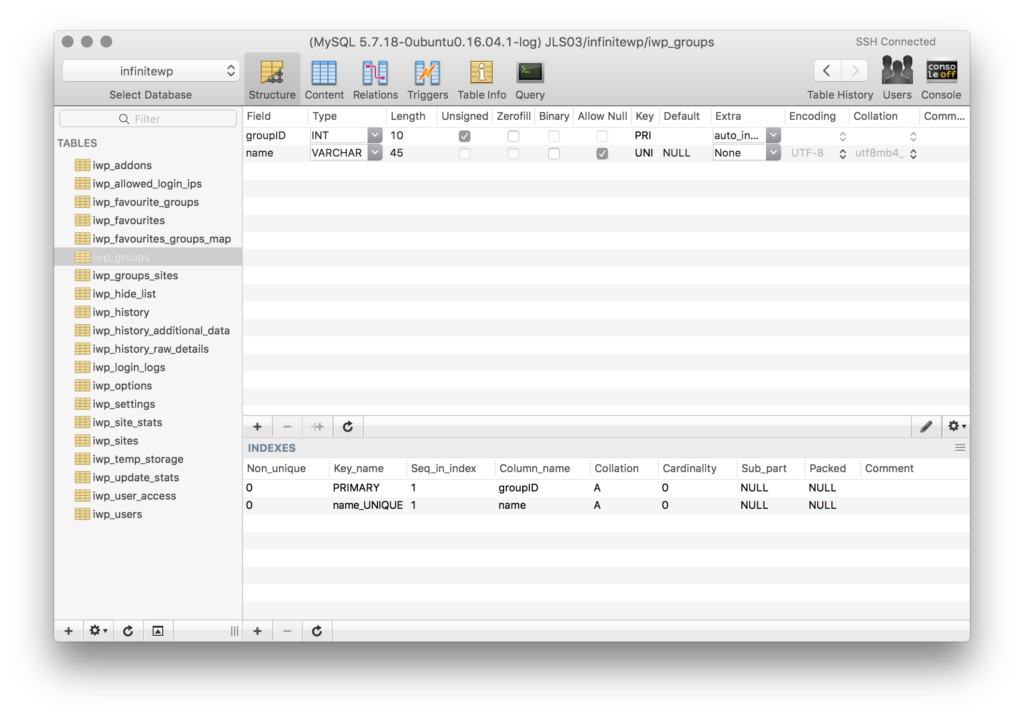
The structure view is just what it says – the view that allows you to see, and modify, the structure of the database. Tables are listed on the left, and the right pane contains a list of fields for the currently selected table, and their respective properties. Here you can edit fields, altering their names, giving them default values, altering their encoding schema, altering their maximum length, or making them keys for their table. You can also create new fields in this view.
Content View
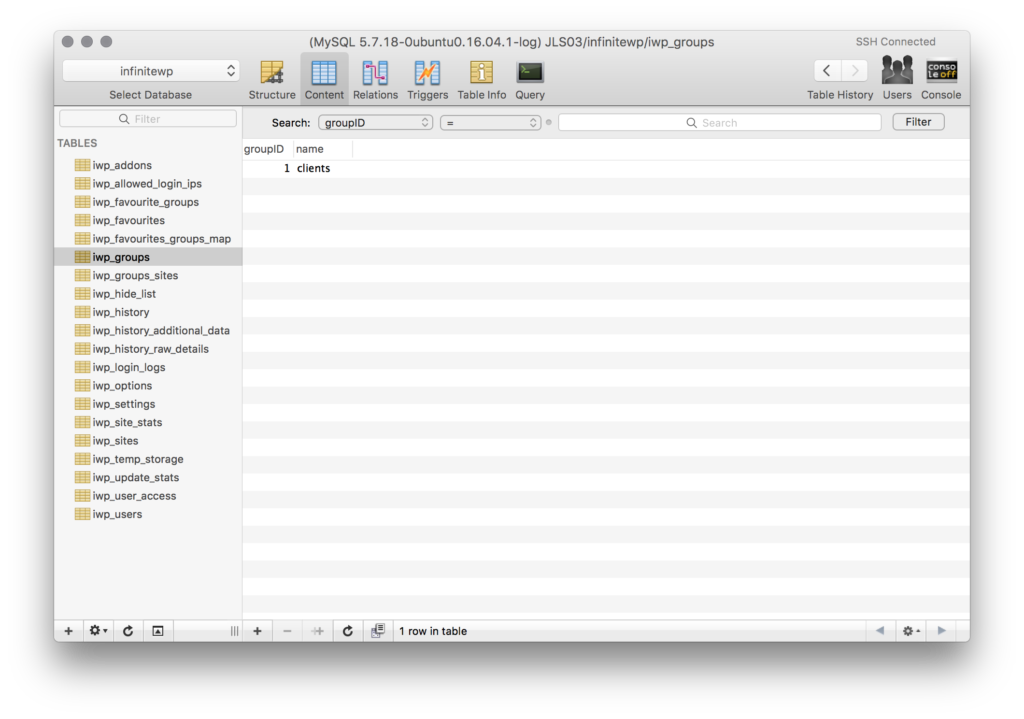
The content view is where you’ll be looking at or modifying the actual values in your database tables. You can run searches, using the bar and the filters at the top, searching against the values of any field. Records can be modified after being selected, and the plus symbol at the bottom of the window will allow you to add new ones. Editing content here will be familiar to anyone who has used another GUI for editing. It’s a nicer interface than most desktop programs available, though, and very easy to use.
Query View
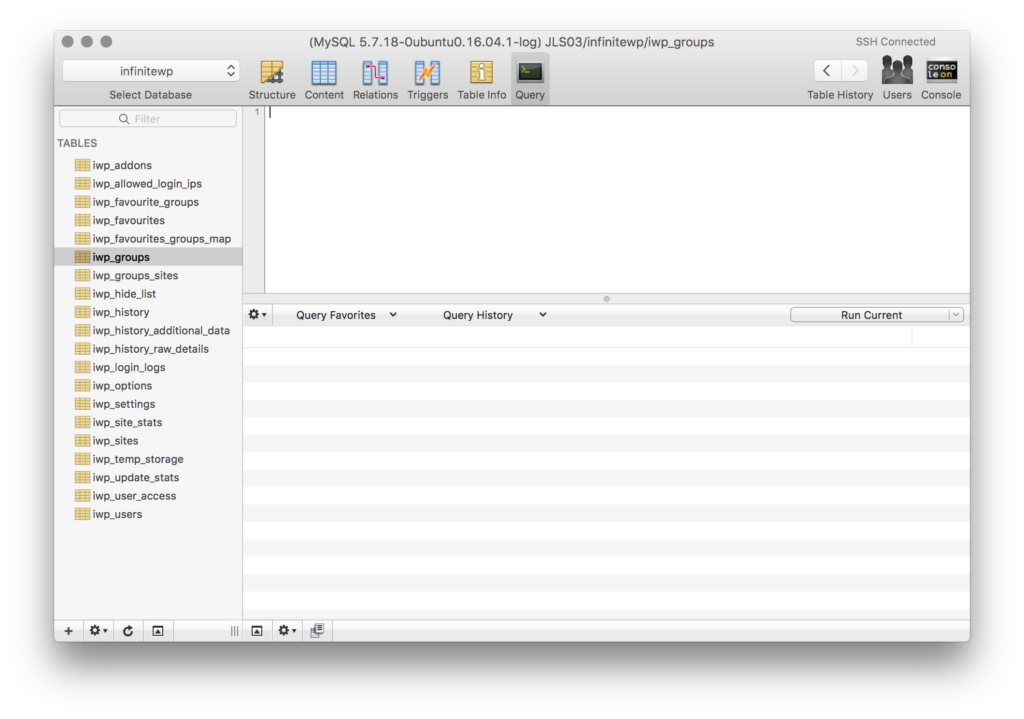
The query view gives you a place where you can write commands, manually run MySQL queries to organize the database, your tables, your records, and the data within them. You’ll also be able to see a query history, allowing you to quickly and easily repeat queries that need to be run more often, for purposes such as testing, maintenance, data searches, backups, or other such reccuring needs. This gives you the functionality of the command line attached to your GUI, just in case you need it!
Console
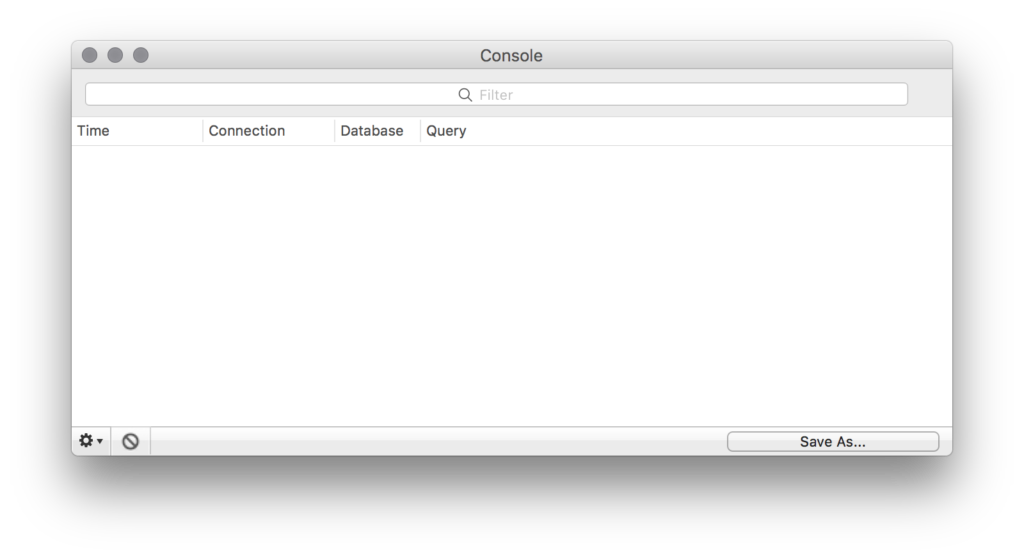
The console gives you a look at the history of your MySQL actions. These logs can help you look back and find mistakes or issues. You can also save your console logs as a file, preserving them for later use.
Conclusions
If you use a Mac for web development and you often have to manage databases, try out Sequel Pro! You can use it to connect to multiple databases on shared hosting or VPS environments alike (and if you’re looking for great hosting, check out our partner, SiteGround). It’s worth the look for a good GUI-based database management program, and it’s absolutely free. Definitely a good tool to have in your macOS development toolkit!