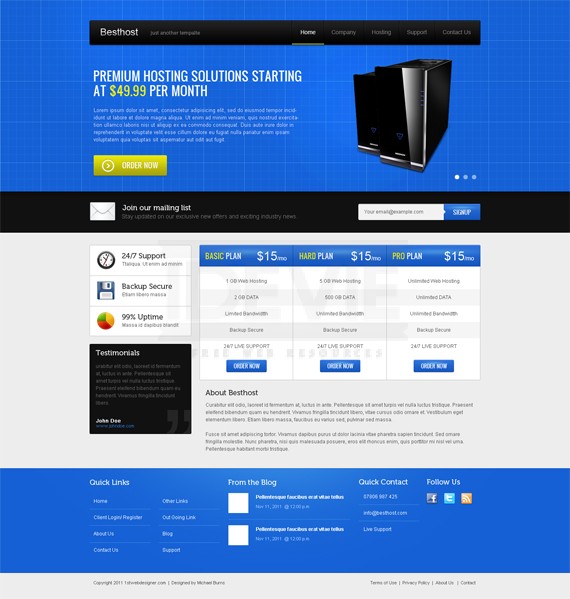
In this First of the Year 2012 tutorial we are going to create a Web Hosting Landing Page layout for Besthost as an example. The template will have a simple logo, navigation, slider gallery, package, about us, services, testimonials and footer. Let’s combine these all together to make an awesome template. I will try my best to make it easy for you to follow this tutorial.
So now let’s get started!
Resources for this tutorial
Step 1: Setting up the Document
Start by creating a 1400px x 1470px document in Photoshop.
Ruler Tool is very useful for this tutorial make sure that rulers and guides is turned on.
Rulers: Ctrl + R
Guides: Ctrl + ;
Also one important thing when using Ruler Tool is the Info(Information) Panel. Use this when you are measuring using the ruler, the information will be shown in the information panel. Make sure that this is shown in your panels at the right. If it is not shown you can access this by going to Windows – Info.
The total width of this site will be 960px. So, let’s create our first guide by going to View – New Guide, set the value to 220px. Create another guide and change the value to 1180px, this will make a total of 960px in the center of our canvas.
Step 2: Working on Background
Header and Slider
Starting at the top of the canvas select Rectangle Tool(U) and create a 100% by 470px fill it with #1560d5.
Based on the screenshot, our background will contain grid patterns, so let’s create that. Open up a new window and create a 100px by 100px with a Transparent background. Select Pencil Tool(B) and set the size to 1px then, create an L shape as shown in the screenshot below. Then go to Edit – Define Pattern
Create another pattern using the L shape, but this time make it 20px by 20px.
Now that we have our pattern, create two new layers. For the first layer fill it with the Big Pattern using Paint Bucket Tool(G) and from the drop down list on the options panel set it to Pattern then select the Big Pattern. Then set the Layer Mode – Softlight 50%. On the second layer fill it with the smaller pattern, Softlight 20%.
Result.
Newsletter
Using Rectangle Tool(U) create a 100% by 100px fill it with #111111.
Content & Copyright
Just fill the background layer with #ededed.
Footer
Using Rectangle Tool(U) create a 100% by 260px fill it with #1560d5. Place it 60px upwards starting from the bottom of the canvas.
Step 3: Working on Logo and Navigation
Create a 906px by 60px shape using Rounded Rectangle Tool(U), Radius 3px and fill it with #111111. Place it50px starting from the top.
Apply This Blending Option
Drop Shadow:
Inner Shadow:
Gradient Overlay:
Stroke:
Result!
Logo
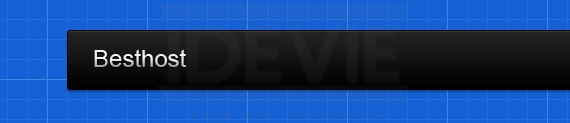
We will make a temporary logo. Using Text Tool(T) put up the site name. For this example just use Arial 24pt.
Drop Shadow:
Bevel and Emboss:
Result!
Add a slogan using the same tool. Font will be Museo 12pt color #777777.Result!
Navigation
Using Text Tool(T) add your links. Use Arial 14pt color #777777, the active link color will be #ffffff. Each link will have 21px distance on the left and right. Measure it using Ruler Tool(I).
Next we will add a divider to make the links separate. Using Line Tool(U) create a 1px black Line. Place it at the center as shown in the screenshot below.
Merge all the shapes and duplicate it. Apply a #393939 Color Overlay. Move the layer 1px from the right. Now apply a Mask by clicking the mask icon at the layers panel. Now using Gradient Tool(G) black and white. Fill the mask starting from the bottom of the shape towards at the middle.
For the hover effect the font will be white, then it will have a bottom border 2px color #d8d50d.
Step 4: Working on Slider
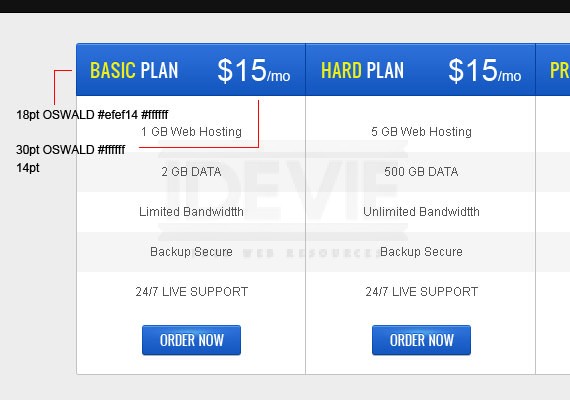
Create a 10px guide to the right. Using Text Tool(T) put up a dummy heading and text. For the heading I usedOswald 30pt color #ffffff and #efef14. For the paragraph I used Arial 12pt color #e2defd.
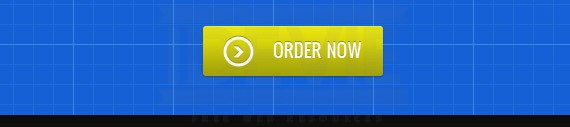
Select Rounded Rectangle Tool(U) Create a 180px by 50px rounded rectangle set the Radius to 3px and color to #eae70e.
Apply This Blending Option
Drop Shadow:
Inner Shadow:
Gradient Overlay:
Result!
Next we will add the arrow icon and the text. For the text I used Oswald 18pt color #ffffff and color #9a9603 for the bevel look. For the arrow icon find an arrow from the selection using Shape Tool(U).
For the rounded circle just create a 30px by 30px using Ellipse Tool(U) set the Fill to 0% and apply a 3pxstroke inside. For the bevel looking look just duplicate the layers and make the original layer color to #9a9603.
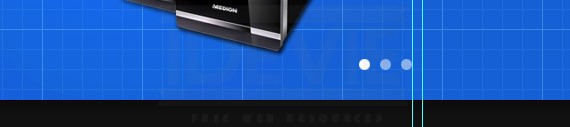
Next adding the controls. Just create a 12px by 12px white circle and set the Opacity to 50%. For the active one just leave it white. For the cpu/servers just grab some stockphotos.
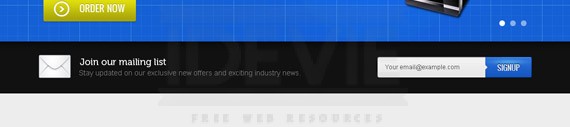
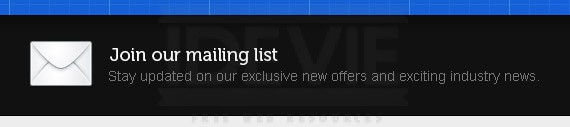
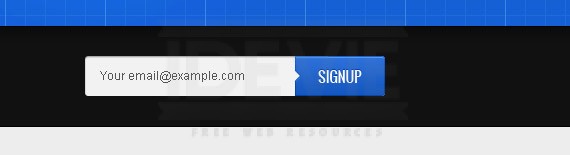
Step 5: Working on News Letter Sign Up
Grab a mail icon from wefunction icon set and place it as shown. For the Heading text I used Museo 500 18ptcolor #ffffff. For the Paragraph I used Arial 14pt color #777777.
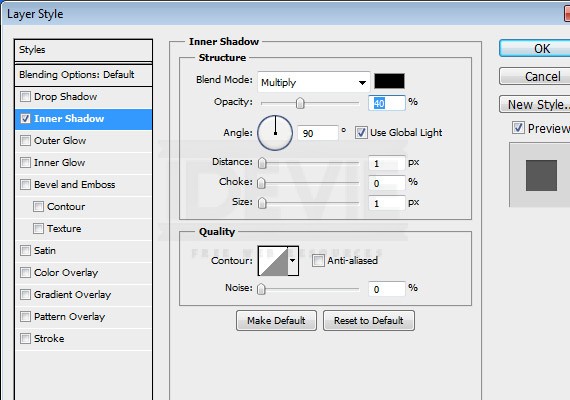
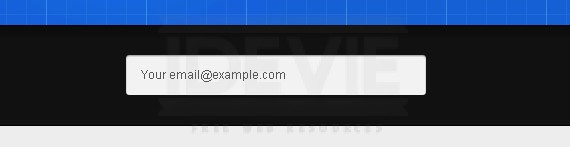
Next we will create the news letter input and button. To start create a 300px by 40px shape using Rounded Rectangle Tool(U) Radius 3px, set the fill color to #f2f2f2.Apply This Blending Option
Inner Shadow:
Label it with text Arial 12pt color #555555.
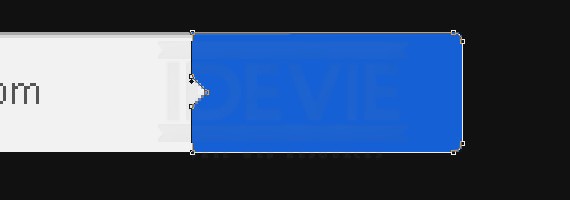
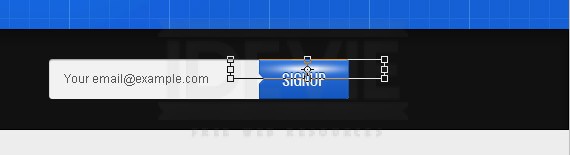
Next using Rounded Rectangle Tool(U) with the same radius create a 90px by 40px shape. Fill color will be#1560d5. Once the shape is in place using Direct Selection Tool(U), Delete Anchor Point and Add Anchor Point create a shape as shown in the screenshot below.
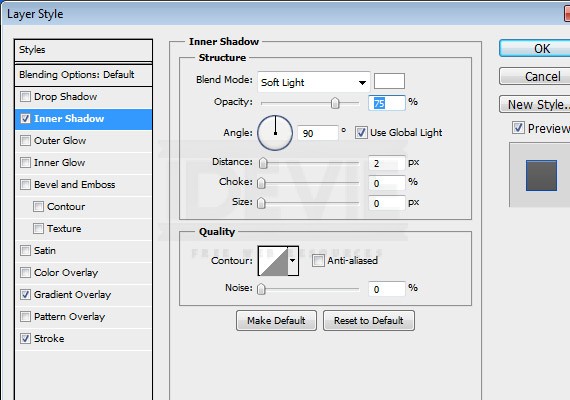
Apply This Blending Option
Inner Shadow:
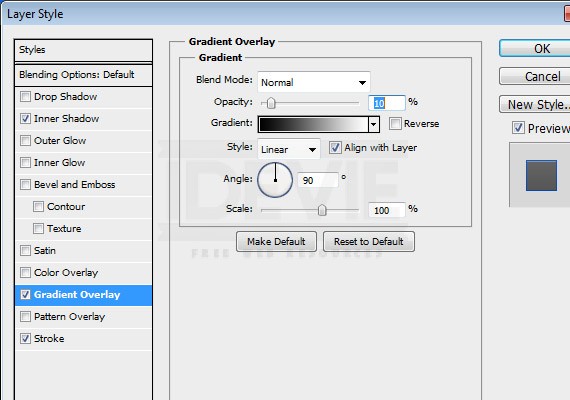
Gradient Overlay
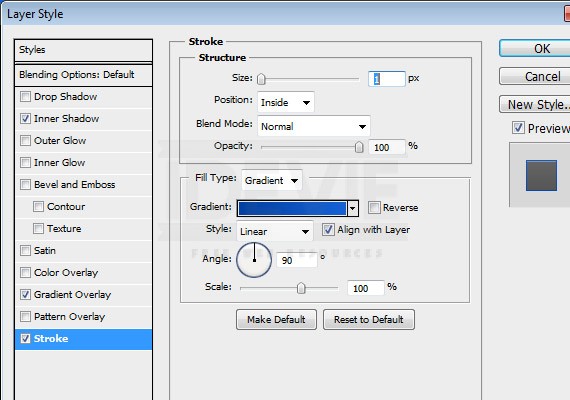
Stroke: #0341a2, #1560d5
Label the button with “SIGNUP” using Text Tool(T) color white and for the bevel look color will be #0342a3.
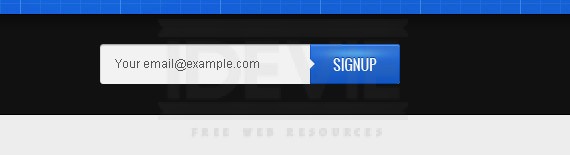
To finish this button using 150px Soft Brush color #ffffff. Click once in a separate layer and transform it as shown in the screenshot below. Then, set the Layer Mode – Softlight.
Result
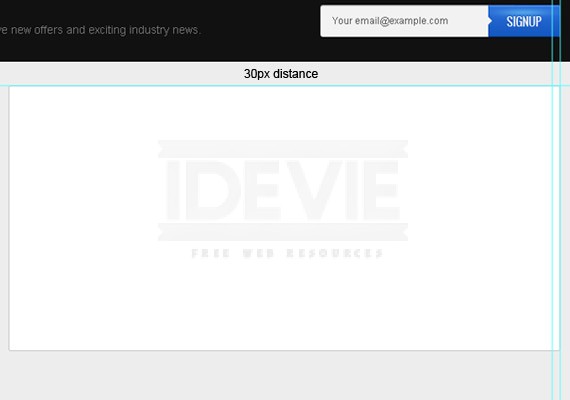
Step 6: Working on Main Content
The main content will contain Package Table & About Us. Let’s work first on Pricing Table.
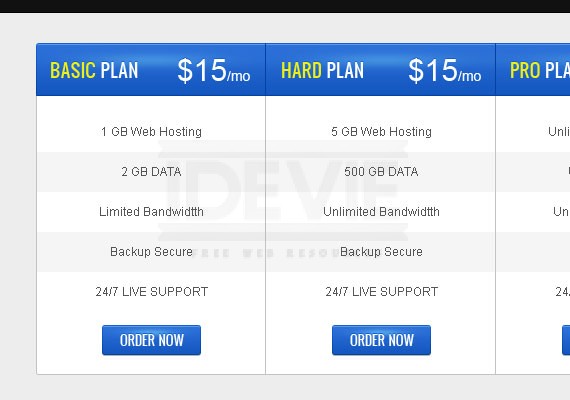
Pricing Table
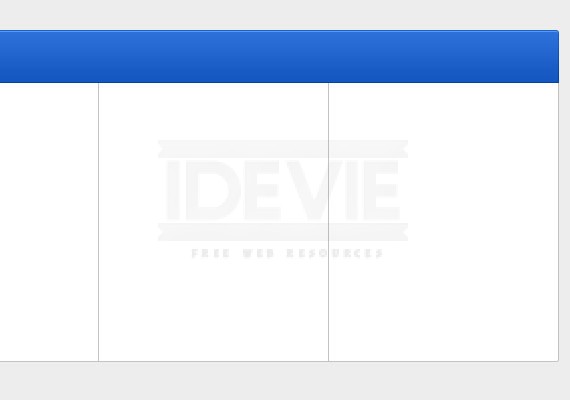
Using Rounded Rectangle Tool(U) with the same Radius, create a 690px by 330px shape and add a 1px stroke color #c3c3c3.
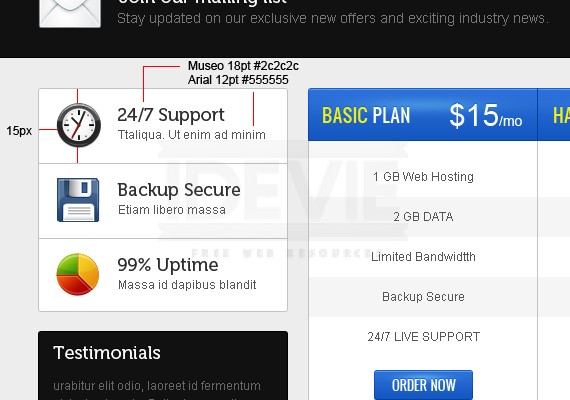
Using the same tool create a 690px by 55px shape with a fill color of #1560d5. Make the bottom part not rounded, and also apply the same blending option as we did in our sign up button.
Let’s divide our table into 3 columns 690 / 3 = 230px each column, so go ahead and measure it using Ruler Tool(I) then add a 1px line using Line Tool(U) color will be #c3c3c3.
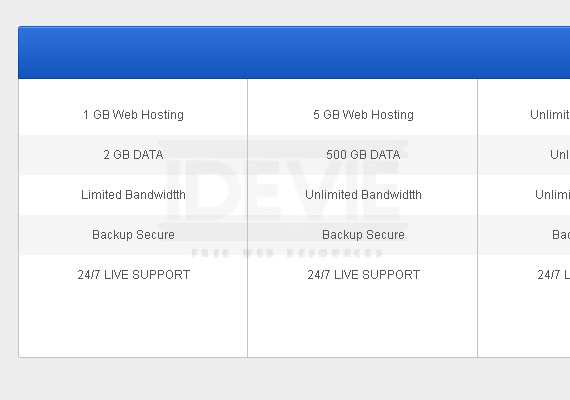
Now let’s add data in our table. Each table data will have a 40px of height, white for odd and #f5f5f5 for even. For the text I used Arial 12pt color #555555.
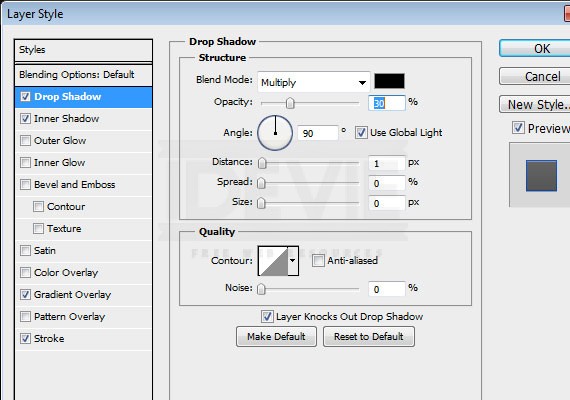
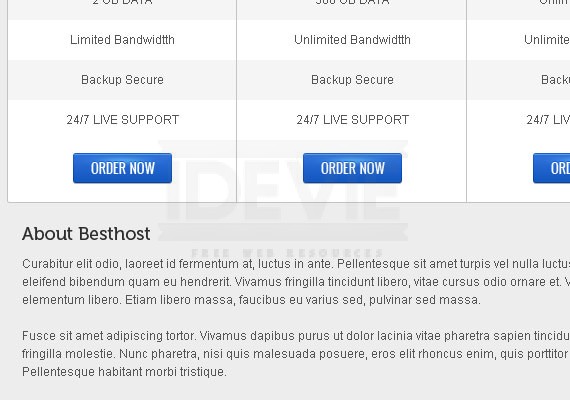
Next let’s create a button for each column. Button size will be 100px by 30px, the same font but font size is 13pt. For the styles just copy what we applied on sign up button and add this blending option.
Drop Shadow:
Apply also the highlights effect that we did previously.
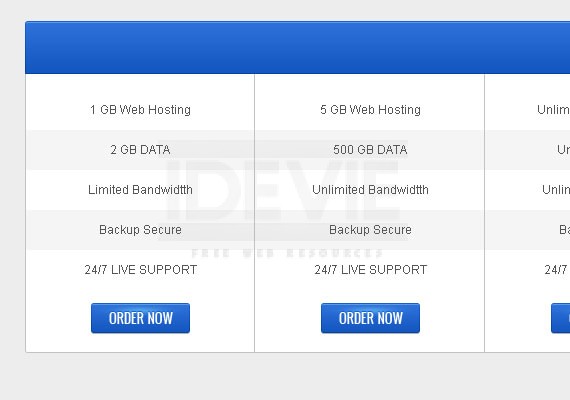
Now let’s work on the header part. Using Line Tool(U) create a 1px line color will be #0341a3. Next, using Text Tool(T) add the heading text as shown in the screenshot below.
Apply the highlights effect.
About Us
Using Text Tool(T) add the heading text and paragraph. For heading font will be Museo 18pt color #2c2c2c, and for the paragraph Arial 12pt color #555555.
Step 7: Working on Sidebar
The sidebar will contain a blocks. Let’s work first on the first block
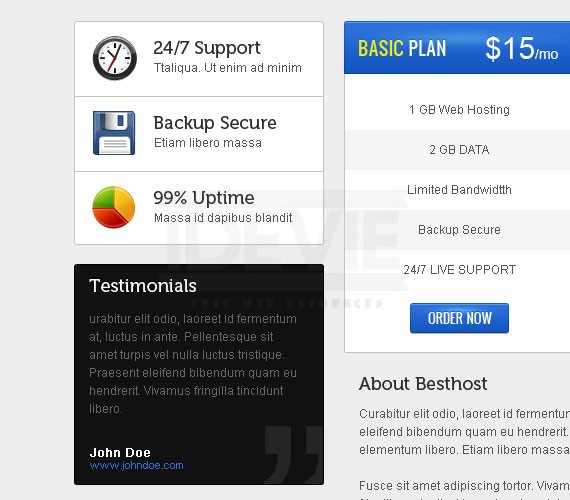
Services
Using
Rounded Rectangle Tool(U) create a
250px by
225px shape. Apply a
1px inside stroke color
#c3c3c3.
Next open up wefunction iconset and grab 3 icons resize it and align it as shown in the screenshot below.
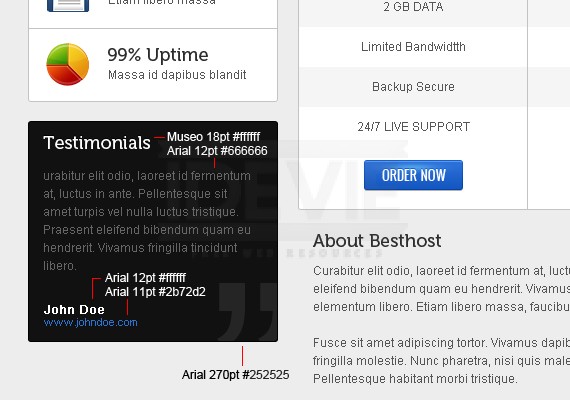
Testimonials
Using the same tool create a 250px by 220px shape with a fill color of #111111. Apply a 1px inside stroke color#000000. Refer to the screenshot below for the text format and colors.
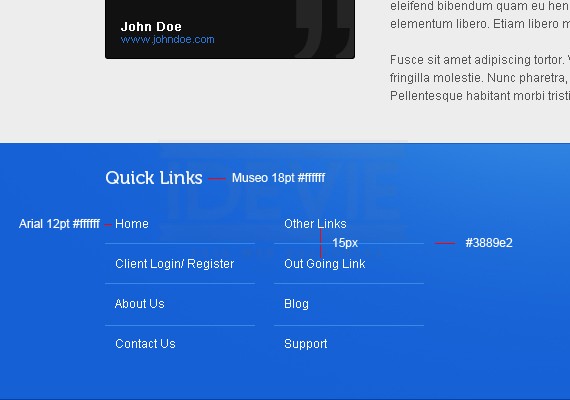
Step 8: Working on Footer
The Footer will be divided into 4 columns Quick Links, From the blog, Quick Contact, and Follow us. Each column will have a 20px distance from the right except for the last one.
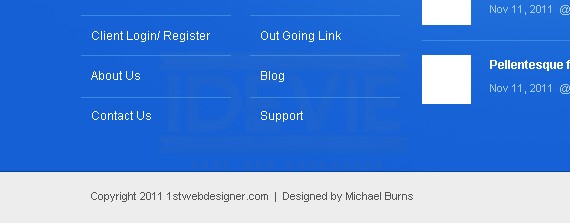
Quick Links
The width will be 320px. The will contain two column of links each column will have a width of 150px and a distance of 20px.
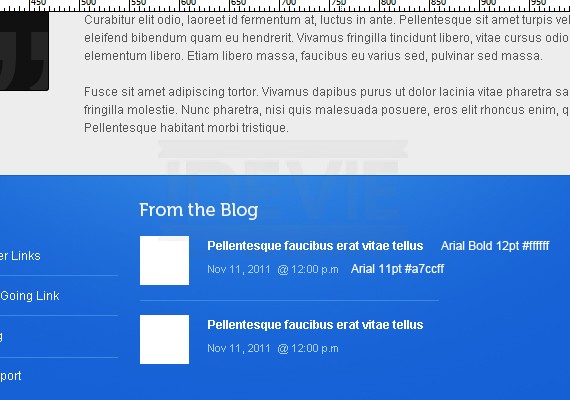
From The Blog
The width will be 300px. Using Rectangle Tool(U) create a 49px by 49px shape. Beside it 20px from the right will be the post title and date published.
Quick Contact
Width will be 150px, the same text and spacing.
Follow Us
Width will be 130px and place the social icons as shown in the screenshot below.
And lastly add the copyright text on the bottom left part and links on the bottom right part. Font will be Arial 11ptcolor #555555.
Finally We’re Done!
I hope you learn something from this tutorial and I hope this helps. If you have questions feel free to drop it below. Happy Holidays everyone. Godbless!
source: http://urly.us/cS


