Learning to code Android apps is a great decision. It’s fun and it’s an in-demand skill for the tech industry. In this tutorial, you’ll learn how to build the simplest Android App: Hello World. It’s a great place to start making Android apps.
Prerequisites for Creating a Hello World App
Before you get started with this tutorial, you should have:
A basic understanding of object-oriented programming and the Java programming language.
A computer running Windows or Linux, or a Mac running macOS.
Install Android Studio
Android Studio is the official integrated development environment for native Android app development. It comes with all the tools necessary for developing apps such as a powerful code editor, debugger, testing support, and performance tools . It also comes with a Gradle-based build system, fast emulators, code templates, and much more.
Android Studio is available for Windows, macOS, and Linux platforms, and you can download it from here.
Proceed to download the appropriate Android Studio distribution file and install it according to your operating system.
Windows
For a .exe file (recommended), double-click to launch it.
For a .zip file, unpack the ZIP and copy the android-studio folder into your Program Files folder. Open the android-studio/bin folder and launch the .exe file.
Follow the setup wizard guide to complete the installation.
Linux
Unpack the .zip file you downloaded to /usr/local for your user profile, or /opt for shared users.
To launch Android Studio, open a terminal, go to the android-studio/bin directory, and run studio.sh.
Choose whether to import previous Android Studio settings or not, and then click OK.
Follow the setup wizard guide to complete the installation.
Android Studio Install for Mac
Launch the Android Studio DMG file.
Drag and drop Android Studio into the Applications folder, and then launch Android Studio.
Select whether to import previous Android Studio settings and then click OK.
Follow the setup wizard guide to complete the installation.
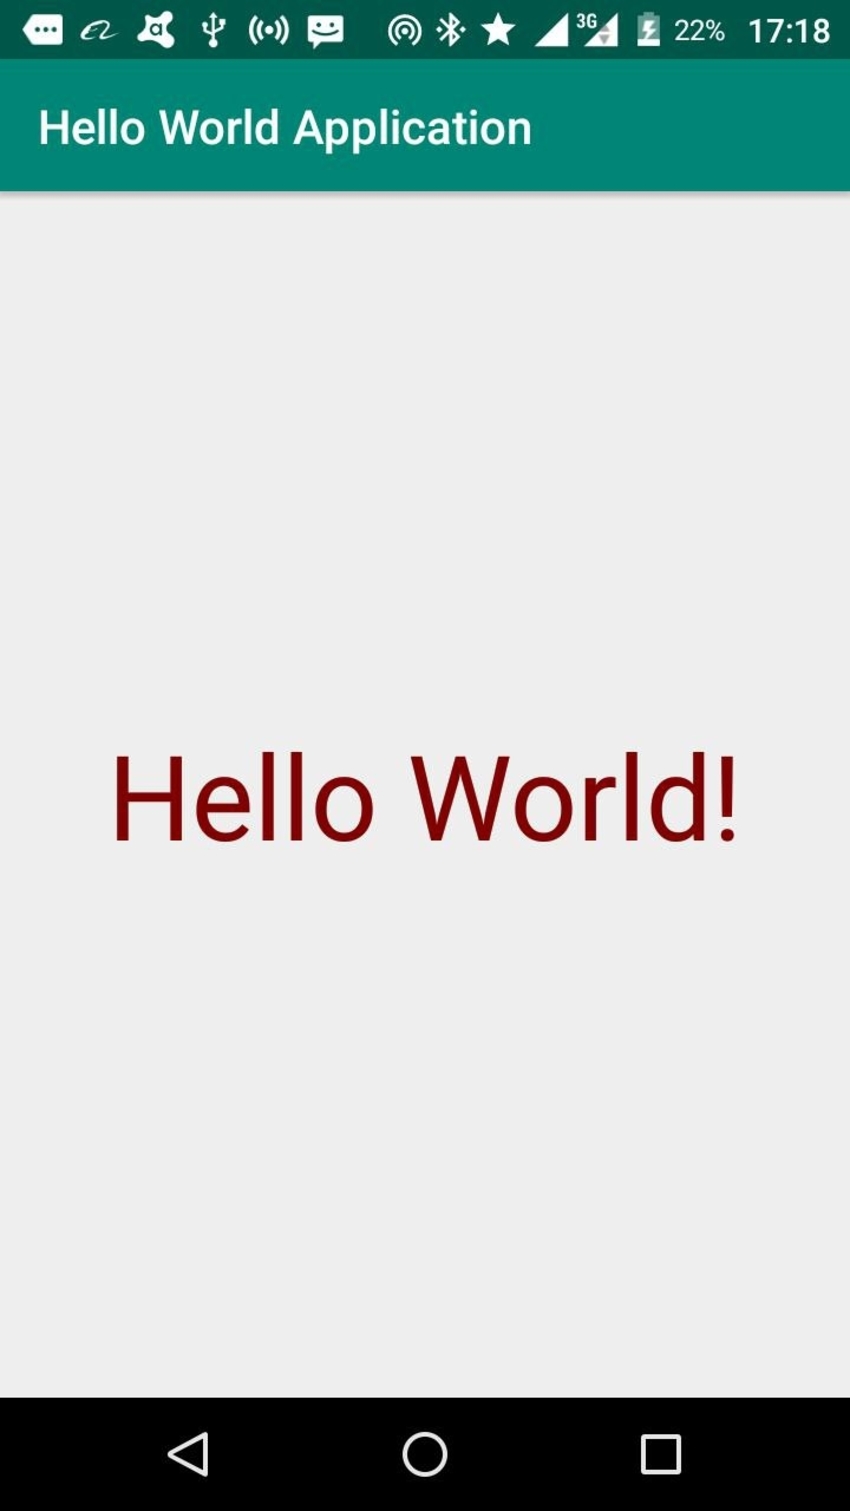
Hello World Android Application
First, a peek at what we’ll be building. The completed Android hello world application will look like this:
To create this simplest Android app, just follow along with the steps in this tutorial.
Create the App Project
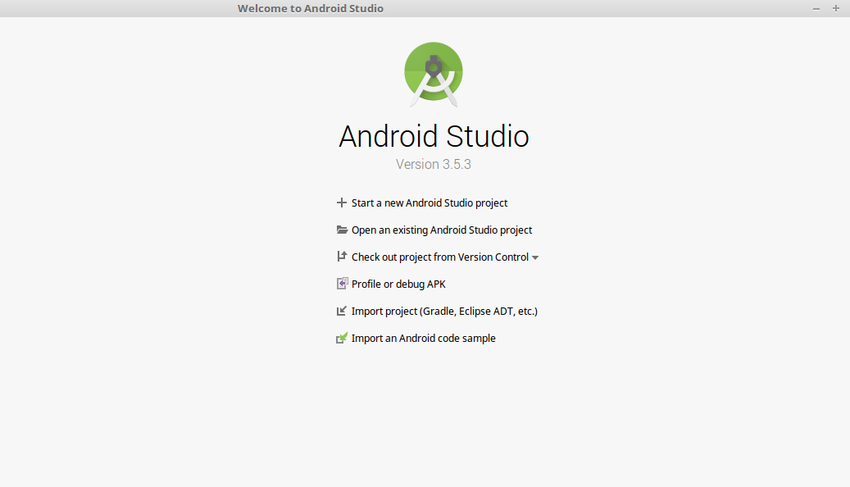
Launch Android Studio, and you should see a welcome page, as shown below.
In the welcome page above, click Start a new Android Studio project. The next window presents the activities page, as shown below.
Create a Hello World Activity
Android Studio provides activity templates to help you get started. For the Hello World project, choose Empty Activity and click Next.
An activity is a crucial component of any Android app. It provides a screen with which users can interact to perform activities, such as dial the phone, take a photo, or send a message. Each Activity has a window in which to draw its user interface. The window typically fills the screen, but it may be smaller than the screen and float on top of other windows.
We’ll finish creating the project by configuring some details about its name, location and which API version it uses.
Change the name of the application.
Change the default Project location to your preferred directory or just leave it the default location.
On the minimum API level, Ensure that API 15: Android 4.0.3 IceCreamSandwich is set as the Minimum SDK: this ensures that your application runs on almost all devices.
Click Finish.
The Gradle Build System
Each time you create a new application, Android Studio creates a folder for your projects and builds the project with its Gradle system. The Gradle process may take a few moments. Gradle is Android’s build system, which is responsible for the compilation, testing, and deployment of code. It makes it possible for the app to run on the device.
Explaining the Files in an Android App Project
Whenever you start a new project, Android Studio creates the necessary folder structure and files for that app. Let’s look at the different files involved in an Android app project.
The manifests Folder
The manifests folder contains the AndroidManifest.xml file. The manifest file describes essential information about your application.
The java Folder
This folder contains the Java source code files. As you can see from the editor window above, the MainActivity.java file contains the Java source code for the app’s main Activity.
The res Folder
This folder includes all non-code resources, such as:
layouts: Layouts are XML files that define the architecture for the UI in an Activity or a component of a UI. For example, in our application, the activity_main.xml file corresponds to the main Activity.
values: Contains the color, style, and string XML files for the application.
drawable: This is a catch-all for a graphics that can be drawn to the screen, eg. images.
build.gradle: This is an auto-generated file which contains information on details of the app such as the SDK version, build tools version, application ID, and more.
Coding the Hello World App
Now that you have a general view of the project structure let’s describe the most critical component files that constitute the hello world application.
The Default Main Activity
The main activity is the first screen that will appear when you launch your app.
Each Activity represents a screen of the Android app’s user interface. Each Activity has a Java (or Kotlin) implementation file and a XML layout file.
The Default Main Activity Java Code
Below is the default Java code generated by the application for the main activity.
You don’t need to understand this code fully. A lot of it is boilerplate and will be the same for any app. The code defines a MainActivity class and with the onCreate method defines what happens when the Activity is created. In this case, it simply initializes the view of the Activity with the layout from the activity_main layout file.
The Default Layout XML File
XML files are used for layouts. The main Activity layout XML file is found in the project’s /app/src/main/res/layout directory. Layout files are named after what they represent. For example, the Hello World application has one layout, which is the activity_main.xml named after the main Activity.
Here is the default activity_main.xml layout. It contains one text view element, with the text Hello World!
As you can see, we don’t need to change much to complete our Hello World app, but we’ll make a small change so that the text stands out better—we’ll change the text colour and font size.
The strings.xml file provides text strings for your application. For example, a default strings file looks like this:
STRINGS

<resources>
   <string name="app_name">Hello World Application</string>
</resources>
If you want to change your app name, you can do it here.
Running the Application
Connect your Android device to your computer with a USB cable. The right connection type should show up as connected as a media device.
You’ll also need developer options enabled on your device. If this is not already enabled, follow these steps (this will work on most Android devices:
Open up the Settings menu on your Android phone and scroll to the bottom.
Tap About phone and scroll down again until you see the Build number option
Tap the Build number multiple times. Soon you should see a pop-up that reads something similar to You are five taps away from being a developer.
Keep tapping until the pop-up says you’re a developer.
Go back to the main Settings> System > Advanced. Developer options should be the second-last option. Turn the Developer options on.
In Android Studio’s navigate to the top menu, select Run ‘app’. Android Studio will show a dialog where you can choose what device to run your Android app. Choose your connected device and click the OK button.
The Hello World application should now be running on your phone. From here, you can make modify your app to whatever you want and add more features.
Conclusion
In this tutorial, I showed you how to install Android Studio and create your first app: Hello World, the simplest Android app. After following this tutorial to create your first Android app, you are on your way to a promising career in developing apps!
One of the most daunting tasks when developing for Android, for both beginners and experts, is figuring out where to start when using a new feature. Luckily,…
Aiming to build apps for Android? This article walks you through some of the best courses and tutorials on Android app development that we have to offer.
In this tutorial, you’ll learn how to install Android Studio and various Android SDK components. You’ll also learn to create an Android emulator that can be…
Android software development is the process of creating new applications running on the Android operating system. These apps are mainly written in Java, C++,…
Keeping track of your tasks can be overwhelming if you don’t have them organized. That’s where a to-do list helps. In this post, I’ll show you some of the…
There’s no doubt that we are living in the age of virtual reality. VR videos and 360 videos have been popular for the last few years, and there are tons of…


.png)