

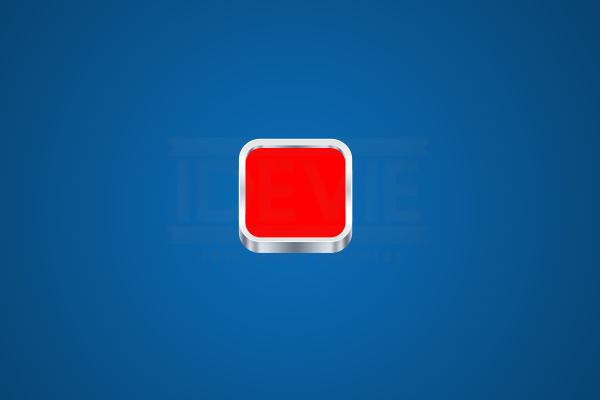
What We’ll Be Creating

Lets Get Started!
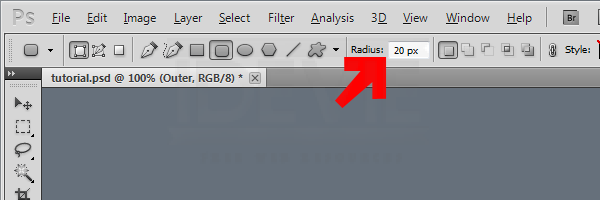
Create a new document (Ctrl + N) with the dimensions 800 x 600 pixels, change your background color to a color which will make the icon more visible. Select the “Rounded Rectangle Tool” (U) with a radius of 20px.
Drag out a small rectangle in the middle of the canvas.

Once you’ve created the rectangle duplicate the layer by right clicking and going to “Duplicate Layer”. The layer which is at the bottom of the stack, move down once by selecting the “Move Tool” (V) then hold down the shift key on the keyboard and press the down arrow key.

Adding The Metallic Surface
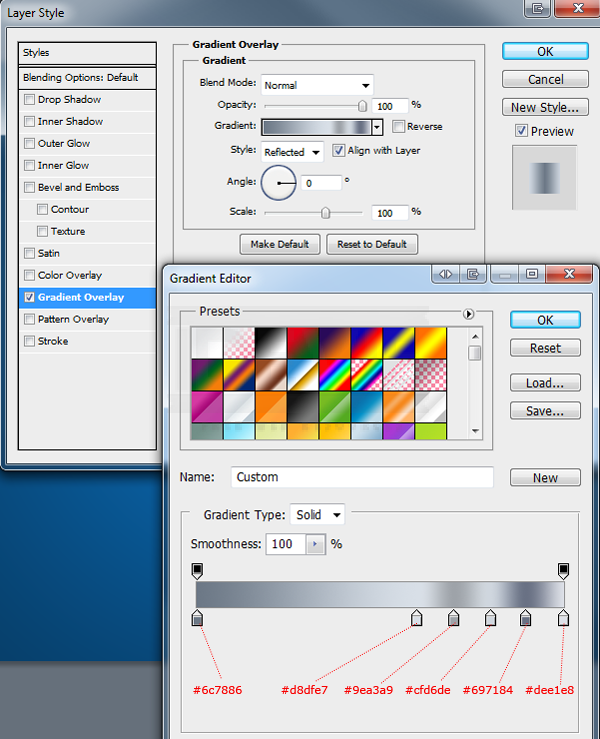
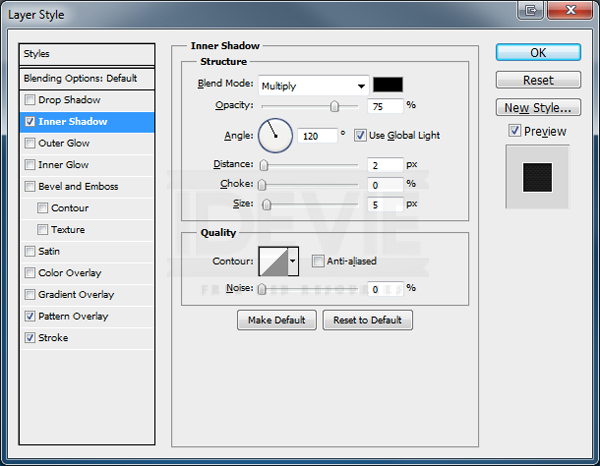
Select the top layer from within the layers window then add the following layer styles.
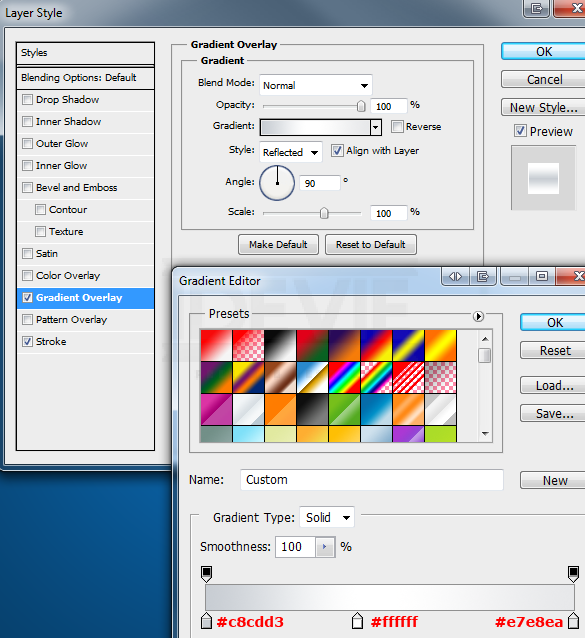
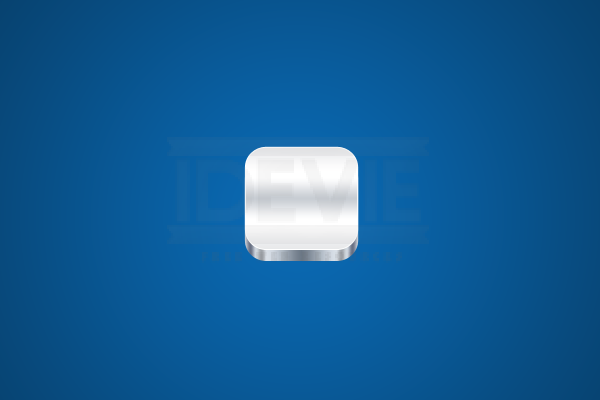
Your top layer should look something like this.

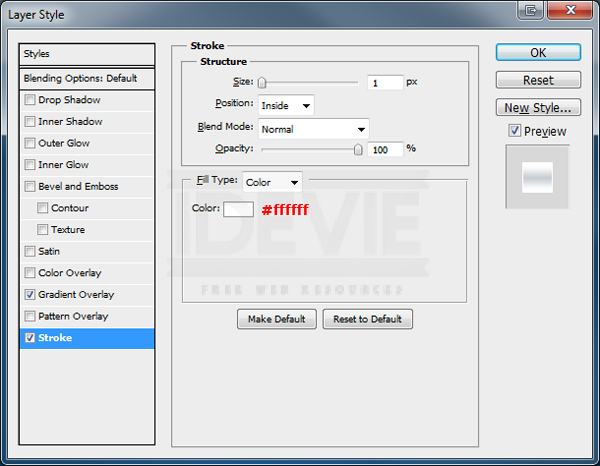
Now to the bottom layer add a gradient overlay using the settings below.
You should now have something like this.
Creating The Top 3D Part
We now need to create the top 3D part which is like a beveled edge which can be see from the inside of the rectangle. Start off with a rounded rectangle using the “Rounded Rectangle Tool” (U) this time change the radius to 15px. Create the rectangle in the middle of the first rectangle we created only this time make it about 8 pixels smaller.
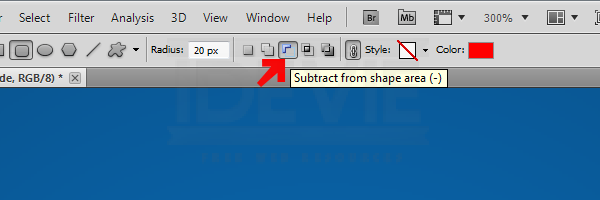
Still with the “Rounded Rectangle Tool” (U) only this time select the “Subtract From Shape Area” button from the toolbar.
Now drag another rounded rectangle inside of the one we just created, make the rectangle slightly smaller height wise you should have something like this.

Finally select the “Rectangle Tool” (U) using the “Subtract From Shape Area” option again then drag a rectangle across the bottom of the rounded rectangle. Leaving just the top rounded part of the rectangle.

Now add a gradient overlay using the settings below.
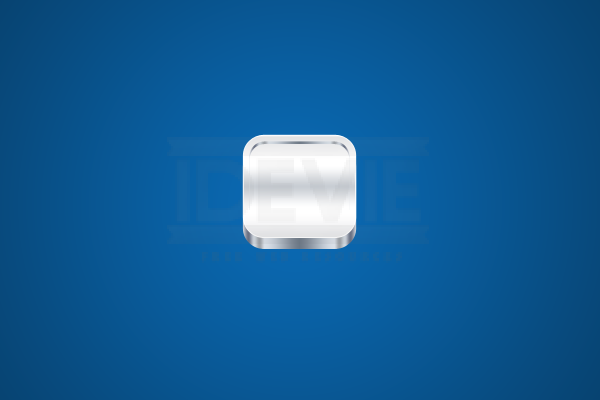
You should have something like this.
Adding The Carbon Fibre
Create a new document (Ctrl+ N) 4 pixels by 4 pixels, select the the “Zoom Tool” (Z) then zoom in 1600%. Using a the “Rectangular Marquee Tool” (M) make eight 1 pixel by 2 pixel selections filling each selection with the colors listed in the image below.
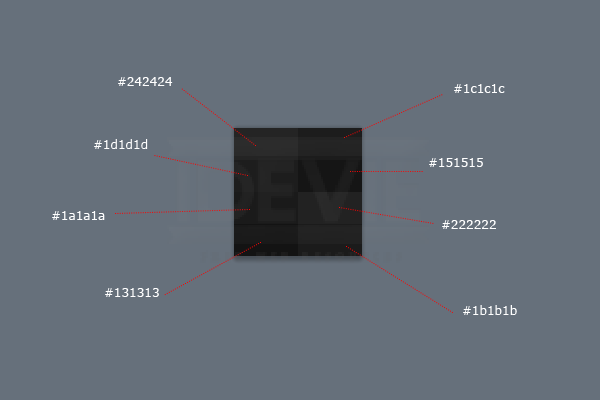
Once you have something like the image above go to “Edit > Define Pattern”. Save your pattern pattern as “Carbon Fibre”.
Adding The Carbon Fibre To The Icon
Using the “Rounded Rectangle Tool” (U) make another rectangle inside of the icon. The rectangle should be directly underneath the 3D bevel and the area around the rectangle should be equal on all sides.
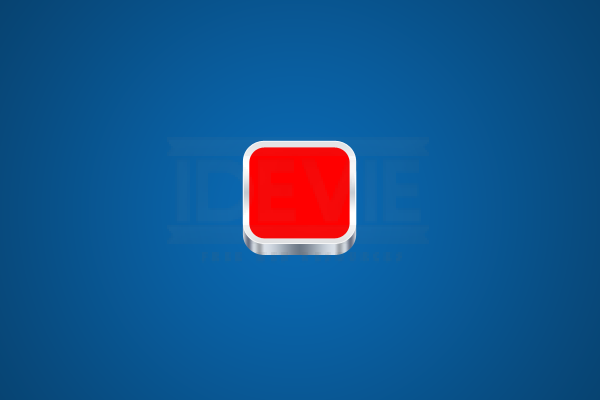
Add the following layer styles to the rectangle.
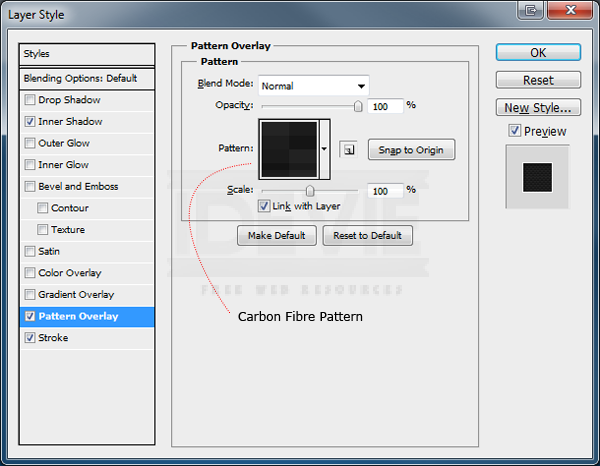
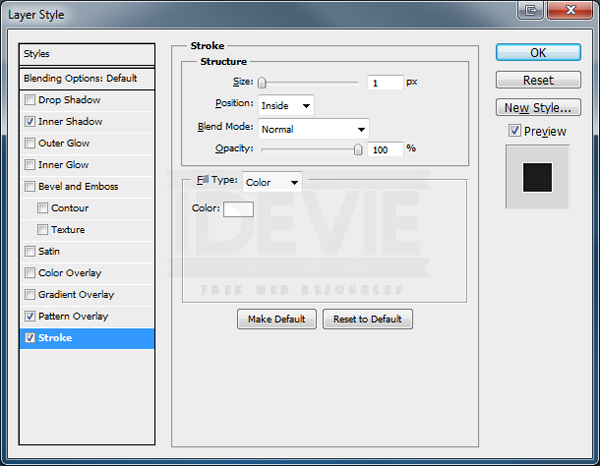
You should have something like this.
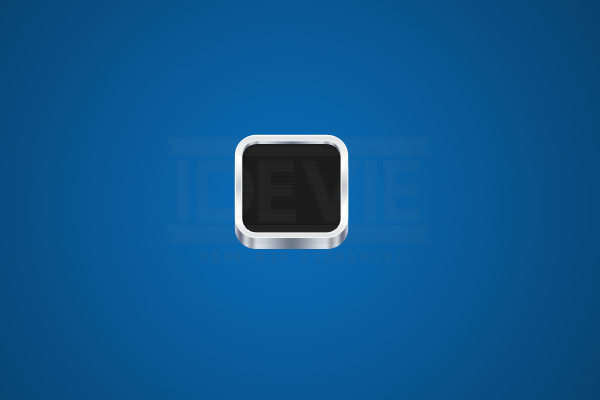
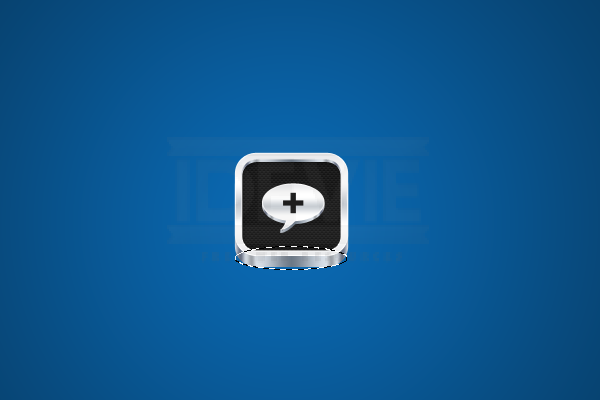
You now have a blank icon to add your desired logo or symbol. I went ahead an created my photoshop plus logo inside of mine.

The logo was created using the same layer styles and techniques explained in the tutorial.
Adding The Shadows
To give our icon a bit of depth, lets begin to add some subtle shadows. Select the “Elliptical Marquee Tool” (M) then drag out a small ellipse over the bottom of the icon.
On a new layer at the bottom of your stack fill (G) the marquee with the color black #000000. Once filled go to “Filter > Blur > Guassian Blur”, blur the ellipse by 2 pixels then set the layers opacity to 50%.

Repeat the process for the top part of the icon, only this time add a layer mask to it and drag a linear gradient from the bottom of the ellipse towards the top, making the shadow fade at the bottom.

Conclusion