Affinity Designer is a popular graphic design app that offers a wide range of tools and features for vector design. In this tutorial, we will cover the basics of using the Pen and Node Tools.
We’ll also provide tips and techniques for mastering these tools and creating professional-looking designs. If you’re a beginner who wants to explore a bit more of this software, this Affinity Designer tutorial will help you unlock the full potential of these tools.
Also, if you like video tutorials, check out the complete Affinity Designer 2 course from the Tuts+ YouTube channel or the Affinity Designer for Beginners course page to learn more.

First things first, let’s talk about one of the most basic tools in Affinity Designer 2: The Pen Tool. This tool allows you to create curves by connecting individual points called nodes. By manipulating these nodes and their control handles, you can create complex shapes and curves.
When using the Pen Tool, it is important to set up your document for vector drawing. By doing so, you can take full advantage of the Pen Tool and other vector design features.
Pen Tool’s Functions
This tool offers various functions and options to create and edit curves. When using it, you can choose between different modes, such as Pen (Bézier), Smart, Polygon, or straight Line mode. These modes determine how the curves will be drawn.
The Pen Tool is the heart of any vector drawing application. To start using it:
- Click once for a corner point, and click and drag to create curved lines.
- Adjust the curve handles by clicking and dragging.
- Toggle between corners and smooth points by clicking again.
- Use keyboard shortcuts like Command and Control for fine-tuning.
- Use the spacebar to reposition points while dragging.
- Experiment with the Close Curve button to automatically close curves.
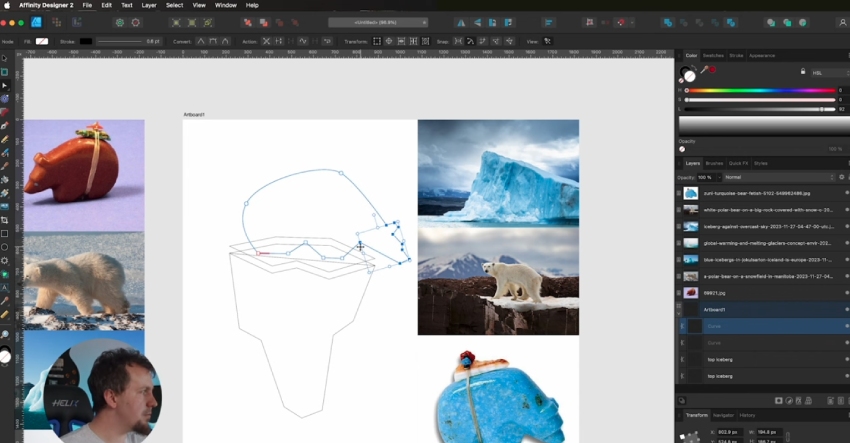
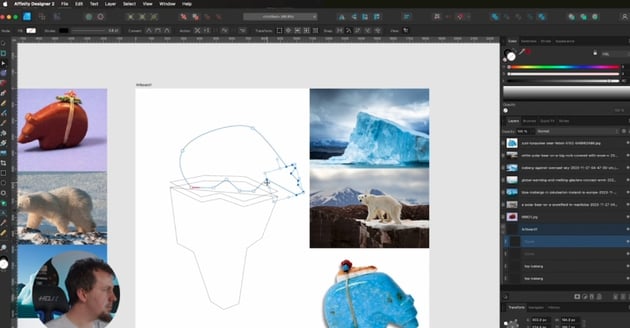
The Node Tool allows you to adjust and fine-tune the nodes of a shape or curve to achieve the desired look, giving you precise control over your designs.
To adjust, just click to select a point. Then click, hold Shift, and click additional points. Release Shift and click and drag to move multiple points.
Add new points to lines by clicking anywhere on the line. Toggle between corner and smooth points with the Option key. Use the Corner, Smooth, and Auto buttons to change the node type.
Converting sharp points to smooth points in your designs can be useful when you want to create smooth curves or transitions between shapes.
Frequently Asked Questions
How Do I Make My Lines Smoother With the Pen Tool?
To make your lines smoother with the Pen Tool, you can adjust the control handles of the nodes to create a gradual curve. You can also experiment with different node positions and handle angles to achieve the desired smoothness.
What Are the Best Practices for Using Layers With the Pen and Node Tools?
When using the Pen and Node Tools, it is recommended to organize your design elements into layers and name them. This allows for easier editing and manipulation of individual elements. It’s also helpful to use adjustment layers for non-destructive changes to your designs.
Discover More Affinity Designer Tutorials
Continue exploring and learning about Affinity Designer 2 on Envato Tuts+ and the Envato Elements blog to expand your skills and master this design software.
