I expect you want to do one of two things:
- You want your vision to move alongside your motion graphics
- You just want a motion graphics overlay
So let’s get straight into these two workflows!
1. Bring Motion to Your Sequence
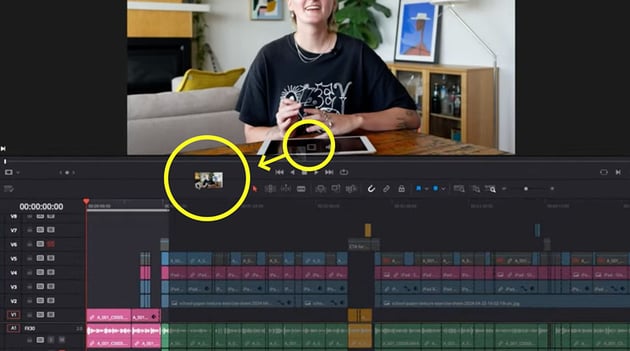
Here in Resolve you’ll see I have a project lined up that’s pretty much picture locked and is just waiting on some motion graphic flourishes to bring it to its final deliverable state.

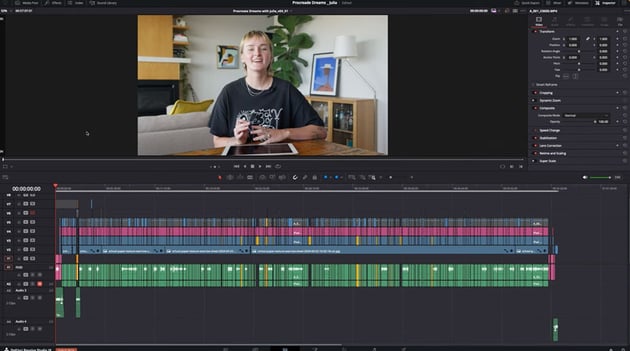

For the purposes of this tutorial we’re just going to look at the intro section.
For option one, where we want to be able to move our vision alongside our graphics, these are the steps that I take:
In and Out Points
First off you need to set your in and out points for just the section you want to work on (ie: the section you’re planning to bring into After Effects). You can do this by dragging the handles or hitting I and O on your keyboard with your playhead in the correct spot.


Settings
Next, head on over to the deliver tab. We want to focus on the left side of the screen, on our Settings. Because I’m going to be manipulating this footage over in After Effects I want to make sure I‘m sending it the highest quality images possible. For this reason it’s important to make sure your colour grading is finalised before sending anything over to After Effects.
I digress..
Back in the Settings panel, slide the presets over until you see the ProRes section. Render as a single clip, and for the format select QuickTime. The codec is Apple ProRes and the type is 4444.
4444 has a much deeper bit depth and colour sampling than 422—it’s a tiny difference, but does give us more data to work with and we’re trying to roundtrip this footage in the least destructive way possible.
Set your Resolution and Frame Rate. If you’re planning to deliver your project in 4k this is the time to set that export accordingly. You can also set Constant Bit Rate here.
Render
Okay, send this all over to the render queue and get rendering!
Pull Your Render Into After Effects
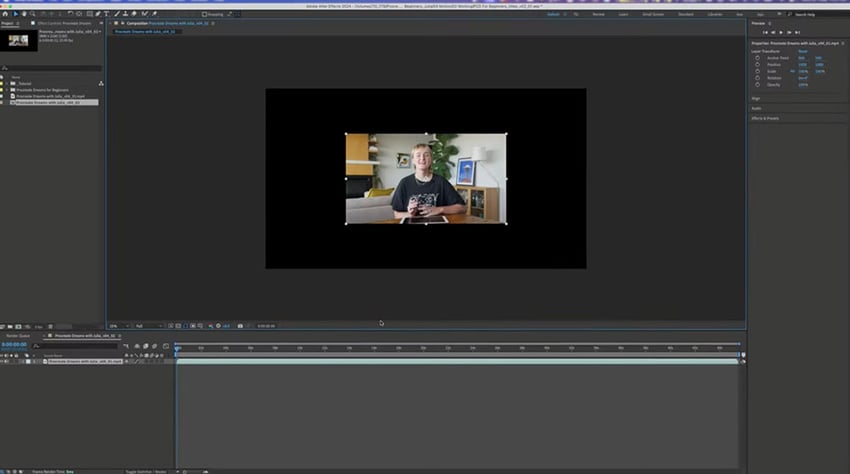
Let’s now go on over and open up After Effects. Instead of opening up a new composition, I’d like you to drag your freshly rendered footage from the file browser into the project window on the left. Once it’s in there, you can drag it on top of the little Composition button at the bottom.
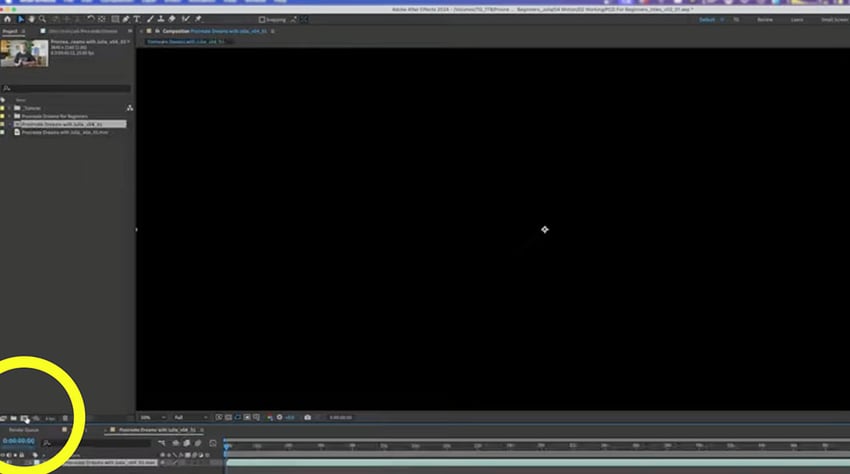

Voilà! You have yourself a composition which is the same resolution, frame rate, and length as your render from Resolve.
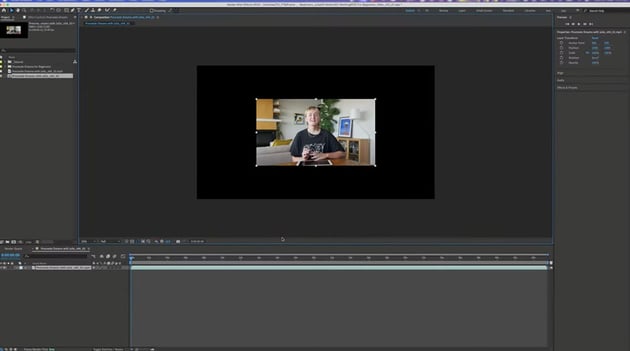
Time for Some Motion Graphics!
In this example I’ve added some titles, some lower thirds, some flourishes, and more importantly I’ve added motion to the footage we brought over from Resolve.
Once we’re happy with this motion sequence, before we send it over to the render queue and then get it into Resolve, we need to make sure our in and out points are still set correctly (which they will be unless you’ve played with them).
Make sure the composition is selected at the bottom or in the project window, then go to File > Export > Add to Render Queue. Down in the render queue just leave it on Best Settings, and on the dropdown next to High Quality select Lossless. Again, we’re going for beefy here, to be as non-destructive as possible.
Select the output destination, hit Render, and…wait!
Back to DaVinci Resolve
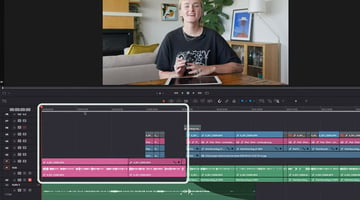
Back in the edit tab of DaVinci Resolve now, all you need to do is bring that freshly rendered composition from the file browser into the media pool. Then double-click that file to open it up in the preview window, and click this button here to select the vision only and drag it down onto your original footage.


There are buttons and hotkeys to do this part, but I find this manual approach offers just a little more control.
Also, it’s worth noting that I’m only dragging the vision down here. I’m not touching the audio as it’s already here in Resolve, untouched. After Effects is brilliant at many things, but handling audio is not one of them!
And We’re Done!
So there we have it! We now have this sequence in as high a quality as possible, round-tripped between the two programs, and it’s back in the edit, ready for export and delivery.
2. Create a Motion Graphics Overlay
The second option, where we just want a motion graphics overlay, is basically the same set of steps with just a couple of different turns along the way. If you aren’t going to move any of the footage—you just want an overlay, like titles or lower thirds, but you want to time it with the footage in Resolve, when you do your initial export out of Resolve here is what I’d like you to do:
Don’t Go For ProRes 4444
Instead of opting for ProRes 4444, this time just go for a bog-standard H264 MP4 file and keep it at 1080p.
The only thing you do need to be sure of is that the frame rate matches, otherwise you’ll end up with some mismatched timing. Send that to the render queue and let’s get it over to After Effects.
New Composition
At this stage it’s basically the same process, I even want you to create a new composition based off the h624 file (like we did with the ProRes one). This is just a quick way to get the length and frame rate correct. Once you’ve dragged your file over the New Composition button, you’ll have your new composition, but if you’re finishing in 4K this is where you’ll need to set the desired resolution.
To do that right-click the canvas and select Composition Settings so you can change the resolution. In this case we’re going to change things to a 4K composition, and you’ll see our little 1080p scratch file is suddenly dwarfed by its container. This is an easy fix—just blow the scale up until it fits the frame!

The beauty of this method is that we don’t have to worry about the quality of the final footage, because it won’t be leaving After Effects from this point on.
Export Completed File
So, back to our complete timeline, and before we send it to the render queue we just need to turn off this base vision layer, so we’re only seeing the overlay.
We can double check this by toggling the transparency grid on and off here:
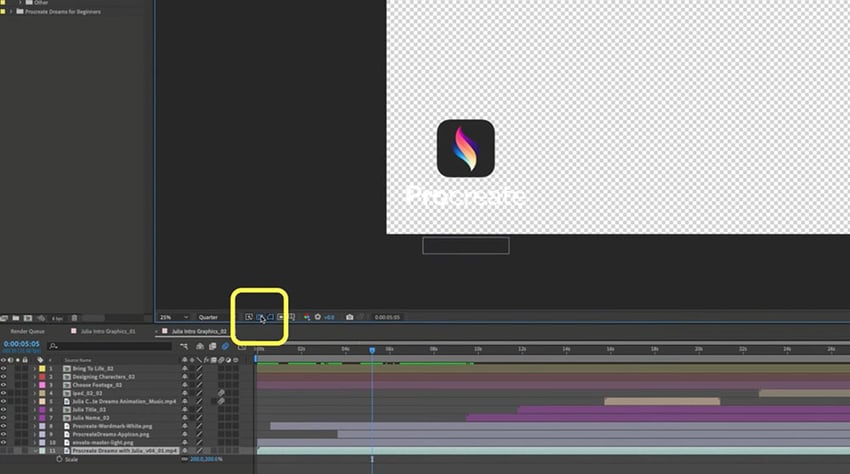
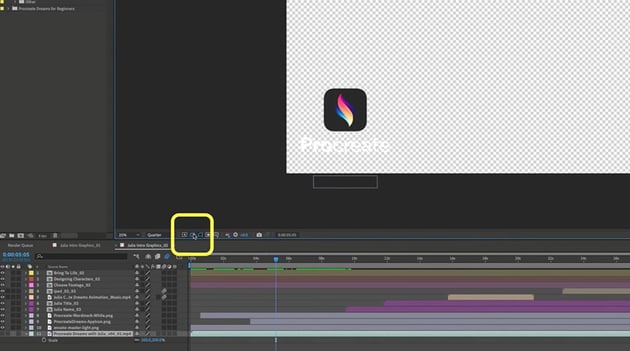

If you’re seeing the grid you’re doing it right, and if you’re seeing a solid colour background something has gone wrong.
That done, let’s send it to the render queue like we did before, but this time instead of selecting Lossless, select either Lossless with Alpha, or High Quality with Alpha (the Alpha is the important part here). Select your output destination and send it off to cook!
Back in DaVinci Resolve
Let’s now repeat the exact same method as before: drag our render into the media pool, double-click to bring it into the Preview window, drag just the vision down and place it onto a clear track above the others.
That’s a Wrap!
And there we have it! After Effects motion graphics in DaVinci Resolve; the round trip.
One more tip before we go—for this process make sure you are on top of your file naming conventions, especially your versioning numbers! This way it’s easy to jump between the two programs, making incremental changes.