Being able to apply gradients to your artwork is an important aspect of vector design. In this tutorial, we’ll be going over how to add gradients in Affinity Designer and learning about the different types of gradients: linear, elliptical, radial, and conical.
What You’ll Learn in This Tutorial
- How to add a gradient in Affinity Designer
- How to use the Affinity Designer Fill Tool
How to Add a Gradient in Affinity Designer
Step 1
Let’s learn how to fill color in Affinity Designer by using the Fill Tool, a tool that allows you to fill objects with gradients, patterns, and solid colors. You can find it in the toolbar on the left side of your screen. Alternatively, you can use the keyboard shortcut G to access it.

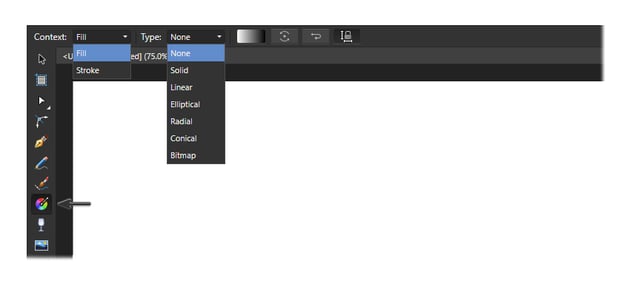
Step 2
In order to apply an Affinity Designer gradient fill, you will first need an object to apply it to. For this demonstration, I will be applying gradients to a square that I’ve created. You can apply a gradient fill to any object you’d like, though, as long as it’s a vector path and not a rasterized image.
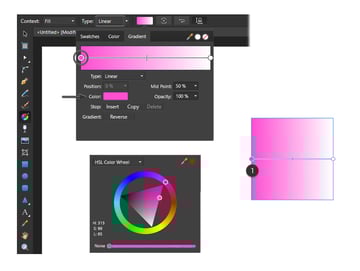
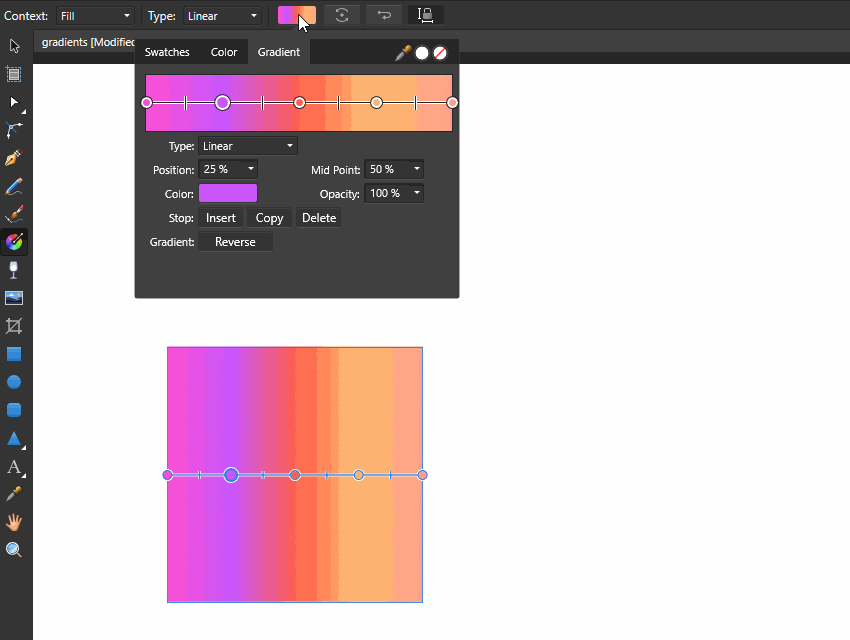
Once you’ve chosen your gradient type, linear this time, it will be assigned a default start and end color, usually white and gray/black. Let’s take a better look at the Gradient panel and go over all the other settings that allow you to edit the properties of your gradient, such as:
-
Type: Linear, Elliptical, Radial, or Conical.
-
Position: You can manually choose a specific position for each of the color stops in the gradient.
-
Color: The color of a chosen stop in the gradient.
-
Stop: You can insert new stops, copy them, and delete them.
-
Gradient: Reverse the Affinity Designer gradient direction.
-
Mid Point: You can manually dictate the location of the mid point.
-
Opacity: You can tweak the opacity of any color stop in your gradient.
-
Color Picker: This allows you to add colors to your gradient based on a sampled color from another object on your canvas.
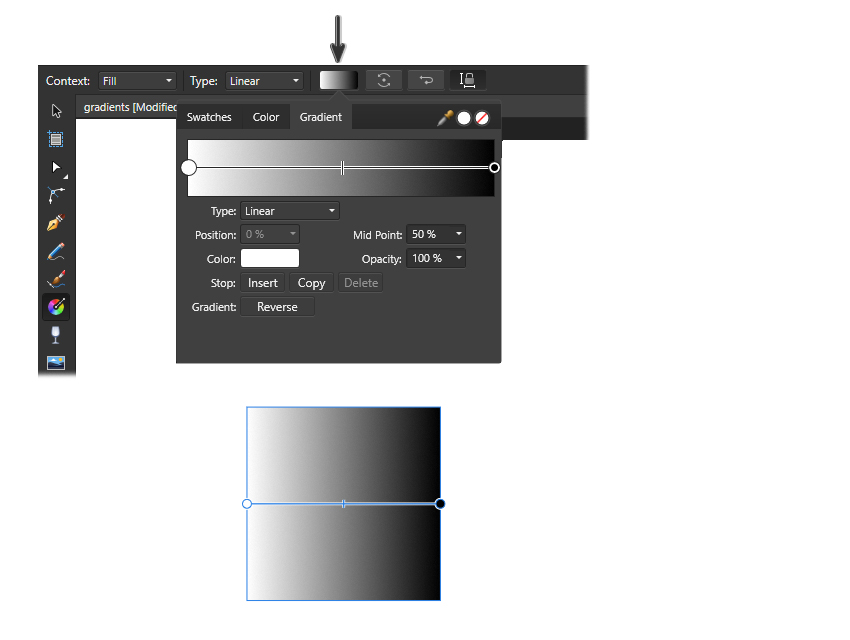
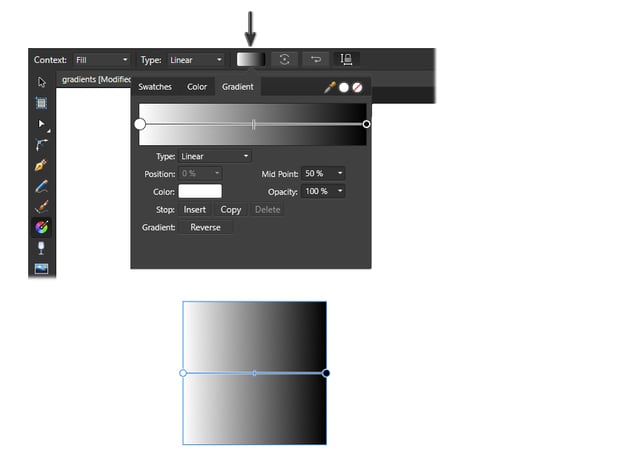

This Gradient panel is very useful for editing your gradients if you need to specify exact numerical values for position, mid point, or opacity. Otherwise, you can alter all of these properties directly on the object using the Affinity Designer Fill Tool (G). The interface is very intuitive.
Step 3
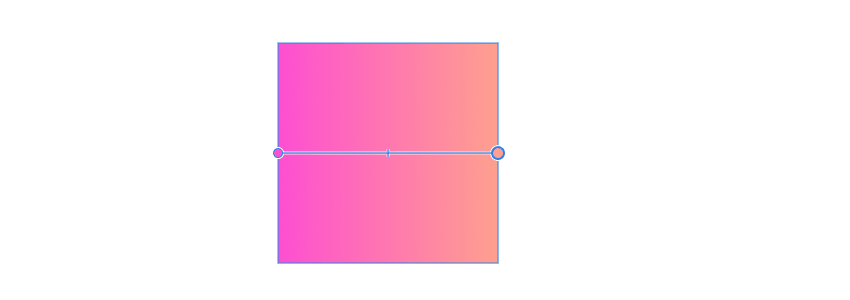
To change the colors of your gradient, simply click on the start point of the gradient (indicated as circular nodes) to select it and press the Color box. The Color Wheel panel will appear, and you can select a new color. The gradient will update instantly.


Step 4
Now, select the end stop of the linear gradient, click on the Color box, and pick a new color from the Color Wheel. You can also use the Color Picker to sample a color from another source.
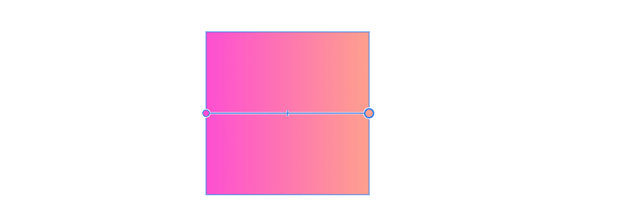
Your first Affinity Designer gradient is done. How easy was that! To change the location and direction of your gradient, simply click and drag on either of the nodes to move them around.
The thin line at the center of the gradient’s path represents the center point of the gradient. Moving it will change the gradient’s balance to favor one color over the other. The further in one direction you move it, the more intense the disparity will be.


Step 5
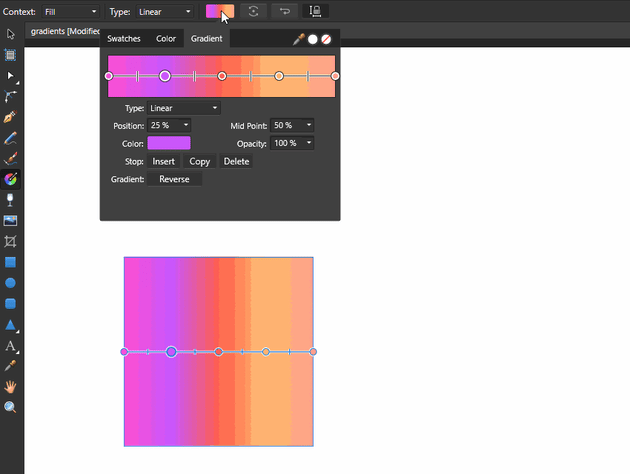
If you’d like to add a new color to your gradient, all you have to do is hover your cursor over the gradient’s path until the cursor icon has a plus (+) sign. Do this while the Affinity Designer Fill Tool (G) is active. At this point, you can simply click on the path to add a new node. Assign a new color to it from the Color Wheel. You can add many other nodes in the same way and create a colorful gradient.
Step 6
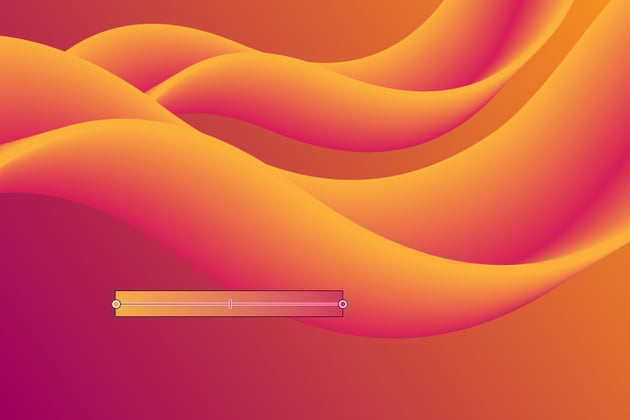
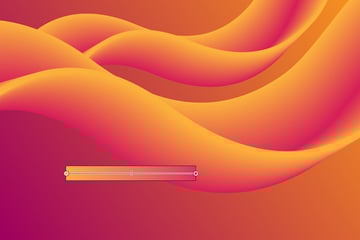
In the image below, we have an example of an Affinity Designer gradient fill. If at any point you’d like to delete one or more added colors, all you have to do is click on the color stop in the Gradient panel and then press the Delete button.
Alternatively, you can select the node directly on the gradient’s path using the Fill Tool (G) and press the Delete key on your keyboard.

Congratulations! You’re Done!
You have successfully learned how a gradient works and how to fill color in Affinity Designer. Although you can use the Fill Tool to apply solid colors to an object’s fill or stroke, its true power lies in its ability to apply and modify gradients. It’s very easy to do!

Now that you learned how can you do gradients in Affinity Designer, you can head over to Envato Elements, where you can get unlimited downloads of graphics, add-ons, fonts and much more that are ready to be used in your projects.
Want to Learn More Affinity Designer?
We have loads of tutorials on Envato Tuts+ that teach many other useful techniques. Here is a list of tutorials specially made for you. Take a look!