When working with text, you’ll likely need to adjust your line spacing. Affinity Publisher makes this easy. This quick tutorial will show you how to change the line spacing in Affinity Publisher.
How to Change the Line Spacing in Affinity Publisher
Step 1
You’ll need a document with multiple lines of text for this demonstration. If you don’t have one already open, you can create a new document by going to File > New. Select the dimensions and specs of your choice, and click Create.
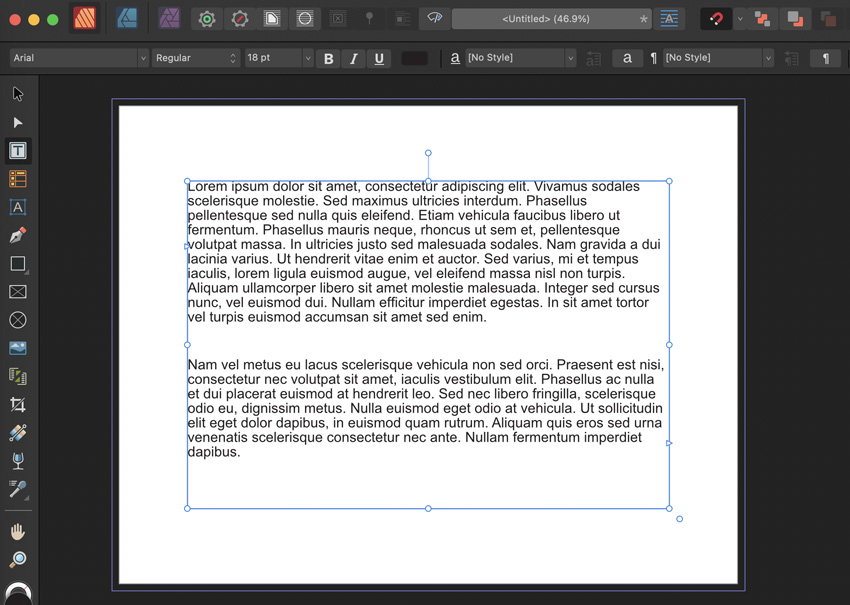
You’ll need some text in your document. If you don’t already have text to work with, select the Frame Text Tool in your Tools panel. Click and drag to draw a text frame. You’ll need some text in this text frame to work with. I’m using some “Lorem Ipsum”, which is placeholder text, for this example.
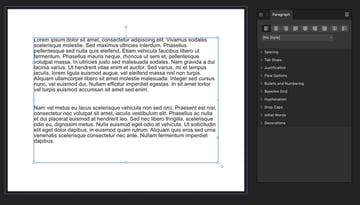
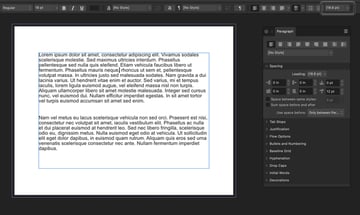
Here’s what my workspace looks like:
Step 2
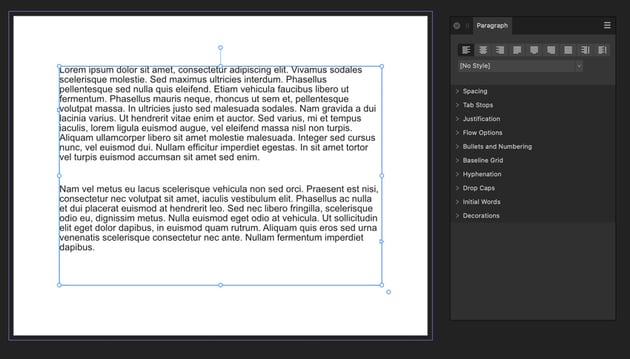
Now that we have some text to work with, we’ll need to open up our Paragraph panel. Go to Window > Text > Paragraph to open this panel.
We’re using Affinity Publisher 2 in this demonstration. If you’re using the old/original version, you can find this panel under View > Studio.
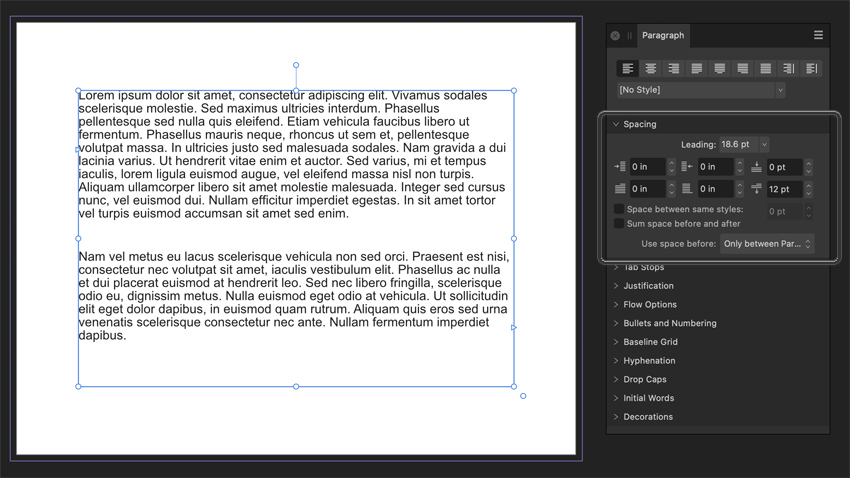
Here’s what the Paragraph panel looks like:

Step 3
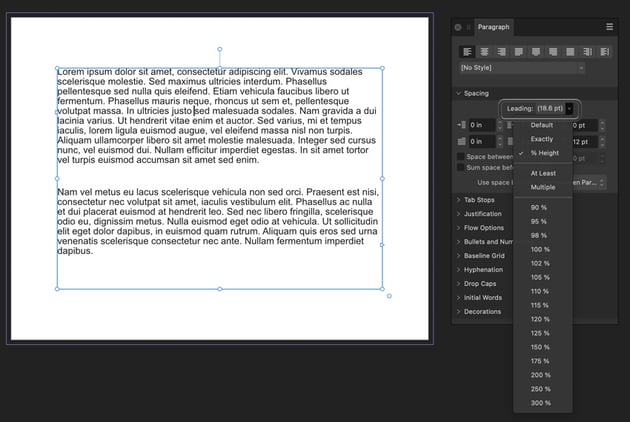
The Paragraph panel is one of your key places to adjust Affinity Publisher line spacing. Looking at the Paragraph panel, make sure the Spacing portion has been expanded. You can click to expand or contract this content.
Step 4
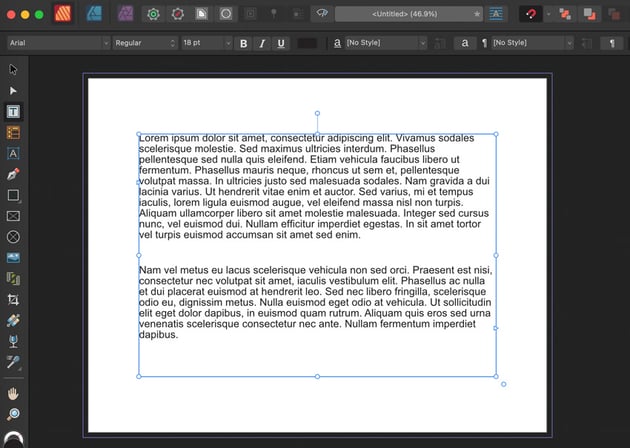
In order to change your line spacing, Affinity Publisher needs to know which text to apply it to. Make sure to select your text frame before making adjustments. Otherwise, they won’t be applied.
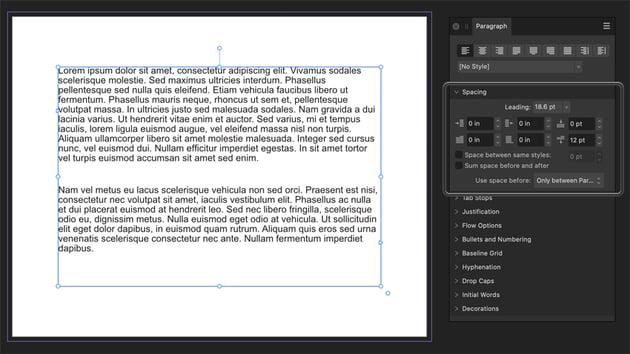
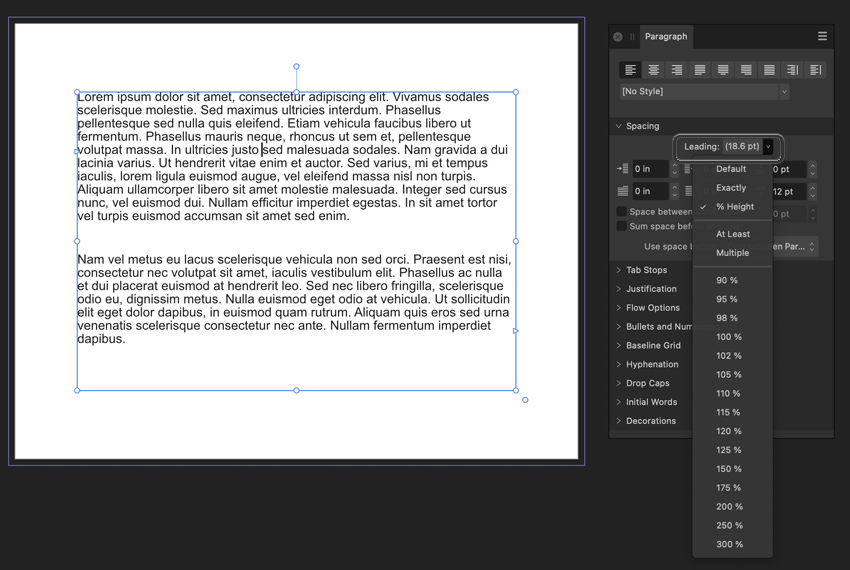
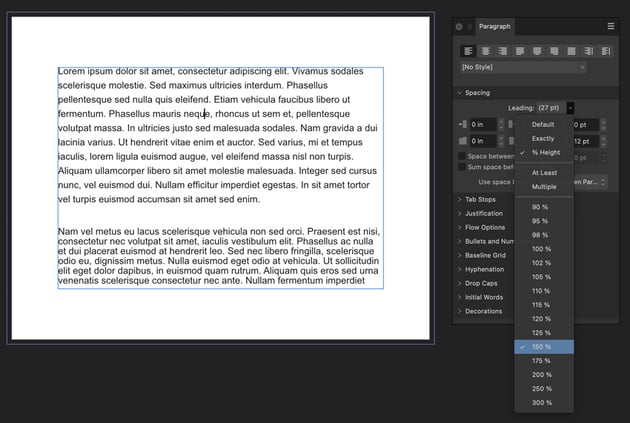
Then, click the Leading dropdown menu, and you’ll get a variety of choices.
- Default will give you a suggested default line height.
- Exactly is suited to exact measurements. For example, you could click to type in a specific value for your line height, or you can choose from a list of exact point values.
- Percentage will give you a percentage based on your font size. So that same list will now be presented in percentages.
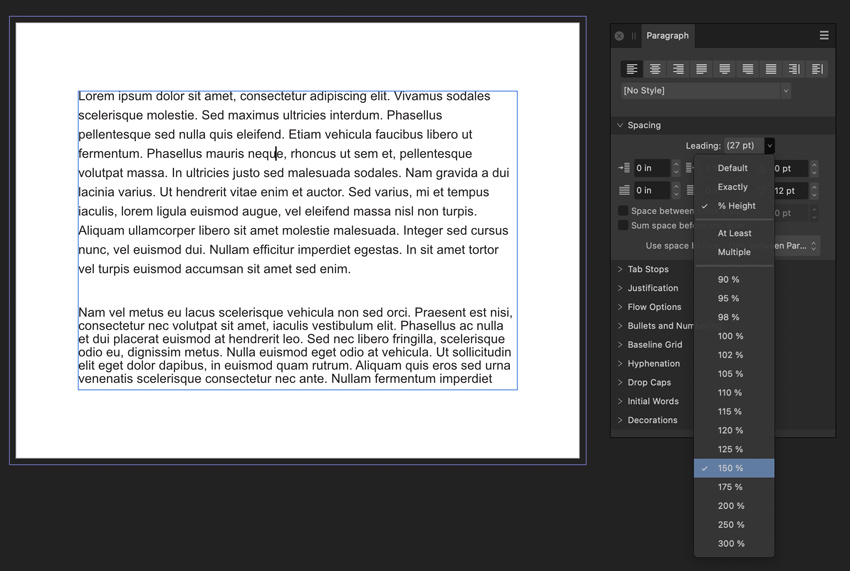
Experiment with different values to achieve the line spacing appropriate for your project.
Step 5
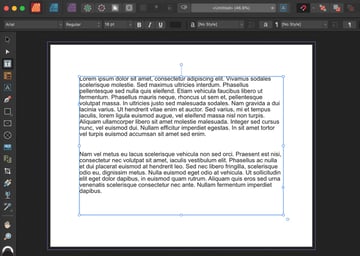
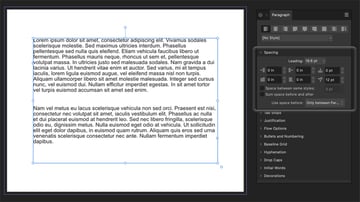
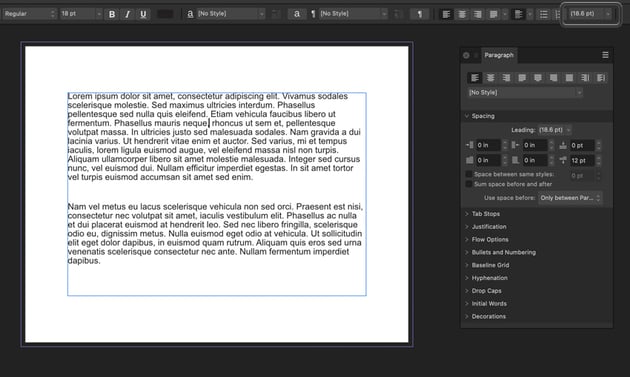
You can also make changes to specific paragraphs. So, for example, with the Text Frame Tool active, I can click on my second paragraph. Then, if I change my line spacing, Affinity Publisher only applies that new leading to the second paragraph.
Step 6
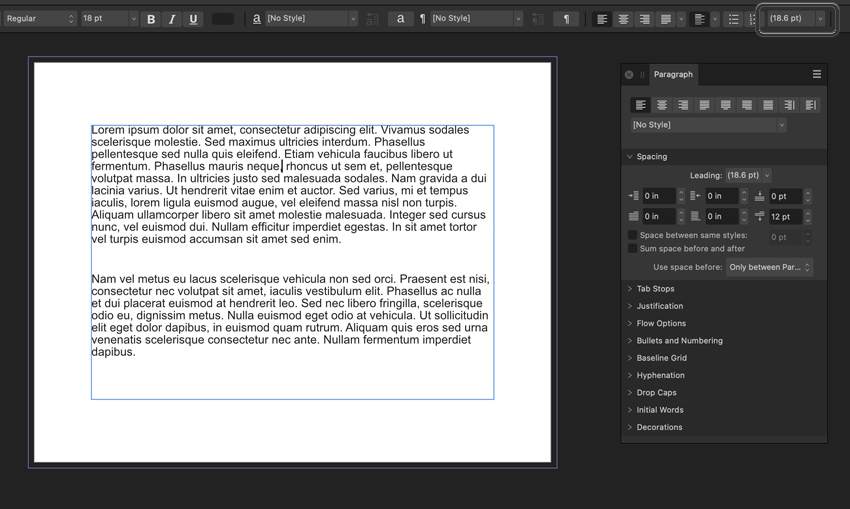
Here’s an additional tip. You can also find the line spacing in the toolbar at the top of the screen, when you have the text tools selected. This is a quick way to access your line spacing when you don’t have your Paragraph panel handy.
Now You Know How to Change the Line Spacing in Affinity Publisher
Simple, right? Affinity Publisher line spacing is a breeze to adjust when you know where to look. Want to learn more about Affinity Publisher? Make sure to check out these other free tutorials from Envato Tuts+: