As with any new and emerging technology or language, it is always important to stay on top of the latest news and updates. Swift as a language is no different. Apple has released many new updates and enhancements in the short time that Swift has been in existence. So you first need to pay attention to the changes of the language. Then there is this whole open source thing. That is another animal all in itself.
Just because Swift has been made open source doesn’t mean that you can just start writing applications using the language anywhere you want. There are a few guidelines that Apple suggests you follow like the supported platforms, versions of the language itself, and the current tooling around these that are available. All of this information and more can be found at Swift.org. So it would be a good idea to bookmark that website and visit it relatively often to make sure you are staying up to date with all the latest happenings.
That being said, there needs to be a place to start. At the time of this writing the latest release snapshots available are Swift 2.2 running on the traditional Apple platforms as well as on Ubuntu Linux 15.10 and 14.04. And that is where our story will begin.
2. Setup
In order to truly test out the openness of the Swift programming language, you will need to setup a development environment that matches one of the current release snapshots. That is exactly what is going to happen in this step. If you already have a machine running the appropriate version of Ubuntu Linux, then you are halfway to your destination. If not, there are a few steps to get you where you want to go.
If you don’t already have a Linux system at your disposal, don’t worry. In the next several steps, you will set up a virtual environment that matches the specifications of the current release snapshot.
You can use any sort of virtualization software that you like or are comfortable with. I happen to like the combination of VirtualBox and Vagrant. If you have never heard of either of these products, here is a basic overview.
VirtualBox is what is known as virtualization software that allows you to run some other operating system (client) on top of your natively installed operating system (host). Vagrant is an additional piece of software that allow you to easily create, configure, and run these client operating systems. You don’t have to use Vagrant if you don’t want to. I just feel that it makes some of the steps easier.
Step 1: Installing VirtualBox
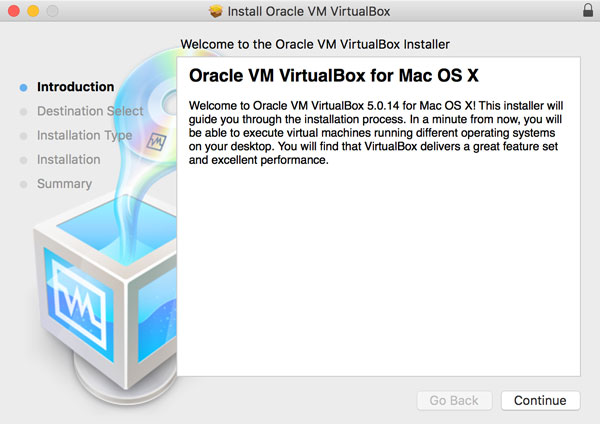
The first step in creating your new Swift development environment is to download and install VirtualBox. Head over to the download page, select the version of VirtualBox that is compatible with your host system, and download the installer. I am using an OS X host, so I am selecting that version of the installer.
Once downloaded, the installation process is quite simple. Just follow the instructions of the installer.
Step 2: Installing Vagrant
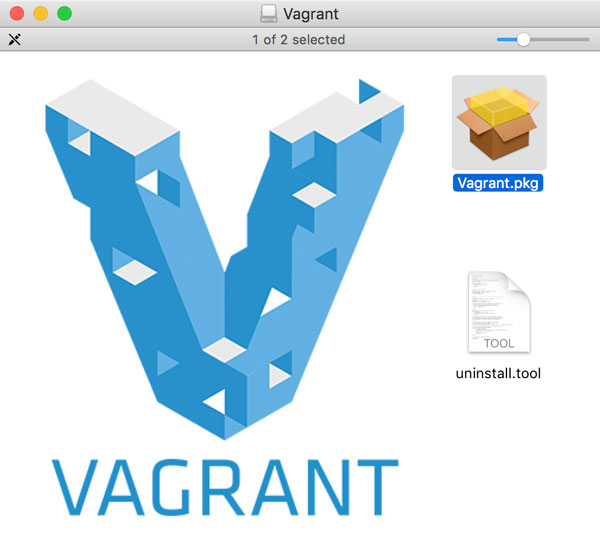
As mentioned before, you can get a virtual environment set up without the use of Vagrant, but this little gem makes the process incredibly easy. First, you need to point your favorite browser to the Vagrant download page.
Select the version of Vagrant that is compatible with your host operating system. Once you have downloaded the installer, you simply need to run through the installation.
You now have all the tools you need to quickly create your Ubuntu Linux virtual machine. But what about getting a copy of Linux to install? Well, that is another thing we will take care of using our new friend Vagrant.
3. Creating the Virtual Machine
Now it is time to finally create your Ubuntu Linux virtual machine using VirtualBox and Vagrant. You will now begin to see the power of using Vagrant.
Step 1: Configuring Vagrant
Start by creating a new directory somewhere on your host machine. I typically start with the desktop and then move it somewhere else when necessary. Within that directory, create a new empty file and name it Vagrantfile. The name of the file is important. Vagrant uses this file for configuration.
You will now be using some Vagrant configuration code to handle the following steps:
Download Ubuntu Linux and get it running in VirtualBox
Install the Clang compiler
Download and install Swift
Add Swift to your PATH variable to use it from any location
Why are you going to do all of these things? Because that is exactly what the installation instructions on Swift.org tell us to do. But instead of doing it all manually, you will be able to do it all from the comfort of a single Ruby script.
Where is this Ruby script? It’s the Vagrantfile. Even though the Vagrantfile contains Ruby, you don’t need to know any Ruby. Most of it is simply assigning values to variables and running a few shell scripts. Open the Vagrantfile in your favorite text editor and add the following code:
Vagrant.configure(2) do |config|
    config.vm.box = "http://cloud-images.ubuntu.com/vagrant/trusty/20151218/trusty-server-cloudimg-amd64-vagrant-disk1.box"

	config.vm.provision "shell", inline: <<-SHELL
		sudo apt-get —assume-yes install clang

		curl -O https://swift.org/builds/ubuntu1404/swift-2.2-SNAPSHOT-2015-12-22-a/swift-2.2-SNAPSHOT-2015-12-22-a-ubuntu14.04.tar.gz

		tar zxf swift-2.2-SNAPSHOT-2015-12-22-a-ubuntu14.04.tar.gz

		echo "export PATH=/home/vagrant/swift-2.2-SNAPSHOT-2015-12-22-a-ubuntu14.04/usr/bin:"$PATH"" >> .profile
	    echo "Ready to rock and roll"
    SHELL
end
What exactly is all of this code doing? Let’s take a look at the important lines in this script:
Vagrant.configure(2) do |config|
The configure method passing in the value of 2 will tell Vagrant that the following script is using a v2 configuration. This is the current major version of Vagrant.
Put the location of the unzipped build of Swift into the PATH variable on the client machine so that you can reference Swift from any location.
Step 2: Executing the Script
Now that you have created this Vagrantfile to automatically run through the setup that is necessary to run Swift on Linux, it’s time to run it. Open a command prompt and change directories into the same directory that you created the Vagrantfile in. Next, execute the following command:
vagrant up
Sit back and wait. Depending on your internet connection speed, this process may take some time. Once the entire process has completed, you should see the result of the last echo statement in your Vagrantfile, Ready to rock and roll.
Step 3: Verify That It Worked
The last part of setup is simply verifying that everything you have done to this point has worked successfully. First, you need to make a connection with your new virtual machine by executing the following command:
vagrant ssh
The command prompt will transform from your host command prompt to an ssh session that shows the command prompt of your client machine. From here, you should now be able to verify your Swift installation with the following command:
swift --version
If everything went well, you should see an output that resembles the following:
Swift version 2.2-dev (LLVM *, CLANG *, Swift *)
The details of the values that show up after LLVM, CLANG, and Swift in parentheses don’t really matter. All you want to make sure of is that you see something similar to the above line displayed.
4. Let’s Get Swift
Now that you have created a development environment that is capable of running Swift code, it’s time to test it out. From this point, there are so many wonderful things to do with Swift, such as executing Swift code using the REPL, taking advantage of the build system, and even learning how to attach the debugger.
If you are following along with this tutorial, I’m going to assume that you have at least a basic knowledge of the Swift programming language and know what the REPL is, so I won’t spend much time there. As for the build system and the debugger, I will leave those as exercises for you to tackle using the documentation of Swift.org. So for now, we will keep things simple and write some simple code that will let you see some Swift running on Linux.
Step 1: Write Some Code
Let’s create a new directory somewhere on your client machine and create a new file in it. Name the file sample.swift and open it in a text editor. Copy and paste the following code into the file and save the file.
print("Running Swift on Linux is as easy as ...")

for num in 1...3
   print("(num)")


print("That is all!")
Yes, I understand that this is nothing amazing, but it will serve our purpose just fine. Once you have saved this Swift code in sample.swift, you can exit your editor to get back to the command prompt.
Step 2: Compile and Run
Now that you are back at the command prompt, you need to pass your new file through the Swift compiler. The location of the Swift compiler has already been added to the PATH variable and has a file name of swiftc. To compile your new application, all you need to do is, execute the following command. Make sure you are in the same directory as sample.swift or you will have to give the compiler the full path to the file.
swiftc sample.swift
If the compilation step completed successfully, you should now see a new file in the same directory named sample without an extension. To execute your application, just type ./sample at the command prompt and you should see the following output:
Running Swift on Linux is as easy as ...
1
2
3
That is all!
And there you have it. A fully functioning, albeit simple, Swift application running on Linux. Congratulations! You did it!
Learn More in Our Swift on Linux Course
If you like to learn more about using Swift on Linux, then check out Derek Jensen’s course on using Swift on Linux. Derek will help you take open source Swift for a test drive. You’ll learn how to get up and running with Swift on Linux, natively or via a virtual machine, and you’ll write a simple cipher application for the Linux command line. All in under an hour!
Conclusion
From here, the sky is the limit. You can learn more about Swift to make more interesting and complex applications. You can go back and learn more about using the build System or the debugger to be a little more sophisticated in the way that you design and debug your applications.
The choice is really yours. No matter what you decide to do, you should definitely be staying up to date with all the latest news and releases of Swift on Swift.org. This will be your most important source of information when it comes to writing applications using the Swift programming language on platforms other than OS X.