In this tutorial, I will teach you how to make a funeral program in Adobe InDesign. You will learn how to apply background images to shapes, format text for an organized layout, and place swirl vectors in your funeral pamphlet template.
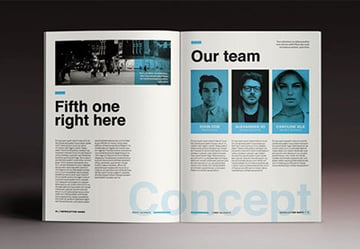
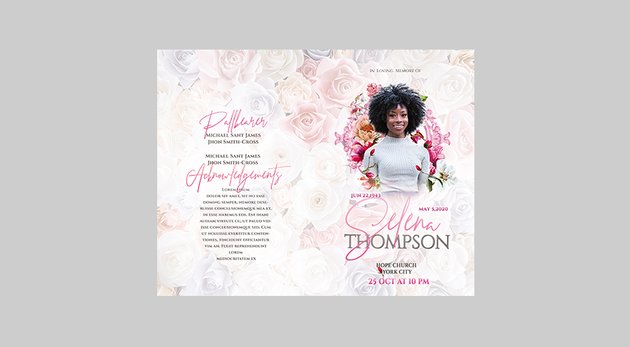
If time is an issue for you, don’t hesitate to grab one of these templates or other custom funeral programs on Envato Elements and GraphicRiver. You can find many professionally designed templates to honor your family member, like this one below.
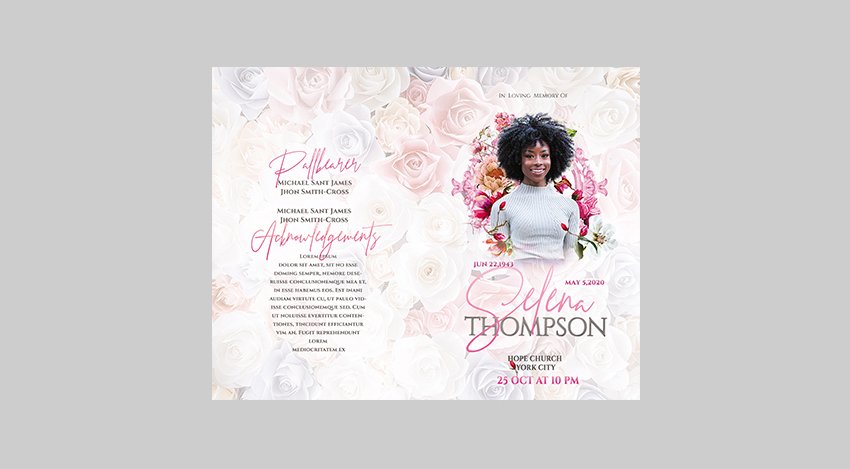
This Floral Funeral Program Template is beautifully designed. Use this template to remember your loved one with this clean and organized layout created in Adobe Photoshop.

What You Will Learn in This Funeral Program Template Tutorial
- How to organize a funeral program layout using text
- How to place decorative elements from Adobe Illustrator
- How to apply images to shapes
- How to place print-ready images in your funeral program template
What You’ll Need
These are the items you will need to design your funeral service program template:
1. How to Create a Funeral Program Obituary Template
Step 1
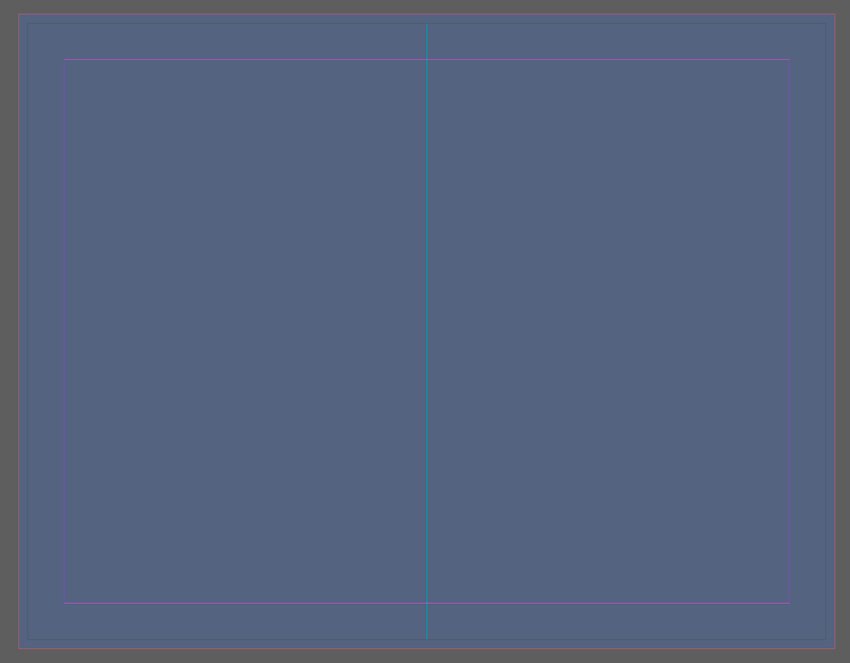
Create a new file in Adobe InDesign. Go to File > New > Document and set the width to 11 inches (in) and the height to 8.5 in. Set the number of Pages to 2. Uncheck the Facing Pages box. Set the Margins to 0.125 in and the Bleed to 0.125 in on each side. Take this time to name your funeral program design. For this example, I will name it FuneralProgram. Click Create.


Step 2
Make sure your document rulers are showing. If not, go to View > Show Rulers. Drag your cursor from the left ruler onto your first page. A guide should appear. The X Location for the guide should be 5.5 in. Do the same for the second page.


2. How to Place Print-Ready Photos in InDesign
Step 1
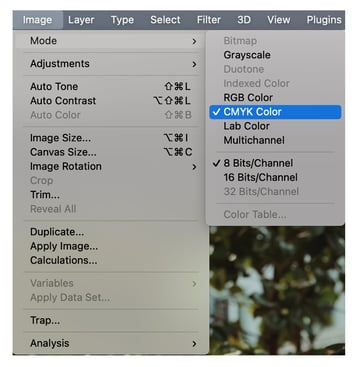
Start Adobe Photoshop and open the Portrait Photo. Go to Image > Mode > CMYK Color. Then go to File > Save As and save this file as a Tiff and save it in the same location as your funeral pamphlet template. If the Tiff Options dialog box appears, click OK.


Step 2
Return to InDesign and select the Rectangle Frame Tool (F). Make a rectangle on the front cover where you want your photo to be. Go to File > Place and select the Portrait Photo we just saved. Click Open. To adjust the image, double-click inside the placed image using your Selection Tool (V). You can now move your image around and resize it using the scale in the top toolbar.


3. How to Apply Shapes and Patterns in InDesign
Step 1
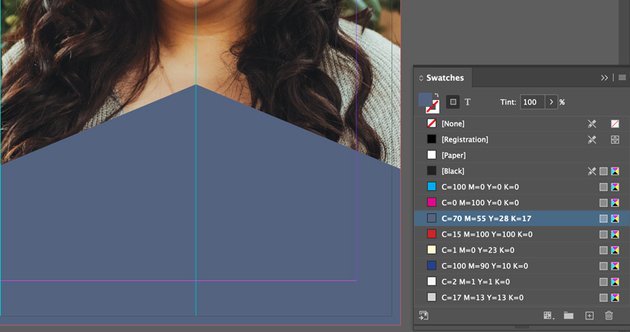
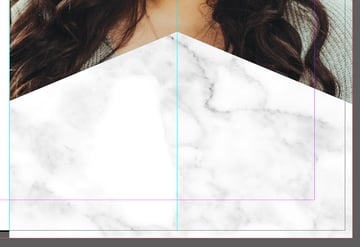
Select the Pen Tool (P) and create a pentagon shape at the bottom of the cover. In the Swatches panel, change the color to C70, M55, Y28, K17.

Step 2
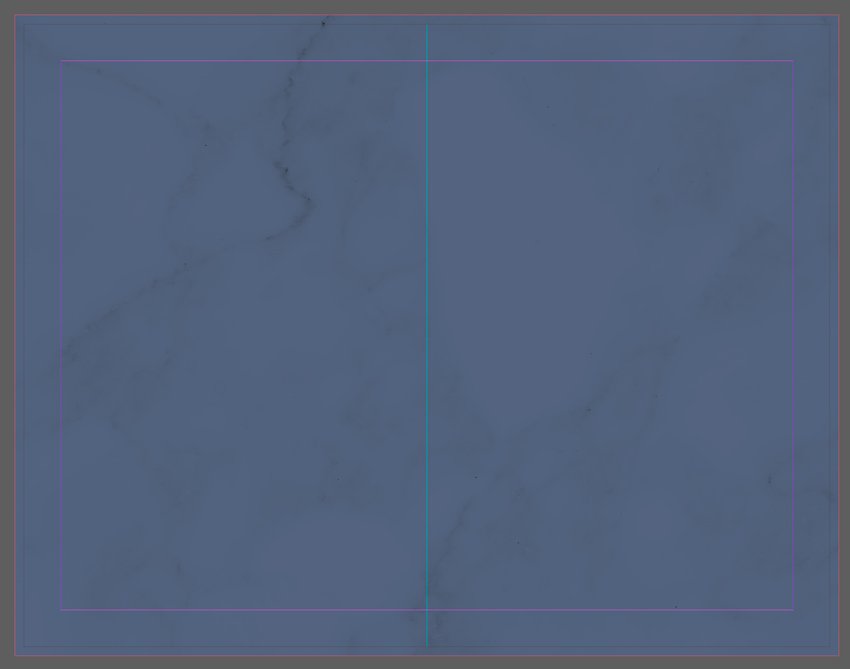
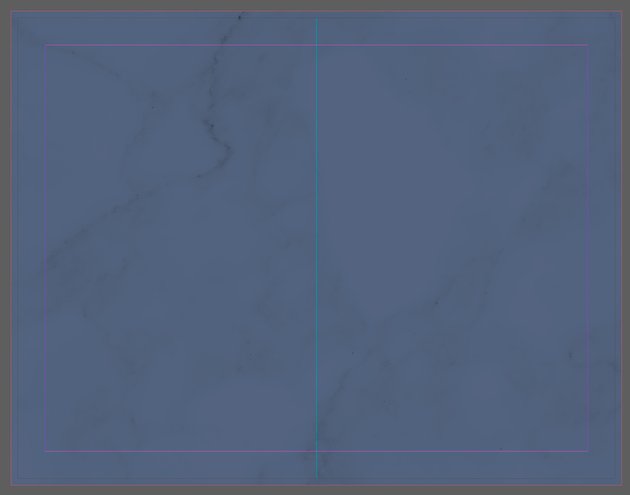
Prior to placing the Marble photo in InDesign, open the file in Photoshop and convert it to CMYK. Follow the same steps I stated earlier in regards to the cover photo and save it as a Tiff. Select the pentagon you just created in InDesign and go to File > Place and select the Marble Photo Tiff file.


Step 3
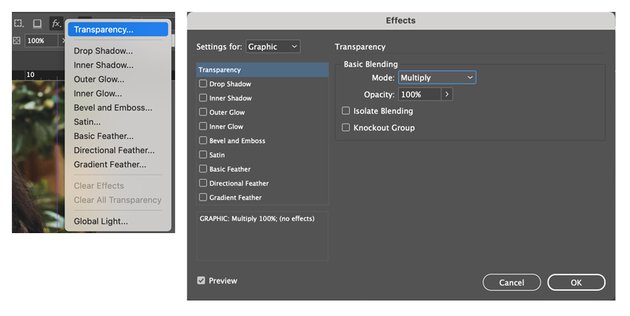
Double-click your Marble photo using the Selection Tool (V). Select the fx icon in the toolbar at the top and select Transparency. Change the Mode to Multiply. Click OK.


Step 4
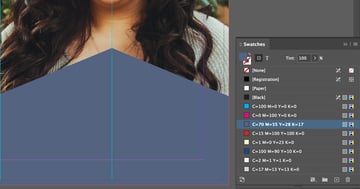
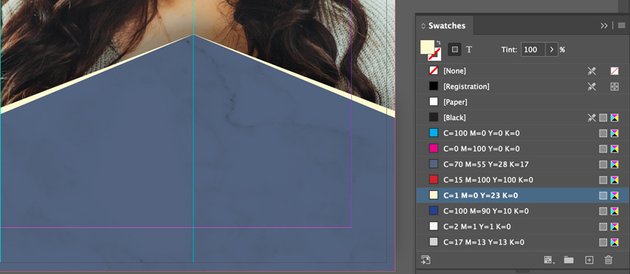
Now we will add some yellow accents to our pentagon. Select the Pen Tool (P) and create a shape similar to the image below. Add a new swatch and change the color to C1, M0, Y23, K0.


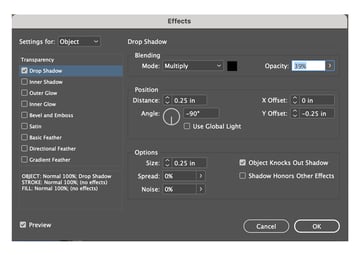
4. How to Apply a Drop Shadow in InDesign
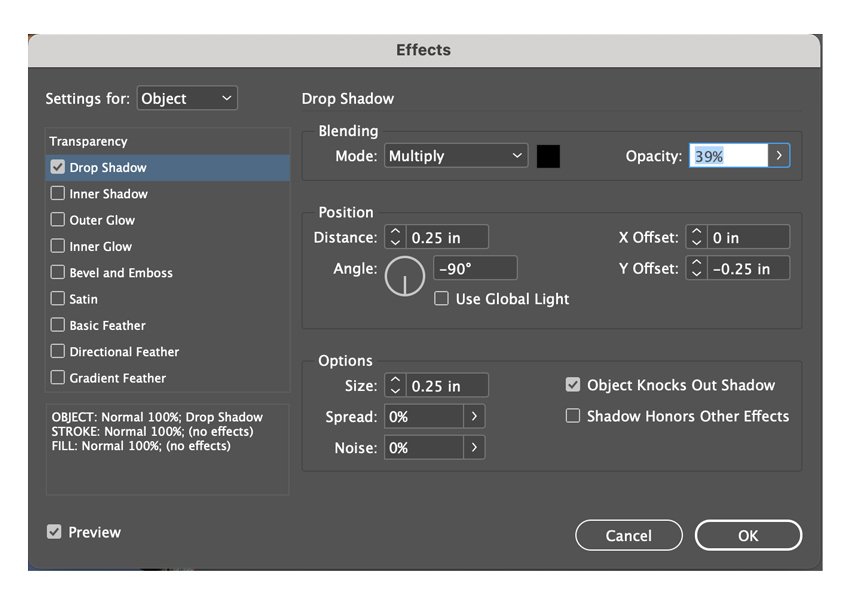
Select the pentagon shape, bring back up the fx effects box, and select Drop Shadow. Apply these settings:

5. How to Apply Text in InDesign
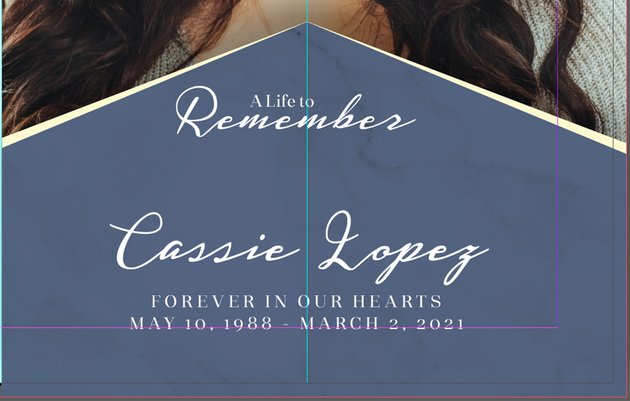
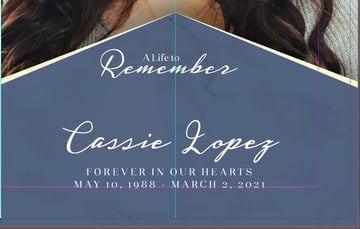
Select the Type Tool (T). Drag and click your mouse over the cover to create a text box. These are the settings I used for “A Life to”:
- Macaw Regular font, 12pt, [Paper] swatch
Repeat the same steps above to create the rest of your text. These are my settings:
- Remember – Harmonie Script font, 34 pt, [Paper] swatch
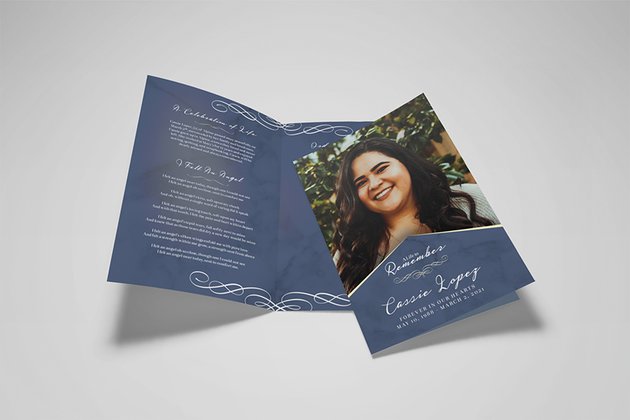
- Cassie Lopez – Harmonie Script font, 40 pt, [Paper] swatch
- Forever in Our Hearts – Macaw Regular font, 12 pt, [Paper] swatch, Tracking 200, All Caps

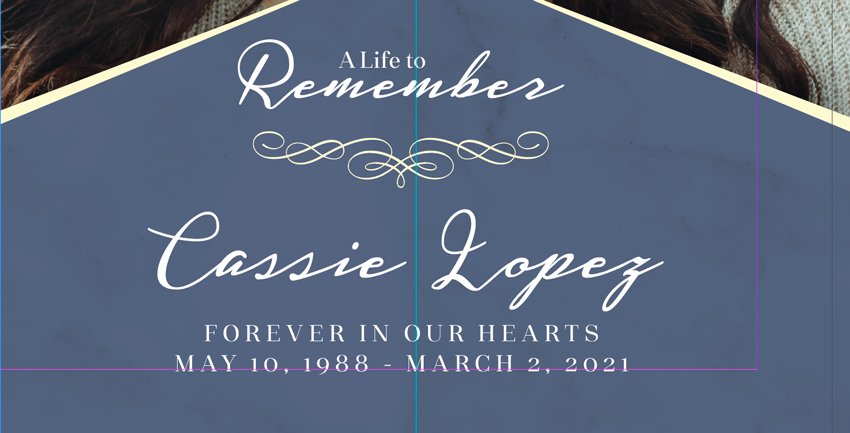
6. How to Prep and Place a Vector File in InDesign
Step 1
Start Adobe Illustrator and unzip the Decorative Swirls folder. Open the Swirls_01_39.svg file. Change the color of this swirl to yellow (C1, M0, Y22, K0) in the swatches panel. Save the file as an EPS file on your desktop (Swirls_01_39_yellow.eps). Create another version of this file and change the color to white (C0, M0, Y0, K0). Save this file as an EPS as well (Swirls_01_39_white.eps).


Step 2
Open the Swirls_01_29.svg file and repeat the same step above.
Step 3
In InDesign, go to File > Place and locate the yellow swirl (Swirls_01_39_yellow.eps). Select that file and place it on the cover.


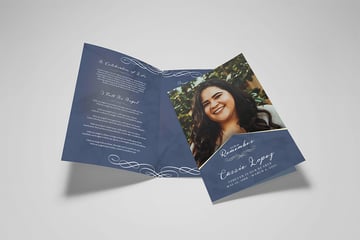
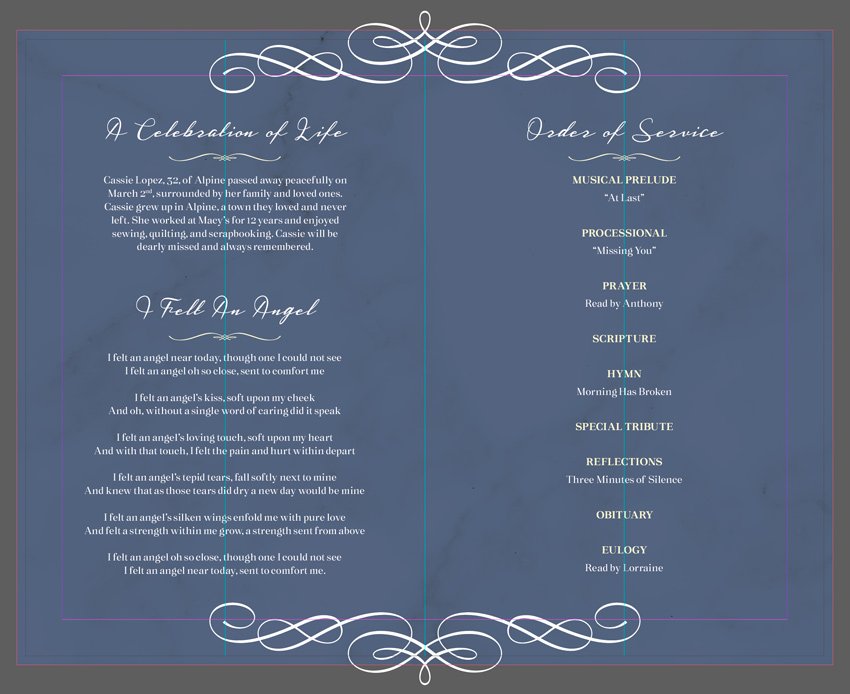
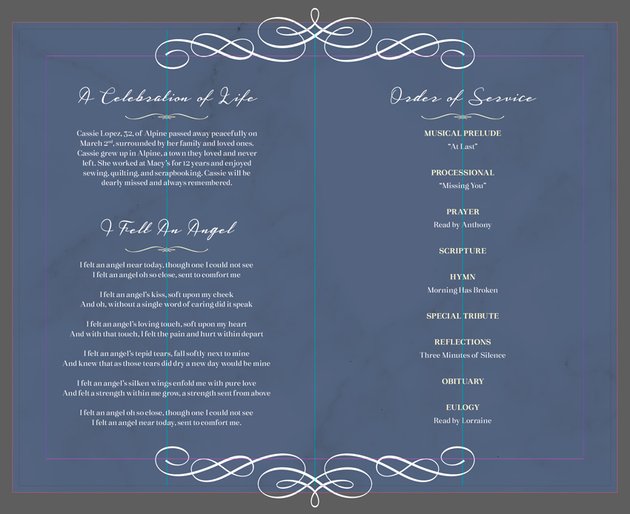
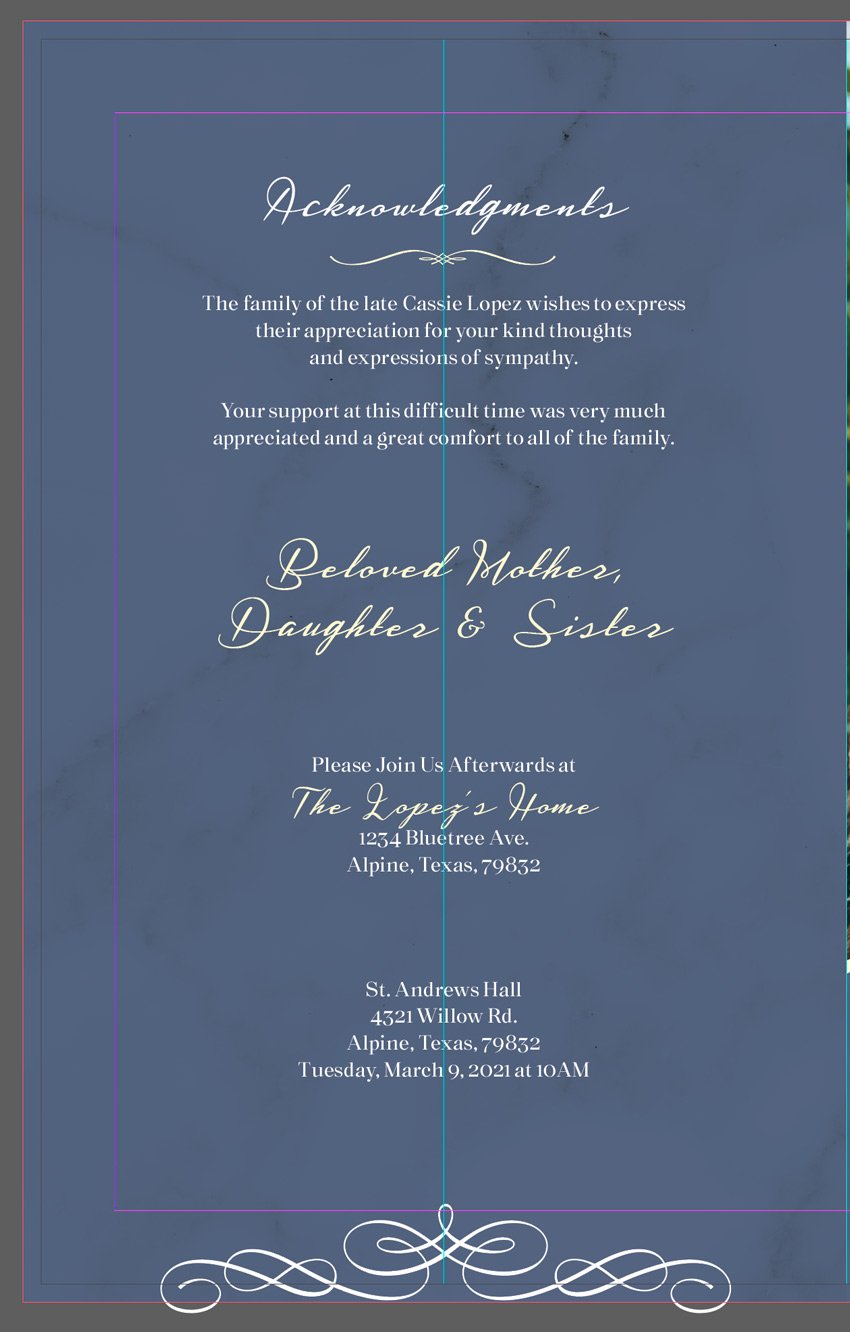
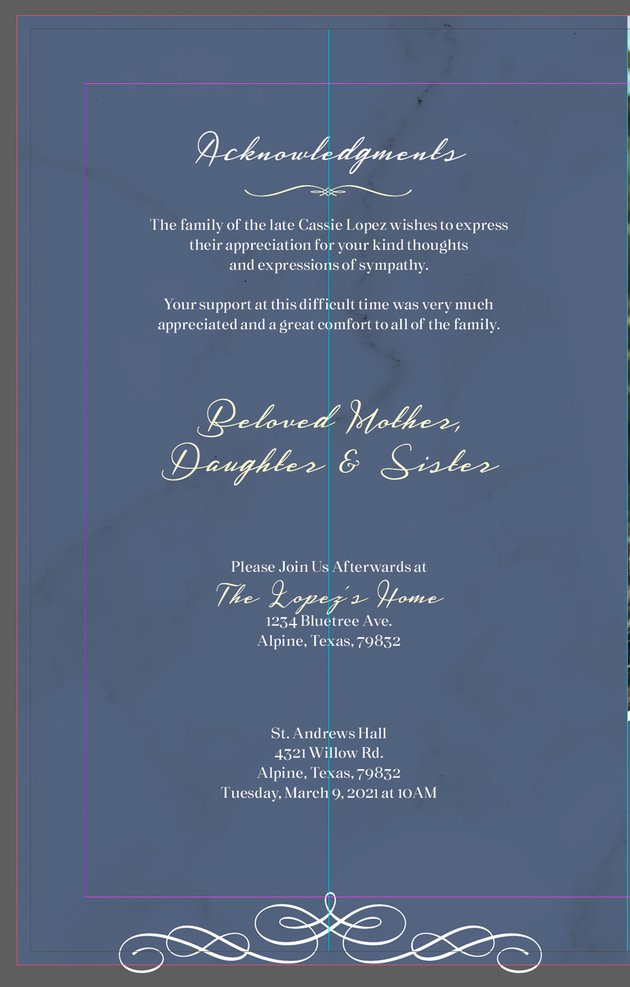
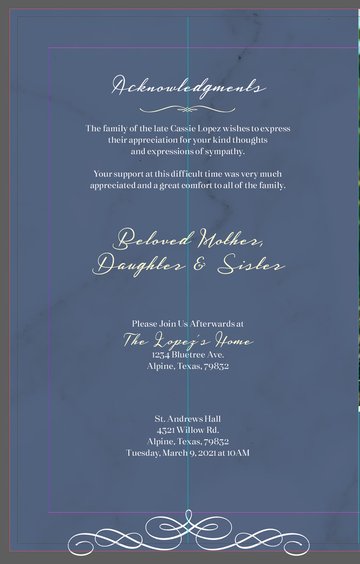
7. How to Design the Inside of a Memorial Program Template
Step 1
On the second page of our funeral program example, select the Rectangle Tool (M) and cover the entire page (bleeds included). Change the color of this rectangle to the blue we used in an earlier step.


Step 2
Refer to section 3 (applying shapes and patterns), and add the Marble texture to the inside of your memorial program template.
Step 3
Now we will format the inside of our funeral program. Apply two more guides to this page (refer to section 1 if you need a refresher). The X Locations should be:
- 2.75 in
- 8.25 in
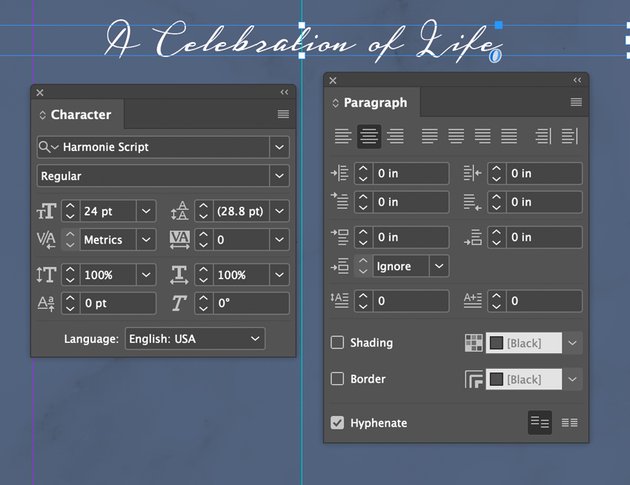
Grab your Type Tool (T) and make a text box in the left panel. These are my settings for “A Celebration of Life” using the [Paper] swatch.


Step 4
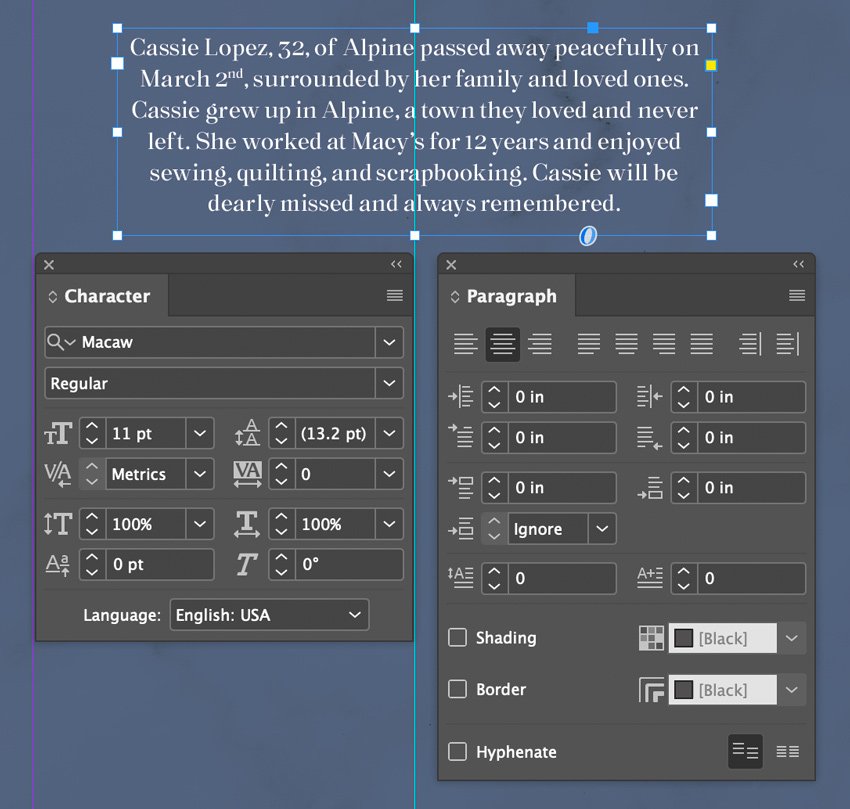
With your Type Tool (T) selected, create another text box. Fill this box with all your special memories about your loved one. Use the settings below.


Step 5
Repeat the same steps above for the poem section of the funeral program.


Step 6
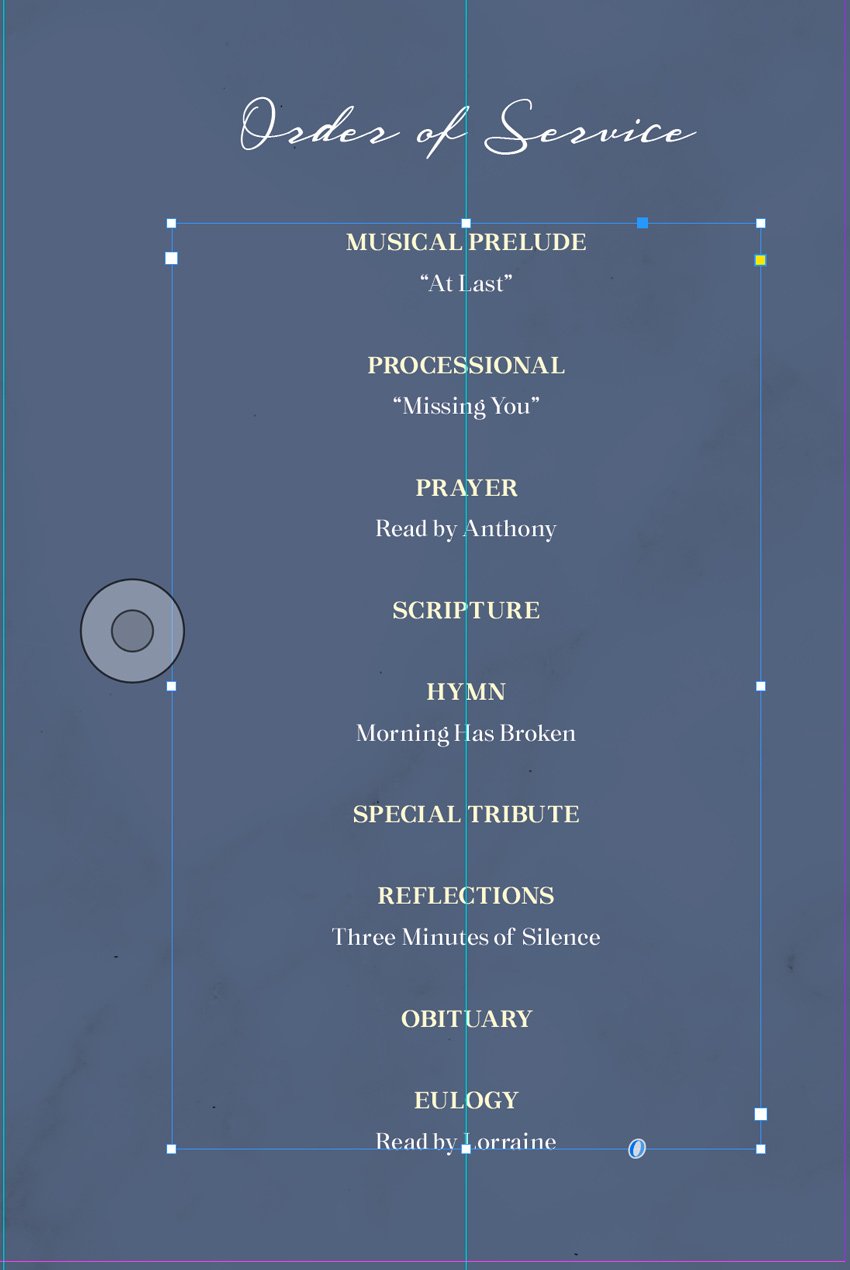
After making the Order of Service header, create another text box and include the sequence of events for the funeral. Use Macaw Bold for the subheads and Macaw Regular for the body copy.
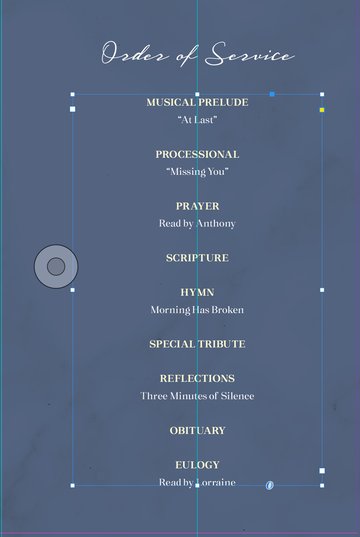
Step 7
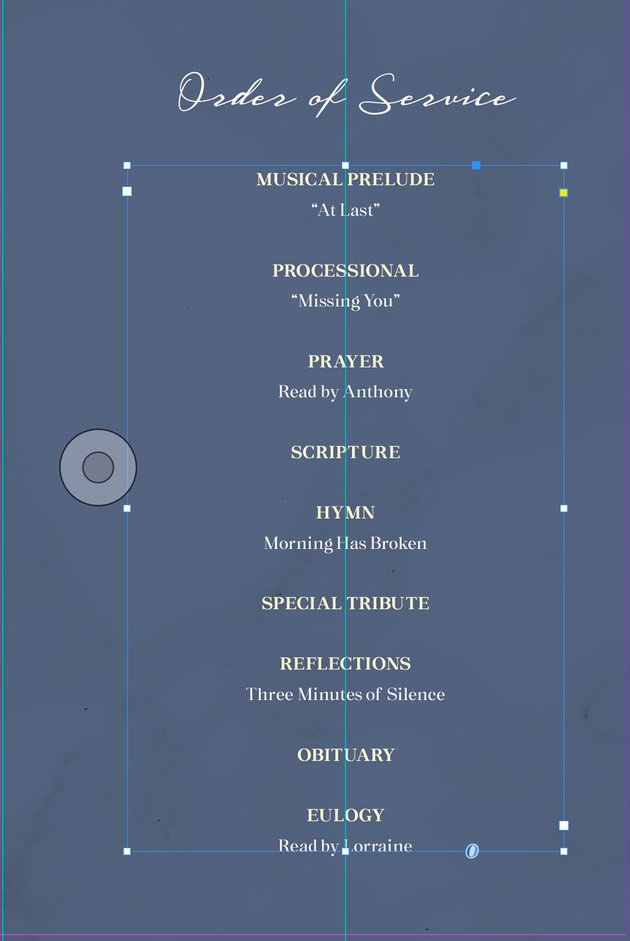
Go to File > Place and select Swirls_01_39_white.eps. Place the swirl at the bottom of your document. With the swirl selected, copy (Command-C) and paste (Command-V) the file. Next, Object > Transform > Flip Vertical and place that swirl at the top of your document. Repeat these same steps and add Swirls_01_29_yellow.svg under each header.
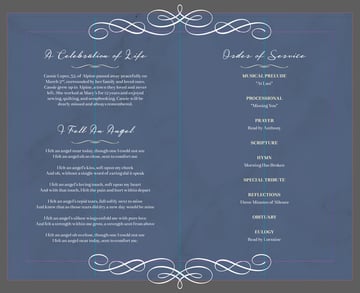
8. How to Create the Back Cover of a Funeral Service Program Template
To create the back cover of your funeral program obituary template, simply add text and decorative swirls by applying the techniques we just used for the inside pages.
All Done!
Thank you so much for following my tutorial on how to make a funeral program template. If you got this far, you’ve learned how to place photos, textures, and vector elements in InDesign. If you’re in need of more funeral program examples, check out this list of five creative custom funeral programs.
5 Creative Custom Funeral Programs
Aesthetic Funeral Program (AI, PSD)
I love how clean and well-organized this funeral program is. Not only will you be able to customize this template to your liking but it comes in two formats, AI and PSD.


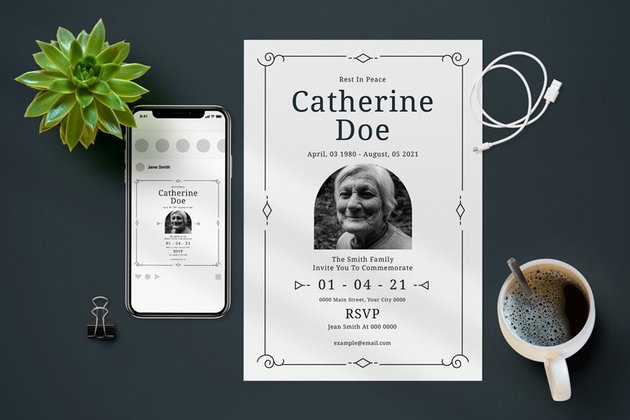
Rest In Peace Funeral Invitation (PSD, AI)
Check out this simple and stylish funeral invitation! This invitation gives you ample space to add details about the funeral service. Did I mention that it comes with another version formatted for Instagram? It’s beautiful, elegant, and waiting for you to edit.


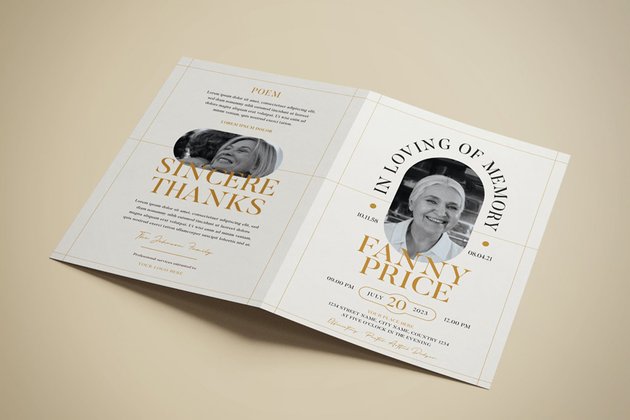
In Loving Memory Funeral Program (AI, PSD)
Not sure of how to design a funeral program? Start with this amazing funeral template created for Illustrator and Photoshop. This is one of my favorites because of its beautiful layout and multiple sections for photos.


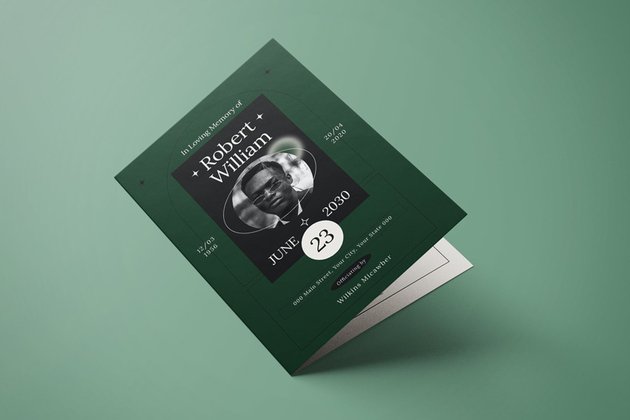
Simple Funeral Program (AI, PSD)
Simple and bold are the words I would use to describe this funeral pamphlet. This template has sections for an obituary, acknowledgements, and order of service.


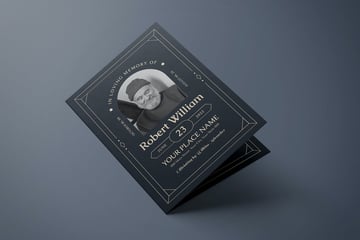
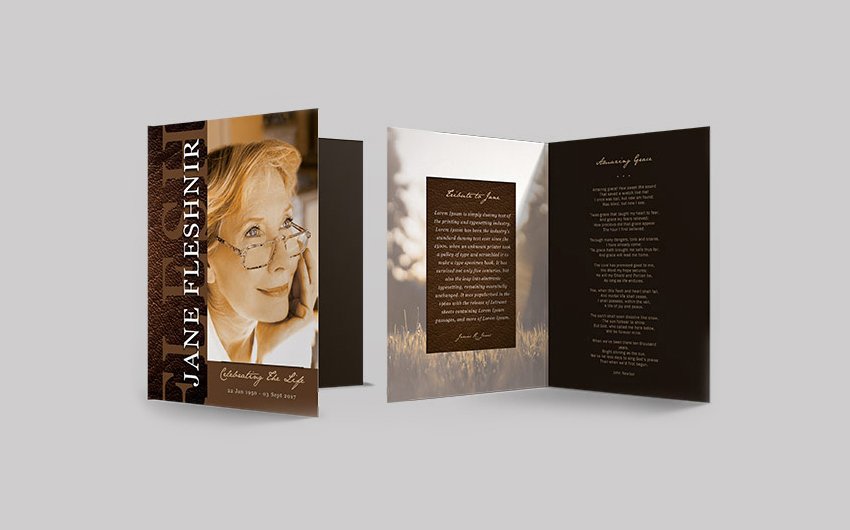
Leather Funeral Program Template (PSD)
Over at GraphicRiver, we have this beautifully designed Leather Funeral Program Template. This program includes ten pages of customizable layouts. This brown color palette is a perfect fit for anyone who desires a simple, modern layout, with smooth chocolate colors.


Need More Resources?
Check out this roundup of essential posts that will save you time and headache on your next project.
 Templates37 Best Funeral and Memorial Program Templates (Agenda, Order of Service, Obituary)
-
Invitation DesignHow to Create a Wedding Program Fan Template
-
Templates60+ Time-Saving Print Templates for Adobe InDesign & Photoshop
-
Adobe InDesignLearn Adobe InDesign From Scratch in Our New Course
-
Problem SolvingQuick Tip: Troubleshooting Font Problems in Adobe InDesign
-
Adobe InDesignThe Beginner’s Quick-Start Guide to InDesign (Tutorials, Tips & Resources)