
In the previous tutorial, we gave more detail to the polar bear using the vector brush in Affinity Designer. Next, we’ll add water and sky to the scene using parametric rectangles. For a complete overview of the entire workflow, follow along in our Affinity Designer tutorial for beginners.
Watch the Lesson: How to Use Parametric Shapes

Let’s create a simple polygon. Choose it from the toolbar, and click and drag to create the shape.
You can scale or reposition it. You’ll also see an orange slider on the side, which you can drag to create curves on each of the lines.

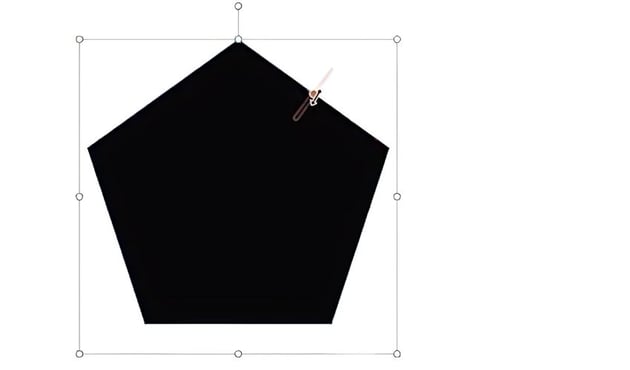

In the context bar at the top, we’ve got our fill and stroke just like with other tools, and we also have some presets. So we can easily change it to a hexagon, heptagon, octagon, and other polygon variations.
You can also increase or decrease the number of sides using the Sides bar next to the presets, or by typing the number. Up next you’ll see the Curve option, which you can use to change the curvature the same way.
Different tools have different controls.
Now, let’s try the crescent tool. Here we’ll get two different orange handles. One controls the curvature from the inside, and the other one does it from the outside.
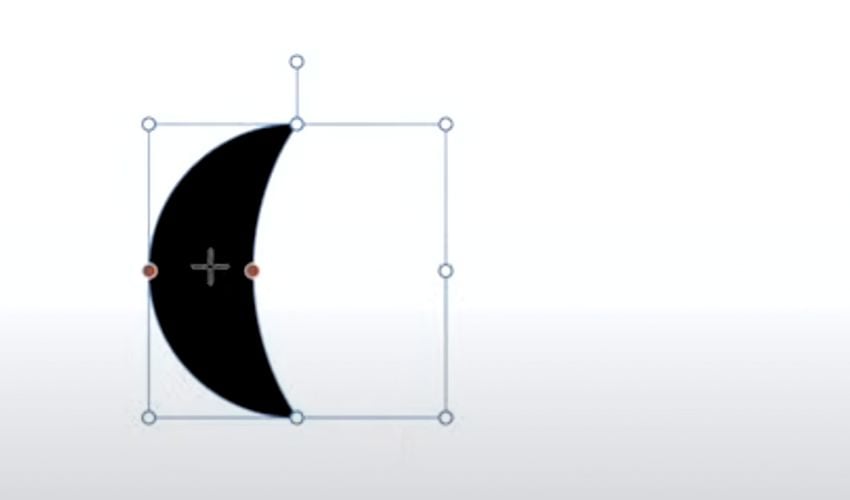

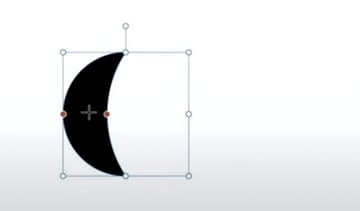
As mentioned above, you’ll find different controls in the context bar. We have the Left curve and Right curve options, as well as the Mirror and Negate buttons.
Let’s now delete both these shapes, since we’re not going to need them. I’ll use the Rectangle Tool to add water to our design.
See yet again how the options in the context bar change as we choose different presets. For example, with a partially rounded rectangle, we get a bunch of different controls for the corners.

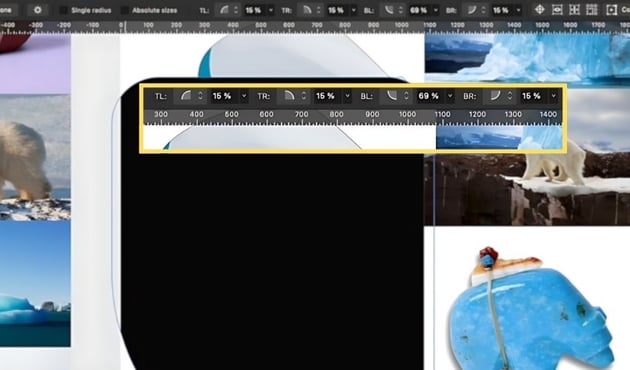

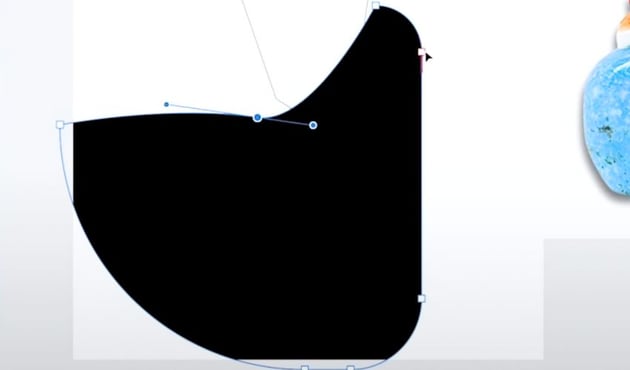
Going back to the presets, we’ll be working with a rounded rectangle. Uncheck the Single radius option to get the different controls that were available with the partially rounded rectangle.
As the name suggests, the Single radius option makes sure that all the corners have the same radius. You can also control that using the orange handle that appears in the top left corner of the rectangle.
If we turn it off, every corner will now have its own orange handle.
Now, if I want to turn my customized shape to something editable, where I have access to the actual nodes, I need to convert the shape to curves.

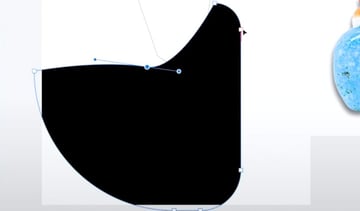
The advantage of using a parametric shape is that it speeds things up a lot. This is because we don’t have to wrangle all of these separate little nodes and move them around.
We can just adjust a couple of settings and, no matter what size, shape, or position we choose, that shape will keep all of that information. It’s going to keep it proportional to the shape.
Explore More Affinity Designer Tutorials
Look at you, parametric shape master! Keep learning and making the most of Affinity Designer with our Envato Tuts+ and Envato Blog tutorials. Next on, we’ll talk about how to use the Swatches Panel in Affinity Designer.
Also, don’t forget to try an Envato subscription! Get unlimited access to millions of professionally designed creative assets and Affinity Designer graphics, all in one place.
These are some other Affinity Designer tutorials that you can check out: