Who doesn’t love glitter? A glitter brush can really level up your art, and you can either use it judiciously or be as free as you want.
Love adding some sparkle to your artwork? In this quick tutorial, I’ll show you how to make your own glitter brush in Procreate. The steps are simple, and you can adjust everything to get the perfect sparkle effect.
How to create Procreate glitter brushes
Step 1
This is our first step to creating Procreate custom brushes that look like glitter. Follow along, and when you least expect it, you’ll be a pro at creating glitter brushes from scratch!
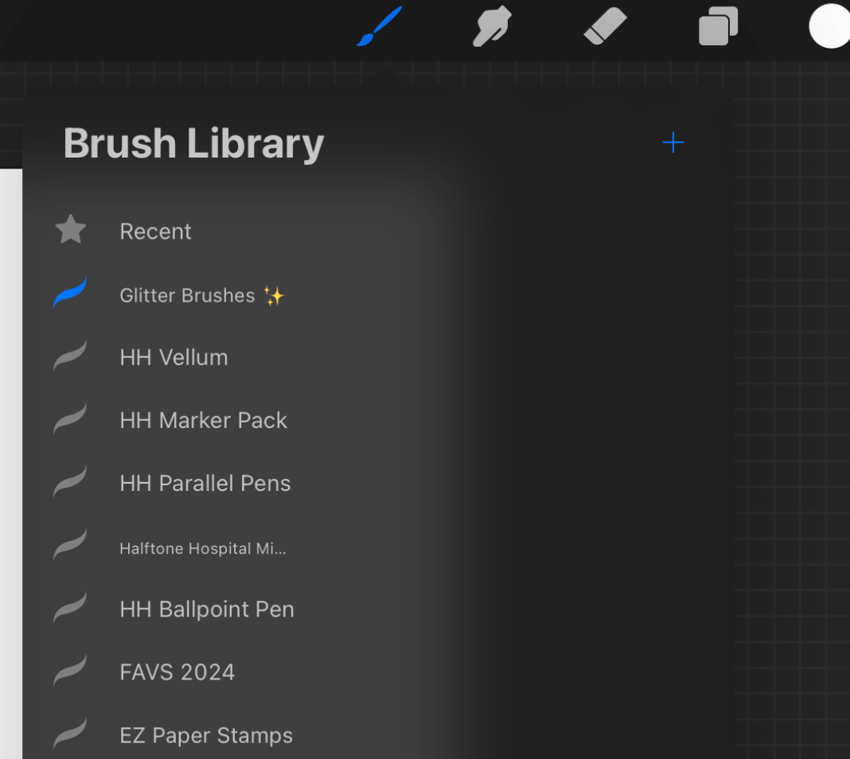
Open your Brush Library and tap the “+” sign.
Step 2
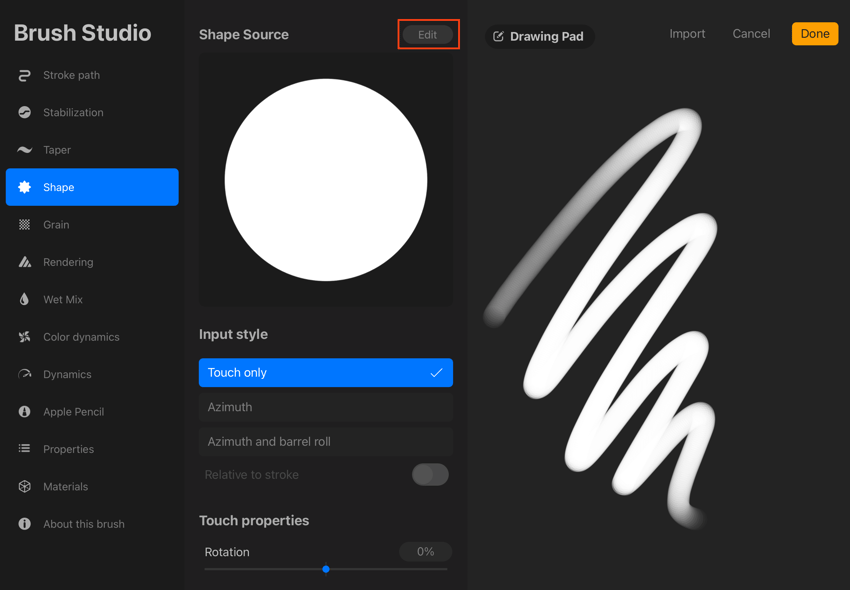
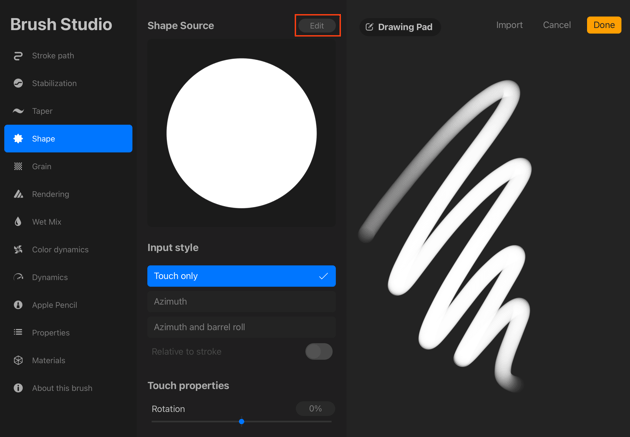
Now go to the Shape Menu and tap Edit on the Shape Source.
Step 3
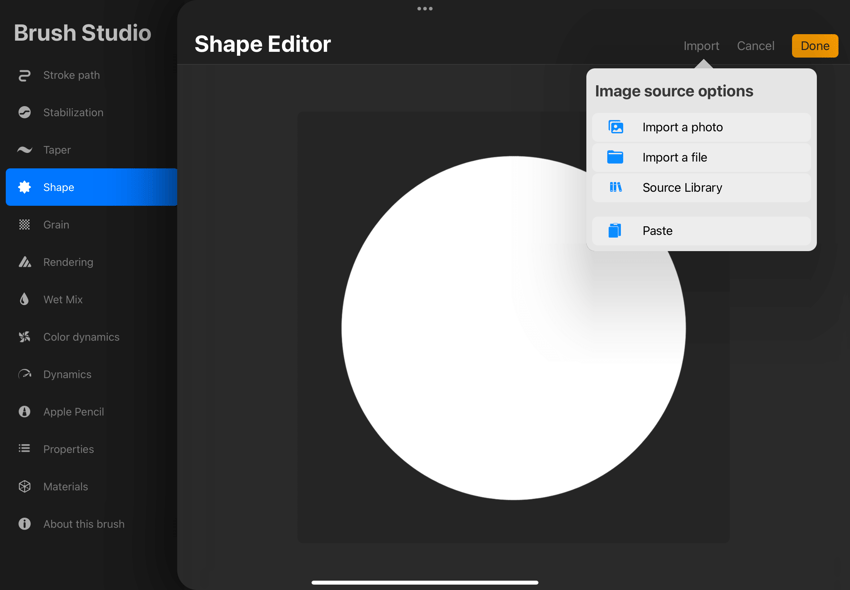
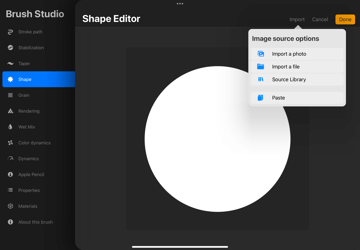
Tap Import and then Source Library.
Step 4
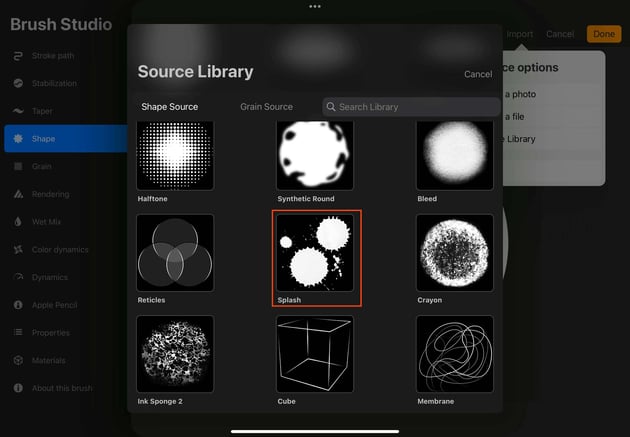
Select the Splash brush from the source library of Procreate brushes, but feel free to pick any of the Procreate brushes you see from the list if you feel like doing that.
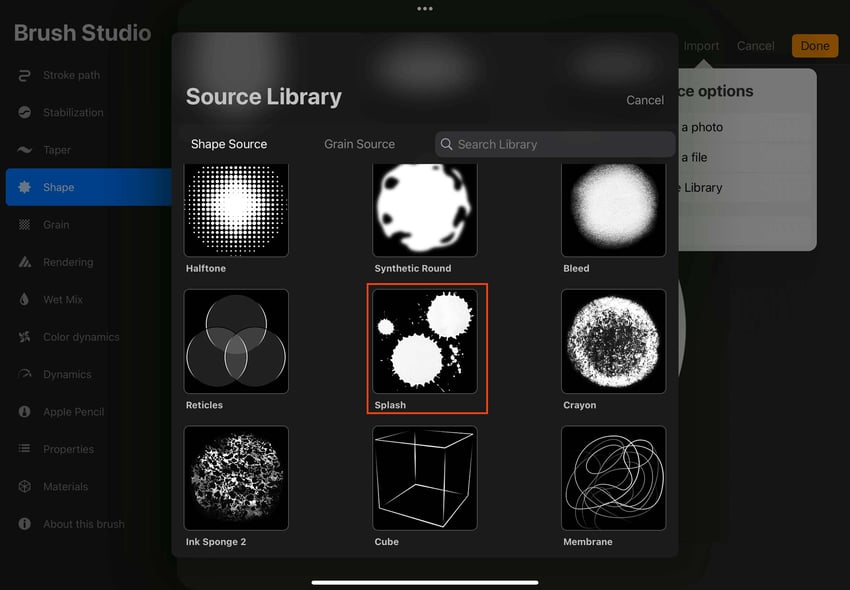
Tap Done.
Step 5
Now in the Shape Menu, increase the Scatter 130%.
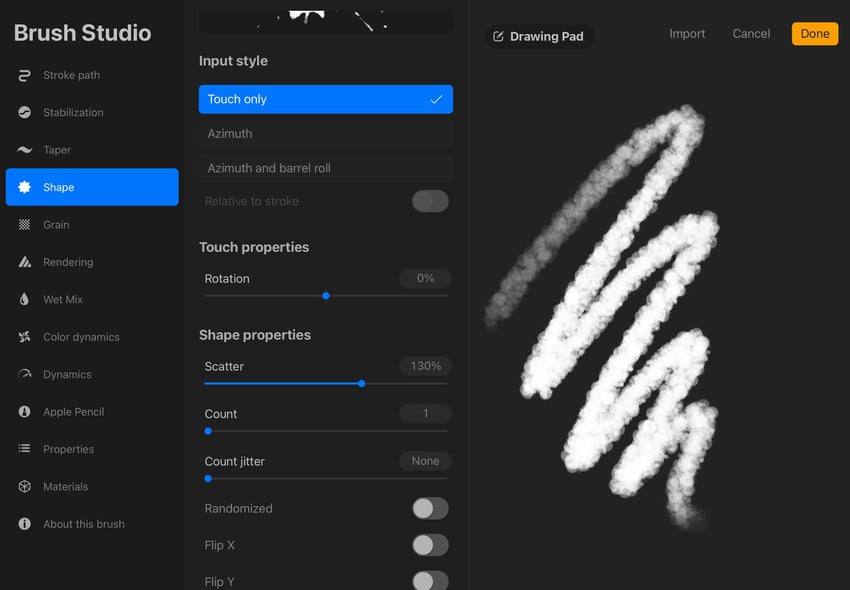
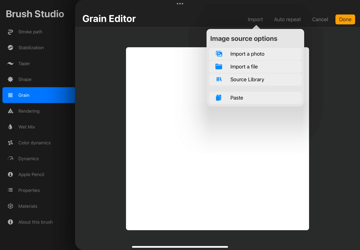
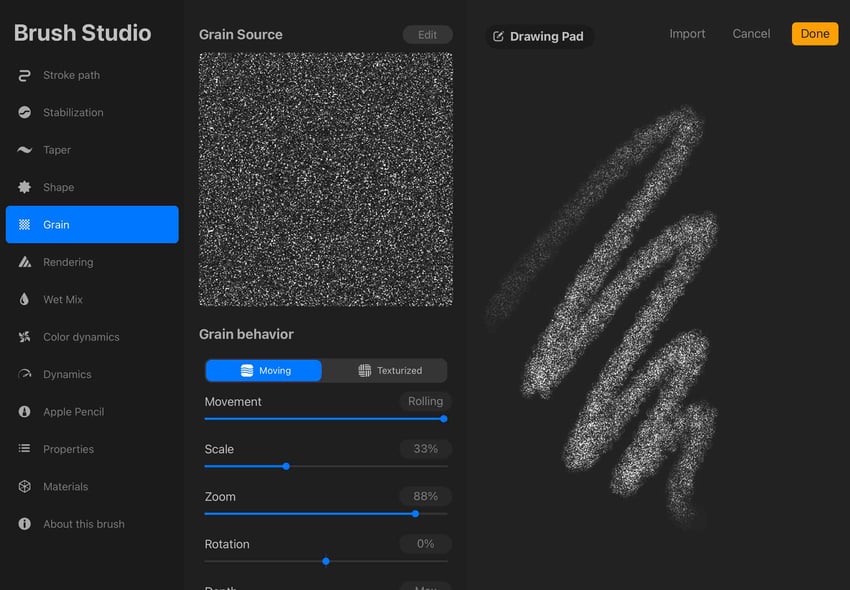
Tap on the Grain Menu and change the Grain Source by tapping Edit.
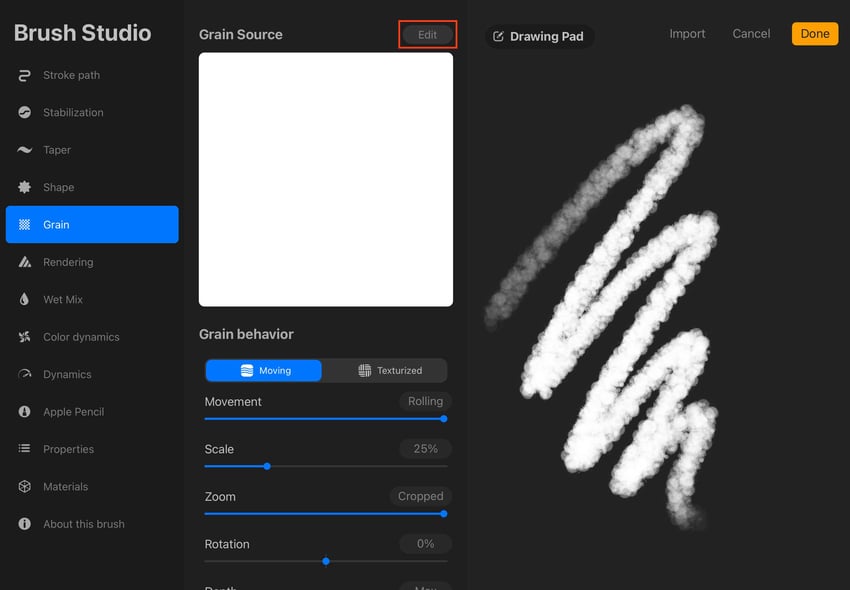
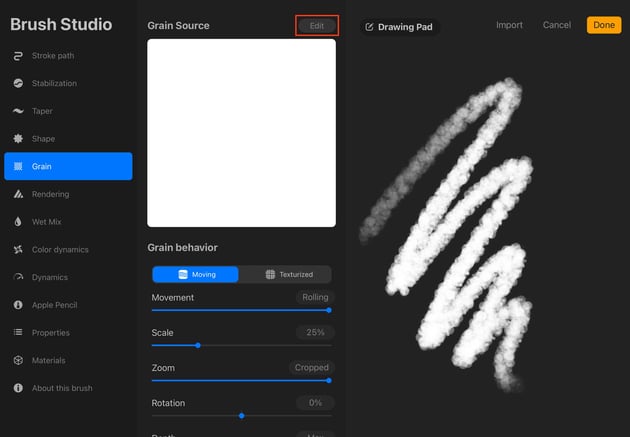
Tap Import and then Source Library.
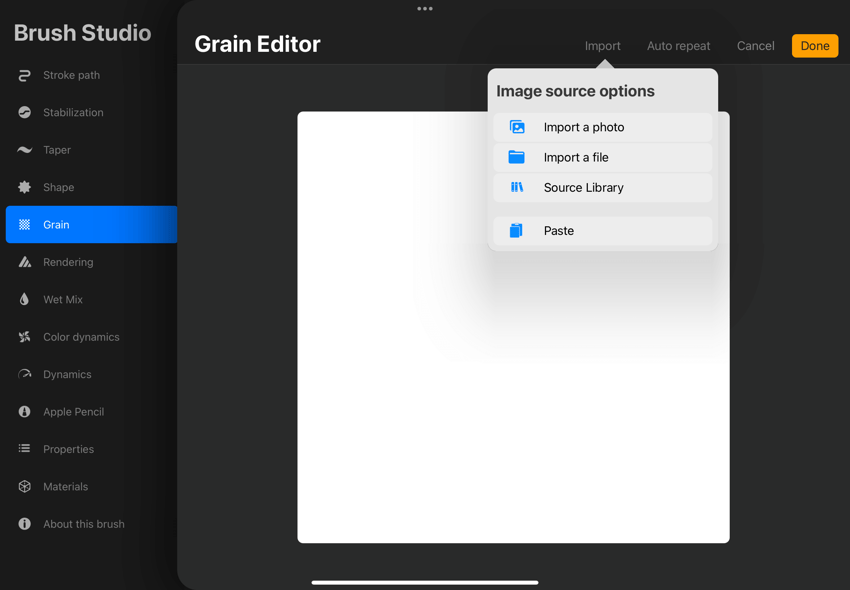
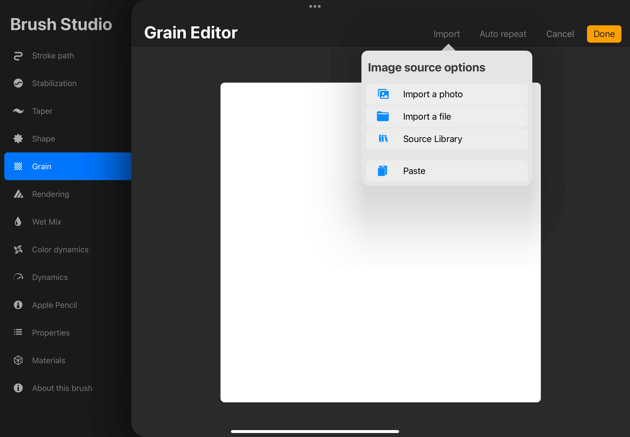
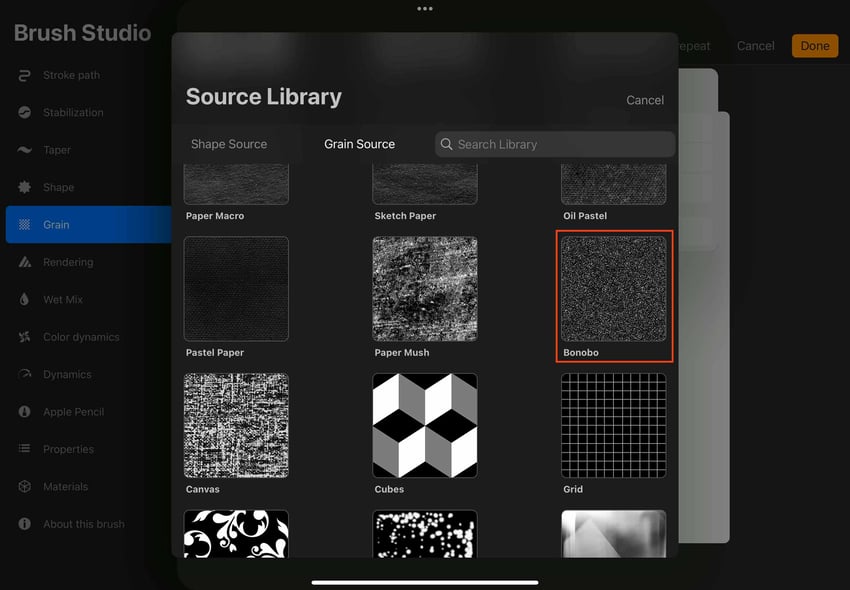
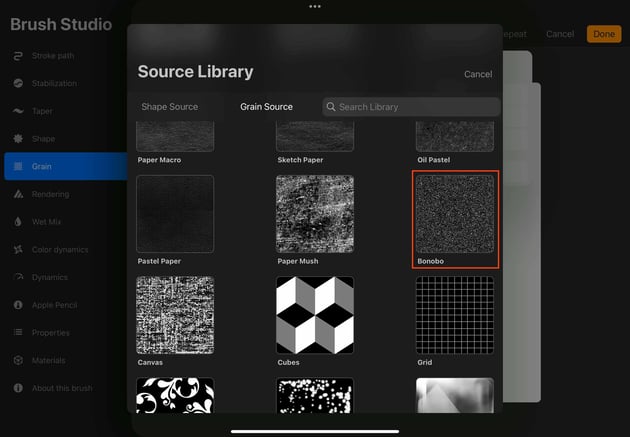
Select the Bonobo grain, which will help our glitter brushes look much better.
Increase the Scale and decrease the Zoom just a little bit. But feel free to change these two settings to make your glitter brush look its best.
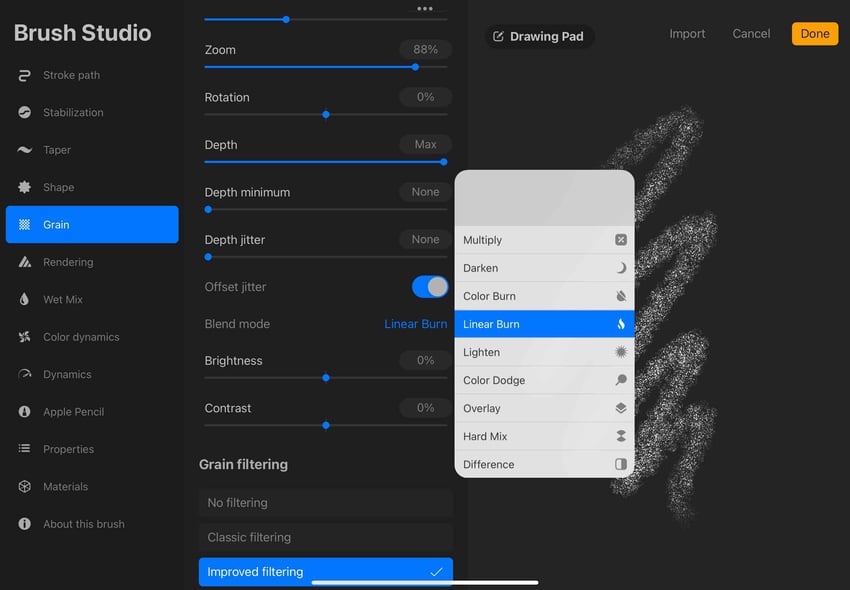
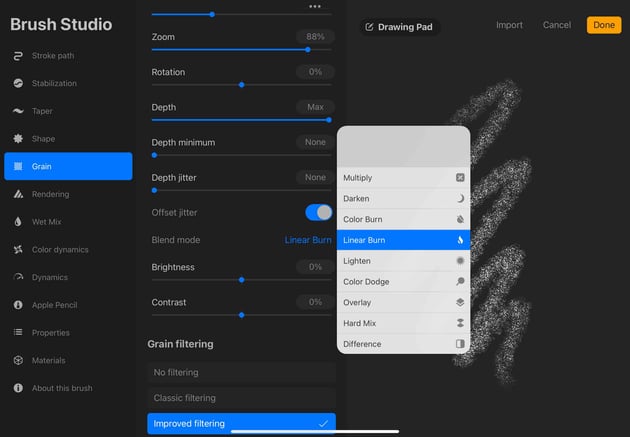
Scroll down a bit and change the Blend Mode from Multiply to Linear Burn.
Step 6
Switch to the Rendering menu, and change it to Intense Blending.
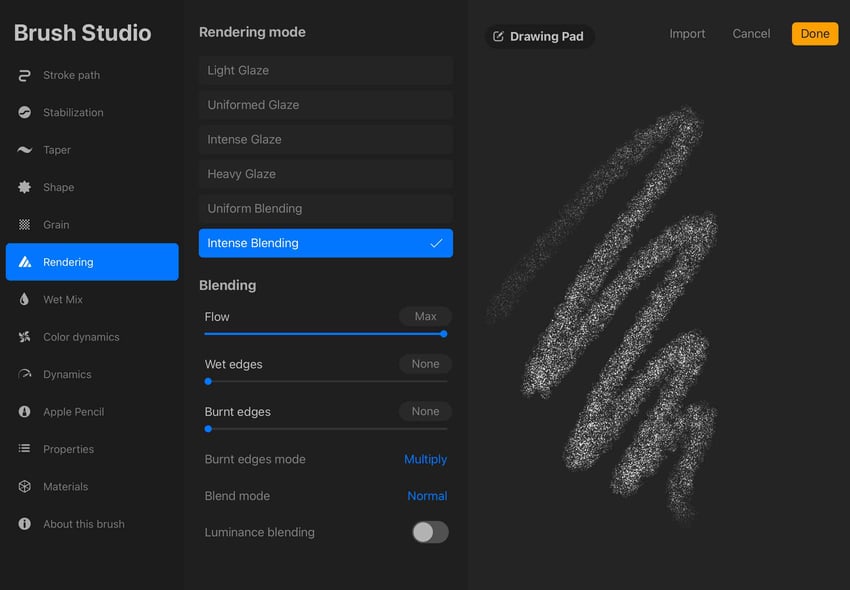
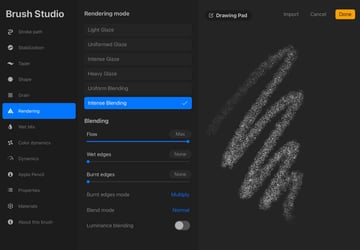
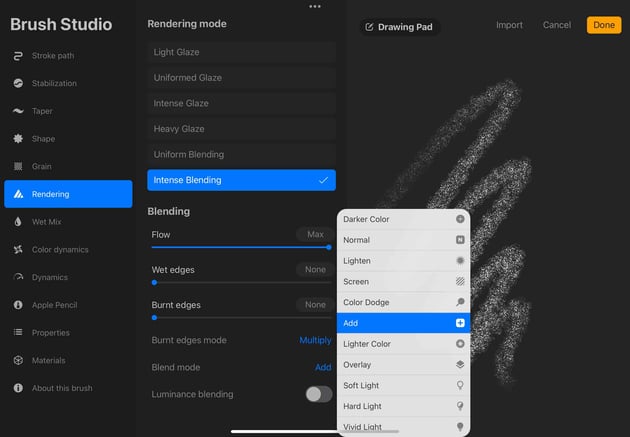
Now change the Blend Mode to Add.
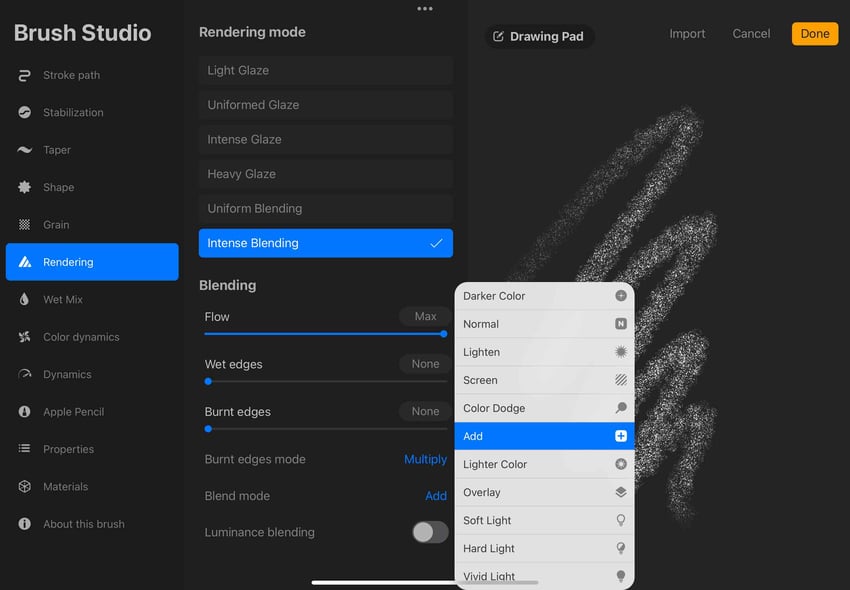
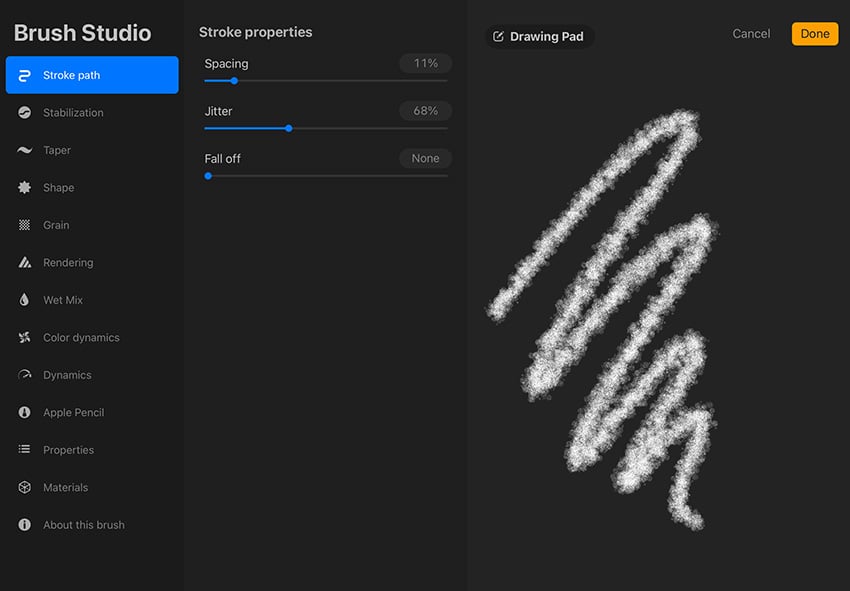
We’re almost done with our custom Procreate brushes tutorial! Now tap on the Stroke Path menu and decrease the Spacing to 11% and the Jitter to 68%. This will make our glitter brush have a bit of roughness around the edges, and it will give the glitter brush a sort of bokeh effect around it!
Step 7
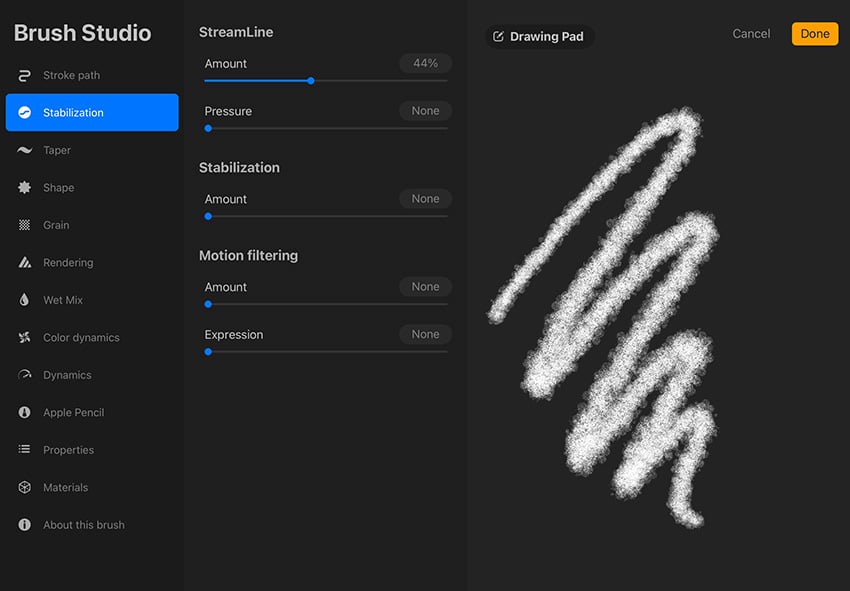
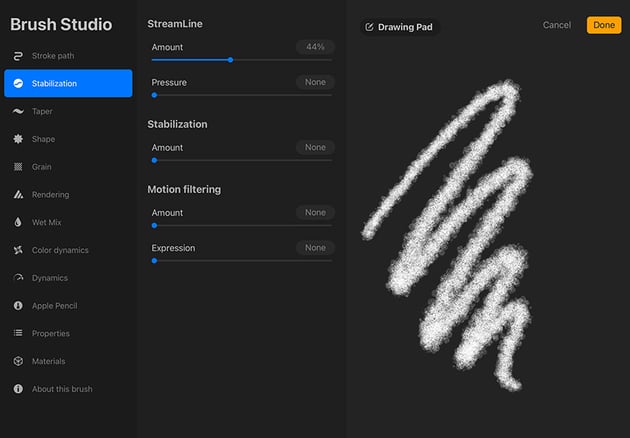
To make our Procreate glitter brushes really smooth, we need to go to the Stabilization menu and change the Amount to 44%.
Now move to the Apple Pencil menu, and in the Pressure section, change the Size to 65% or more. This will make your brush perfect for lettering. Also, don’t forget to turn the Opacity down.
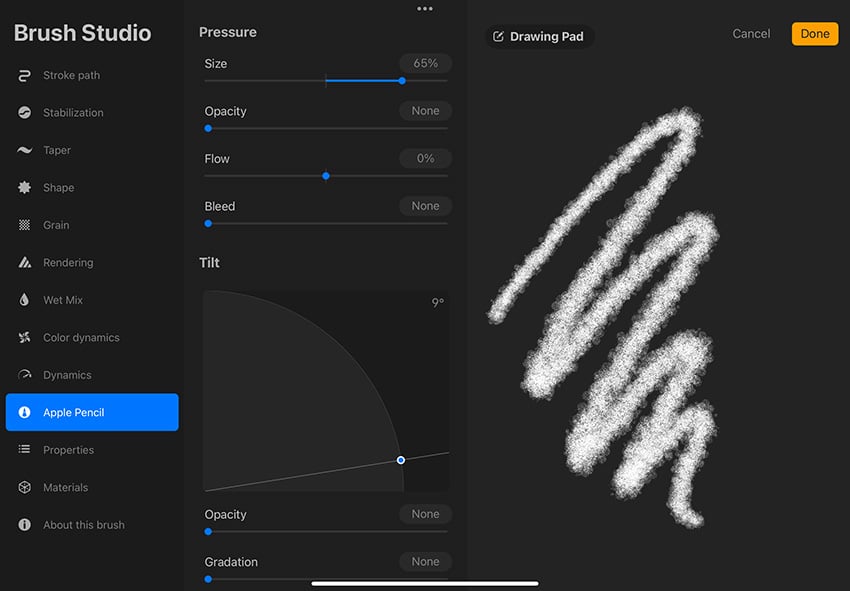
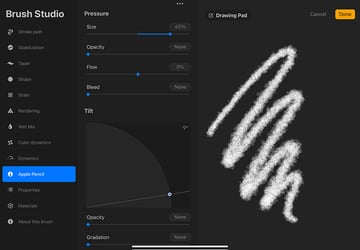
When creating glitter brushes, the best thing you can do is have one for lettering and another one for other uses. It really depends on the use you want to give to your custom Procreate brushes.
Step 8
Finally, go to the Properties menu, and in the Brush Behavior section, change the Maximum Size to 300%.
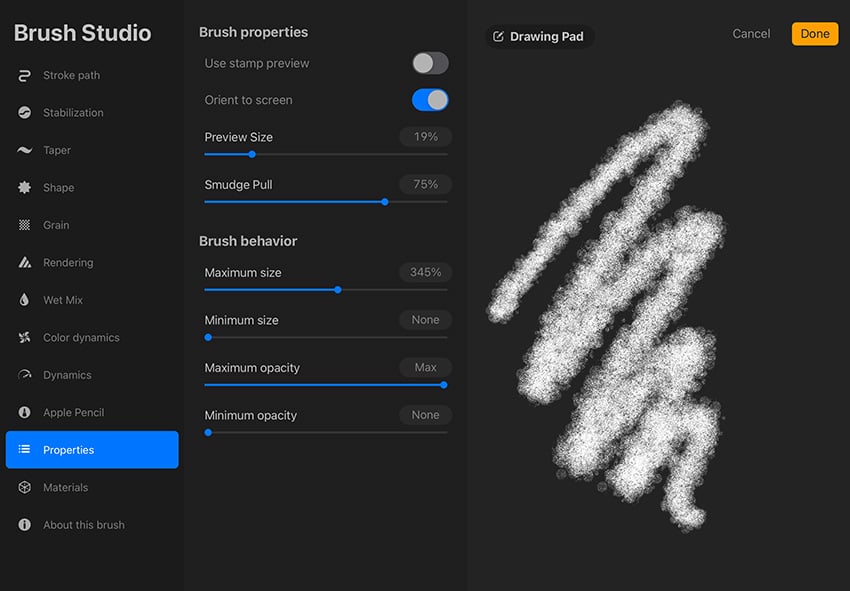
Now tap Done.
Congratulations! Now you know how to create custom Procreate brushes
We hope you enjoyed this quick tutorial! Follow these simple tips, and you’ll master how to draw glitter with custom Procreate brushes.
To achieve a more defined effect and make those small bokeh details pop around the edges, simply duplicate your first layer one more time, and you’re good to go!
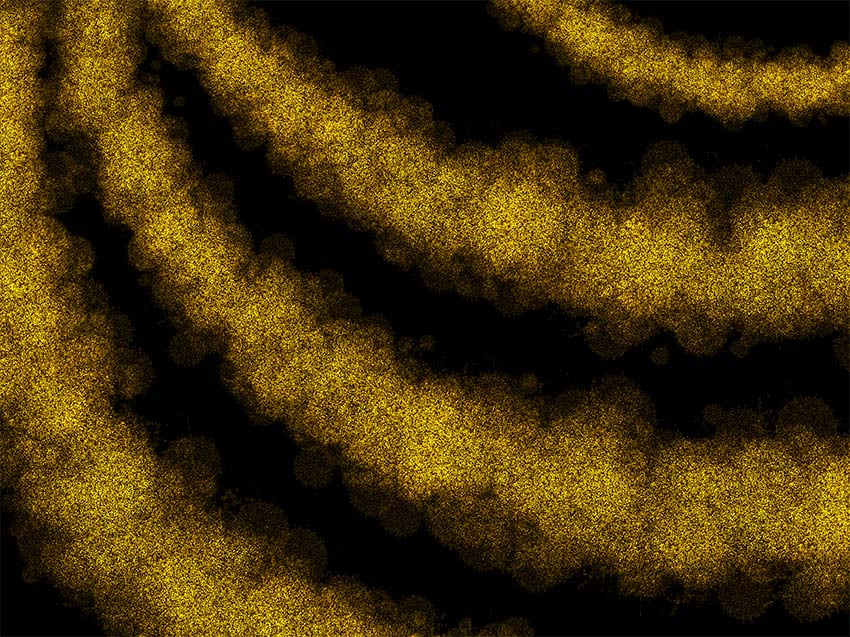
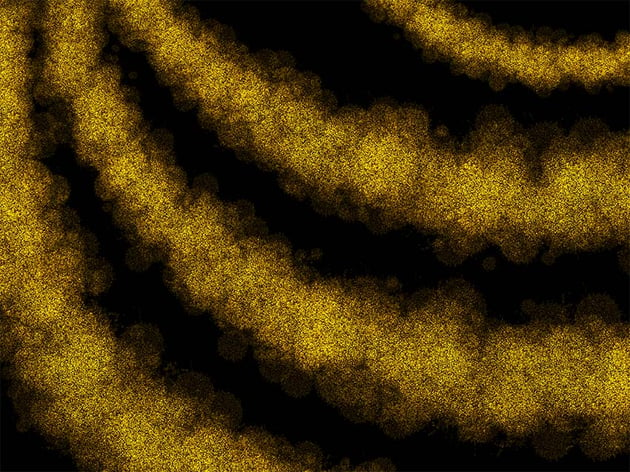
Learning how to make custom brushes in Procreate will open tons of opportunities for exploring and elevating your art.
We also know that learning how to make custom brushes in Procreate from scratch can be time-consuming. That’s where the Envato subscription comes into play. Subscribe and get access to tons of high-quality assets for a low monthly fee. You get it all: glitter brushes, graphics, illustrations, stock photos, videos, and so much more.
Watch videos on Procreate hacks and tips!
If you loved this tutorial on Procreate brushes, you might want to take a look at our video tutorials. The Envato Tuts+ YouTube channel is here for you: