Have you ever wished you could make your own custom fur brush in Procreate? Well, look no further! If learning how to make custom brushes in Procreate sounds daunting to you, follow along to discover just how easy it can be.
In this tutorial, we’re going to look at how to create a fur brush in Procreate, as well as some inspiration for how you can use your Procreate fur brush to add a fur texture to your artwork.
After you’ve finished learning how to make your own Procreate fur brushes, why not visit Envato to access unlimited downloads of Procreate add-ons, stock videos, music, graphics, photos, fonts, and much more?
What you’ll learn in this Procreate fur brush tutorial
- How to draw a fur texture to make your own Procreate fur brush
- How to use Procreate brushes to add a fur texture to your artwork
1. How to make a fur brush in Procreate
Step 1
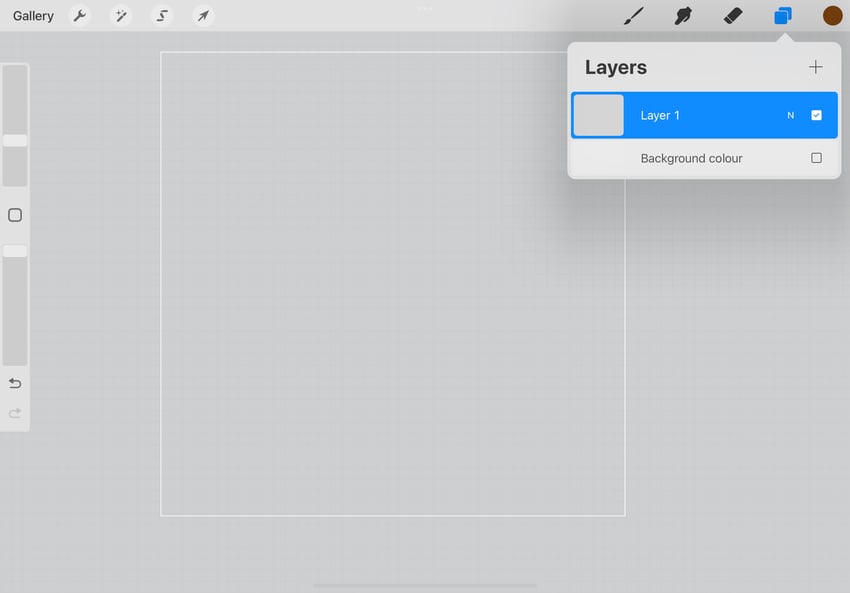
To begin, you’ll need to launch the Procreate app and open up a new canvas. Then select the Layers menu by tapping on the layered square icon in the top right of the screen.
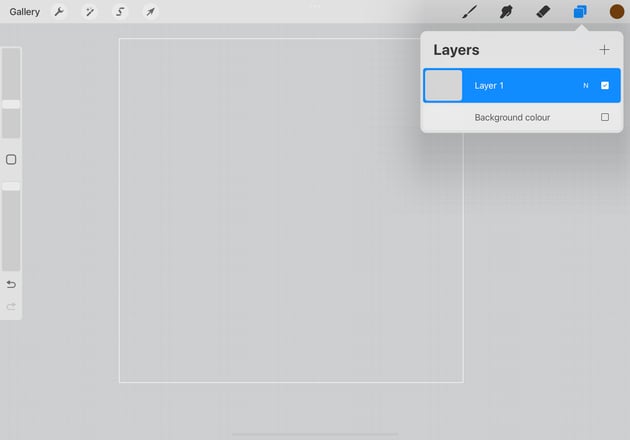
Since we’ll be using a white brush at this stage, it will make it much easier if we turn the background layer off. To do this, uncheck the box next to Background colour.

Step 2
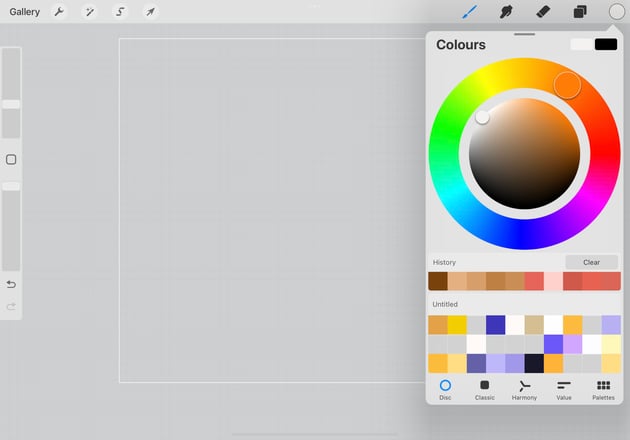
Open the Colours menu by tapping the swatch in the top right of the screen, and select a bright white shade.


Step 3
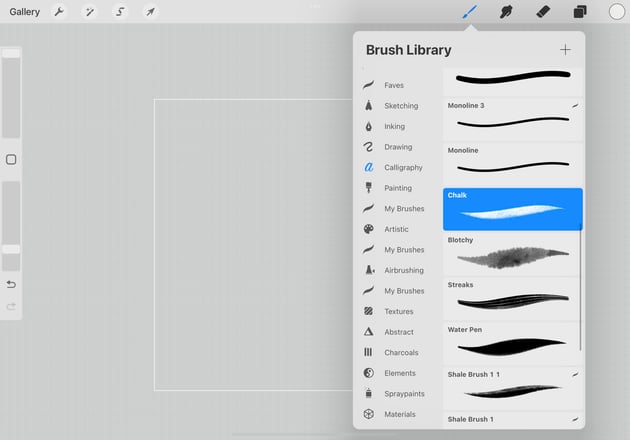
Now it’s time to choose the brush that you’ll be using to draw your fur texture. This choice will inform the shape and texture of your fur, so think carefully about the effect you’d like to create and what will complement your art style best.
Open the Brush Library by tapping the brush icon. I tend to use chalky textures for my drawings, so I selected the Chalk brush, which can be found within the Calligraphy section of the library.


Step 4
Now it’s time to draw your fur texture! The brush strokes that you create here will inform the thickness and texture of the fur that you will create with your final brush, so keep this in mind when making them. For example, do you want to the fur to be straight or curly? Fluffy or smooth? Fine or thick? Cartoon-like or realistic?
Using your selected brush, draw the texture in the centre of the canvas. The size doesn’t matter too much since our brush size will be fully editable later.


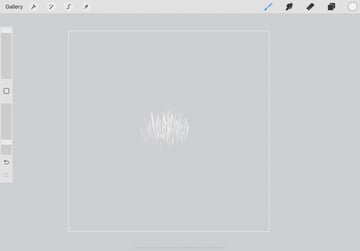
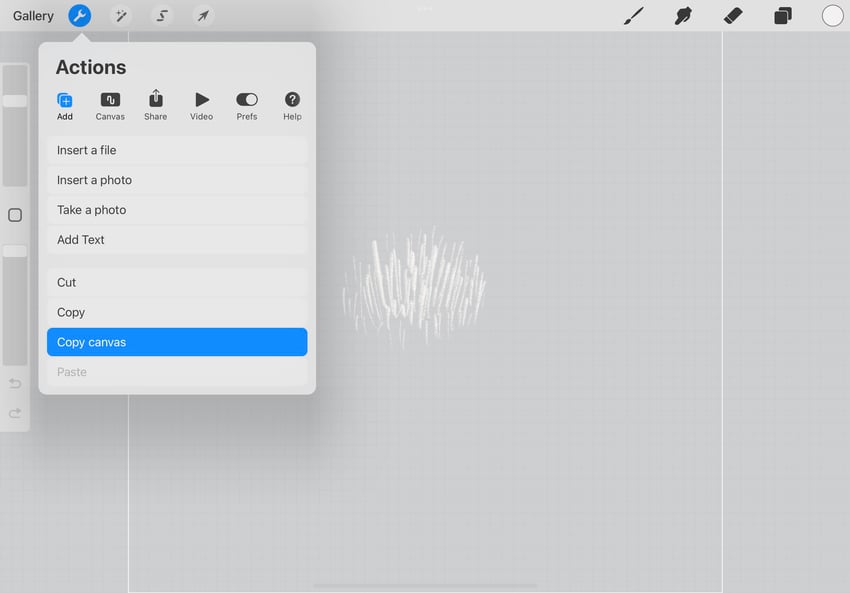
Next, head to the Actions menu and select Copy canvas to prepare for the next step.

Step 5
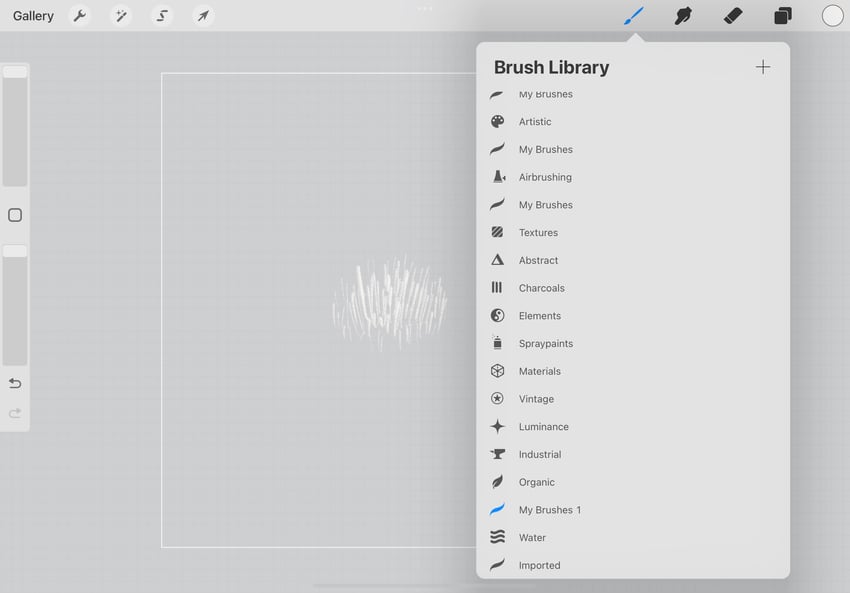
Now it’s time to create your custom brush! To do this, open the Brush Library and hit the + icon in the top-right corner of the menu.

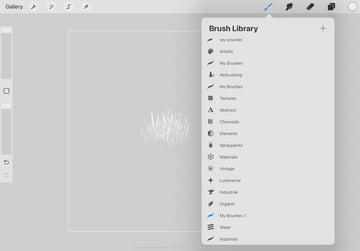
Step 6
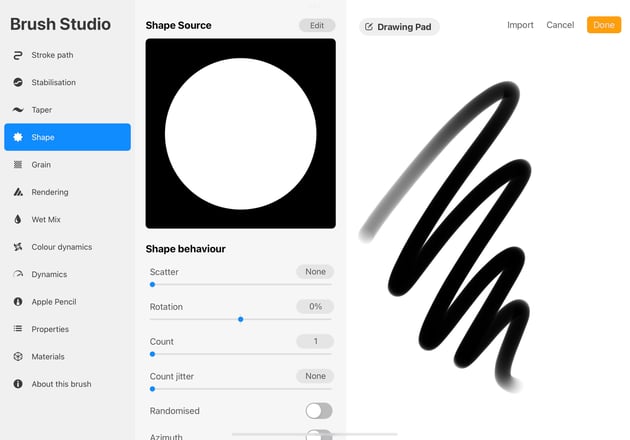
Firstly, you’ll need to head to the Shape menu to edit the shape that your new brush will be formed from.
Next, tap the Edit button in the Shape Source section.


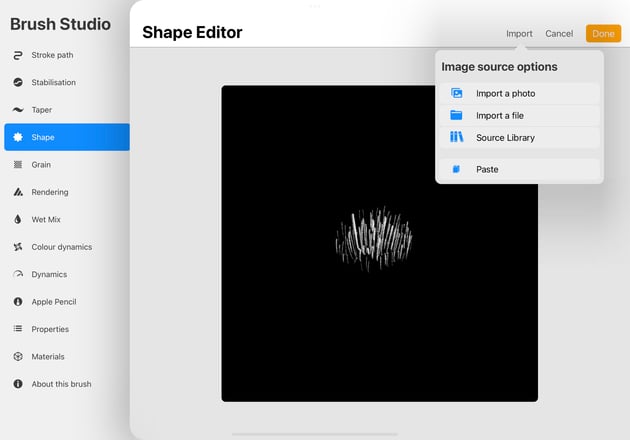
This will open up the Shape Editor. From here, hit Import and then Paste. This will insert the fur texture that you drew in an earlier step. Hit Done once your texture has been inserted.


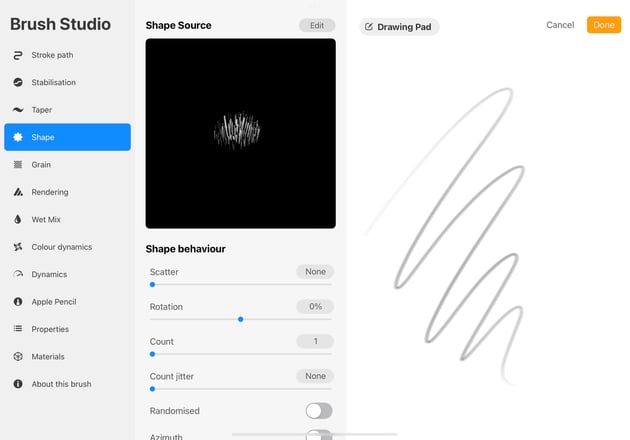
Your texture should now have replaced the circle that was previously used as the Shape Source.


Step 7
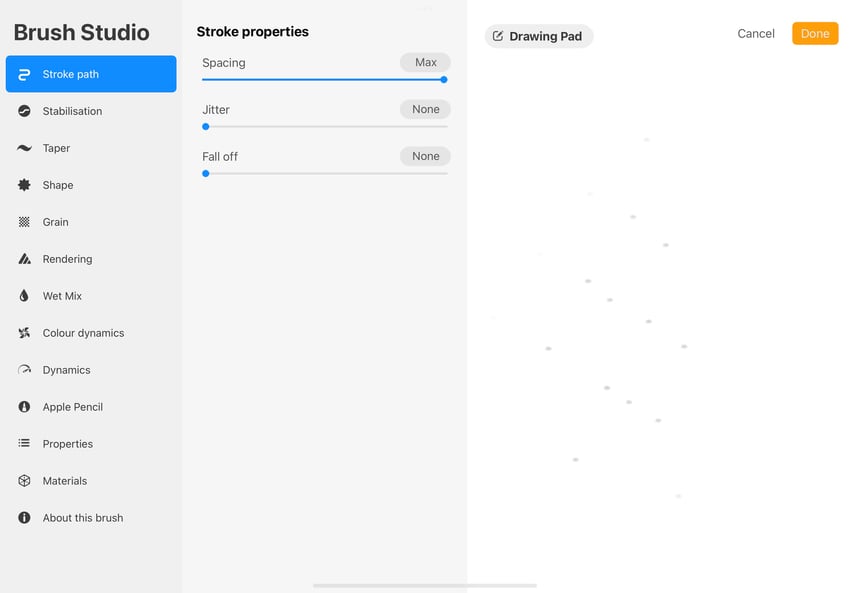
In the Stroke path section of the menu, I chose to set my Spacing to Max.
This setting change will turn the brush into a stamp. This means that the brush will place the texture down as a single image, rather than duplicating it across a line as seen in the Drawing Pad on the screenshot from step 6. If you’re creating fur that needs to have a continuous flow rather than a singular stamp of the texture each time you put your stylus on the screen, you can decrease this setting to suit your needs.

Step 8
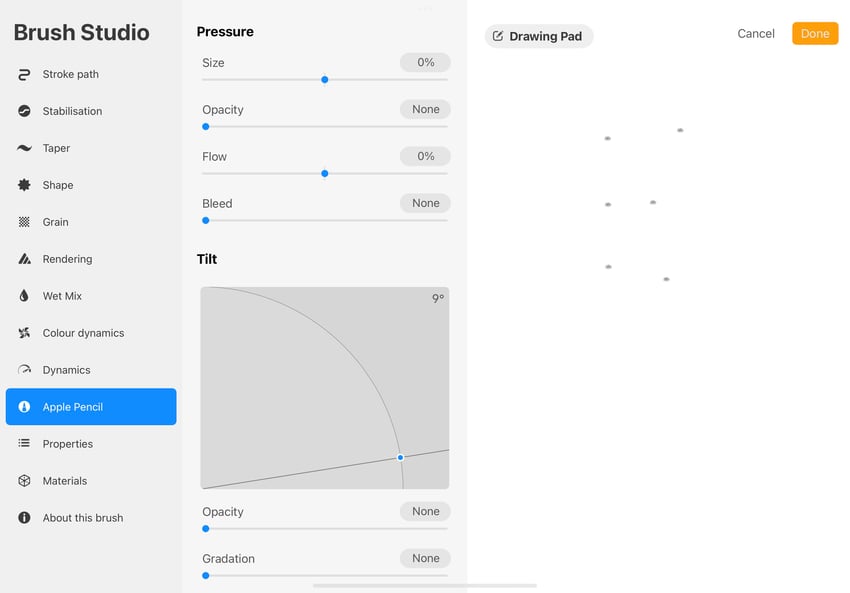
In the Apple Pencil section, I chose to drag the Opacity slider to None. This means that the brush will apply at full opacity no matter how hard you press down on the screen, whereas lowering this will make the opacity of your fur more pressure dependent.


Step 9
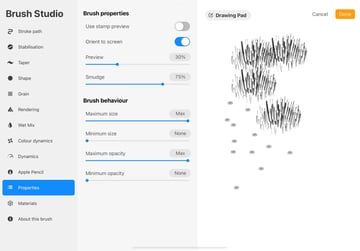
Next it’s time to adjust the sizing of the brush. This can be done from the Properties menu, by adjusting the Maximum size and Minimum size from within the Brush behaviour section.
For the largest freedom whilst drawing, set the Maximum size to Max and the Minimum size to None. This will give you a lot less restriction on how big or small your brush can go.


Step 10
Finally, head to the About this brush section and give your brush a new name. To save the brush, hit the orange Done button in the top-right corner.

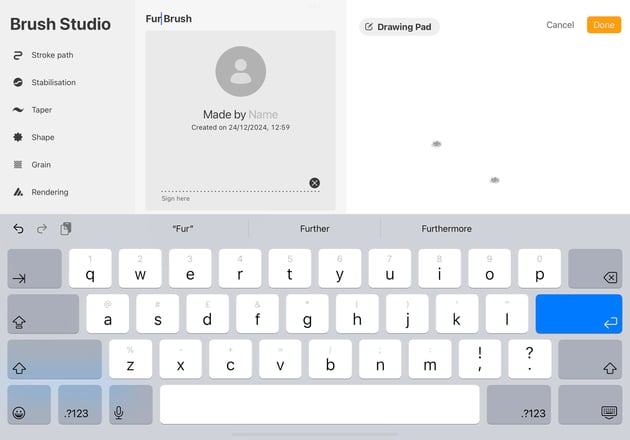

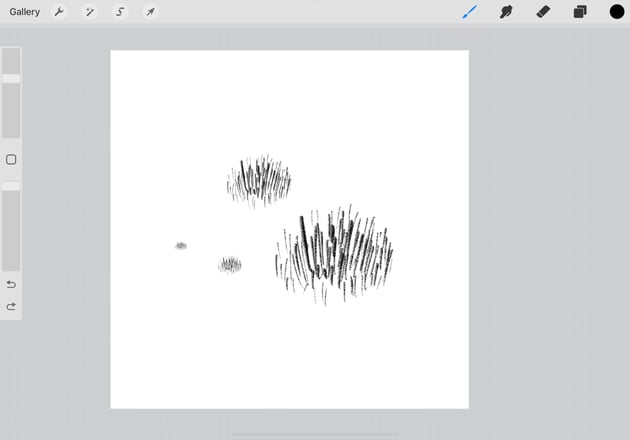
You just learned how to draw fur texture and how to make your own brush in Procreate!
Your brush is now ready to test out on the canvas and use in your art, but if you are looking for a little inspiration on how to use it, keep following along with this tutorial!

2. How to use Procreate brushes to add fur texture to your artwork
Step 1
In this section, I’m going to use this bear image as an example to show how a drawing can be elevated with a fur texture brush.


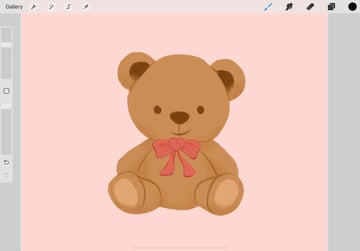
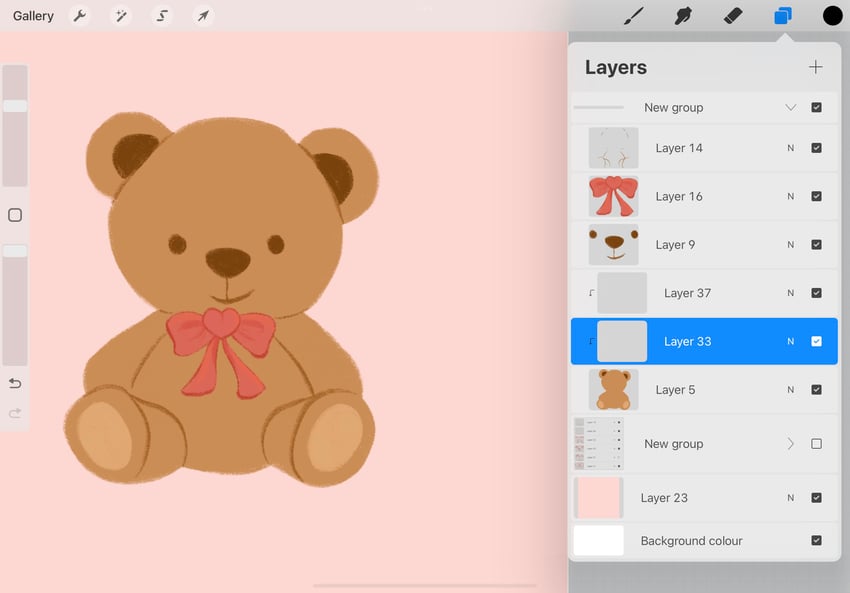
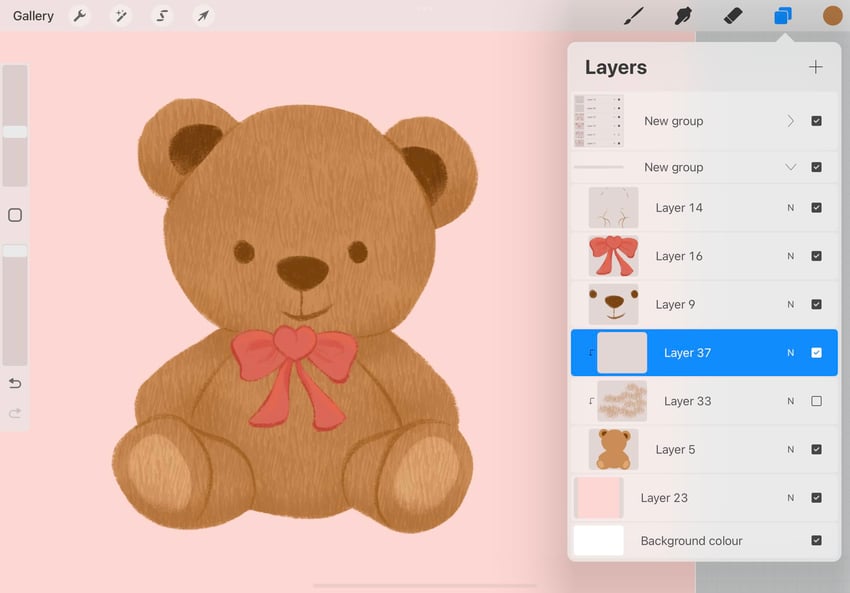
I started by creating two Clipping Mask layers above the body layer of the bear. To create one of these, tap on the layer you want to add the masks to and select Clipping Mask from the menu that appears.
These masks will ensure that anything drawn inside them will be contained within the shape of the layer they’re attached to.


Step 2
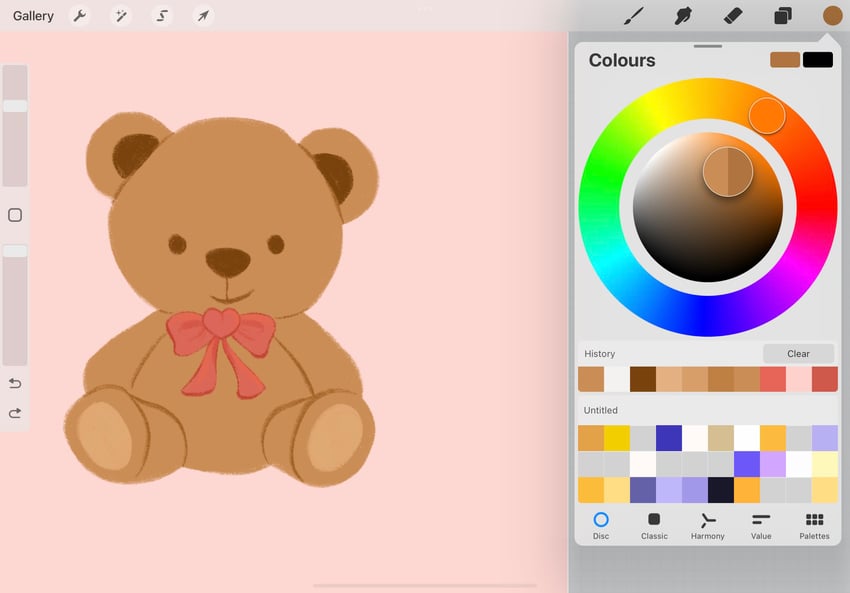
Next, I opened the Colours menu and selected a shade of brown that was slightly warmer and darker than the colour of the bear’s body.

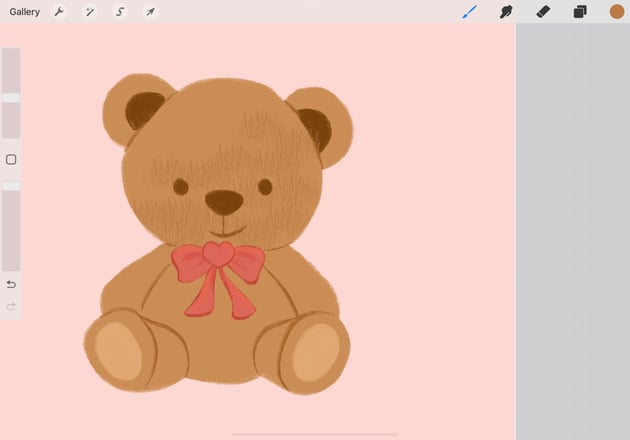
With my fur brush selected, I then started to paint inside the first Clipping Mask layer, eventually adding texture all over the bear.


Step 3
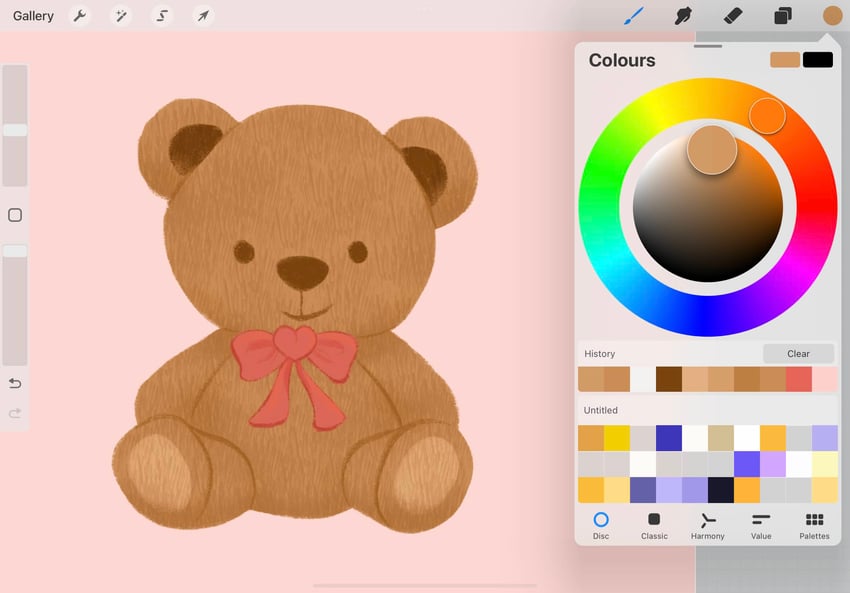
Then I selected the second Clipping Mask layer (making sure it’s above the first layer).


Using the Colours menu once again, I selected a lighter shade of brown than the body colour of the bear.


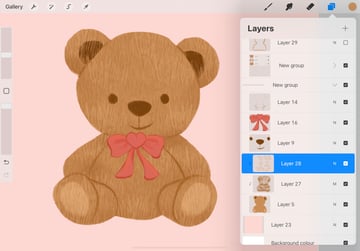
As before, I added this texture all over the bear’s body. Mixing shades of fur like this adds a lot more dimension to your artwork.


Step 4
To add even more texture to the bear, I also wanted to add some fur around the edges. To do this, I started by creating a new Layer behind all of the bear layers.

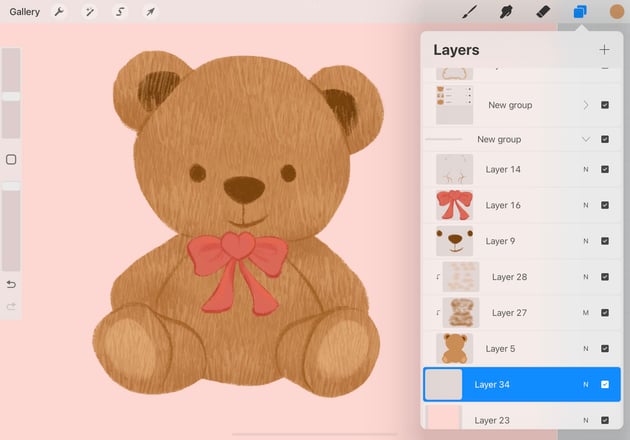

I then stamped the fur around the outline of the bear, so that just the top edges of the brush could be seen, which created a fluffy effect.
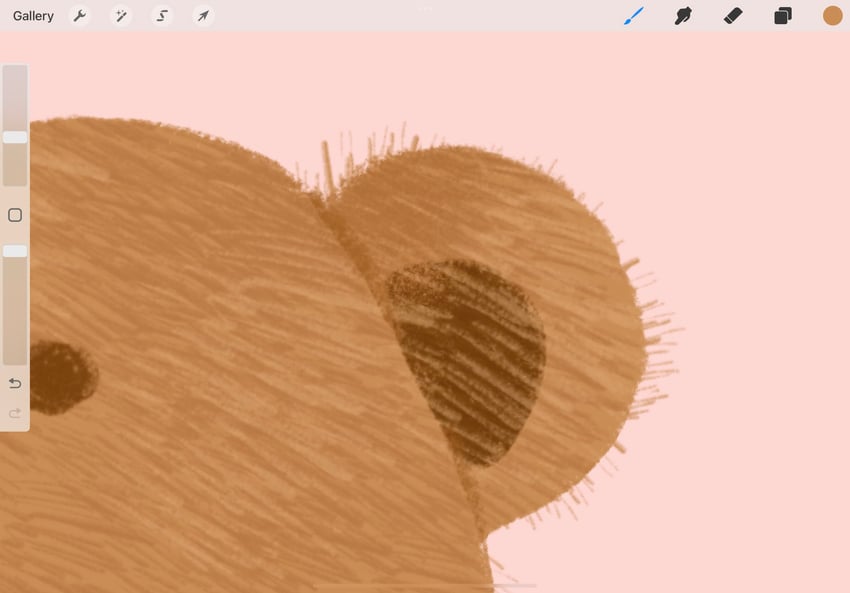


To make sure that the direction of the hair followed the direction of the bear’s curves, I angled the canvas to match the rotation of these, to ensure the hair poked out facing the same direction.


And with some finishing touches added, this adorable fluffy bear is complete!
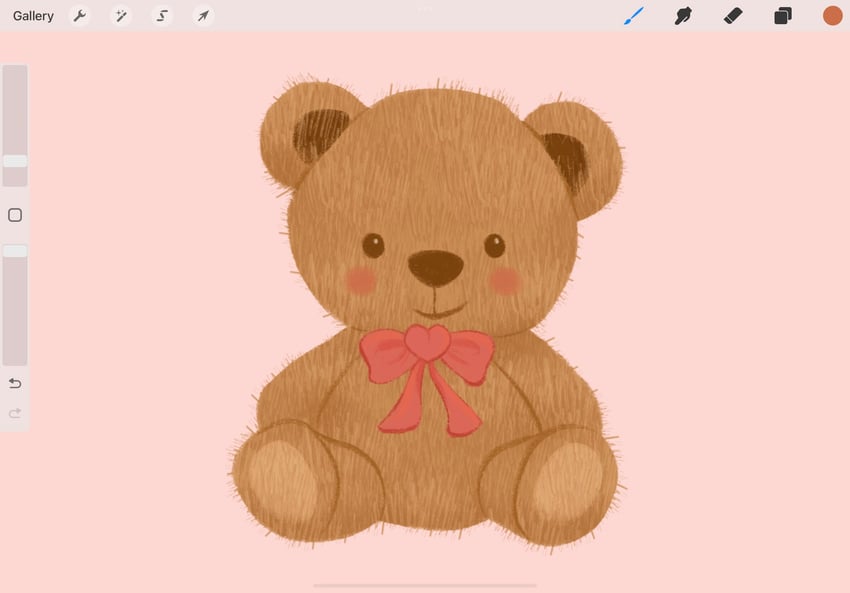


And you’re done!
Now you know how to make Procreate brushes that mimic a fur texture and how to add brushes to your artwork in Procreate to elevate it to the next level. I hope you enjoyed following this tutorial with me, and I hope you have fun playing around with your new Procreate fur brushes.
If you enjoyed this tutorial on how to make custom brushes in Procreate, be sure to check out these other amazing Procreate tutorials and resources from Envato Tuts+: