In this tutorial, we will be learning how to export as a PDF in Photoshop. This will allow you to share your work with others, print it at high quality, and preserve its formatting and layout.
How to Export as a PDF in Photoshop
Step 1
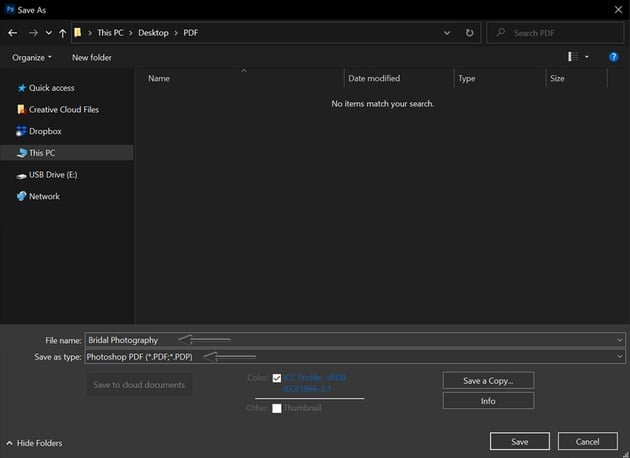
Let’s learn how to export as a PDF in Photoshop. First, choose File > Save As, and then choose Photoshop PDF (.PDF, .PDP) from the Format or Save as Type menu.
Name your file, and click Save.

Step 2
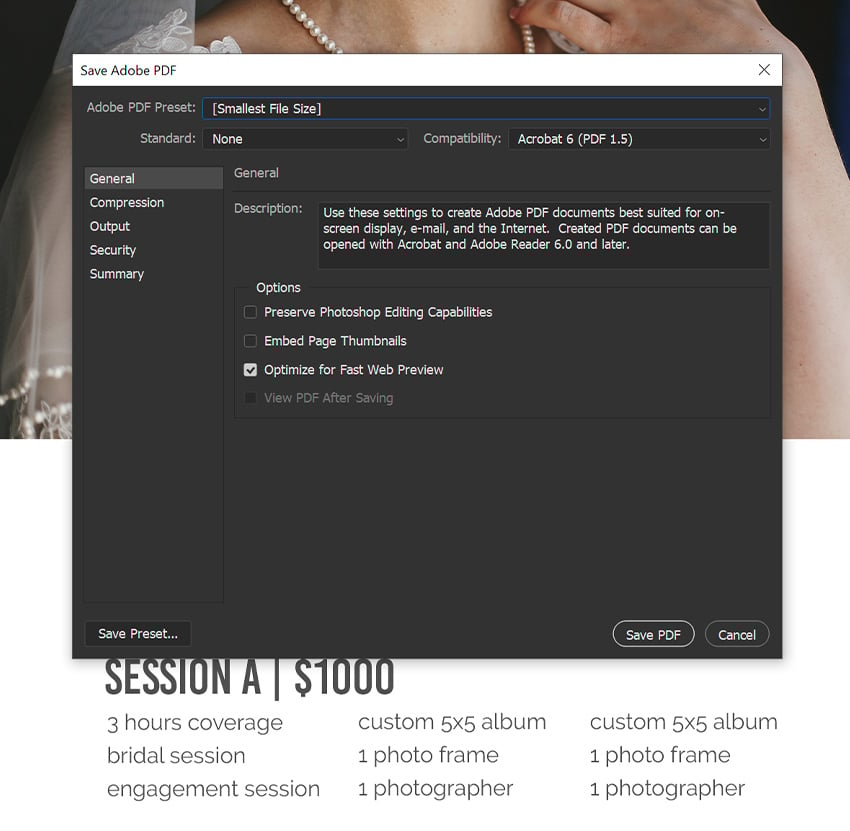
The Save Adobe PDF window will appear. Here, you can choose different Compression and Output settings.
You can set your own settings or choose a preset when saving as a PDF in Photoshop. The setting will depend on what you’re doing with it.
If you want to post your PDF online, choose the Adobe PDF Preset: [Smallest File Size]. If you want to print your PDF, choose the Adobe PDF Preset: [High Quality Print].

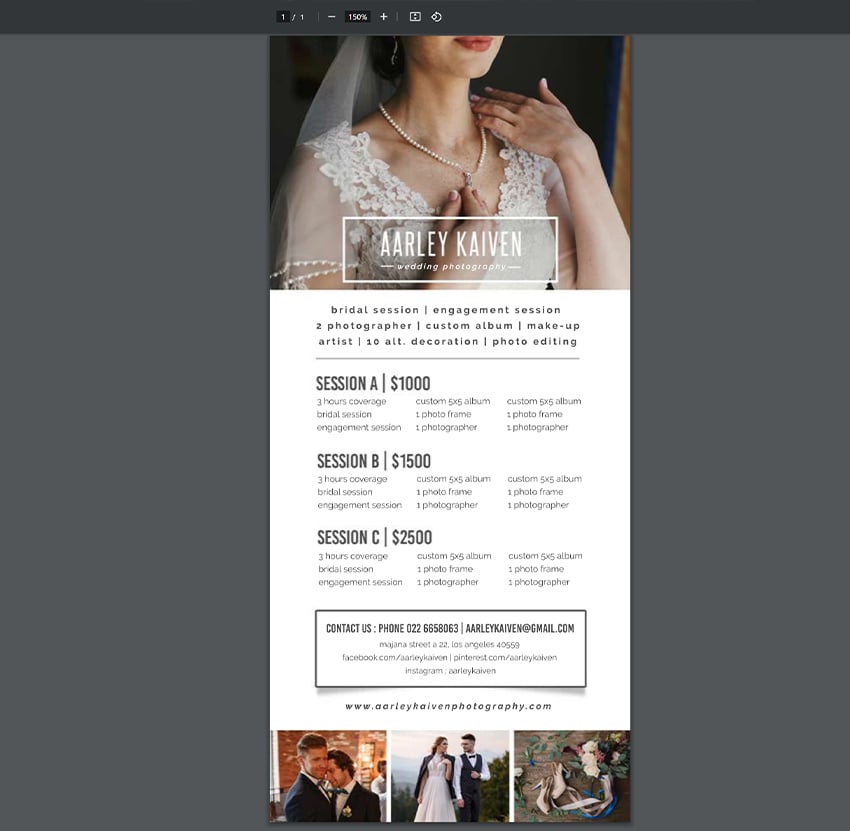
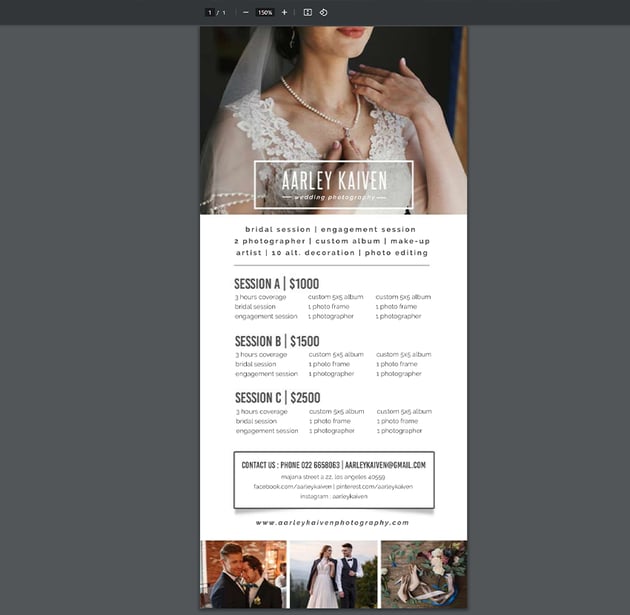
That’s how to save in Photoshop as a PDF. You can double-click the PDF file to view it online in your web browser.
That’s How to Save a Photoshop File as a PDF
You have successfully learned how to export a Photoshop file to PDF! Now, you can easily share your work with others and ensure that your design looks the way you intended. Remember to check your settings before exporting to ensure that your PDF is optimized for your desired output. Happy designing!