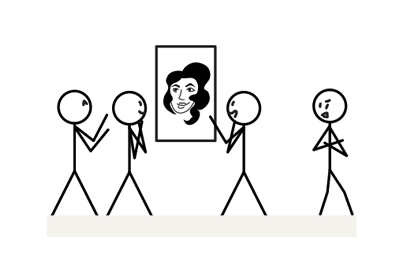

Trees seem like one of the few things that are easy to draw. However, if you know nothing about drawing, you may either go too simple…


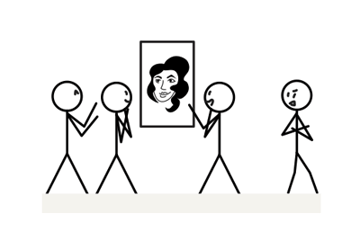
… or too literal:


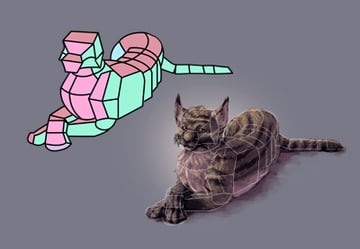
Neither of these is what a real tree looks like. The first is a symbol of a tree, and the other represents a definition of a tree. Your job, as an artist, is to draw what we see, not what we know. Drawing trees may be a great exercise in developing this skill!
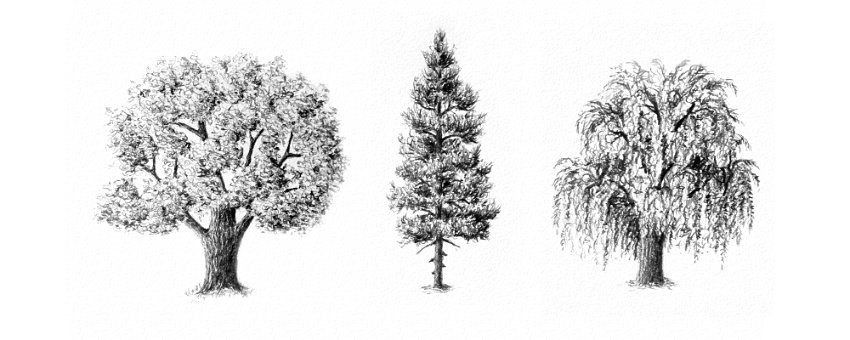
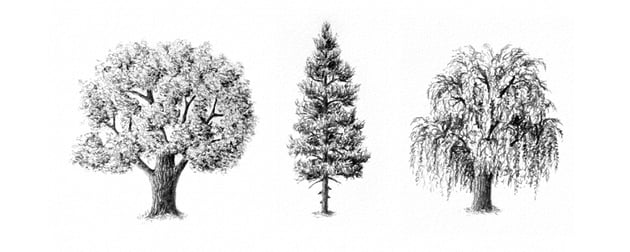
In this tutorial, I’ll show you how you can draw an oak tree, a pine tree, and a weeping willow in a realistic, yet simple manner.
What You Will Need
- Some sheets of paper
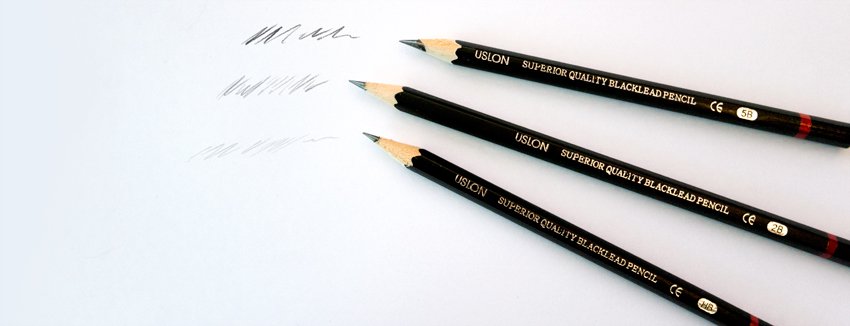
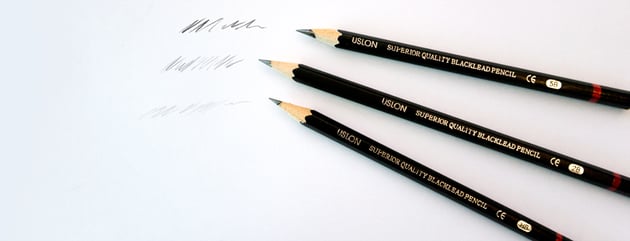
- Hard pencil (HB)
- Medium soft pencil (2B)
- Soft pencil (5B or lower)
- Pencil sharpener
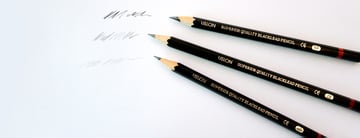
A common no 2 pencil, also known as HB, is very universal, but it’s not perfect for every task. We need softer pencils to achieve darker shades. These aren’t some special, expensive tools—I bought mine in a dollar store and they work just fine. Even if you’re not sure if drawing is for you, a set of graded pencils is not a huge investment, and they certainly make learning more convenient!
You’ll also need a pencil sharpener. A blunt tip creates slightly lighter strokes and disturbs the overall texture. Keep your pencils sharp during this tutorial, and remember that soft pencils blunt faster!
As for the paper, it can be any kind. Cheap printer paper will do great for these exercises. However, don’t make your drawings as big as the whole sheet—the smaller the drawing, the less detail it will need. My examples are about 9 cm high.
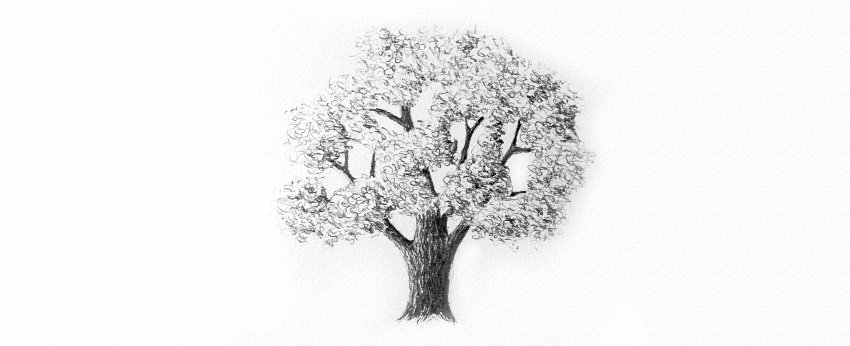
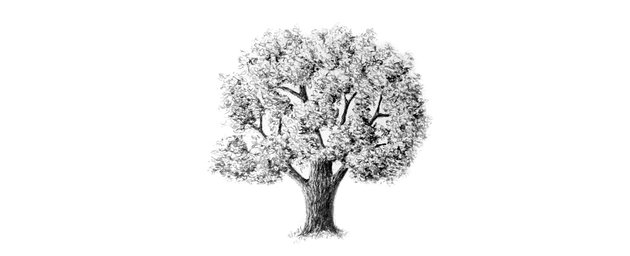
1. How to Draw an Oak Tree (Aka Generic Tree)
Step 1
The mind works in a special way: first it notices a general picture, and then it focuses on the details. That’s why you shouldn’t start your drawing with details—you need a general base first.
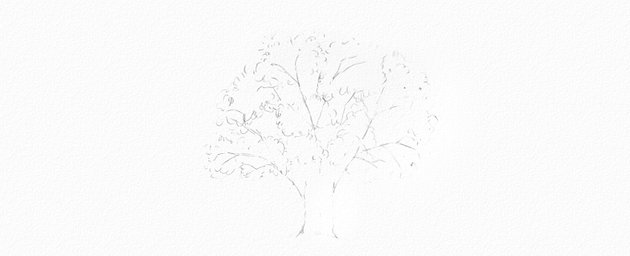
Draw a very general form of the final image with a few subtle lines and dots. Use the HB pencil for this, and don’t press too hard. This way, its strokes won’t be a part of the final oak tree drawing—they won’t be registered by your camera or scanner (I had to use some heavy Photoshop magic to make these strokes visible for you!).


Step 2
Time for the oak tree trunk drawing. Remember to make the lower part wider. The bigger the tree, the shorter and thicker the trunk.


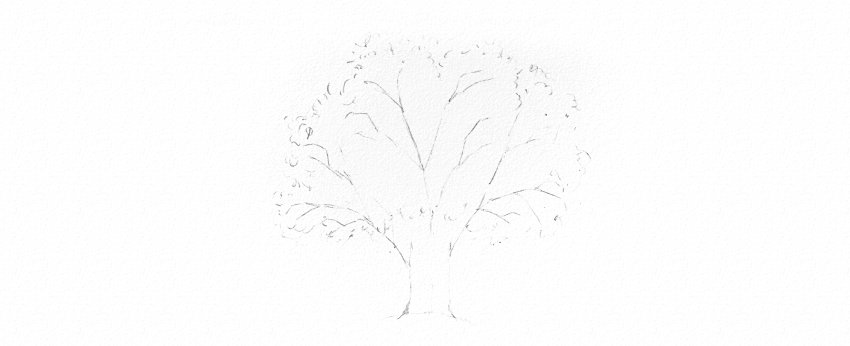
Step 3
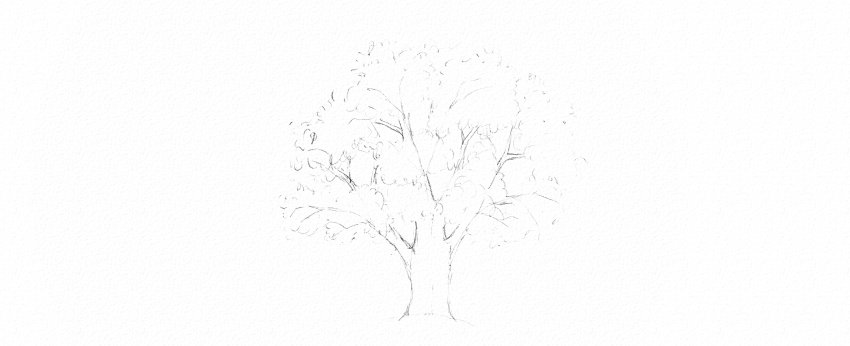
Draw a branching on top of the trunk.


Continue drawing the oak tree branches, going lower the longer they get.


Step 4
Add more branches to every branch, using the same method to make them look natural. Keep the strokes subtle! It will keep them from affecting your final realistic oak tree drawing.


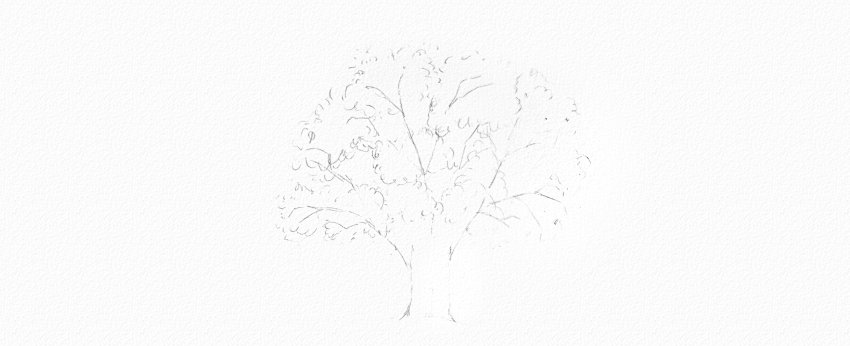
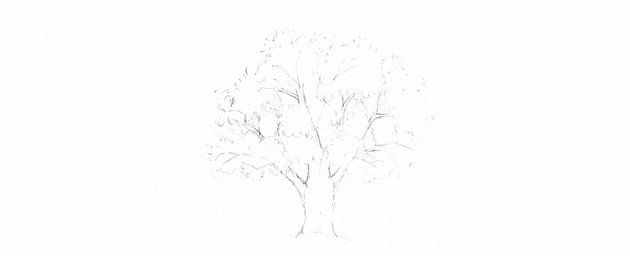
Step 5
Use quick, jerking motions of your hand to draw the overall shape of the crown. Keep it uneven and ragged.


Step 6
Use the same method to draw smaller “clouds” of leaves within the crown. Leave a few areas empty to reveal the branches beneath, just where they make the most interesting structures.

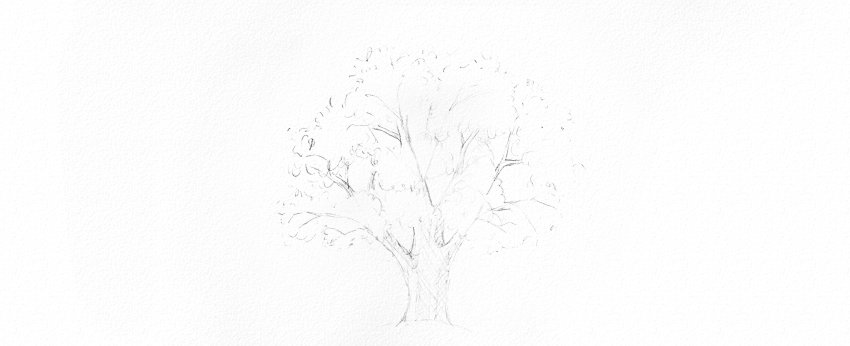
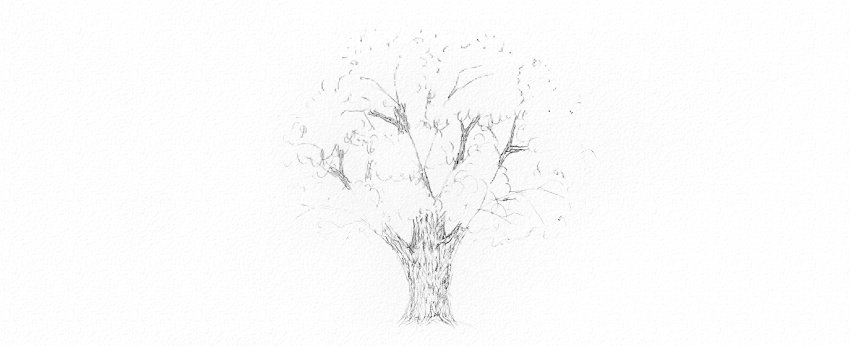
Step 7
Add some thickness to the oak tree branches that are not concealed by the leaves.

Step 8
Before you start shading, decide which part should be bright and where the shadow is. You can define it with a subtle cross-hatching.


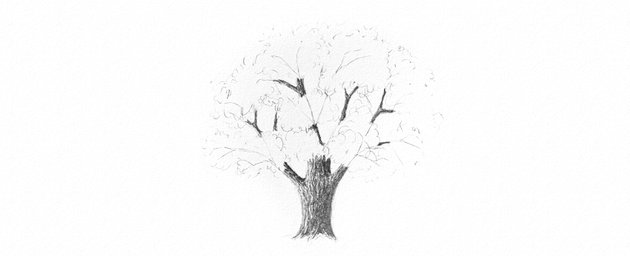
Step 9
Take the 2B pencil and make sure it’s sharp. Use it to draw the texture of the trunk. Keep in mind that white areas are a crucial element of the texture!


Step 10
Use both 2B and 5B (or softer) pencils to shade the trunk according to your planned lighting. Feel free to press hard with the softest pencil to get the darkest shade when it’s necessary, but don’t overuse this effect! The fewer black parts in the picture, the more impressive they are. This will all come together when your simple tree drawing is finished.


Step 11
Take your HB pencil once again to sketch the leaves in your tree drawing. Draw them as loose curls, quickly, using a jerking motion.

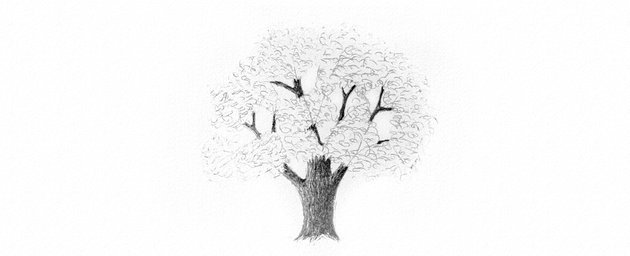

Step 12
Each branch has its own mini-crown, too (the small “clouds” you drew earlier). You need to shade them as if they were all separate trees.
First, use the 2B pencil to draw darker curls on the shadowed side. Press lightly on your tree illustration at first to see if you’re doing it the right way.


When you’re sure you’ve found the correct shadowed sides, make them darker and denser, and create a medium-dark border between the light and shadow.


Step 13
Use the 2B pencil to add a few loose leaves here and there around the crown and small “crowns”. This will simulate the thin, barely visible branches.


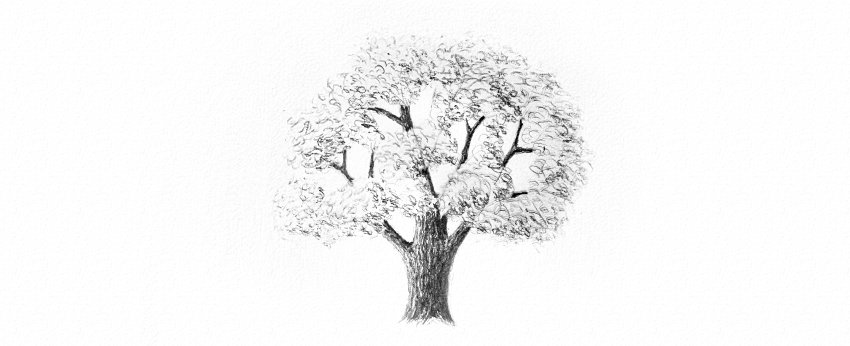
Step 14
Use the softest pencil to add a few dark accents in the deepest shadow. This will improve the contrast of the crown in your realistic oak tree drawing. Also, make sure that all the “clouds” seem slightly darker than the “sky”—leaves are not transparent! You can achieve this effect by adding more leaves with the HB pencil in the lighter areas of your realistic tree drawing.


2. How to Draw a Pine Tree
Step 1
Again, we need to start with a very general outline of the pine tree drawing. Use the HB pencil and draw the strokes lightly.


Step 2
Draw the branches in your tree illustration. There’s no need to be precise; just sketch their shape.


Step 3
Just like with the oak, draw the “clouds” on the pine tree branches drawing. This time, they should be narrower and even more ragged. Keep a lot of empty areas between them.


Step 4
Draw the outline of the trunk; make it long and narrow.


Step 5
Use the 2B pencil to shade the pine tree trunk drawing…


… and then use the softer pencil to add the darkest shadow for this step of your pine tree drawing.


Step 6
This time, don’t fill the “clouds” of your pine tree drawing with curls. Make the strokes sharp and chaotic instead.


Step 7
Use the 2B pencil to draw needles all around the outlines of the “clouds”. Make them thin and sharp.


Step 8
Draw the branches, and make them dark using both soft pencils.


Step 9
Draw more needles within the “clouds” with the 2B pencil.


Step 10
Use the softest pencil to shade the “clouds” in this tree drawing. If you want, you can simply make all the “clouds” dark—evergreen trees are usually quite dark.


Step 11
Finally, you can use the softest pencil to draw a few dark (fully shadowed) “clouds” between the branches of your simple and realistic tree drawing.


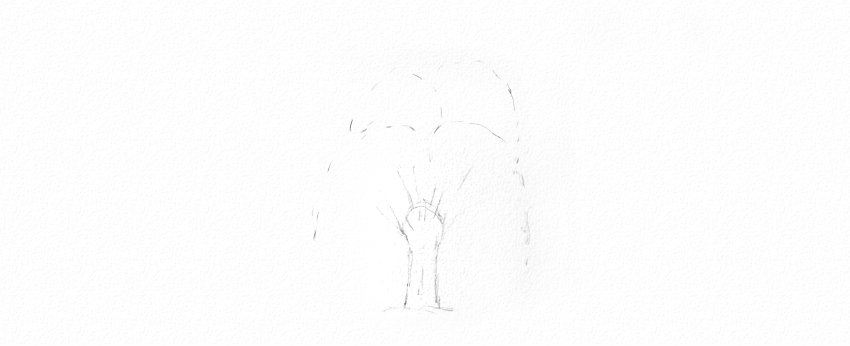
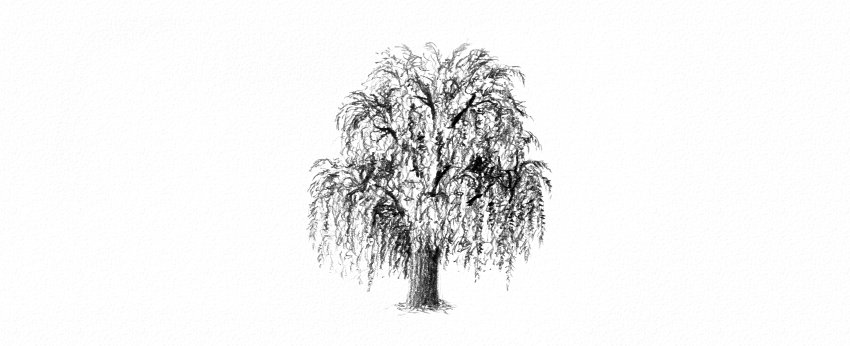
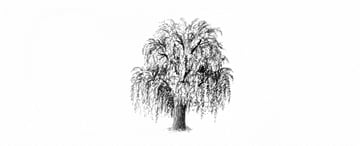
3. How to Draw a Weeping Willow
Step 1
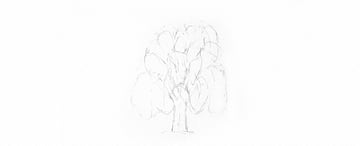
We’re going to start this tree illustration the same way. First, draw the general shape of the weeping willow tree—something like a fountain.


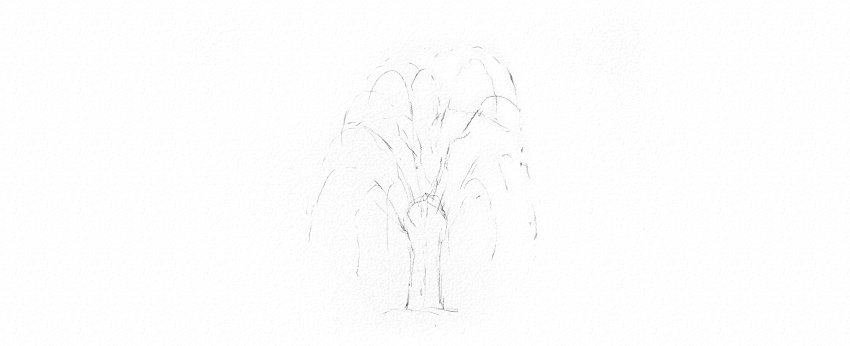
Step 2
Make the outline of the willow tree trunk drawing.


Step 3
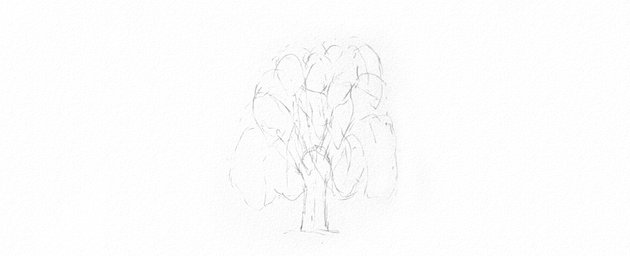
In your tree illustration, draw the branches sticking out of the trunk…


… and then pull them down.


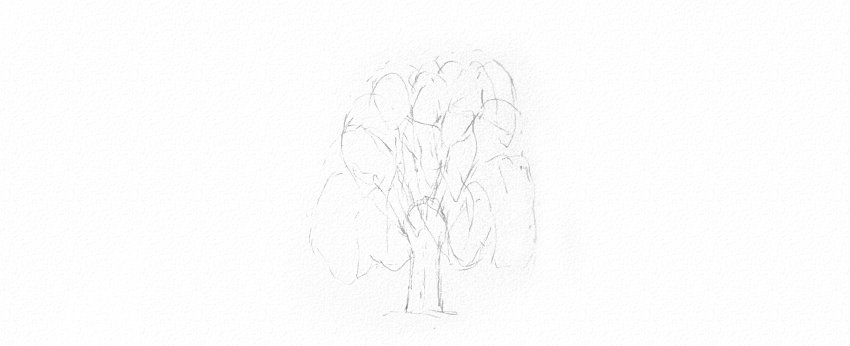
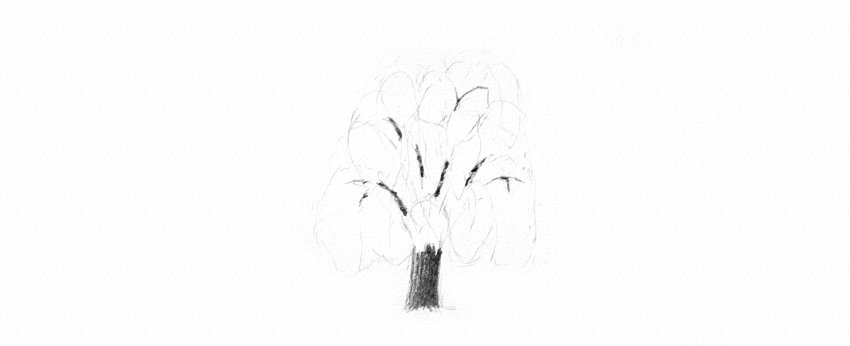
Step 4
Draw the outlines of the “clouds” in your simple tree drawing. This time, they’re shaped more like curtains.
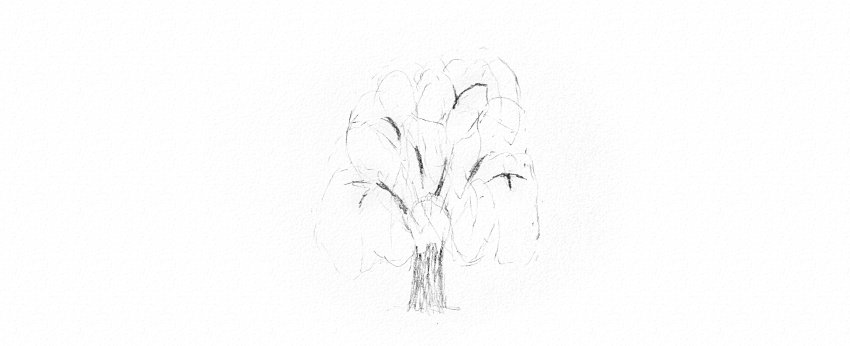
Step 5
Fill the willow tree trunk and branches drawings with a darker shade using the 2B pencil.


Step 6
Shade the trunk and branches with the softest pencil for this step of the tree drawing.
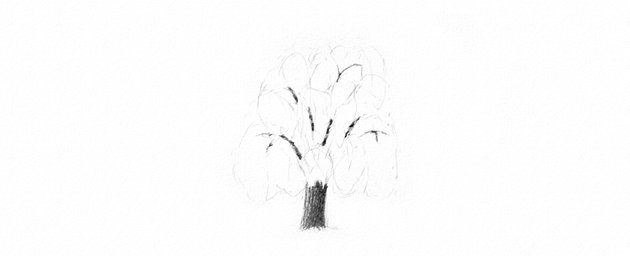

Step 7
Take the 2B pencil and draw braid-like strokes along the curtains. They should curve a little on top of the curtains in your tree illustration.


Step 8
Shade the curtains by drawing darker, thicker braids in between.
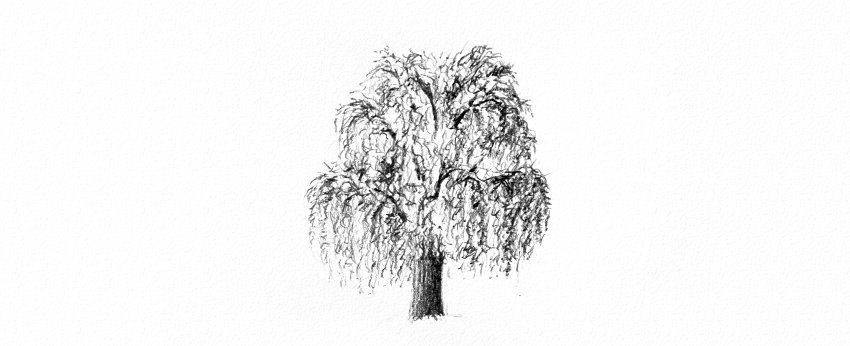

Step 9
Use the softest pencil to draw dark curtains from the other side of the tree. You can also add leaves to the braid-lines to make them more detailed.

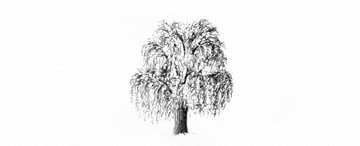
Your Tree Drawings Are Done!
As you can see, trees are pretty easy, as long as you draw their look, not their definition. But this was just the beginning. Do you want to become a real master of tree illustrations? Take a sketchbook and go for a walk around trees. Observe the ones you pass and try to make tree sketches of them quickly. This way it will become intuitive for you.
If you prefer to stay at home, you can use photo references, like these photos of trees on Envato Elements. You’ll be able to elevate your simple tree drawings without braving the elements.
If you want to upload your drawings to the Internet, make sure they’re properly digitized. These tutorials will help you with this:
 DrawingQuick Tip: Clean Up Your Traditional Drawings in Photoshop
-
DrawingHow to Enhance Traditional Art in Adobe Photoshop

And if you want to learn more about drawing, check out my How to Draw article to find other tutorials you may find useful. Here are some guides to get you started:
-
TheoryWhat’s Your Excuse? Why Can’t You Draw?
-
Drawing Theory10 Drawing Myths That Block Your Progress
-
Drawing Theory7 Sins of Beginner Artists: What Keeps You From Being Good
-
ArtDefining and Valuing Art
-
Drawing TheoryI Want to Draw: Simple Exercises for Complete Beginners
-
DrawingHow to Learn to Draw: Stage One, Manual Skills
-
Drawing TheoryWhy Is It So Hard to Draw From Imagination? Here’s How to Do It!
-
Drawing TheoryLive Perspective: A New Approach to Depth in Drawing