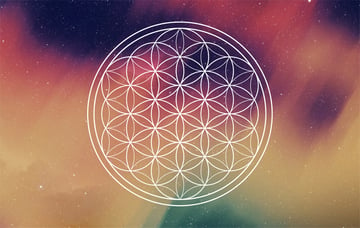
If you look carefully, you may notice special patterns in nature—the spiral of a snail shell, the repeating symmetry of a snowflake, the fractal order of flower petals. For thousands of years, people have been ascribing special meaning to them, treating them like parts of a bigger design—a map to the creation of the whole universe. These patterns, along with the meaning ascribed to them, are called sacred geometry.


What You’ll Learn in This Sacred Geometry Flower of Life Tutorial
- What is the flower of life?
- How to draw the flower of life
- What’s the flower of life meaning?
- How to create the flower of life tattoo/logo/artwork
- What is sacred geometry?
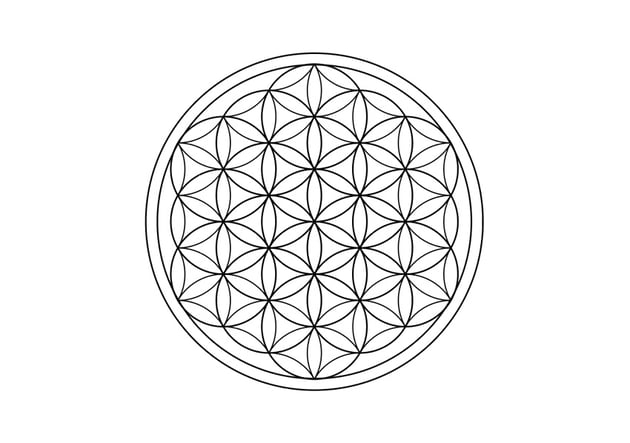
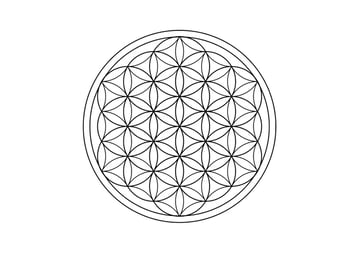
What Is the Flower of Life?
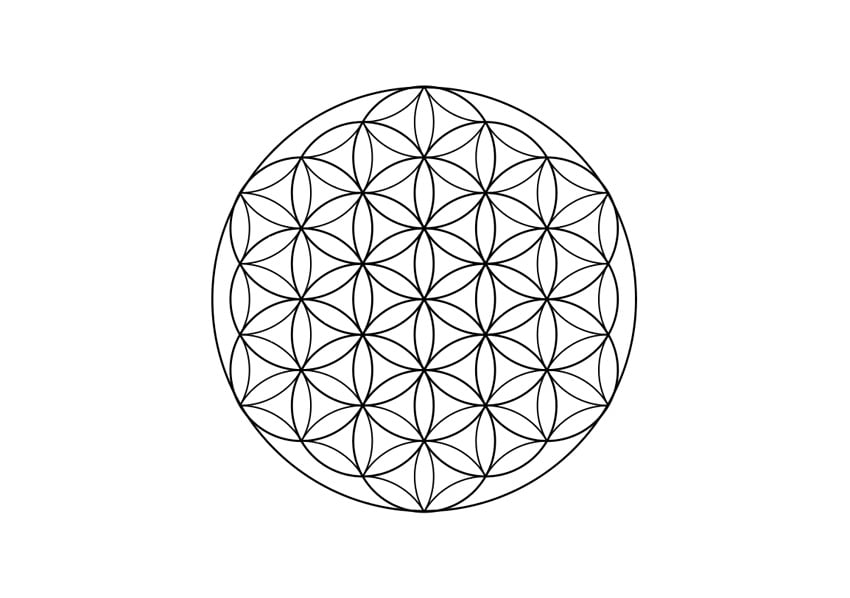
The flower of life is one of the sacred geometry patterns. It consists of circles overlapping on a triangular grid, where all the circles are placed at an equal distance from each other.
Traditionally, there are seven circles in a flower of life design (in this form, also called the seed of life), but they can be repeated indefinitely. This growing nature of a flower of life is connected to its interpretation—as the circles multiply, the whole shape grows exponentially, like a zygote. Therefore, the flower of life represents the cycle of life, but also unity (many shapes creating a bigger one) and creation itself (the universe growing from a single point).
1. How to Create the Inner Part of a Flower of Life Design
Step 1
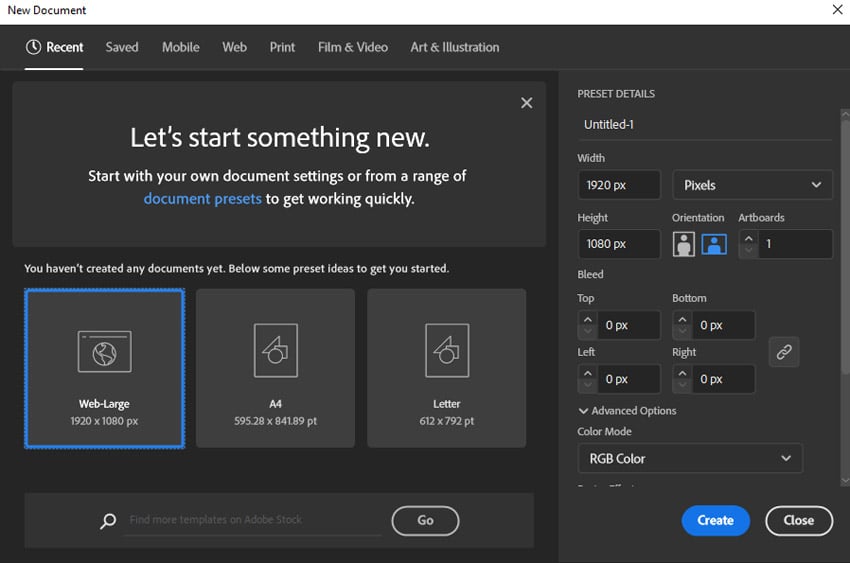
Press Control-N to start a new document in Adobe Illustrator with dimensions of 1920 x 1080 px.


Step 2
Press D to reset the colors to white fill/black outline. Then press / to remove the fill.


Step 3
Take the Ellipse Tool (L) and click anywhere in the canvas. Use 250 px for both the Width and Height.


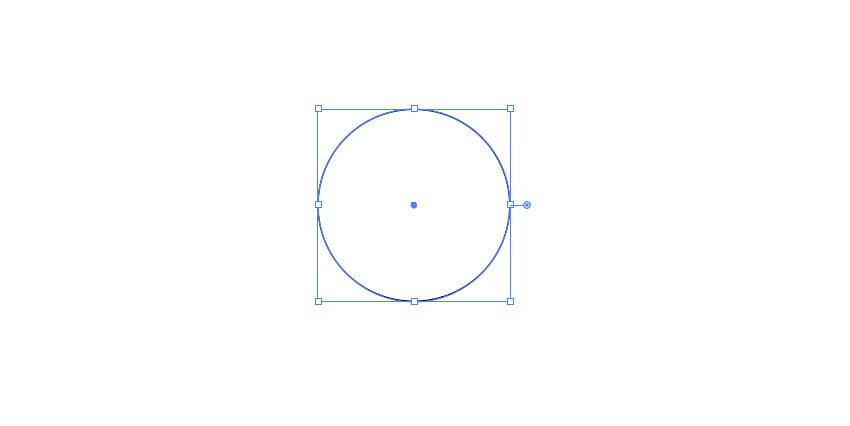
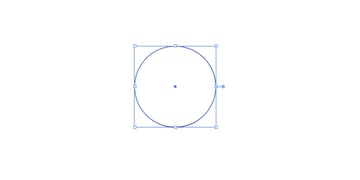
Step 4
A circle will appear. Click it to keep it selected, and then go to the Properties panel on the right. Click Horizontal Align Center and Vertical Align Center to move the circle to the center of the canvas.


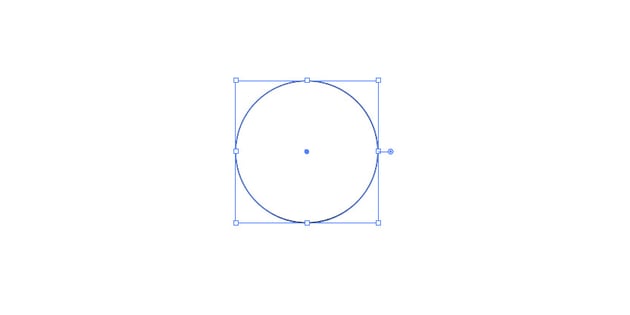
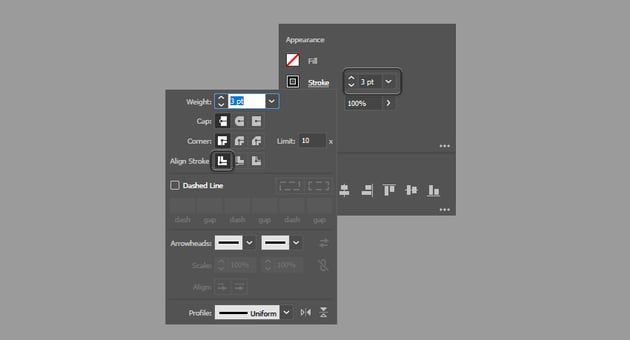
Step 5
In the Appearance section of the Properties panel, set Stroke to 3 pt and Align Stroke to Center.

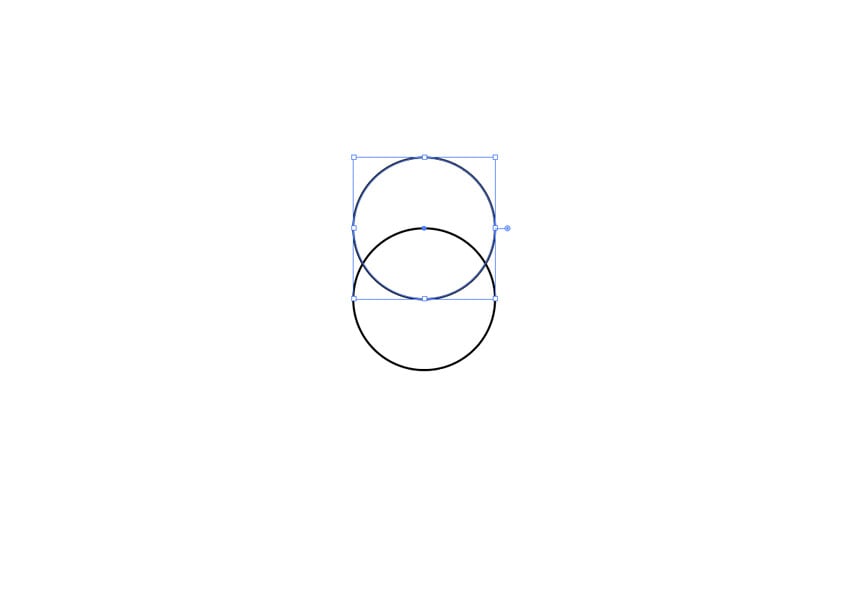
Step 6
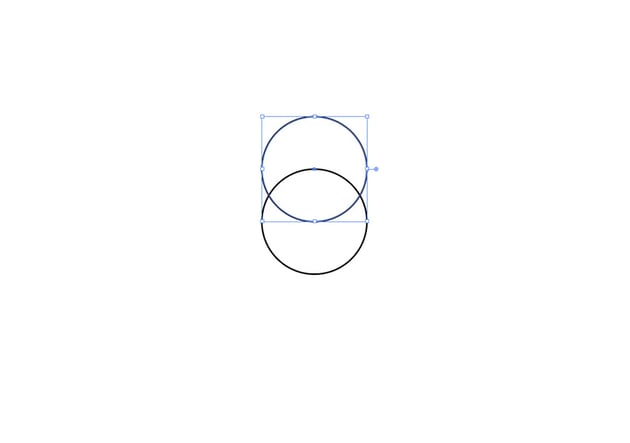
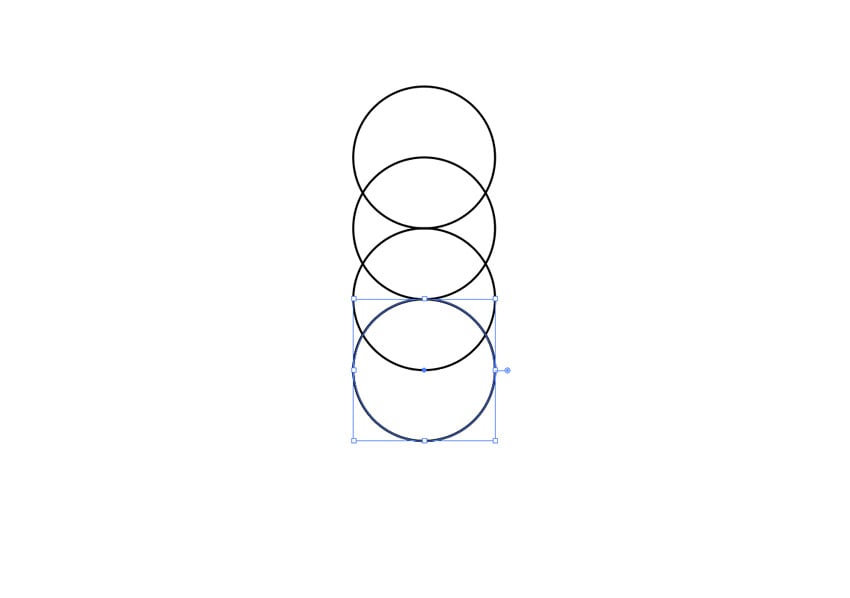
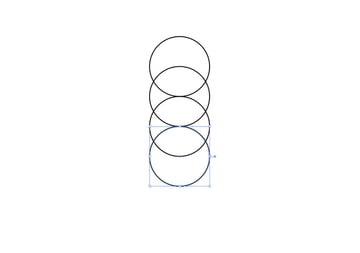
With the circle still selected, duplicate it by pressing Control-C to copy and Control-Shift-V to paste in the same place. Then, in the Transform section of the Properties panel, subtract 125 from the Y value. This will move the copied circle 125 px up (that is, half the width of our 250 px circle).


Step 7
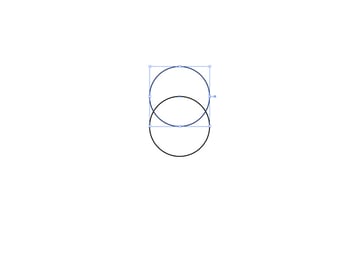
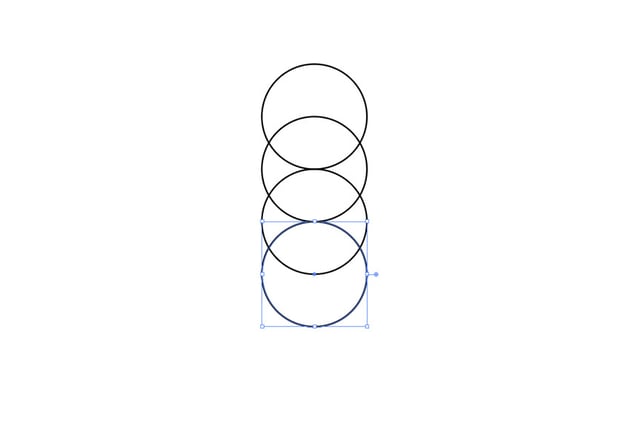
Select the copied circle and repeat the process—duplicate and move it 125 px up.


Step 8
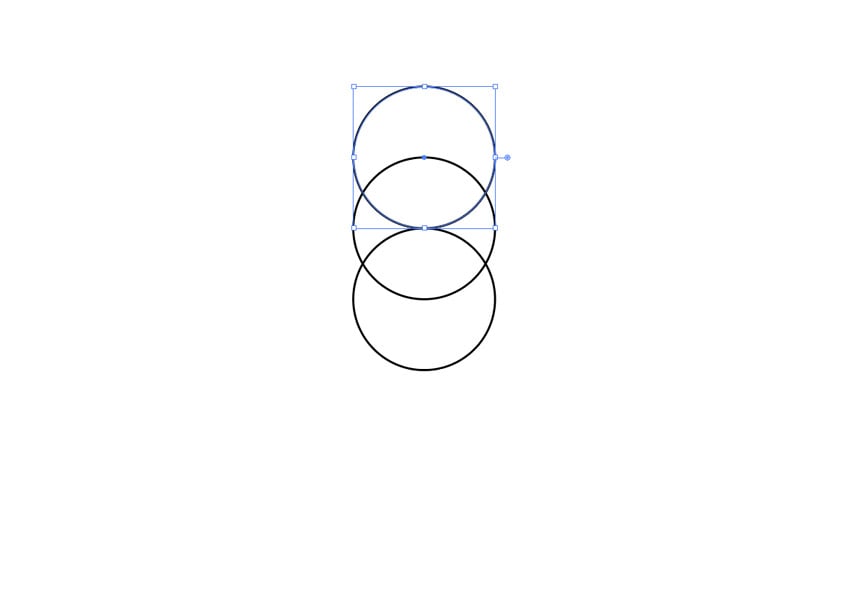
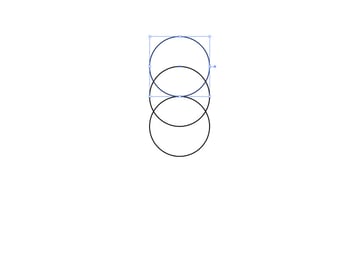
Now we need to continue this vertical series of circles below the middle circle. Select the middle circle, duplicate it the same way as before, and this time add 125 px to its Y value to move it down. Do this twice.


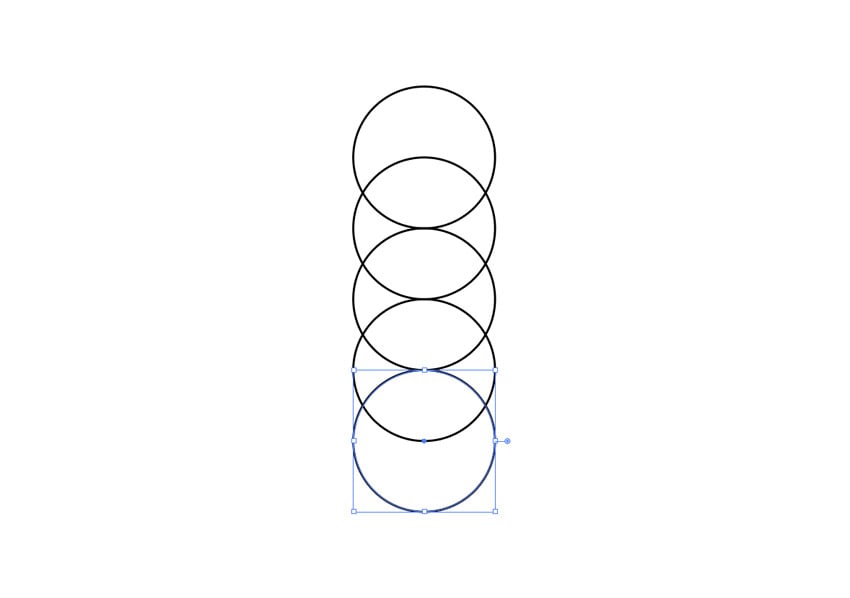
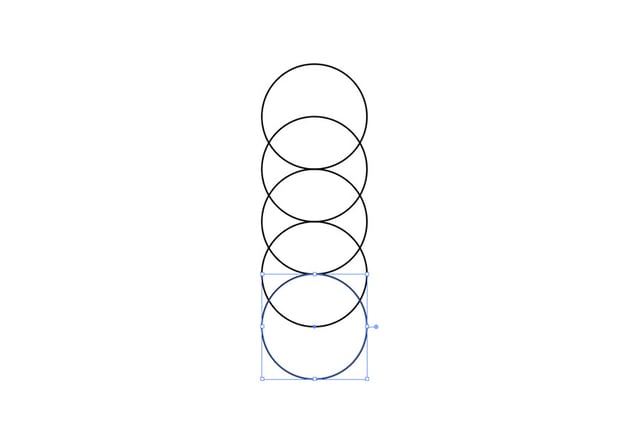
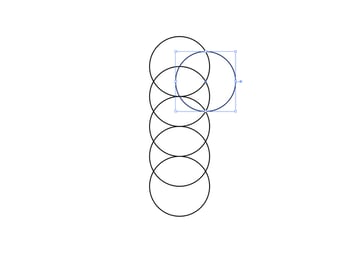
Step 9
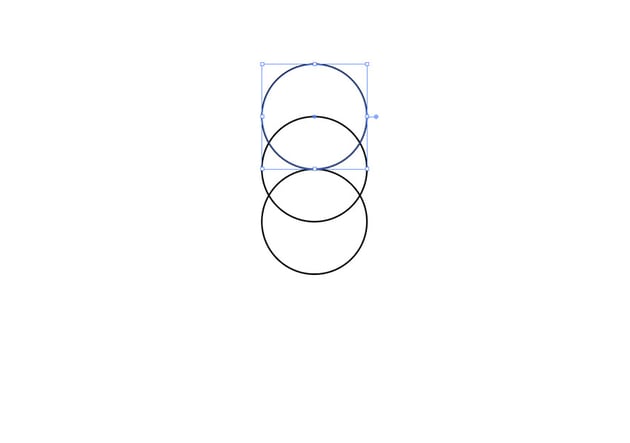
Now we need to move the copy of the top circle down and to the right, in such a way that its center lands in the side crossing of the first and second circle. We know that we need to move it 62.5 px down (a), and we know that the distance between the centers of the previous circles and the new one will be 125 px (c). So how much do we need to move it to the right (b)? The Pythagorean Theorem gives us the answer: 108.25 px.
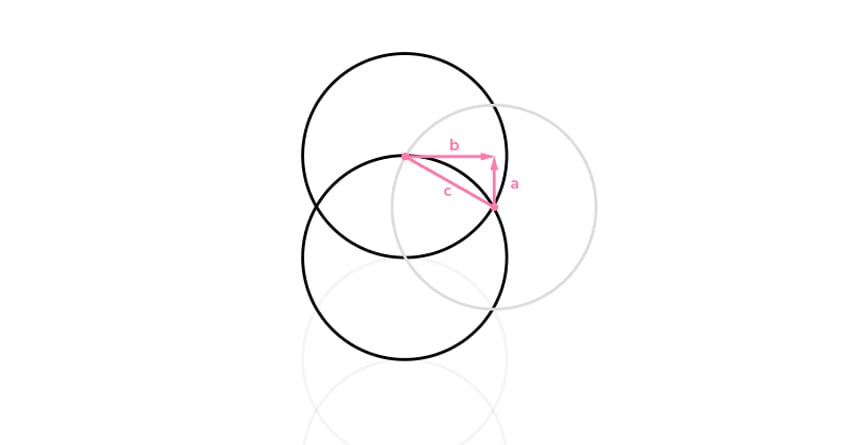
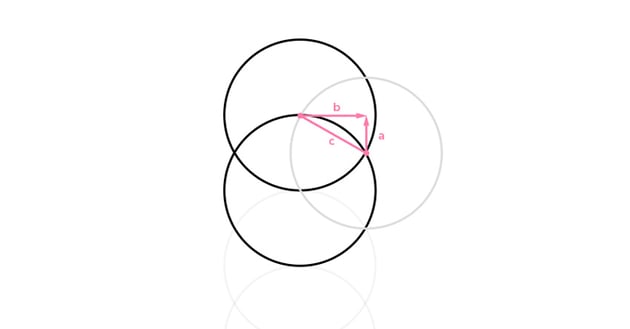
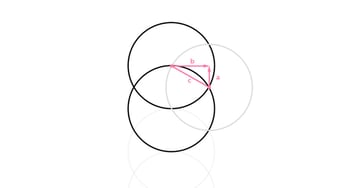
So let’s do exactly that: duplicate the top circle, and move it down by adding 62.5 px to Y…


Step 10
… then add 108.25 to X to move it to the right.


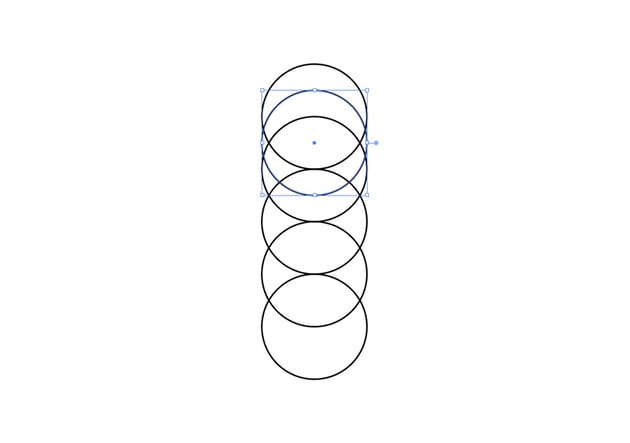
Step 11
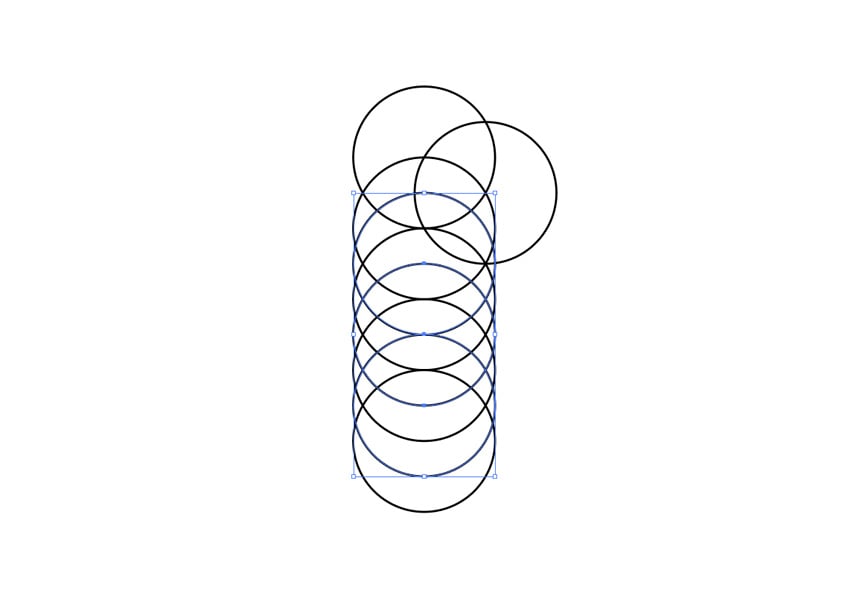
You can create the rest of the circles the same way. Just duplicate the next three circles in the middle column, and move them with the same changes to their values.


Step 12
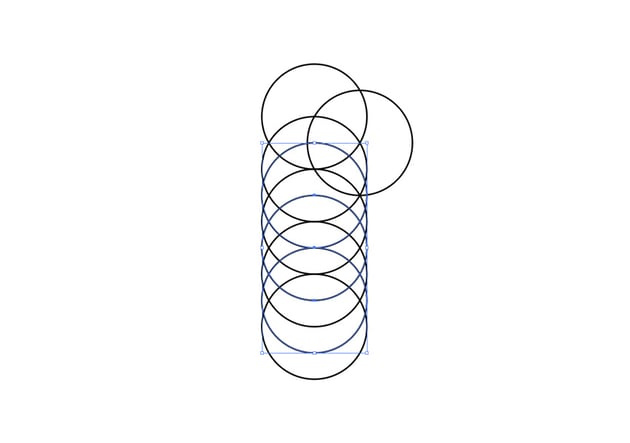
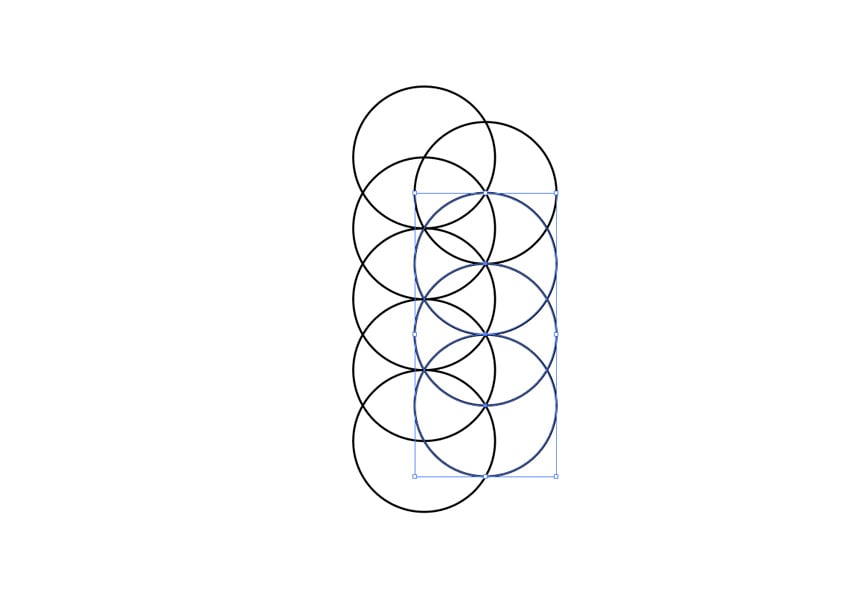
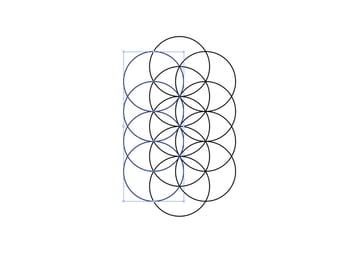
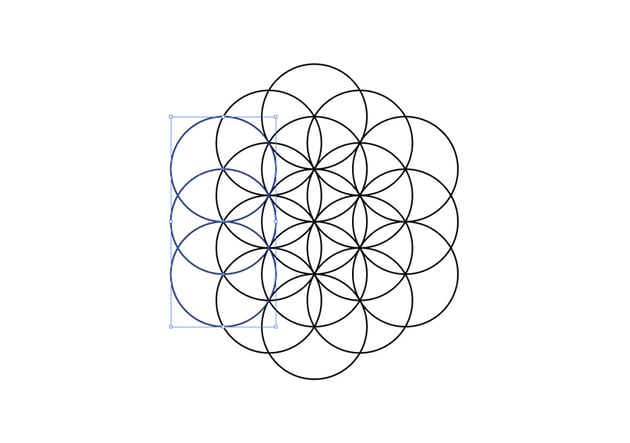
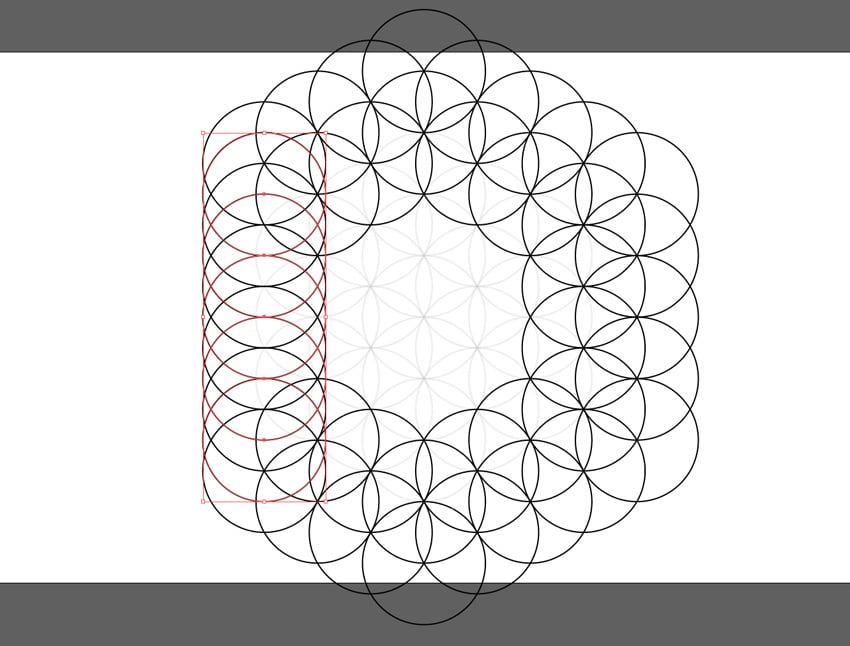
Now, to quickly create the left column, select all these new circles, duplicate them, and subtract 216.5 (108.25 * 2) from their X value.


Step 13
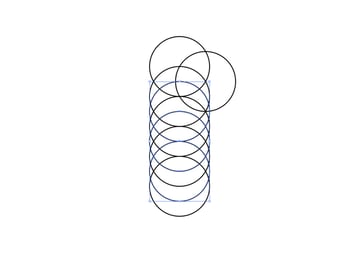
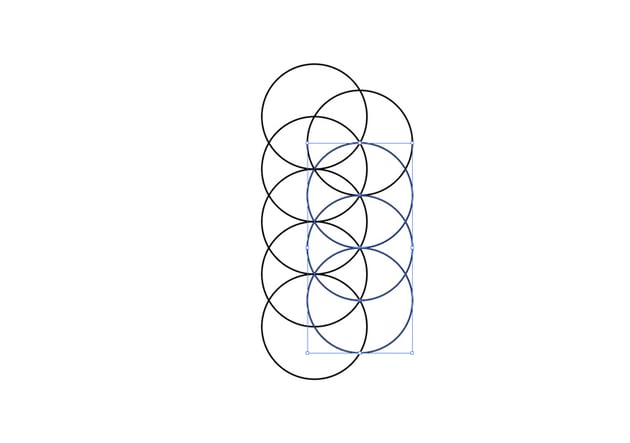
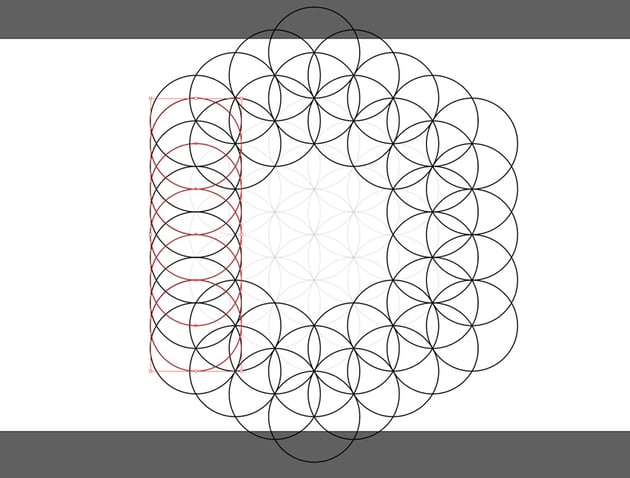
We can create the last two columns the same way. Duplicate the first three circles from the right column, and add 62.5 to Y…


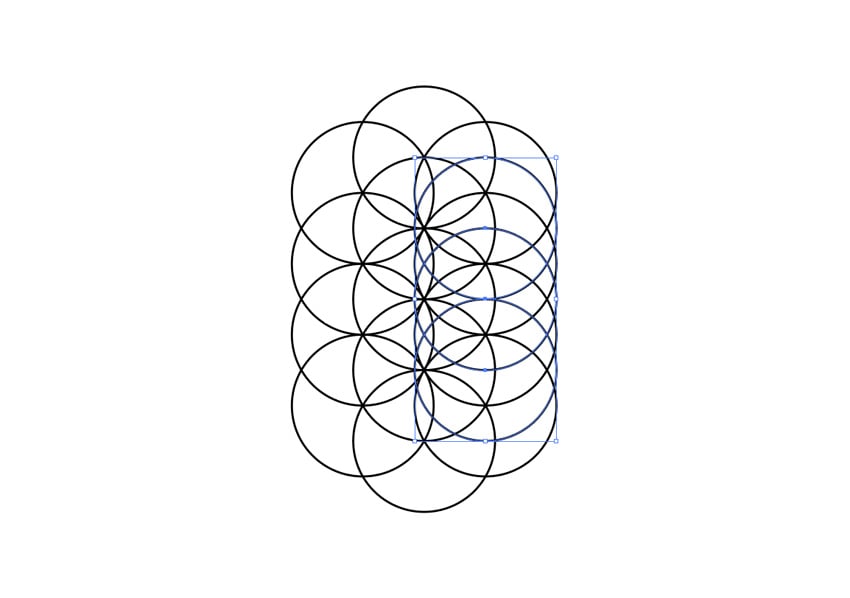
Step 14
… and 108.25 to X.


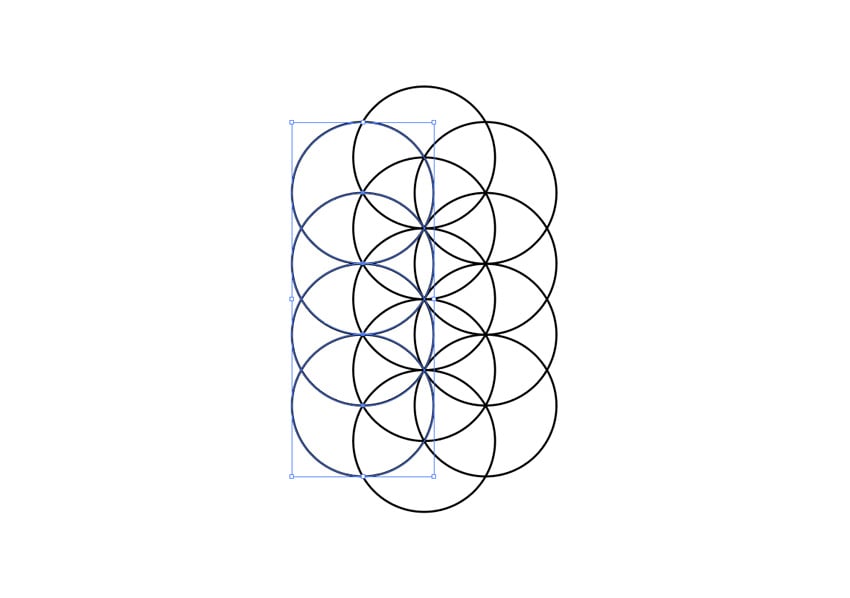
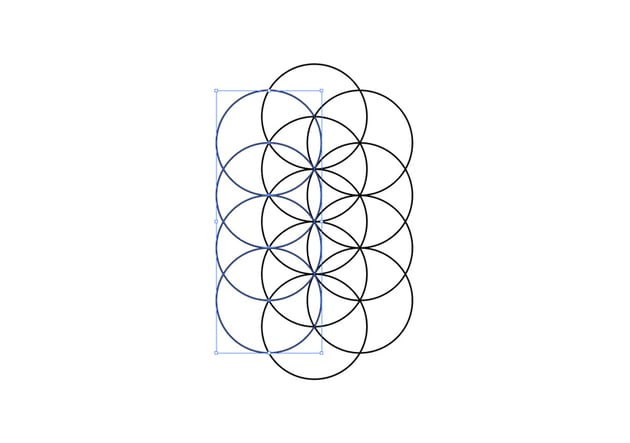
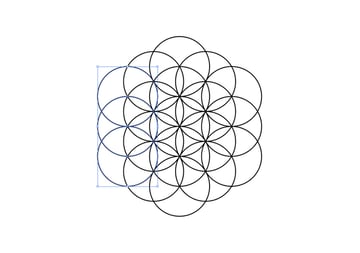
Step 15
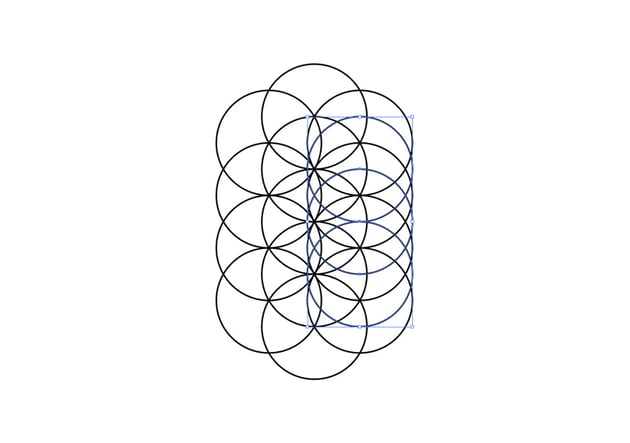
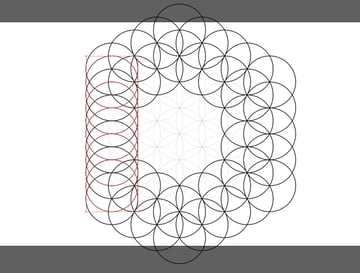
You can duplicate this column and move it to the left by subtracting 433 (108.25 * 4) from its X value.


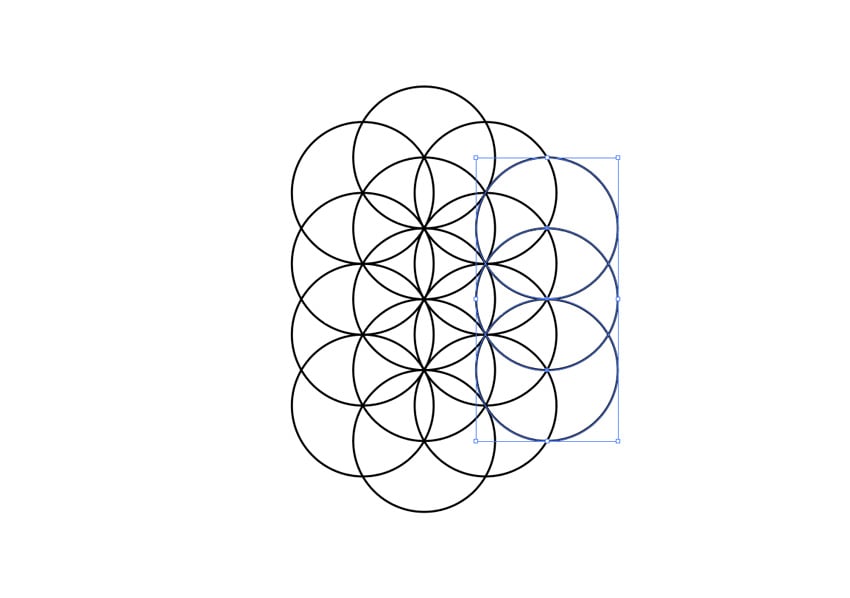
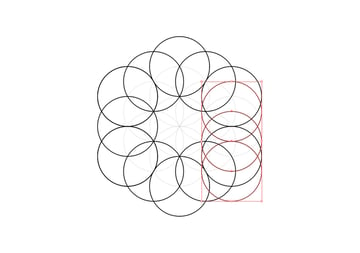
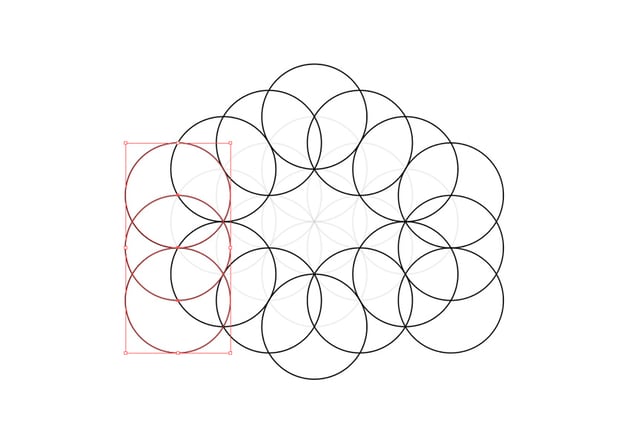
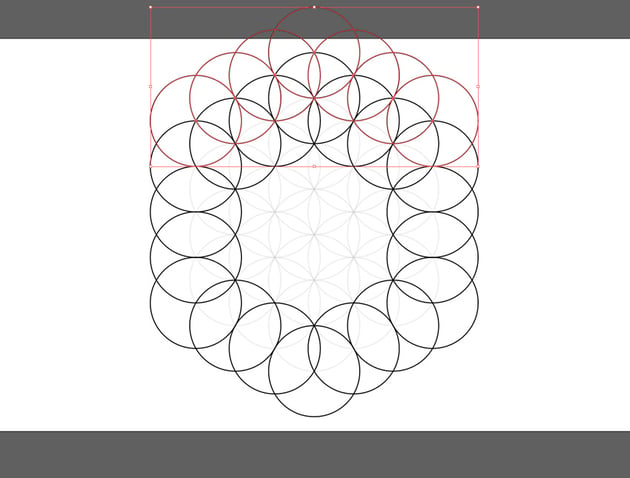
2. How to Create the Outer Part of a Flower of Life
Step 1
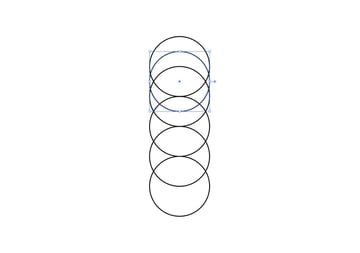
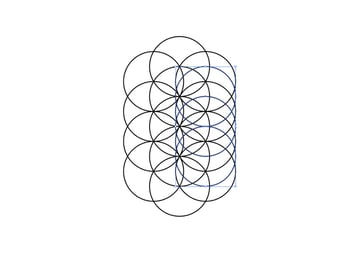
Although the flower of life already looks pretty complete, there are “petals” missing in the outermost circles. Let’s add them now! Create a New Layer. Duplicate all the outermost circles to it.
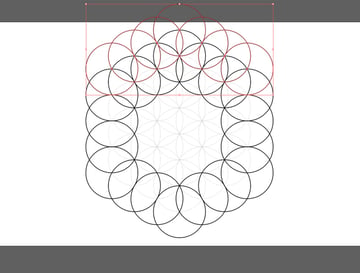
Step 2
Set their Stroke to 2 pt for a nice variability in the line width.


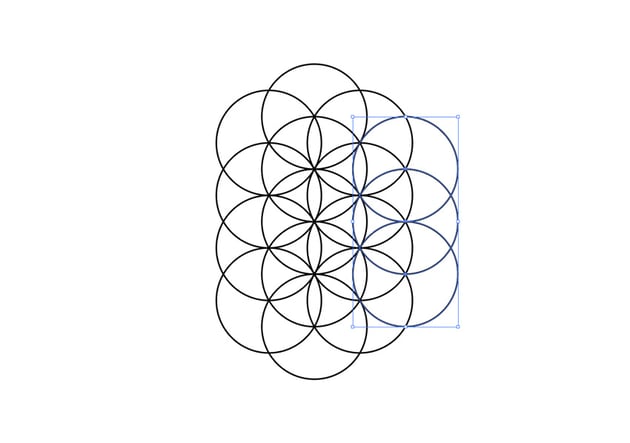
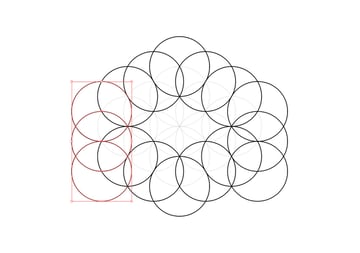
Step 3
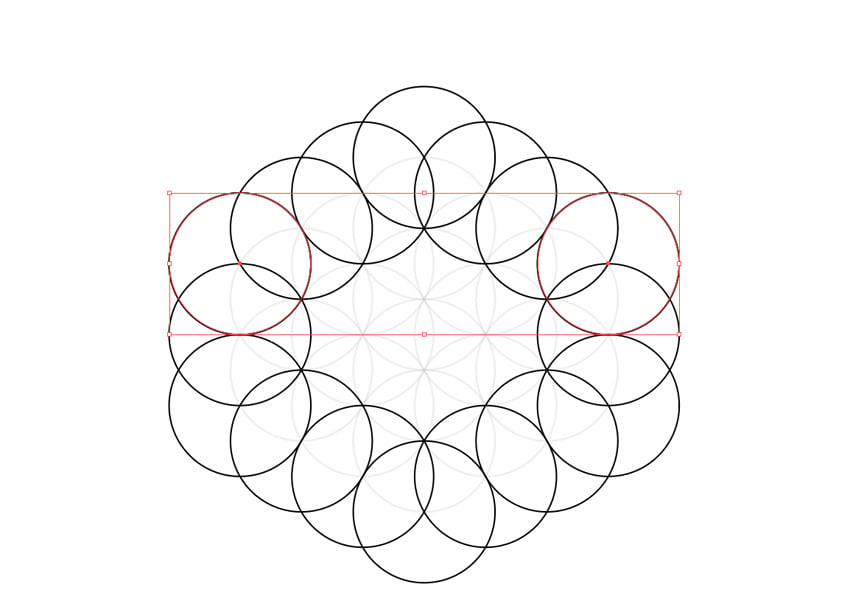
Select the four “corner” circles and duplicate them—we’re going to need these twice!
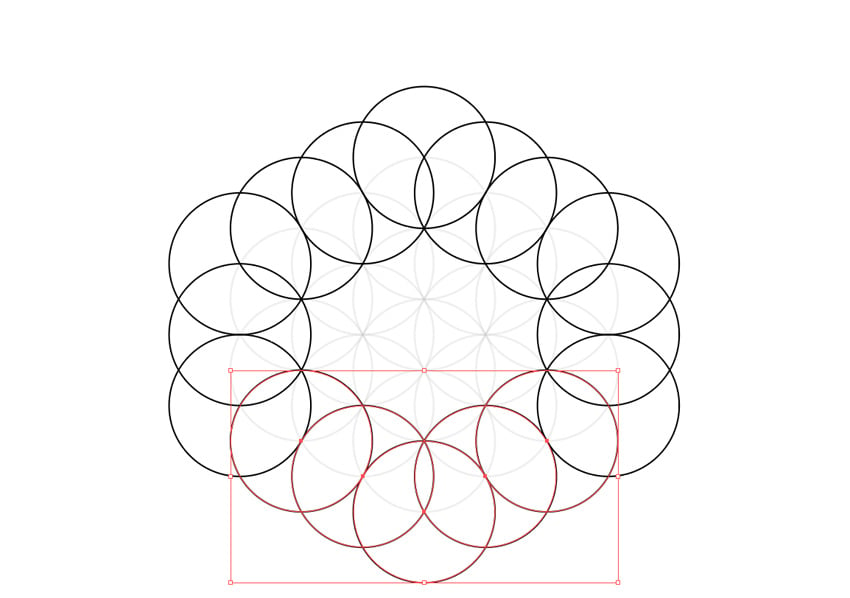
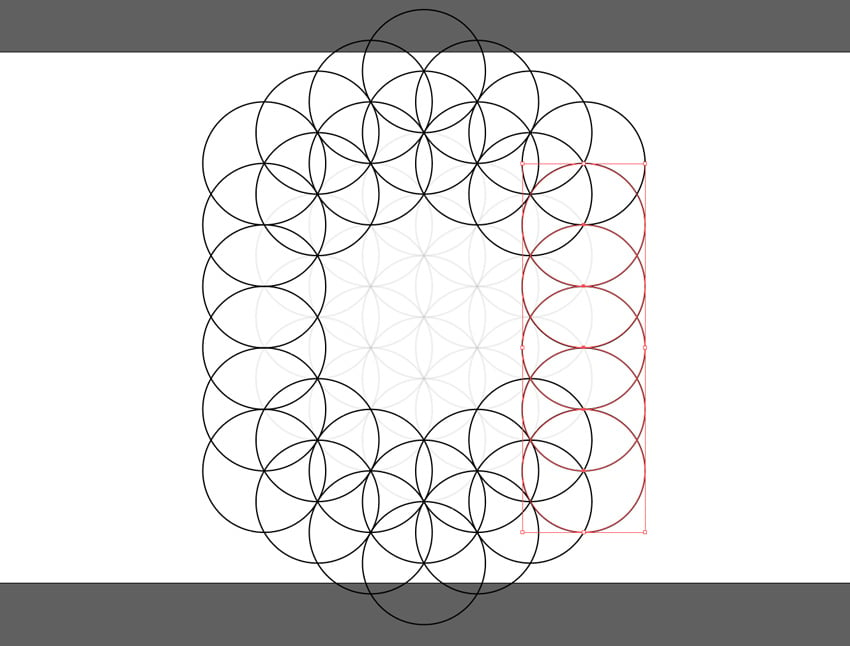
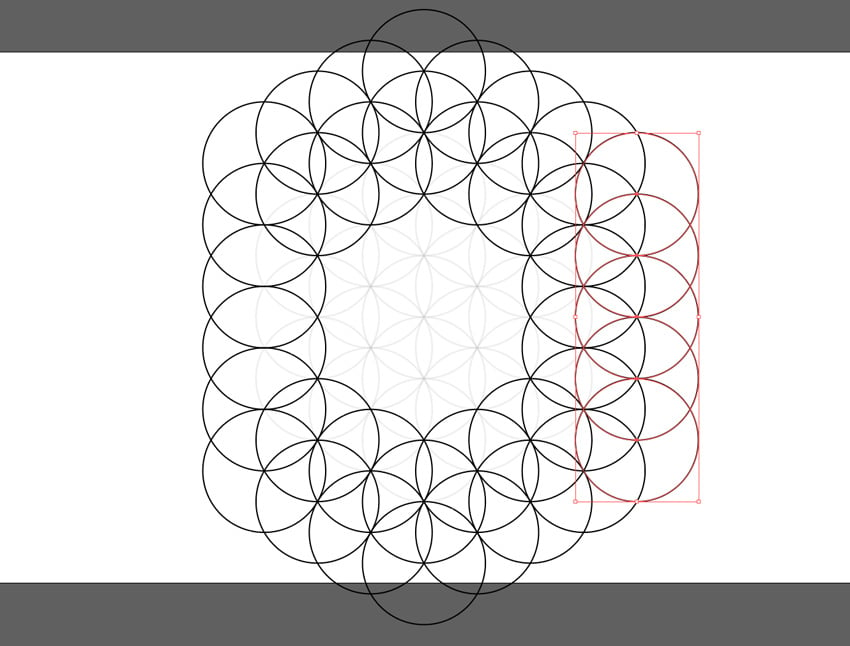
Step 4
Move the three circles on the right down and to the right by adding 62.5 to Y and 108.25 to X. Make sure to select them separately by holding the Shift key and clicking them one by one.


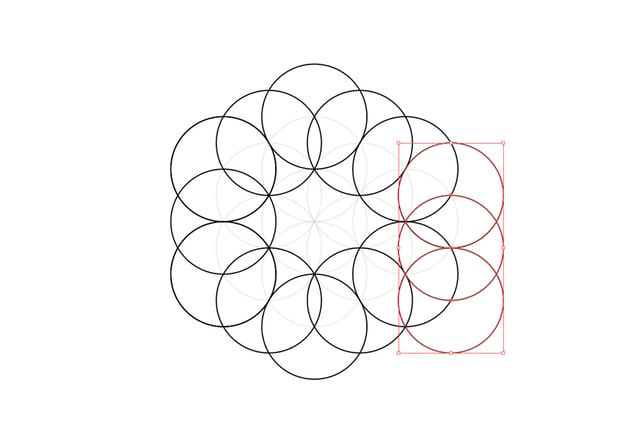

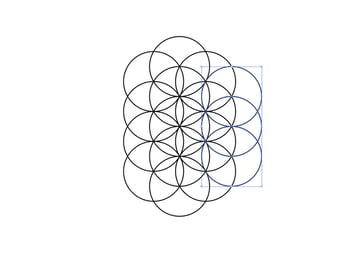
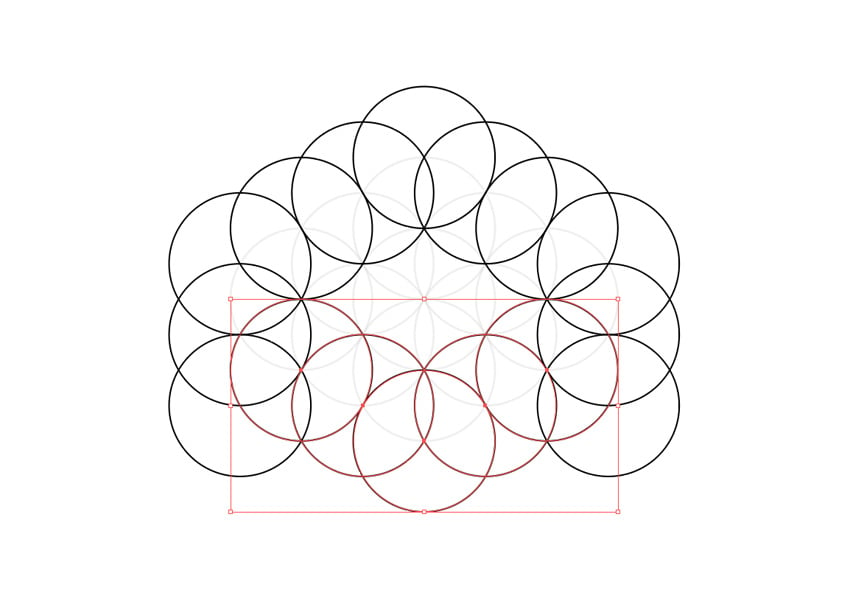
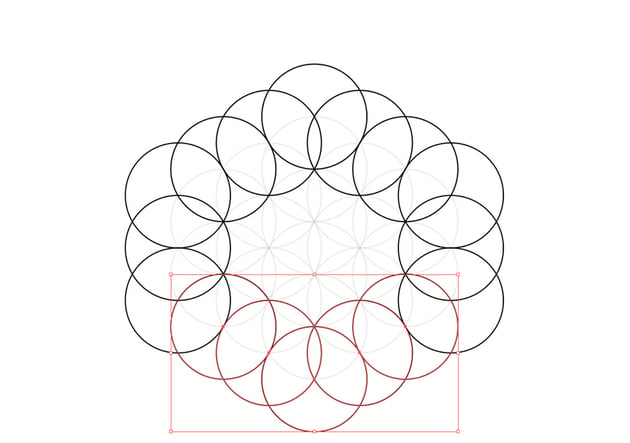
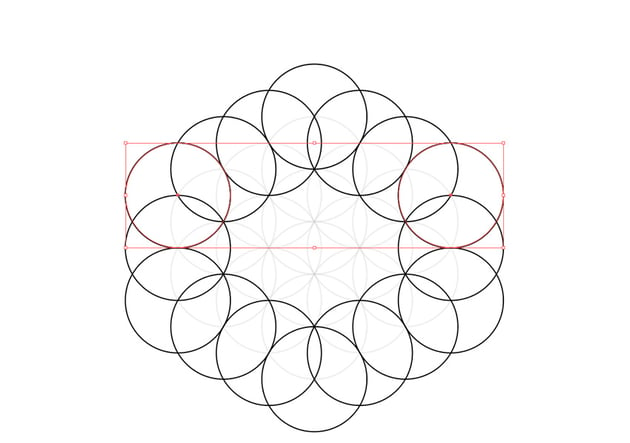
Step 5
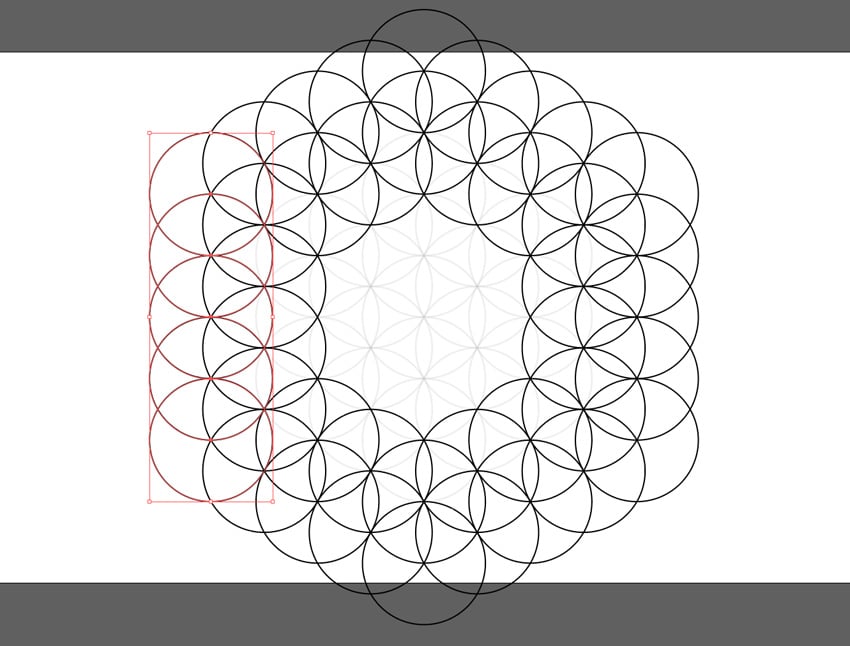
Do the same with the column on the left, moving it down and to the left by adding 62.5 to Y and removing 108.25 from X.


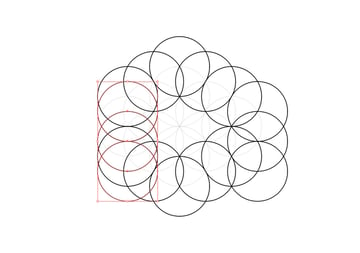


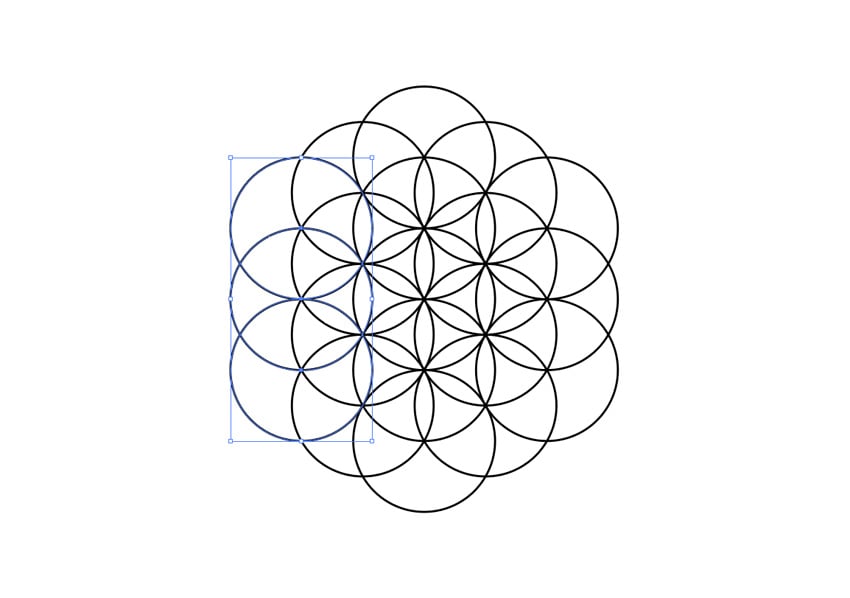
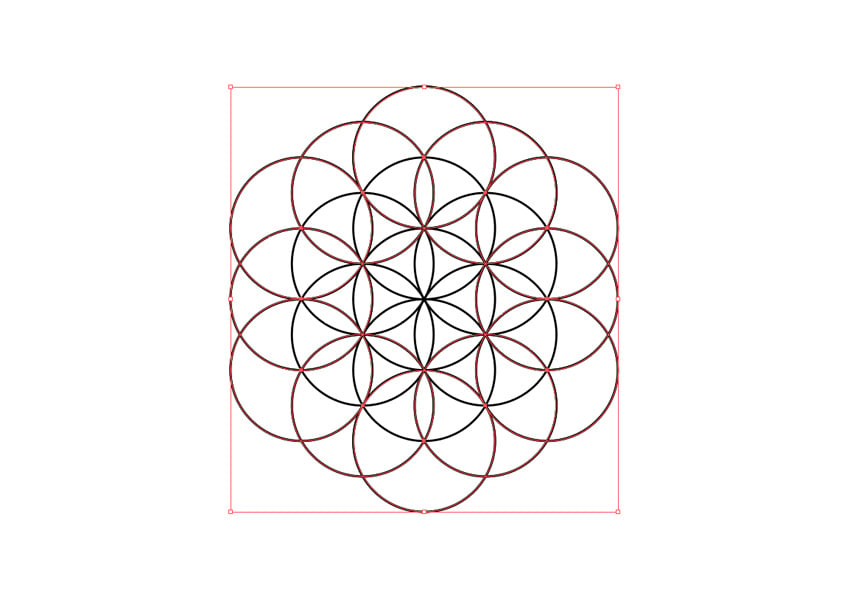
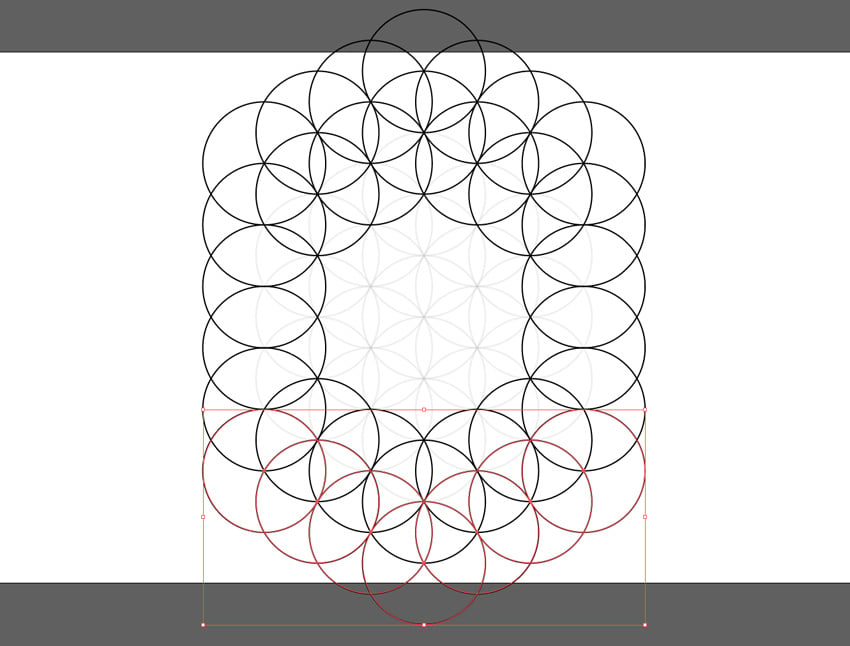
Step 6
Move the five bottom circles down by adding 125 to their Y.
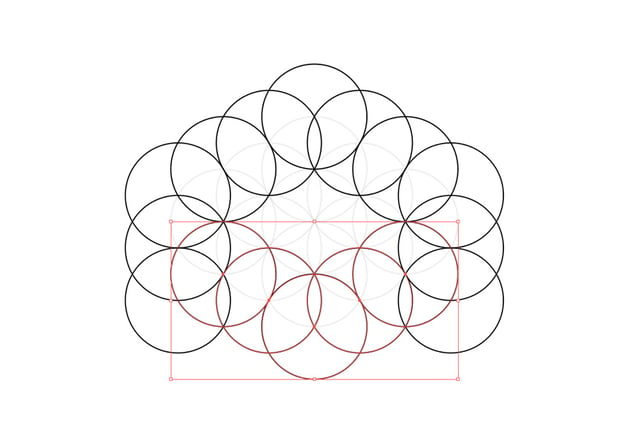
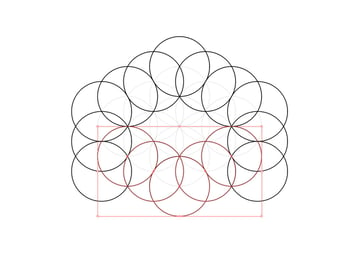


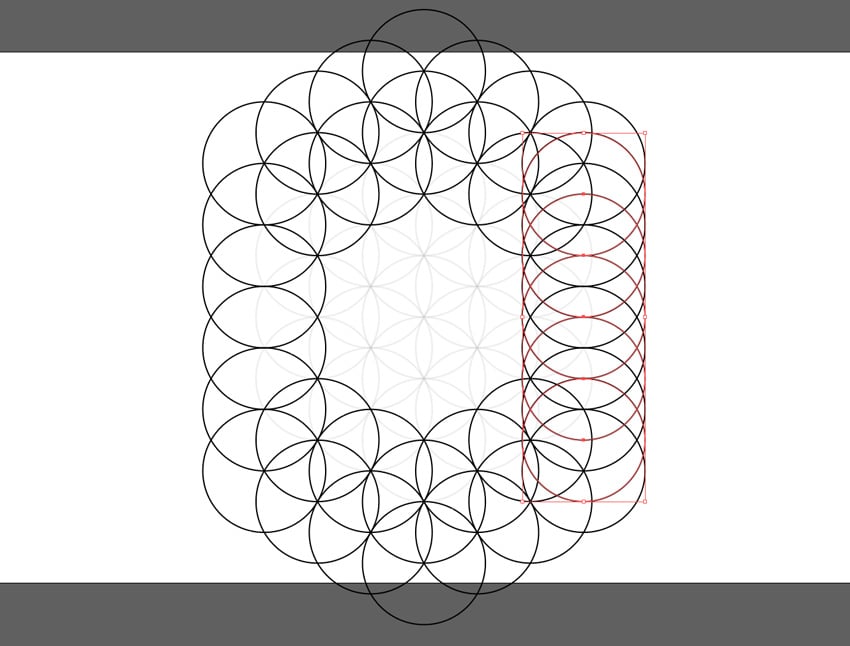
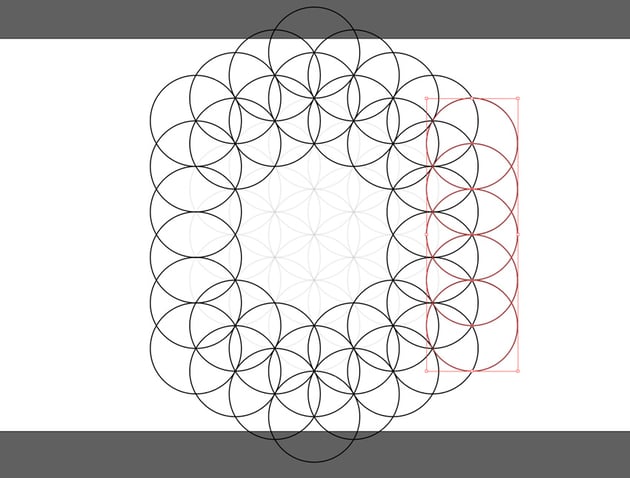
Step 7
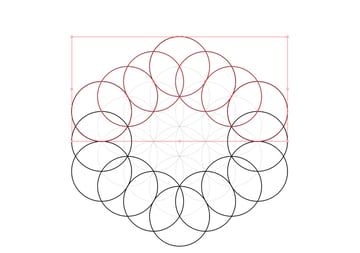
Duplicate the two upper “corner” circles.
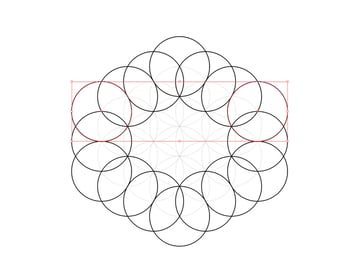
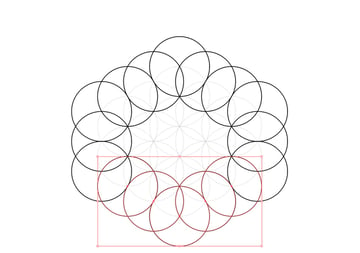
Step 8
Select the top seven circles and move them all up by removing 125 from Y.
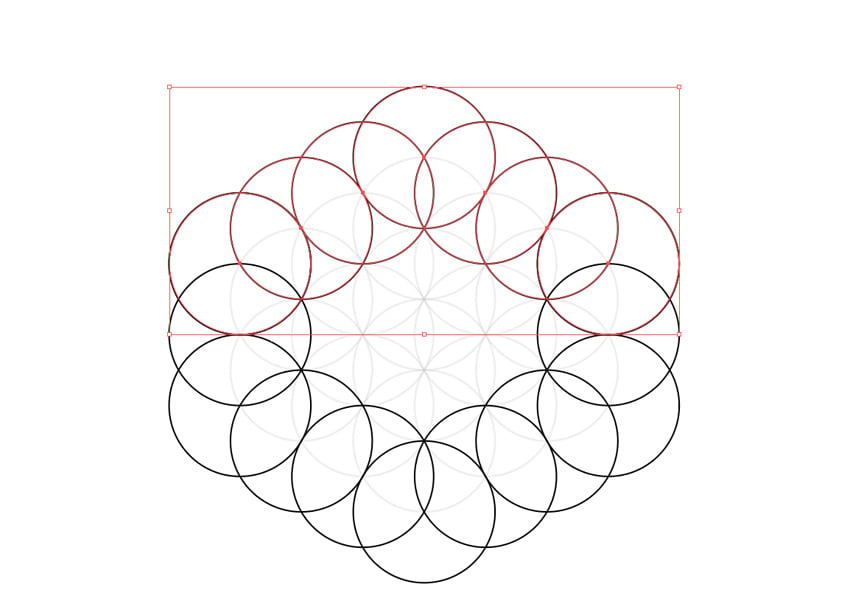


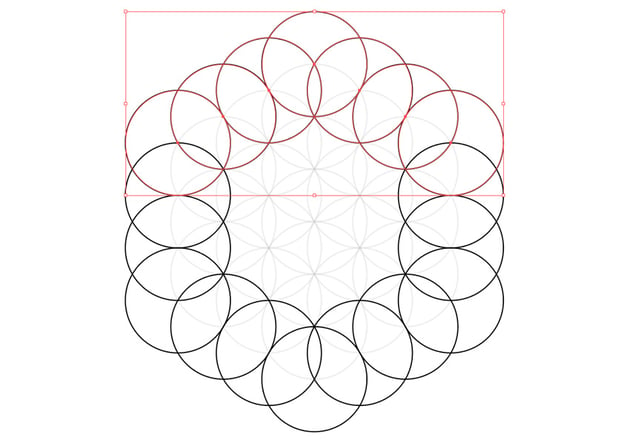
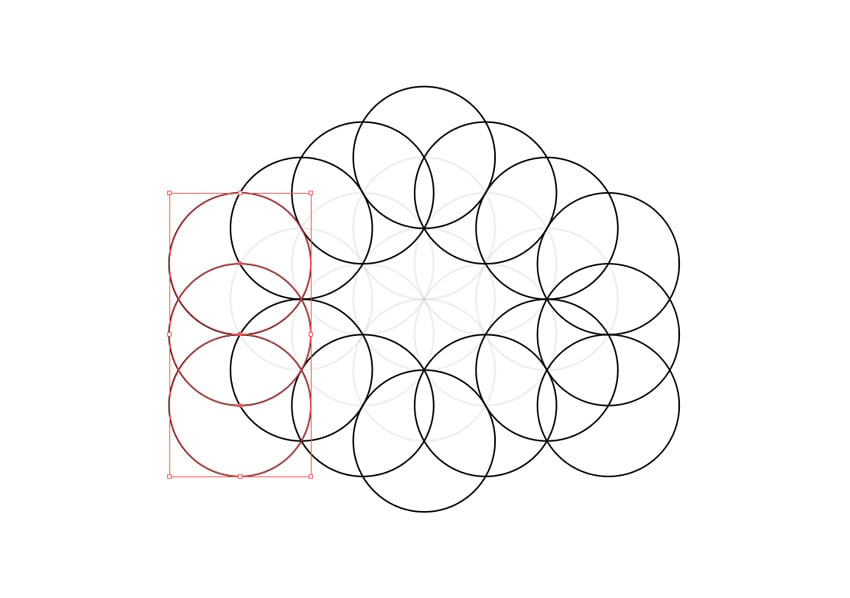
Step 9
Repeat these same steps once again: duplicate the seven top circles and remove 125 from their Y…


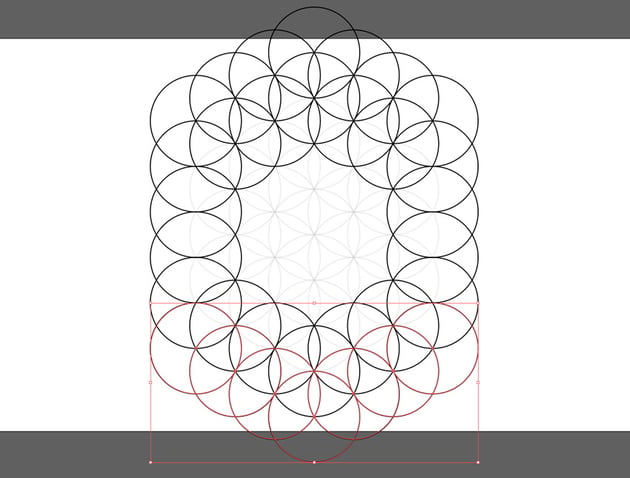
Step 10
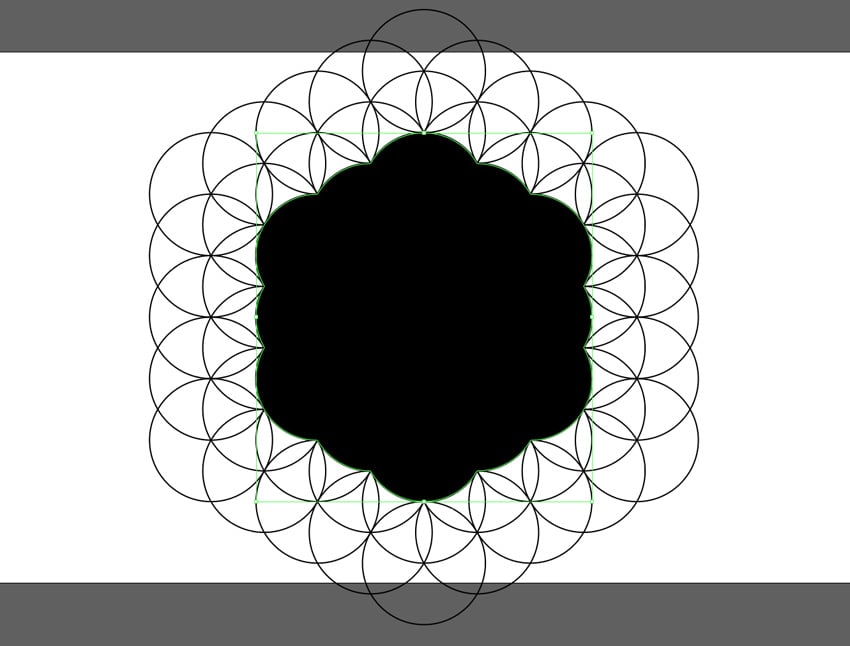
… then duplicate the seven bottom circles and add 125 to their Y.


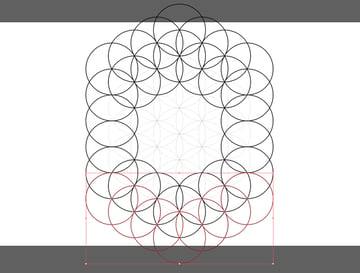
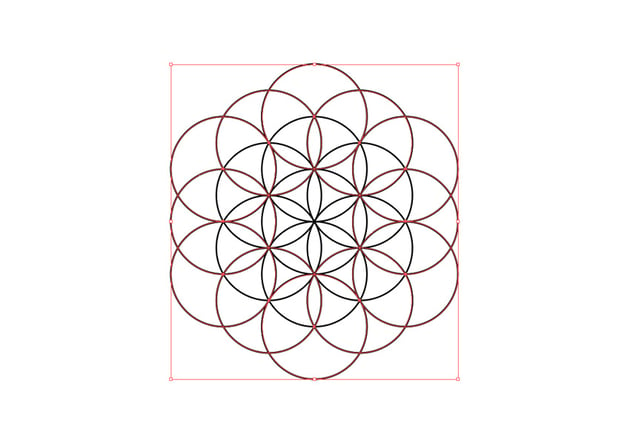
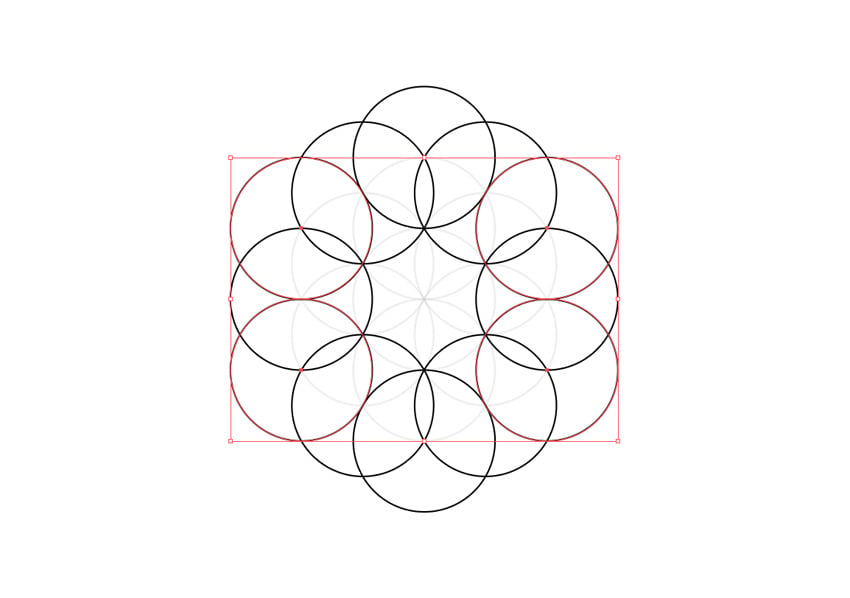
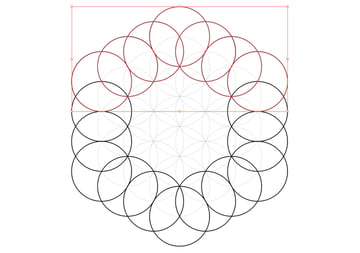
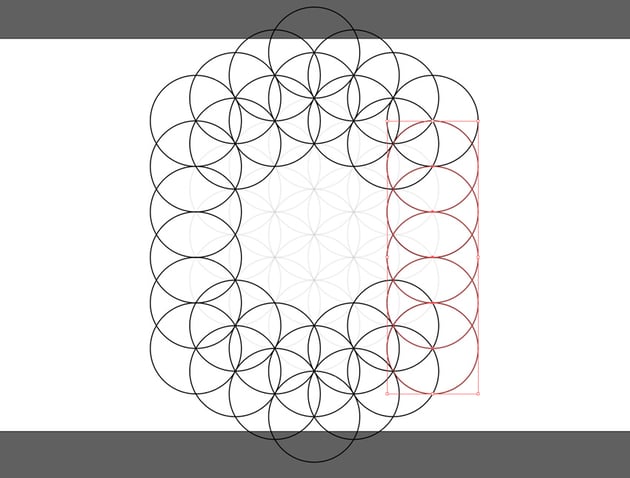
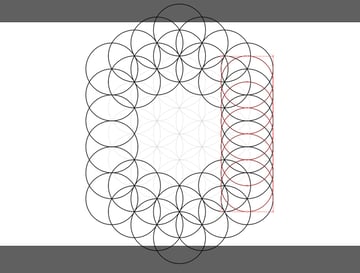
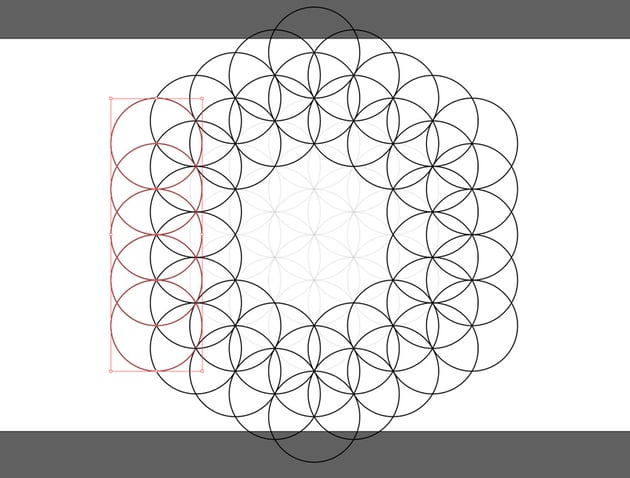
Step 11
Now, select the five circles on the right, duplicate them, and move them up and to the right by subtracting 62.5 from their Y and adding 108.25 to their X.


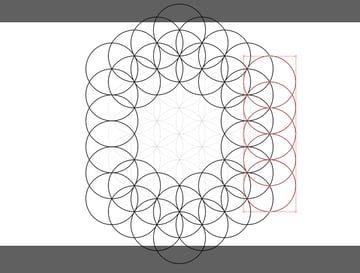
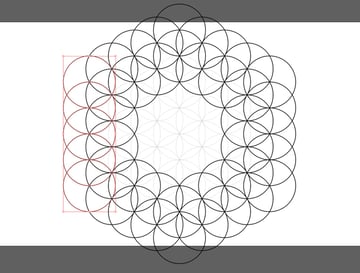
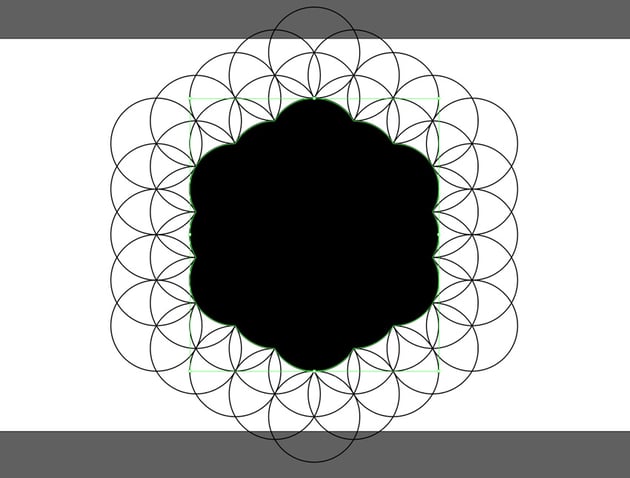
Step 12
Do the same with five circles on the left, but this time subtract 108.25 from X instead of adding it.


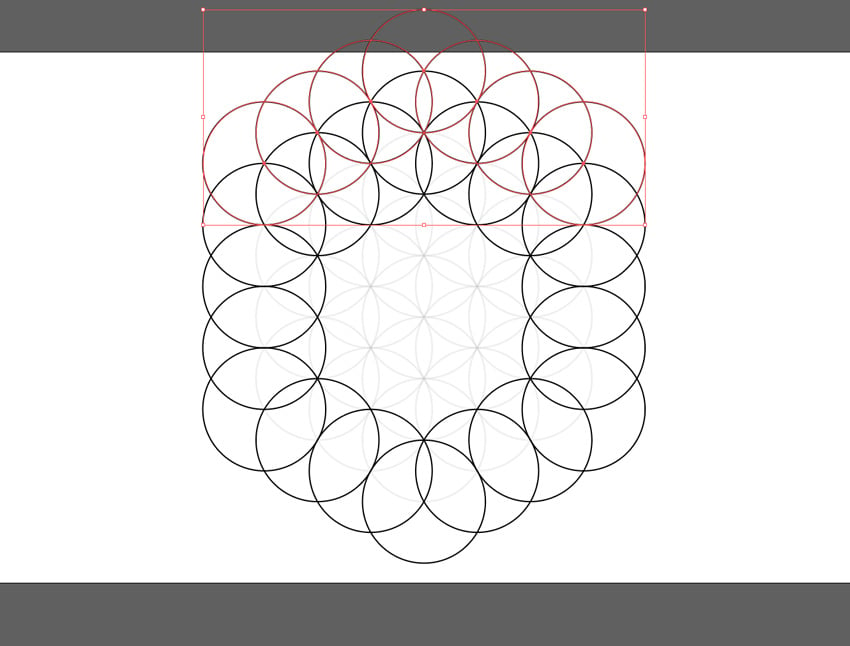
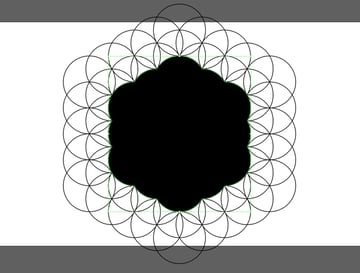
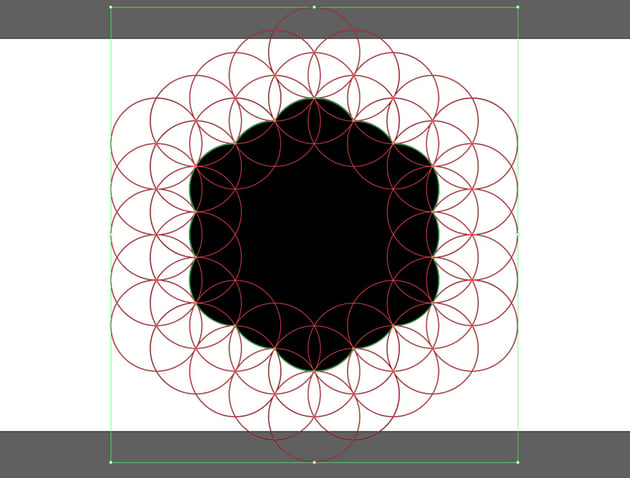
3. How to Clean Up Your Flower of Life Drawing
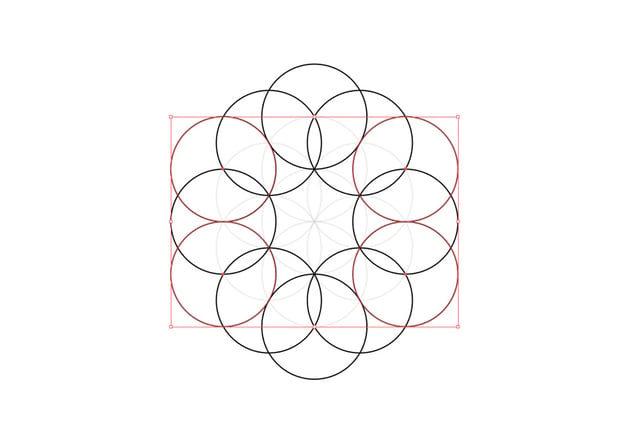
Step 1
Let’s clean it all up now! Copy all the circles from the previous layer and paste them on a New Layer on top. Press Shift-X to quickly fill the copied circles.
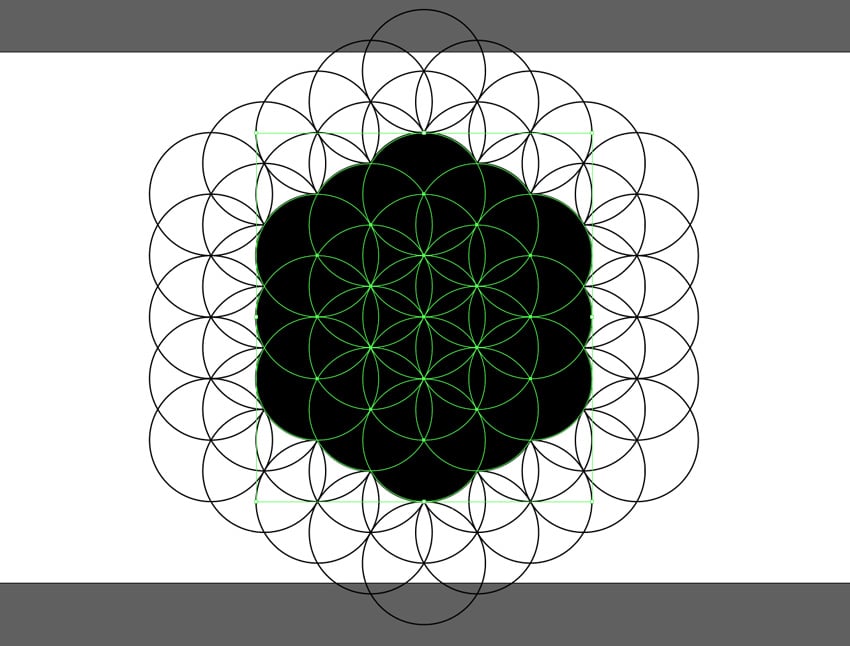

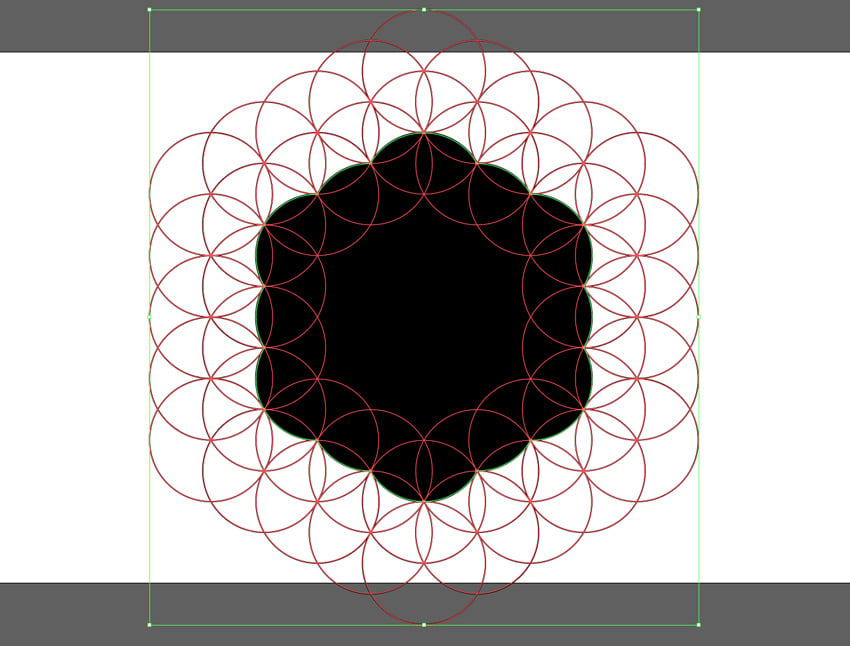
Step 2
Go to Window > Pathfinder and Unite these black circles.


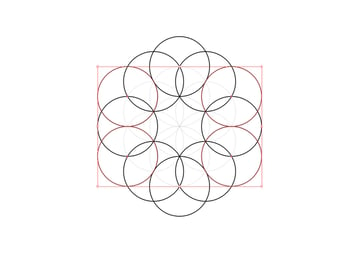
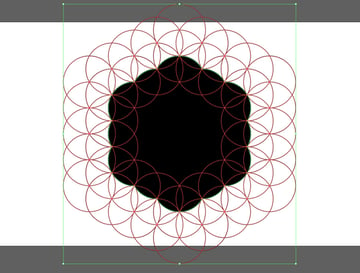
Step 3
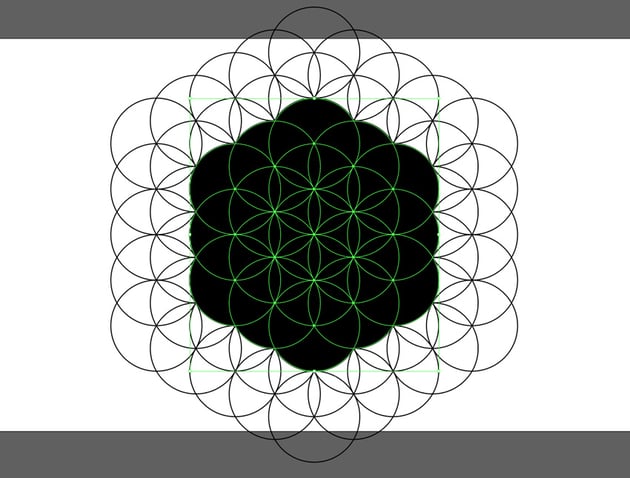
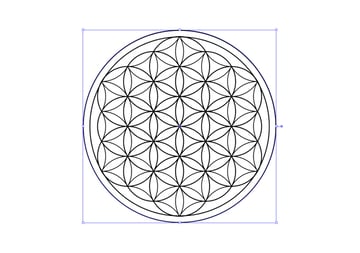
Now select both the black blob and all the circles from the layer below. Press Control-7 to create a Clipping Mask.
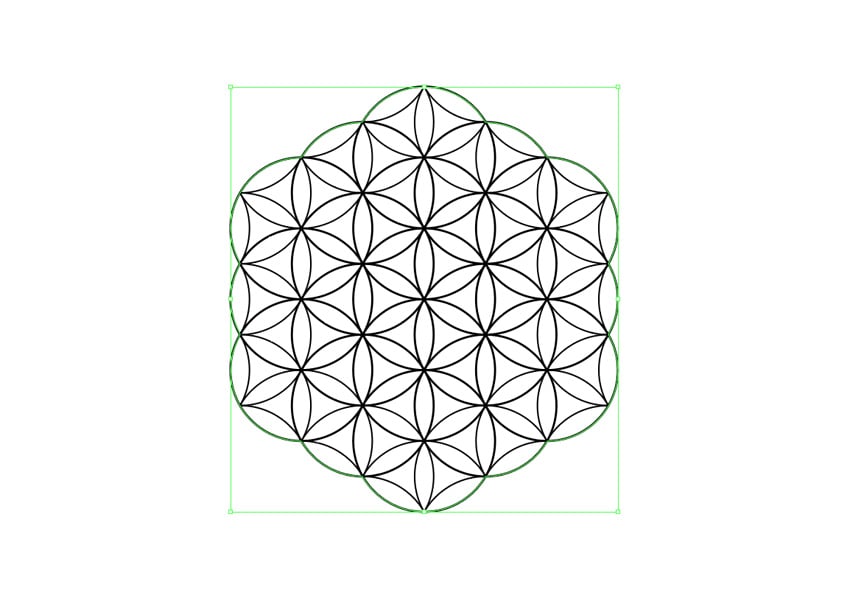
Step 4
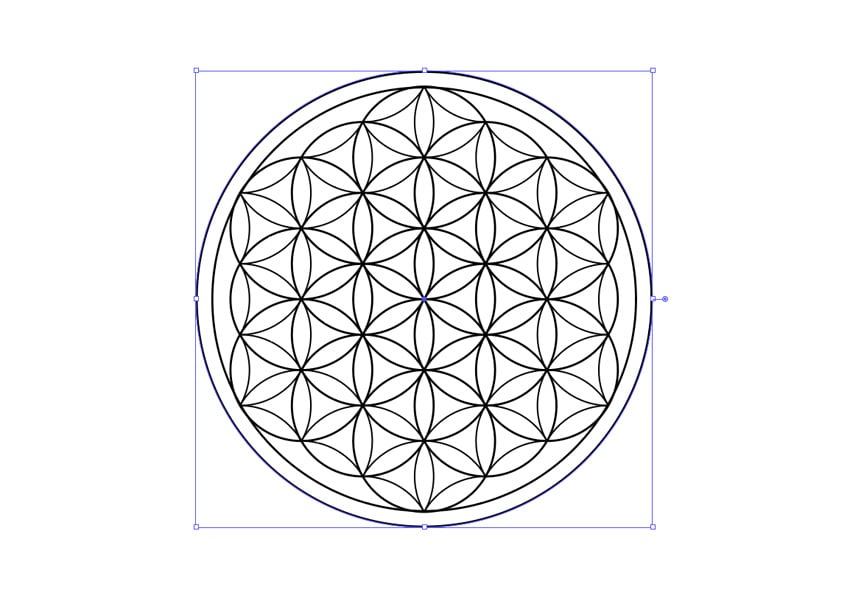
Let’s put all these circles inside a big circle. Create a New Layer, take the Ellipse Tool (L) again, and click on the canvas. Use 750 px for both dimensions, and then align the circle to the center of the canvas.


Step 5
Set its Stroke to 3 pt.


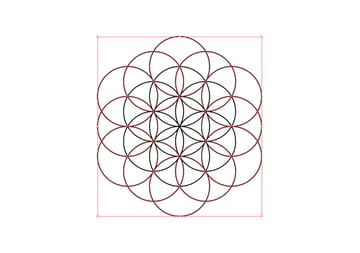
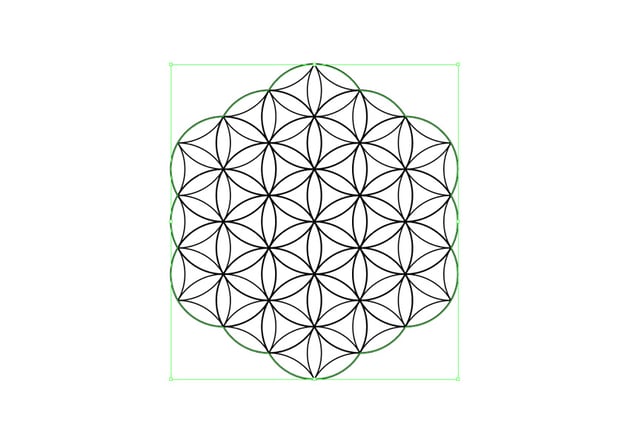
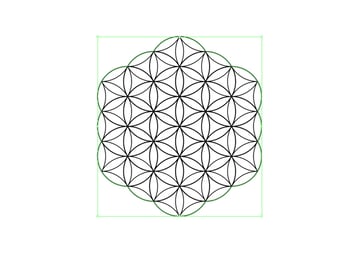
Step 6
Create another circle the same way, this time using 805 px for the dimensions. This isn’t necessary for the flower of life illustration, but it will give it a nice frame.


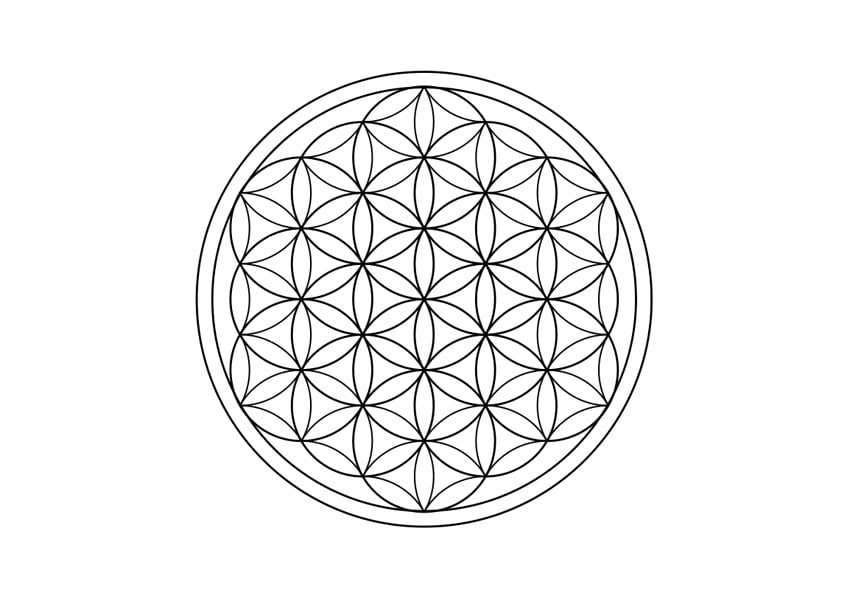
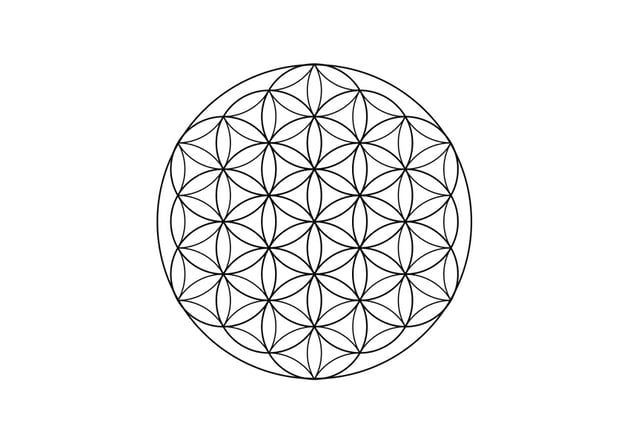
And You’re Done!
Now you know how to create a beautiful flower of life logo (or an illustration) from scratch! Since this is a vector image, you can now edit it however you want—including resizing it to any dimensions.


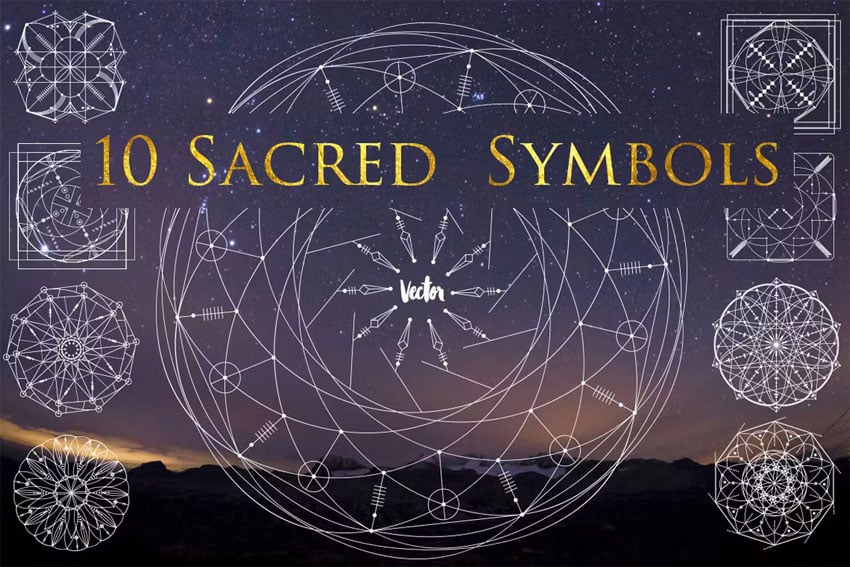
5 Sacred Geometry Vector Graphics on Envato
If you’re into sacred geometry patterns, then take a look at these beautiful graphics from Envato, your one-stop creative destination. Explore a huge range of assets from our vibrant community of global artists, all in one place.
Abstract Sacred Geometry Vector Images [AI, EPS, PNG]


This pack includes nine unique vector shapes based on sacred geometry patterns. They’re nice, clean, and perfectly symmetrical—so they’ll work well for a logo or as a part of a bigger pattern.
Sacred Geometry Vector Patterns [AI, EPS, PNG]
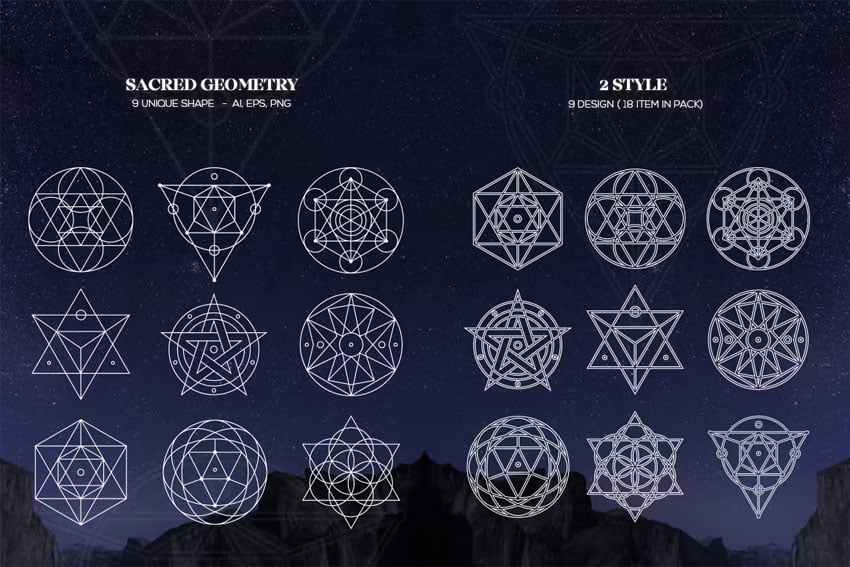
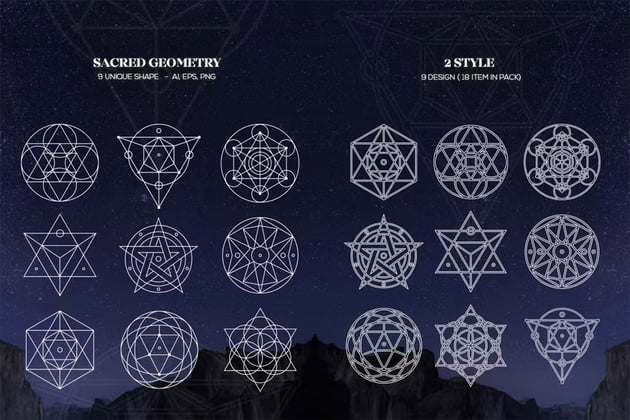

Here you’ll find nine beautiful geometric shapes known from sacred geometry, including the flower of life design. All nine shapes come in two styles—with thin lines as well as double lines that make them look thicker while keeping their airy quality.
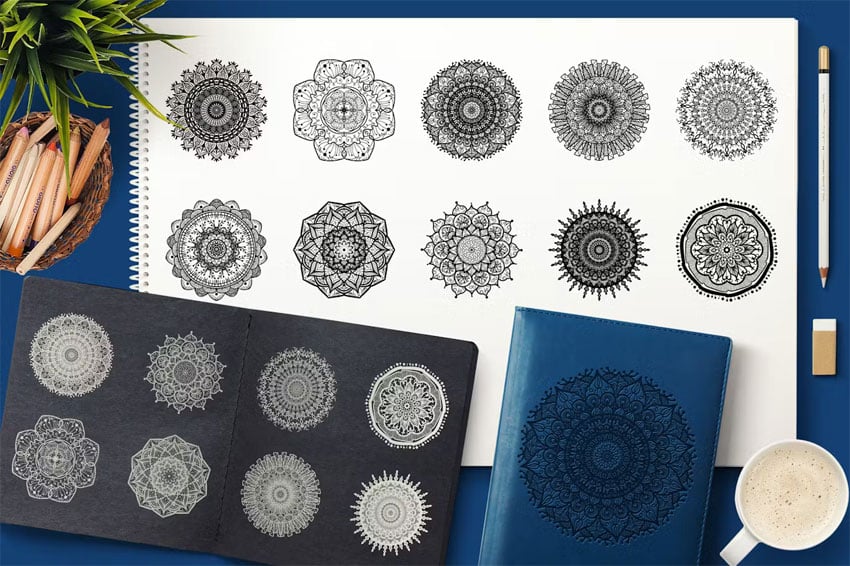
Sacred Geometry Mandalas [AI, PNG, EPS]


By repeating a pattern across multiple axes, you can create a mandala—a very characteristic symbol from sacred geometry. This set contains ten of them, all drawn in elegant, thin lines.
Vector Geometric Mask & Shapes [AI, PNG, PSD, EPS]


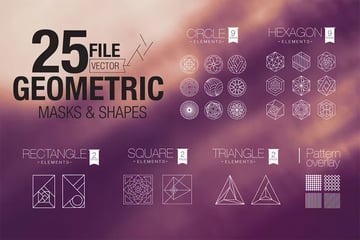
How about something different from classic round shapes? This set contains a variety of sacred geometry patterns, including rectangles, squares, and triangles—all in the same, perfectly clean style.
Vector Sacred Geometry Mandala Collection [AI, EPS, JPG]


If you like a variety of mandalas, in this collection you’ll find ten of them. Each design is very intricate, full of details, and one of a kind.
More Geometry Tutorials
If you liked this sacred geometry flower of life tutorial, you may also enjoy these tutorials: