Fairies are mythical creatures that take many different forms in different cultures. In some they’re described as mischievous human-like spirits, and in others they’re simply a different species with magical powers. In the modern day, fairies are usually pictured as tiny humans with insect wings, living in a close relationship with nature.
In this tutorial, I’ll show you how to draw a fairy step by step. Drawing fairies can be very easy once you learn how to capture the proportions of the body! You’ll also learn how to draw easy fairy wings, and how to finish the drawing to make the line art nice and clean.
If you need some inspiration for your fairy wings drawing, you can check out the butterfly logos on Envato Elements! For example, this simple butterfly logo shows you how you can achieve a stunning effect with very simple shapes. if you need more inspiration, you can find more logo examples at the end of this tutorial.


What You’ll Learn in This Easy Fairy Drawing Tutorial
- How to draw a fairy step by step
- How to draw a fairy the easy way
- How to draw easy fairy wings
- How to draw a fairy in a cartoon style
- How to create an easy fairy drawing from scratch
What You Will Need
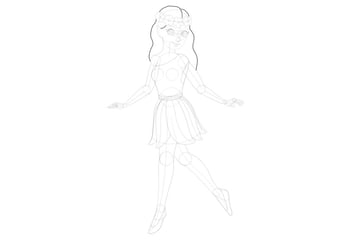
We’re going to draw a fairy step by step from scratch, so you don’t need anything. However, you can use this photo of a ballerina as a pose reference.
This tutorial is universal—you can use it for both traditional and digital drawing. If you plan to draw traditionally, remember to make the sketch lines light and subtle so that you can erase them later. Also, prepare a darker tool (an ink liner, a softer pencil, etc) for the inking stage at the end.
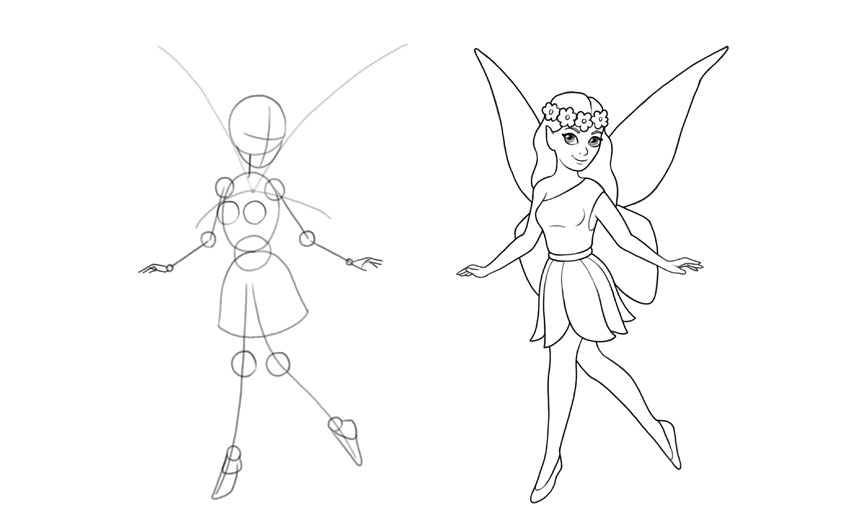
1. How to Create the Body Proportions for an Easy Fairy Drawing
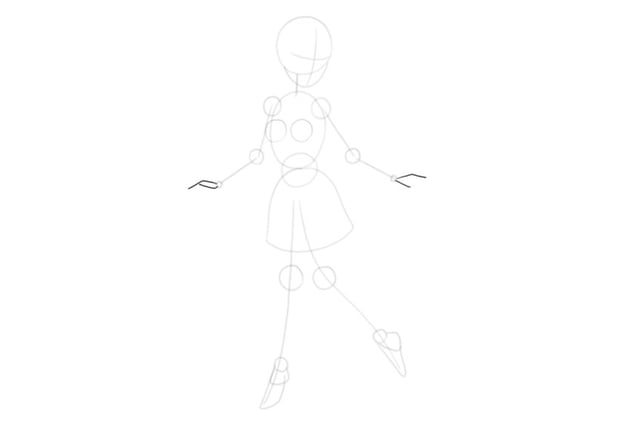
Step 1
Want to know how to draw a fairy the easy way? The answer is to start with simple, cartoon proportions.
Draw a vertical oval—this will be the chest of our fairy.


Step 2
Add a small circle below. This will mark the waist.


Step 3
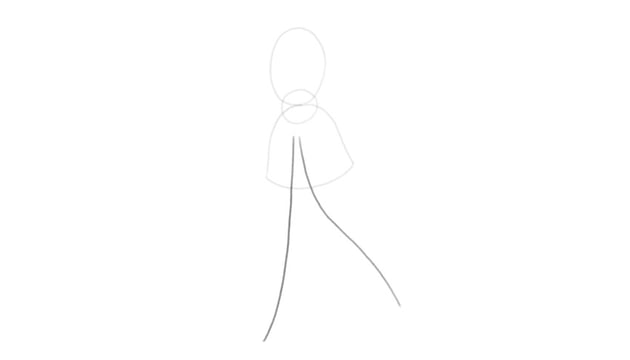
Add a bell shape right under the chest. This will be the bottom of the dress. Tilt it slightly for a more dynamic pose.


Step 4
Draw long curves for the legs.


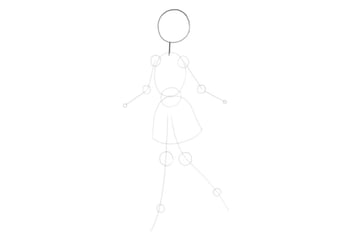
Step 5
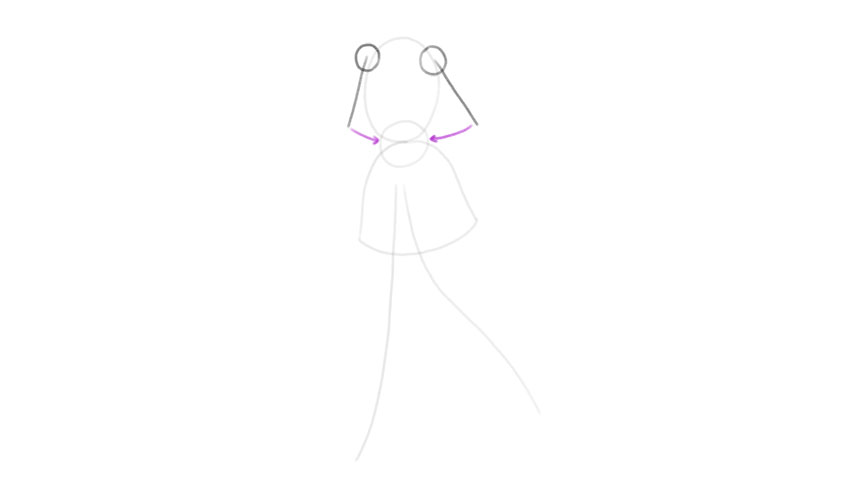
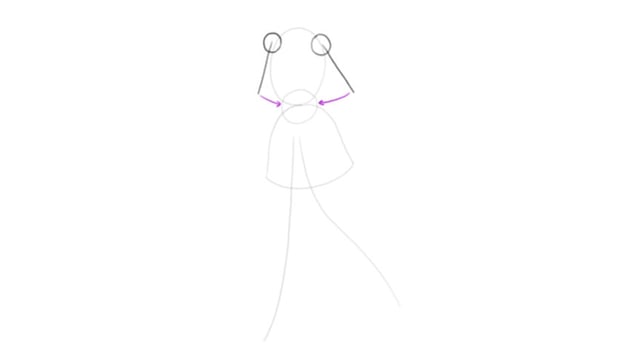
Draw a circle at each side of the chest to create the shape of the shoulders. Then draw two lines going from that area—those are the upper arms. The ends of the upper arms (the elbows) should point towards the waist. This will help you get the length right.
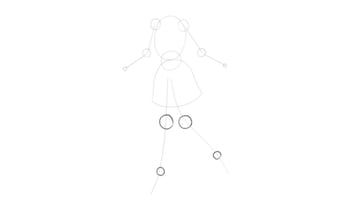
Step 6
Add a circle to each elbow, and then draw the forearms—roughly the length of the arms. End them with little circles for the wrists.
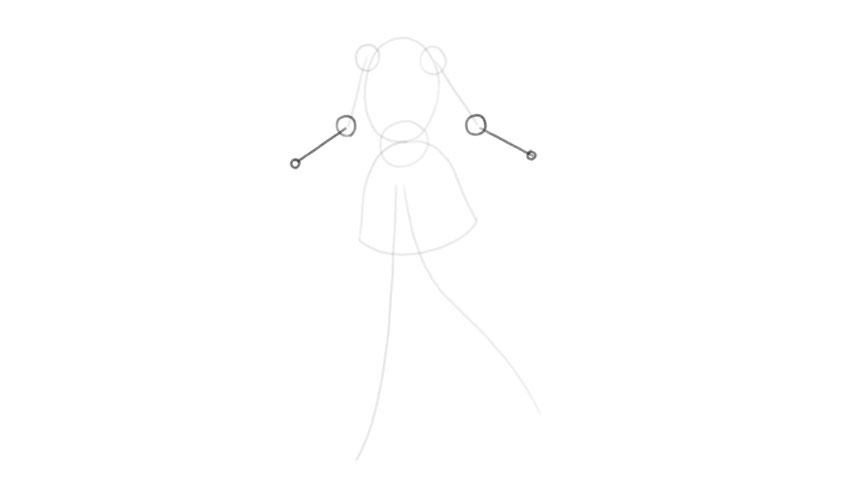
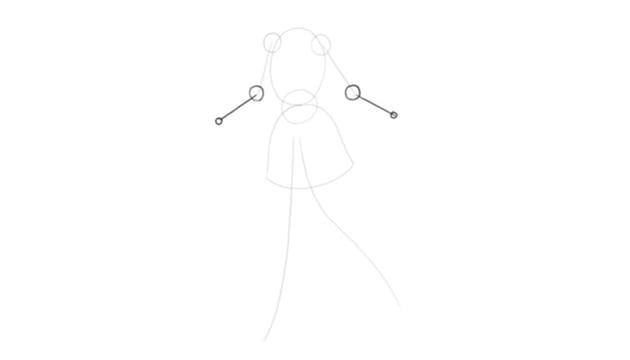
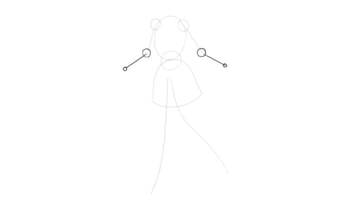
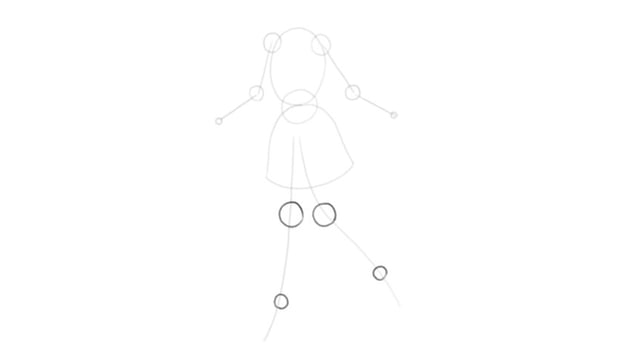
Step 7
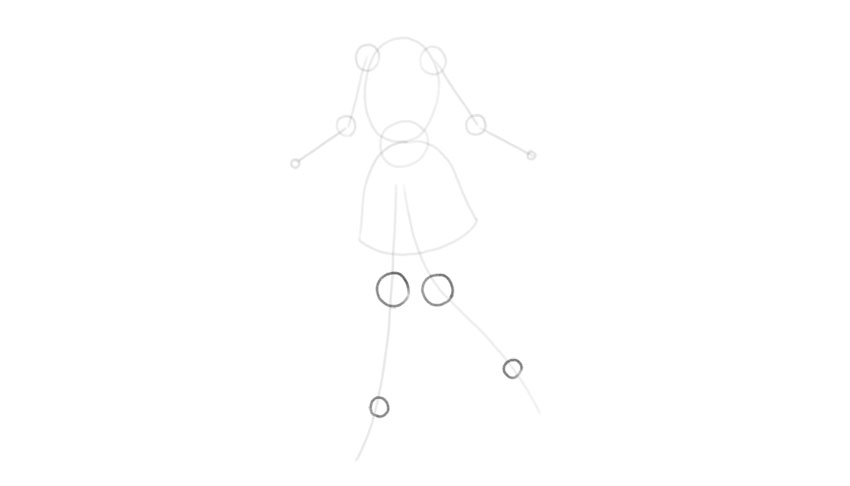
Add the joints in the legs now—big circles for the knees, and smaller circles for the ankles.
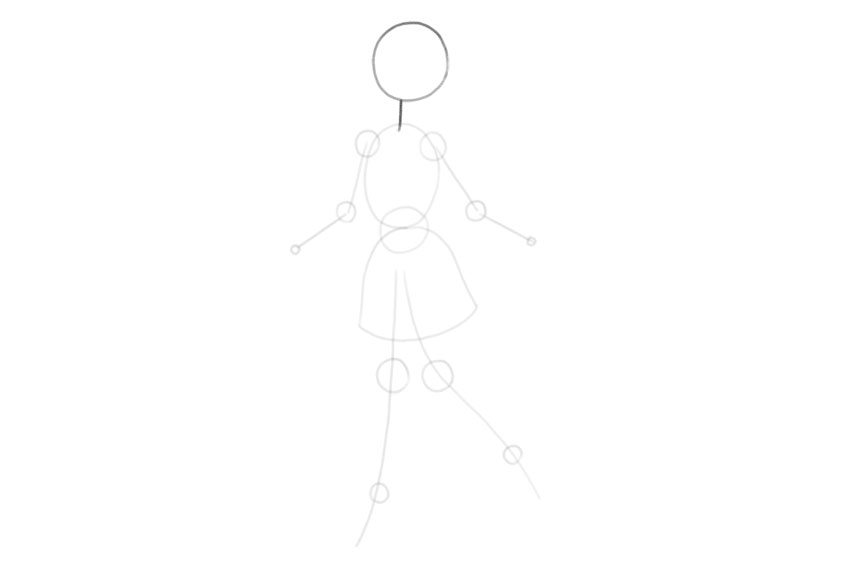
Step 8
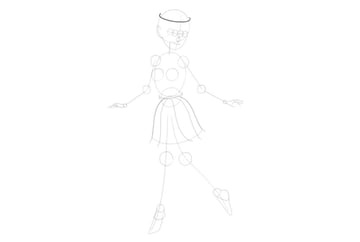
Add the neck and a very big circle for the head. Such a big head is typical for the cartoon style.

Step 9
Mark the perspective of the face using a curved cross. Add the jawline below.


Step 10
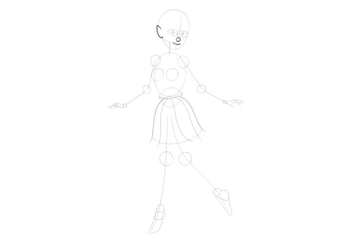
Draw two circles on the chest to quickly mark the shape of the breast.


If you want to learn more about drawing cartoon female proportions that you could use for your fairy drawings, check out this tutorial:
2. How to Add Details to the Easy Fairy Drawing
Step 1
Let’s add the smaller parts of the body now. Draw the feet, starting from the heel.

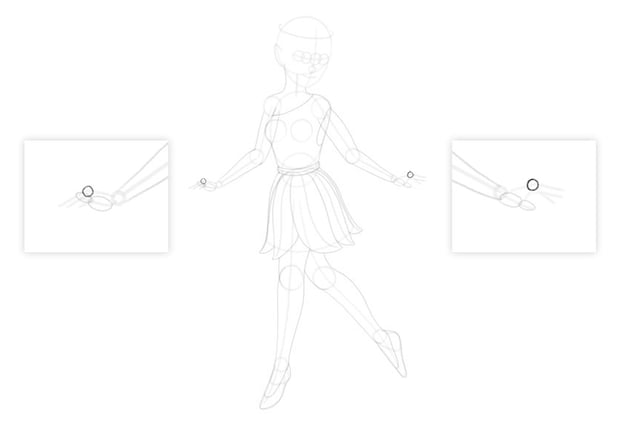
Step 2
Add the basic “skeleton” of the hands. Artists often find hands very hard to draw, so I made this pose as simple as possible—just start with a long line for one finger, and a shorter line below for the thumb.
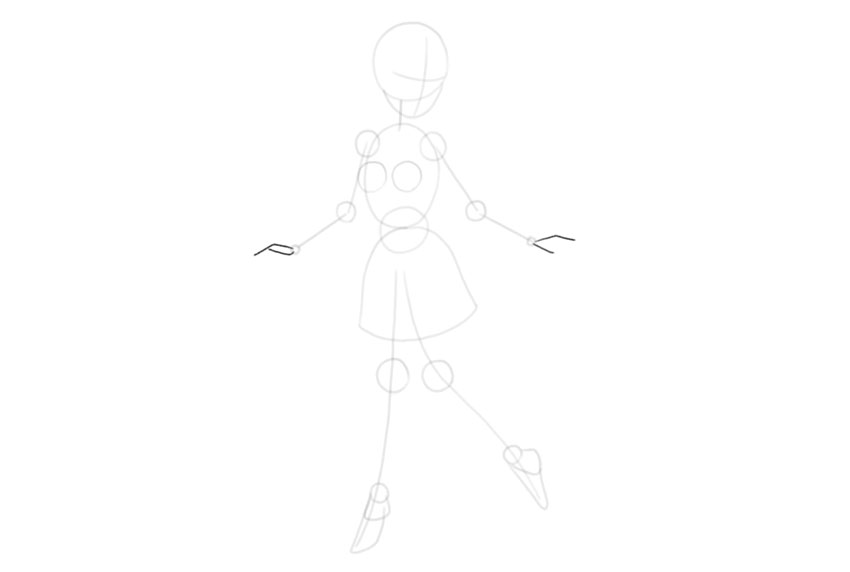
Step 3
Connect the thumb to the long finger with a curve. This will help us distinguish the outer side of the hand from the inner side.

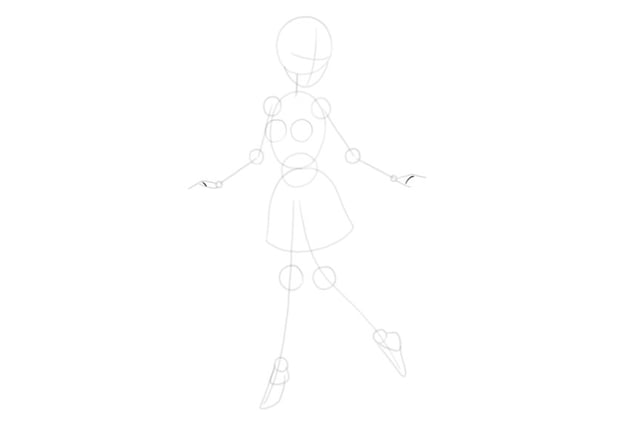
Step 4
Add two other fingers now, starting somewhere behind that first finger.


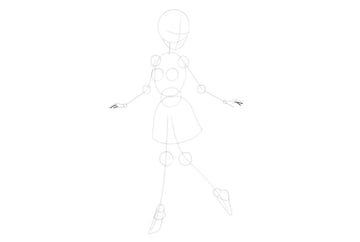
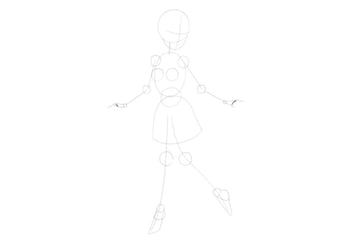
Step 5
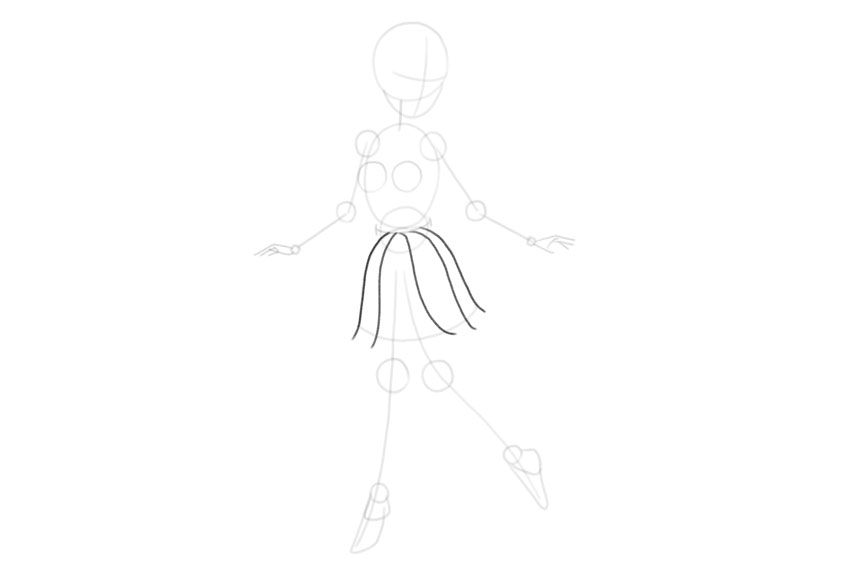
Draw a curve along the waist for the belt, and mark its sides.
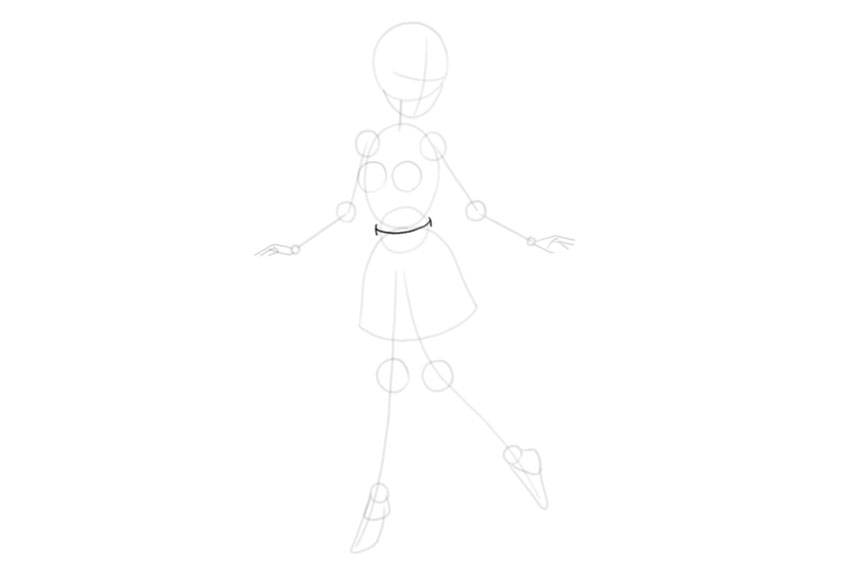

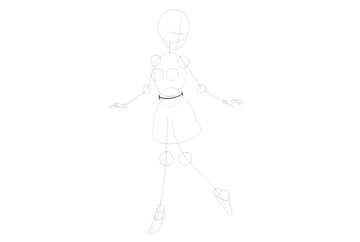
Step 6
Fairies often wear flowery dresses. Create curves for the petals this dress will be made of.


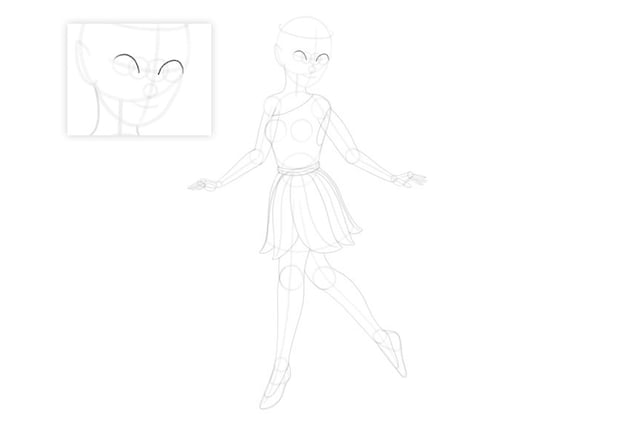
Step 7
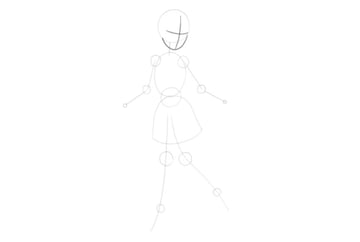
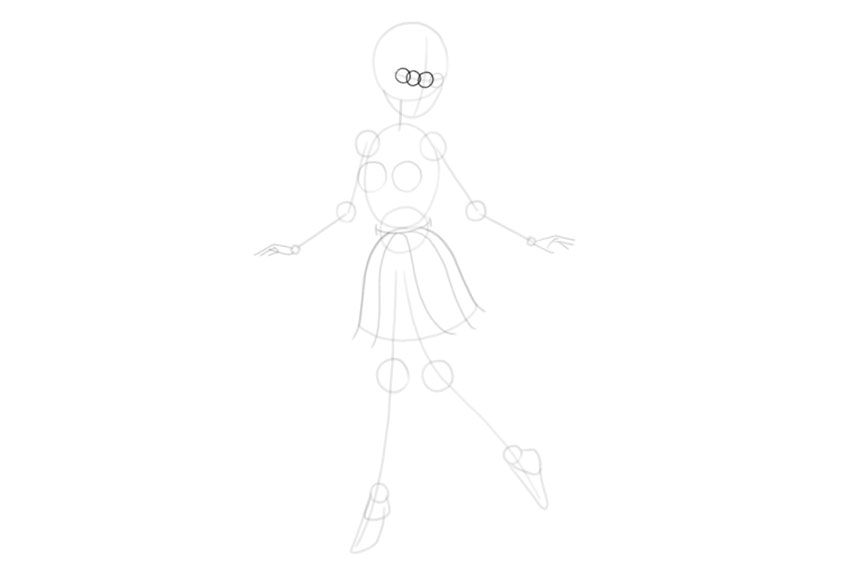
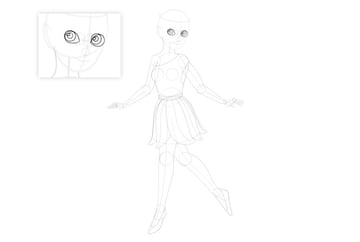
Putting the eyes in the correct place is extremely important—humans are very good at spotting incorrect proportions when it comes to faces! So here’s a trick you can use: place one eyeball right at the edge of the head…


…. then draw three other eyeballs starting from there. They should slightly overlap each other (that’s what happens when you rotate a row of spheres in perspective).


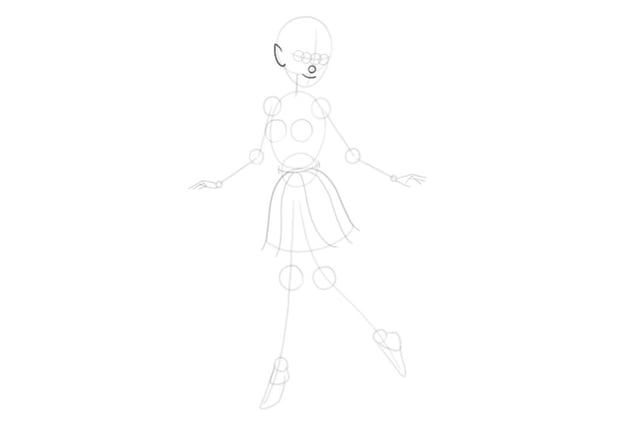
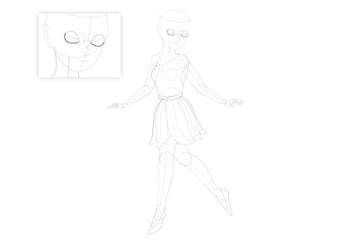
Step 8
Add the other facial features now: the nose, the curve of the mouth, and the ear. Keep them very simple.

You can learn more about drawing facial features in a Disney-like style in this tutorial:
Step 9
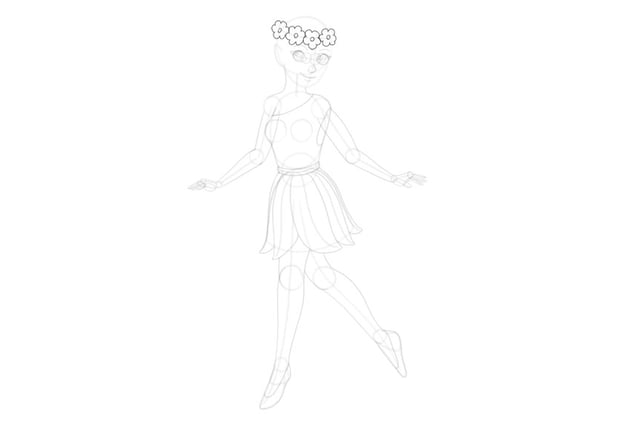
Add a part of an ellipse around the head to prepare the place for the flower crown.

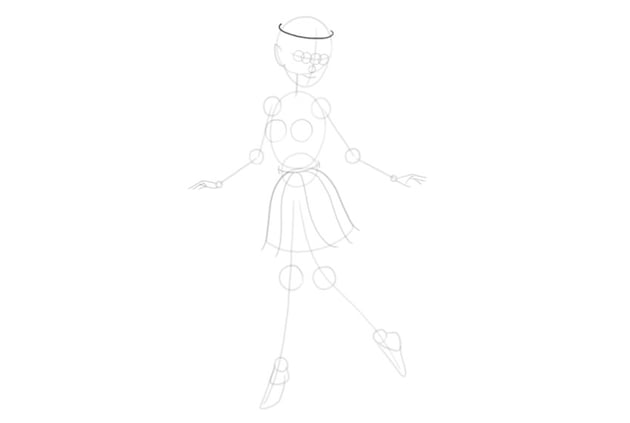
3. How to Draw a Fairy’s Body the Easy Way
Step 1
Let’s finish the body now. Keep in mind that we’re still in the sketching phase!
Draw the individual petals making up the bottom of the dress. Give each of them a slightly different shape.


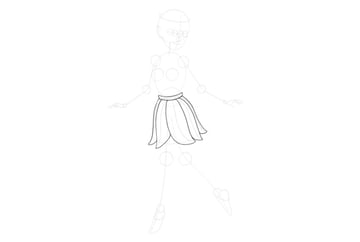
Step 2
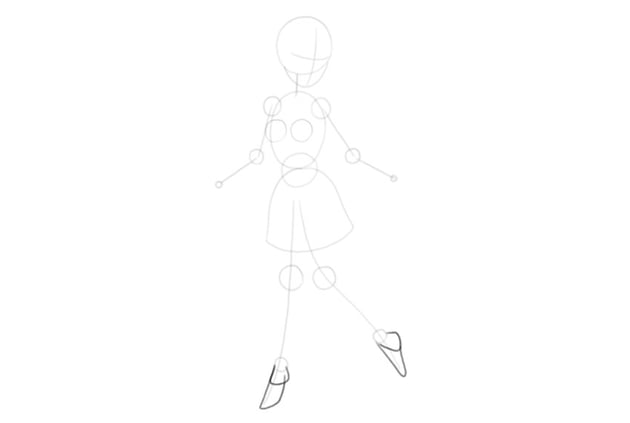
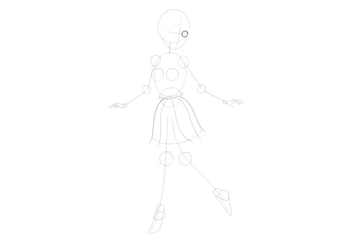
Let’s draw the legs now. To achieve the correct shape, make sure to draw all these curves separately:
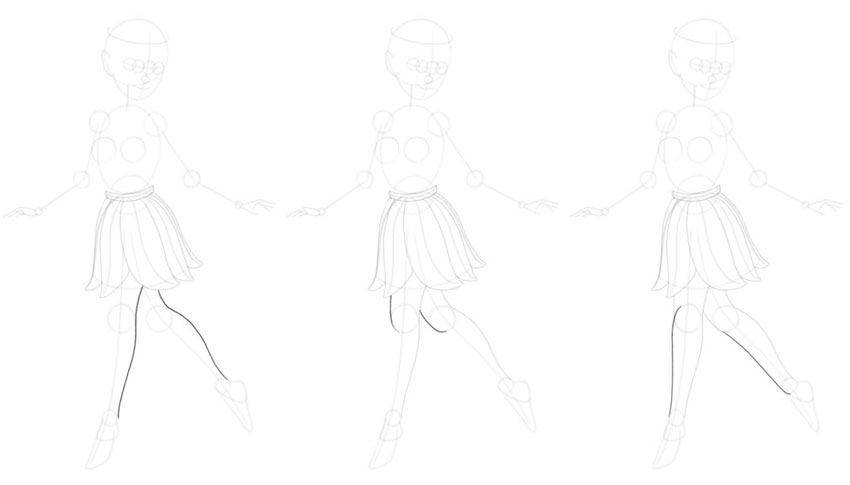
Step 3
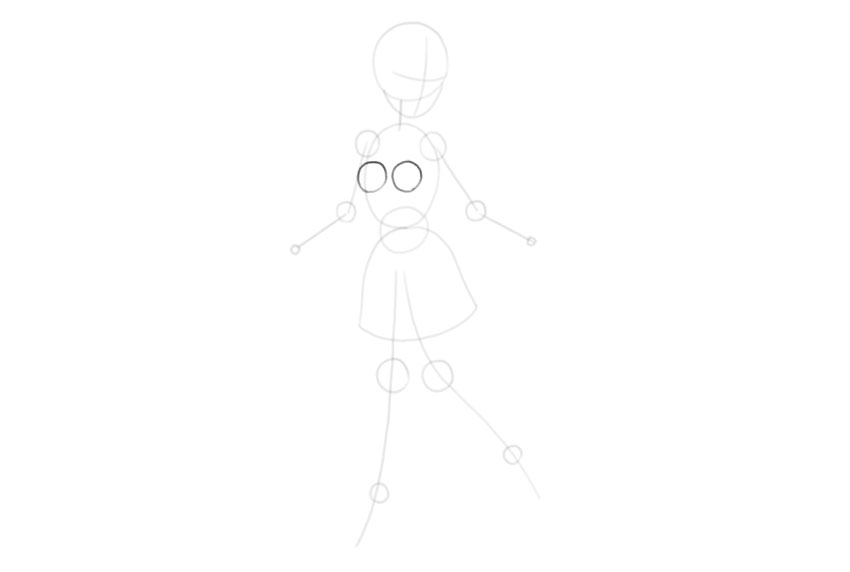
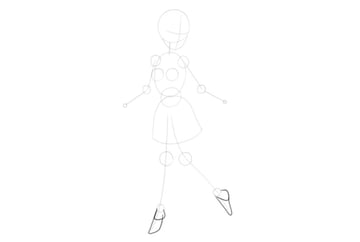
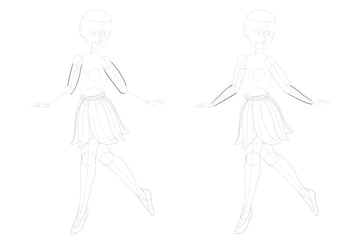
Add simple shoes covering the feet. This way, we won’t have to draw the toes!


Step 4
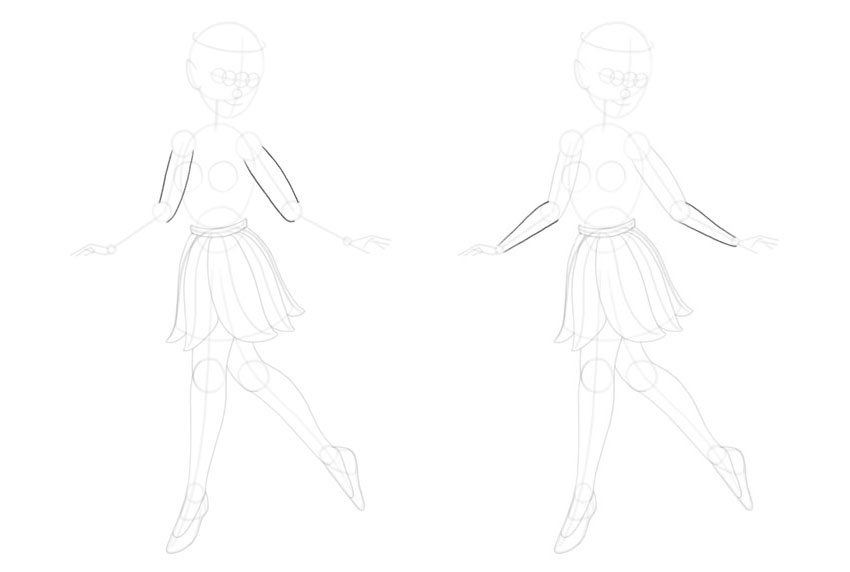
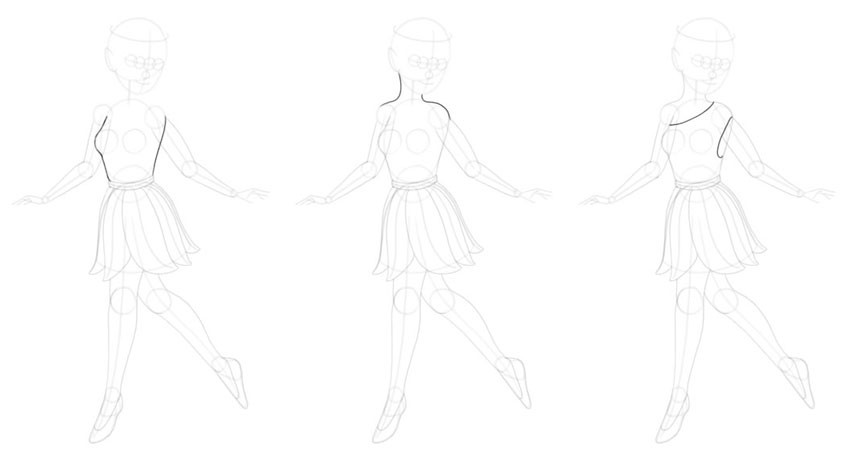
Outline the arms and forearms just as you did with the legs—using the joints as reference points.
Step 5
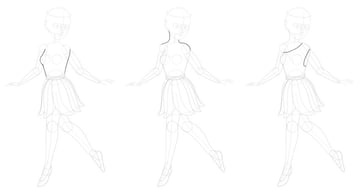
Outline the chest now, finishing the shape of the dress and creating the curve of the shoulders and neck.
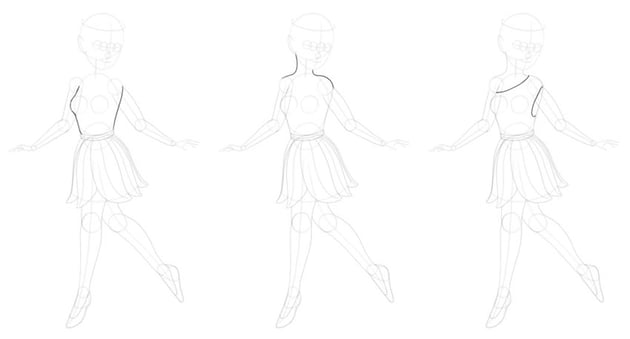
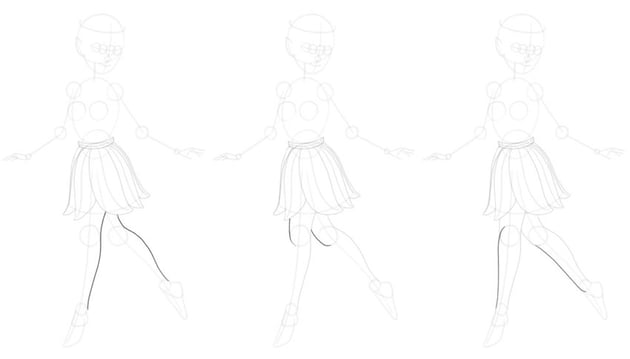
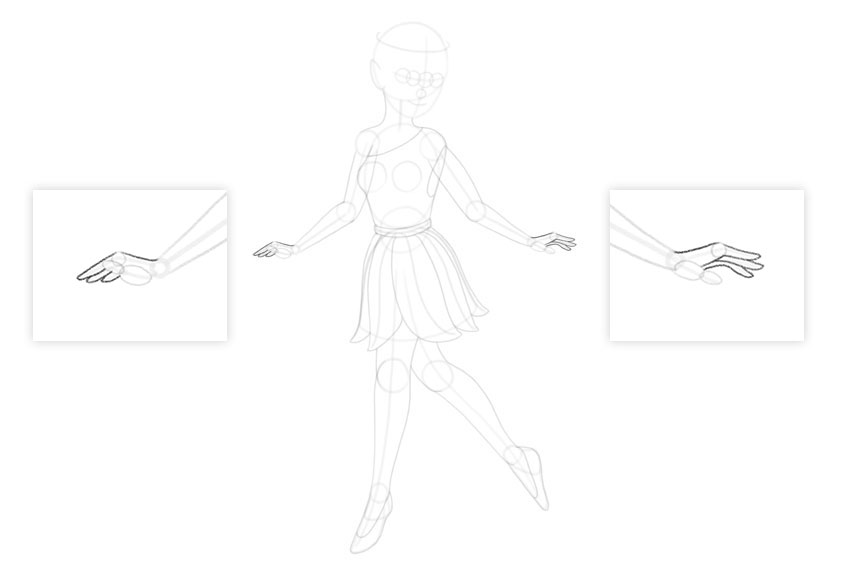
Step 6
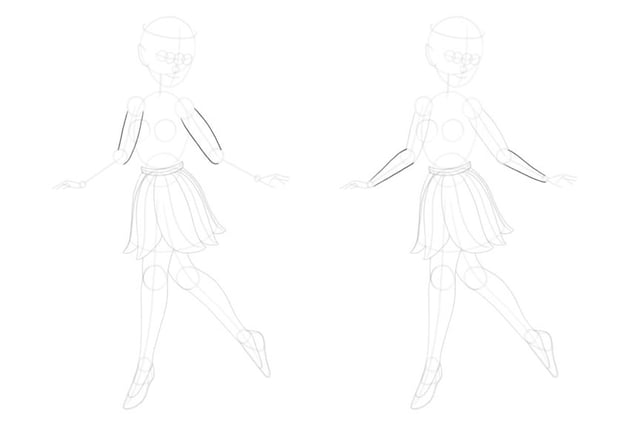
Add the detailed shape to the hands now. Try to keep them simple, so that they fit the style of the rest of the drawing. Draw the thumb…

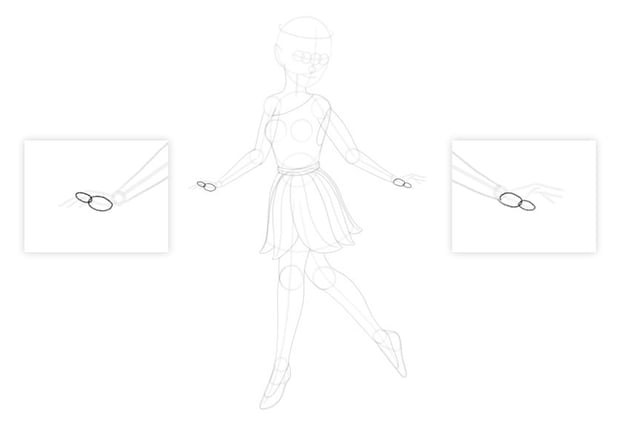
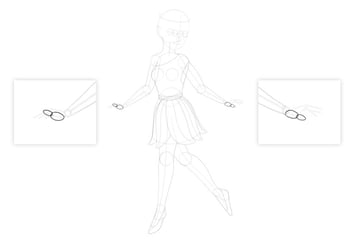
… the joint of the first finger…


… and then the rest of the fingers.


Step 7
The eyes will be the most detailed part of the drawing, so pay attention! First, draw the curves around them, marking the shape of the upper and lower eyelid. You should aim for a distinctive almond shape.


Step 8
Draw the round iris inside each eye. It should be in the same place in each eye, even if this means a part of it will land outside of the main outline.

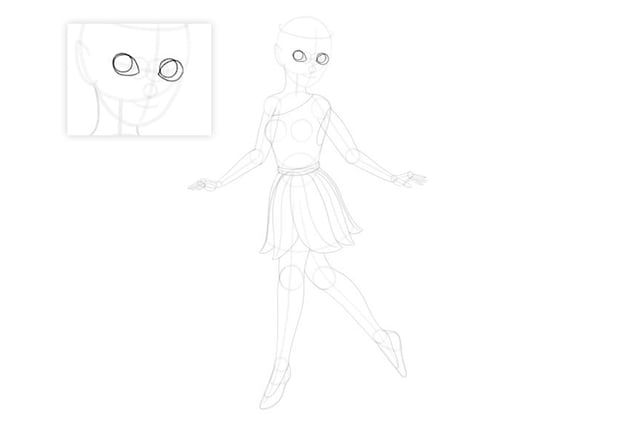
Step 9
Add the pupil in the center of the iris. Don’t worry if these eyes seem a little creepy now—we will fix it later with some shading.

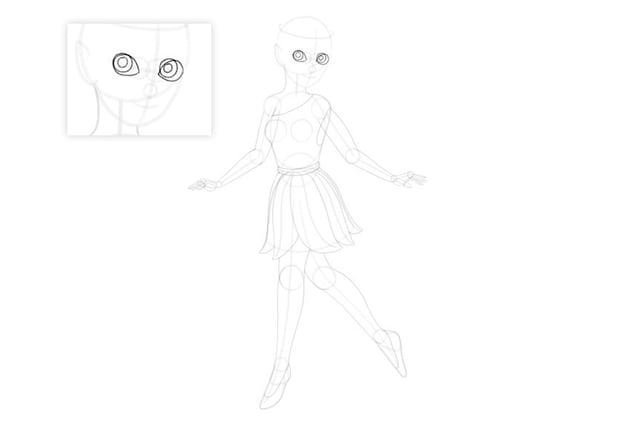
Step 10
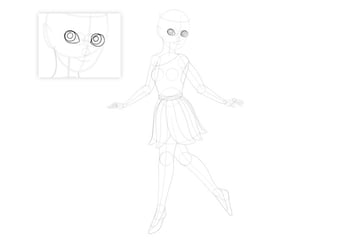
Mark the shine dots (the highlights) in the upper left corner. This will tell us which part needs to be left unshaded.


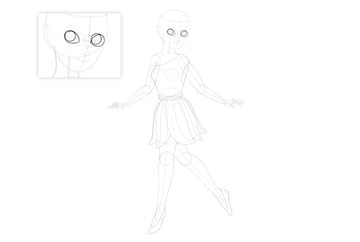
Step 11
Add simple eyelashes, and add more details to the facial features.


Step 12
Draw the flowers in the flower crown. Keep them simple!

Step 13
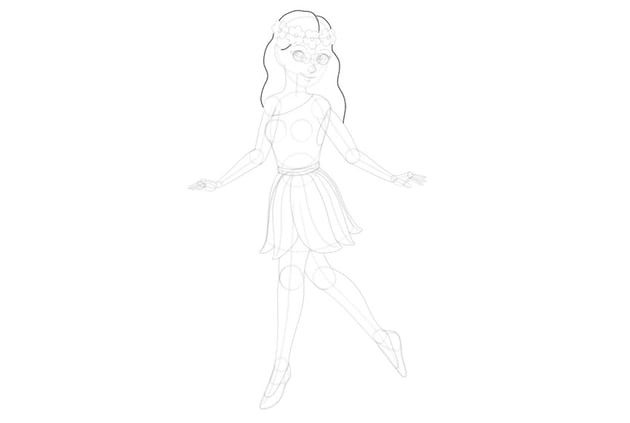
Draw the outline of the flowing hair.

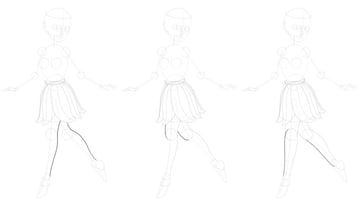
4. How to Draw Easy Fairy Wings
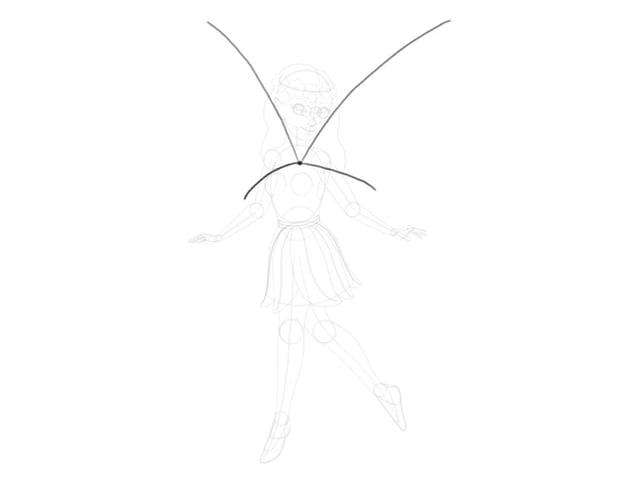
Step 1
Now I’ll show you how to create a simple fairy wings drawing.
Draw an “X” with long upper arms and short lower ones. Make these arms slightly curved.


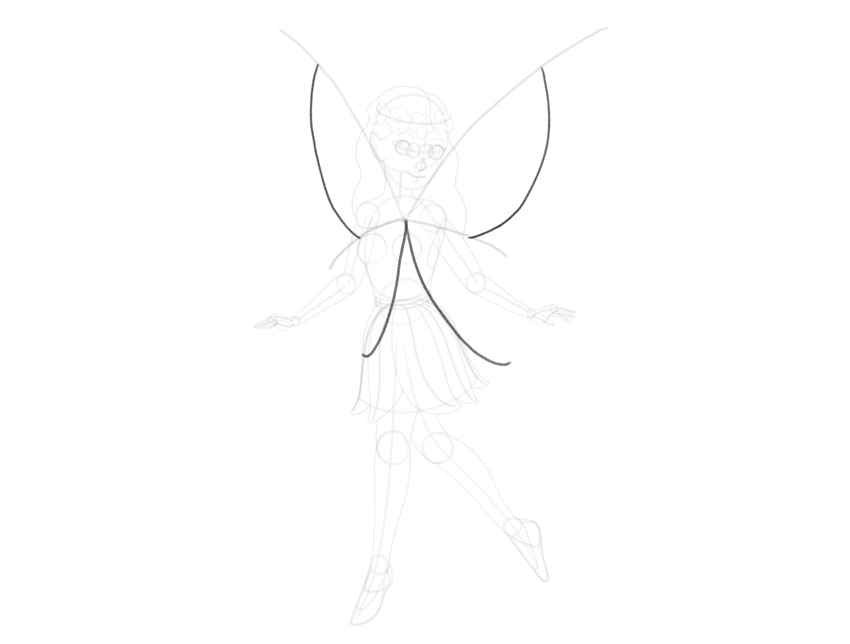
Step 2
Add another set of simple curves, as if you were trying to draw a very simple butterfly in the back.


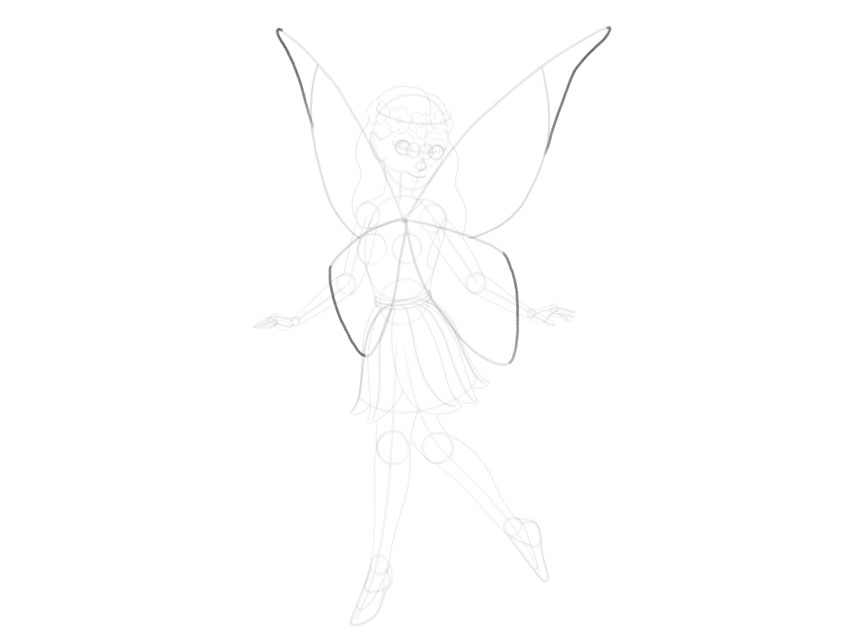
Step 3
Close the shape of the wings now with another set of curves.

If you want to learn how to draw fairy wings in all shapes and colors, you can use real butterflies as your reference. These tutorials will be very helpful for this purpose:
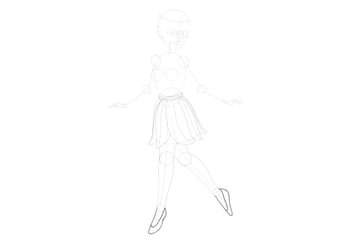
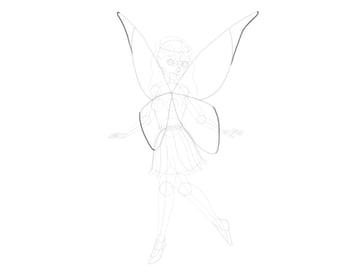
5. How to Finish Your Easy Fairy Drawing
Step 1
The sketch is done, so you can now switch to a darker tool (or a new layer, if you’re drawing digitally). All the lines we’ll be drawing from now on will be final!
Draw over the lines that you want to keep in the final image. Add a little bit of shading to the eyes: make the pupils and the eyelashes black, and the irises gray.


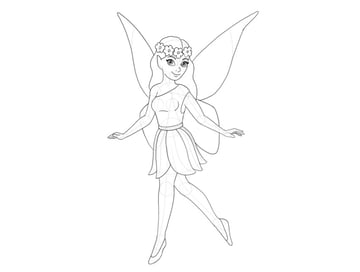
Step 2
To make the line art look more interesting, it’s good to add some variety to the lines. You can achieve that by thickening some of them, especially in the areas where two of the lines meet.


Step 3
Repeat this process one more time, giving some of the lines even more volume.


Step 4
The drawing is done! If you’re drawing digitally, you can now remove the sketch layers, and if you’re drawing traditionally, erase the sketch lines.


Good Job!
Now you know how to draw a fairy step by step, and how to draw fairy wings the easy way!


Fairy Wing Logo Inspiration From Envato Elements
Drawing fairies can be fun, but sometimes you may run out of inspiration for the wings. So here are a couple of logos from Envato Elements that you can use!
Butterfly Gradient Logo [AI, EPS, JPG, PNG, PSD]
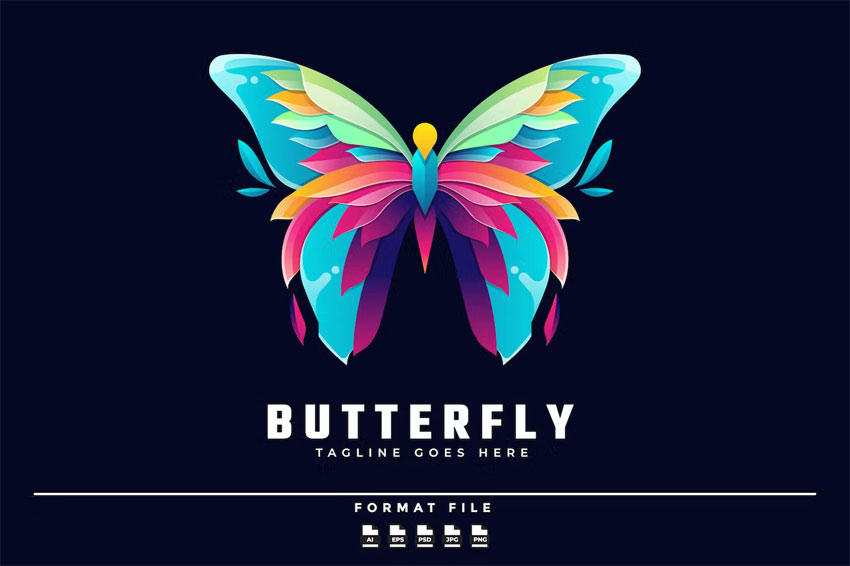
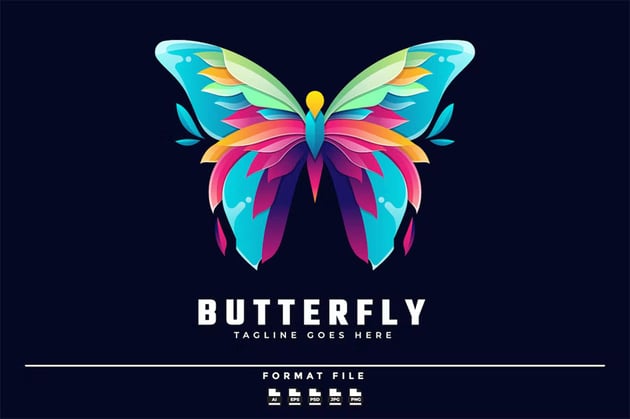
These colorful wings would look fabulous on any fairy! Their crystal look gives a magical feeling to them, and the colors complement each other nicely.
Cosmic Vibes Pre-Made Brand Logo Design [AI, PSD]
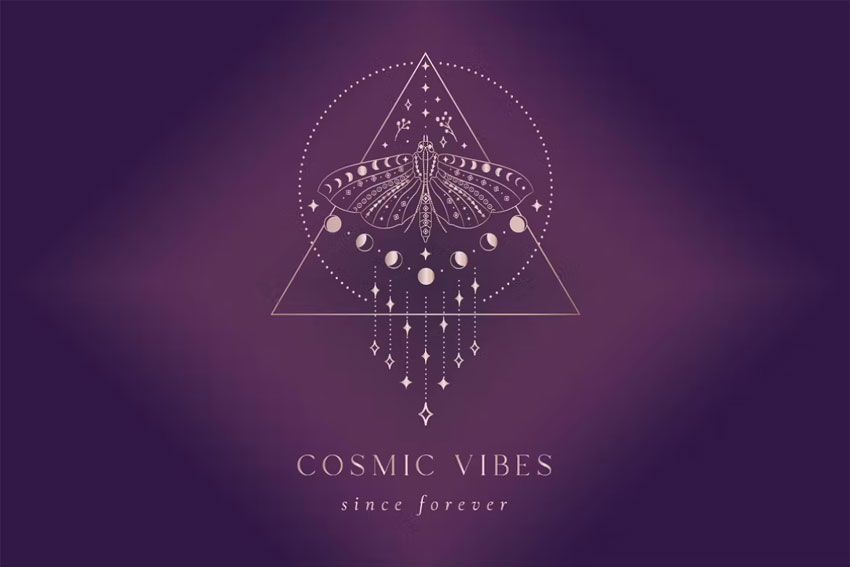

Are you looking for something more subtle and mystical? These delicate wings have a mysterious pattern on them, which brings a night sky to mind.
Butterfly Luxury Logo [AI, EPS, PDF, PNG, PSD]


How about something simple, yet elegant? These wings have a very clear shape, and the subtle gradient shading adds an extra level of detail.
The Butterfly Badge Logo Template [AI, EPS, PDF]
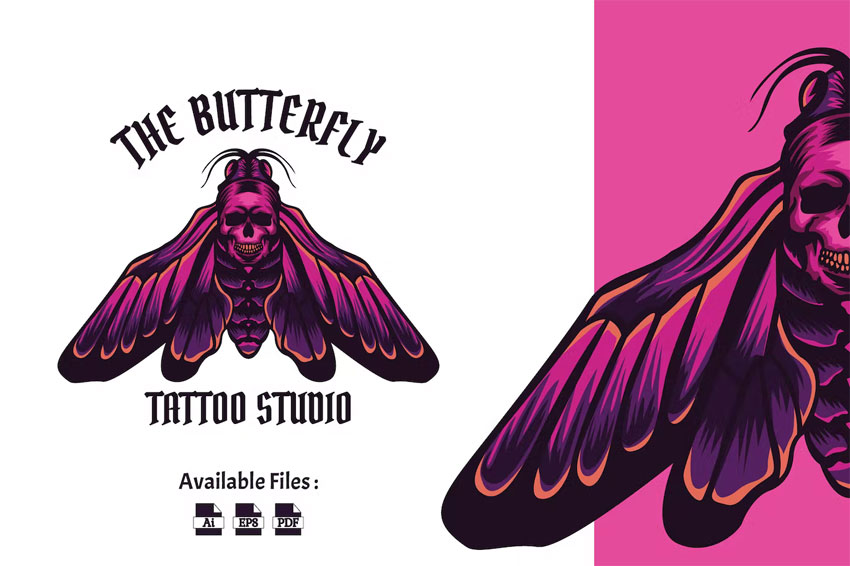


Moths and butterflies belong to the same family, so if you want to make your fairy unique, why not give her a pair of moth wings? The wings in this logo have a simple shape, but their colors make them very striking.
Butterfly Logo Circle [AI]
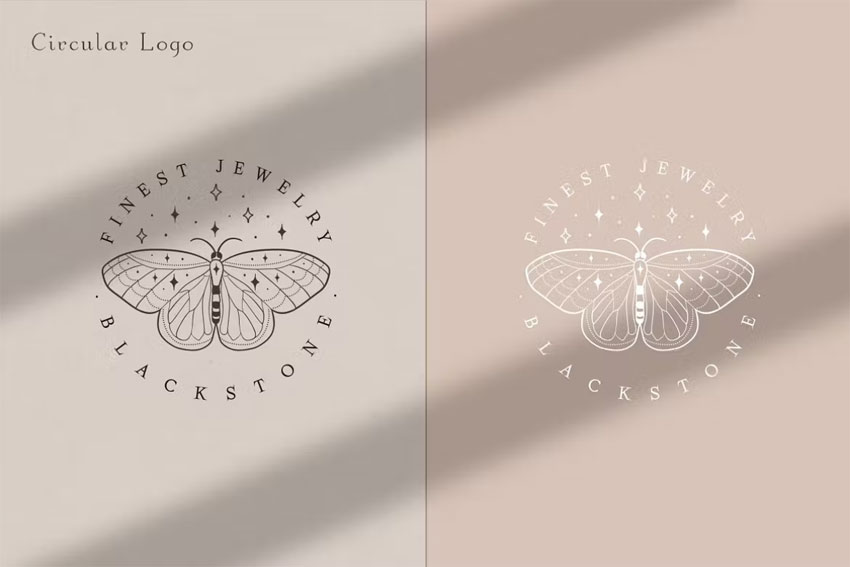
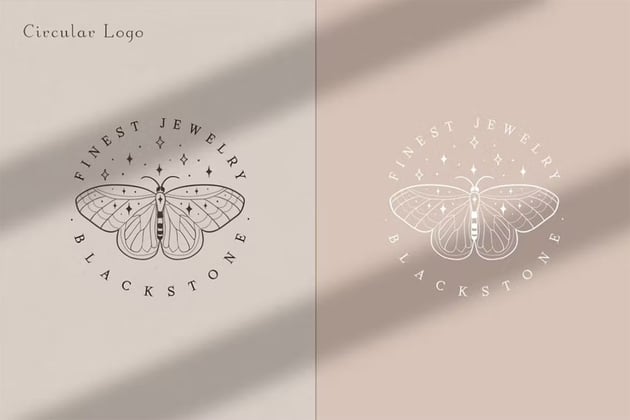
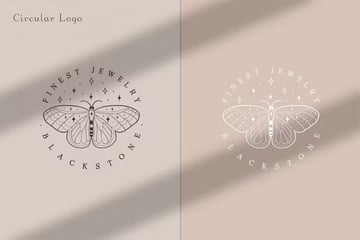
Here’s another example of simple and elegant wings in a classic butterfly shape. You can add more details to them, or leave them in their full minimalistic glory!
Recommended Drawing Tutorials
If you liked this tutorial, we have more drawing content for you!