Cropping in Adobe Photoshop is something that you’ll need to use often. From resizing images to stripping excess space in a photo, this is a fundamental skill you’ll use in just about any design project.
1. How to crop in Photoshop using the Crop Tool
Step 1
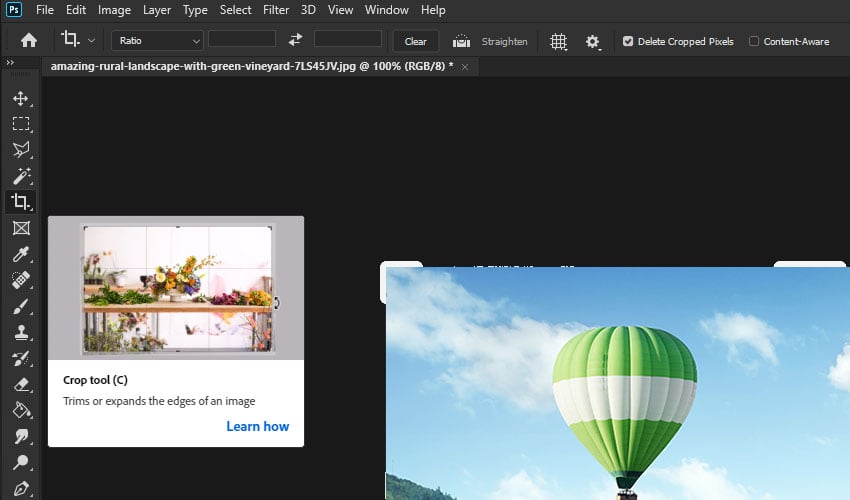
The Crop Tool is a great tool if you need to learn how to crop an image in Photoshop. First, open the image you want to crop.
Now, from the toolbar, select the Crop Tool.

Step 2
Now you’ll see markers appear along the edges of the document. We can use these to adjust the cropping of the image. The markers act a little differently depending on where they are.
To start, let’s use the bottom middle marker. Click the bottom marker and hold. Then drag this up to crop the image from the bottom.


Step 3
Once you release the marker in the Crop Tool in Photoshop, the area outside of the cropped area will turn dark. This is a handy way of previewing what your cropped image will look like. Keep adjusting this marker until it is cropped to an area to your liking.


Step 4
Once you’re satisfied with your crop area, you can select the Checkmark to apply your crop. If you aren’t satisfied, you can click the Cancel button located right next to it.


Step 5
Now that we’ve cropped the image, the excess parts of the image have been completely removed. Even if you attempt to move the image on the canvas, the parts of the image which were outside the crop are not present.
In order to get the old version of the image back, you will need to undo the action. You can also uncheck the Delete Uncropped Pixels option before you finalize your crop if you wish to preserve them.


Step 6
Let’s continue cropping this image to isolate a particular element. This time, we’ll use the corner markers to crop around this hot air balloon. By using all of the markers in conjunction, you can isolate the object you wish to crop. Then select the checkmark to accept the crop.


Step 7
Now, you have an individual element cropped from the original image. As you can see, the Crop Tool in Photoshop is a really practical tool that has a lot of uses.


2. What else can the Crop Tool do?
Step 1
The Crop Tool also has some extra features we can take advantage of. Let’s take a look at the Content-Aware feature! Create a crop area, but this time extend the crop area outside the area of the photo. Notice that the background area will match your current Background Color. In this case, it’s white.

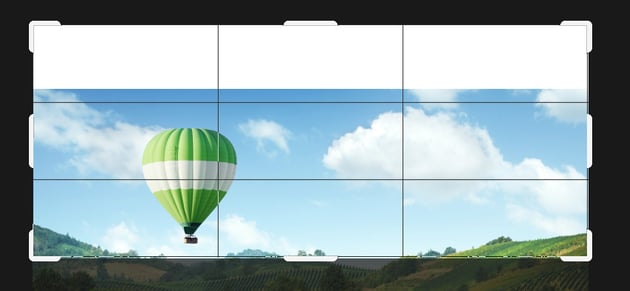

Step 2
Before clicking the Accept button to confirm the crop, check the Content Aware checkmark. Now you will see that the outside area of the image will fill in the space based on the image. This is a quick way to extend the background in Photoshop.
This can have some mixed results, but as you can see, this works well for adding some extra sky to our image.


Step 3
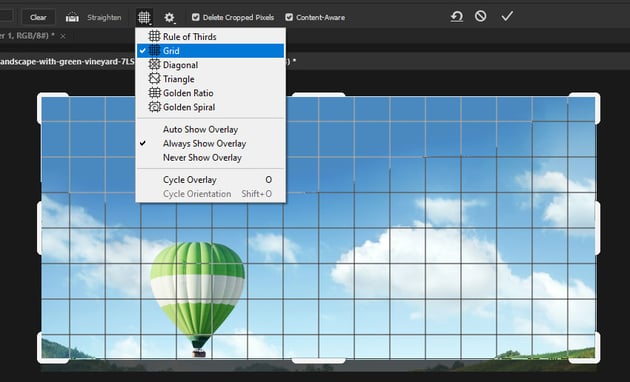
We can also change the grid type of the Crop Tool. You may need a smaller grid rather than the default rule-of-thirds grid. If you are working on your compositions, there are even Golden Ratio and Golden Spiral grid types!


3. How to crop a picture in Photoshop using the Selection Tools
Step 1
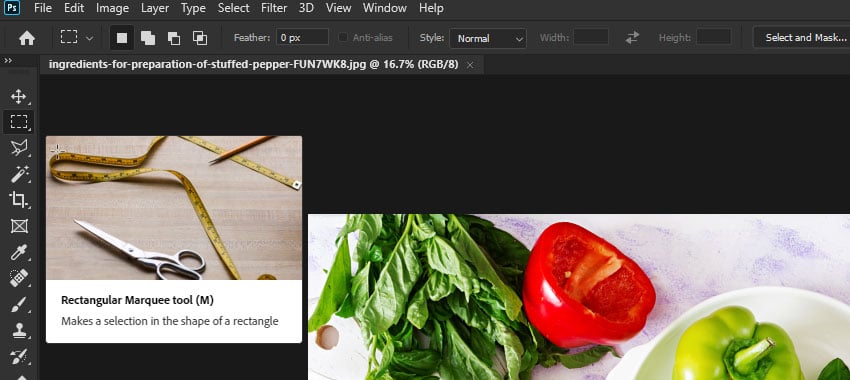
Another method we can use when learning how to crop an image in Photoshop is to use the selection tools. Since much of the work you do every day in Photoshop involves selections, this can be a great time-saver and allows for precise cropping.
To start, open up the image you wish to crop and then select one of the Selection Tools. We’ll use the Rectangle Marquee Tool in particular.

Step 2
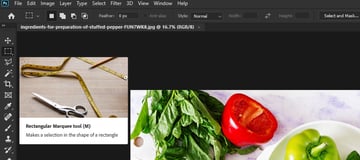
To make our crop with the Selection Tool, we’ll make a selection of the area we want to crop. Drag and pull the rectangle over the area you want to crop.


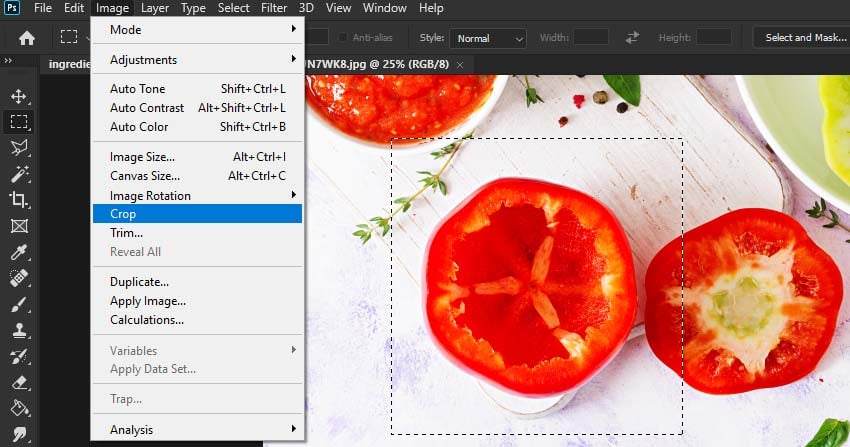
Step 3
Now, with the selection made, go to Image > Crop.


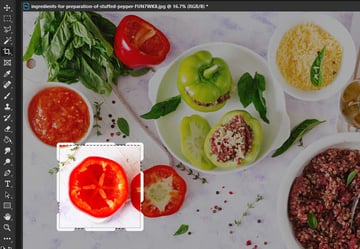
Step 4
Now you have cropped the image to the dimensions of your selection area.


Step 5
As an added tip, if you need the features of the Crop Tool with your selection, simply select the Crop Tool after making a selection.
Something to note here is that you can also make crops on selections that aren’t shaped as rectangles; however, the crop itself will always default to the smallest rectangle possible for the selection. This is because documents have to be within a box.


You learned how to crop an image in Photoshop and more
There are a lot of options when it comes to cropping your images. Whether it is simple or complex, you can do it in Photoshop or using AI.
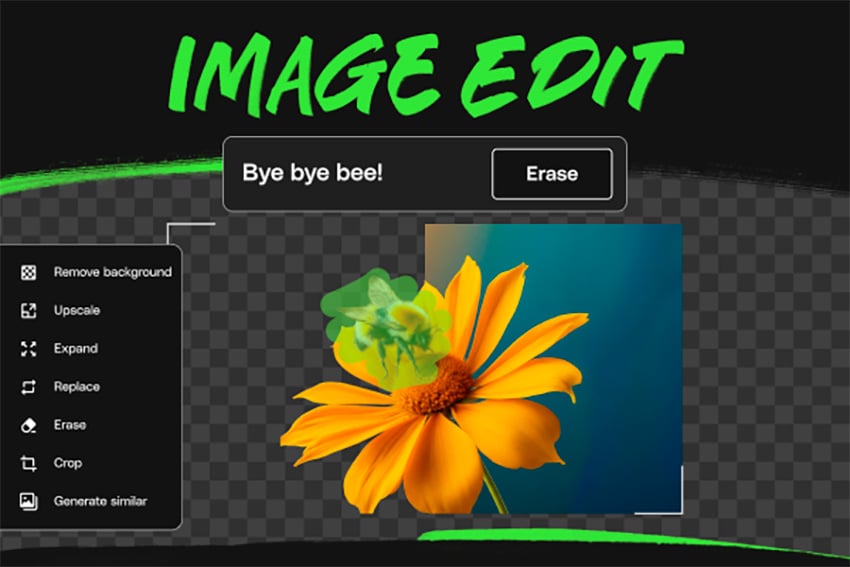
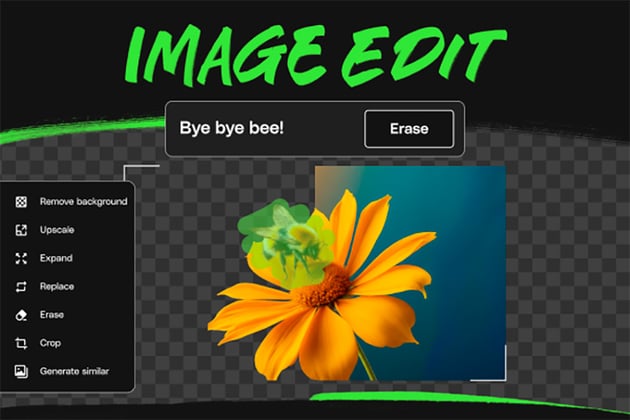
When you’re in a rush or you don’t have access to your favorite image-editing software, Envato’s new AI features can help in your creative projects. These AI features are included in your subscription, and you don’t need to create new accounts, write complicated prompts, or use any type of credits.
To edit an image with AI, just go to Envato’s ImageEdit, upload an image, and you’ll be able to crop it in a few clicks. And that’s not all—you can easily remove the background, erase an object, expand the image, and more.

Another AI photo cropping alternative that’s very easy to use is Placeit’s tool for cropping images, so do give it a try as well!
For more details about how to crop in Photoshop, don’t forget to watch this video from the Envato Tuts+ YouTube channel to learn more. And if you’re a fan of AI photo cropping tools, explore Envato’s new feature, ImageEdit!