The other day I was working on a WordPress project that used ACF (Advanced Custom Fields) Pro’s flexible content. If you aren’t familiar with this field, imagine it as a miniature of the Gutenberg and Elementor builders that gives you the ability to define different types of layouts. So, on this project, the design required a “Load More” button for loading more results upon click.
The correct and most accurate way of doing it is by using AJAX and some PHP code for loading the results in ranges.
A second quicker, but dirty way that I finally picked is to show all results by default and use a bit of JavaScript to create what I like to call a “Fake AJAX Load More” mechanism.
The good news about this approach is that you can use it anywhere you want to implement a “Load More” functionality.
The bad news is that you have to use it with caution, for performance reasons. As I said before, it is a fake AJAX mechanism, so all markup is printed by default.
But enough introduction, let’s see this technique in action by building an image gallery. Here’s the final demo:
Be sure to click on the button to load more results. When there are no other results to appear, it will disappear.
1. Begin With the HTML Markup
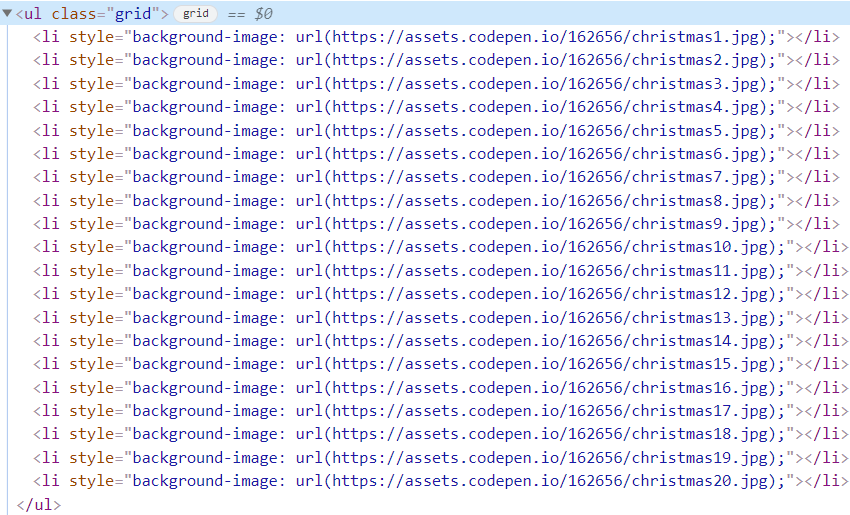
We’ll start with an unordered list with 20 list items and a Load More button. Each list item will include a background image coming from Unsplash:
<ul class="grid">
  <li style="background-image: url(IMG_SRC);"></li>
  ...
</ul>

<button class="ajax-load-more">LOAD MORE</button>
2. Define Some Basic Styles
As we do very frequently, before examining the main styles, we’ll set up a few basic reset rules (e.g. a Google Font):
:root {
  --white: #fff;
  --lightgray: #fafafa;
  --gray: #4d4d4d;
  --green: #1ea76e;
}

* {
  padding: 0;
  margin: 0;
  box-sizing: border-box;
}

button {
  border: none;
  cursor: pointer;
  outline: none;
}

ul {
  list-style: none;
}

body {
  text-align: center;
  margin: 50px 0;
  background: var(--lightgray);
  font-family: "Ubuntu", sans-serif;
}

h1 {
  font-size: 2.5rem;
}
3. Specify the Main Styles
Coming up next, we’ll use CSS Grid to split the grid into three equal-width columns. Each column (list item) will have a fixed height that will vary depending on the viewport width. However, every tenth column starting from the first and eighth ones (first, eighth, 11th, 18th, etc.) will be twice as tall (excluding the row gap) as the other columns. This “exception” will help us make the page a bit more unique and get away from the standard three-column layout.

Additionally, in our case, only the first five columns will appear by default.
Here are the required styles for our grid:
/*CUSTOM VARIABLES HERE*/

.grid {
  display: grid;
  grid-template-columns: repeat(3, 1fr);
  grid-gap: 2px;
  max-width: 1500px;
  padding: 0 15px;
  margin: 30px auto;
}

.grid li {
  height: 400px;
  background-size: cover;
  background-position: center;
  background-repeat: no-repeat;
  background-color: var(--gray);
}

.grid li:nth-child(10n + 1):not(:nth-last-child(-n + 3)),
.grid li:nth-child(10n + 8):not(:last-child) {
  grid-row: auto / span 2;
  height: 100%;
}

.grid li:nth-child(5) ~ li {
  display: none;
}

.ajax-load-more {
  font-weight: bold;
  font-size: 18px;
  min-width: 200px;
  padding: 20px;
  color: var(--white);
  background: var(--green);
}


/* MQ STYLES
–––––––––––––––––––––––––––––––––––––––––––––––––– */
@media screen and (max-width: 800px) {
  .grid li {
    height: 250px;
  }
}

@media screen and (max-width: 500px) {
  .grid li {
    height: 150px;
  }
}
Especially, notice the :not() CSS pseudo-class that we add to the patterns that target specific columns. This extra filter ensures that there won’t be any inconsistencies between the height of the columns depending on their number.

To better understand it, add two or eight extra columns (22 or 28 in total) and remove the :not() pseudo-class like this:
.grid li:nth-child(10n + 1),
.grid li:nth-child(10n + 8) {
  grid-row: auto / span 2;
  height: 100%;
}
4. Fake AJAX Load More
Each time we click the button, five columns will appear. But here’s the tricky thing–they should only appear the ones that belong to a specific range. This range will de dynamic and change upon click.
Let me be more specific.
By default, the first five columns will be visible. On the first button click, columns between six and ten will appear. Then, on the second click, columns between 11 and 15. On the third click, columns between 16 and 20, etc.
Create a Range With CSS Selectors
To create the desired ranges, we’ll take advantage of the :nth-child CSS pseudo-class. But, we won’t use just a single such a pseudo-class. That said, we’ll chain two pseudo-classes (we did it previously in CSS) like this:
li:nth-child(n+6):nth-child(-n+10)
In human language terms you might describe the selector above as:
“Select all list items between six and ten.”
Make the Range Dynamic
Now that we know how to create a range with CSS, all we have to do is to make it dynamic. To do so, we’ll use the k and j variables that will act as counters. Their initial values will target the columns that have to appear upon the first click. Additionally, we’ll increment their values by five upon click. This will help us target every next range.
If the number of columns is less than or equal to the j number, that means all columns are visible, and thus we can safely remove the button.
Here’s the required JavaScript code:
const list = document.querySelector(".grid");
const listItems = list.querySelectorAll("li");
const ajaxLoadMoreBtn = document.querySelector(".ajax-load-more");

let k = 6;
let j = 10;

ajaxLoadMoreBtn.addEventListener("click", function () {
  let range = `li:nth-child(n+${k}):nth-child(-n+${j})`;
  list
    .querySelectorAll(range)
    .forEach((elem) => (elem.style.display = "block"));

  if (listItems.length <= j) {
    this.remove();
  } else {
    k += 5;
    j += 5;
  }
});
In your projects, you might want to display a different number of columns, both initially and upon request. If that happens, you have to modify the following things:
- The CSS selector that determines the initially visible columns.
- The initial and offset values of the
kandjvariables.
5. Performance Implications
As mentioned in the introduction, be careful when to use this technique. Unlike AJAX, it prints all the markup on the page at once. That can cause performance issues when there are hundreds of rows.
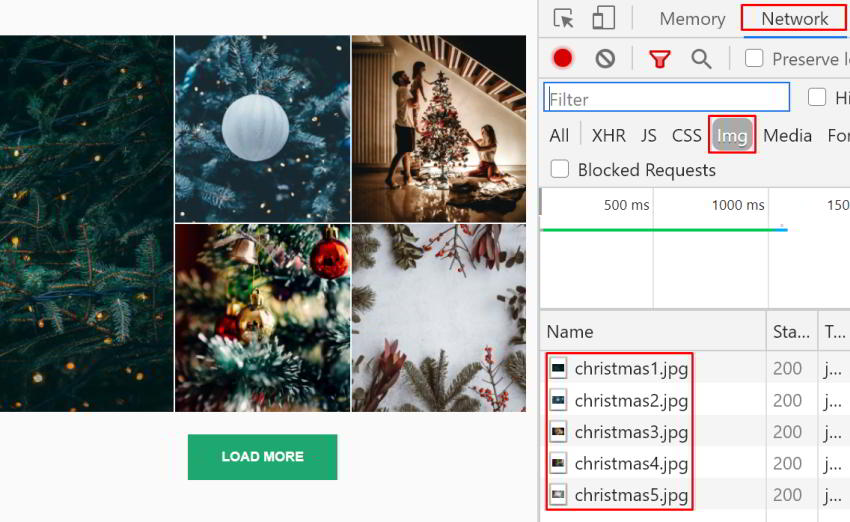
If your project lets you use this solution, you can do things to enhance the page speed. For example, here we have added the images as backgrounds. Even though all the markup is printed by default, the browsers (at least the most recent ones that I’ve tested) only load the visible images. This behavior also occurs on every fake AJAX request. That’s a big win with regards to the page performance.
To test it, open the browser console and hit the Network panel. Notice how the size of the page resources changes upon click. You can also filter the requests for images to see their traffic.
Conclusion
That’s all, folks! Today we first created an attractive image gallery with CSS Grid and then went through a neat method that replicates the AJAX technique for revealing the images in steps. Hopefully, you found this technique useful and will have it in your back pocket.
Here’s a reminder of what we built:
As always, thanks a lot for reading!
Next Steps
This demo project can be used in a real project as a gallery of some kind. If you plan to do so, as a handy extension, be sure to add a lightbox gallery that will show the full images. And of course, I’d love to see what you’ve come up with!
